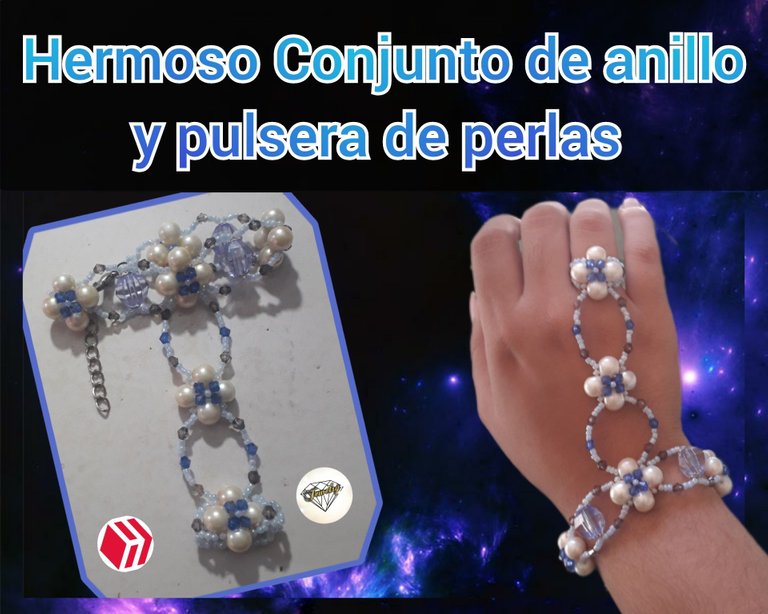

Buenas noches queridos amigos de Hive y de esta hermosa comunidad de Jewelry, espero que se encuentren bien y que hayan tenido un buen día. Hoy les quiero compartir la primera pulsera de este estilo que he hecho porque casi no las uso 😅 pero me ha encantado el resultado, es hermosa pero un poco complicada de hacer. Espero que a ustedes también les agrade.
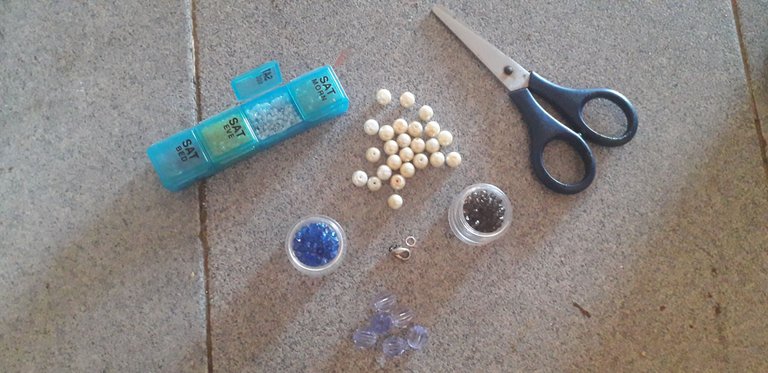
⚪24 Perlas de tamaño mediano y color blanco
⚪3 cristales en forma de rombo grandes de color azul.
⚪6 separadores en forma de flor
⚪1 dedal de mostacilla azul claro
⚪28 cristales de color azul oscuro de 3mm
⚪22 cristales de color negro de 3mm
⚪ Broche y Argolla
⚪2 mt. Nylon N° 0,4
🔷 Paso 1
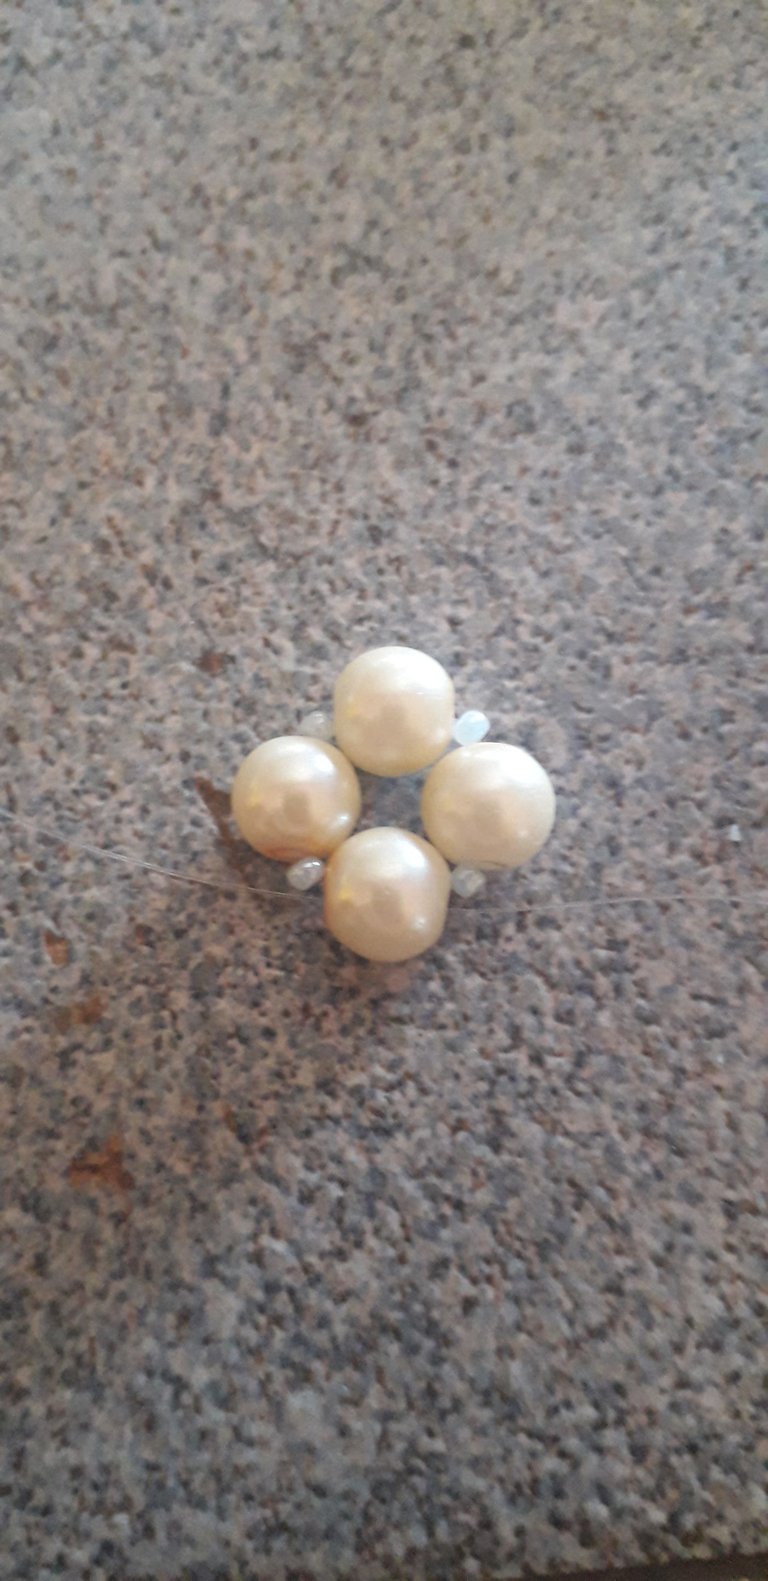
Primeramente vamos a insertar una mostacilla, una perla, otra mostacilla, otra perla, otro mostacilla, otra perla, una mostacilla más y cruzamos por una nueva perla.
🔷 Paso 2
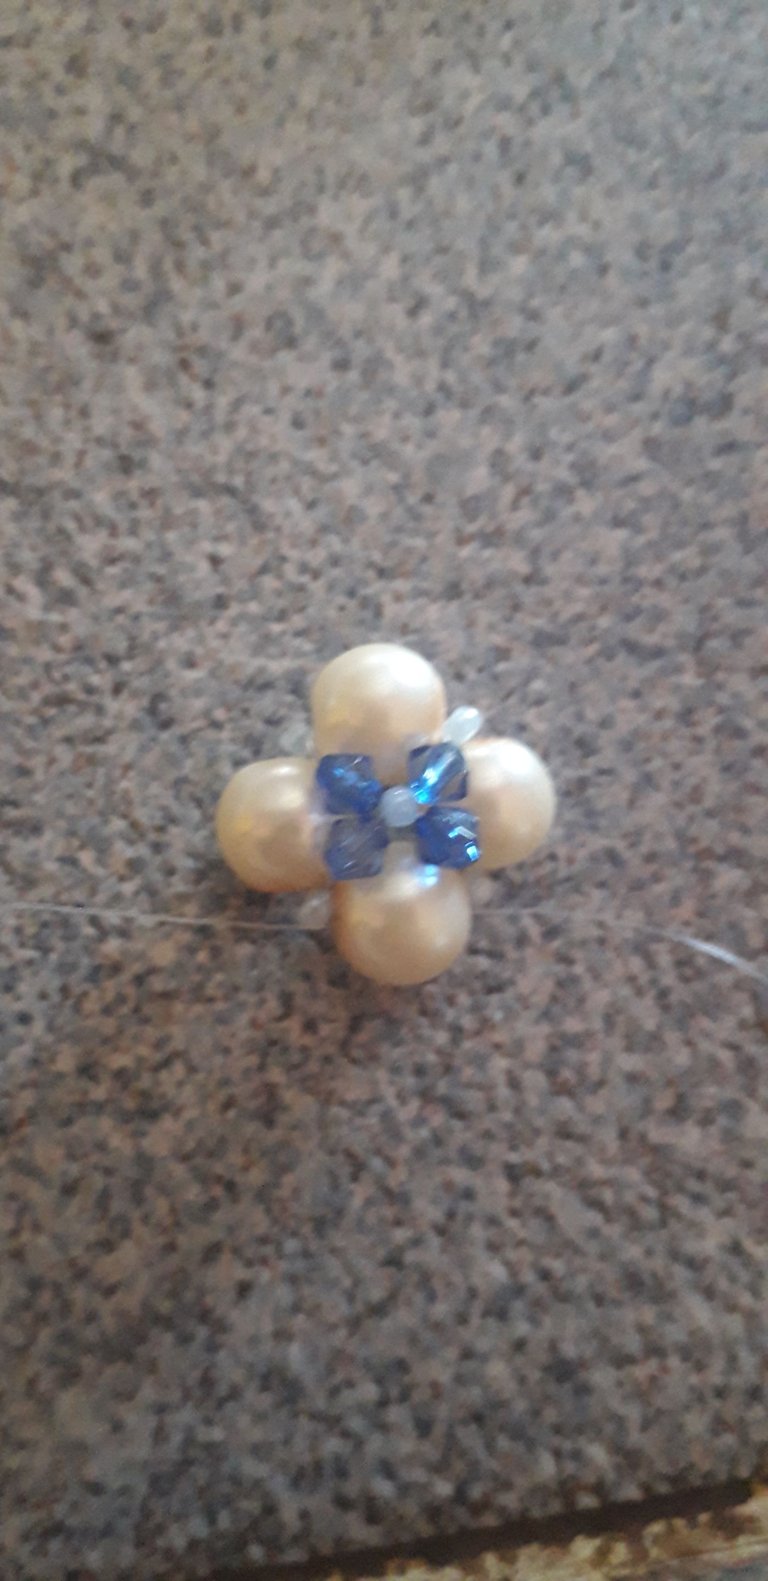
Luego en cada lado agregamos un cristal de color azul oscuro de 3mm y cruzamos por una mostacilla, añadimos un cristal azul oscuro en cada nylon y cruzamos por la perla de enfrente.
🔷 Paso 3
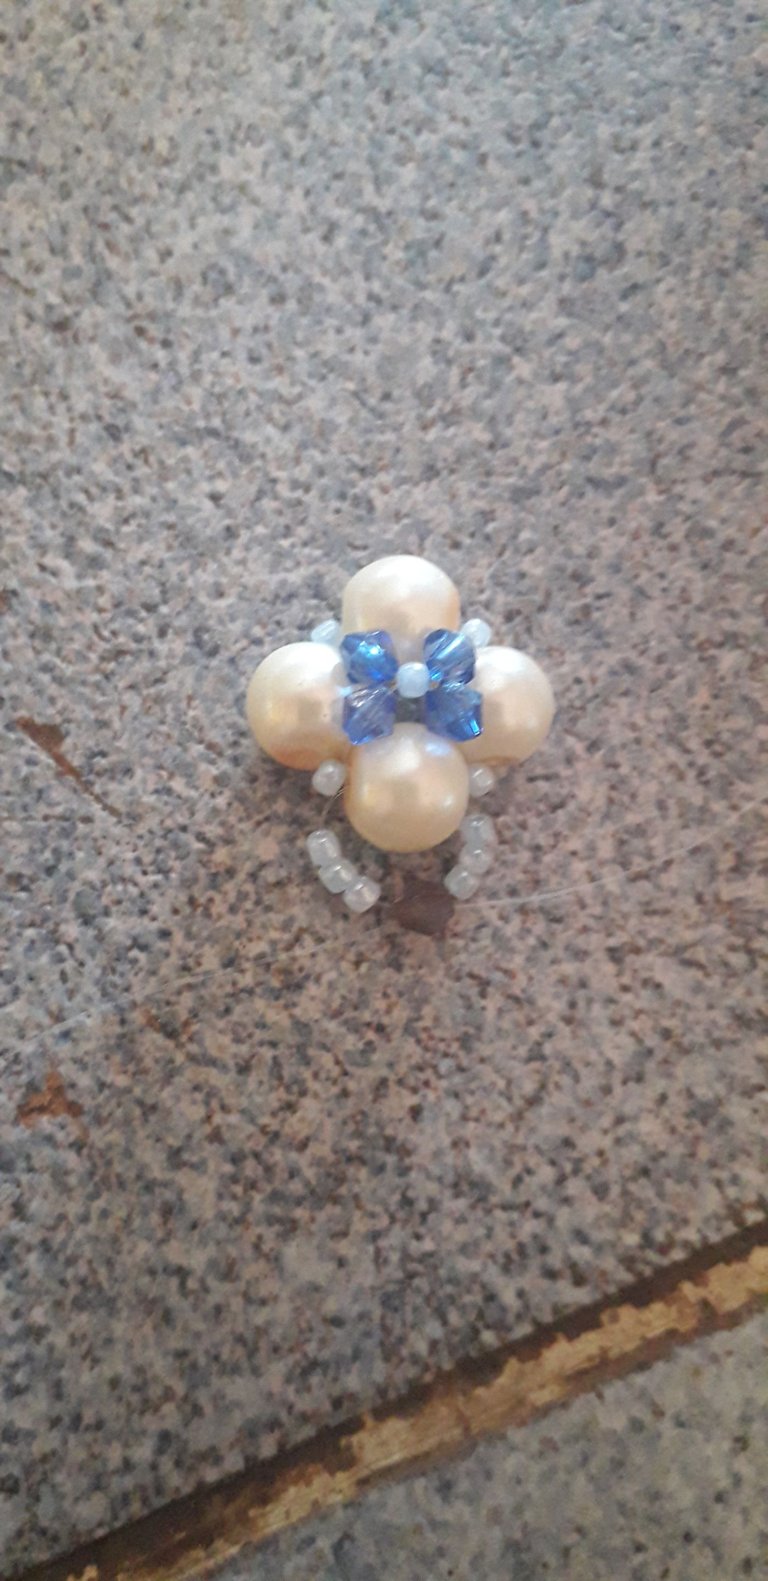
Ahora vamos a insertar 3 mostacillas de cada lado y cruzamos por un cristal de color negro de 3mm.
🔷 Paso 4
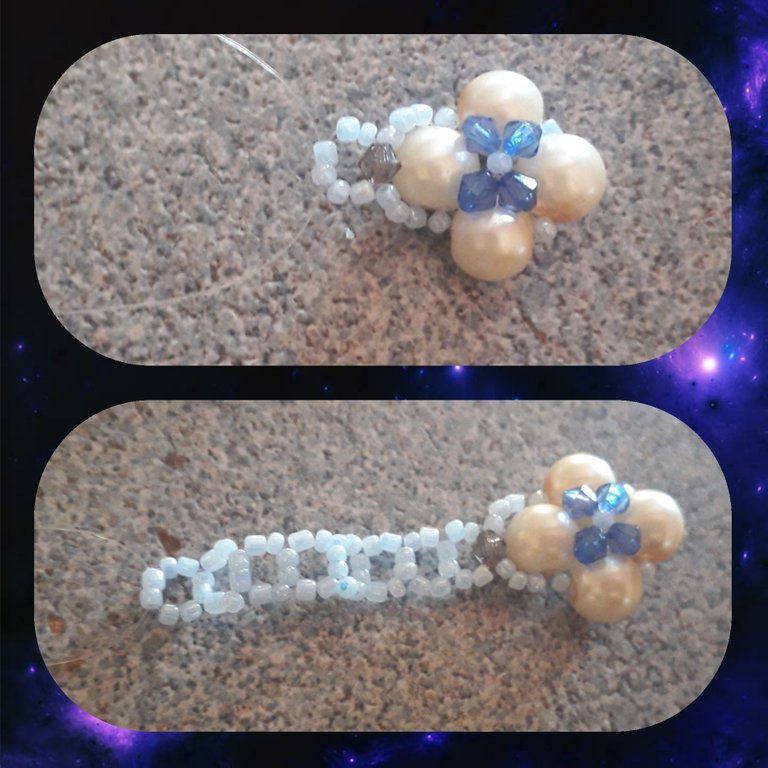
Para hacer la cadena del anillo vamos a insertar en un lado 2 mostacillas y por el otro 4, cruzamos los nylon por las últimas 2 mostacillas que acabamos de insertar. Seguimos así hasta completar el largo que se ajuste a nuestro dedo.
🔷 Paso 5
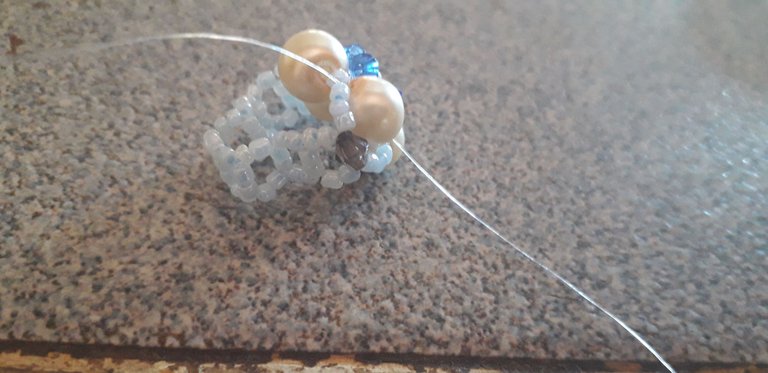
Luego vamos a insertar 2 mostacillas de cada lado y cruzamos por un nuevo cristal de color negro, añadimos 3 mostacillas de cada lado y cruzamos por la perla opuesta a donde empezamos.
🔷Paso 6
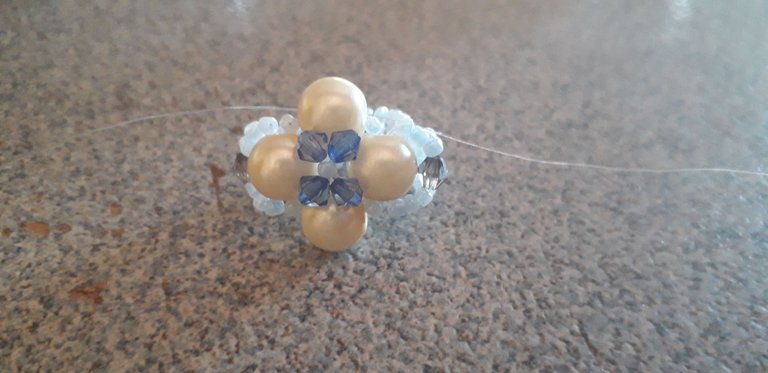
Ahora vamos a colocarnos en una de las perlas verticales para hacer la cadena del centro.
🔷 Paso 7
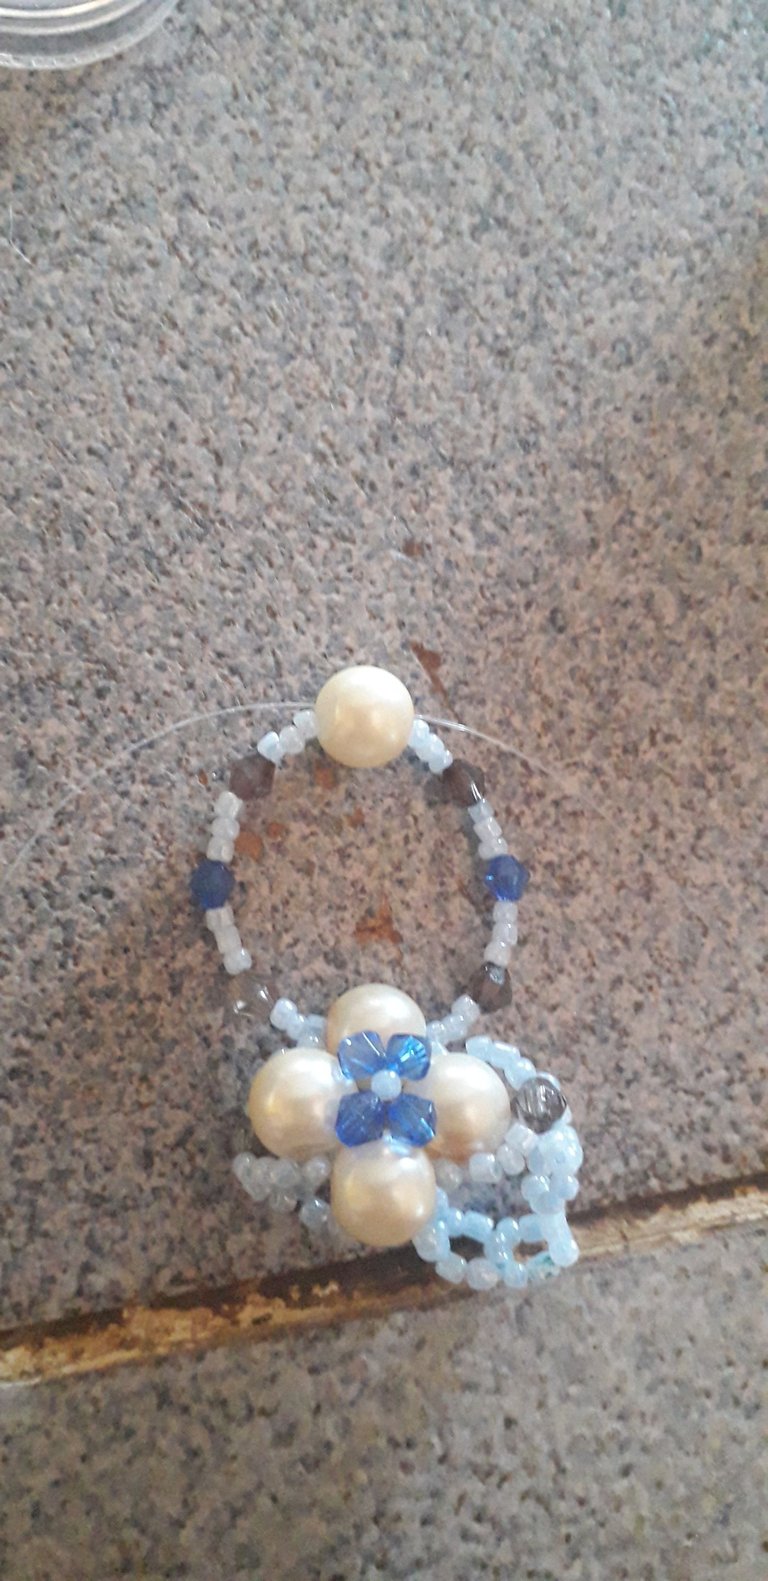
En cada nylon insertamos 3 mostacillas, 1 cristal de color negro de 3mm, 3 mostacillas, 1 cristal azul oscuro de 3mm, 3 mostacillas, 1 cristal de color negro de 3mm, 3 mostacillas más y cruzamos por una nueva perla.
🔷Paso 8
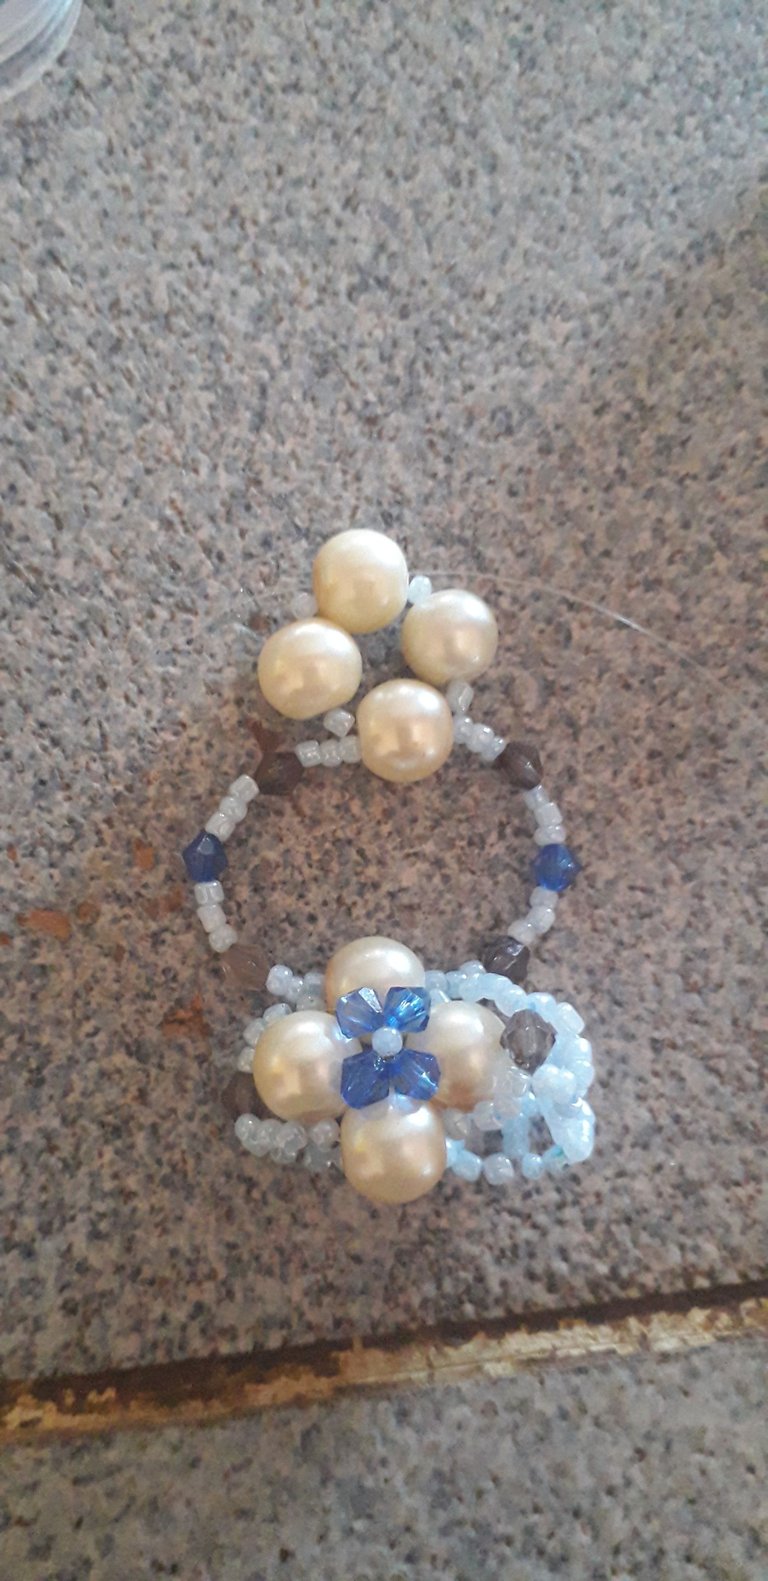
Por cada lado añadimos una mostacilla, una perla y una mostacilla para cruzar por una nueva perla.
🔷 Paso 9
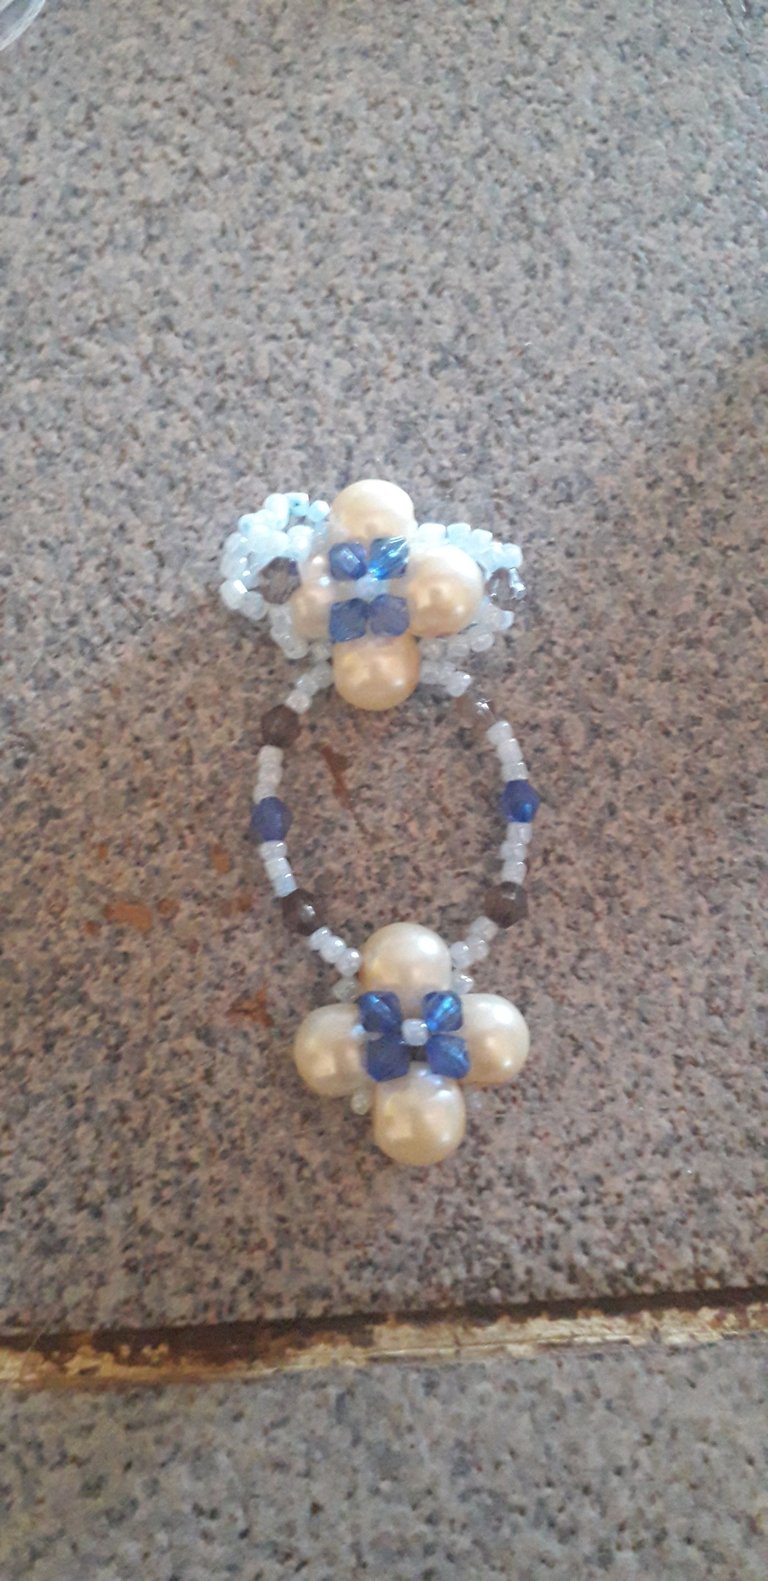
Luego repetimos el paso 2 insertando un cristal de color azul oscuro de 3mm, cruzamos por una mostacilla, agregamos un cristal azul oscuro de 3mm de cada lado y cruzamos por la perla que insertamos en el paso 7.
🔷Paso 10
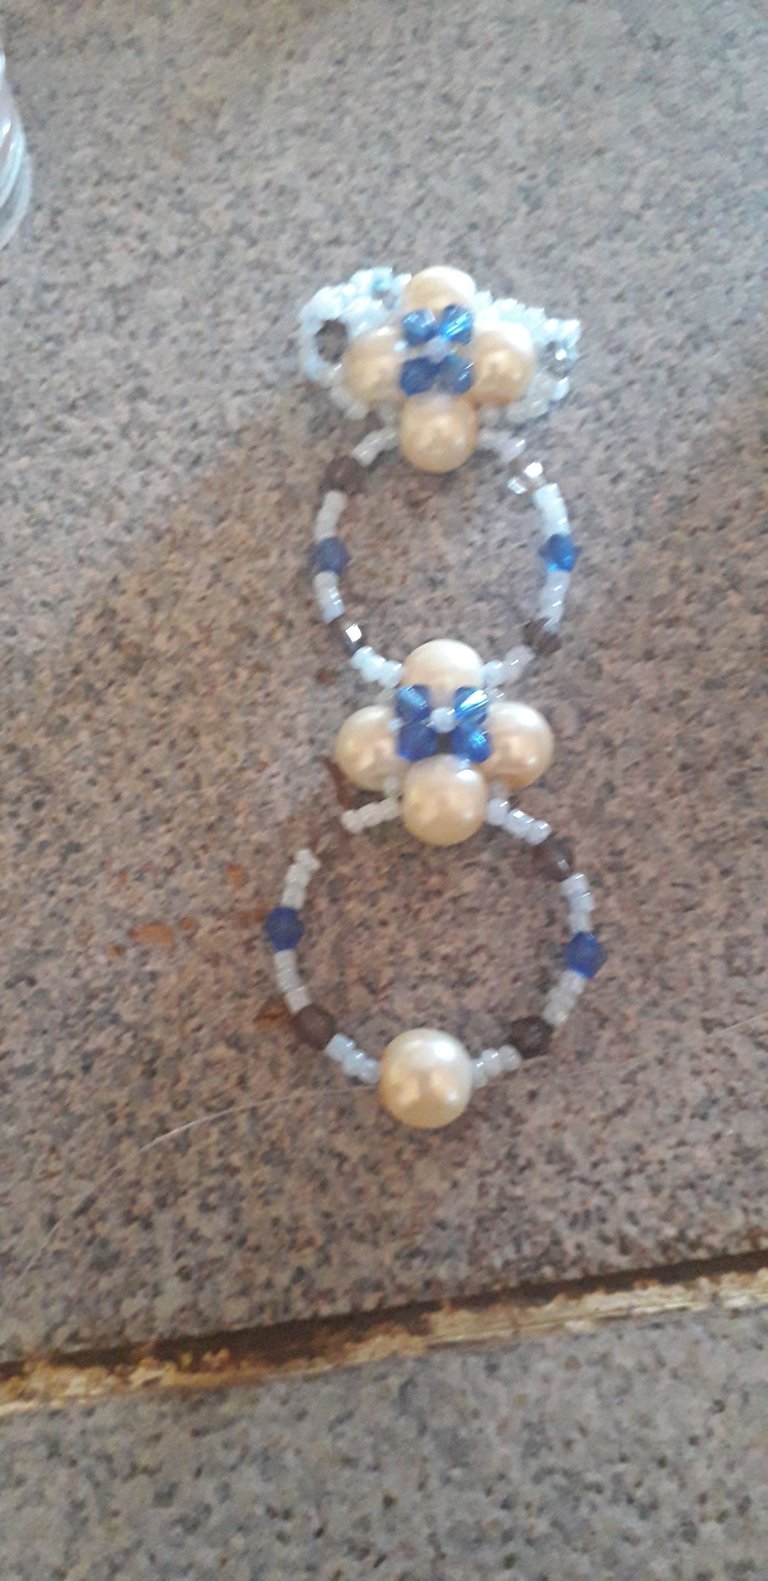
Ahora vamos a pasar por las mostacillas y perlas laterales hasta llegar al otro extremo, allí en cada lado vamos a insertar 3 mostacillas, 1 cristal de color negro de 3mmm, 3 mostacillas, 1 cristal de color azul oscuro de 3mm, 3 mostacillas más, 1 cristal de color negro de 3mm, 3 mostacillas y cruzamos por una nueva perla.
🔷 Paso 11
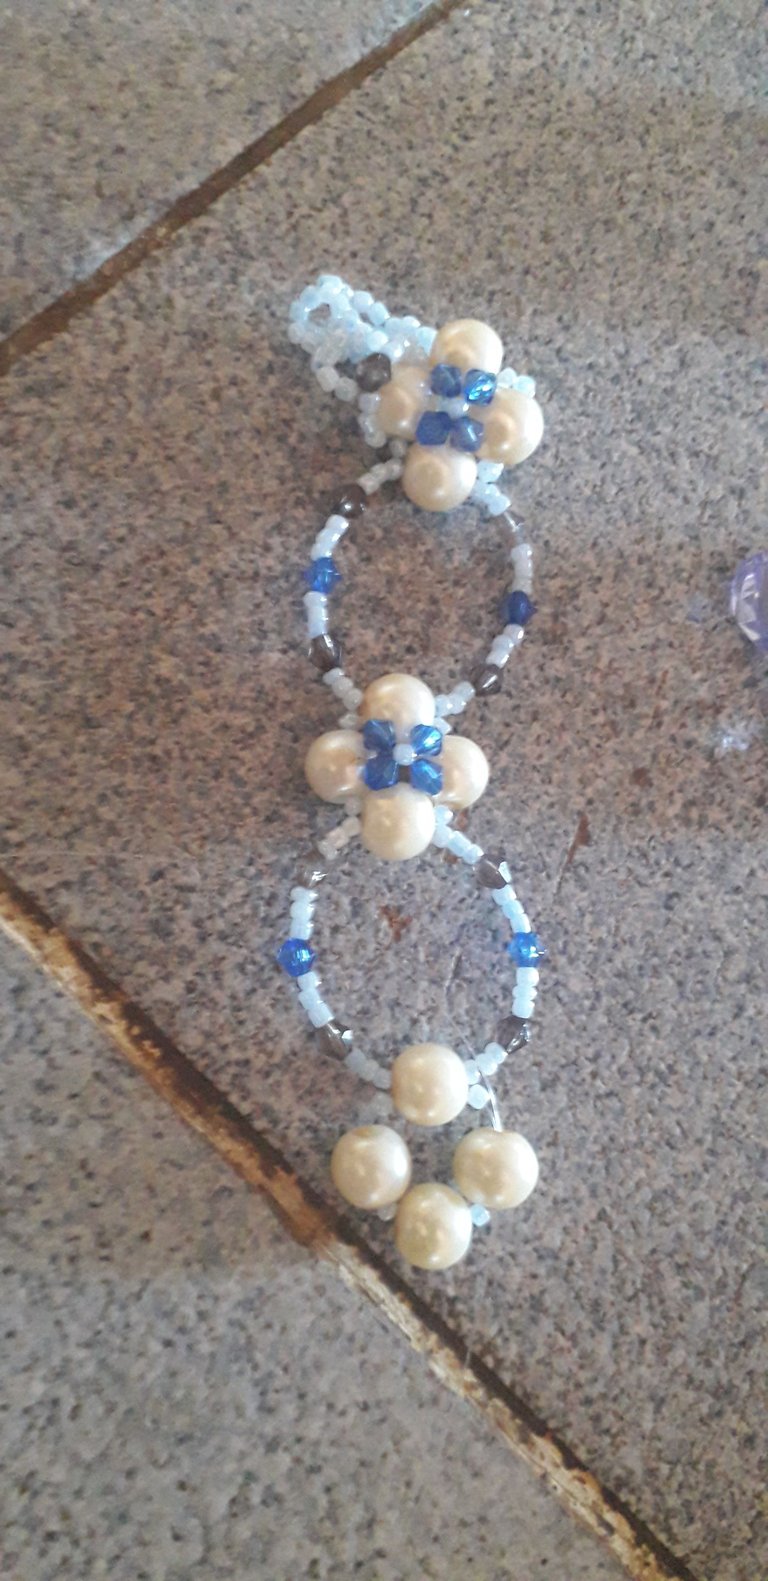
Por un nylon insertamos una mostacilla, una perla, una mostacilla, otra perla y otra mostacilla, por el otro nylon agregamos una mostacilla y cruzamos por una nueva perla.
🔷Paso 12
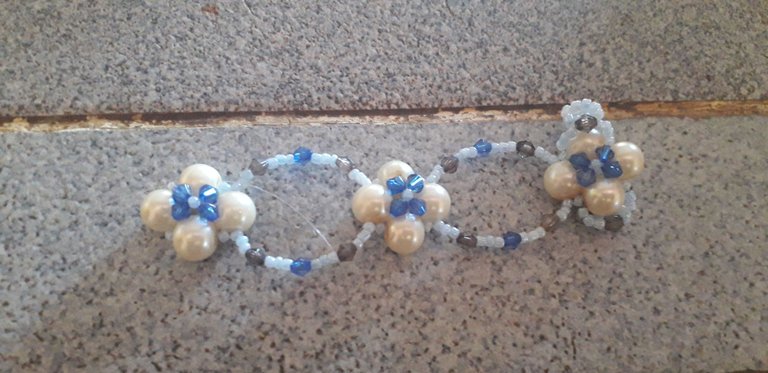
Luego añadimos un cristal azul oscuro de 3mm por cada lado y cruzamos por una mostacilla, agregamos un cristal azul oscuro de 3mm de cada lado y cruzamos en la primera perla que insertamos en el paso 11.
🔷Paso 13
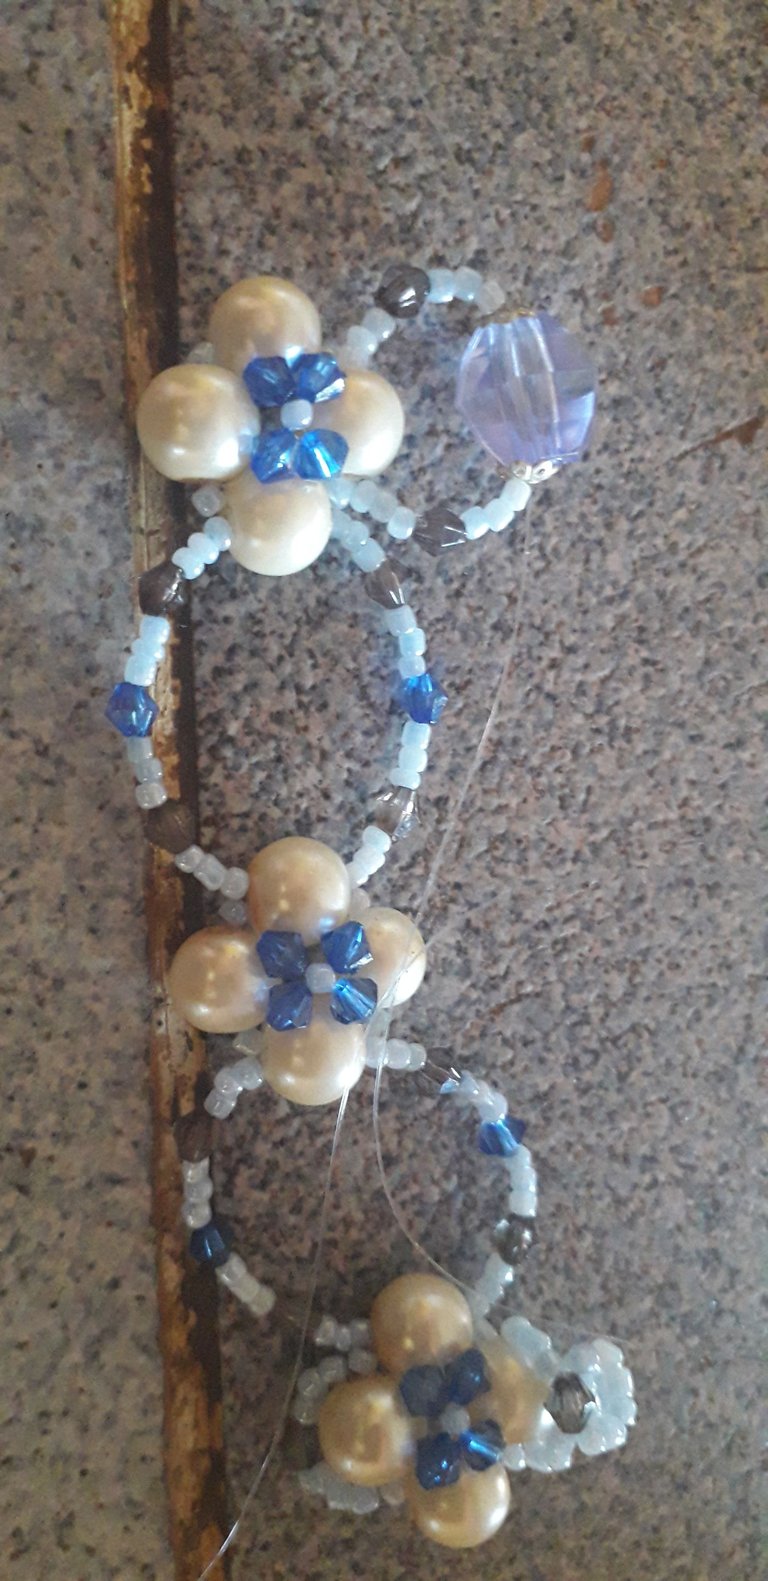
Ahora vamos a insertar de cada lado 3 mostacillas, 1 cristal de 3mm color negro, 3 mostacillas y 1 separador en forma de flor para luego cruzar con un cristal en forma de rombo grande.
🔷Paso 14
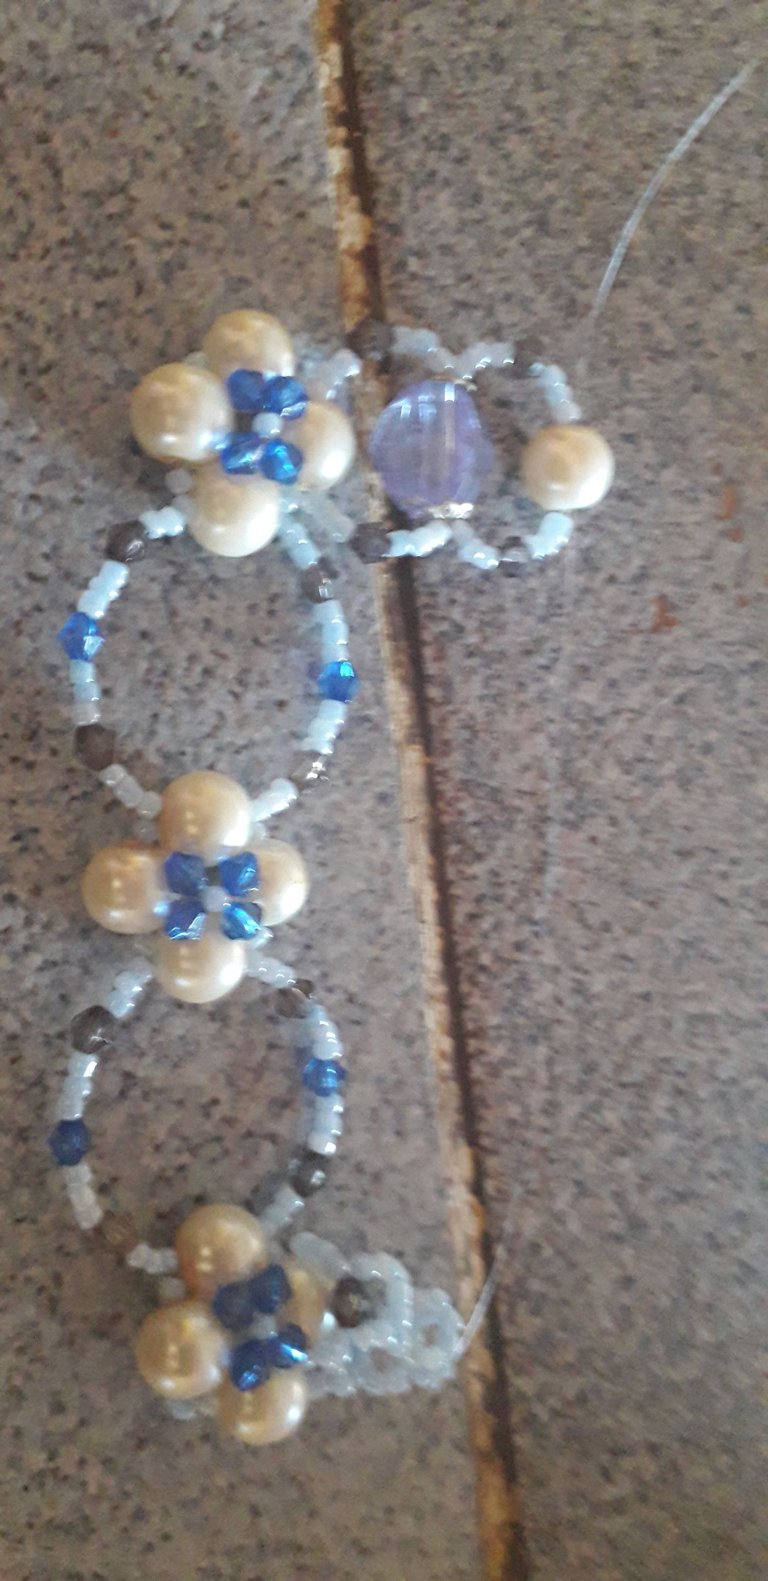
Luego vamos pasar los nylon por los separadores en forma de flor y en cada lado agregamos 3 mostacillas, 1 cristal de 3mm color negro, 3 mostacillas más y cruzamos por una nueva perla.
🔷Paso 15
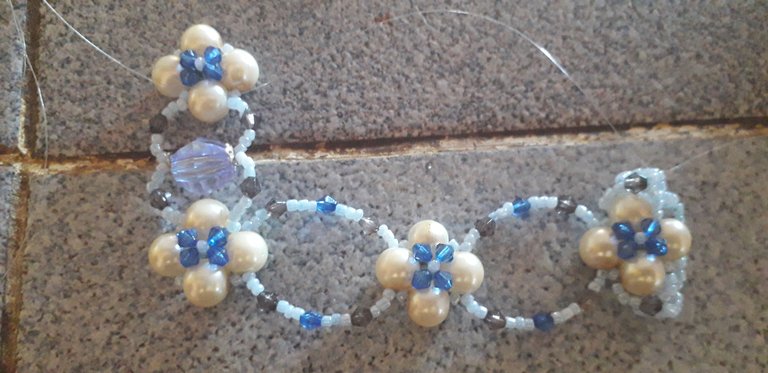
Añadimos una mostacilla, una perla y una nueva mostacilla en cada nylon para luego cruzar por una nueva perla. Insertamos un cristal de 3mm color azul oscuro, cruzamos por una mostacilla, agregamos un cristal de 3mm color azul oscuro y cruzamos por la perla del paso anterior y pasamos por las mostacillas y perlas laterales hasta quedar en la última perla.
🔷Paso 16
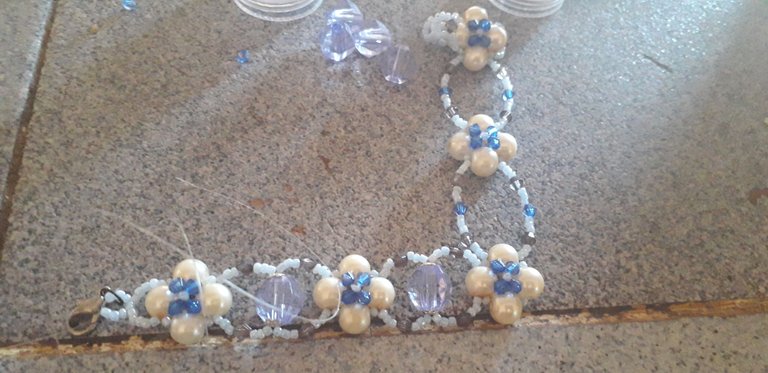
Repetimos una vez más los pasos 13, 14 y 15. Luego añadimos 5 mostacillas de cada lado y cruzamos por una nueva mostacilla, agregamos 3 mostacillas en cada lado y el broche en uno de los nylon para luego anudar.
🔷Paso 17
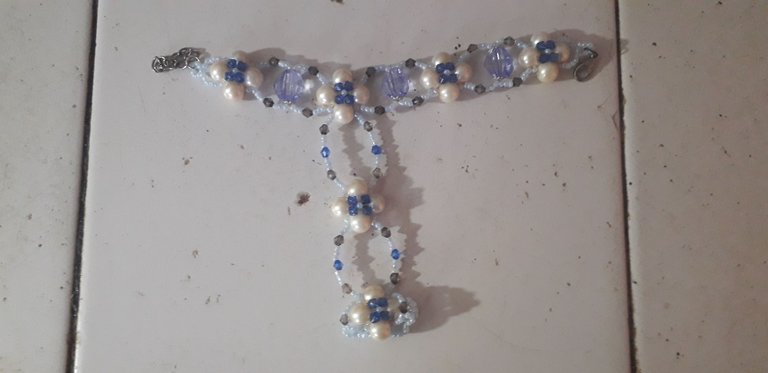
Con el nylon más largo sobrante vamos a repetir el paso anterior (16) para hacer el otro extremo de la pulsera. Y listo, tenemos lista nuestra hermosa pulsera.
Gracias por ver esta publicación
Que Dios los Bendiga 🙏
- Fotos de mi autoría y fueron tomadas con un celular Samsung Galaxy J6
- Traductor usado DeepL
- Edición de fotos a través de la app Editor de fotos Polish
- Separadores hechos con la app Editor de fotos Canva.

Good evening dear friends of Hive and this beautiful Jewelry community, I hope you are well and had a nice day. Today I want to share with you the first bracelet of this style that I have made because I hardly use them 😅 but I loved the result, it is beautiful but a little complicated to make. I hope you like it too.

⚪24 Pearls of medium size and white color.
⚪3 large diamond shaped crystals of blue color.
⚪6 flower-shaped spacers.
⚪1 thimble made of light blue mustard.
⚪28 3mm dark blue crystals.
⚪22 3mm black color crystals.
⚪ Brooch and ring
⚪2 mt. Nylon N° 0,4
🔷 Step 1.

Firstly we are going to insert a bead, a bead, another bead, another bead, another bead, another bead, another bead, one more bead and cross through a new bead.
🔷 Step 2.

Then on each side we add a 3mm dark blue crystal and cross through a bead, add a dark blue crystal on each nylon and cross through the bead opposite.
🔷 Step 3.

Now we are going to insert 3 beads on each side and cross through a 3mm black colored crystal.
🔷 Step 4

To make the chain of the ring we are going to insert on one side 2 beads and on the other 4, we cross the nylons by the last 2 beads that we just inserted. We continue in this way until we complete the length that fits our finger.
🔷 Step 5

Then we are going to insert 2 beads on each side and cross through a new black colored crystal, add 3 beads on each side and cross through the pearl opposite to where we started.
🔷Step 6.

Now we are going to stand on one of the vertical beads to make the center chain.
🔷 Step 7.

On each nylon we insert 3 beads, 1 3mm black colored crystal, 3 beads, 1 3mm dark blue crystal, 3 beads, 1 3mm black colored crystal, 3 more beads and cross through a new bead.
🔷Step 8.

On each side we add a bead, a bead and a bead to cross through a new bead.
🔷 Step 9.

Then we repeat step 2 by inserting a 3mm dark blue crystal, cross through a bead, add a 3mm dark blue crystal on each side and cross through the pearl we inserted in step 7.
🔷Step 10.

Now we will go through the side beads and beads until we reach the other end, there on each side we will insert 3 beads, 1 3mmm black color crystal, 3 beads, 1 3mm dark blue color crystal, 3 more beads, 1 3mm black color crystal, 3 beads and cross through a new bead.
🔷 Step 11.

Through one nylon we insert a bead, a bead, a bead, a bead, another bead and another bead, through the other nylon we add a bead and cross through a new bead.
🔷Step 12.

Then we add a 3mm dark blue crystal on each side and cross through a bead, add a 3mm dark blue crystal on each side and cross on the first bead we inserted in step 11.
🔷Step 13.

Now we are going to insert on each side 3 beads, 1 crystal of 3mm black color, 3 beads and 1 spacer in the shape of a flower and then cross with a crystal in the shape of a large diamond.
🔷Step 14.

Then we are going to pass the nylons through the flower-shaped separators and on each side we add 3 beads, 1 crystal of 3mm black color, 3 more beads and we cross with a new pearl.
🔷Step 15

We add a bead, a bead and a new bead on each nylon and then cross through a new bead. We insert a 3mm dark blue crystal, cross through a bead, add a 3mm dark blue crystal and cross through the bead from the previous step and pass through the side beads and beads until we are at the last bead.
🔷Step 16

We repeat once again steps 13, 14 and 15. Then we add 5 beads on each side and cross through a new bead, add 3 beads on each side and the clasp on one of the nylon and then knot.
🔷Step 17

With the longest nylon left over we will repeat the previous step (16) to make the other end of the bracelet. And ready, we have our beautiful bracelet ready.
Thank you for watching this publication
God Bless 🙏
- Photos of my authorship and were taken with a Samsung Galaxy J6 cell phone.
- Translator used DeepL
- Photo editing through the Polish Photo Editor app.
- Separators made with the Canva Photo Editor app.
Amiga tu siempre haces cosas bellas pero creo que esta ves...esta vez te luciste amiga mía porque te quedó espectacular 👌
Gracias 🤗
Que bonito te ha quedado mi andre! felicidades.
Gracias amiga 🤗
Te quedo muy lindo, es un estilo de accesorio muy llamativo. Gracias por mostrarnos tu proceso creativo. Éxitos @andreamtovar19 ✨
This is very beautiful
The rewards earned on this comment will go directly to the people( @nishani9 ) sharing the post on Twitter as long as they are registered with @poshtoken. Sign up at https://hiveposh.com.