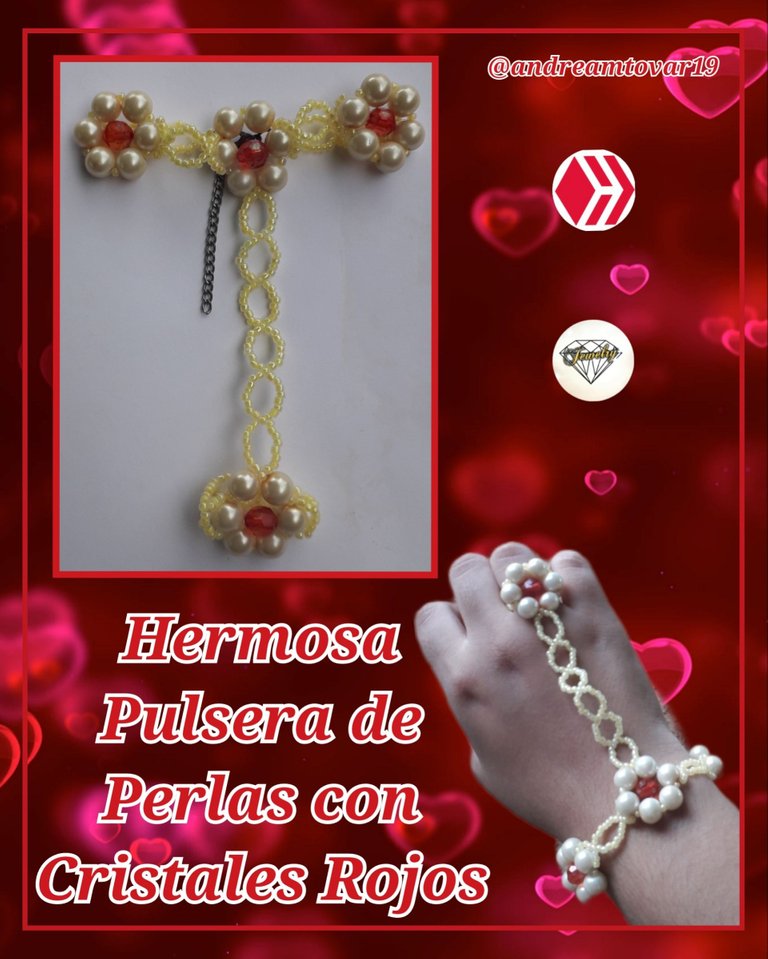

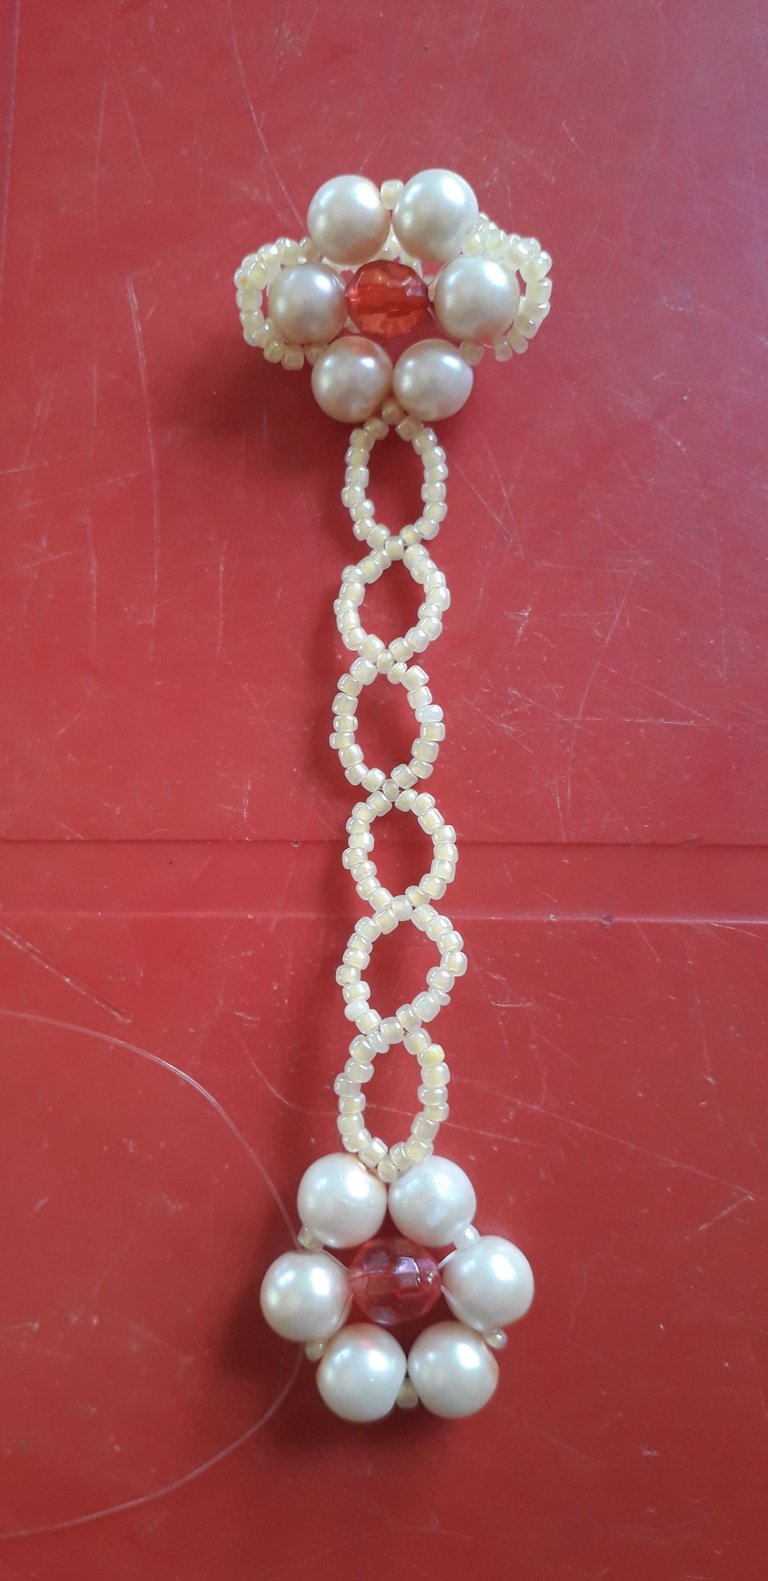
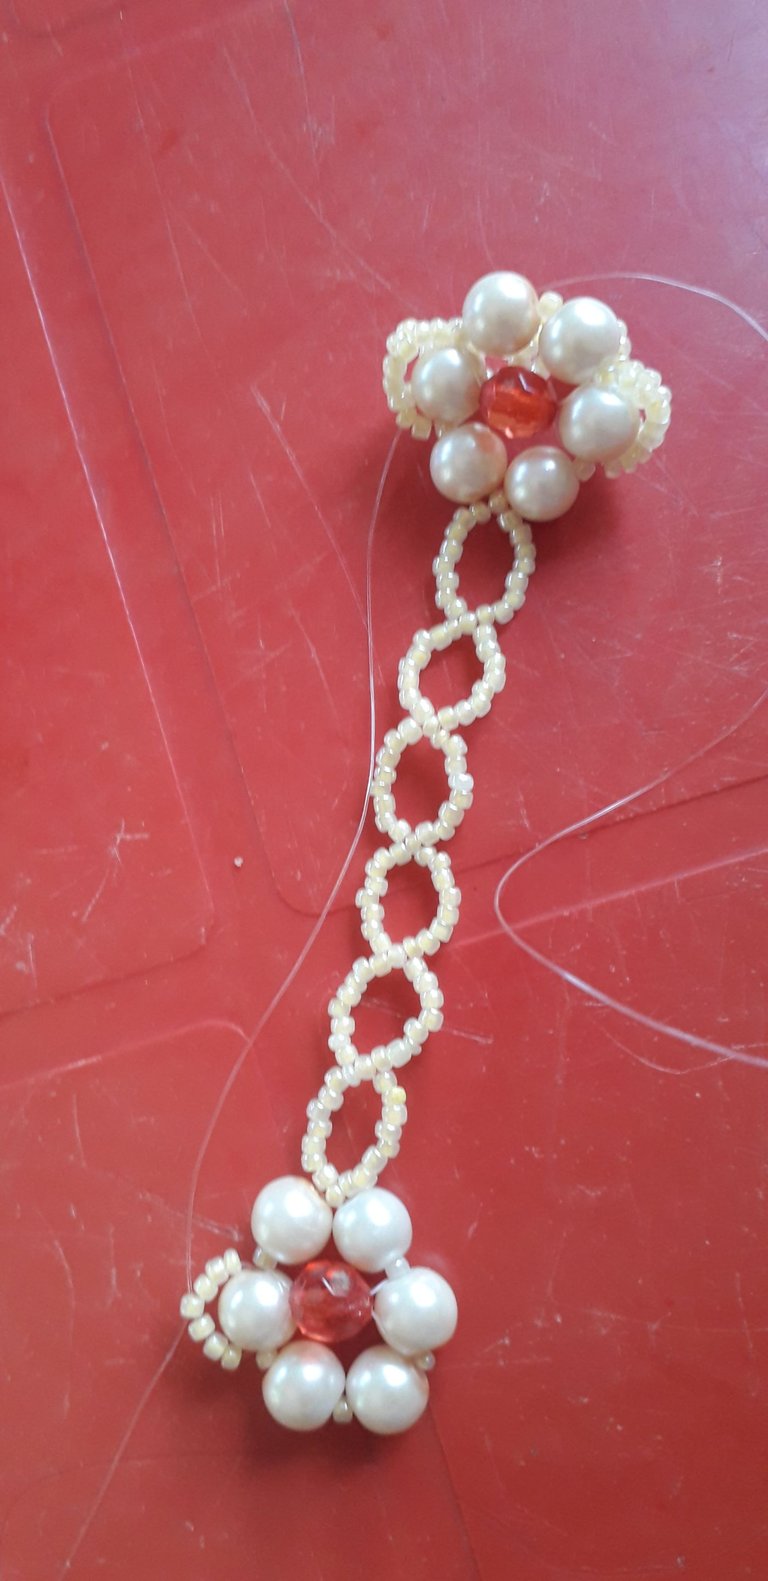
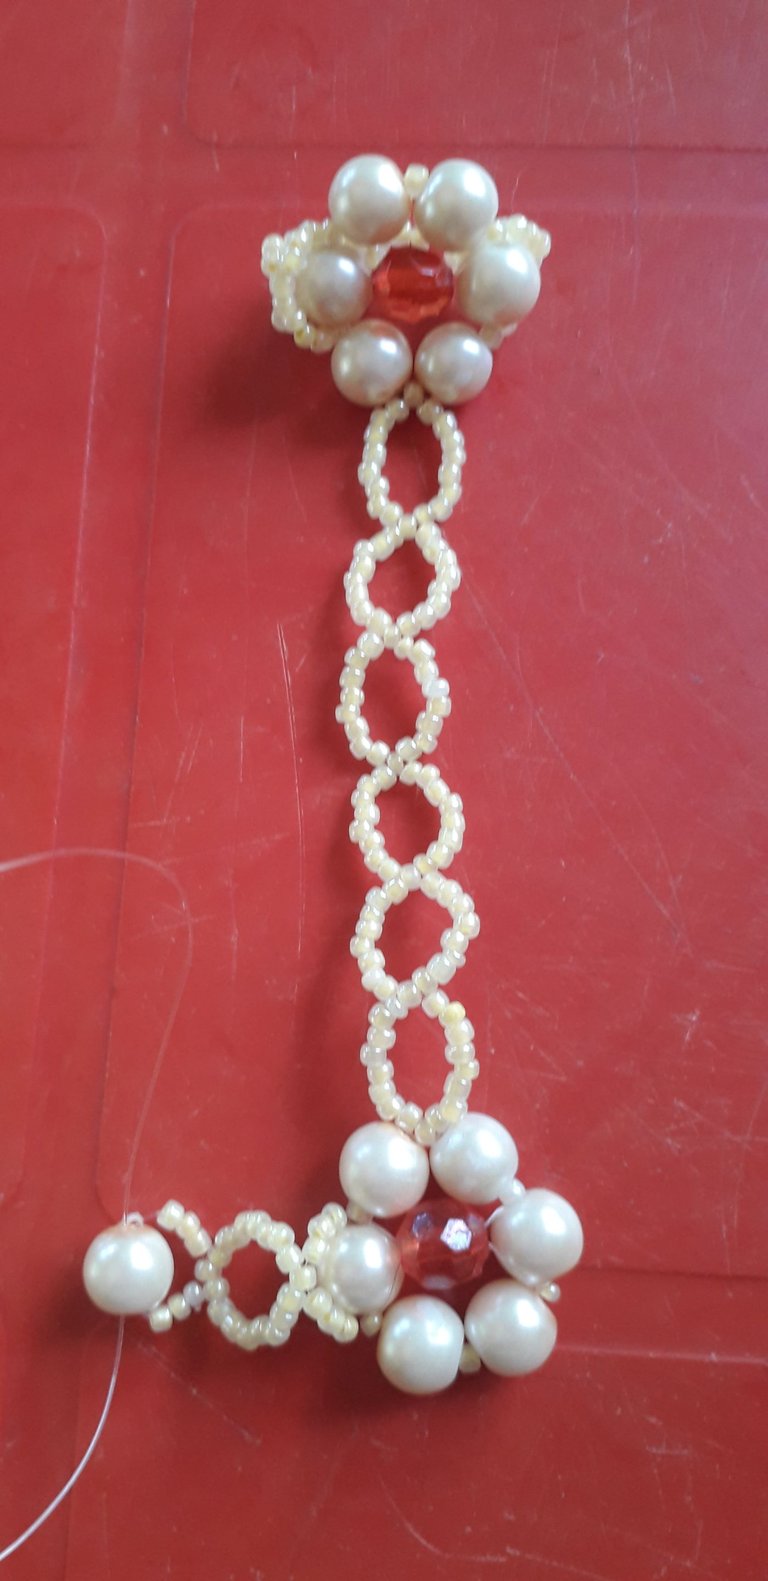
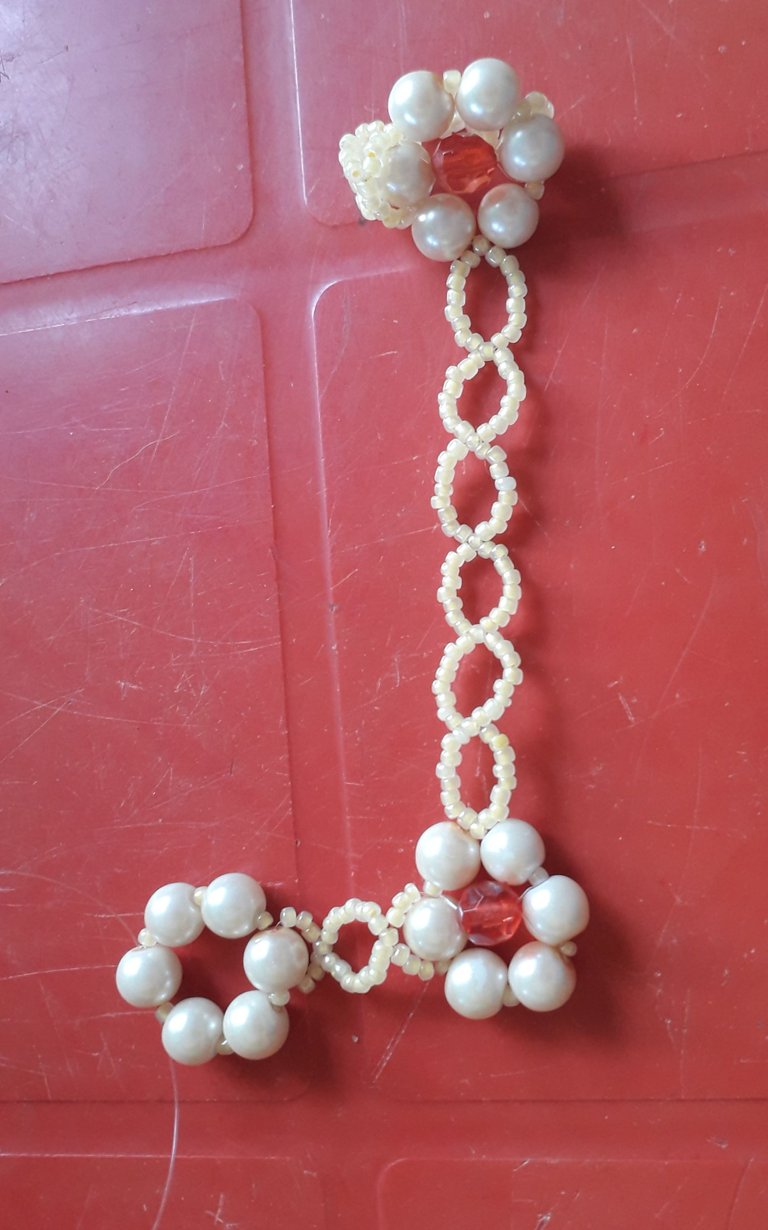
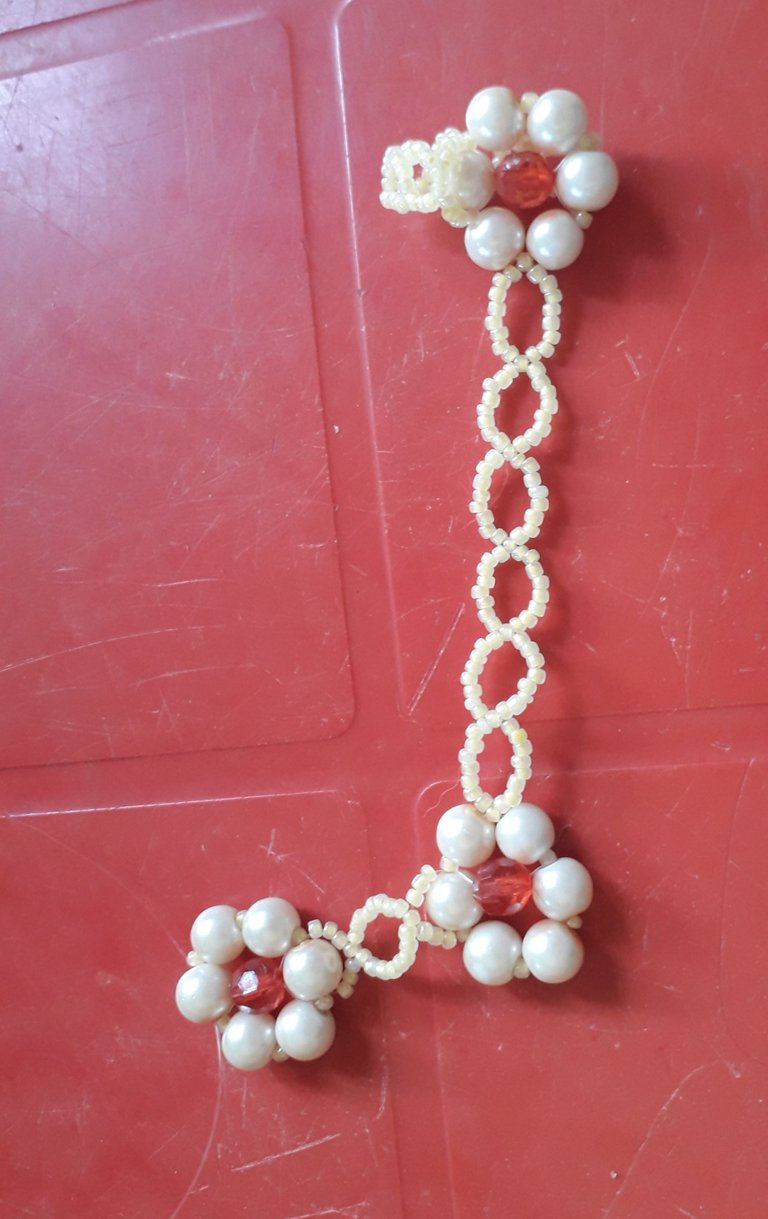
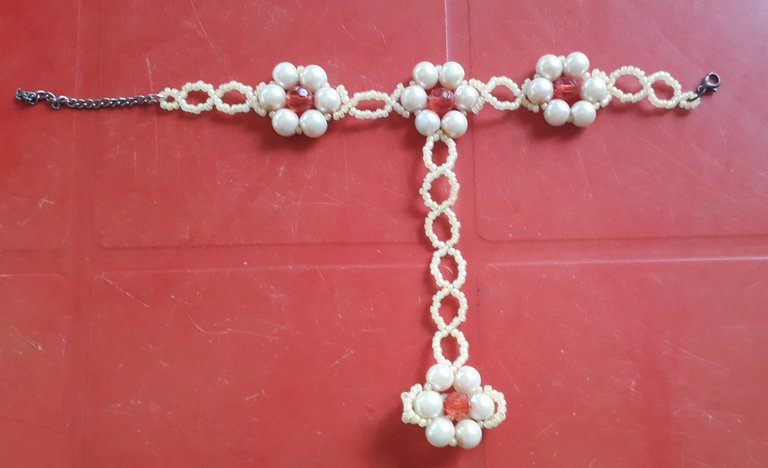
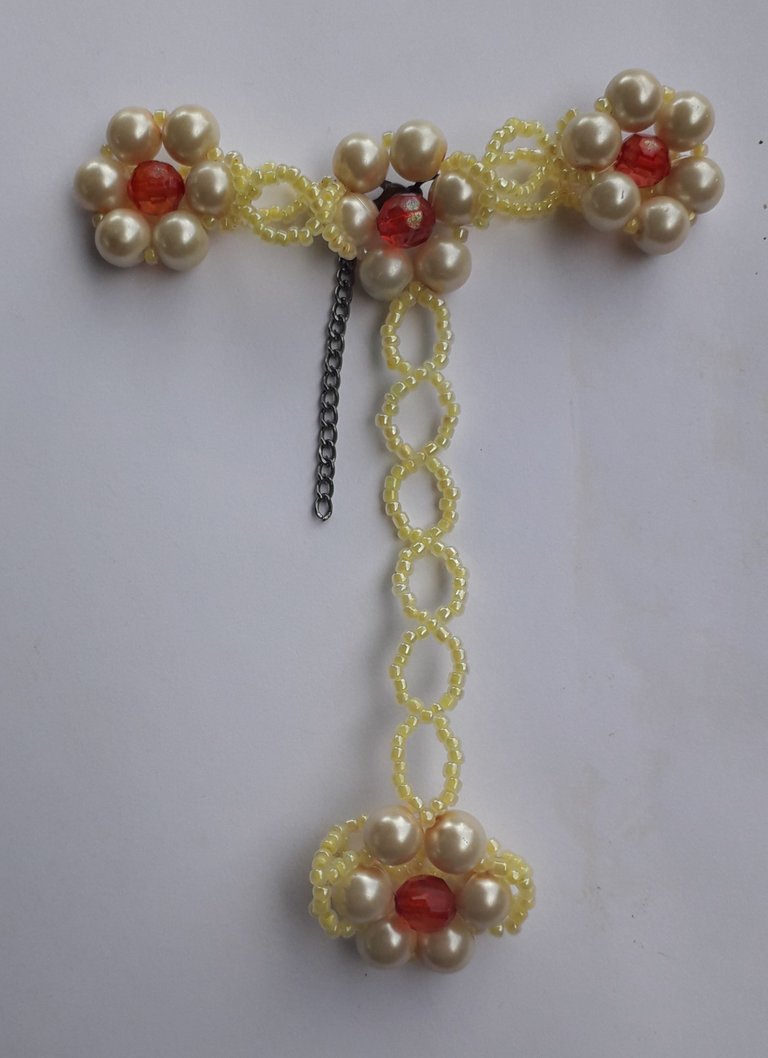
Hola queridos amigos de Hive y de esta hermosa comunidad de Jewelry, espero que estén bien y que hayan tenido un excelente y provechoso día. En esta preciosa noche les quiero compartir una hermosa pulsera con anillo donde las piezas principales son las perlas y sobretodo los cristales redondos de color rojo que se encuentran rodeados de perlas y para completar el conjunto de materiales solo usé unas mostacillas del mismo color de las perlas para que el color solo lo dieran los cristales. Esta combinación me gustó muchísimo ya que me encantan las perlas y para darles un toque de color el rojo me encantó, me pareció la combinación perfecta entre los materiales que tenía entre mis materiales de bisutería, espero les guste como a mí. La pulsera es muy sencilla de hacer pero necesita tiempo y dedicación porque el procedimiento se hace un poco largo, yo casi me tardo una hora en terminarla.
Materiales:
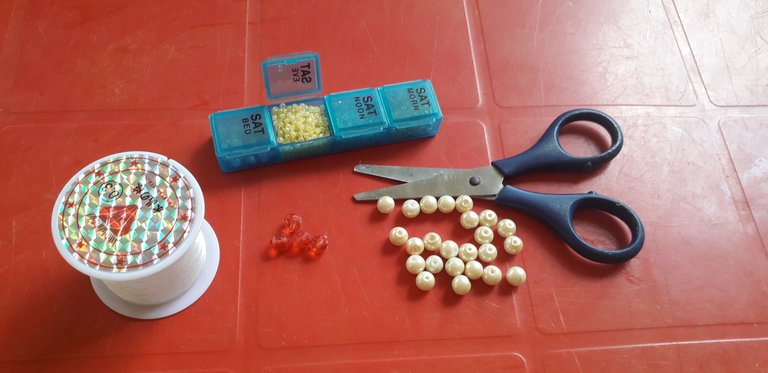
❤️24 Perlas de color blanco y tamaño mediano
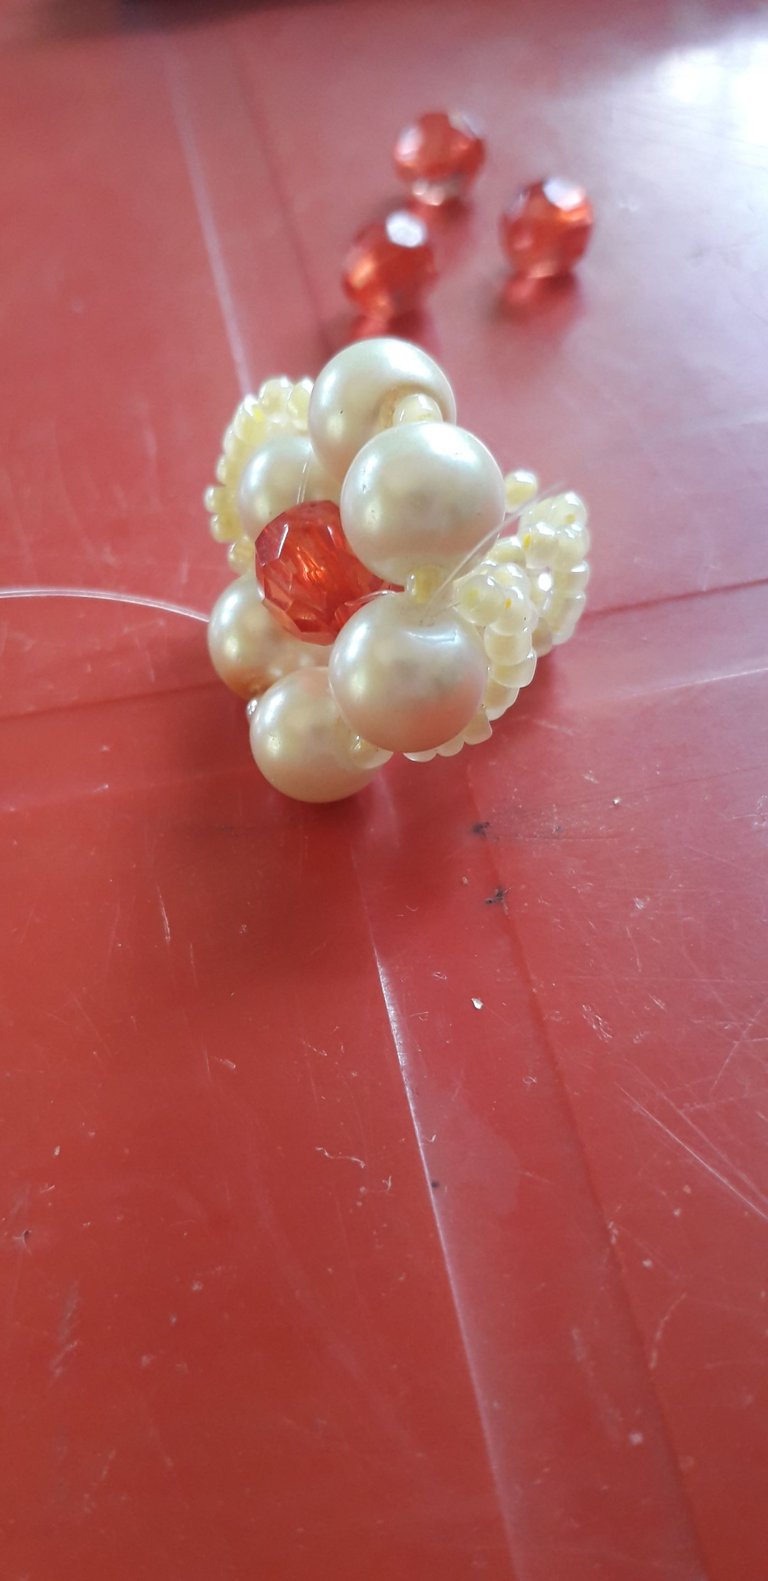
❤️4 Cristales redondos de color rojo y tamaño mediano
❤️ Mostacilla de color blanco perlado
❤️2,5mt de nylon 0,3
❤️ Broche y Argolla
Procedimiento
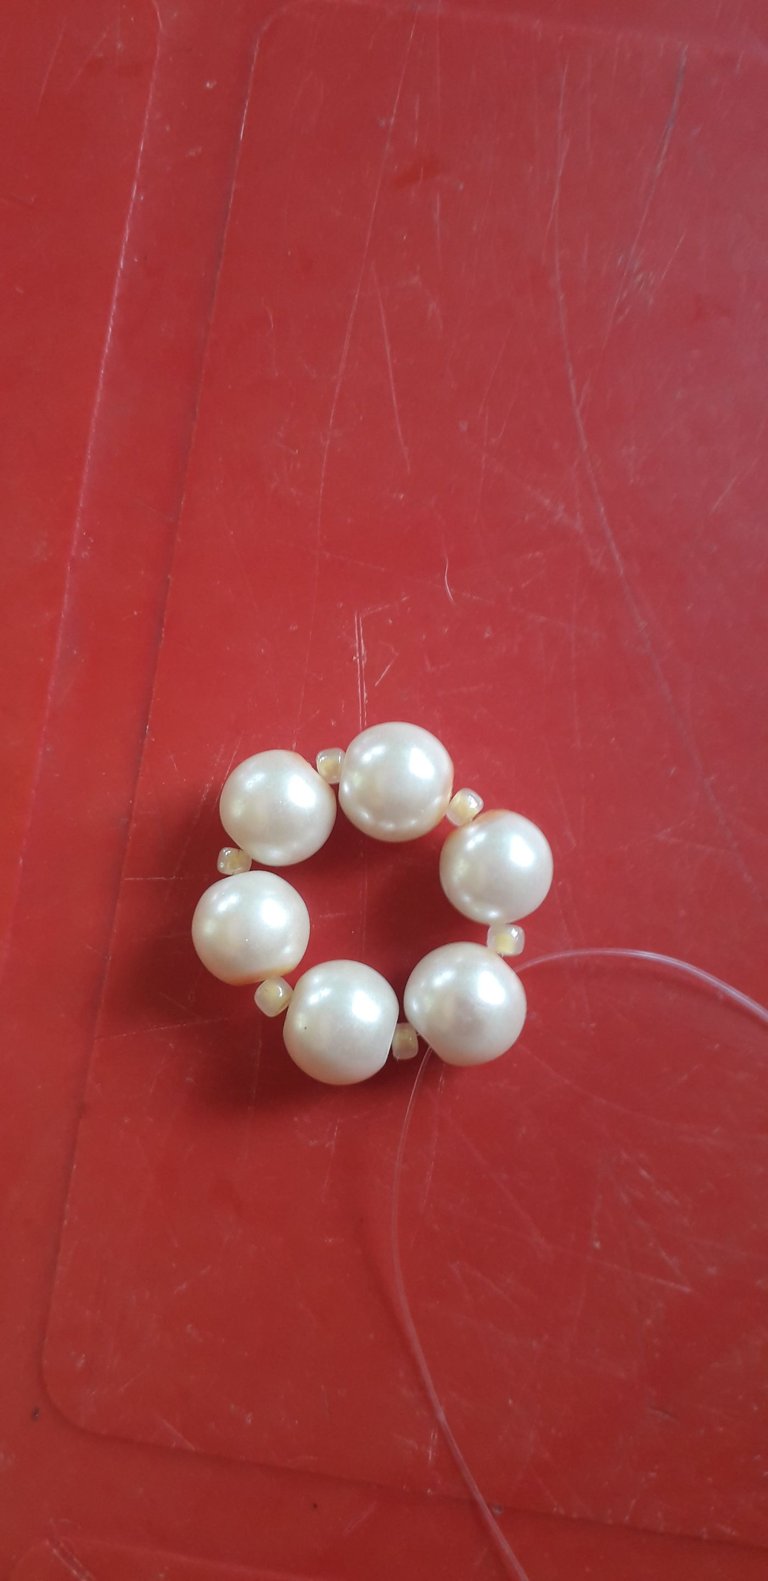
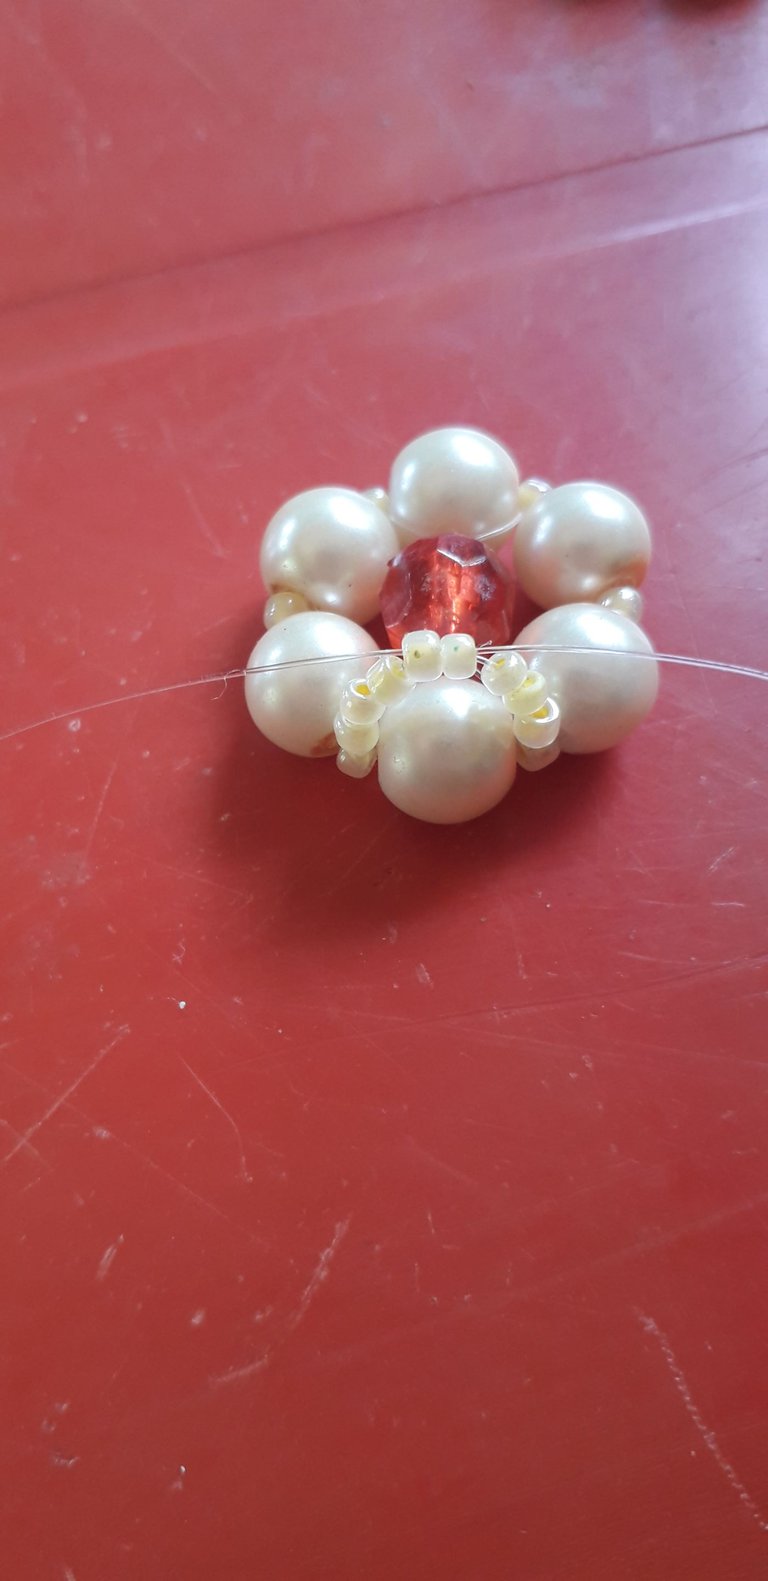
Primeramente vamos a cortar 1,5mt de nylon y en el vamos a insertar una mostacilla de color blanco perlado, una perla de color blanco, mostacilla perlada, perla blanca, mostacilla perlada, perla blanca, mostacilla perlada, perla blanca, mostacilla perlada y cruzamos por una nueva perla de color blanco.
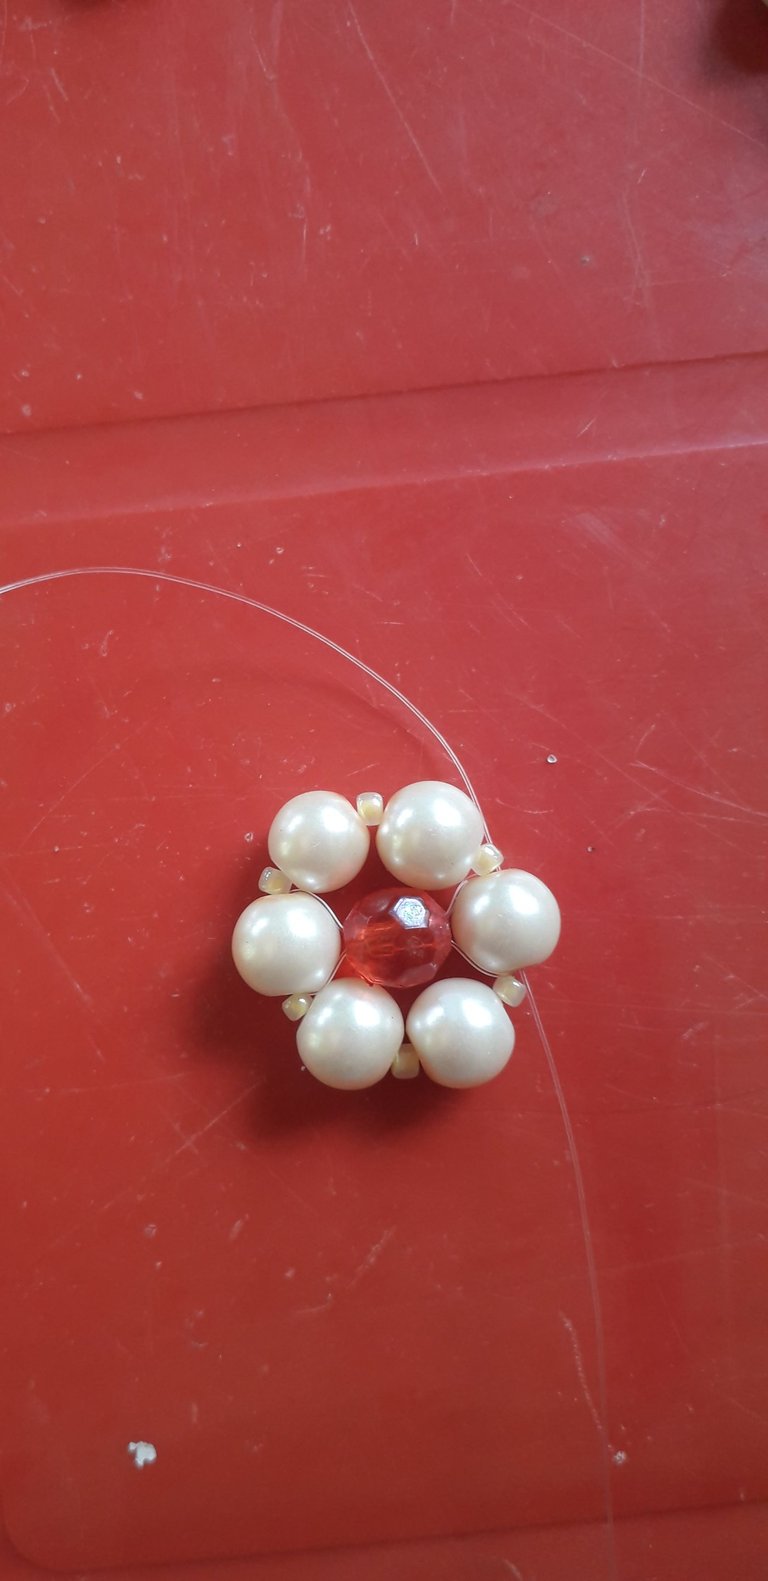
Luego juntamos los nylon e introducimos en ellos un cristal redondo de color rojo y tamaño mediano para cruzar ambos nylon por la perla opuesta a donde estamos.
Añadimos en cada nylon 3 mostacillas perladas y cruzamos por dos mostacillas perladas
Repetimos el paso anterior 7 veces más.
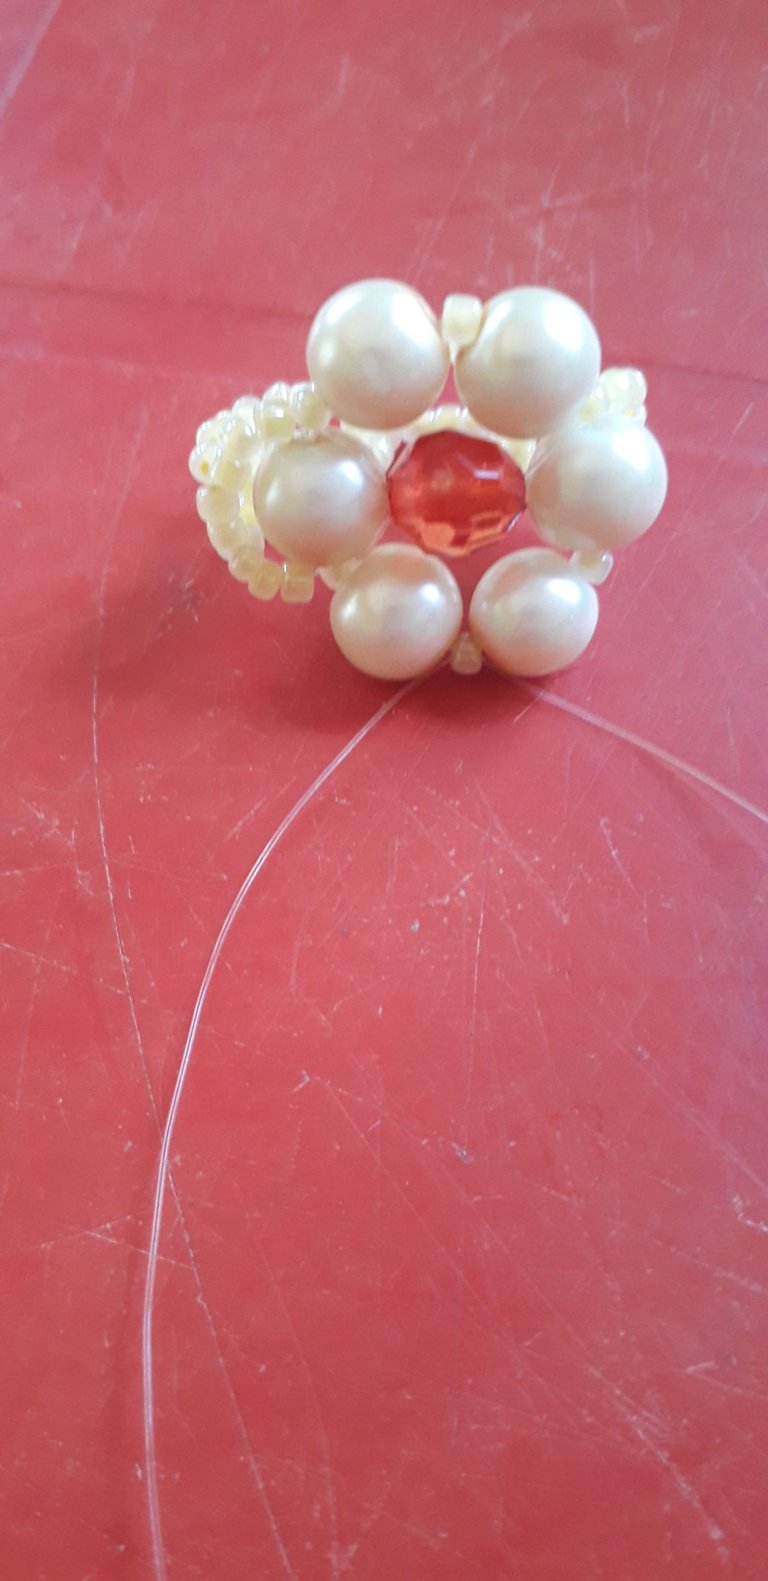
Introducimos 3 mostacillas más en cada lado y cruzamos por la perla opuesta a donde empezamos en el paso 3.
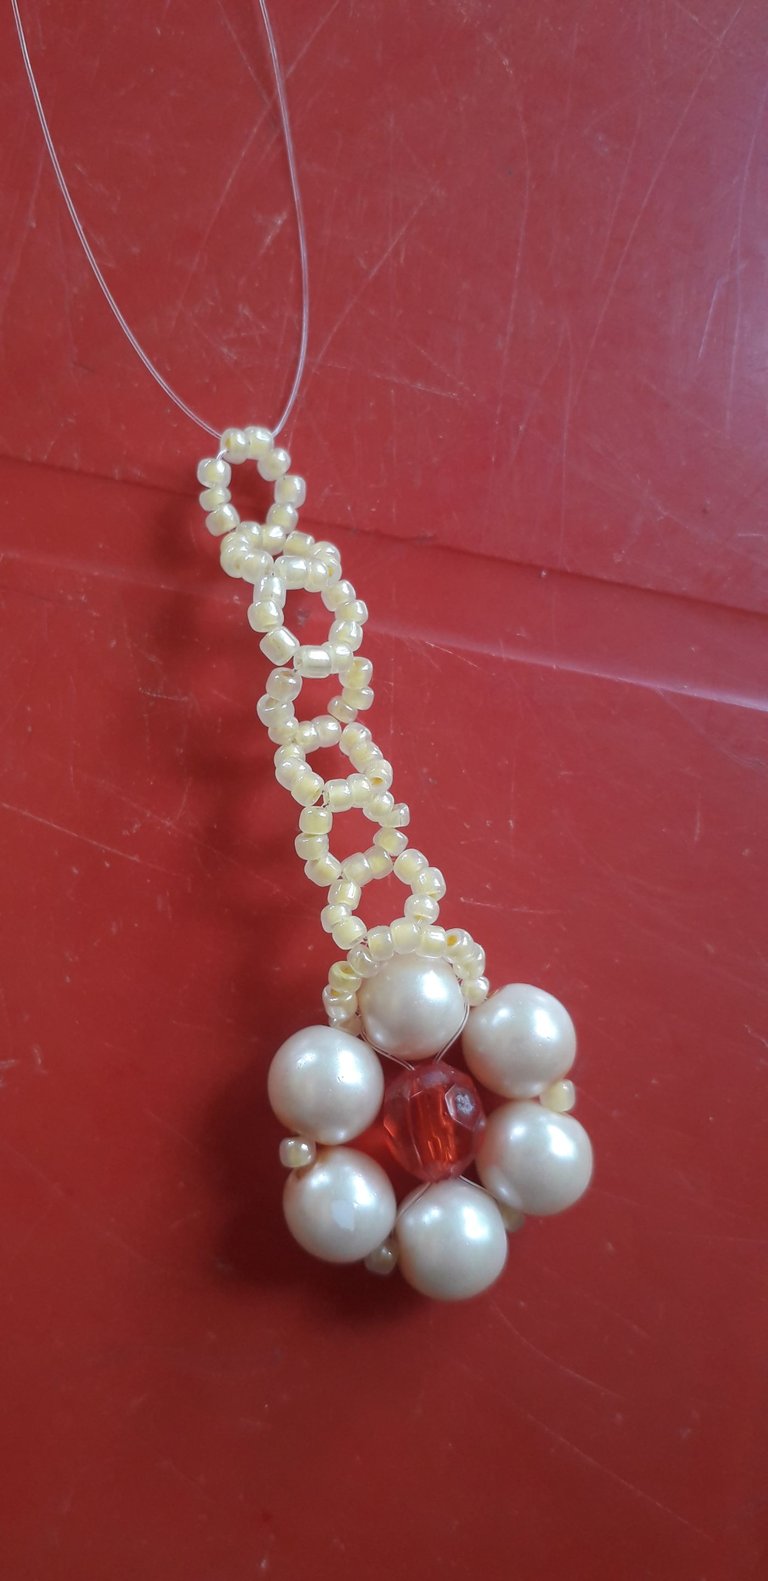
Ahora nos ubicamos en una mostacilla central del lado superior del anillo.
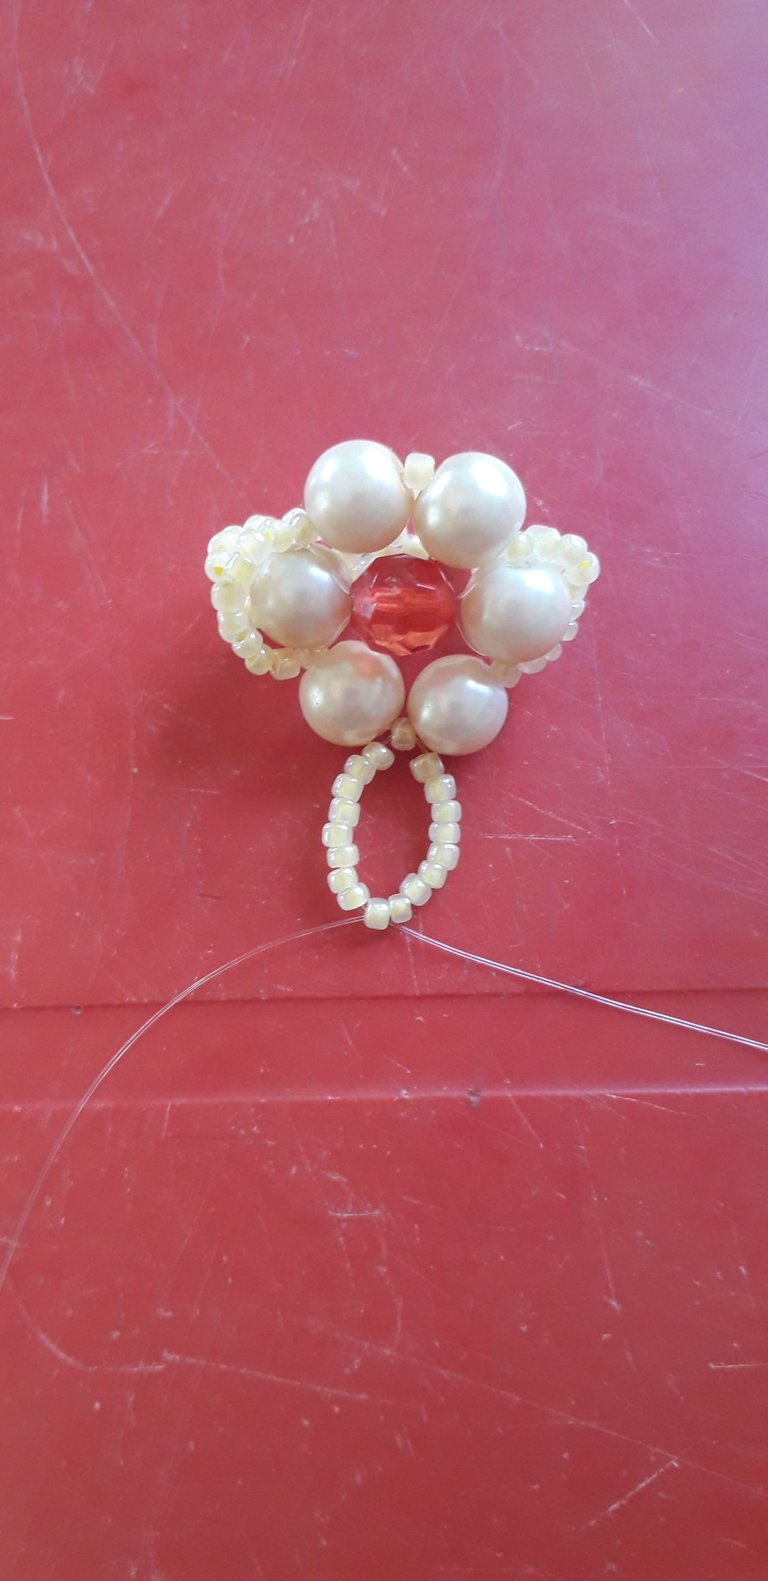
Añadimos 8 mostacillas de cada lado y cruzamos por una nueva mostacilla.
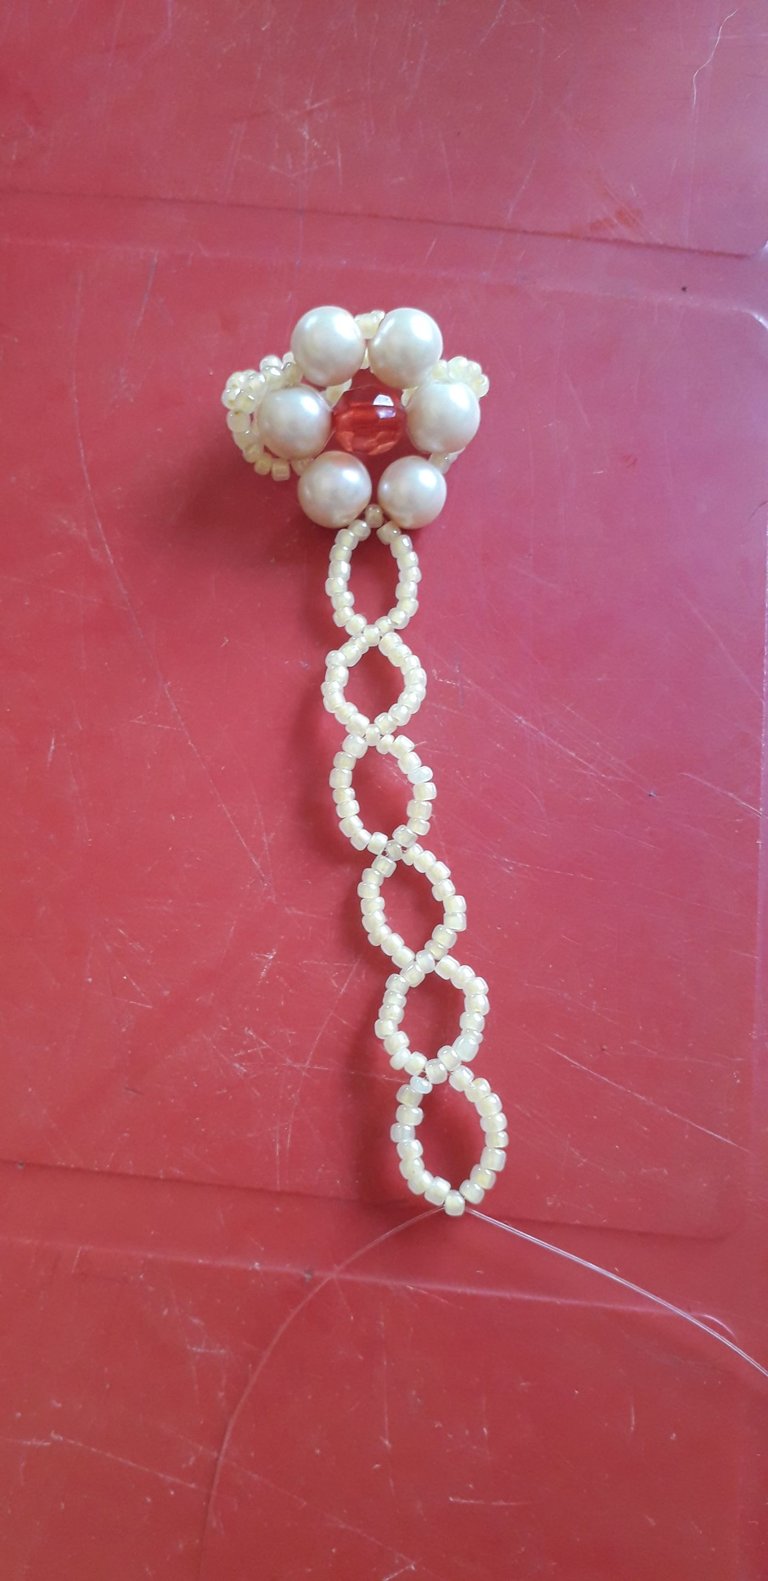
Repetimos el paso anterior 5 veces más.
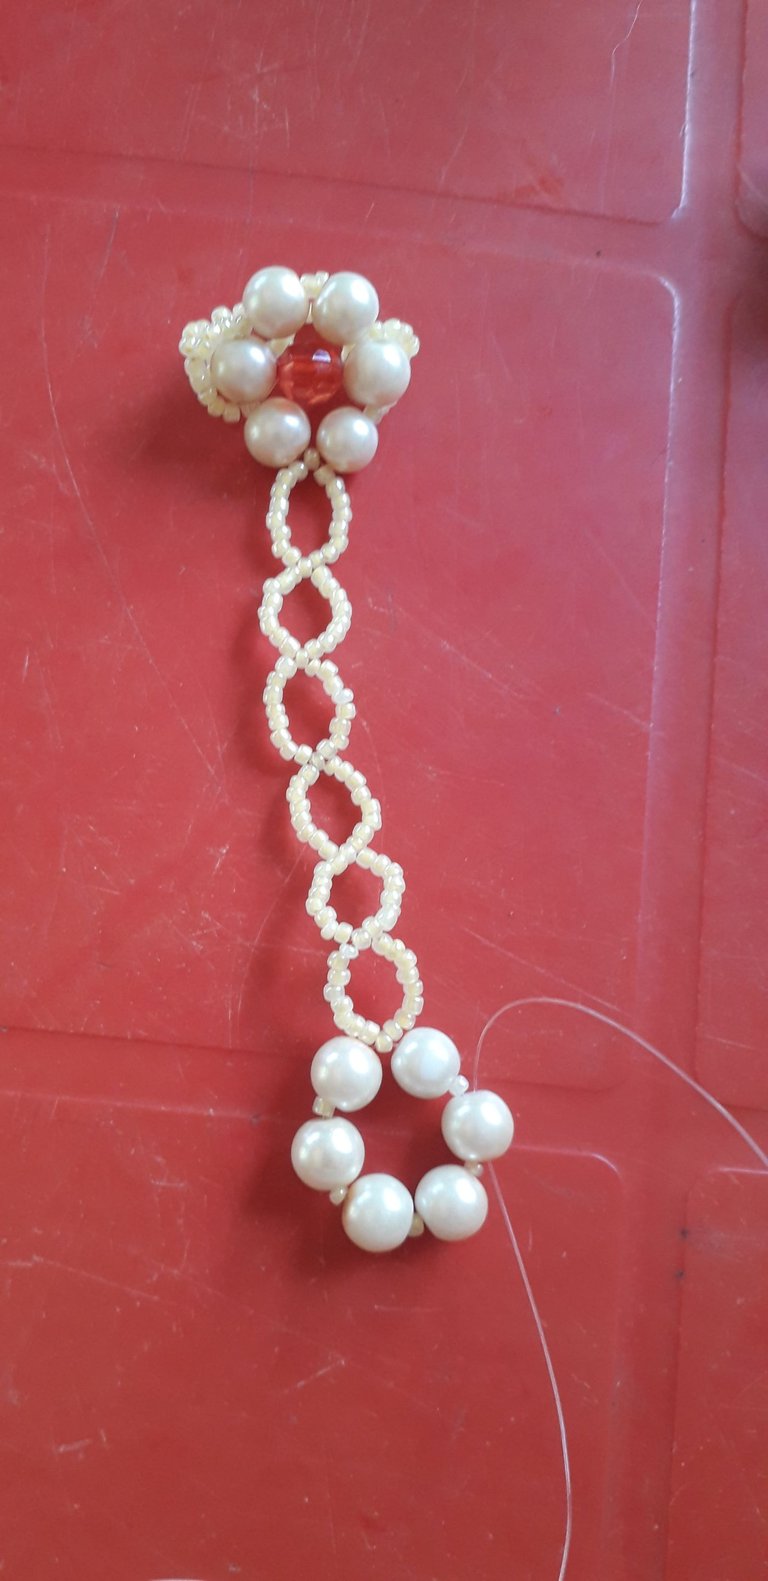
Añadimos en uno de los nylon una perla, mostacilla, perla, mostacilla, perla, mostacilla, perla, mostacilla y por el otro nylon agregamos una perla, una mostacilla y cruzamos los nylon con una nueva perla de color blanco.
Juntamos los nylon y añadimos por ambos un cristal redondo de color rojo para luego cruzar los nylon en la perla opuesta a donde empezamos.
Agregamos 3 mostacillas en cada nylon y cruzamos por una nueva mostacilla.
Añadimos 8 mostacillas de cada lado y cruzamos por una nueva mostacilla. Luego insertamos 3 mostacillas de cada lado y cruzamos por una nueva perla de color blanco.
Insertamos en cada nylon una mostacilla, perla, mostacilla, perla, mostacilla y cruzamos por una nueva perla.
Juntamos los nylon e introducimos un cristal redondo de color rojo para luego cruzar los nylon por la perla opuesta a donde nos encontramos, luego volvemos a pasar las mostacillas y perlas de los lados hasta ubicarnos nuevamente en el extremo de la pulsera.
Añadimos 3 mostacillas de cada lado y cruzamos por una nueva mostacilla, luego agregamos 8 mostacillas más en cada lado y cruzamos por una nueva perla, volvemos a insertar 8 mostacillas de cada lado y cruzamos por una nueva mostacilla, por último introducimos en cada nylon 3 mostacillas y en uno de los nylon agregamos la argolla para proceder a anudar ese lado. El metro de nylon sobrante lo introducimos en la perla opuesta donde terminamos el paso 10 y repetimos los pasos desde el 11 hasta el 15 con la diferencia de colocar el broche en vez de la argolla. Y listo, terminamos.
Que Dios los Bendiga 🙏
- Fotos de mi autoría y fueron tomadas con un celular Samsung Galaxy J6
- Traductor usado: DeepL
- Edición de fotos a través de la app Editor de fotos Polish
- Separadores hechos con la app Editor de fotos Canva.

Hello dear friends of Hive and this beautiful Jewelry community, I hope you are well and that you had an excellent and profitable day. On this beautiful night I want to share with you a beautiful bracelet with ring where the main pieces are the pearls and above all the round red crystals that are surrounded by pearls and to complete the set of materials I only used some beads of the same color of the pearls so that the color was only given by the crystals. I really liked this combination because I love pearls and to give them a touch of color I loved the red, I thought it was the perfect combination between the materials I had among my costume jewelry materials, I hope you like it as I do. The bracelet is very simple to make but it needs time and dedication because the procedure is a little long, I almost took me an hour to finish it.
Materials:
❤️24 Medium size white beads
❤️4 Medium-sized round red crystals
❤️ White pearl beads
❤️2,5mt of nylon 0,3
❤️ Brooch and Ring
First we are going to cut 1,5mt of nylon and in it we are going to insert a white pearlized bead, a white pearl, pearlized bead, white pearl, pearlized bead, white pearl, pearlized bead, pearlized bead, white pearl, pearlized bead and cross through a new white bead.
Then we put the nylons together and introduce in them a red round crystal of medium size to cross both nylons by the opposite pearl to where we are.
We add in each nylon 3 pearl beads and cross by two pearl beads.
We repeat the previous step 7 more times.
We insert 3 more beads on each side and cross through the bead opposite to where we started in step 3.
We now position ourselves on a central bead on the upper side of the ring.
We add 8 beads on each side and cross through a new bead.
We repeat the previous step 5 more times.
We add in one of the nylons a pearl, mustard, pearl, mustard, mustard, pearl, mustard, pearl, mustard and by the other nylon we add a pearl, a mustard and cross the nylons with a new pearl of white color.
We join the nylons together and add through both a round red crystal and then cross the nylons on the bead opposite to where we started.
We add 3 beads on each nylon and cross through a new bead.
We add 8 beads on each side and cross through a new bead. Then we insert 3 beads on each side and cross through a new white bead.
We insert in each nylon a bead, bead, bead, bead, bead, bead, bead, bead and cross through a new bead.
We join the nylons together and introduce a round red crystal and then cross the nylons through the pearl opposite to where we are, then we go back to pass the beads and pearls on the sides until we are again at the end of the bracelet.
We add 3 beads on each side and cross through a new bead, then we add 8 more beads on each side and cross through a new bead, we insert again 8 beads on each side and cross through a new bead, finally we insert in each nylon 3 beads and in one of the nylon we add the ring to proceed to knot that side. The meter of nylon left over we introduce it in the opposite bead where we finished step 10 and we repeat the steps from 11 to 15 with the difference of placing the brooch instead of the ring. And that's it, we are done.
May God Bless you 🙏
- Photos of my authorship and were taken with a Samsung Galaxy J6 cell phone.
- Translator used: DeepL
- Photo editing using the Polish Photo Editor app.
- Separators made with the app Canva Photo Editor.
Hermosa pulsera amiga me encantó ☺️
Lindo trabajo amiga 😘