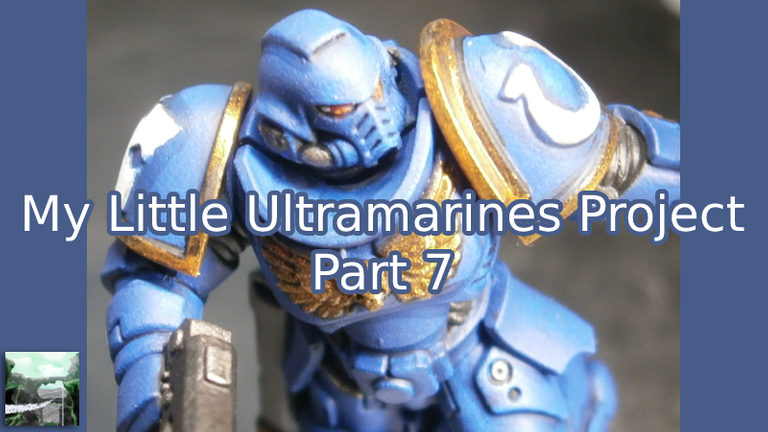
Hallo allerseits!
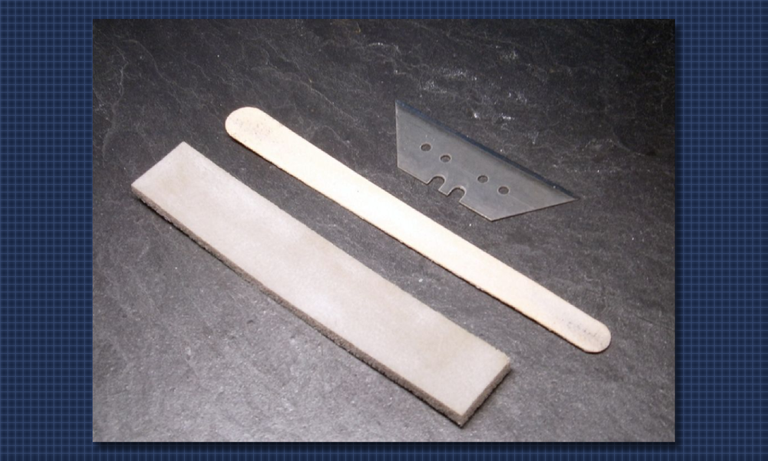
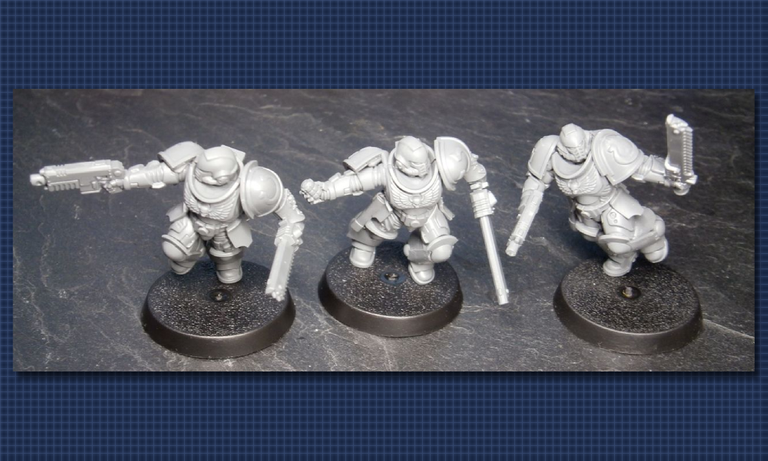
Nachdem beim letzten Mal der Lieutenant fertig geworden war, ging es in dieser Woche an die drei Sturm-Intercessors aus der "Imperium" Ausgabe 3. Um euch nicht zu langweilen, wiederhole ich hier nicht die einzelnen Schritte - diese kann man bei Bedarf im letzten Post lesen und auf diese Ultramarines übertragen. Ein paar Dinge habe ich allerdings anders gemacht, als bei dem Charaktermodell des Lieutenant. Um es einmal so herum auszuprobieren, habe ich die Miniaturen bis auf die Tornister komplett entgratet und diesmal schon vor dem Grundieren zusammengebaut. Mir ist aufgefallen, dass bei diesen Figuren die Stellen, an denen sie mit dem Gussrahmen verbunden waren, an ungünstigeren Stellen lagen als beim Charaktermodell. Zum Entgraten benutzte ich mein Bastelmesser oder an schwer zu erreichenden Stellen auch mal nur eine Klinge davon, eine Nagelfeile aus Pappe sowie ein Stück eines Schleifschwamms "microfine" von 3M für das glatte Polieren von runden Stellen.
English Translation
Hi all!
After having finished the Primaris Lieutenant the last time it was now time to work on the Assault Intercessors from issue #3 of the "Imperium" magazine. In order not to weary you I don't repeat the single steps, those can be read in the last post and you can transfer them to these Ultramarines. I did some things differently than with the character model of the Lieutenant though. I deflashed the miniatures and assembled and primed them before painting this time, only leaving the backpacks separated just to try out how this would work. I noticed the spots where the parts were connected to the casting to be at mor unfavorable places this time than with the character model. For deflashing I used my hobby knife or for hard to reach places sometimes just one of it's blades, a nail file out of cardboard as well as a some piece of a sanding sponge "microfine" from 3M for polishing the round parts.

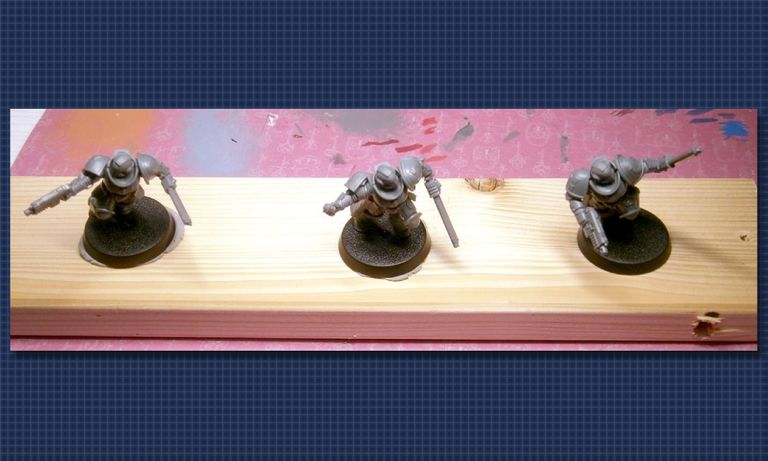
Zum Grundieren hatte ich die drei in ihre Bases gesteckt und dann dieses mit etwas Modelliermasse auf einer Latte eines alten Lattenrostes befestigt. Normalerweise nehme ich dafür doppelseitiges Klebeband, aber ich hatte wohl vergessen, dass ich dieses bereits aufgebraucht hatte 😅
English Translation
For basecoating I had stuck the three miniatures into their bases and then attached them to a log from an old slatted frame with the help of some modelling clay. Usually I use double sided adhesive tape for this step but apparently I had forgotten that I already had used it up 😅

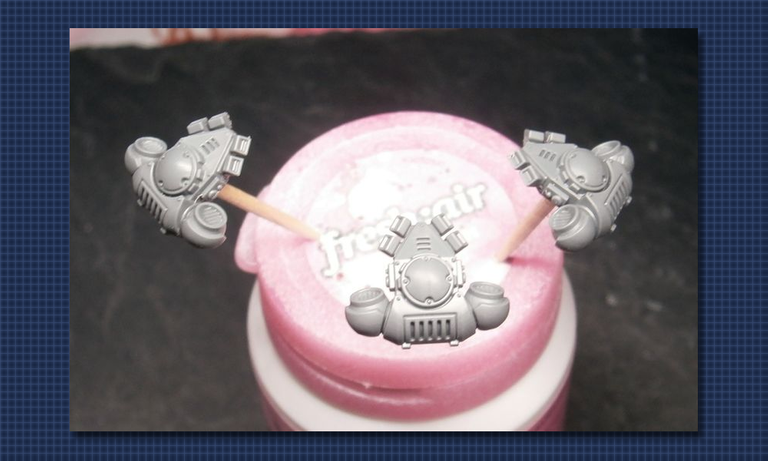
Die Rückentornister bekamen wie gehabt Löcher gebohrt, bevor sie auf Zahnstochern in eine mit Metallteilen beschwerte Plastikdose gesteckt wurden. Dann konnte Alles grundiert werden.
English Translation
As usual the backpacks got holes drilled into them before being stuck onto toothpicks and then into a plastic can weighted with some metal parts. Then everything was ready for basecoating.
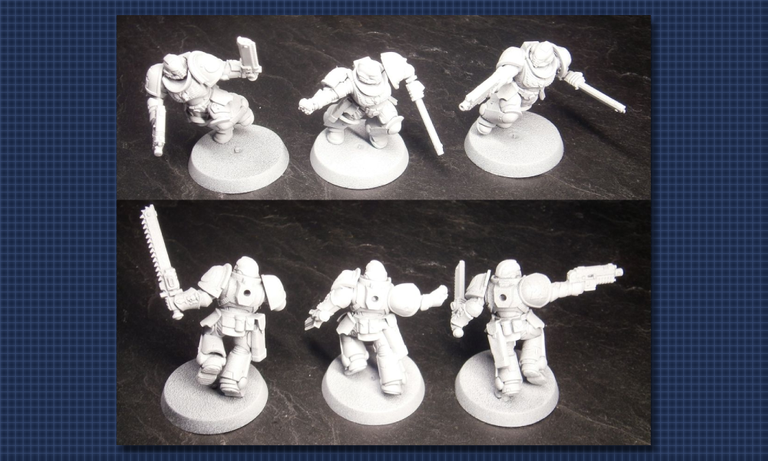
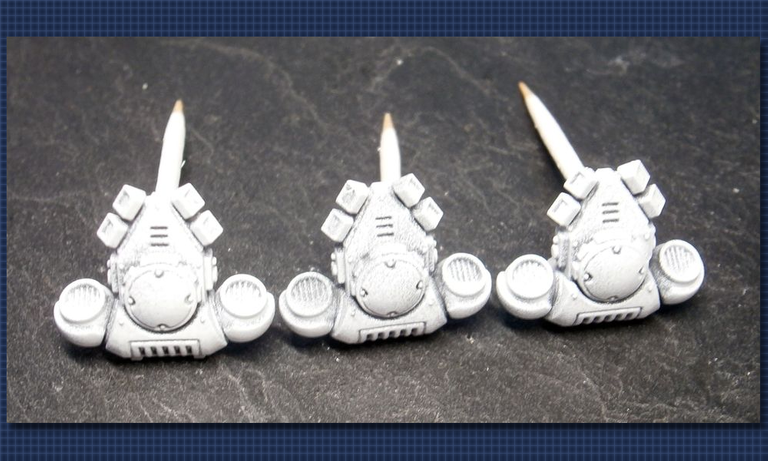

Dann wurden alle Figuren mit drei dünnen Schichten grundiert. Hierbei braucht ihr euch keine Sorgen machen, wenn die erste Schicht sehr ungleichmäßig aussieht, einfach gemütlich eine Figur grundieren, dann die nächste und wenn man mit der dritten fertig ist, kann man schon die nächste Schicht auf die erste auftragen. Man kann auch die Grundierfarbe dicker auftragen, ich persönlich mag das Ergebnis nach drei dünnen Schichten irgendwie lieber, da so mehr Details sichtbar bleiben.
English Translation
Then all miniatures were basecoated with three thin layers. You don't need to be sad if the first layer looks pretty erratic, just jovially basecoat a miniature, then the next one and when you have finished the third one, you can go on with the next layer on the first. You can also paint the basecoat a bit thicker - personally I like the result after three thin layers just more because more of the details look through.
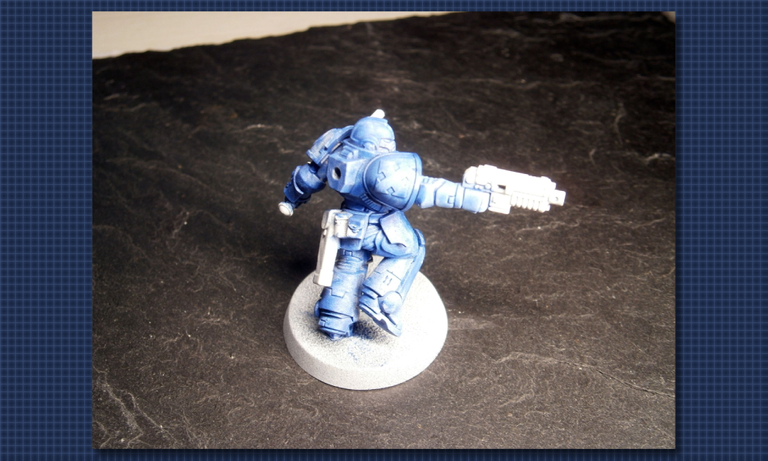
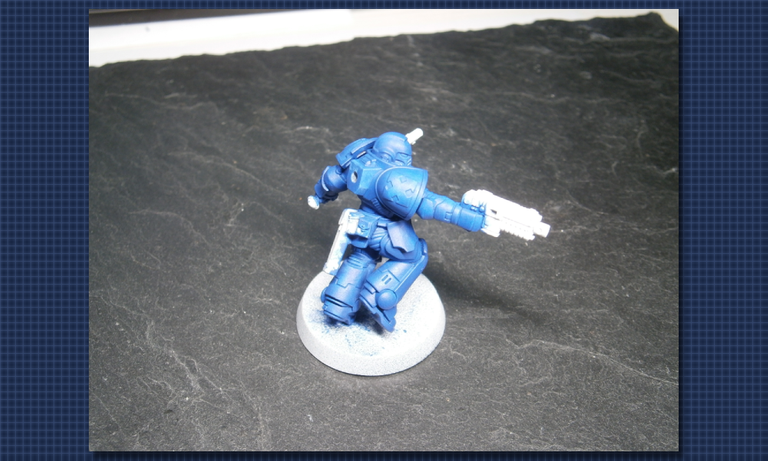
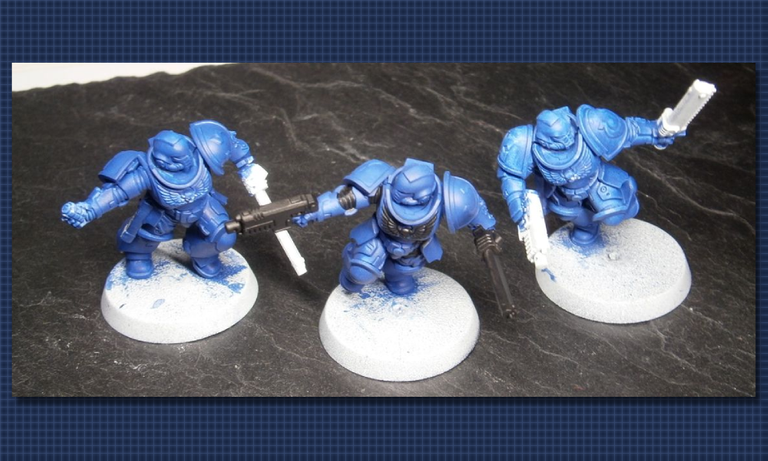

Die anderen Teile der Figuren wurden ebenfalls grundiert. Mein Tipp wäre, mit der Bemalung immer bei den "innen" liegenden oder schwer zu erreichenden Stellen zu beginnen, bei denen man schnell mal aus Versehen auf die darüber liegenden Teile malen kann. Wenn man dabei übermalt, kann man so problemlos mit der anderen Farbe korrigieren.
Aus dem gleichen Grund bemalte ich dann auch alle schlauchartigen Verbindungen der Rüstung (besonders die am Hals ist nach dem Zusammenbau nicht leicht zu erreichen) und dann die Augen des Helms schon einmal komplett, bevor es weiter ging.
Beim Tuschen beschloss ich diesmal, einen anderen Weg zu gehen. Anstatt die komplette Rüstung mit einer Schicht Tusche zu bepinseln, strich ich mit einem kleinen Pinsel nur etwas Tusche in die Vertiefungen. Dies war etwas zeitaufwändiger, aber das Ergebnis war dann auch gleich viel sauberer und ich würde die Zeit bestimmt später beim Schichten der Farbe wieder einsparen können.
English Translation
The other parts of the miniatures were basecoated as well. My advice would be always to start painting the "inner" or hard to reach parts where it's easy to accidentally touch the parts above with the brush. If you make a mistake, it's relatively easy to correct it with the respective colour.
For the same reason I also painted all tube-like connections of the armour (especially the one around the neck can't be reached easily after assembly) and after those the eyes of the helm completey before going on.
I decided to try another way regarding the washing. Instead of covering the whole armour with a layer of wash I only applied some of it into the recesses with a small brush. This took more time but the result looked much cleaner and I am sure to save some time when I will do the layering of the armour colour.
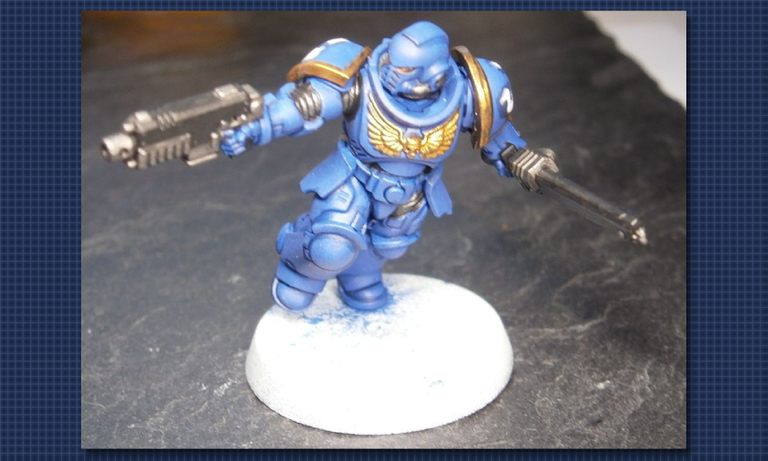
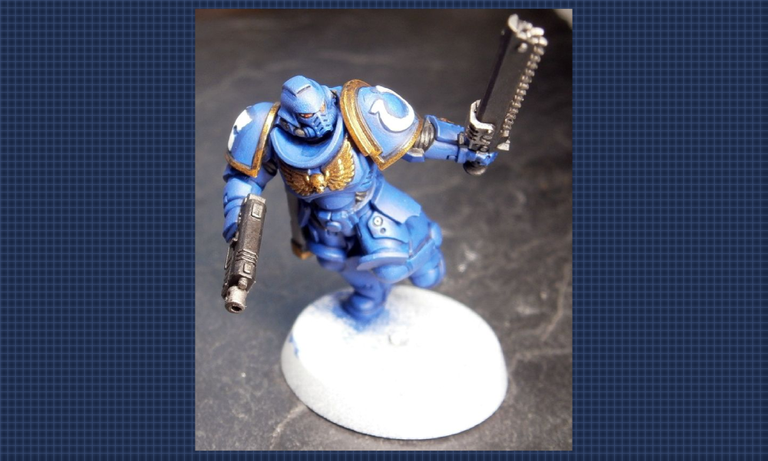
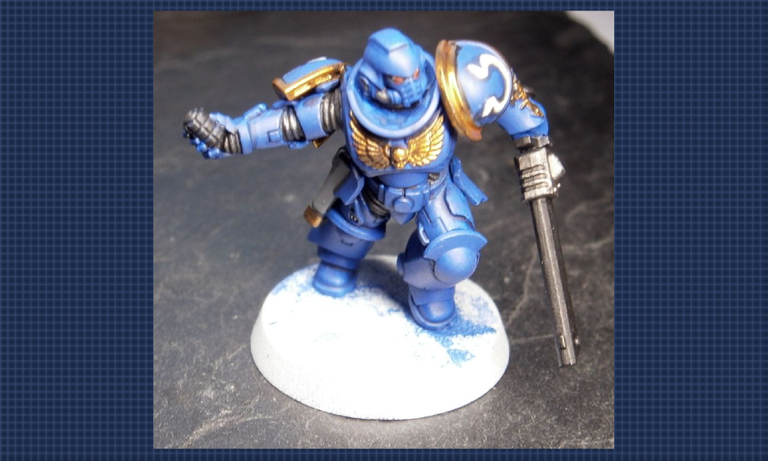
Bei den Rückentornistern bin ich noch nicht ganz so weit gekommen.
English Translation
I did not reach the same status with the backpacks so far.
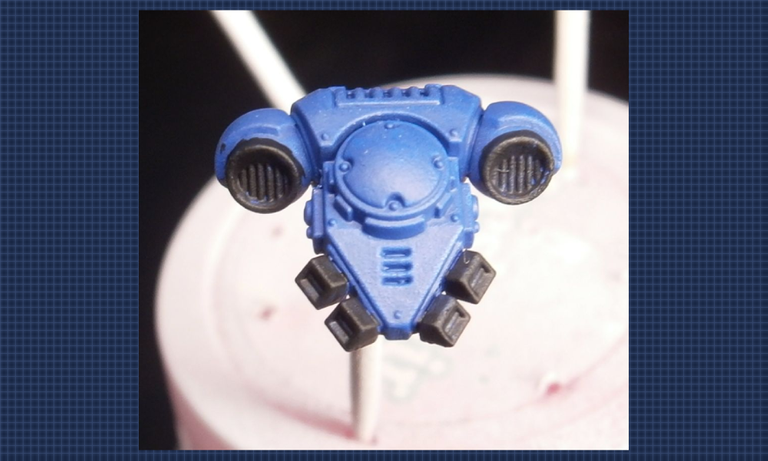

Ich hatte befürchtet, dass ich viele Stellen nicht erreiche, wenn die Figur zuerst zusammengebaut wird. Dies ist zwar an einigen Stellen so, was aber beim Betrachten nicht weiter auffällt, da man diese Stellen dann auch gar nicht so gut sieht. Das Bemalen geht dann insgesamt etwas schneller, da ich nicht in alle Teile Löcher bohren muss und immer die einzelnen Spieße mit ihnen austauschen muss sondern einfach die fertige Miniatur einmal in die Hand nehmen und komplett bemalen kann. Nur die Tornister hatte ich einzeln gelassen, da ich sonst den oberen Teil der Rückseite mit den Kabeln nicht sauber bemalen kann.
Ich weiß nicht, wie manche es schaffen, in kürzester Zeit eine ganze Armee zu bemalen. Ich bekomme zwar so langsam Routine darin, die Ultramarines zu bepinseln, aber trotzdem schaffe ich immer nur ein paar Figuren im Monat. Falls ihr auch nicht so schnell voran kommt, wie ihr möchtet, lasst Euch also nicht entmutigen! Ich merke, wie man selbst mit wenig freier Zeit für das Hobby täglich besser zurecht kommt, wenn man regelmäßig an seinen Figuren arbeitet!
Wenn die Sturm-Intercessors und vielleicht noch das Bike fertig sind, würde ich gerne ein anderes Projekt starten. Wenn ich realistisch bin, werde ich mit den Minis sowieso nicht spielen und es ist auch sicher auf Dauer interessanter für euch, wenn ihr nicht immer nur Ultramarines vorgesetzt bekommt ^^ Was genau ich dann bemalen möchte, weiß ich noch nicht genau, aber folgendes würde mich da interessieren:
- Figuren eines anderen Space Marine Orden (am liebsten Klassiker wie Blood/Dark Angels)
- eine Lanze Mechs für Battletech (mein erstes Tabletop - habe auch die PC Version angezockt und spiele seit Kurzem hin und wieder MegaMek
- irgendetwas von den T'au (Gundam lässt grüßen!)
- ein paar Eldar (am liebsten klassische giftgrüne Skorpionkrieger, wenn ich die irgendwie auftreiben kann ^^)
Falls ihr irgendwelche Vorlieben habt, lasst es mich gerne wissen!
Bis zum nächsten Mal!
English Translation
I was worried that I would not be able to reach many parts if the miniature would be assembled first. This was the case in some places but those spots did not attract much attention because the could not be seen well anyway. The paintjob was faster that way because I did not have to drill little holes in every single part and always swap the toothpicks - instead I could just take the whole miniature and paint it. I only left the backpacks separate because I would have had a hard time painting the upper parts of their back with the cables when attached.
I don't know how someone manages to paint a whole army in short time. I am steadily getting some routine painting Ultramarines but I still only finish a few miniatures a month. If you also get slower progress than you would like don't be discouraged! I am realizing getting along better every day when working on your miniatures regularly - even with only a little time available for the hobby.
*When the Assault Intercessors and perhaps the bike are done I would like to start another project. If I am realistic I won't play with these miniatures anyway and it will surely be more interesting for you if you do not always see Ultramarines here ^^ I am not sure yet what to paint then but one of the folllowing woud be interesting:
- miniatures of another Space Marine chapter (preferably classics like Blood/Dark Angels)
- a lance of machs for Battletech (my first tabletop - have tried the PC version too and recently also MegaMek
- something from the T'au range (Gundam says hello!)
- some Eldar (would mostly like some poison green Scorpion Warriors if I can get my hands on some ^^)
If you have some preferences you can tell me in the comments!
Until next time!
captainglondo

Congratulations @captainglondo! You have completed the following achievement on the Hive blockchain and have been rewarded with new badge(s):
Your next target is to reach 1000 upvotes.
You can view your badges on your board and compare yourself to others in the Ranking
If you no longer want to receive notifications, reply to this comment with the word
STOPCheck out the last post from @hivebuzz: