After flying DJI camera drones for a few months now I thought I’d try my hand at some FPV flying but after a trawl around on the internet, I reached the conclusion that it was difficult and going from expensive to bloody extortionate. A digital DJI FPV setup will set you back well over £1000 for the drone, controller, and goggles. Building your own option is a minefield of options and setup still not cheap even going down the analog route. So to be honest I had given up when I found the BETAFPV Cetus Pro kit.
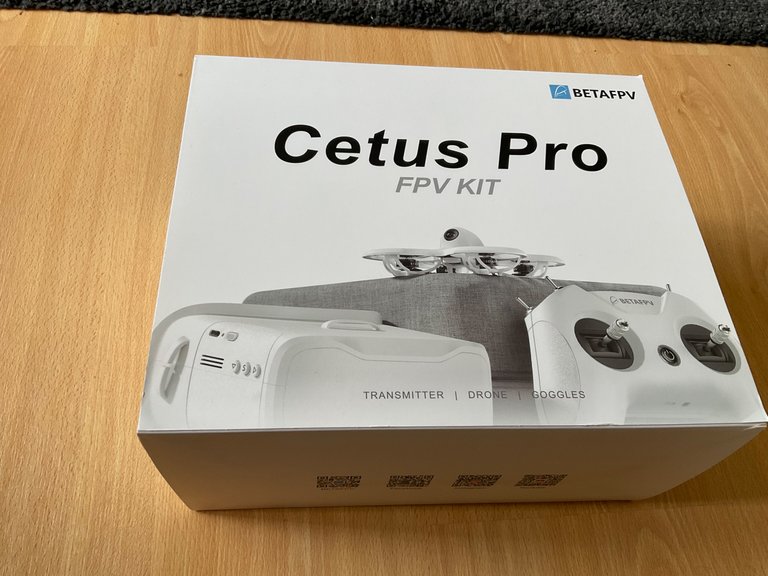
It’s designed as a training drone for FPV and for around £200 it’s not going to break the bank. It’s a US kit which is a pain trying to find a UK supplier with stock was a bit hard but** Unmannedtech** did have it in and it in turned up fairly quickly even with the postal disputes.
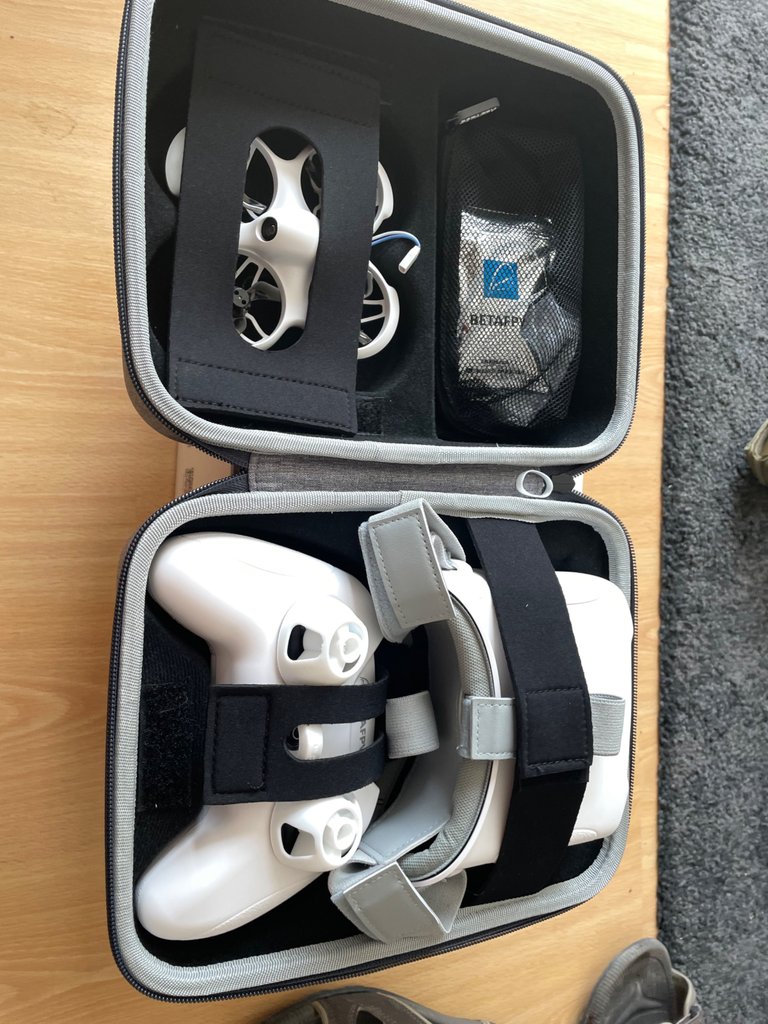
Everything you need comes in a nice carry case.
While it is all quite basic and analog transmission for the camera it’s fine for the short ranges I’ll fly while learning. So what do you get for your money?
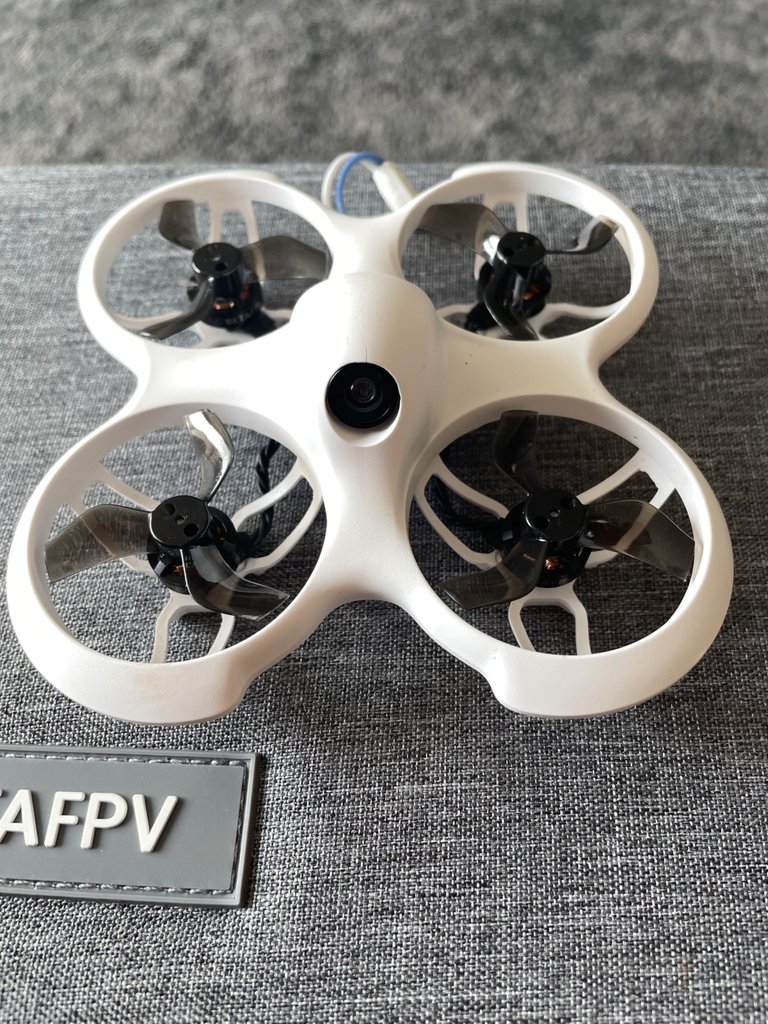
The drone is a small cinewhoop (see learning the lingo already) style with brushless motors and protected propellors. It uses a 1s Lipo battery with a BT2.0 connector (more on that later)
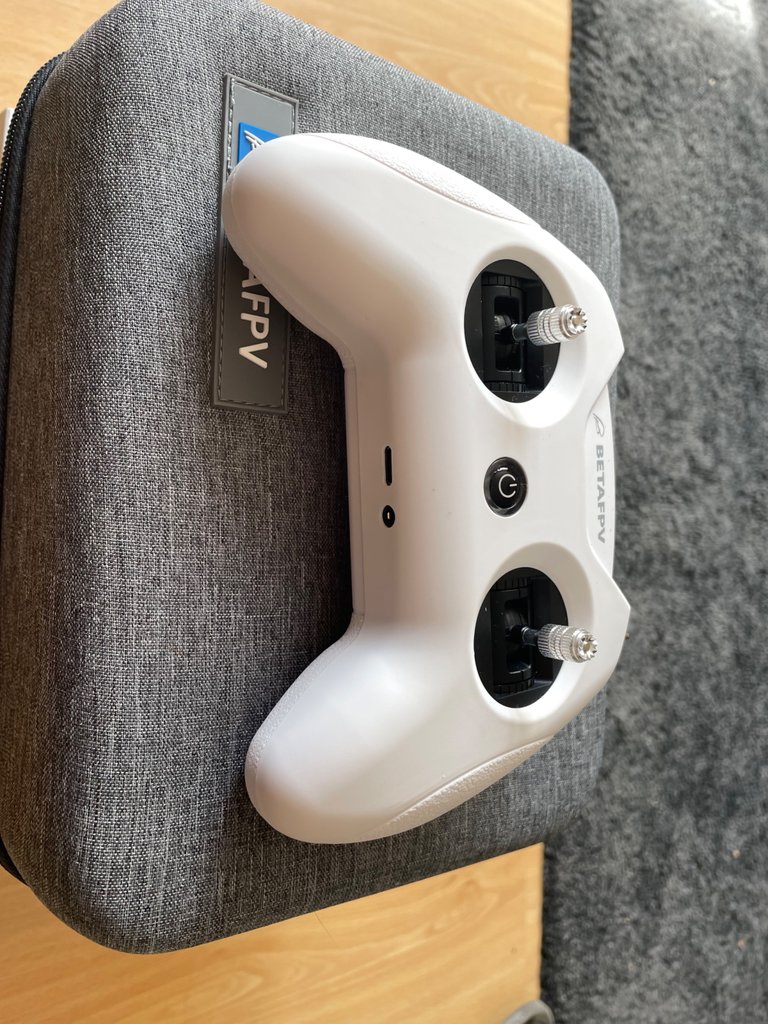
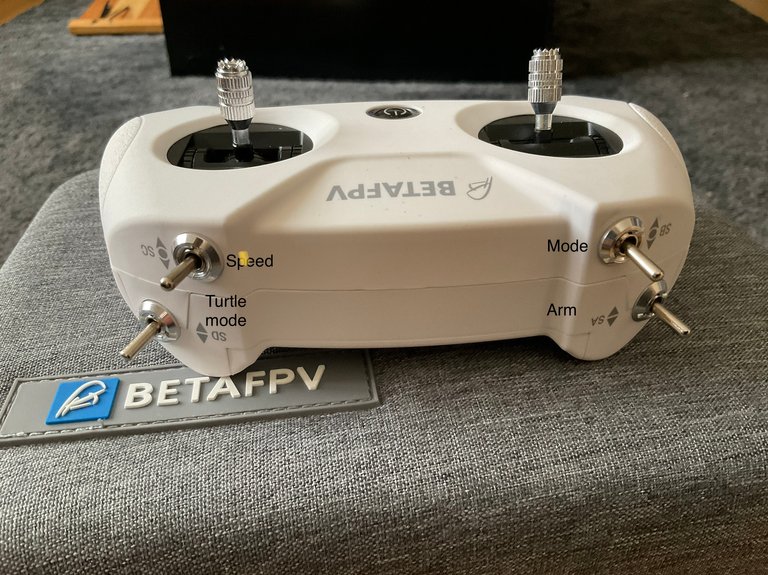
The controller is a BETAFPV Literadio SE which has nice gimbles that feel smoother than my DJI controller and the built-in battery gives about 8 hours between charges. The switches on the top start the drone and change the various modes and speeds. Buttons underneath allow you to access the setup and bind it to another analog drone if you have one.
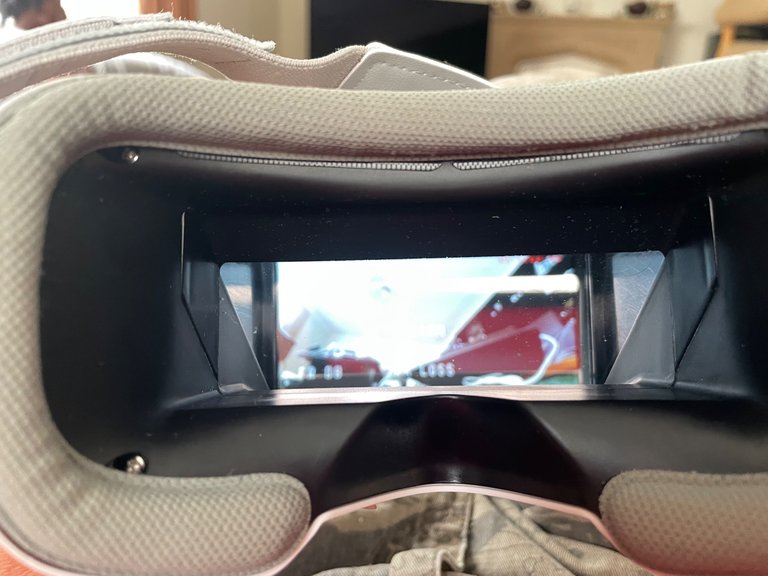
The FPV goggles are BETAFPV VR02 which are basic box goggles with a built in battery and internal antenna which keeps things nice and simple they auto scan for the channel and band.
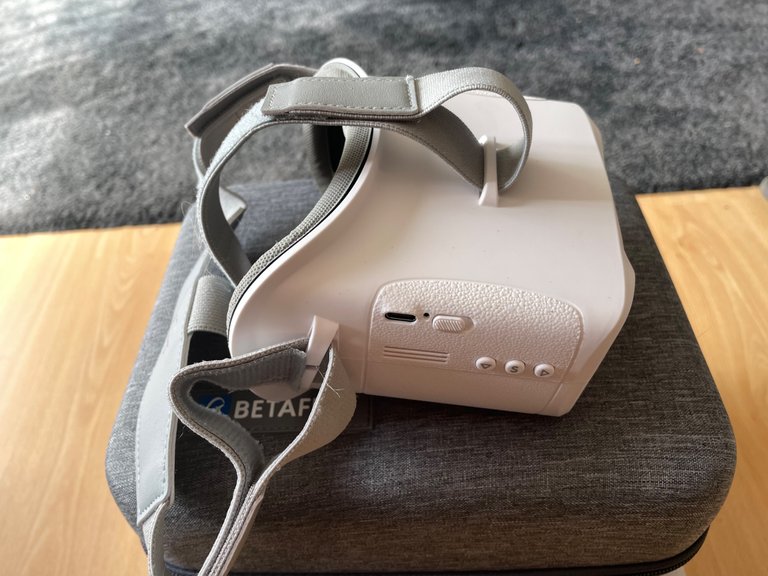
But they were a pain with my eyesight, they would be fine if you have 20/20 vision but any sort of corrective lenses and you are stuffed. After poking my eye out trying to fit my contact lenses (must remember to cut my nails) I resorted to stripping out the lenses from an old pair of reading glasses and some Blutack for the first flights.
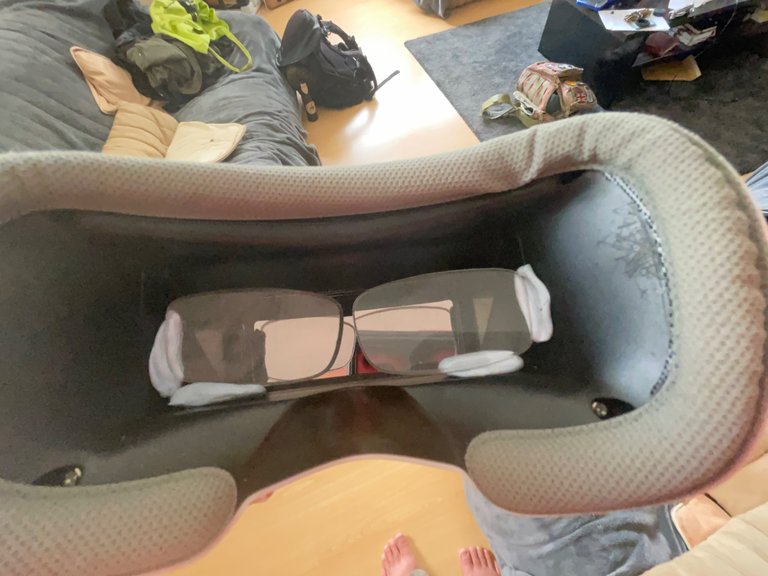
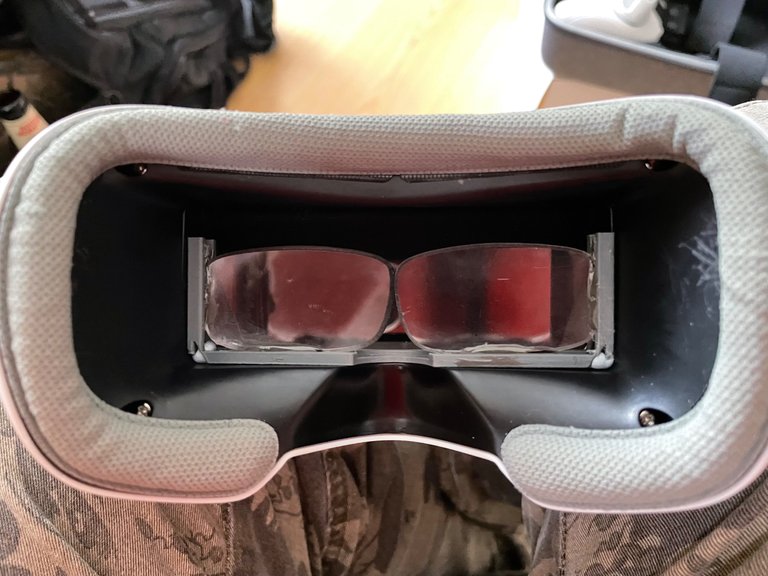
With a 3D printed solution for the final fix and they will slip in and out if someone else wants to use it.
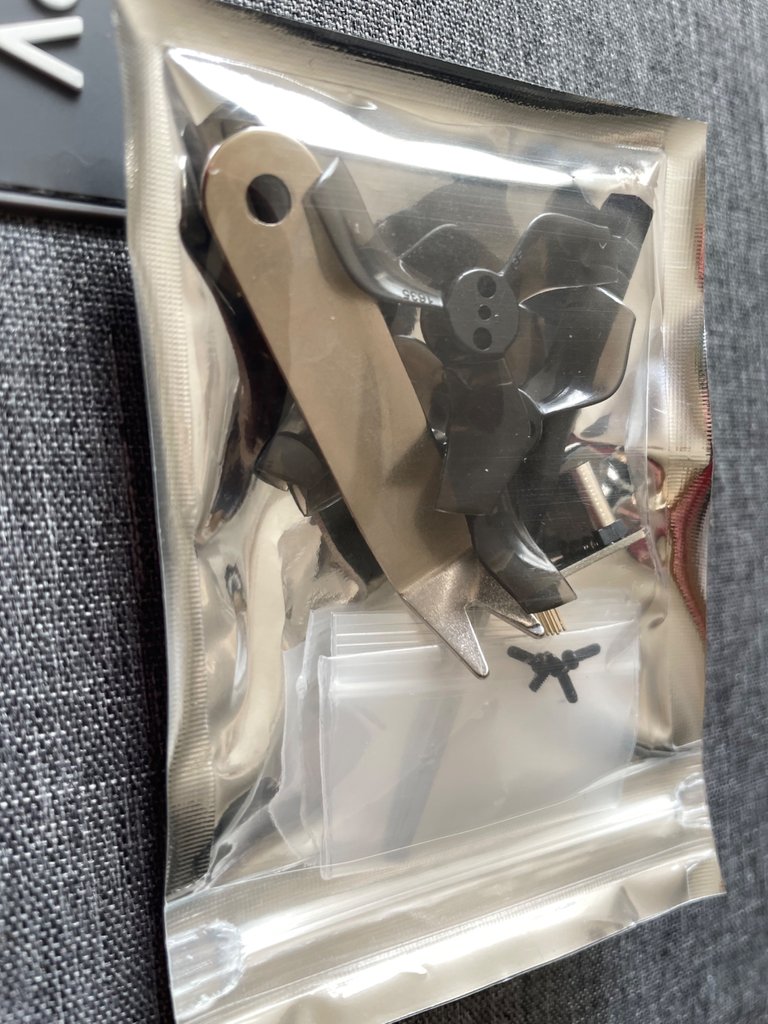
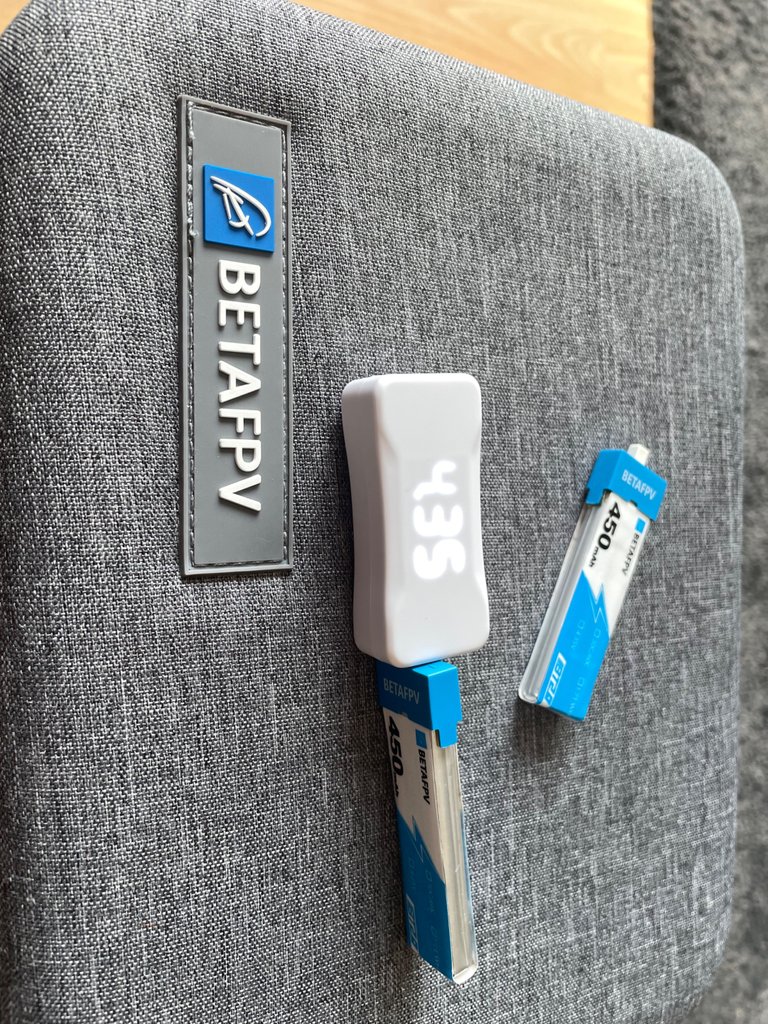
Also in the box are some spare props, a prop tool, 2 450mah batteries, and a battery charger voltage checker, and instructions.
Lots of switches on the controller but here goes. The Arm switch turns on the drone props
There are 3 modes for controlling Normal N which has optical sensors to help with the hover, Sport S which turns the sensors off but limits the tilt so flying is not quite catastrophic, Finally Manual mode M which real FPV pilots would call Acro, and allows you to do tricks like loops and flips (maybe one day). Each of the 3 modes has 3-speed settings which is handy Slow (ok I can cope with this) Medium (Bloody hell where did that wall come from) and Fast (oops too late what wall)
Lastly Turtle mode reverses the props so that when you crash and it lands upside down (drones are like toast) you can flip it over.
The 450mah battery gives you around 3 minutes of flying and takes about 20 minutes to charge but the downside is the connector is not standard for lipo battery’s and almost impossible to get spare batteries in the UK and expensive to order from the US so at the moment I'm making do with just the 2 that came with the drone.
So what is it like to fly. In normal mode it’s not to different from a DJI it stays fairly level and in slow you can control it with out bumping in to much in Medium and fast it zips along but the batteries don't last long at all one downside of only having a 1s lipo drone and only 2 batteries. As soon as I can get some more BT2.0 connectors I will make up some 650mah packs to give a bit better flight time.
The range flying around the house seems ok and the image in the goggles is clear even when it is out of line of sight.
Flying FPV is a bit tricky at first but it does help when I can see the screen and the 3D print mod works a treat with that.
You wont believe how long it took to get it in frame on a 10 second timer.
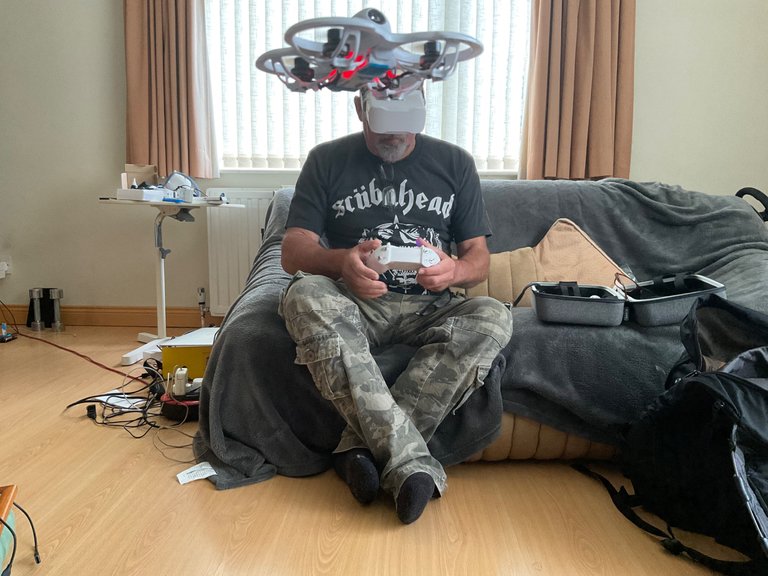
All for now Hivers time to get the battery’s on charge.
Hi @diveratt,
Thank you for participating in the #teamuk curated tag. We have upvoted your quality content.
For more information visit our discord https://discord.gg/8CVx2Am
I'm amazed at the size and stability of the drone. It's awesome what you're able to visualise and create from 3D printing to develop your experience of flying it 👍
That looks like a fun kit and great for beginners. The glasses insert is brilliant. I don't know why the goggle makers don't realize a large portion of their audience needs corrective lenses and put a diopter adjustment on them like binocular, scope, and other lens makers. DJI makes some +2, +3 etc. inserts for theirs that drop in and out, they actually work pretty well, kind of like yours. I'll be interested to see what you do for battery increase, that 3 minutes doesn't seem like near enough time to get your bearings, let alone get in an actual flight. I would think want to at least triple that time. Still looks like fun to try some of those acrobatics without breaking the bank.
I did look on Thingiverse but i couldn't find anything that would work having fitted the mk 1 version to the goggles I can think of some improvements so I'll keep plugging away and post the STL when Im happy.
Ive ordered some 650mah batteries which should give around 6 minutes tinywhoops mostly run the 1s lipo battery to keep the weight down so flight times are short
Your content has been voted as a part of Encouragement program. Keep up the good work!
Use Ecency daily to boost your growth on platform!
Support Ecency
Vote for new Proposal
Delegate HP and earn more
nice
Thanks