Small Kitchen Remodeling.
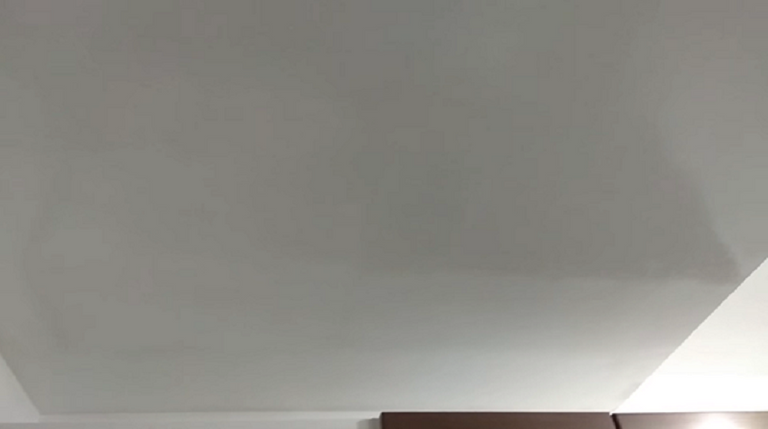
Final finish of the kitchen ceiling
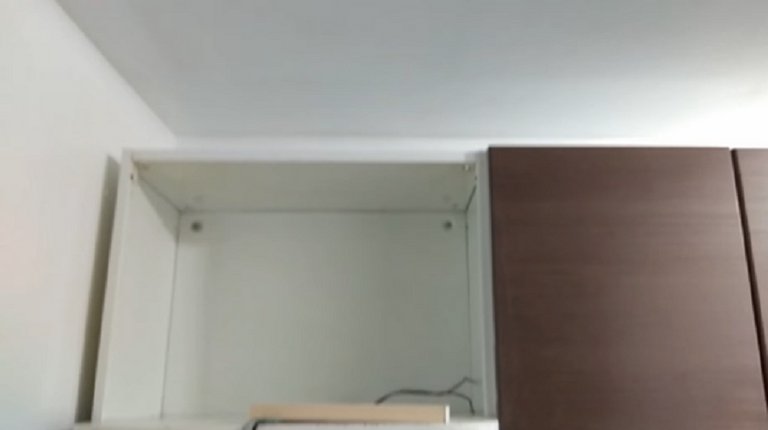
Part of the final finish of the walls and ceiling once the furniture has been placed.
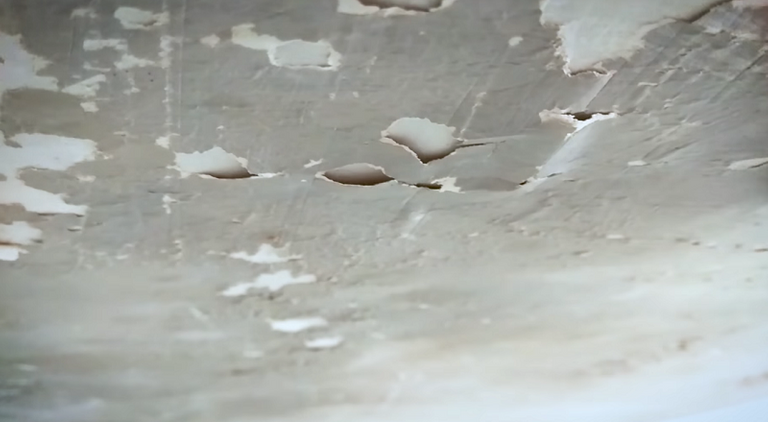
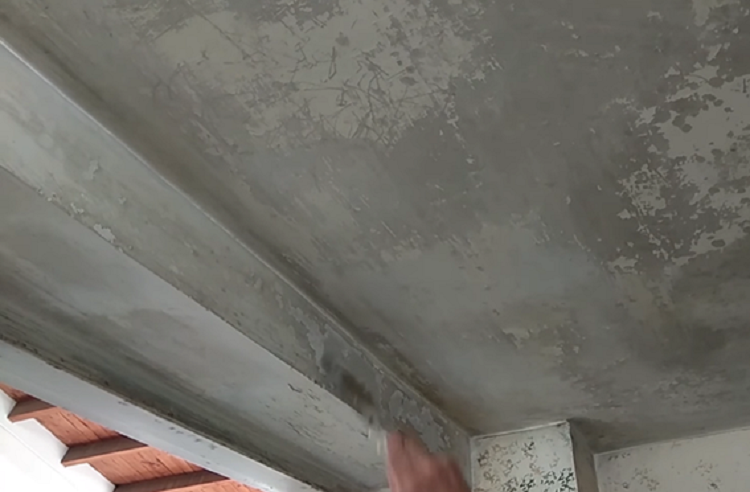
Initial appearance of the roof
Hello friends, welcome to my blog; Today I have a case of a very confined small kitchen whose paint totally deteriorated to the point of falling off just by touching it, we are going to replace it with a more resistant finish.
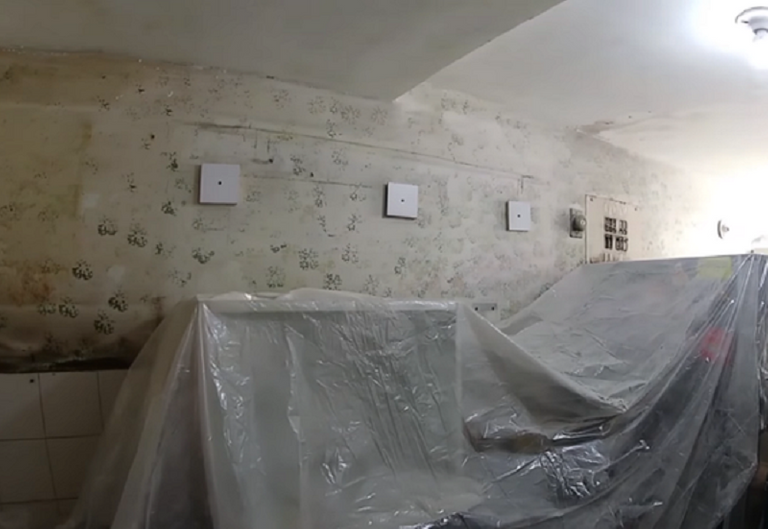 Furniture that cannot be moved is protected as much as possible.
The first thing to start is to disassemble the furniture and remove as much as possible from the kitchen so that there are fewer elements that can be stained with paint and make the work easier, this is an occupied apartment and therefore everything possible is done.
roof cleaning
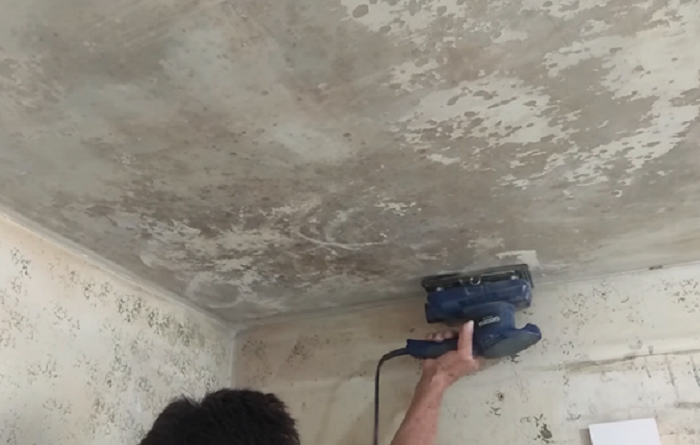
ceiling sanding
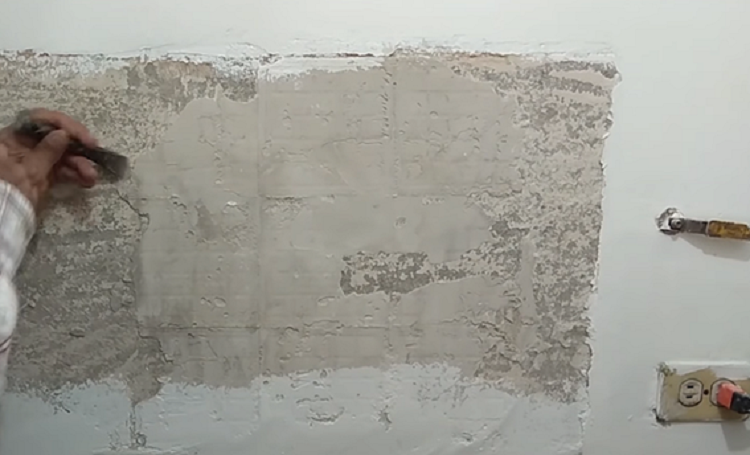
The success of the new painting depends a lot on the support, therefore, everything that is loose is removed, including parts of the stucco, first with the help of a metal spatula and later with an orbital sander equipped with number 100 sandpaper.
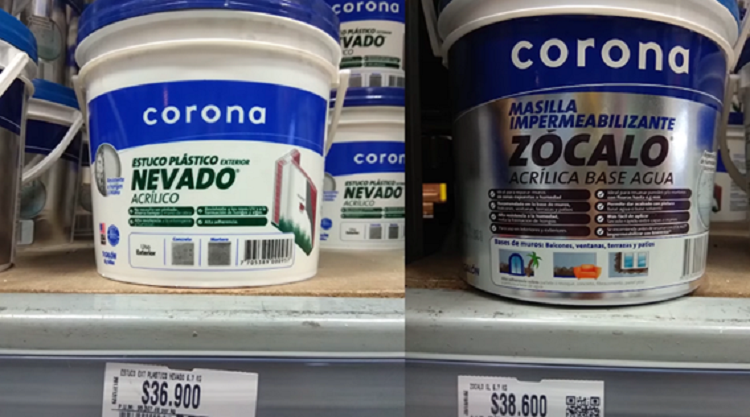
Premium commercial putty and stucco
The dust is removed and we begin to stucco, for this occasion I used superior quality acrylic plastic stucco formulated according to the manufacturer for extreme conditions, very expensive three times more than a generic plastic stucco formulated for interiors.
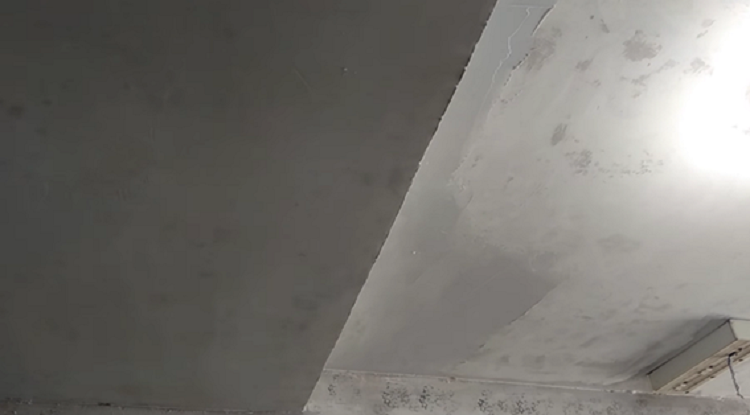
Stucco application on the ceiling
The ceiling was completely stuccoed, in order to obtain an even surface it was necessary to apply two coats of product, only the damage was repaired on the walls, the epoxy paint has a glossy finish, therefore any imperfections on the surface will stand out even more, for making sure to correct all holes and protrusions.
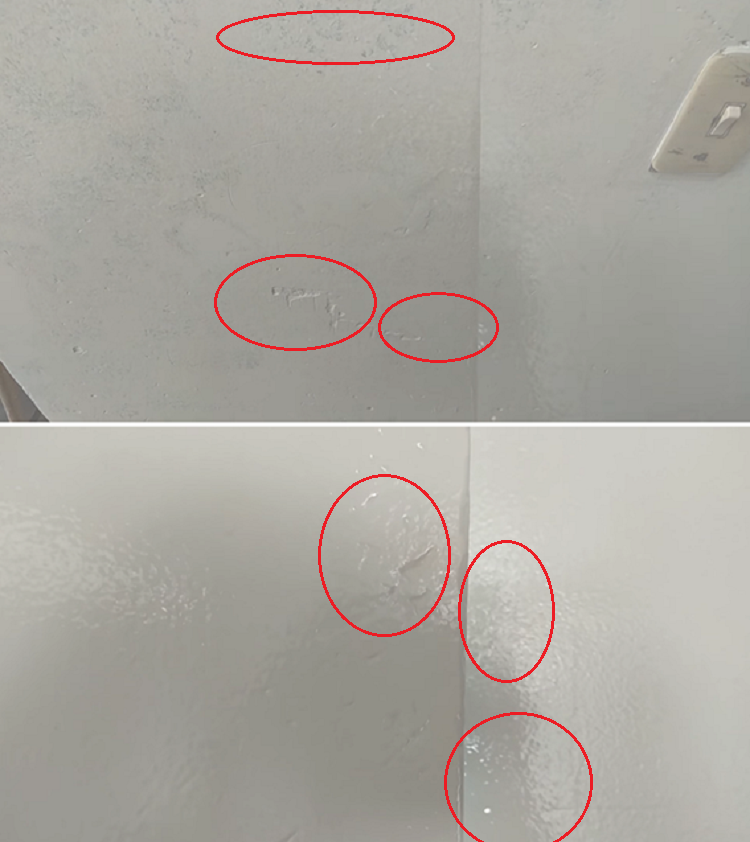
Imperfections in the finish if the surface is not better prepared
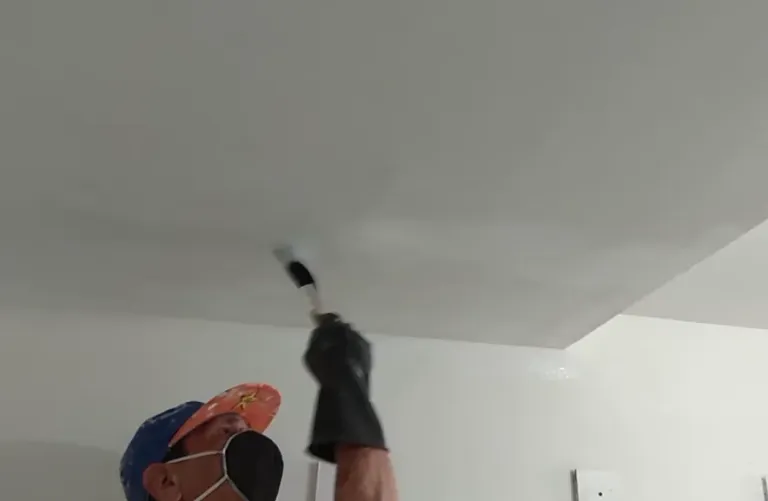
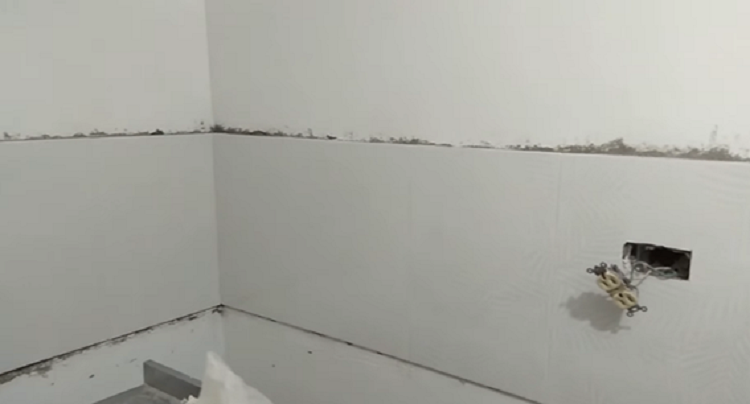
Start in hard-to-reach areas
The corners where the wall and the ceiling meet and all those areas that are difficult to access for the roller begin to be painted, then with a contortionist technique, two even layers of type 1 vinyl paint are applied.
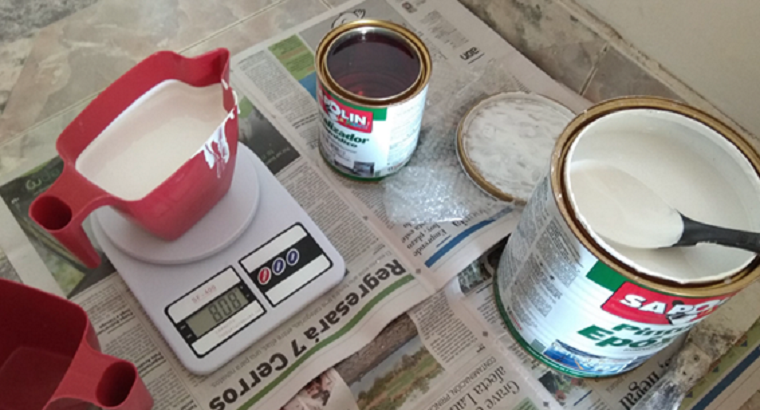
Preparation processes of epoxy paint.
The product is prepared in a ratio of 4 to 1 volume ratio, its presentation comes in a gallon of white epoxy paint to mix with a quart of polyamide catalyst, at that time it did not have transparent containers with average volumes, for which choose to dose its amount by weight, it is not the most recommended, but since it is such a small amount, the error is negligible.
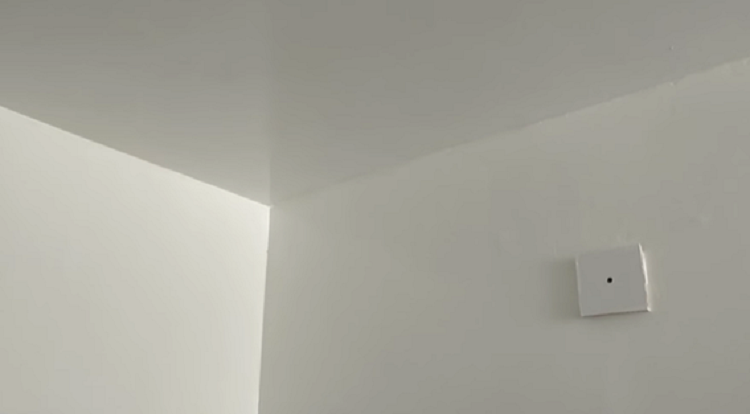
Roof finish and
For the application, a brush and roller were used as seen in the image, but certain precautions must be taken, the brush tends to leave scratch marks due to its bristles and the roller tends to release small fibers, these imperfections are not very noticeable but if you look closely and carefully you can appreciate them.

Small fluff from a new roller.
There are special rollers for epoxy paint applications, these are made of short felt polyester approximately 6 millimeters high and the adhesive with which the roller is manufactured is resistant to epoxy solvents, however, the roller must be rinsed several times in adjuster epoxy before application in order to loosen loose fibers, although it is very difficult to remove all of them.
In short, the final paint coating was: two layers of type 1 vinyl paint and on top of these two layers of epoxy paint, the ceramic on the dashboard was also coming off, the pieces fell off easily, but the hydraulic mortar that acted as ceramic glue It adhered well, but only to the wall. A rigid metal spatula was quite effective in removing it. It was a less noisy process and generated minimal wear on the substrate, which in this case is a render.
Slab placed above the countertop
A metal rule is leveled and secured at the bottom of where it is intended to be veneered and then a layer of ceramic glue is spread evenly with the help of a trowel, with a notched trowel it is traced in one direction and without going into more details. the pieces are simply placed and with a rubber hammer they are settled, leveled and the trapped air is expelled.

Good job done
Now, as the budget is small but the enthusiasm is great, at least we clean the grease and dirt accumulated on the furniture before reinstalling it, the change in this kitchen is already remarkable and I am sure that this paint will last a long time in good conditions, at least the paint cannot be the same as the poor chipboard furniture.
I hope the information is useful when making a decision, do not forget to support me and we will read next time, bye.
Yay! 🤗
Your content has been boosted with Ecency Points, by @jhonnygo.
Use Ecency daily to boost your growth on platform!
Support Ecency
Vote for new Proposal
Delegate HP and earn more
Thanks for the support!
Congratulations @jhonnygo! You have completed the following achievement on the Hive blockchain and have been rewarded with new badge(s):
Your next target is to reach 4250 upvotes.
You can view your badges on your board and compare yourself to others in the Ranking
If you no longer want to receive notifications, reply to this comment with the word
STOPSupport the HiveBuzz project. Vote for our proposal!
Congratulations @jhonnygo! We're delighted to specially curate your awesome publication and award it RUNNER-UP in Architecture Brew #72. More power!
Thank you for subscribing to Architecture+Design, an OCD incubated community on the Hive Blockchain.
Thank you so much!!
You are welcome, @jhonnygo! Have a good day! 😀
Thanks for the support!