Architecture + Design: Installation of removable formwork - First stage - Columns of the foundation.
Greetings friends!
In English lessons? when I was in school, we read the story "The House That Jack Built", then, it seemed fantastic, I never could have thought that one day I would become the follower of this Jack and start building my own house.
A family estate, it sounds too loud, but I wanted to build a house that would serve me, my wife and children, as well as their descendants for many years.
I do not know how they will dispose of this house, when only a memory will remain of me, but they will know that this is a reliable building that has its price.
As you already know from my previous publication in the Architecture + Design community, we stopped at the installation of concrete foundation blocks, which became part of the future basement of the house.
But, so far, the blocks have not become a single whole with the strip foundation on which they rest.
To do this, we will need to erect corner columns that will connect the structure vertically and horizontally, but, and this is not all, this is only the penultimate stage in the construction of the foundation.
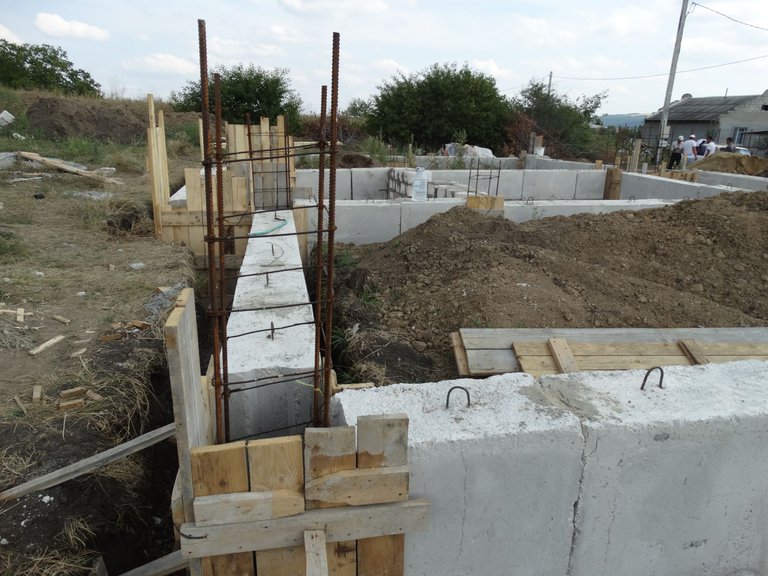
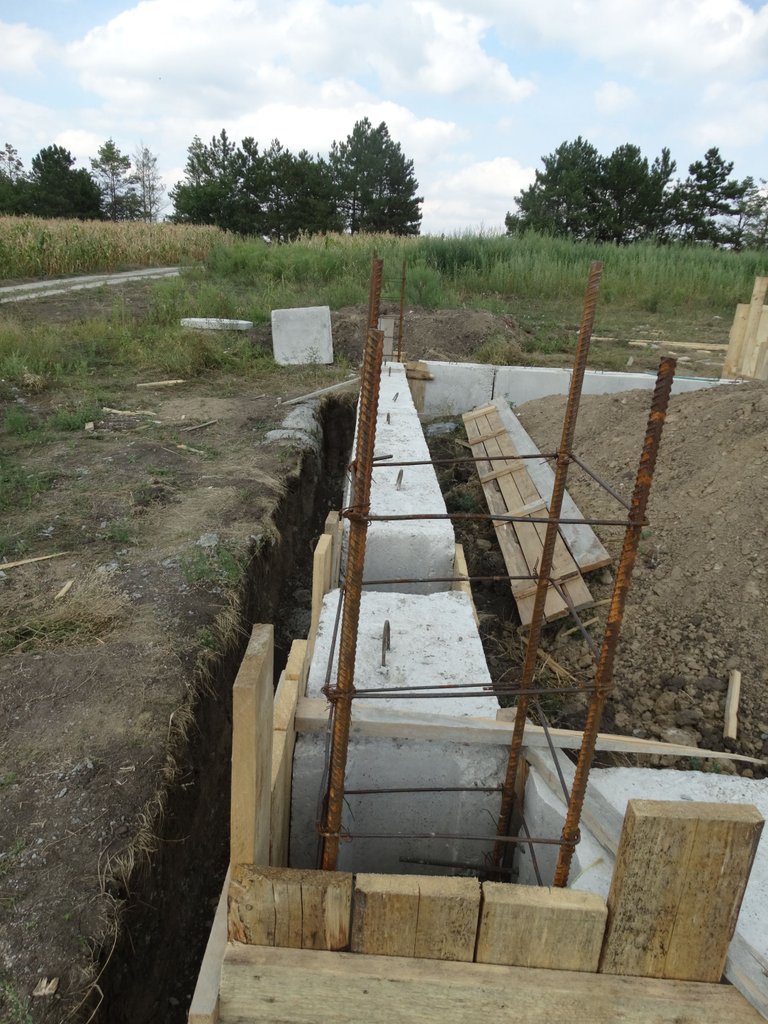
Before pouring concrete into the columns, we have to do painstaking work on the installation of removable formwork, which we made from edged pine boards.
The consumption of the board directly depends on its quality, on its geometry, which, sometimes, is very difficult to talk about.
There were days when I had to travel all over the city in search of a suitable board.
For such purposes, a board with a thickness of 25-30 millimeters is suitable.
In addition to the board, bars of 25x50 millimeters are required for transverse fastenings.
I want to note a very important point that can help you in drawing up a construction estimate, more precisely, to warn you that the number of hardware, the cost of them, you practically cannot predict.
Self-tapping screws, screws, nails, dowels, all this had to be bought daily, and if I say that this will add 3-4 hundreds of dollars to the estimate, I will not be greatly mistaken.
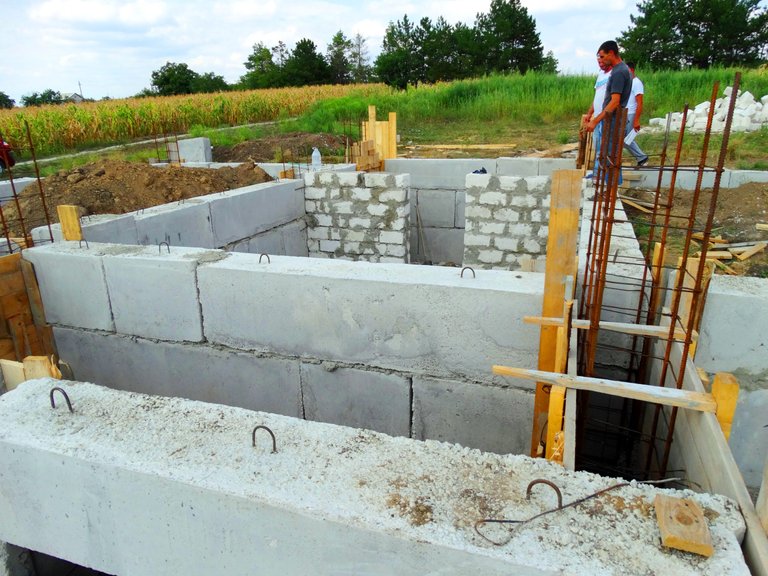
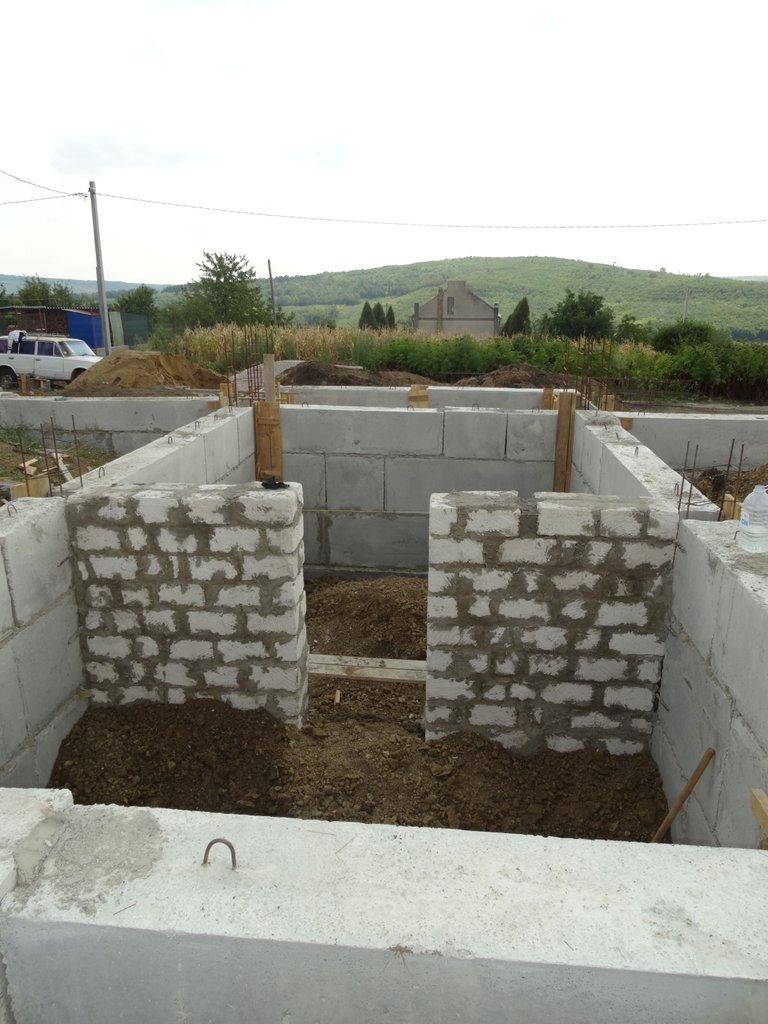
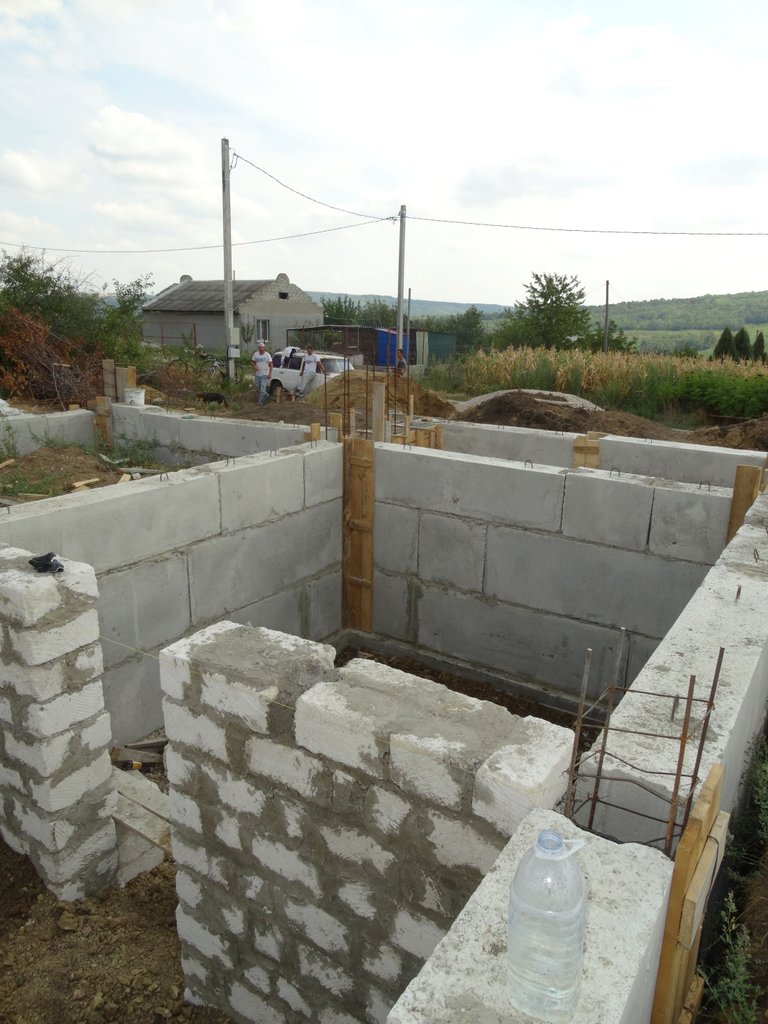
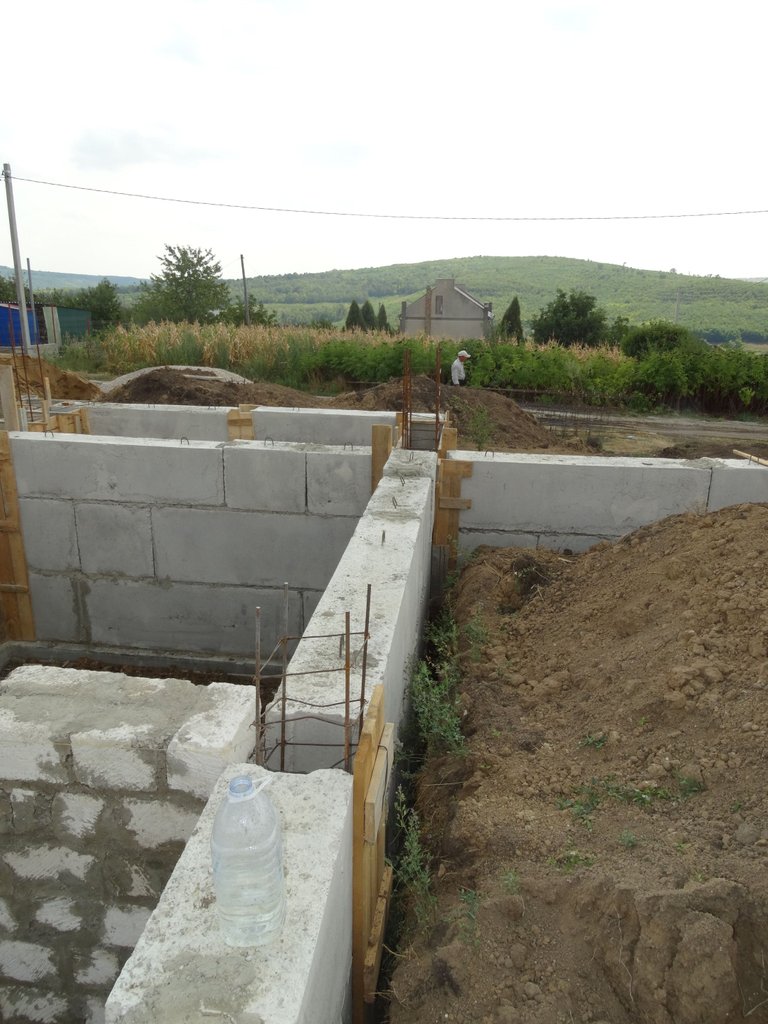
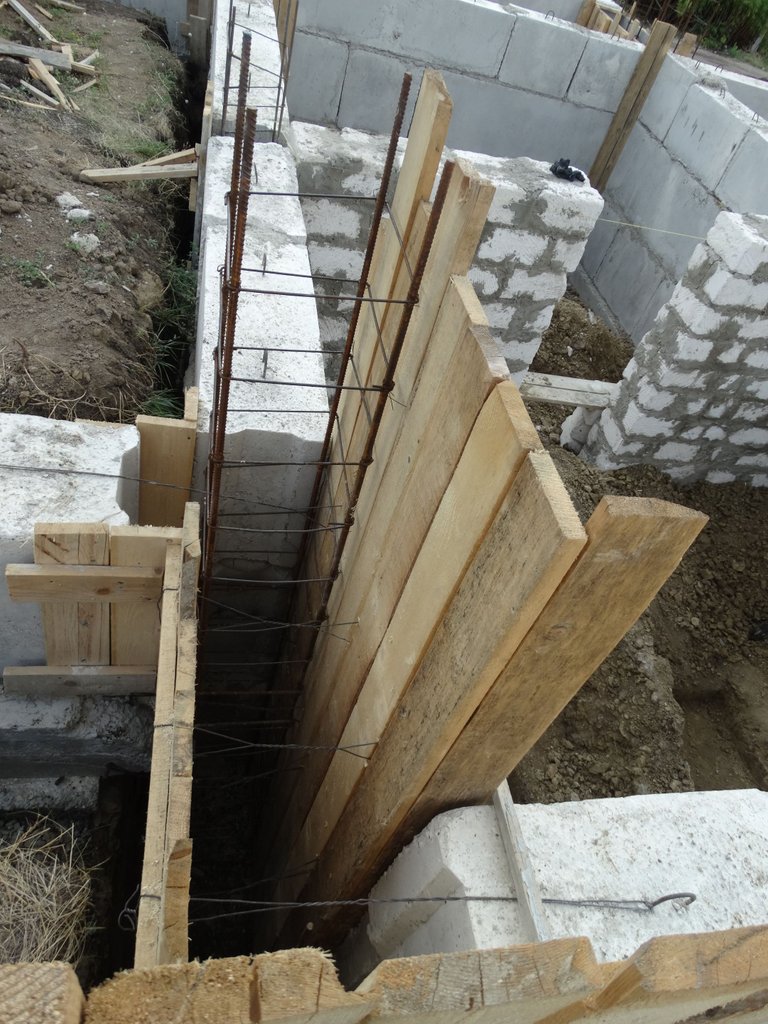
As you can see in the next photo, before pouring concrete into the columns, we needed to build a basement wall.
This wall is made of natural stone, limestone, which is mined in the underground mines of Moldova and wanders as a national treasure of the country and a strategic resource that is prohibited from export, but miracles do happen, lol.
This wall stands on its own foundation, which has been covered with earth. when other work was done.
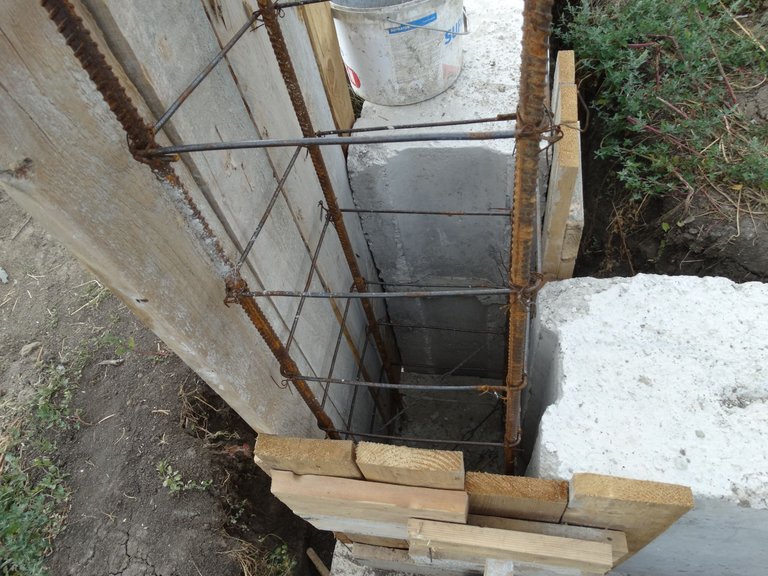
You can see the junction of a limestone wall and concrete blocks.
Every two rows of stone blocks, a steel mesh is laid, which goes inside the steel reinforcement of the columns.
As a result, we will get a homogeneous, one-piece structure, connected between all the elements of the walls.
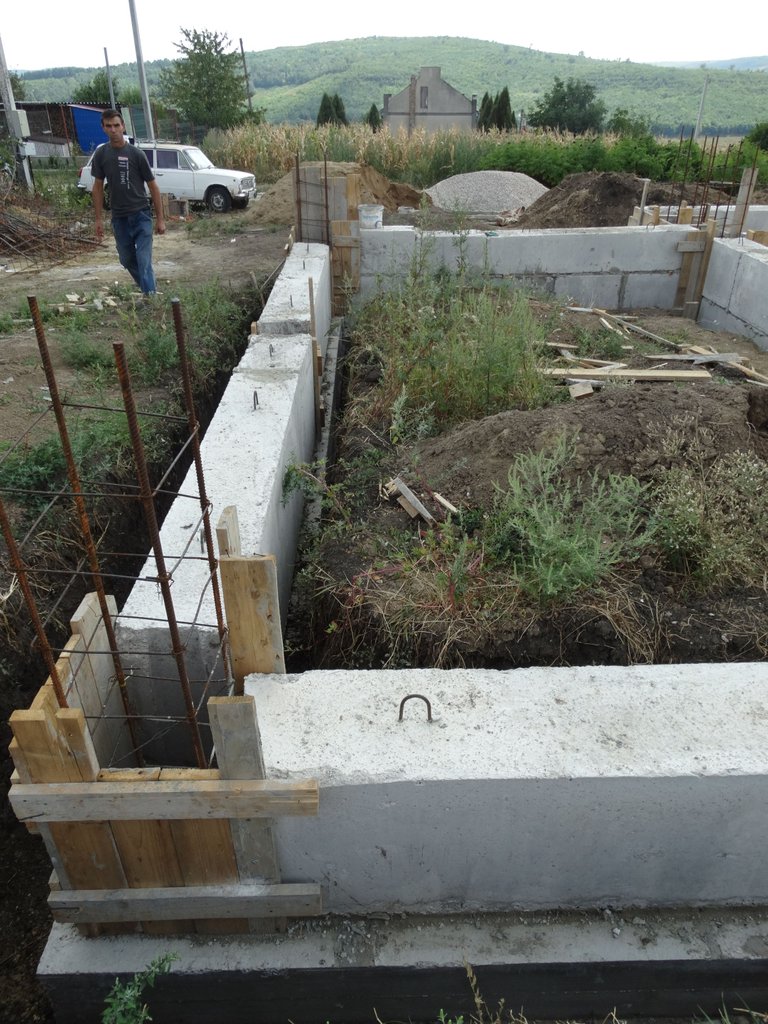
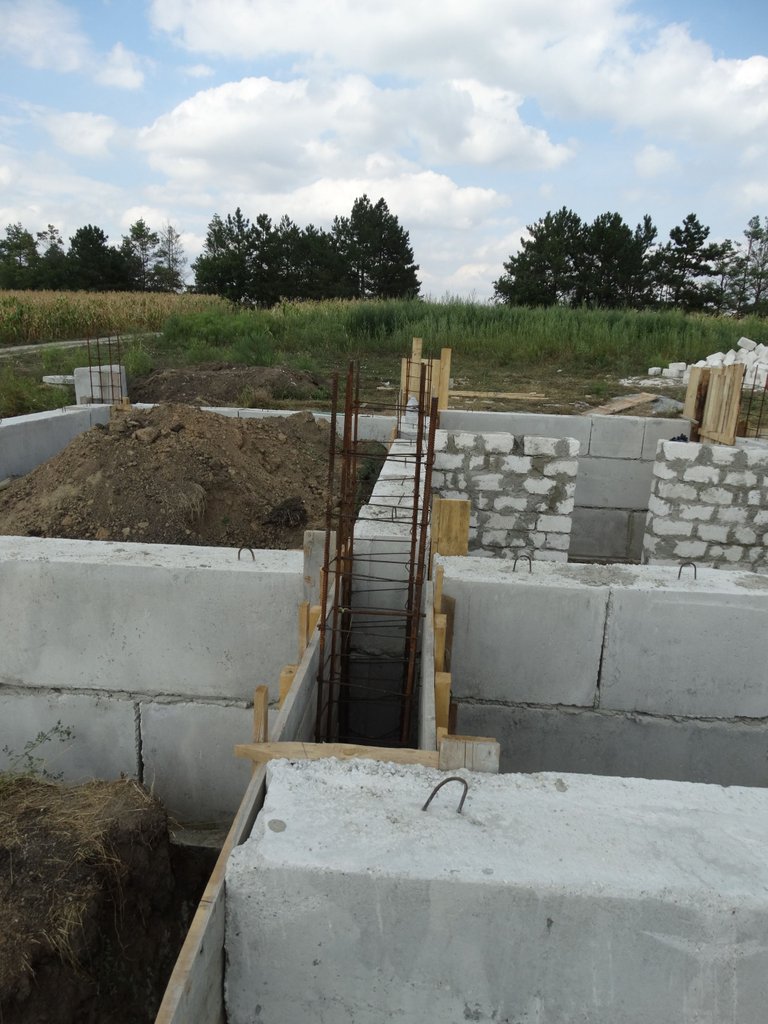
Along the perimeter of my house, according to the project, there will be 14 monolithic columns.
This is the watchman, he wants to leave and I have to spend the night at the construction site, instead of him).
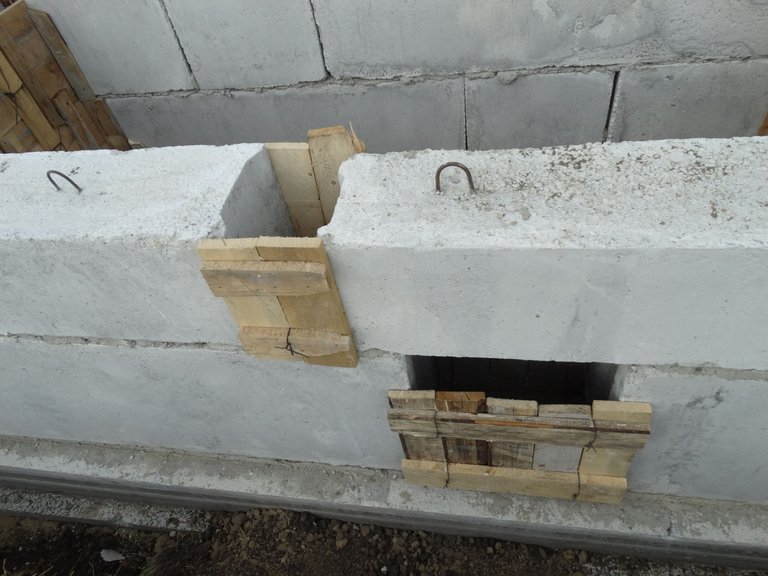
Thus, the formwork was installed at several points, where I made an error in calculating the size of the blocks.
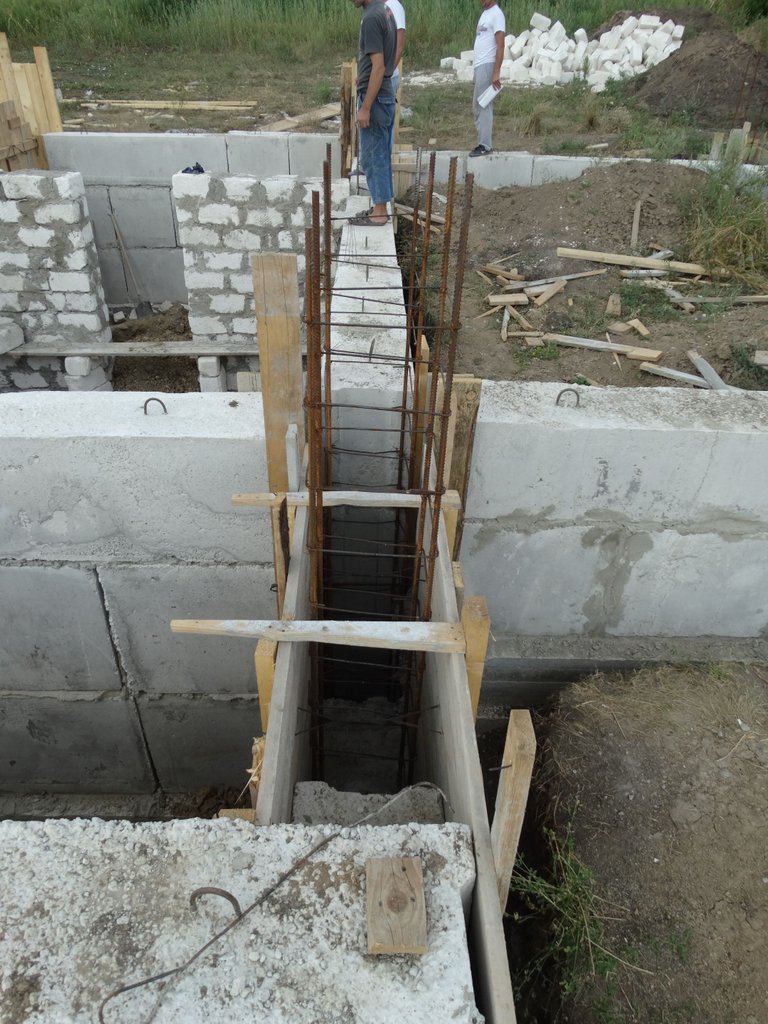
In this photo you can see the formwork of the most difficult section of the foundation, where two levels of the house foundation and the basement foundation meet.
Sometimes, too liquid concrete is brought from factories and this can become a problem if the gaps between the boards are wide.
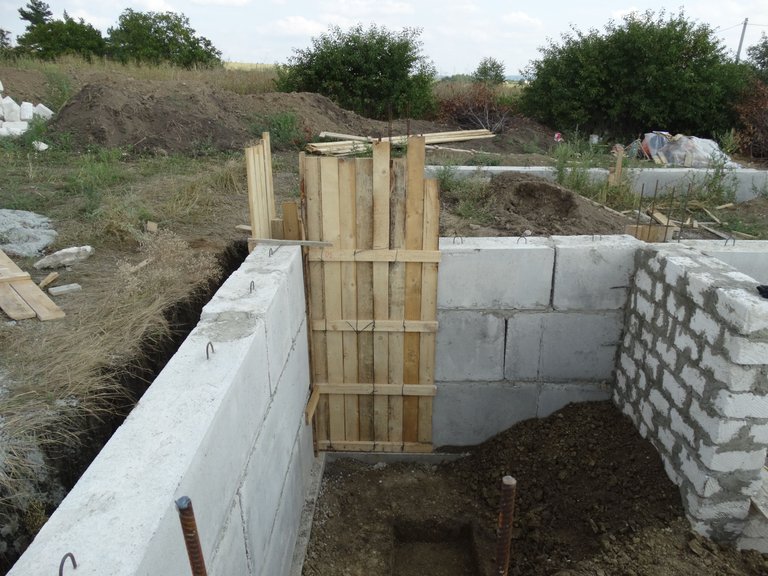
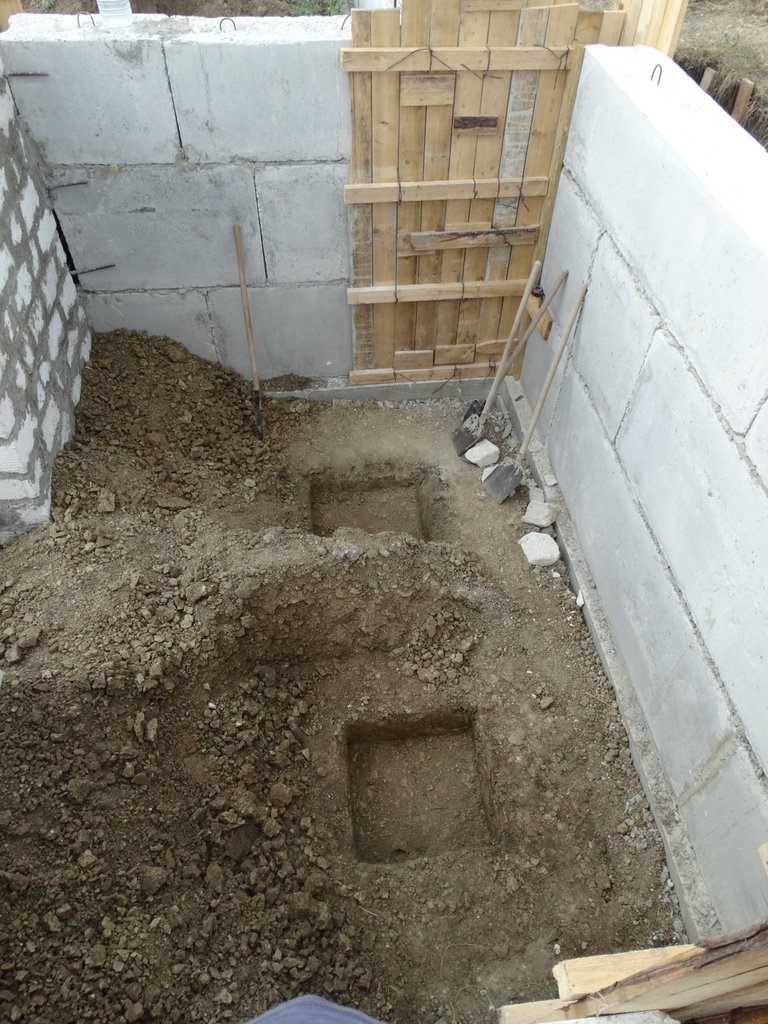
I said that we have to erect 14 columns, but, during construction, I revised the design of the staircases and removed the second light from the underground part of the house, for this, I needed two more columns that would pinch the staircase and give the structure additional strength.
These are two foundation pits for the columns.
The installation of the formwork takes a lot of time, but you do not see the result yet, the house, while, does not grow up. lol.
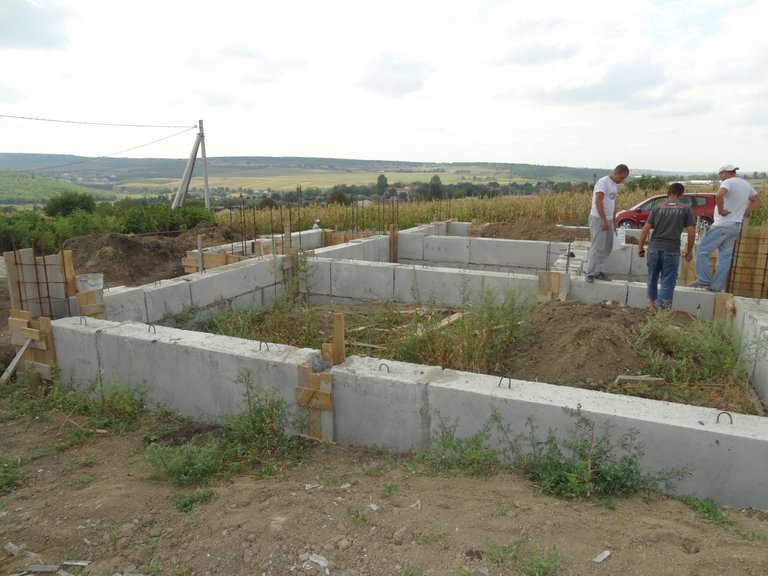
The builders are standing on the edge of our future kitchen, where I plan to put the refrigerator).
The distance between the planks of the steel structure must be at least two and a half centimeters, otherwise the column will not work as it should. I mean torques and load distribution.
There is a saying that says that, before moving to the next level, you need to check your work seven times at the previous stage.
For now, that's all, it remains to calculate the volume of concrete, pay for it at the factory and wait for the mixers.
This time, we need a concrete pump to deliver concrete from one point to each of the twenty formworks. in addition to the columns, the formwork was installed at small gaps between the blocks.
To be continued.
Photos taken with a Sony Cyber-shot DSC-HX300 camera
I edited a photo in the program PhotoDirector, which I also installed on my smartphone.
Author @barski
Ukraine
For my publications, I do not use stock photographs, it is fundamentally important for me to use photographs that I have made with my own hands for publication and I can name them - authorial work.

Well done @barski! We're happy to inform you that this publication was specially curated and awarded RUNNER-UP in Architecture Brew #37. Congratulations!
Subscribe to Architecture+Design, an OCD incubated community on the Hive blockchain.
Thank you so much for the good news! Blessed day to you!
You're most welcome @barski. Congratulations as well on the awesome progress of your dream home. More blessings!
Greetings @barski!
We appreciate this wonderful DIY/Craft article and have manually voted on it. It will interest you to know we have a DIY (do it yourself) and Handmade Craft interface and community built on Hive Network.
Build-it is a DIY (do it yourself) handmade craft social sharing platform that leverages Hive Network for scalability, decentralization, and tokenization. On our unique interface DIY'ers earn 'BUIDL' tokens when publishing their DIY and How-to tutorial/craft simply by using one of our recommended tags: #build-it, #buidl, and #diy respectively. You also earn 30% post rewards when curating on our website. We also sponsor a weekly contest rewarding the best DIY projects with Hive and Buidl tokens respectively. Check it out HERE
Deposit Hive to your Hive-Engine or TribalDex and purchase the token. The ticker is 'BUIDL', or click the quick links below
==> TribalDex
==> Hive-Engine
Connect with us on our friendly socials:
Twitter
Discord
Thank you so much for your support! Blessed day to you!
Wow amazing building, I'm very interested to see and read some of your articles.
I am very glad that you liked the article, my blog is at your service, I hope that you will find something useful for yourself. Have a great day!