

.gif)
| Manos a las obra |
|---|
| Let's get to work |
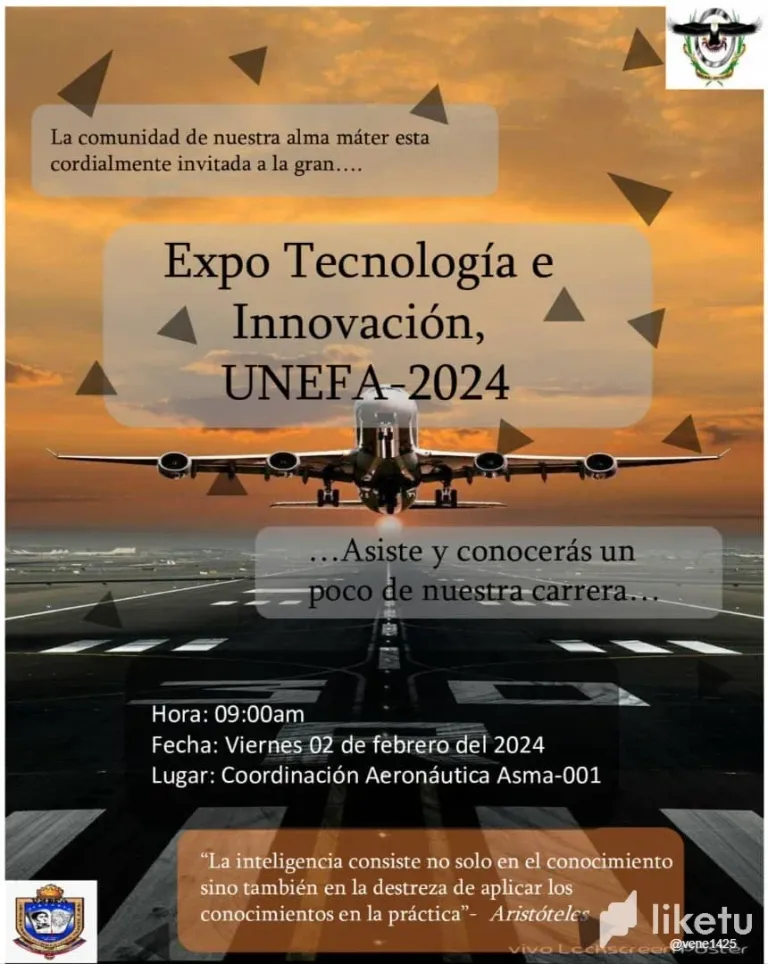
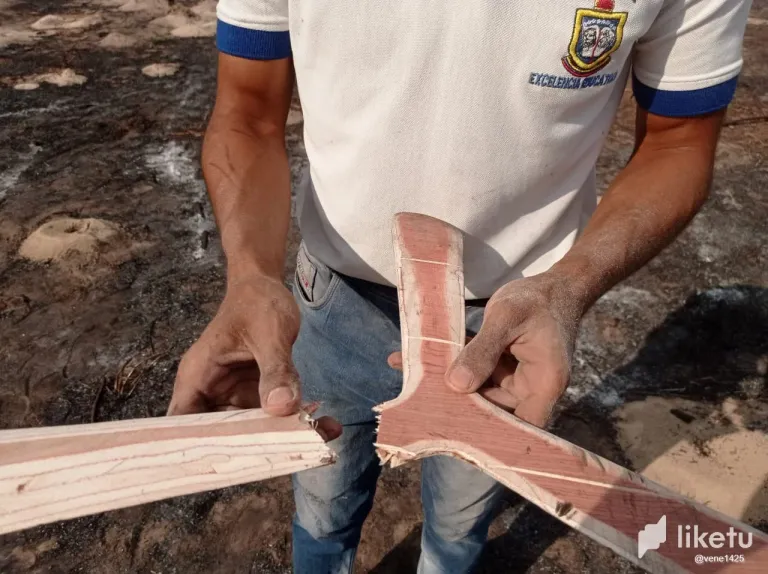
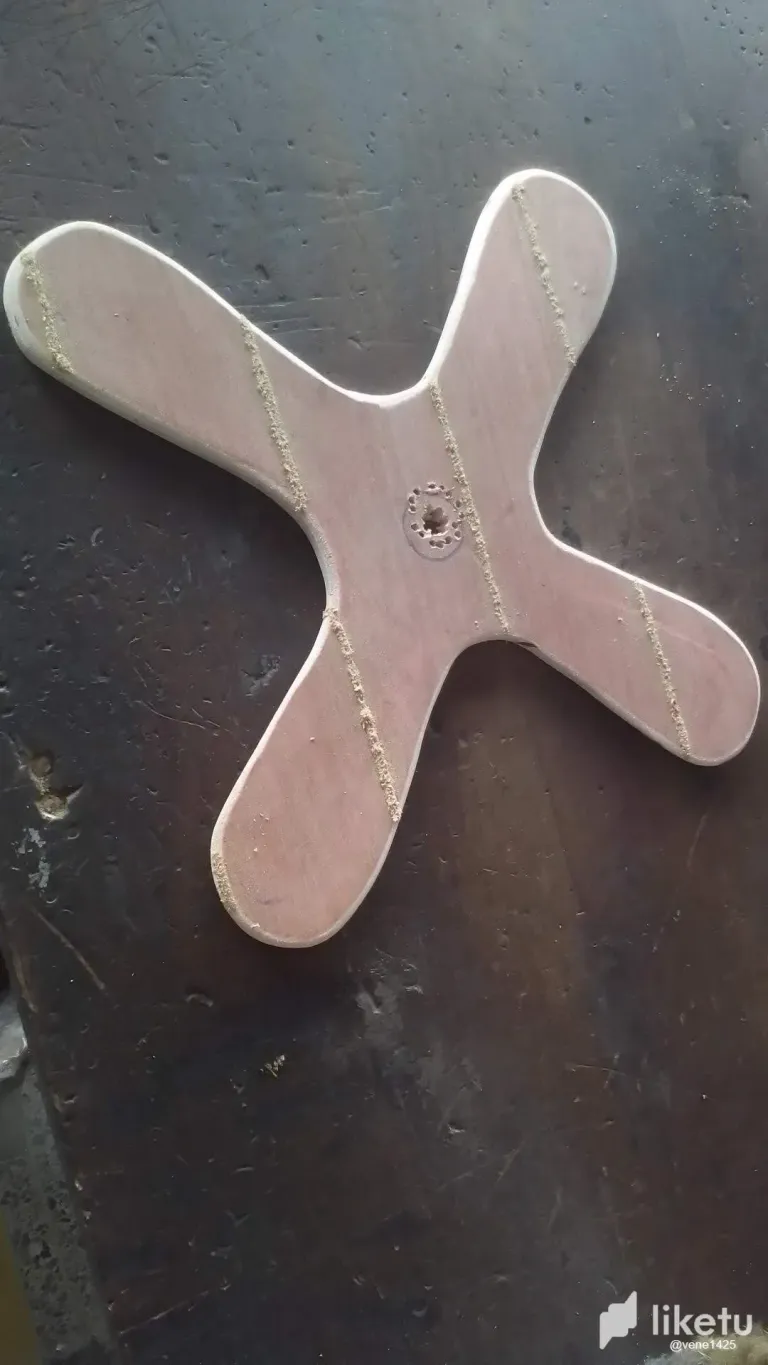
En esta oportunidad no participe como ponente, pero si realice uno de los proyectos que se expuso, él cuál fue la realización de un boomerang desde cero. El cual se hizo en el laboratorio de procesos de la institución. En total se realizaron siete boomerangs los cuales dos por imperfecciones y un mal lanzamiento se rompieron. De esos siete yo realice uno y aquí les mostraré el paso a paso para su realización.
Este proyecto me emocionó mucho porque es la primera vez que trabajo con madera y con máquinas tan grandes, porque si mis compañeros me enseñaron como debía hacerlo y me ayudaron mucho en todo el proceso. Fue un poco agotador porque el trabajo de una semana lo realice casi que en dos días. Y ustedes en este momento se deberán de preguntar ¿por qué lo hice en dos días? Pues la respuesta es simple DESORGANIZACIÓN Y CONTRATIEMPOS, porque no nos podíamos poner de acuerdo para algún diseño y cuando por fin logramos coordinar todo para empezar a trabajar no podíamos encontrar el material, debido a que estaba agotado en los lugares en los cuales íbamos a preguntar. Ya cuando por fin logramos encontrar donde comprar la madera y lijas tardaron en llegar; cosa que duró casi una semana mientras esperábamos (casi se me olvidaba mencionar que la madera que utilizamos fue madera contrachapada y lijas del número 80,120 y 180), a pesar de los contratiempos nos dividimos el trabajo y logramos terminar a tiempo.
Lo más difícil de todo fue cuando pasamos todo un día sin electricidad y no pudimos seguir usando las máquinas de trabajo y nos tocó seguir trabajando a mano y pulso. Sumado a eso también estábamos con la organización de la expo, todo era un caos y solo nos quedaba un día para poder terminar todo.
Ahora bien, pasando a la parte del paso a paso:
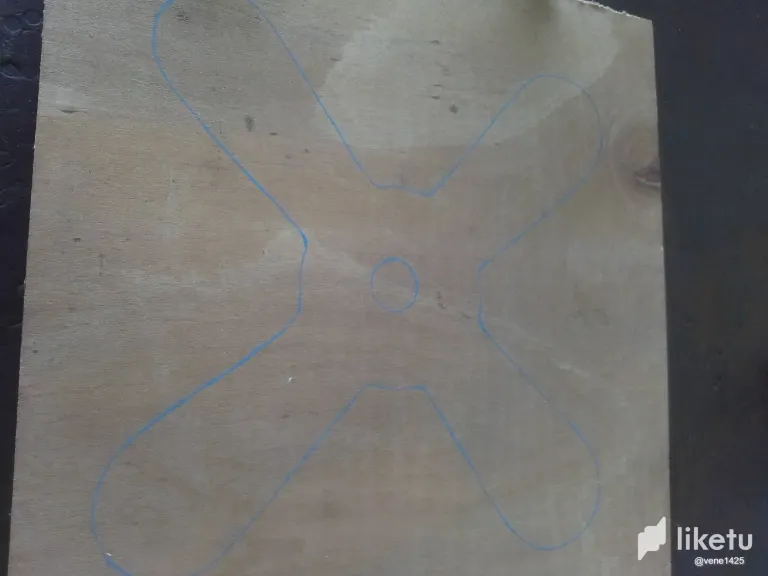
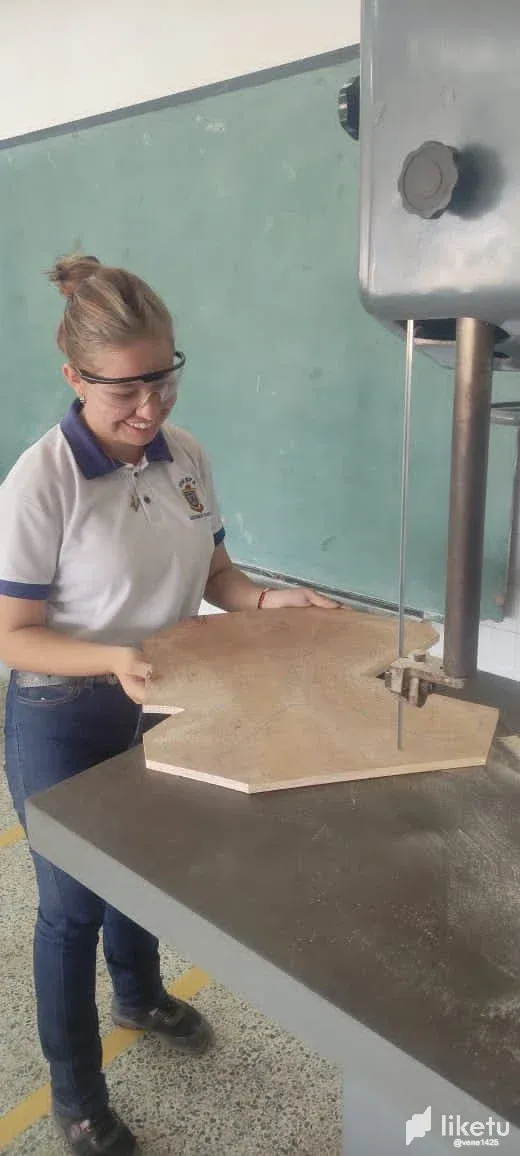
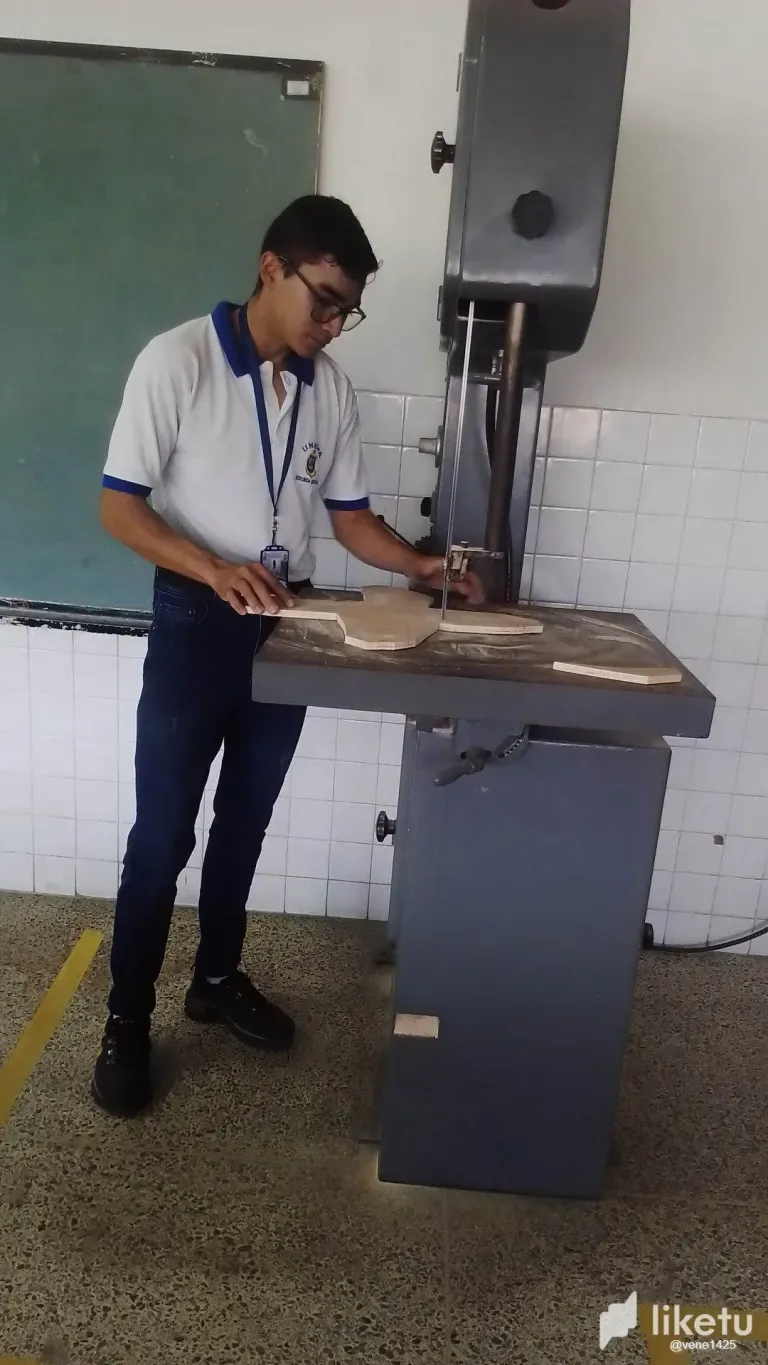
Primero necesitaremos una tabla de madera de contrachapada que sea de 50x50 y diseñar el patrón que queremos usar. Luego debemos calcar el diseño sobre la madera, ya sea con un color o lápiz y procederemos a cortar. Esta parte es un poco difícil (más para lo que tenemos mucha experiencia y es nuestra primera vez trabajando con una cortadora) porque hay que ser muy cuidadosos de no cortar de más o donde no es debido y que posiblemente dañe el patrón.
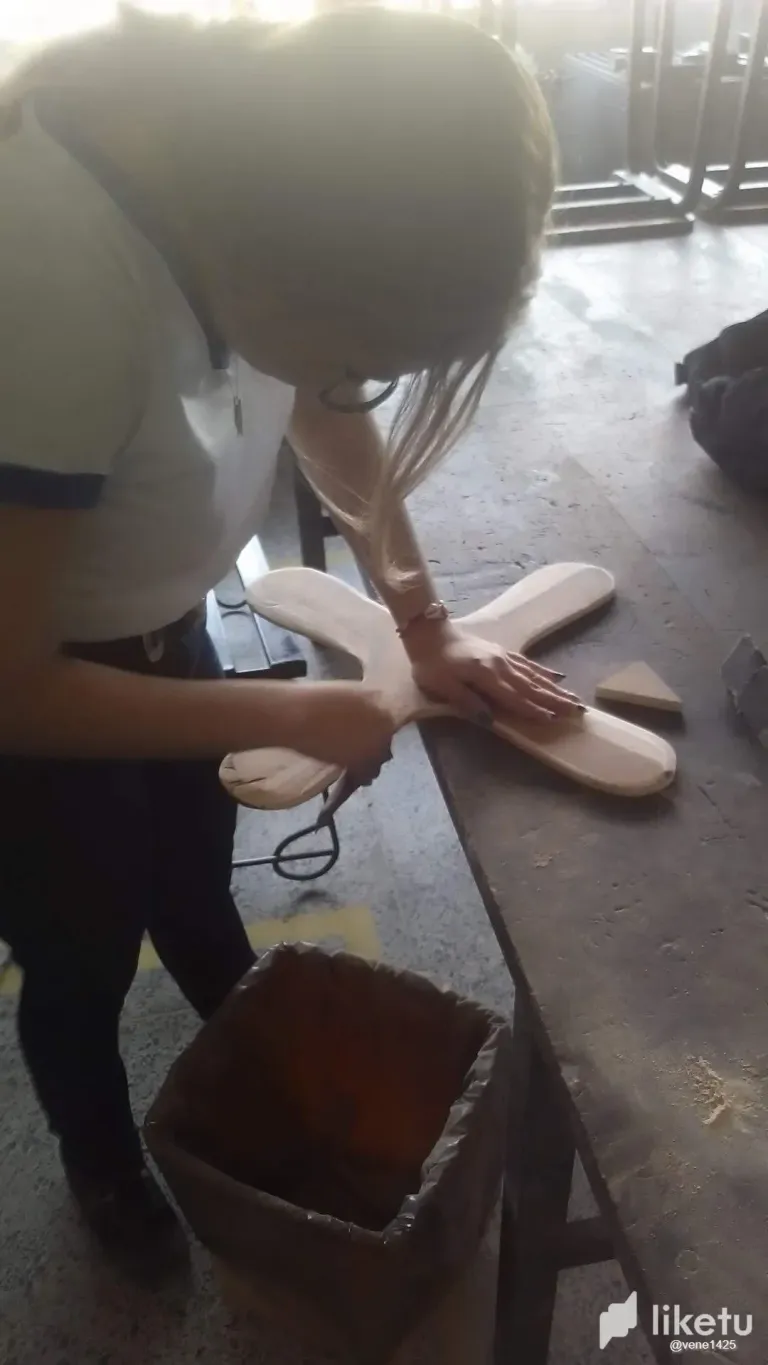
Ya después dibujamos los perfiles los cuales indicarán en qué dirección irá y con qué mano será lanzado, en esto tuvimos un error, porque de casi todos los boomerangs los terminamos haciendo para zurdos y la mayoría somos derechos, de todos solo uno si fue hecho para derechos pero fue uno de los que se partió, aunque eso no nos impidió lanzarlos ya que por suerte tenemos tres compañeros zurdos. Ya para finalizar solo queda lijar y tener mucha paciencia y resistencia en los brazos si se lija a mano, claro está que con una lijadora eléctrica es más fácil y rápido, pero hay que tener cuidado de no lijar de más o se podría romper al volar, o al aterrizar ya que algunos caen de manera muy brusca y hace que se partan un poco o se astillen.
Por último sólo quiero darles las gracias por dedicarme un minuto de su tiempo para leerme, espero que lo hayan disfrutado. Nos vemos la semana que viene, con alguna aventura, anécdota o nuevo aprendizaje.
In this opportunity I did not participate as a speaker, but I did one of the projects that was exposed, which was the realization of a boomerang from scratch. Which was made in the process laboratory of the institution. In total seven boomerangs were made, two of which broke due to imperfections and a bad launch. Of those seven I made one and here I will show you step by step for its realization.
This project made me very excited because it was the first time I worked with wood and with such big machines, because my colleagues taught me how to do it and helped me a lot in the whole process. It was a little exhausting because I did a week's work in almost two days. And you must be wondering why I did it in two days? Well the answer is simple DISORGANIZATION AND CONTRACTING, because we could not agree on any design and when we finally managed to coordinate everything to start working we could not find the material, because it was out of stock in the places where we were going to ask. When we finally managed to find where to buy the wood and sandpaper it took almost a week while we were waiting (I almost forgot to mention that the wood we used was plywood and sandpaper number 80, 120 and 180), despite the setbacks we divided the work and managed to finish on time.
The most difficult of all was when we spent a whole day without electricity and we could not continue using the work machines and we had to continue working by hand and pulse. In addition to that we were also with the organization of the expo, everything was chaos and we only had one day left to finish everything.
Now, moving on to the step by step part:
First we will need a plywood board that is 50x50 and design the pattern we want to use. Then we must trace the design on the wood, either with a color or pencil and proceed to cut. This part is a little difficult (more for those who have a lot of experience and it is our first time working with a cutter) because we must be very careful not to cut too much or where it is not due and possibly damage the pattern
Afterwards we draw the profiles which will indicate in which direction it will go and with which hand it will be launched, in this we had a mistake, because almost all the boomerangs we ended up making them for left-handed and most of us are right-handed, only one of them was made for right-handed but it was one of those that broke, although that did not prevent us from launching them since luckily we have three left-handed partners. Finally, the only thing left to do is to sand and have a lot of patience and resistance in the arms if sanding by hand, of course with an electric sander is easier and faster, but you have to be careful not to sand too much or it could break when flying, or when landing as some fall very abruptly and causes them to split a little or splinter.
Finally I just want to say thank you for giving me a minute of your time to read it, I hope you enjoyed it. See you next week, with some adventure, anecdote or new learning.

| Créditos | Credits |
|---|---|
| Cámara | Camera |
| @vene1425 @unefaaragua | @vene1425 @unefaaragua |
| Herramientas de edición y Producción | Editing and Production Tools |
|---|---|
| Traductor:DeepL | Translator:DeepL |
| Aplicación de edición:Canva | Editing application:Canva |

| Nos vemos en una siguiente publicación y recuerden el cielo es el límite. |
|---|
| See you in the next post and remember the sky's the limit. |
For the best experience view this post on Liketu
Sigue avanzando en tus metas y propósito de vida. Bendiciones
Gracias 😁😁
Holaaa un gustoo, me gustaría nominarte para una delegación de 500 HP por un mes, si te interesa, me avisas y concretamos habalar.
Holaa, mucho gusto. Me interesa, ¿En que consiste y cómo sería?
Yo tengo que realizar un post, exicando porque te nomino, que es lo que haces dentro de hive y a que aspiras llegar en hive. Puede ver en mis post que ya he nominado a 3.
Cualquier duda nos contactamos por alguna red social.
Congratulations @vene1425! You have completed the following achievement on the Hive blockchain And have been rewarded with New badge(s)
Your next target is to reach 400 upvotes.
You can view your badges on your board and compare yourself to others in the Ranking
If you no longer want to receive notifications, reply to this comment with the word
STOPCheck out our last posts:
Thank you😄😄
Go for it @vene1425! You've got what it takes to reach your new target on Hive.
❤️❤️
this looks like it was a fun event!