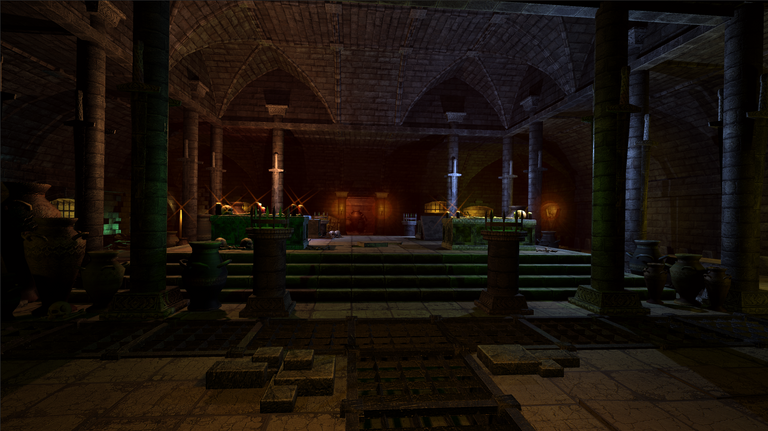
I posted initially about this pixelization technique in this post as a solution to when Color Grid technique is not an option. Then yesterday I posted some examples and statistics on the amount of space saved by using this technique on 3DForge's asset Village Exteriors. I indicated I would share some other assets converted and what they look like if there was interest. This is 3DForge's Village Interiors and I specifically took screenshots of a Catacomb and an Inn scene in increasing progression. I am going to show each progressing from unconverted, to 8x8 pixels, 16x16 pixels, and finally 32x32 pixels style as explained in the previous posts.
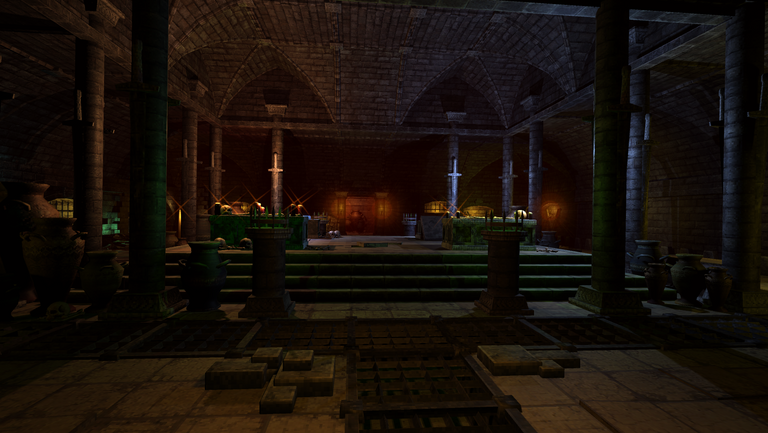
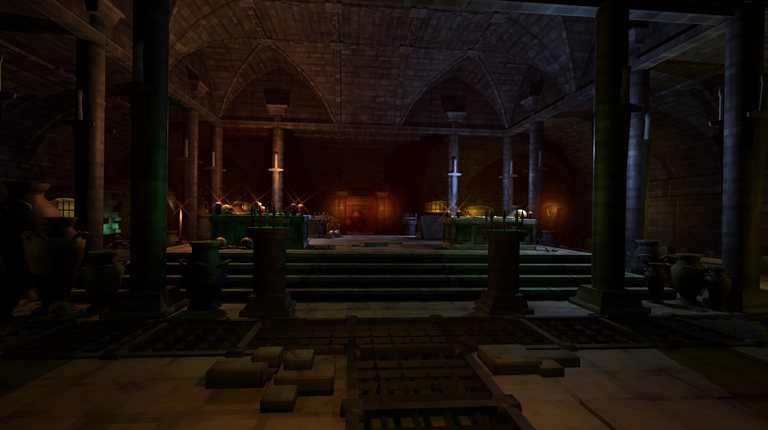
Catacomb Scene - Unconverted, 8x8, 16x16, and 32x32

Inn Scene - Unconverted, 8x8, 16x16, and 32x32
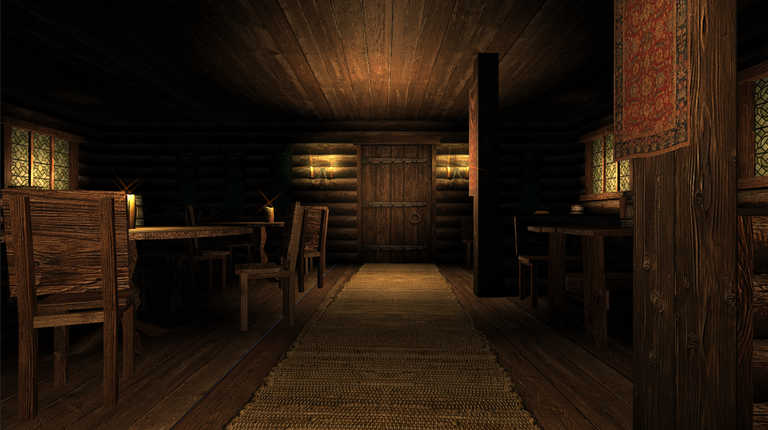


The inn has some details in the shot that make it very easy to see the difference. Look at the floor covering (rug), and the wall hanging. It is extremely obvious in both of those.
lot's of vibe here and I love the chunkiness of 16x16 :D
I tend to bounce between liking 8x8 and 16x16 the most myself. :)
I have completed 3DForge's Cave Adventure, and TaD (sewer, tile a dungeon) set as well. I've also converted Manufactura K4's Underworld. Which pixelization level looks best greatly depends upon the detail of the original.
I will likely share a post with those tomorrow.