Hello hivers
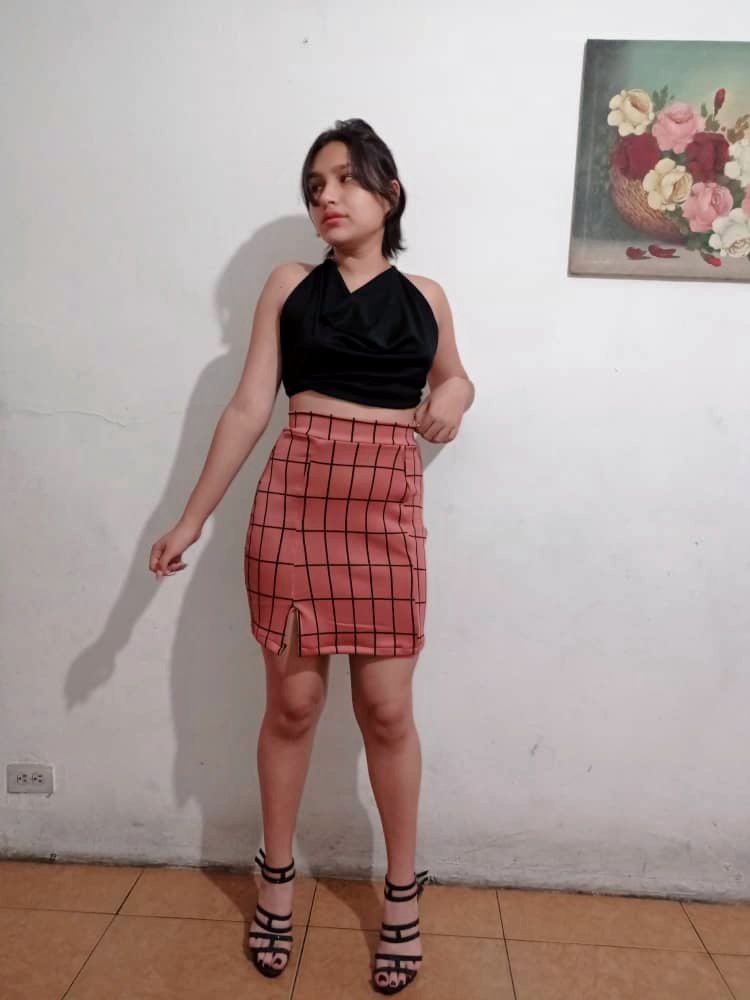
Bienvenidos a mi blog, el día de hoy quiero que me acompañen a hacer una falda con una pequeña abertura, desde cero, les estaré explicando un poco el proceso de cómo hacer un patrón y la falda, no tengo mucha experiencia asi que quiero aclarar que esto no es un tutorial.
Sin más nada que decir acompáñenme a esta aventura:
Para empezar, primero haremos el patrón:
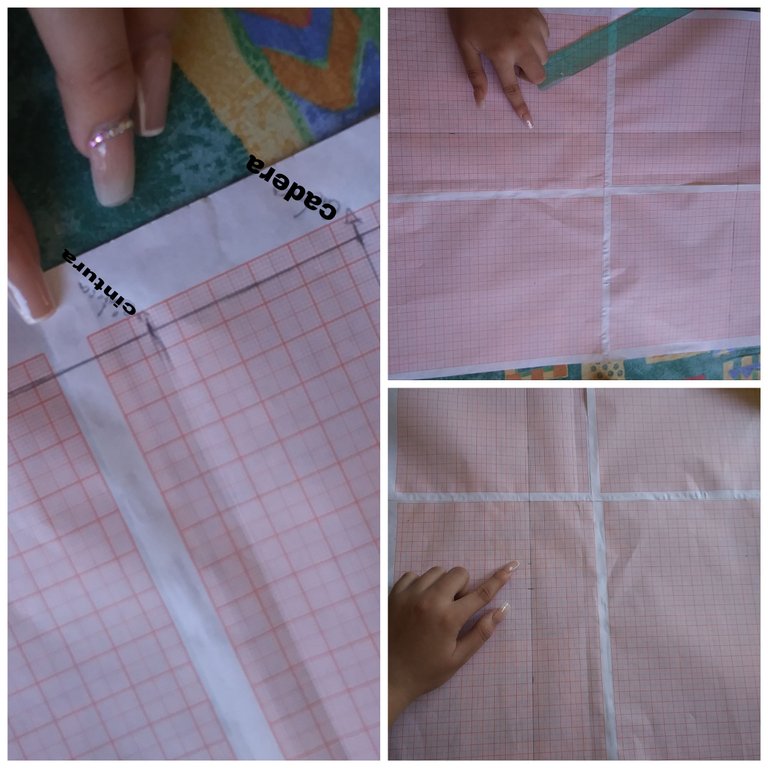
- 1er paso: Haremos una linea y allí marcaremos nuestra cintura y cadera dividida en 4.
Ejemplo: Mi cintura es 88/4 = 22 y mi cadera 107/4 = 26,75
2do paso: Haremos una linea desde donde marcamos la cadera hasta el largo que queramos, en mi caso es 44cm y así completamos el rectangulo
3er paso: Marcaremos de la linea de cadera hacia abajo, la cadera dividida en 6 mas 2,5
Ejemplo: 107/6 = 17,83 + 2,5 = 20,3
En la siguiente imagen podrán observar el primer paso en la primera foto, en la segunda, el segundo paso y en la tercera, el tercer paso:
Welcome to my blog, today I want you to join me to make a skirt with a small opening, from scratch, I will be explaining a little bit the process of how to make a pattern and the skirt, I don't have a lot of experience so I want to clarify that this is not a tutorial.
So without further ado, join me on this adventure:
To begin with, we will first make the pattern:
- 1st step: We will make a line and there we will mark our waist and hips divided in 4.
Example: My waist is 88/4 = 22 and my hips 107/4 = 26,75
- 2nd step: We will make a line from where we mark the hip to the length we want, in my case it is 44cm and so we complete the rectangle.
- 3rd step: We will mark from the hip line downwards, the hip divided in 6 plus 2,5
Example: 107/6 = 17,83 + 2,5 = 20,3
In the following picture you can see the first step in the first picture, the second step in the second picture and the third step in the third picture:
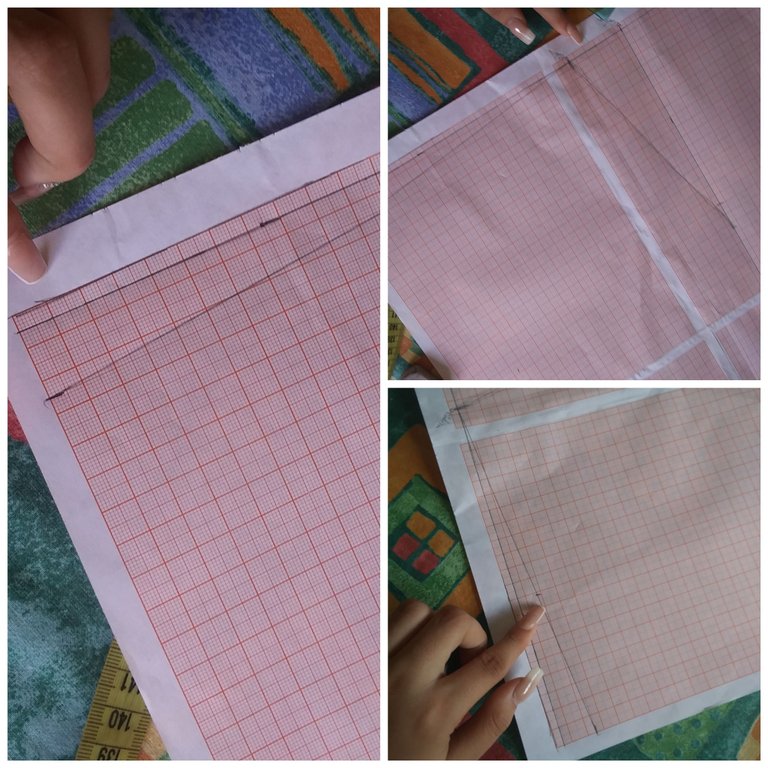
4to paso: Marcaremos 2cm hacia abajo en el punto que se observa en la foto y uniremos con el de la cintura. (Este paso se puede observar en la primera imagen de a continuación)
5to paso: Uniremos los puntos de la cintura con el de donde anteriormente habíamos dividido la cadera/6 (Este paso se puede observar en la segunda imagen de a continuación)
6to paso: Marcaremos nuestra cintura/10 (Este paso se puede observar en la tercera imagen de a continuación)
Ejemplo 88/10 =8,8
4th step: Mark 2cm downwards at the point shown in the photo and join with the waist. (This step can be seen in the first picture below).
5th step: We will join the points of the waist with the point where we had previously divided the hip/6th (This step can be seen in the second image below).
6th step: We will mark our waist/10 (This step can be seen in the third picture below)
Example 88/10 =8,8
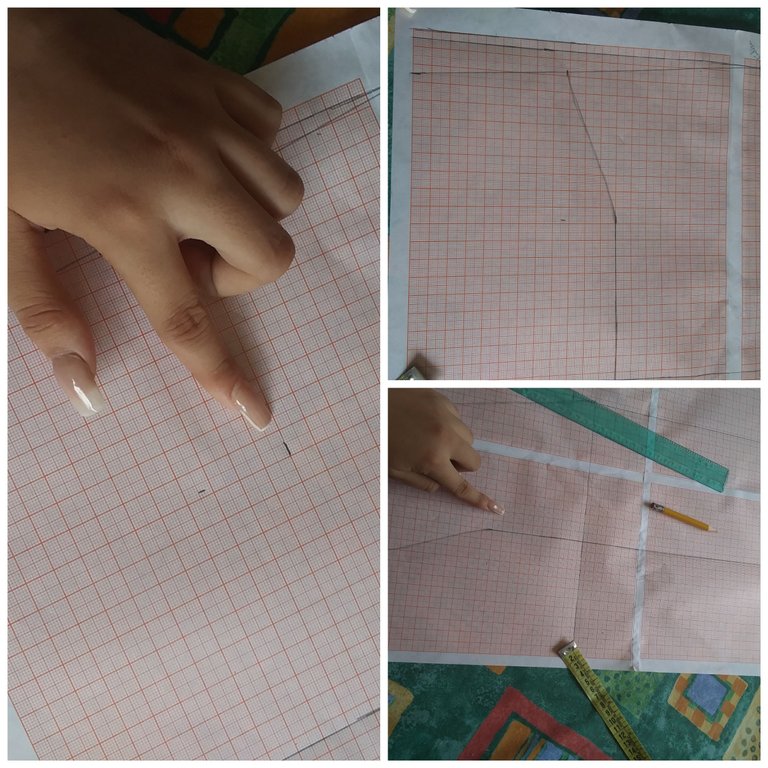
7mo paso: Donde marcamos nuestra cintura/10 bajaremos 9cm a partir de allí mediremos la mitad, marcamos, luego unimos los dos puntos y pasamos una linea recta hasta nuestro largo.
En esta imagen podrán apreciar el 7mo paso:
7th step: Where we marked our waist/10 we will go down 9cm from there we will measure the middle, mark, then join the two points and pass a straight line to our length.
In this picture you can see the 7th step:
Nos queda, solo cortar nuestro patrón, le daremos 2cm de costura a todos los lados y cortaremos así:
All that's left is to cut out our pattern, give it a 2cm seam allowance on all sides and cut it out like this:
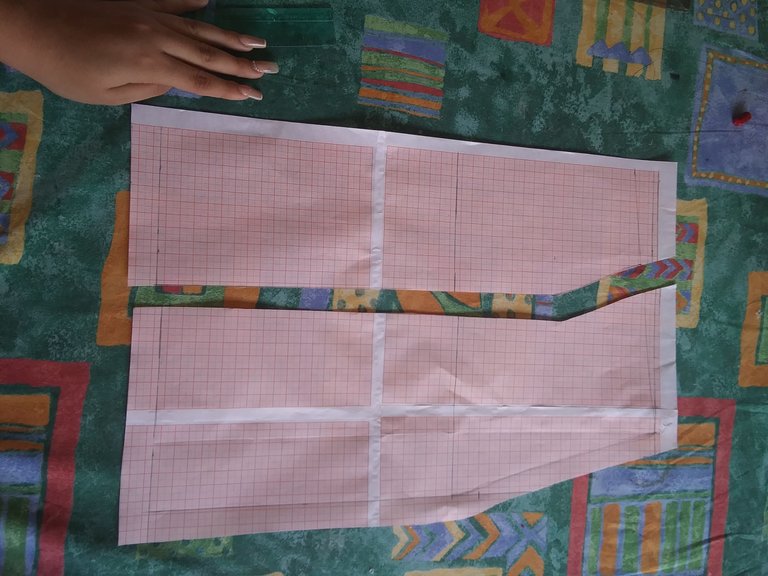
Para el patrón trasero, haremos lo mismo pero solo hasta el 5to paso.
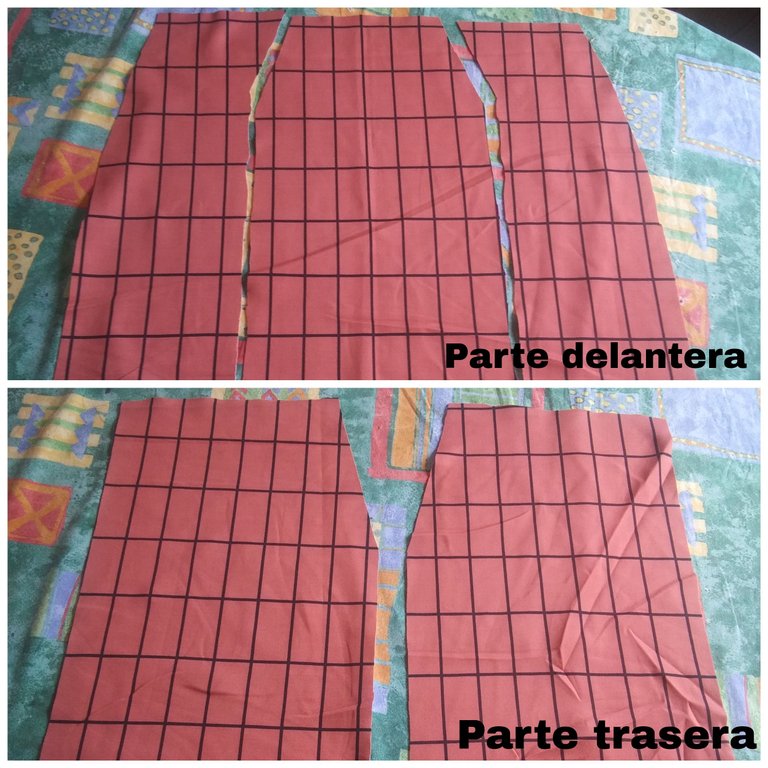
Lo que sigue es doblar nuestra tela, colocar los moldes y cortar, algo asi debe quedar:
For the back pattern, we will do the same but only up to the 5th step.
The next step is to fold our fabric, place the moulds and cut, something like this should look like this:
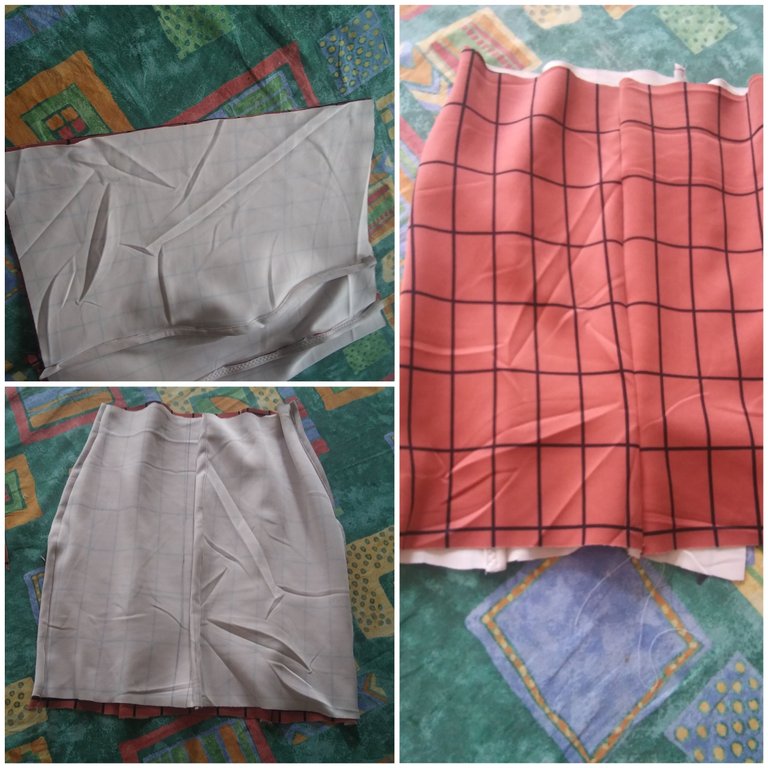
1er paso para armar la falda: Colocaremos alfileres justo como aparecen las fotos dejaremos una pequeña abertura de 10cm en el lado derecho.
1st step to assemble the skirt: Place pins just as shown in the pictures and leave a small opening of 10cm on the right side.
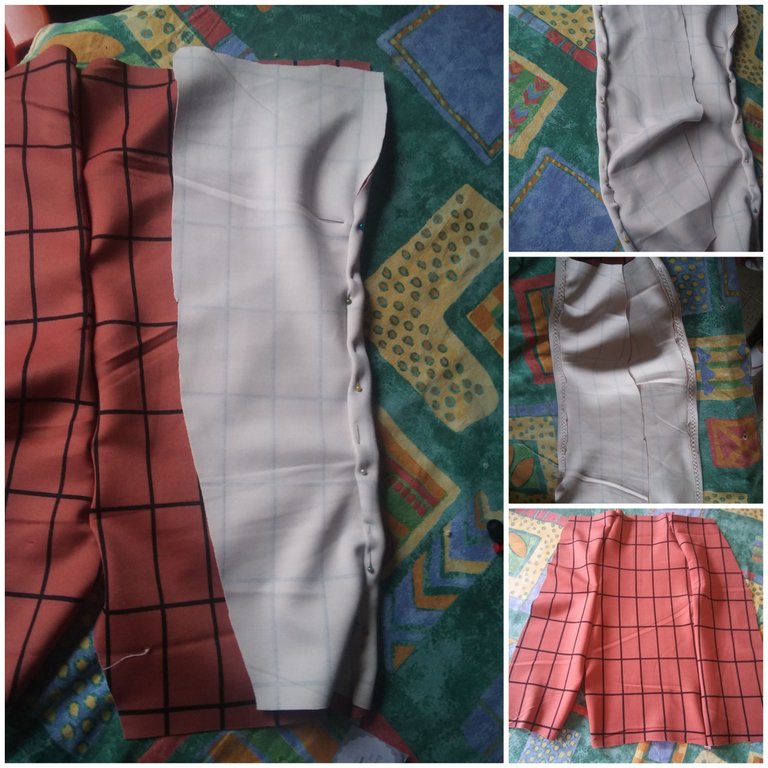
2do paso: Coseremos las partes traseras justo asi:
2nd step: We sew the back parts just like this:
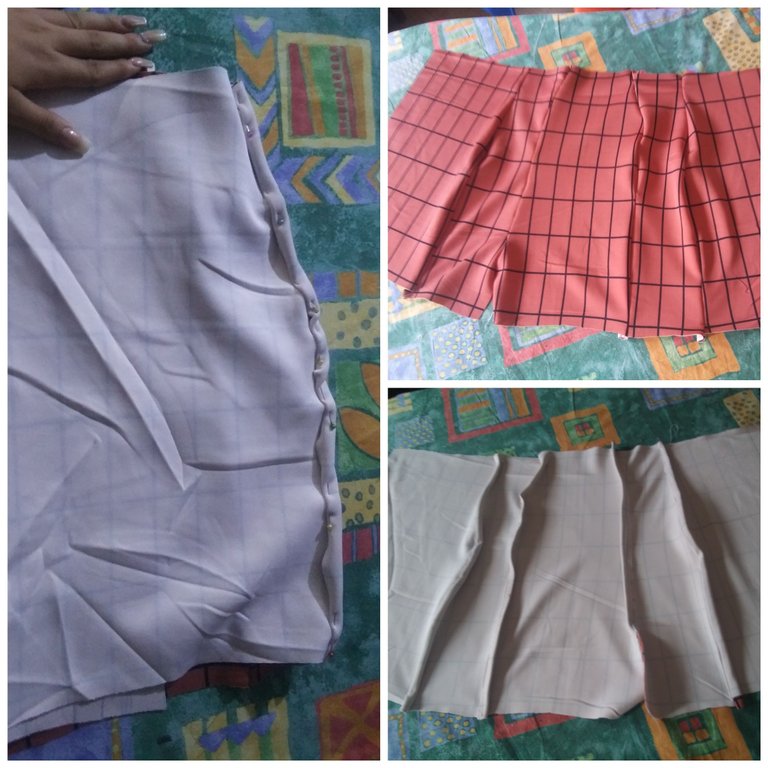
3er paso: Cerramos por completo la falda con una costura, luego agarraremos el ruedo de nuestra pequeña abertura
3rd step: We close the skirt completely with a seam, then we grab the hem of our small opening.
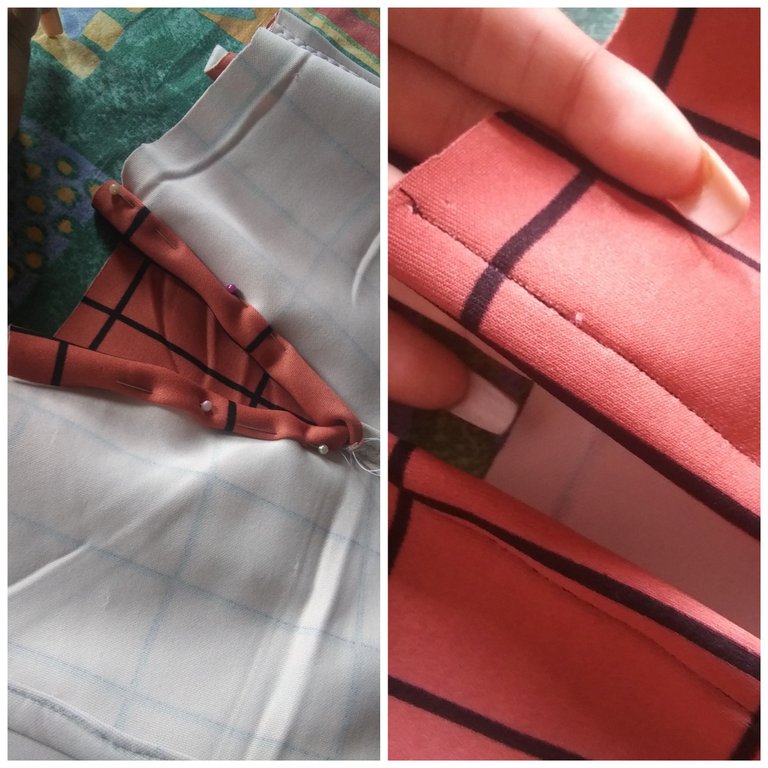
4to paso: Colocar la pretina y agarrar el ruedo
4th step: Attach the waistband and grasp the hem.
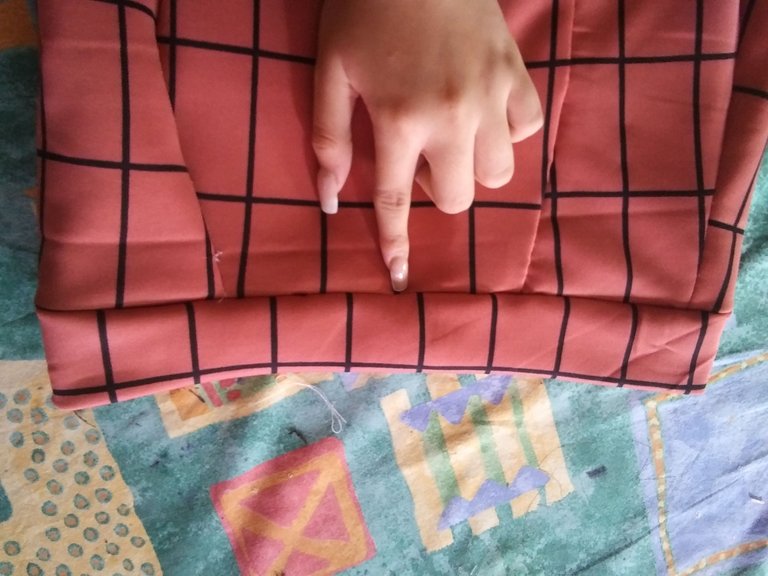
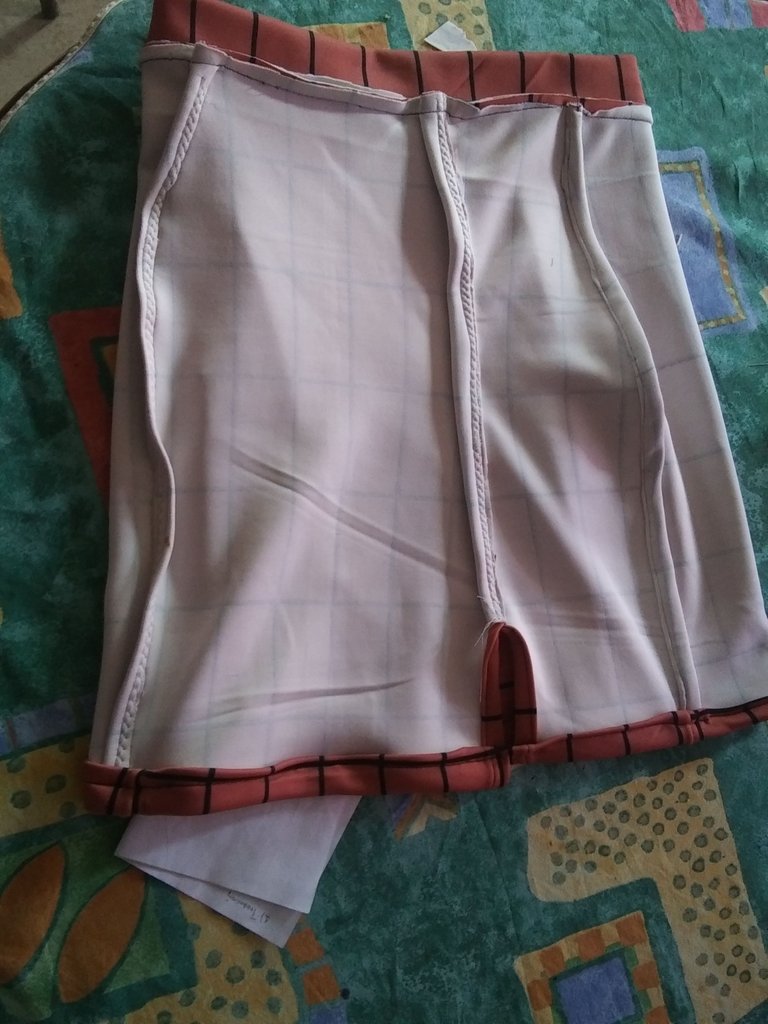
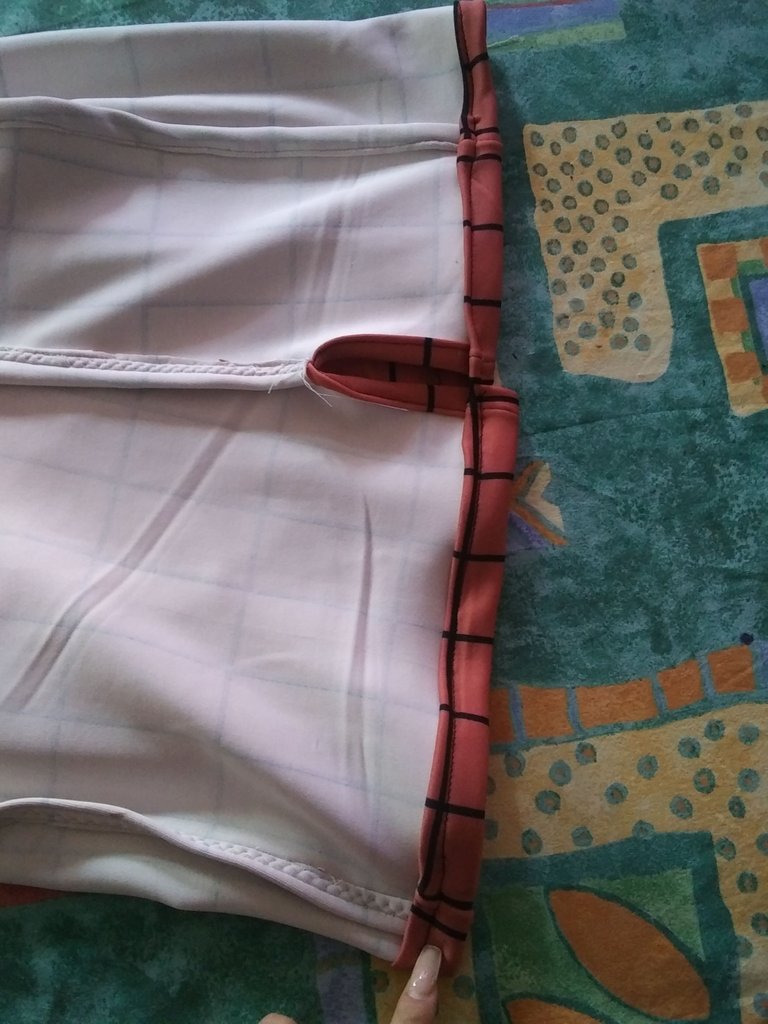
Y asi me quedo:
And so I remain:
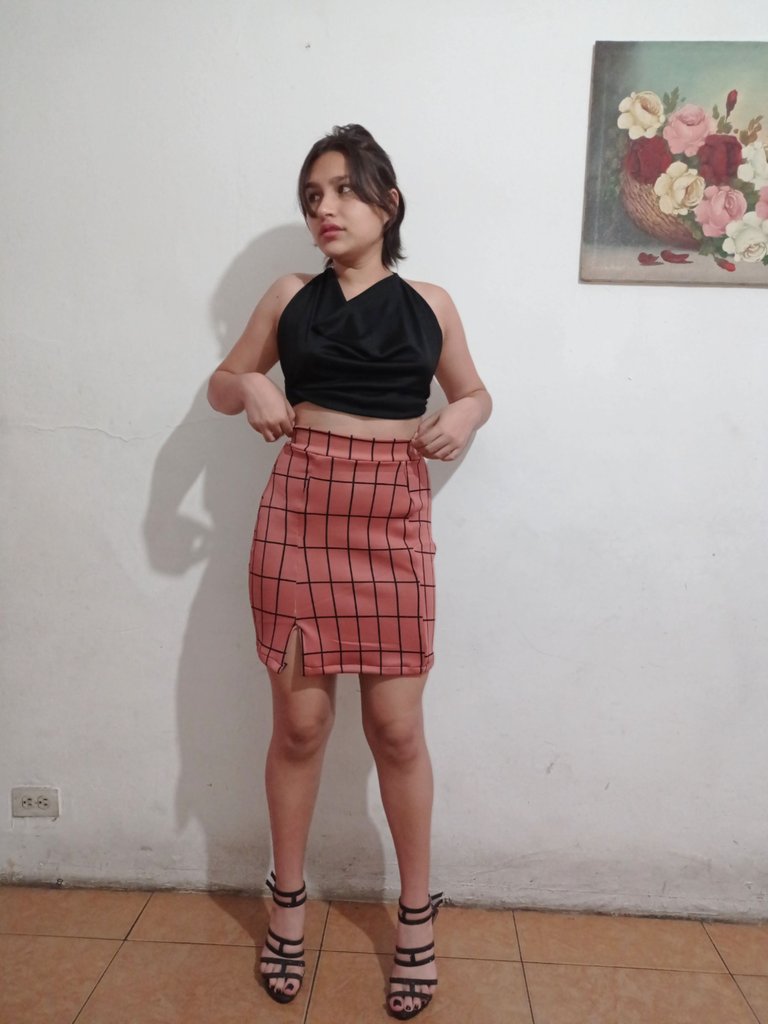
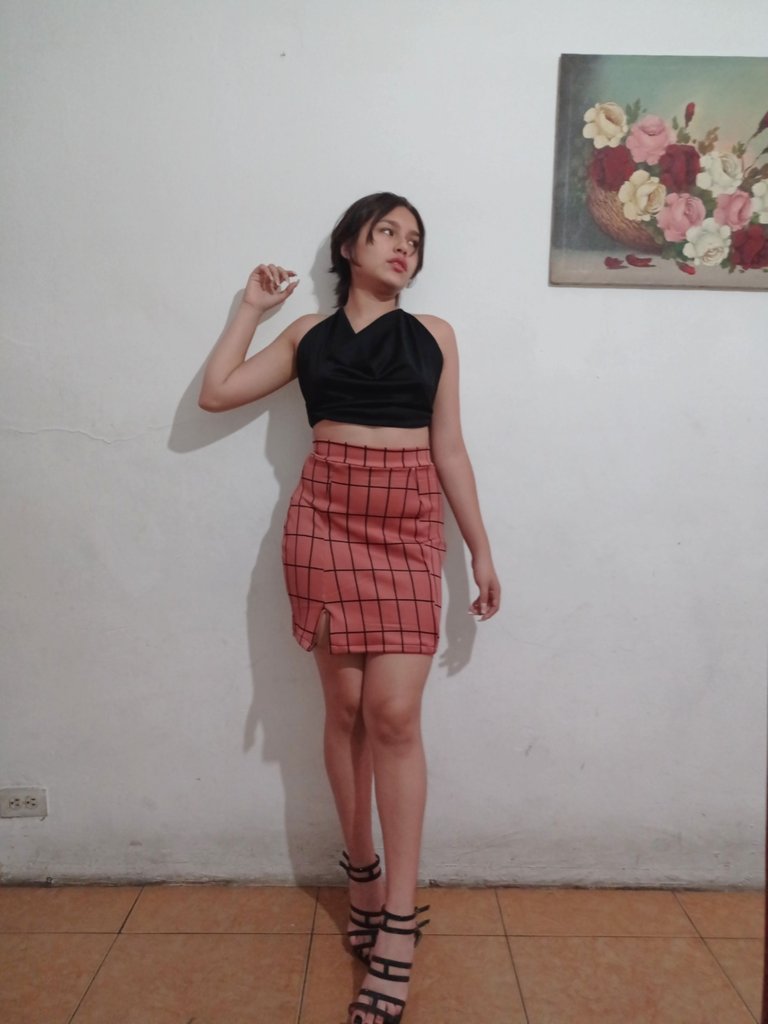
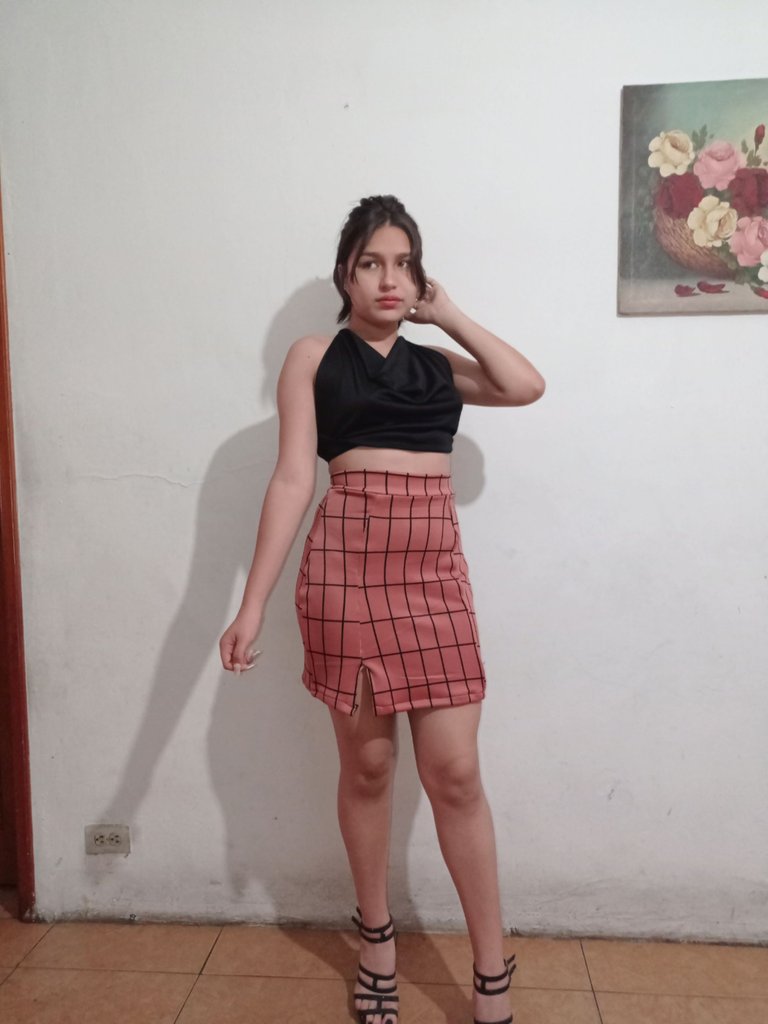
Y eso fue todo por el día de hoy, gracias por leerme una vez más espero les haya sido útil, un gran abrazo y hasta mi próximo post.
No olviden dejarme en los comentarios que les pareció.
And that's all for today, thanks for reading me once again, I hope it has been useful, a big hug and see you in my next post.
Don't forget to let me know in the comments what you thought of it