.jpeg)

Español
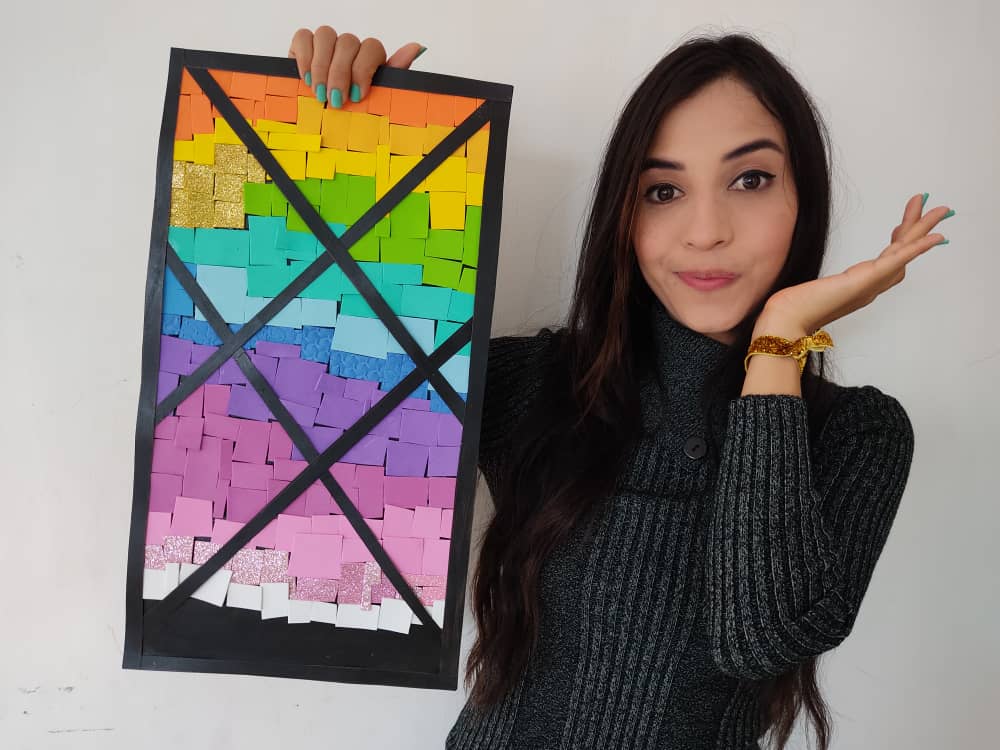
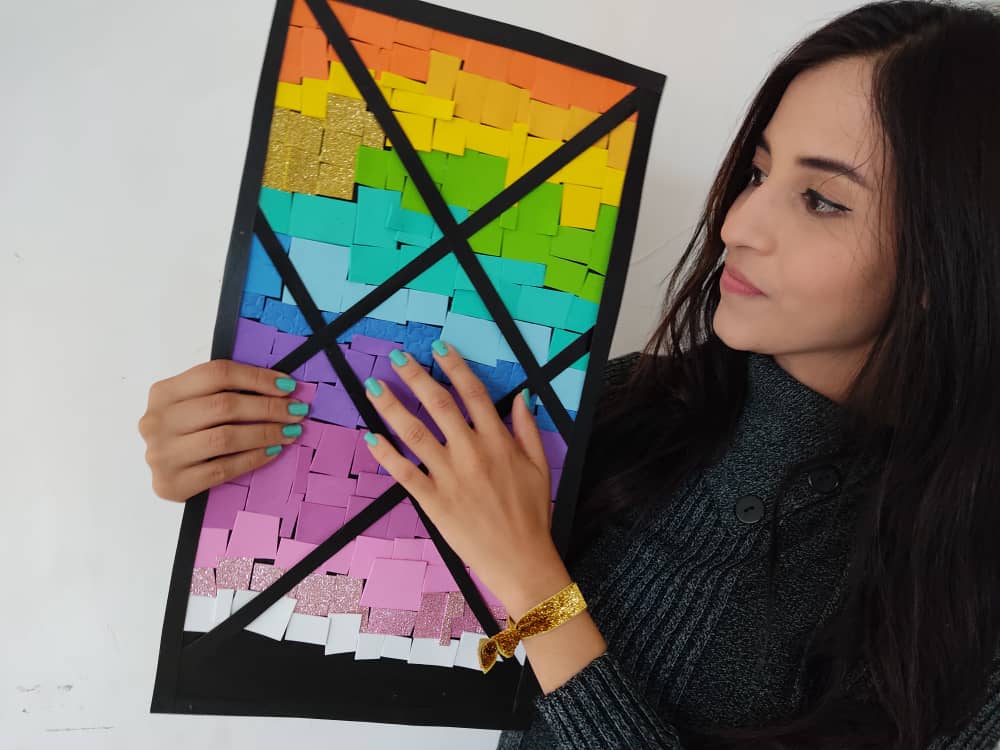
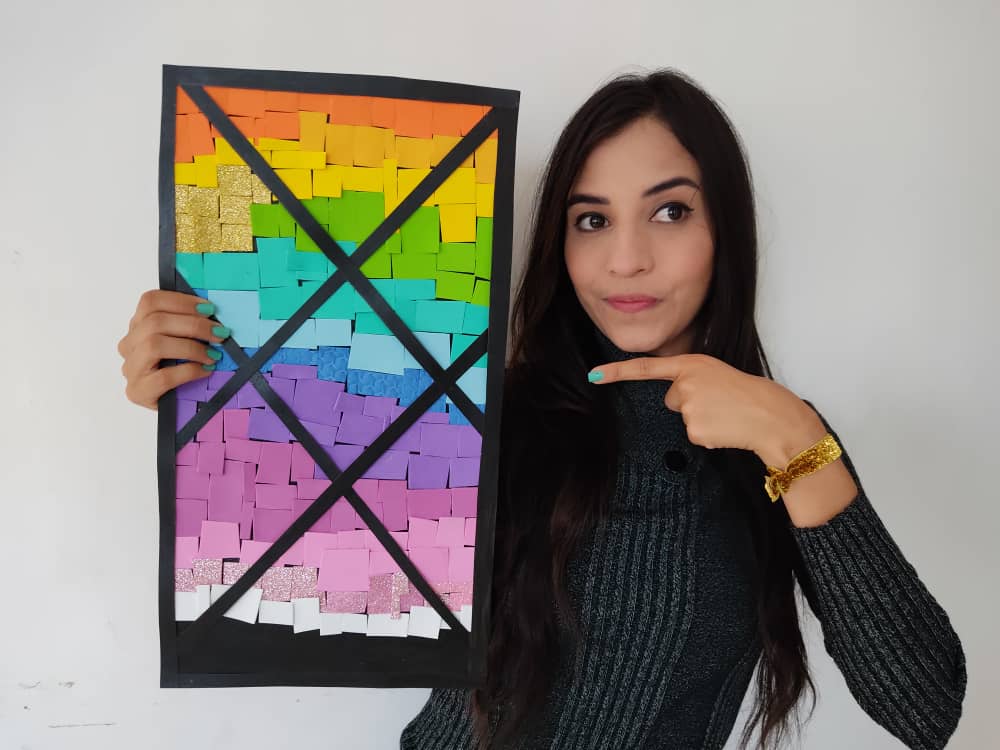
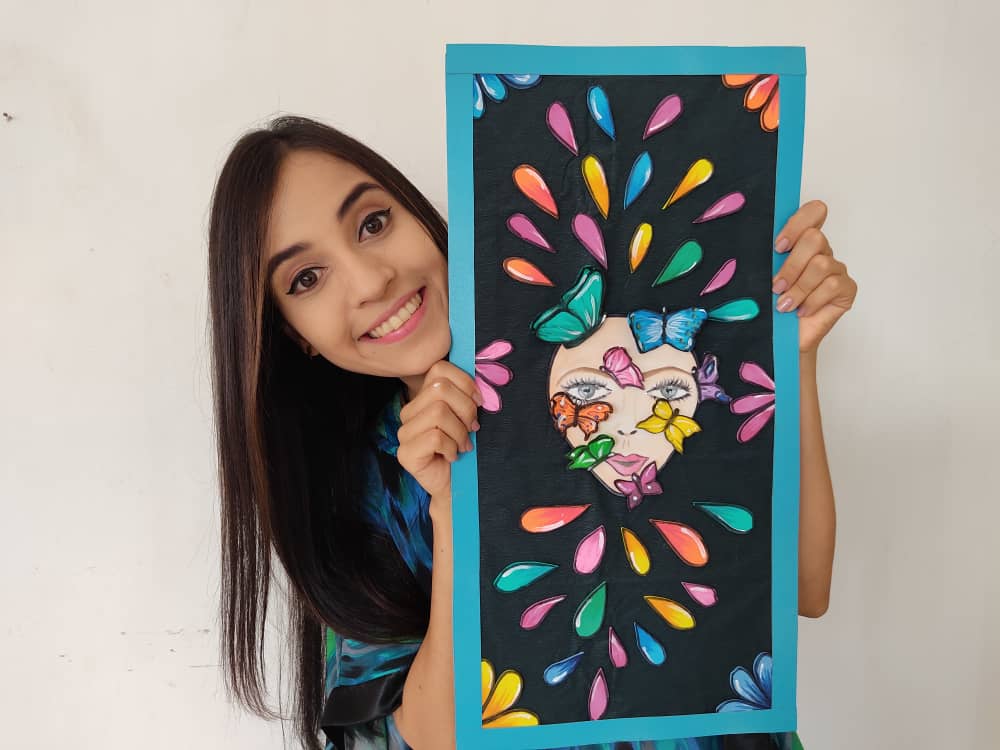
Hola querida familia 🙋 En esta oportunidad tengo el placer de mostrarle un nuevo paso a paso, lleno de color y creatividad, pues se trata de un cuadro multicolor, súper fácil de hacer y sobre todo muy divertido a la hora de practicarlo junto a nuestros pequeños, y así seguir construyendo con su desarrollo, educativo y artístico. La verdad no dudo que luego de esta cuarentena se formen increíbles y maravillosos artistas en cada casa, llenos de pasión por hacer lo que aman, y por supuesto aprendiendo algo nuevo cada día, para lograr la perfección, no olviden el secreto para llegar a la perfección es la paciencia.
English
Hello dear family 👋 This time I have the pleasure of showing you a new step by step, full of color and creativity, because it is a multicolored box, super easy to make and above all very fun when practicing with our little ones, and thus continue building with its development, educational and artistic. The truth I do not doubt that after this quarantine incredible and wonderful artists are formed in each house, full of passion to do what they love, and of course learning something new every day, to achieve perfection, do not forget the secret to reaching the perfection is patience.
¿Qué están esperando?
Utilizar estos hermosos materiales para transformarlos en un hermoso cuadro es una idea muy original y económica para decorar nuestro entorno. Antes de comenzar no olvidemos lavarnos nuestras manos.
What are they waiting for?
Using these beautiful materials to transform them into a beautiful painting is a very original and economical idea to decorate our environment. Before we start, let's not forget to wash our hands.

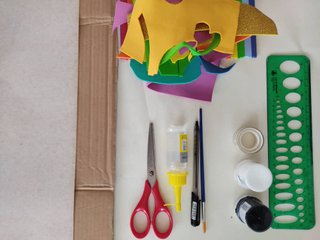
[Materiales | Materials]
Para hacer este hermoso cuadro necesitaremos:
- Moldes.
- Foami o goma eva.
- Cartón.
- Lamina de cartón.
- Pincel.
- Pintura negra.
- Tijera.
- Regla.
- Pegamento o silicón liquido.
To make this beautiful painting will need:
- Molds.
- Foamy or EVA foam.
- Cardboard.
- Cardboard sheet.
- Brush.
- Black paint.
- Scissors.
- Rule.
- Glue or liquid silicone.
Procedimiento (paso a paso)
Process (step by step)
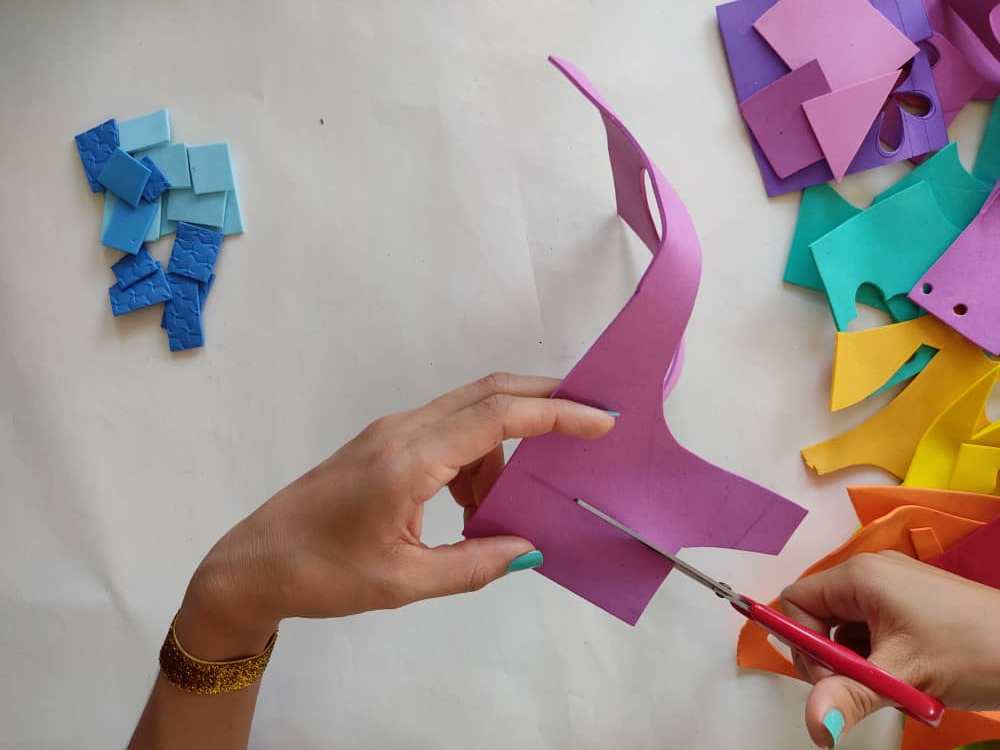
Primero, haremos algo súper fácil que estoy segura que les gustará mucho, simplemente cortamos retazos de foami en forma de cuadrados de diferentes tamaños, ya que, no es necesario que queden perfectos, recuerden hacer la cantidad suficiente.

First, we will do something super easy that I'm sure you will like very much, we just cut pieces of foamy in the shape of squares of different sizes, since they do not need to be perfect, remember to make enough.
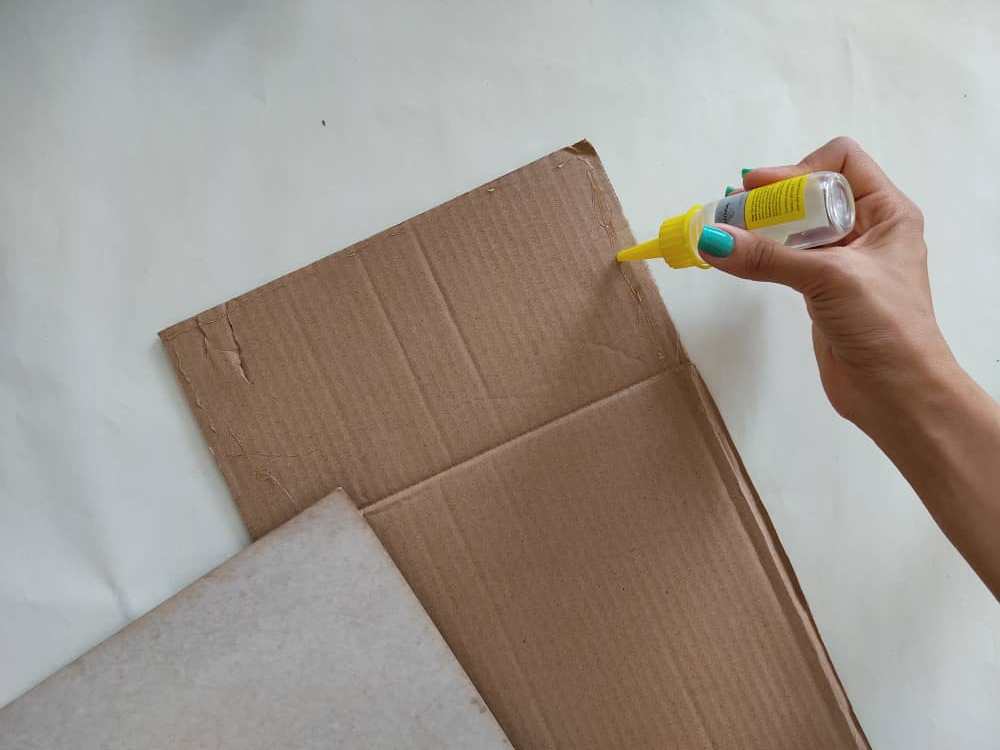
Ahora, fabricamos una base de cartón de 24cm x 50cm. En este caso utilizaremos cartón común, y lo unimos a una lámina de cartón de la misma medida, esto hará que nuestra base sea más resistente. Debemos hacer un poco de presión para asegurarnos que queden bien pegados.

Now, we manufacture a 24cm x 50cm cardboard base. In this case, we will use common cardboard, and we will attach it to a cardboard sheet of the same size, this will make our base more resistant. We need to do a little bit of pressure to make sure they stick together.
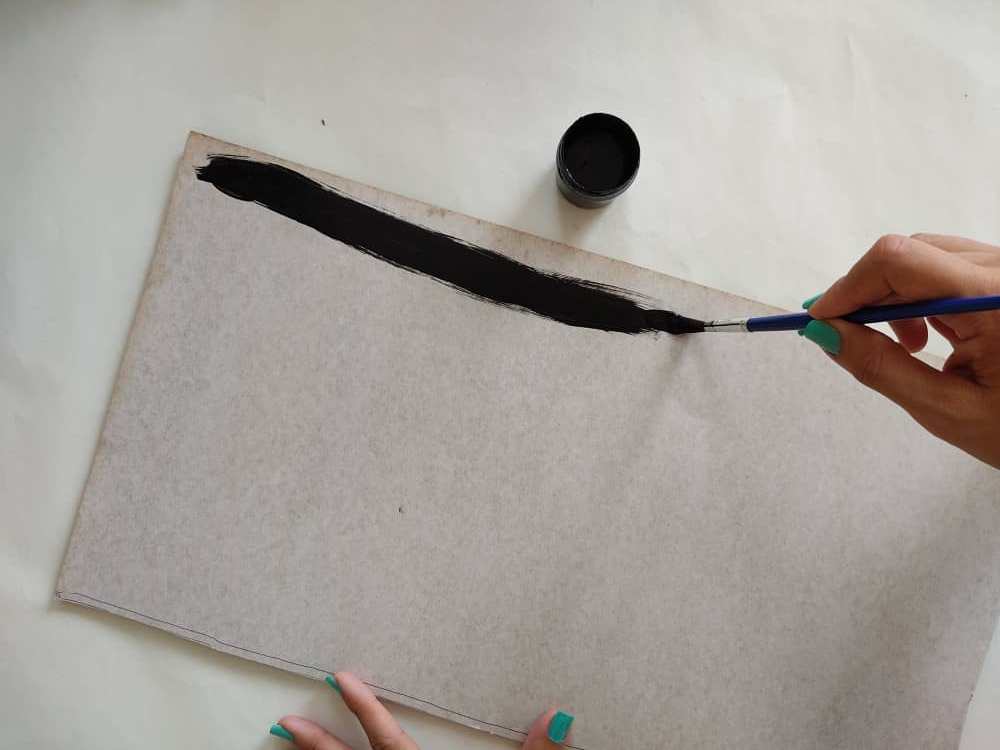
Seguidamente, pintamos nuestra base del color que más nos guste, en este caso opte por pintarla de color negro, para que el fondo de nuestro cuadro resalte mucha más, y dejamos secar por unos minutos.

Next, we paint our base in the color that we like the most, in this case, choose to paint it black, so that the background of our painting stands out much more, and let it dry for a few minutes.
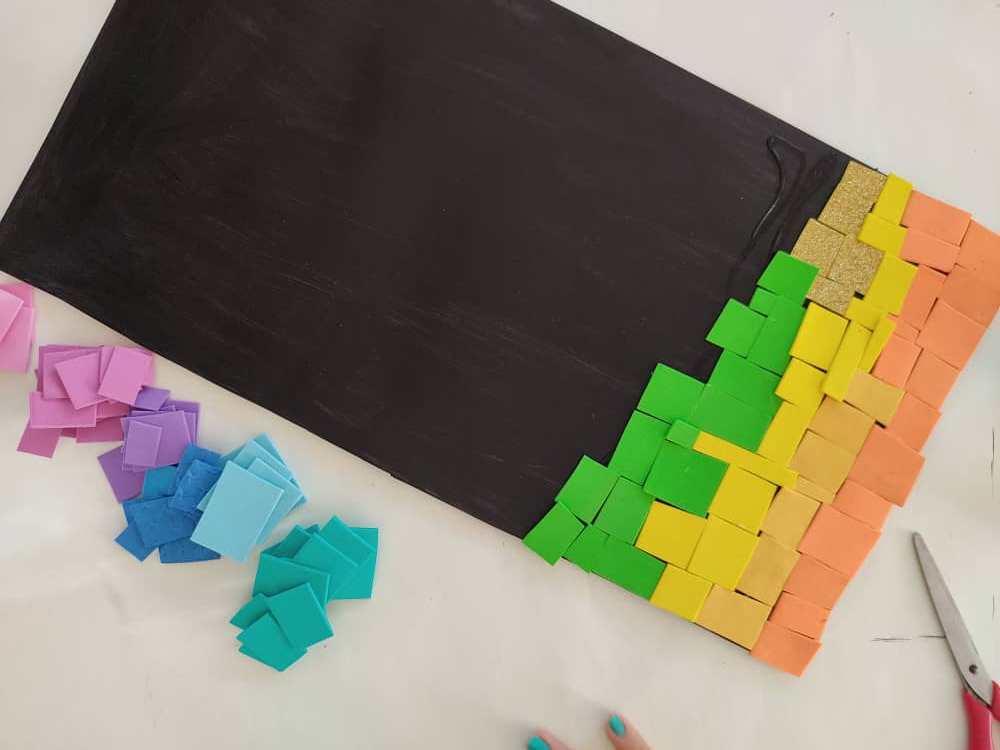
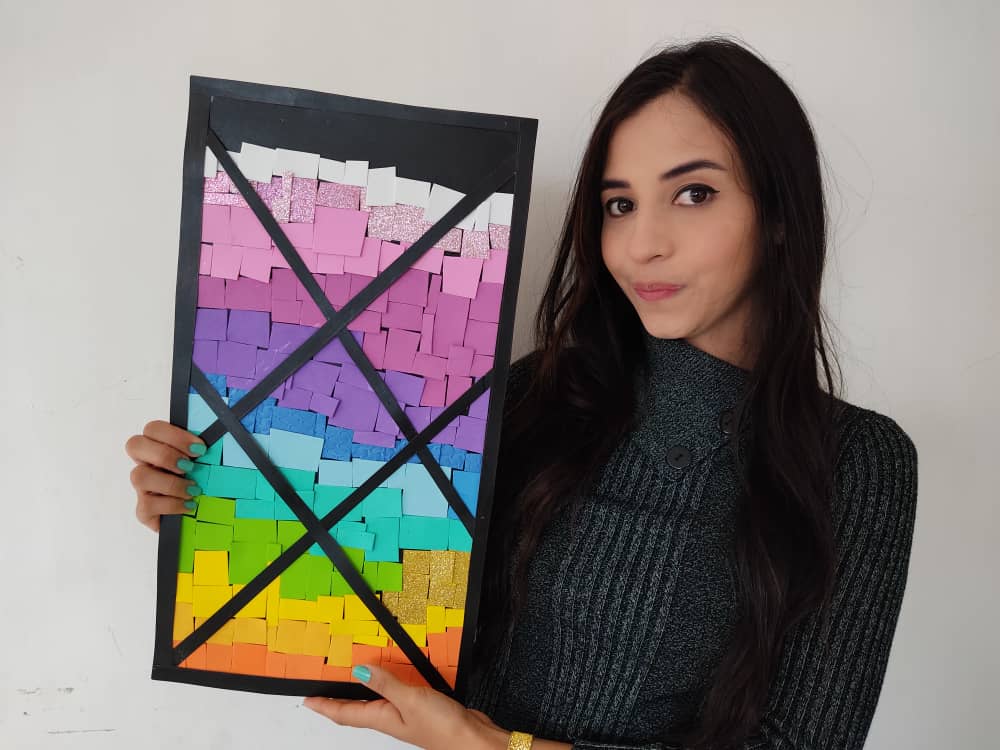
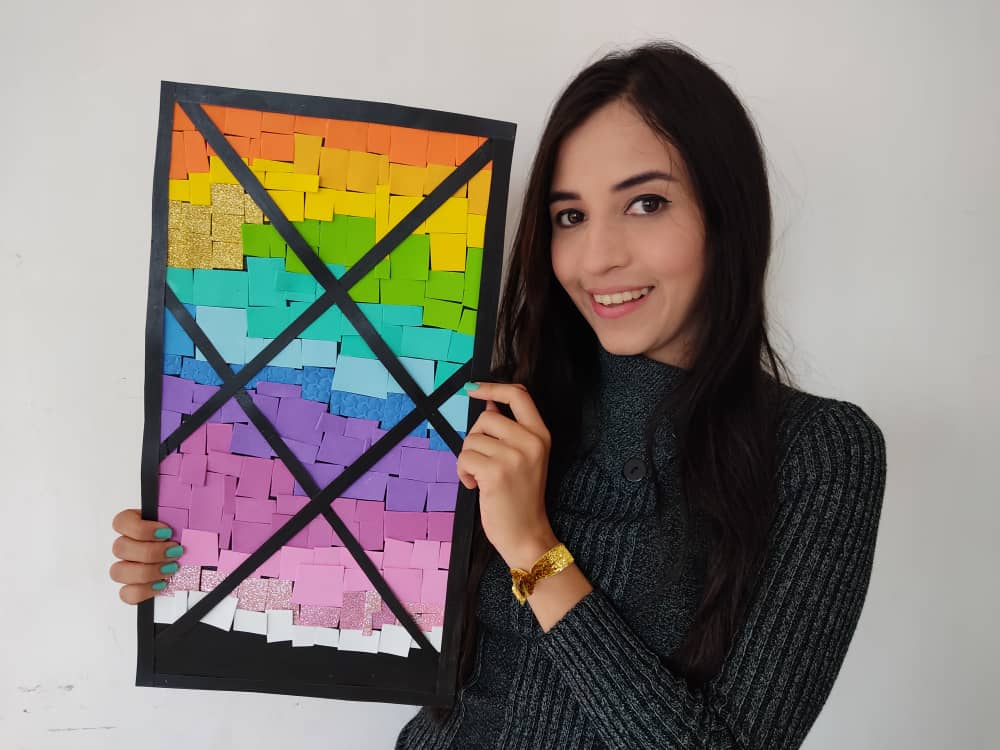
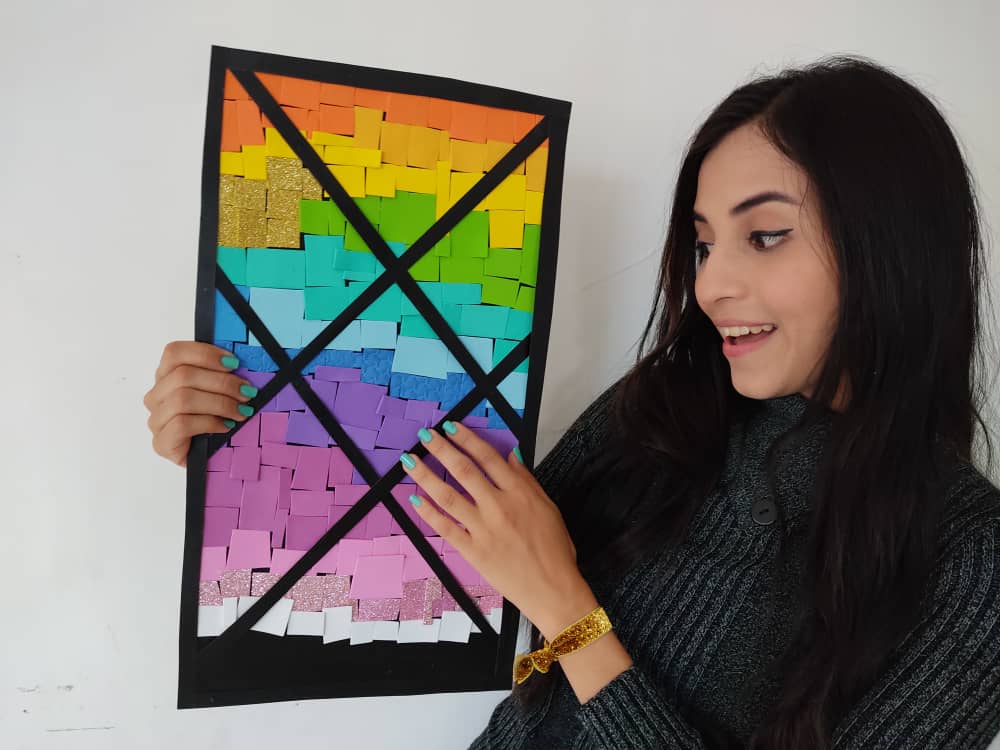
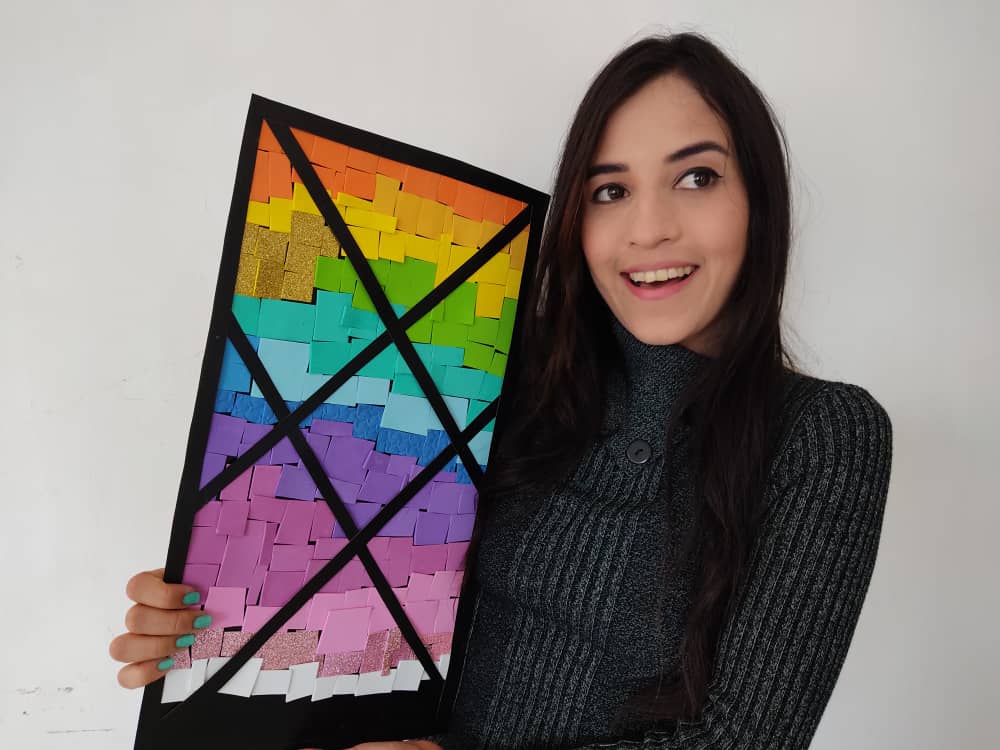
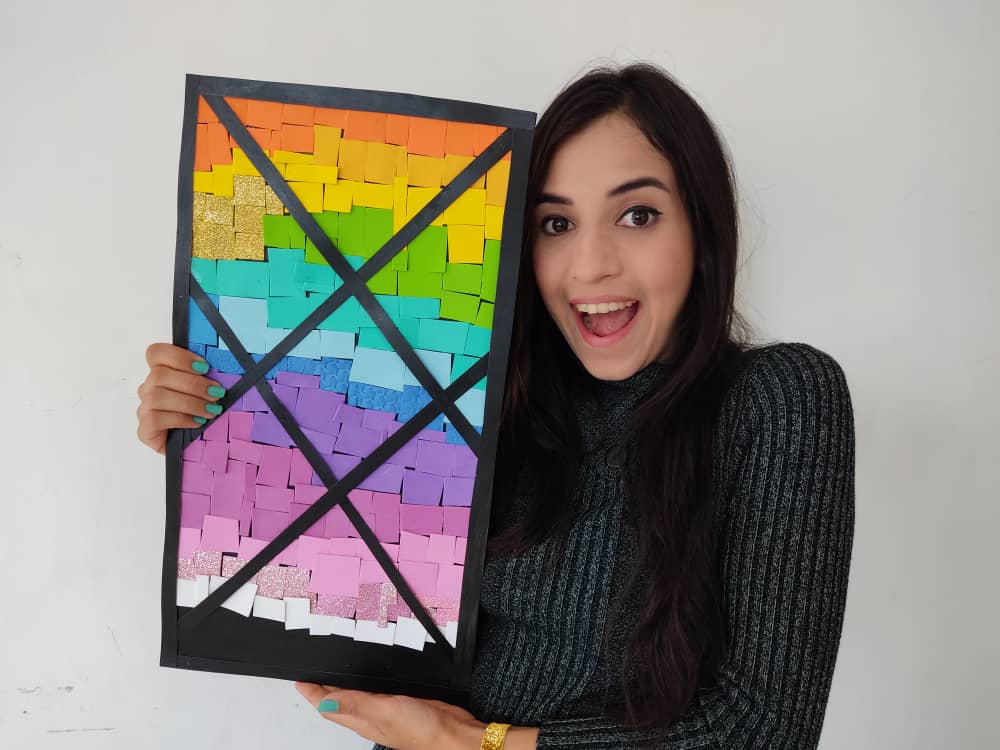
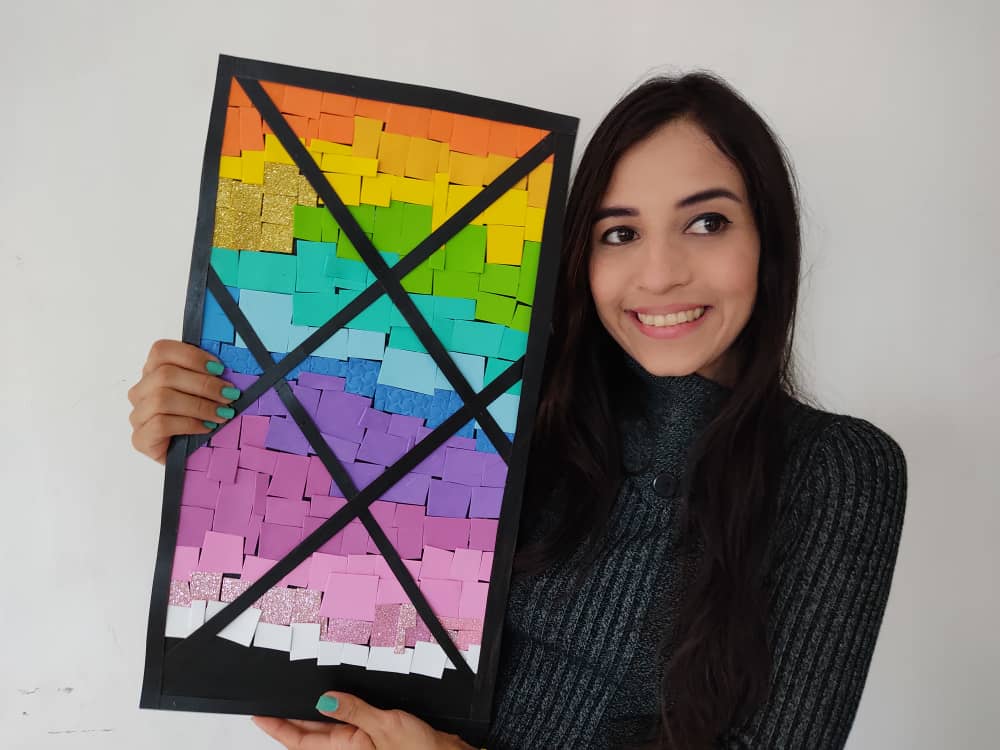
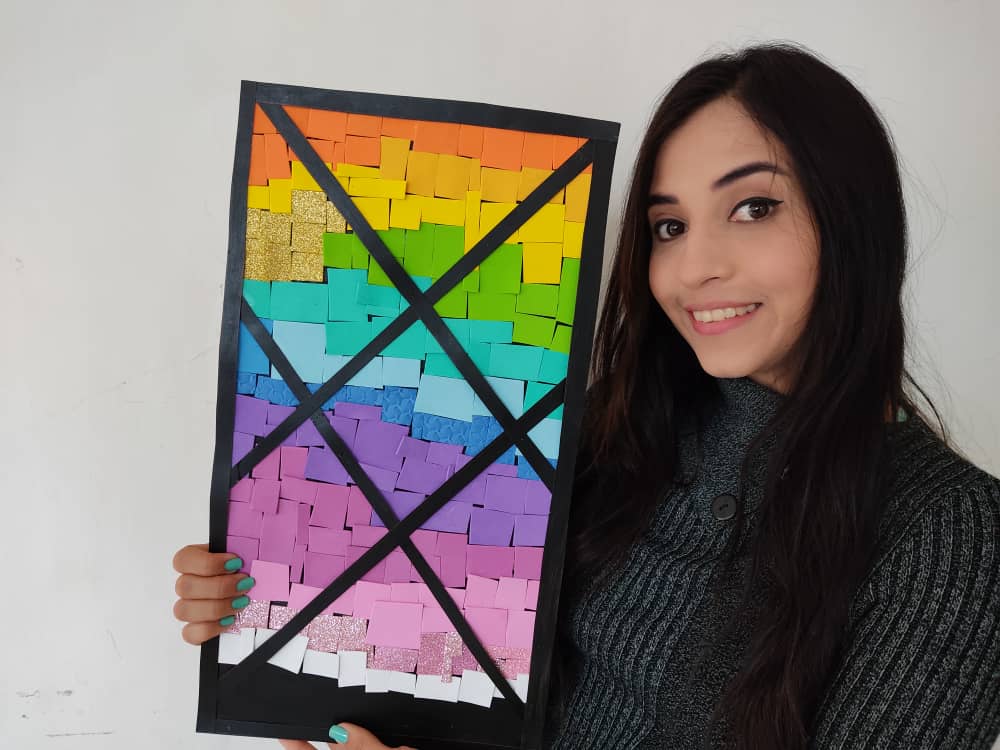
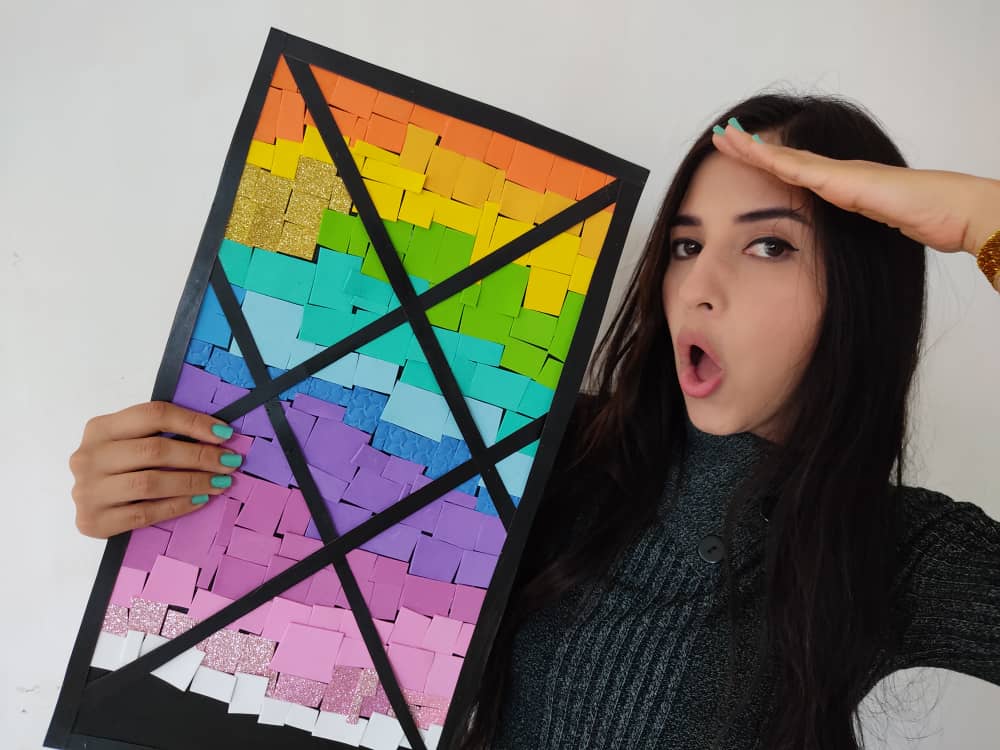
Una vez que esté totalmente seca la base, nos dejamos guiar por nuestra creatividad e imaginación, y decoramos pegando los retazos de foami de una manera muy autentica y original, comenzando con el naranja, luego el amarillo, y así sucesivamente. Y listo miren que increíbles lucen todos estos colores tan vivos haciendo un hermoso contraste de arcoíris.

Once the base is completely dry, we allow ourselves to be guided by our creativity and imagination and decorate by gluing the pieces of foamy in a very authentic and original way, starting with orange, then yellow, and so on. And ready, look how incredible all these vivid colors look making a beautiful contrast of rainbows.
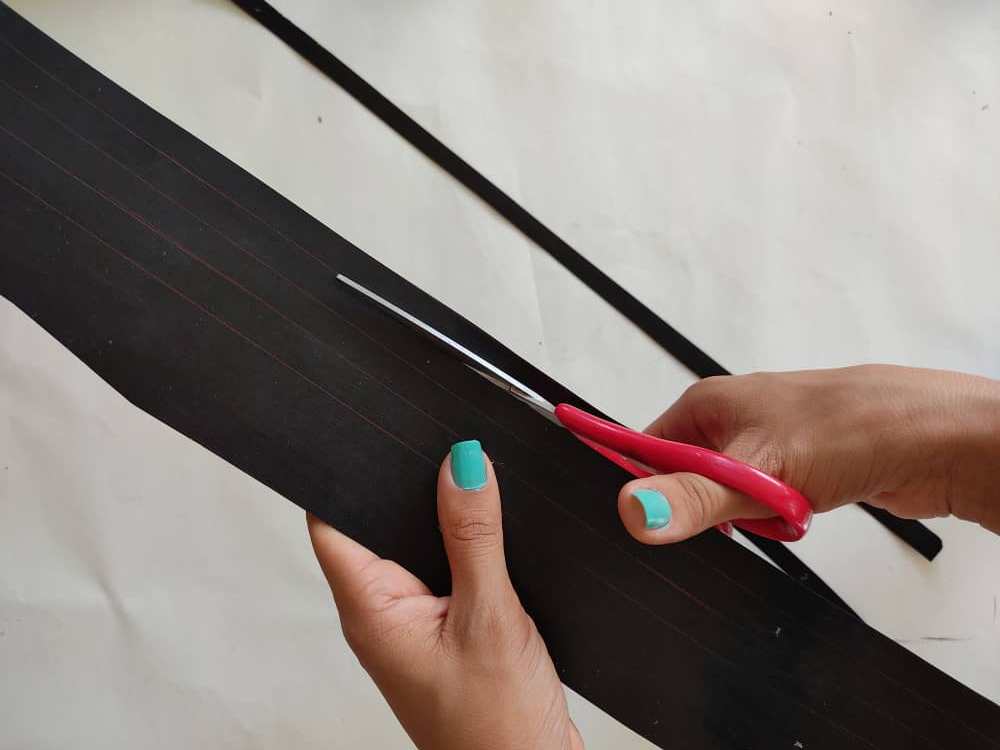
Luego, elaboramos varias tiras de aproximadamente 50cm x 1cm, utilizando la lámina de cartón sobrante, para realizar un diseño sobre nuestra obra, recuerden fabricar también las tiras del marco de nuestro cuadro.

Then, we made several strips of approximately 50cm x 1cm, using the excess cardboard sheet, to make a design on our work, remember to also make the strips of the frame of our painting.
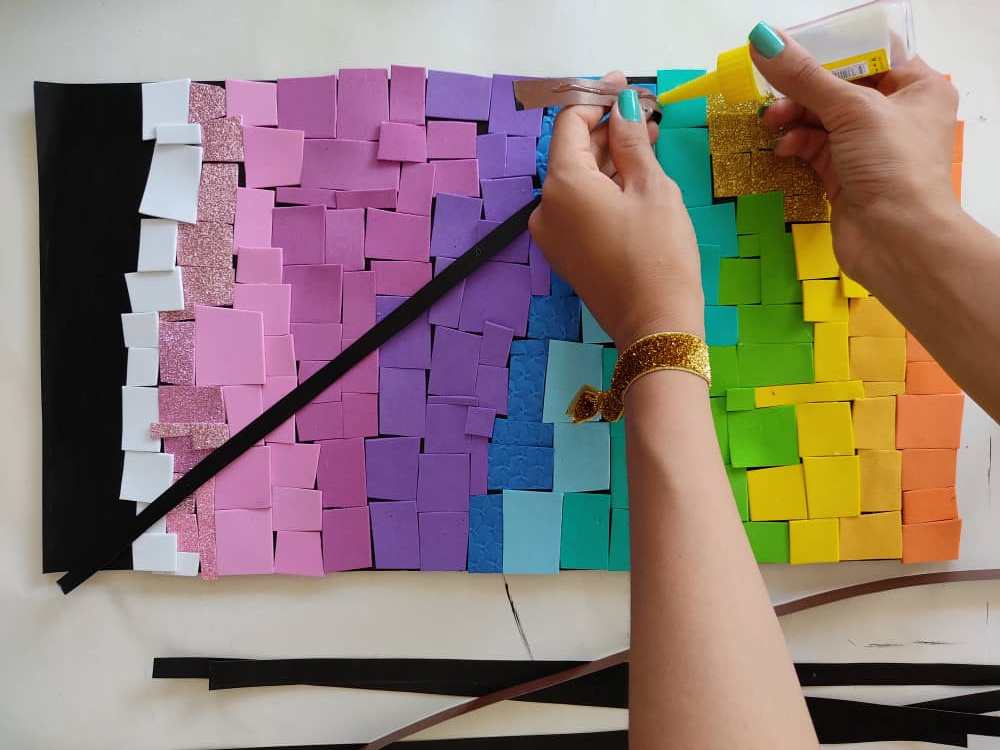
Ahora, pegamos las tiras sobre nuestro cuadro multicolor haciendo el diseño que queramos, pueden jugar con estás tiras y verán que mágicos toques le darán a su obra.

Now, we paste the strips on our multi-colored box making the design that we want, they can play with these strips and they will see what magical touches they will give to their work.
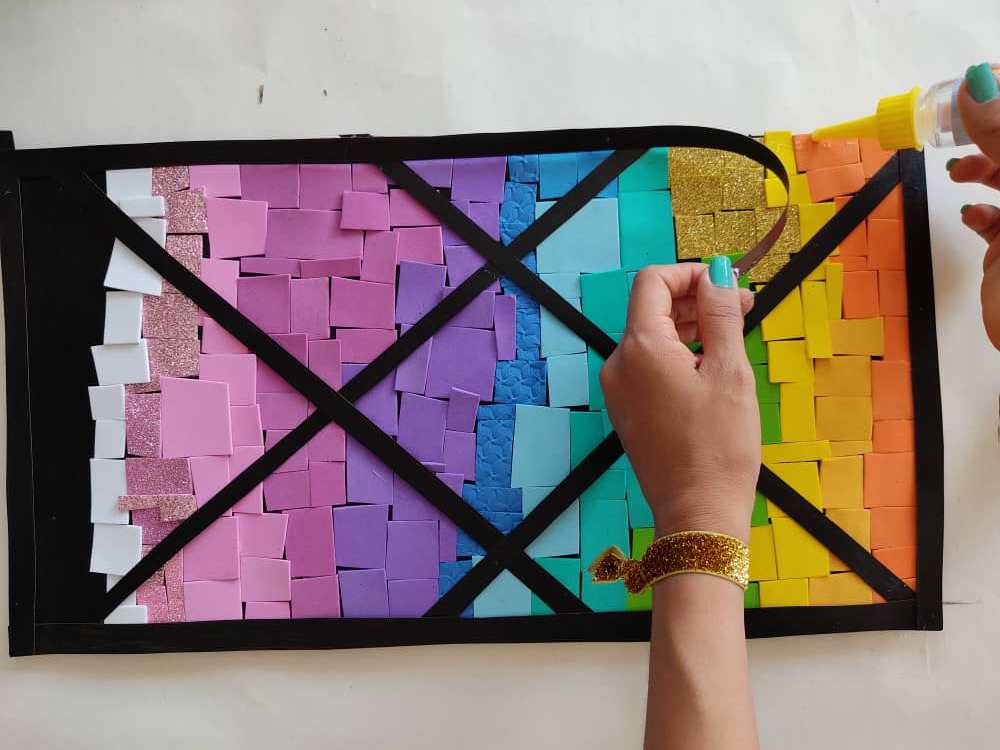
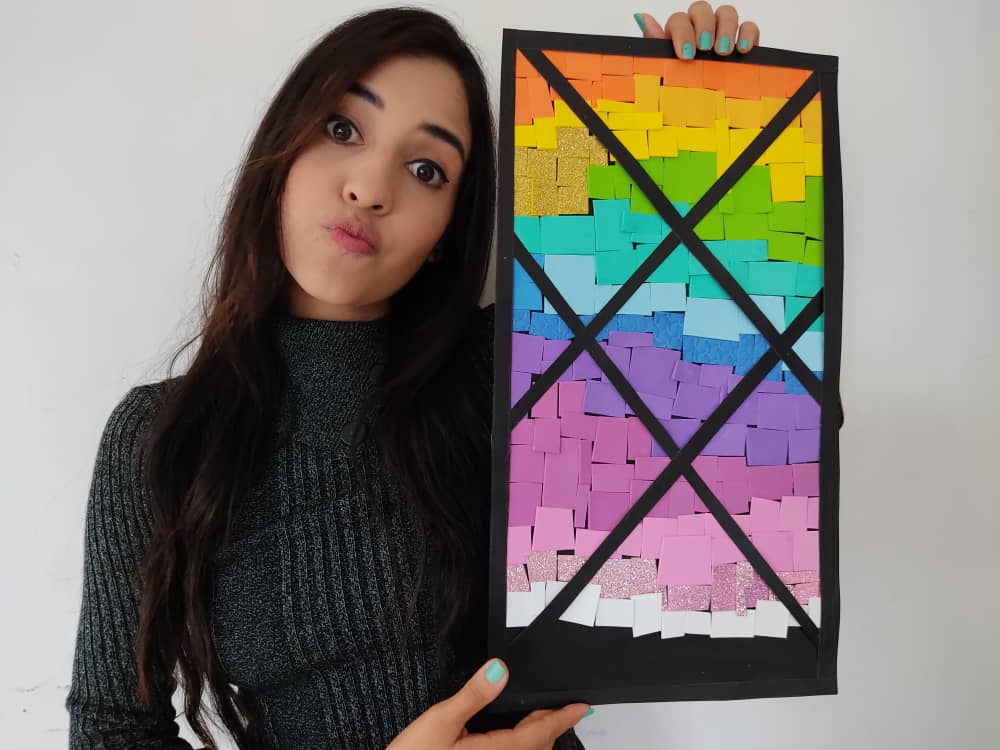
Finalmente, pegamos las tiras restantes formando el marco de este creativo cuadro.

Finally, we glue the remaining strips forming the frame of this creative painting.

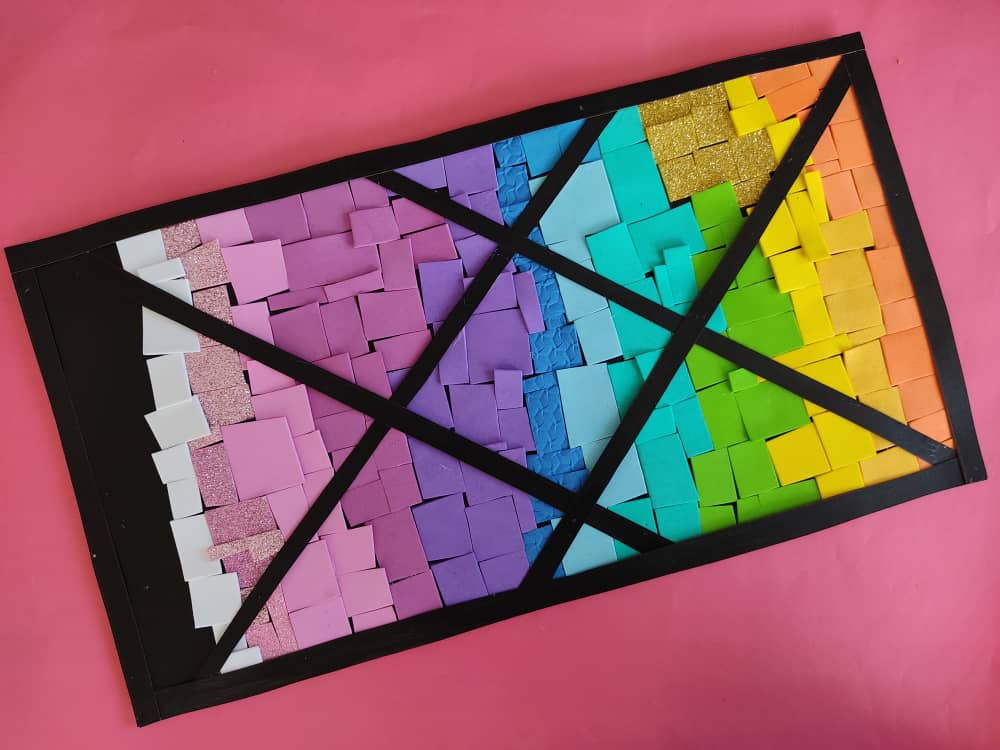
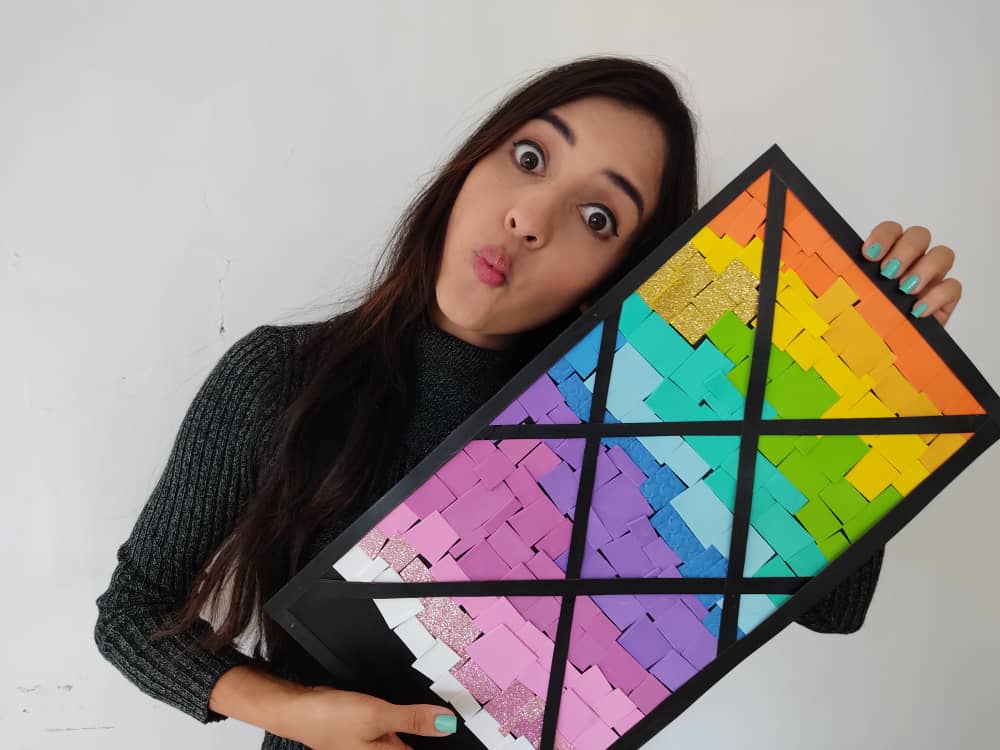
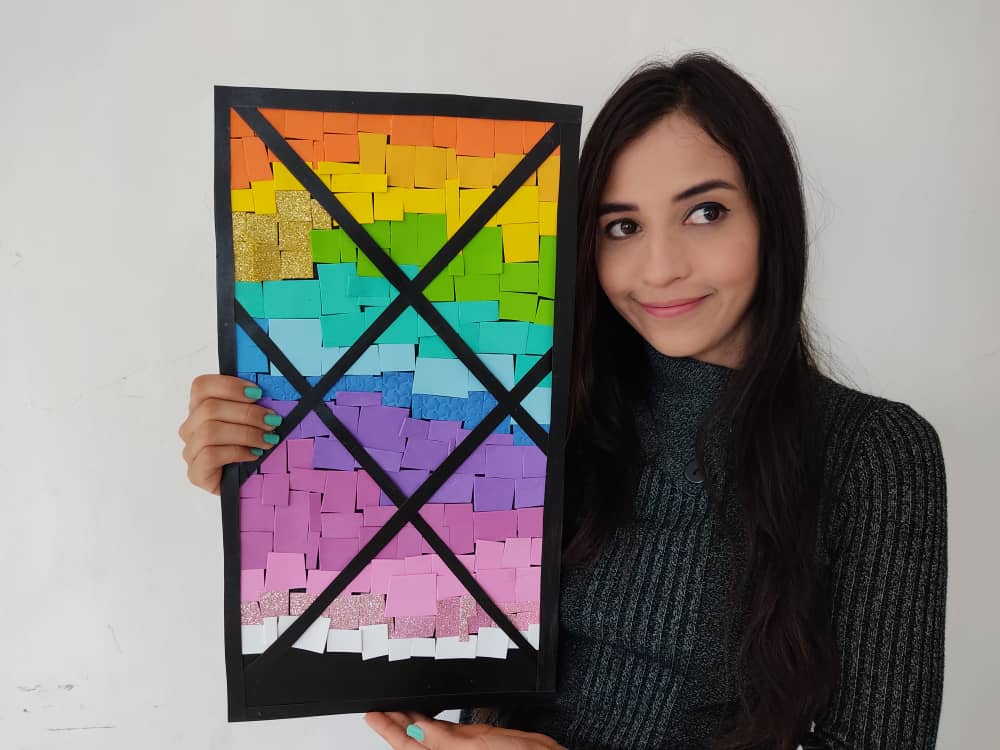
Gracias por acompañarme y espero que lo hayan disfrutado. ❤️
Thanks for joining and I hope you enjoyed it.❤️
.jpeg)
.jpeg)
.jpeg)
.jpeg)
.jpeg)
.jpeg)
.jpeg)
.jpeg)
.jpeg)
.jpeg)
.jpeg)
.jpeg)
.jpeg)
.jpeg)


My twt #posh
!discovery 25
Very much :D
you are welcome!
This post was shared and voted inside the discord by the curators team of discovery-it
Join our community! hive-193212
Discovery-it is also a Witness, vote for us here
Thanks for your support!
That is very cool and original, Sara! At first I thought you had used post-its but then i read how you made those coloured strips yourself. Excellent job! 🤗
Yes friend, I do everything myself dear friend, thank you very much for your comment ...
Hermoso trabajo y linda chica!
Muchas gracias lindo amigo!
Very nice work keep it up 👍🏾
Thanks for your support and your comment. I hope to see you again here.
You are amazing! Very creative... (^_^)
Thanks dear friend, greetings!!
Dioooos, me encanta...y es tan fácil de hacer. Creo que haré mi propio cuadro multicolor😍😍.
Saludos y un gran abrazo para ti!
Si querida es muy facil, gracias por tu comentario!
que interesante obra cuanta creatividad
Gracias amigo. :D Saludos