¡Buenos días! #Sketchbook, Este es mi primer post en esta comunidad, y en esta ocasión vengo a compartirles un diseño que me gusto mucho. Viene con la finalidad de transmitir los bellos adornos que se pueden regalar a sus madres.
Pasos de como realicé el Flyer:
Good morning! #Sketchbook, This is my first post in this community, and this time I come to share a design that I really liked. It comes with the purpose of transmitting the beautiful ornaments that can be given to their mothers.
Steps of how I made the Flyer:
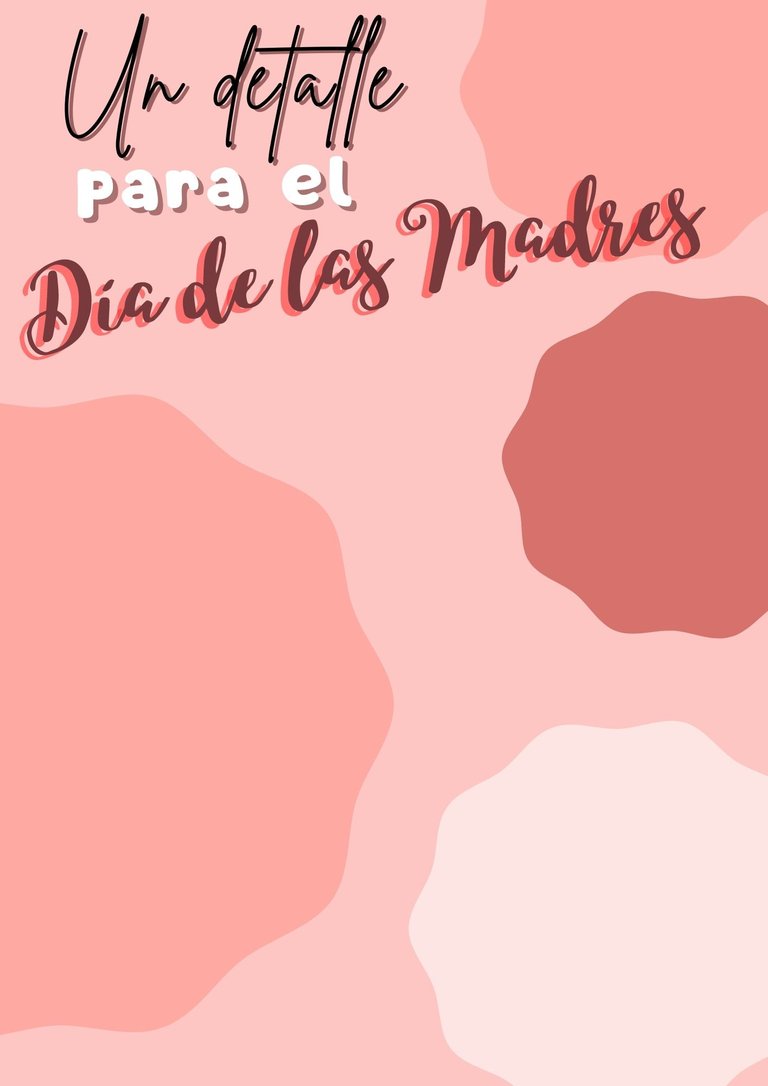
Paso 1: Busqué un fondo que mayor se adapte al tema de mi diseño, en este caso como era para las madres decidí elegir colores más rosados y claros, agregando círculos con olas, donde tenía pensado agregar imágenes.
Step 1: I looked for a background that best suits the theme of my design, in this case, as it was for the mothers, I decided to choose pinker and lighter colors, adding circles with waves, where I planned to add images.

Paso 2: Ya habiendo realizado el fondo necesitamos tener un título con una buena caligrafía, en este caso no quería hacer los textos iguales y por eso se decidió utilizar diferentes fuentes de caligrafía. Los colores en este, también son muy importantes, hacen resaltar lo que quieres decir, y sabiendo sacar el sombreado de las letras puedes sacar este resultado.
Step 2: Having already made the background, we need to have a title with good calligraphy, in this case I did not want to make the texts the same and that is why it was decided to use different calligraphy fonts. The colors in this one are also very important, they highlight what you want to say, and knowing how to shade the letters you can get this result.

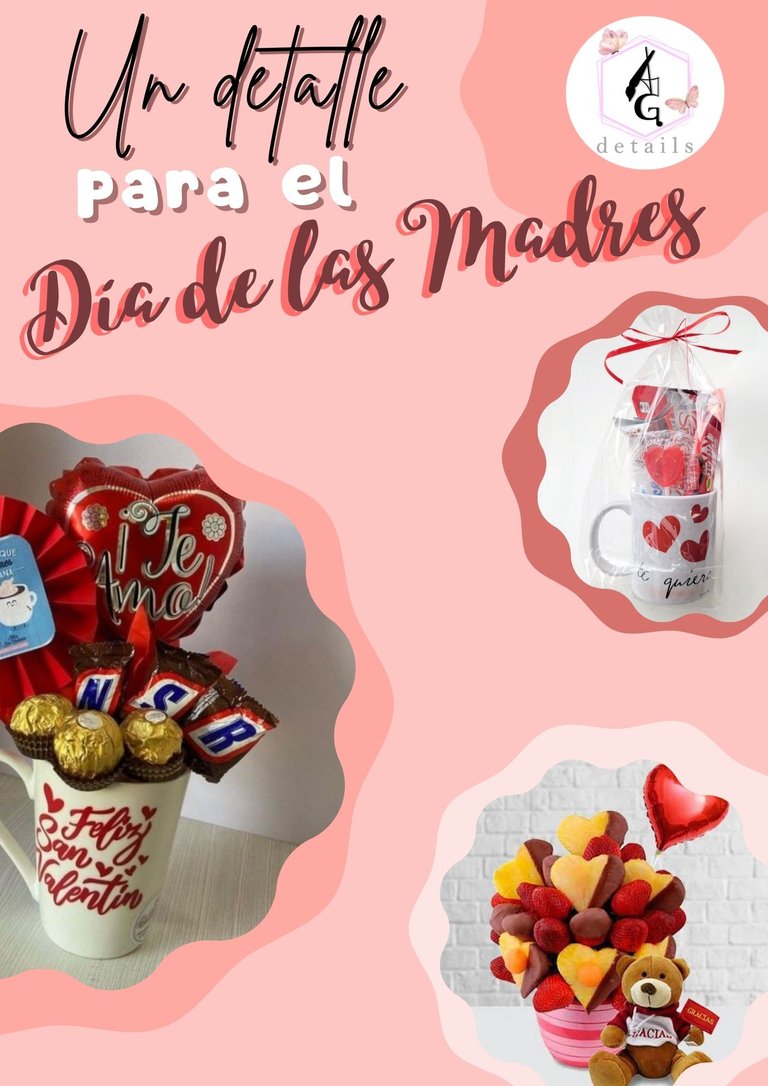
Paso 3: En este punto empecé a agregar las imágenes para así ajustarlas y saber si están bien en esa posición, Los círculos en forma de olas le dieron un toque muy bonito a las imágenes.
Step 3: At this point I started to add the images to adjust them and know if they are right in that position, The wave-shaped circles gave a very nice touch to the images.

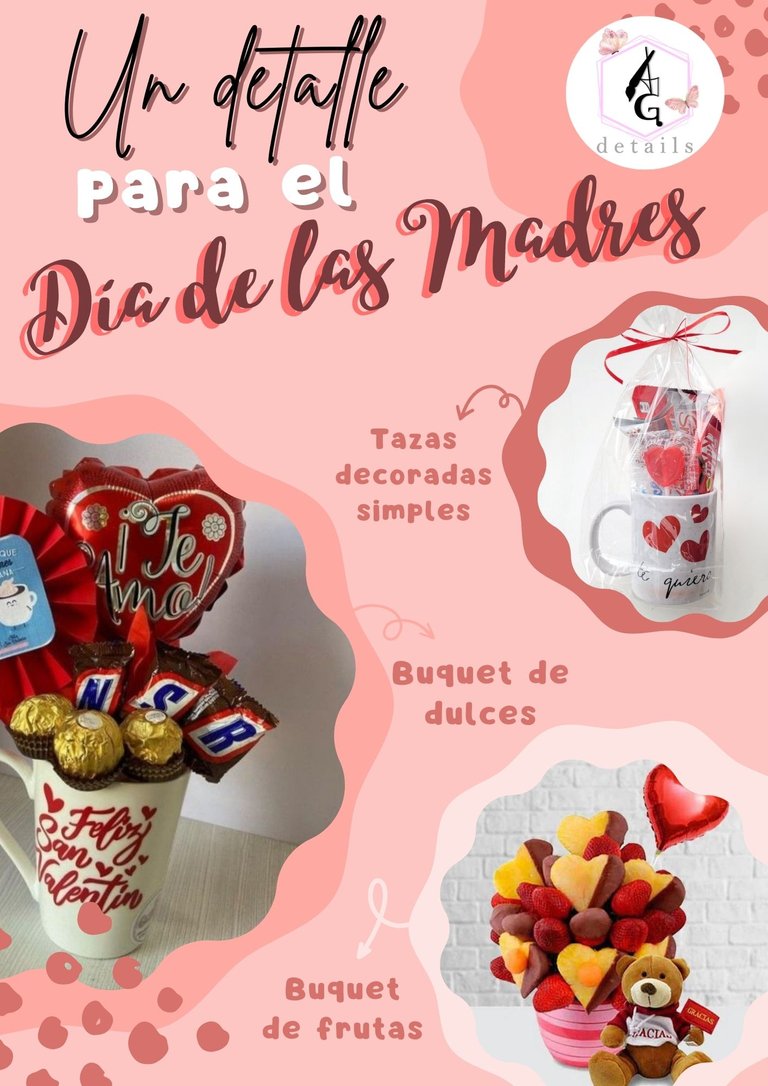
Paso 4: Para finalizar agregué otros textos con iguales caligrafías y colores que le mostraban al lector que tipo de producto estaban vendiendo, también agregue flechas con el mismo color que los círculos que apuntaban a los diferentes tipos de textos y también unos pequeños pétalos en las esquinas que no está de más.
Step 4: To finish, add other texts with the same calligraphy and colors that showed the reader what type of product they were selling, also add arrows with the same color as the circles that pointed to the different types of texts and also some small petals on the corners that does not hurt.


Muchas gracias por pasarte por mi post, seguiré publicando mis diseños por este medio, así podrán ver mi crecimiento como diseñador gráfico.
Las herramientas usadas para crear este Flyer y Post fueron:
- Para el diseño del Flyer Canva.
- El recorte y edición de imágenes Lightroom.
- La traducción fue realizada por el traductor de Google.
Nuevamente, muchas gracias por leer mi post.
Que Dios los bendiga
Thank you very much for visiting my post, I will continue publishing my designs through this medium, so you can see my growth as a graphic designer.
The tools used to create this Flyer and Post were:
- For Flyer Canva design.
- Cropping and editing Lightroom images.
- The translation was done by Google translator.
Again, thank you very much for reading my post.
God bless you