I've just recently posted about the 3d sculpture that's kind of finished and I feel so bored having only focused on sculpting and my sculptures have no life to it because they don't have color or texture. So I got excited to give life to my 3d artwork and went to Youtube to search for tutorials.
First thing I had in mind was to add texture to a basic cube and make it look realistic and had an idea to turn it into a cardboard box. It seems to be a very simple thing but I have no experience with it comes to adding textures to a 3d object. Went to Google Images to find the right textures for the job and only used 2 image textures I've found.

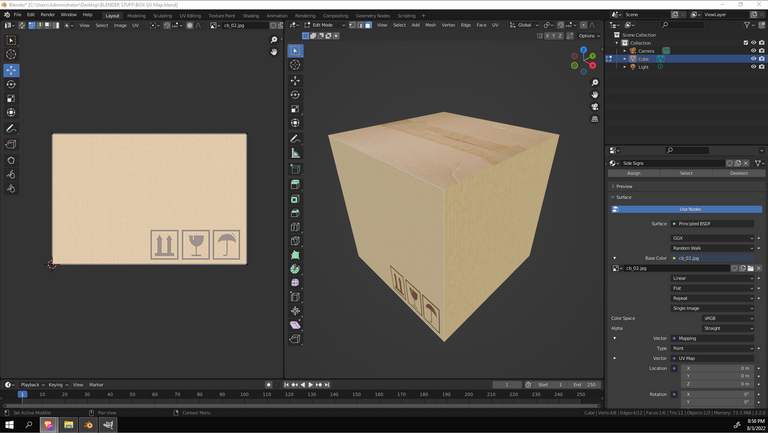
This is the first image texture I used. Now each face has to have a different texture, that was one of the challenges for me. Only used 1 image for the side textures. 1 side with the symbols and the rest are just plain textures. First you have to UV unwrap the box and I've also learned that from Youtube tutorials. Have 1 side emulate that whole image texture for the symbols and the other sides only show a portion of the texture. That did the trick.

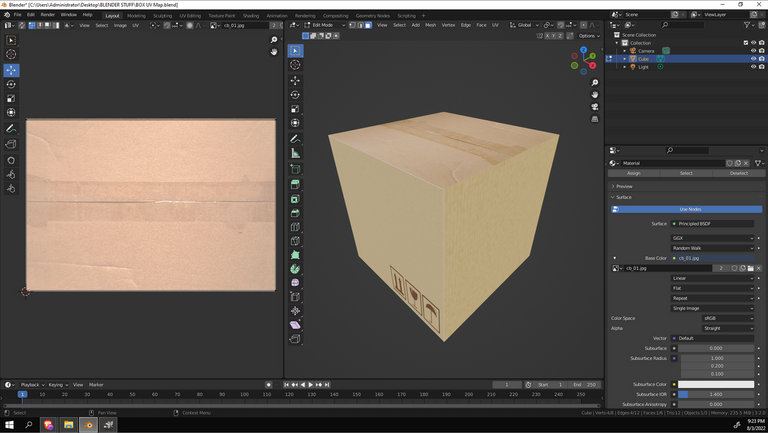
This is the 2nd image texture for top and bottom. Very simple and easy, just repeat the process I did before and it looks like a proper cardboard box.
One thing for sure...it looks FLAT. For a reason that I didn't apply this technique with PBR (Physically Based Rendering) as it's an advanced way for rendering objects. On summary, I understand it as making a flat image look 3d by using an illusion with how lighting and shadows behave by applying depth to an image. Hopefully, it's what it is.
Another exercise I did was Texture Painting a really simple object. It's by creating a low poly texture painted boulder.

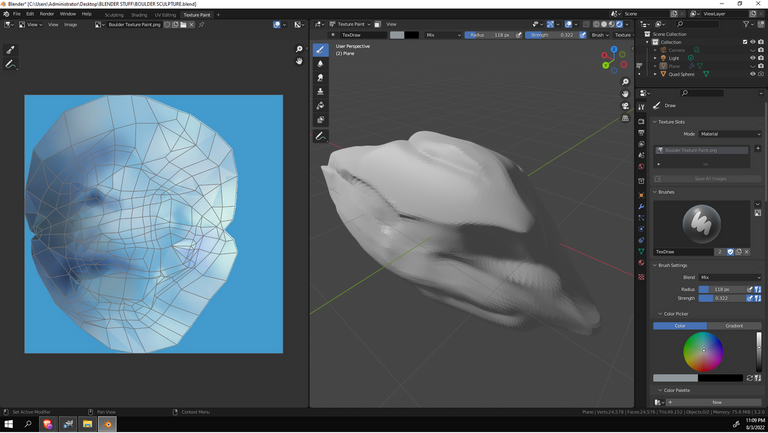
First was to sculpt it into a shape that I feel comfortable which it ended up into a elongated boulder.

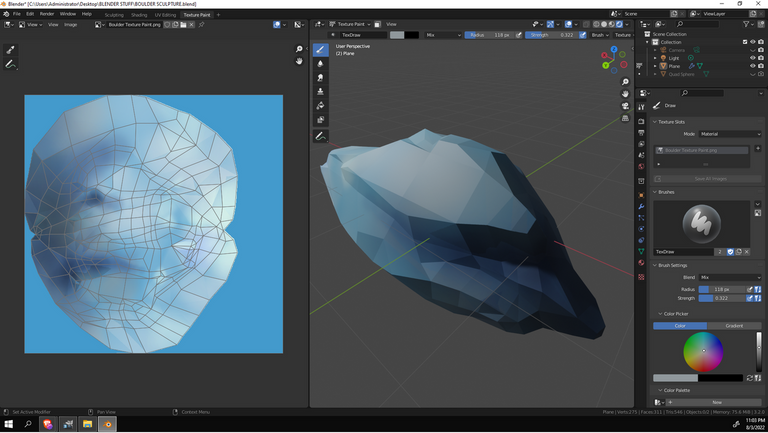
This is the final results I came up with. It's very simple. Just airbrushed texture paint over a low poly object but I did have to UV unwrap this before Texture Painting. What I've observed while doing these exercises is that I'm way more comfortable in the workflow of UV Editing + Image Textures are better for me as my drawing tablet is faulty and I need them to get fixed. There's still lots of texturing techniques I need to learn specially PBR and nodes.
That's all for the practice I've made about texturing a 3d object. After this, I'll be looking for a 3d job. While doing so, there is still a lot of things to study and practice. Hopefully, I'd get hired as soon as possible. Wish Me Luck!