amantes bajo la nieve. | lovers under the snow.💑❄️

Saludos a todos amigos de Hive. | Greetings to all Hive friends.
Hace poco empece a pintar con tiza pastel, un material con el que no estoy familiarizado pero con cada dibujo voy mejorando la técnica y este dibujo en particular me gusto bastante, Se trata de una pareja de enamorados en una noche nevada.
😆
I recently started painting with pastel chalk, a material with which I am not familiar, but with each drawing I improve the technique and I liked this particular drawing quite a bit. It is about a couple in love on a snowy night.
😆
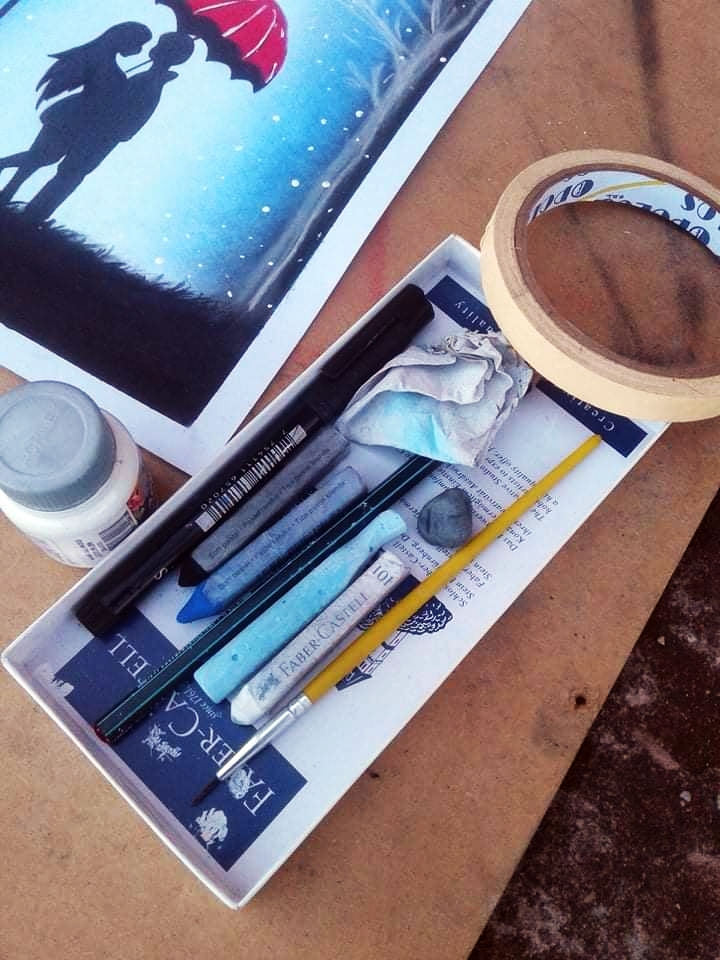
Materiales utilizados | Used materials:
- Tiza pastel
- Lápiz rojo
- Pintura blanca
- Marcador punta fina
- Pincel
- Borrador moldeable
- Servilletas
- Cinta adhesiva
- Pastel chalk
- Red pencil
- White paint
- Fine tip marker
- Brush
- Moldable eraser
- Napkins
- Adhesive tape
Paso a paso | Step by Step:
Todo el proceso de dibujo me tomo alrededor de 3 horas.
Use diferentes técnicas y materiales.
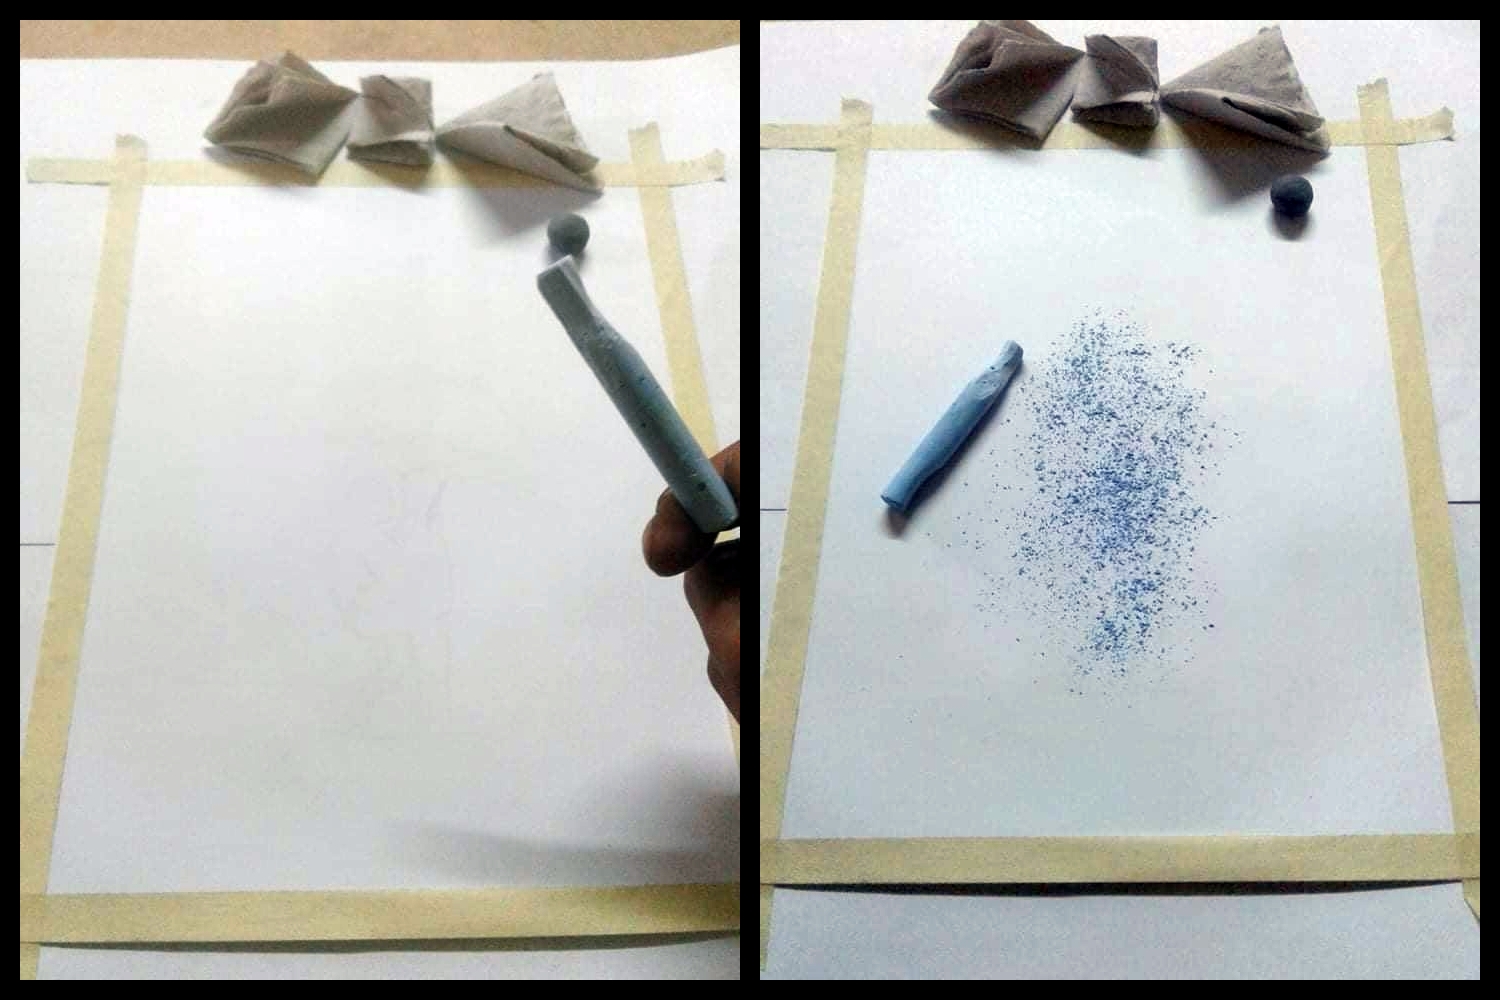
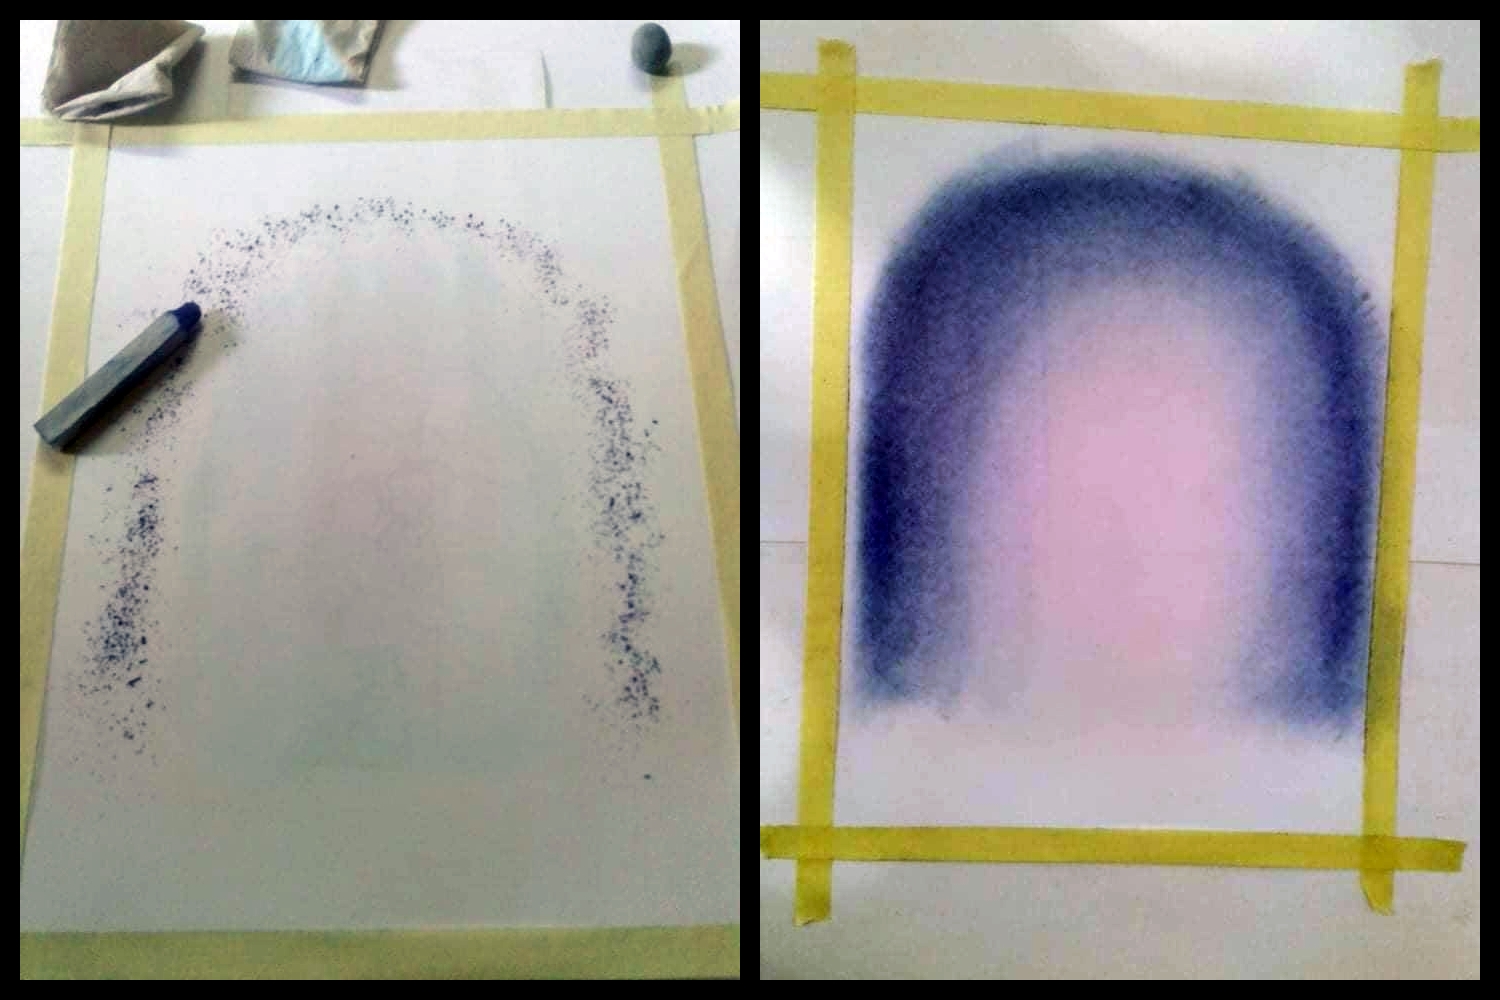
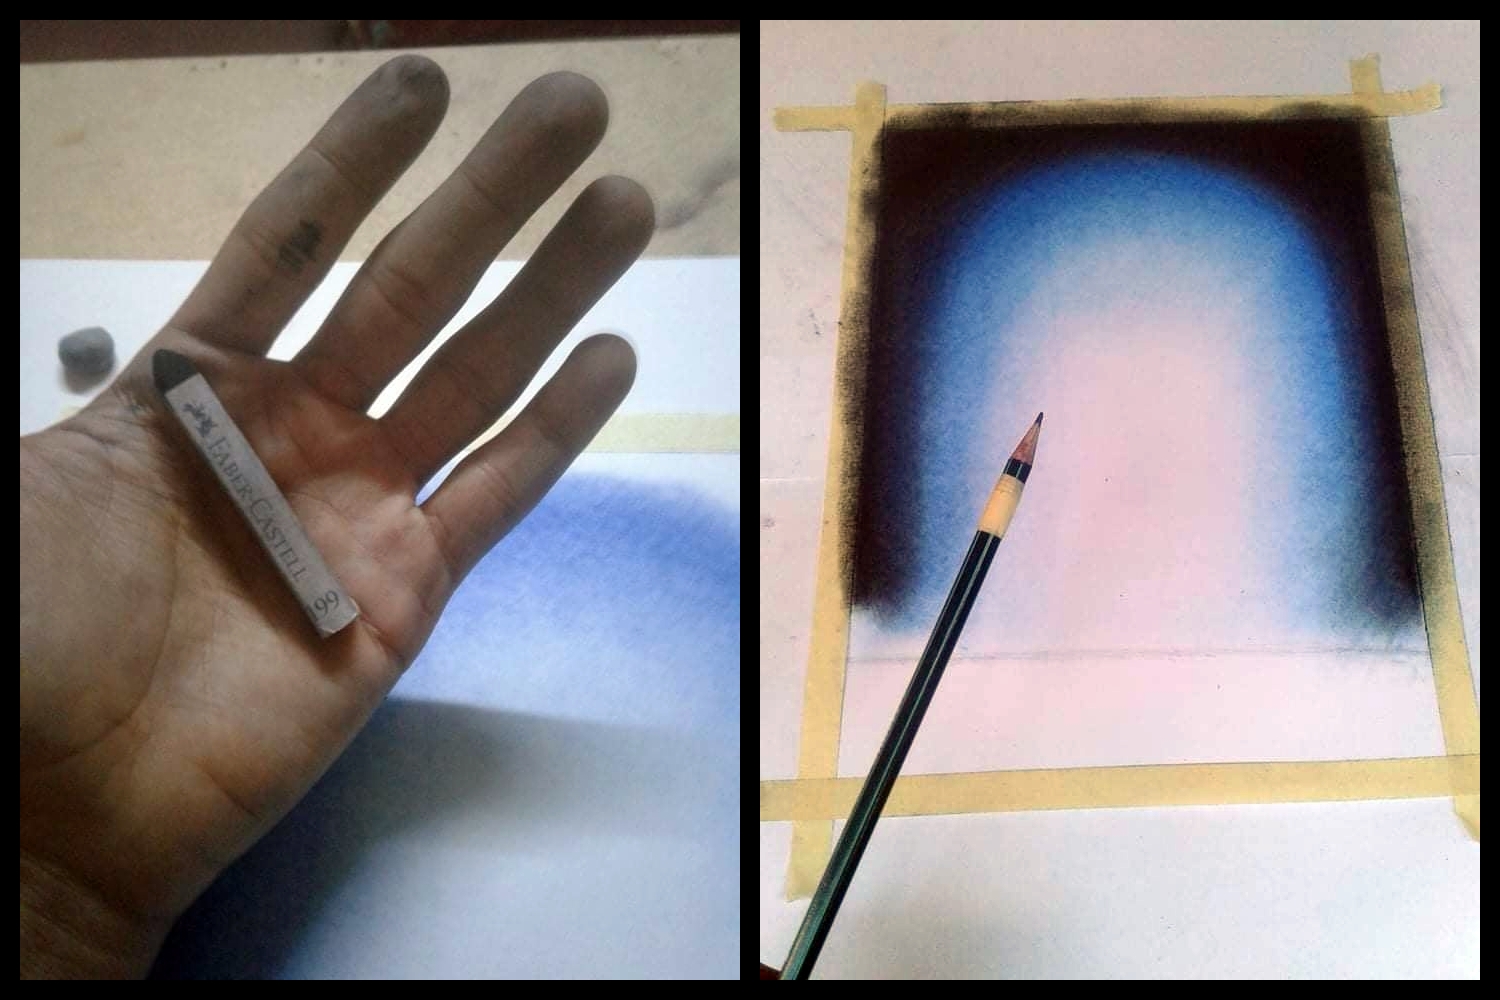
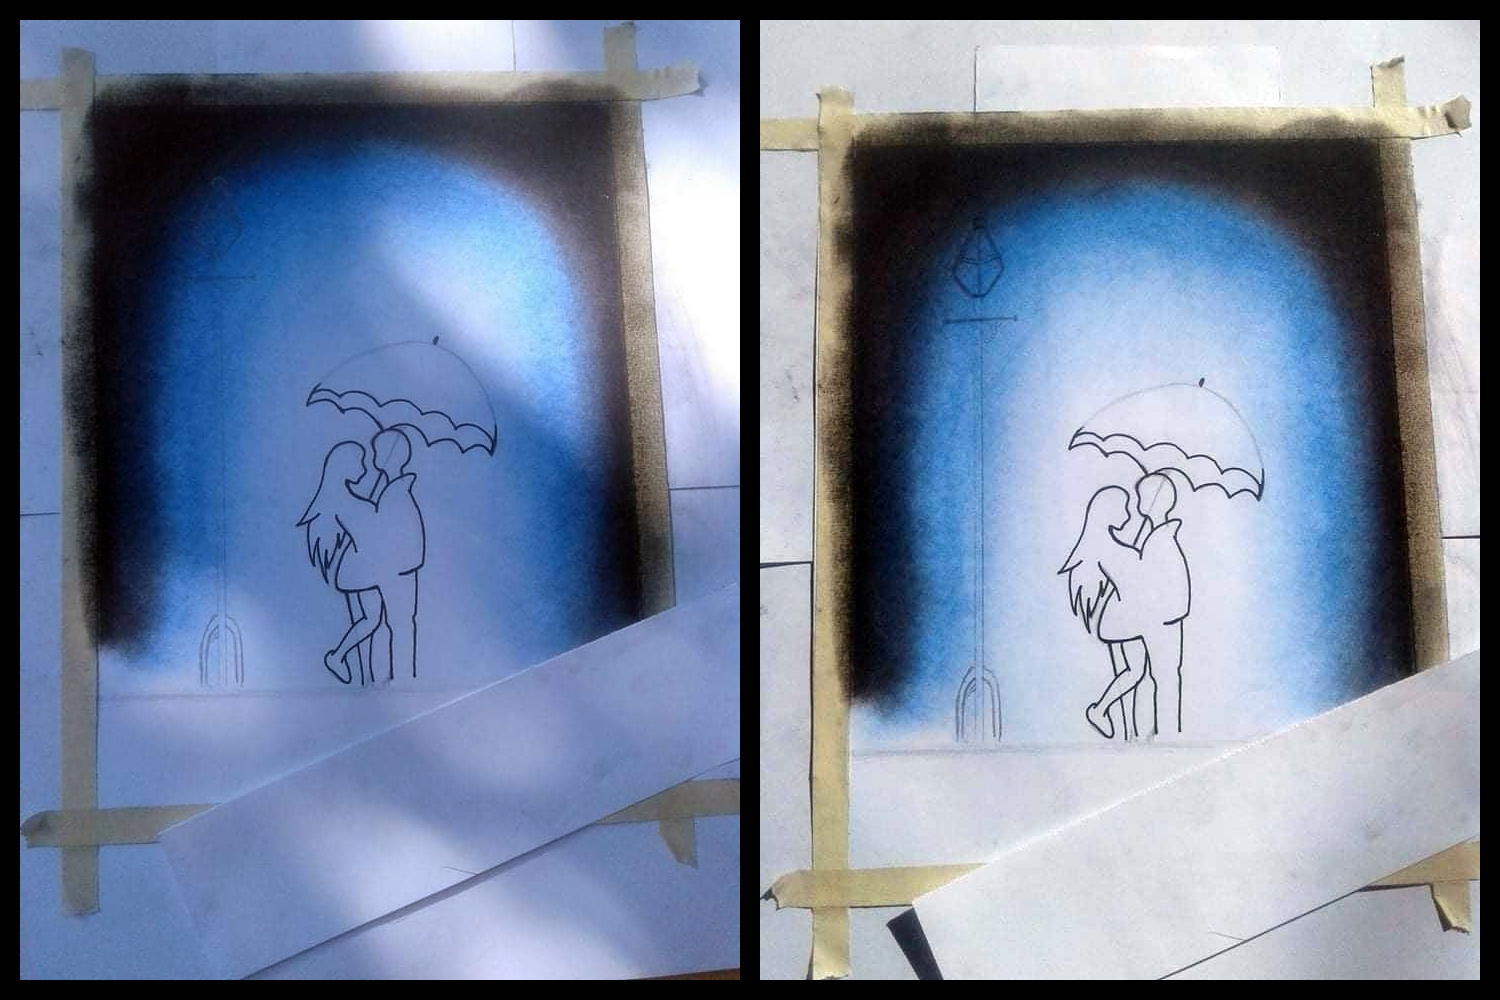
Lo primero es rallar la tiza, ya que así difumina mejor el color, difuminar con una servilleta porque con los dedos puedes terminar manchando el dibujo y un error con tiza pastel puede significar tirar el dibujo a la basura.
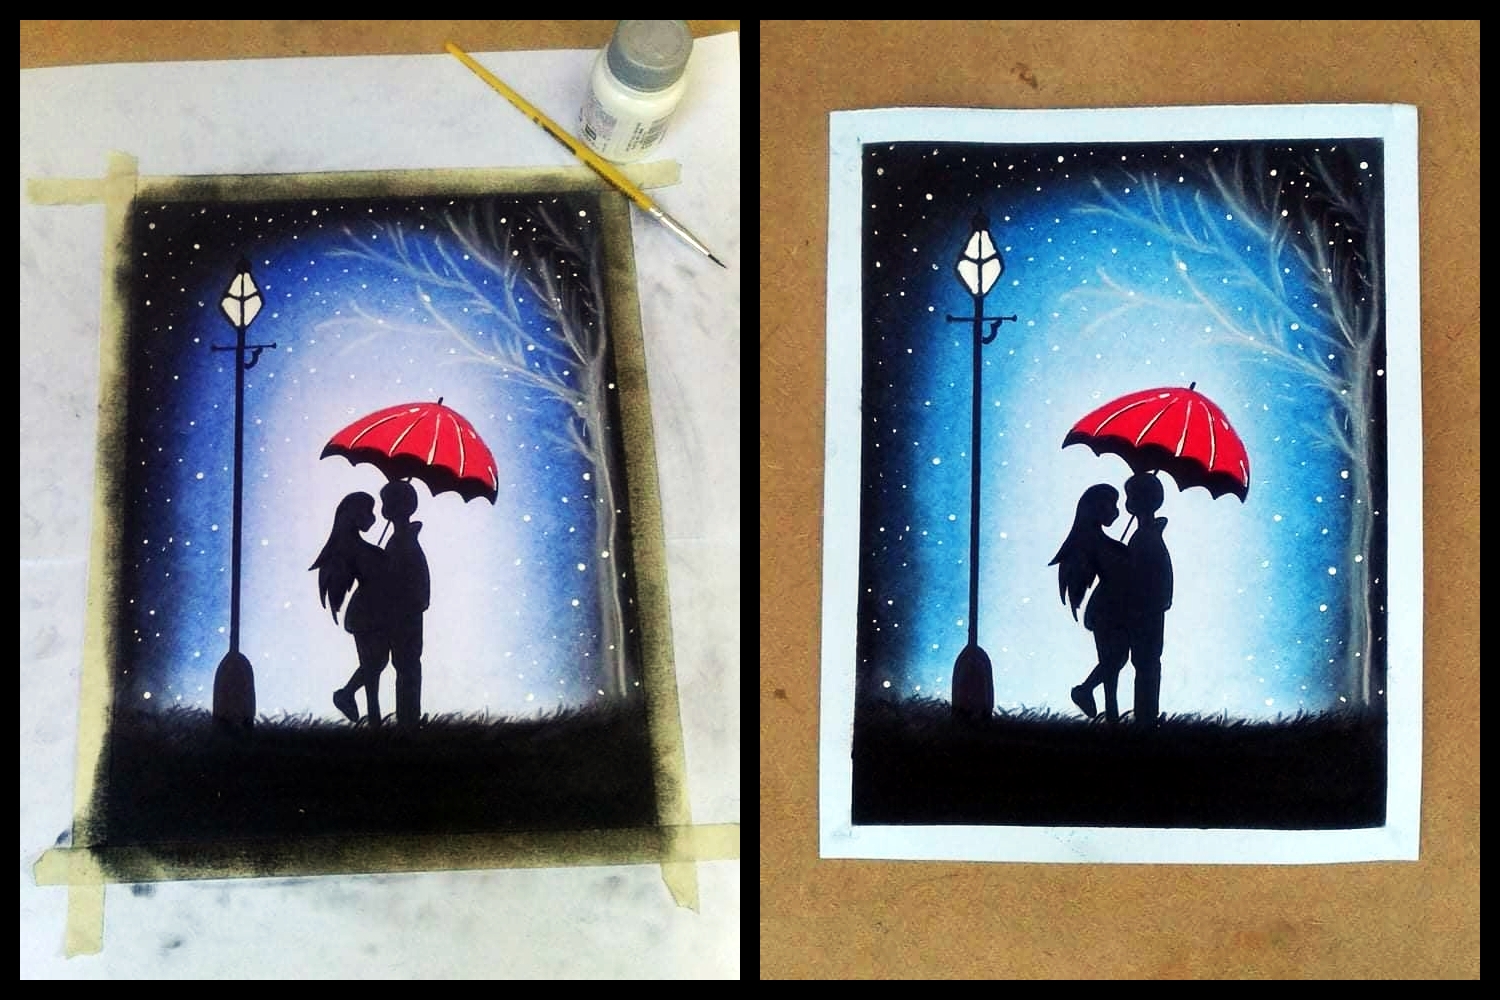
El marcador punta fina es ideal para las siluetas y con la punta del lápiz y pintura blanca se logra el efecto de la nieve. Aunque para el árbol use tiza blanca y un pincel seco para contornear lo ideal es hacerlo con un lápiz blanco o lápiz pastel, ya que la tiza es muy mala para hacer trazos.
La cinta adhesiva es indispensable para lograr el acabado del marco y el borrador moldeable para dar luz y corregir pequeñas manchas, ya que una goma corriente puede dañar el dibujo.
The whole drawing process took about 3 hours.
Use different techniques and materials.
The first thing is to grate the chalk, since that way it blurs the color better, smudge with a napkin because with your fingers you can end up staining the drawing and a mistake with pastel chalk can mean throwing the drawing in the trash.
The fine point marker is ideal for silhouettes and with the pencil tip and white paint the effect of snow is achieved. Although for the tree use white chalk and a dry brush to outline, the ideal is to do it with a white pencil or pastel pencil, since chalk is very bad for making lines.
The adhesive tape is essential to achieve the finish of the frame and the moldable eraser to give light and correct small spots, since an ordinary rubber can damage the drawing.
Paso 1| Step 1
-tile.jpg)
Paso 2| Step 2
Paso 3| Step 3
Paso 4| Step 4
Paso 5| Step 5
Paso 6| Step 6
-tile.jpg)
Paso 7| Step 7
-tile.jpg)
Paso 8| Step 8
Resultado final | Final score:
.jpg)
.jpg)
.jpg)
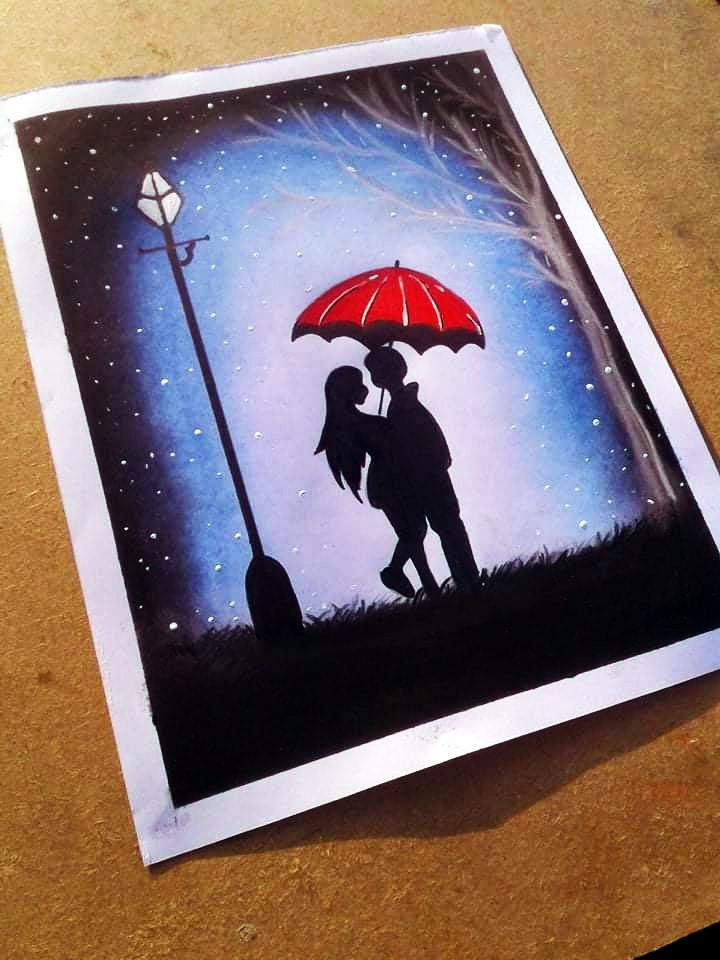
Sin más que decir espero les guste tanto como a mí y nos vemos en un próximo post 👋❤
Without more to say I hope you like it as much as I do and see you in a next post 👋❤

Congratulations @gabrielm07! You have completed the following achievement on the Hive blockchain and have been rewarded with new badge(s) :
You can view your badges on your board and compare yourself to others in the Ranking
If you no longer want to receive notifications, reply to this comment with the word
STOPDo not miss the last post from @hivebuzz:
Beautiful :)
@tipu curate