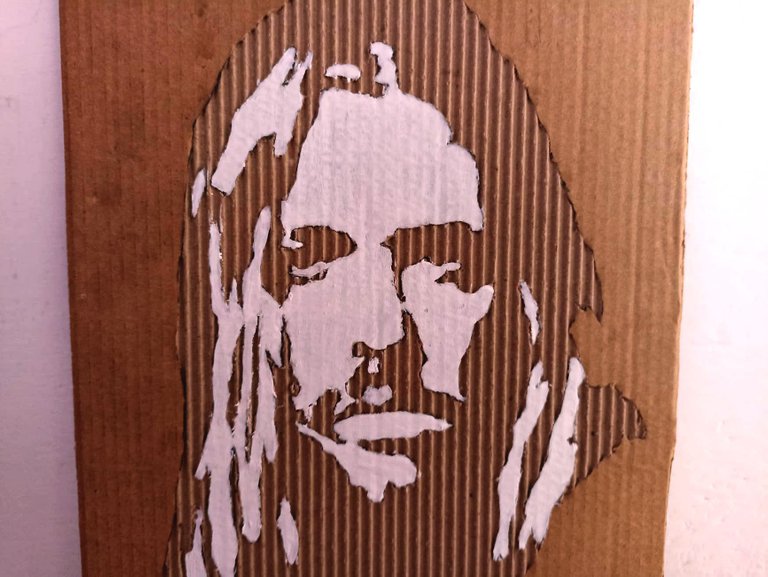
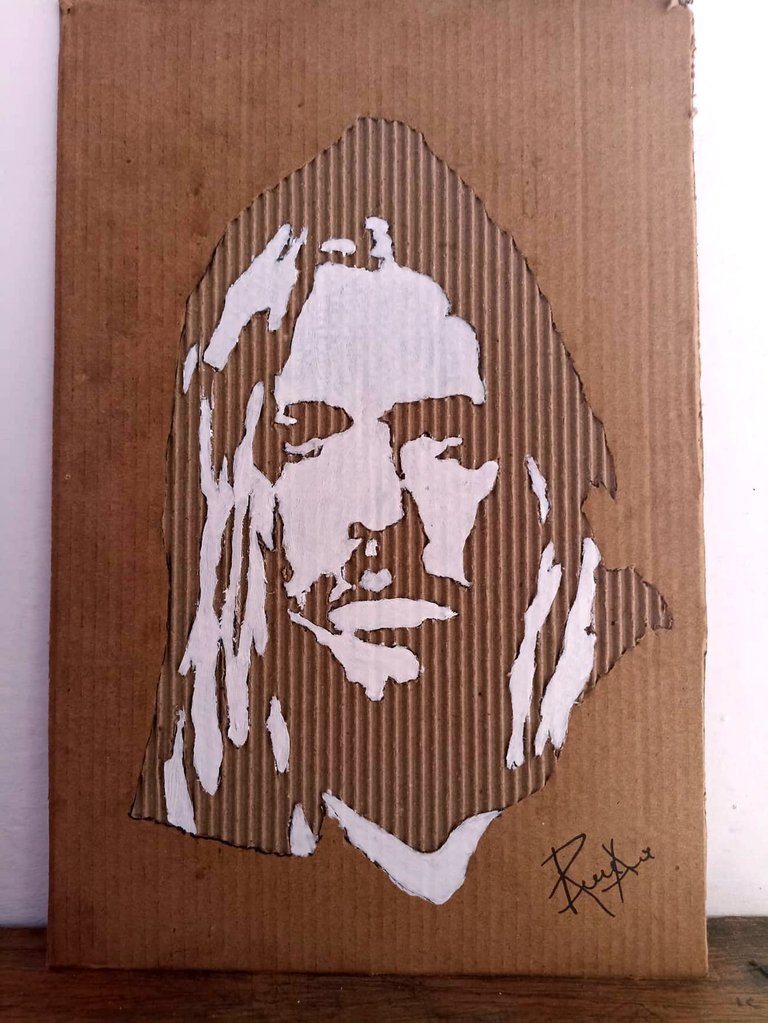
Hello friends, after a few weeks without drawing or painting something, I made a small tribute to a great drummer in rock history. I speak of Mr. Taylor Hawkins recently deceased, this news took me by surprise, I never thought it would be something so shocking, the truth is that you have to enjoy life to the fullest. I grew up with the music of the Foo Fighters so I consider them a huge influence in my life, I will always remember their performances and the energy they put on stage. This painting is done on cardboard and I did it in minimalist style. I hope you like this tribute.
Hola amigos, luego de algunas semanas sin dibujar o pintar algo hice un pequeño homenaje a un gran baterista de la historia del rock. Hablo del señor Taylor Hawkins recientemente fallecido, esta noticia me tomó por sorpresa, nunca pensé que sería algo tan impactante, la verdad es que hay que disfrutar la vida al máximo. Crecí con la música de Foo Fighters así que los considero una gran influencia en mi vida, siempre recordaré sus presentaciones y la energía que ponía en el escenario. Esta pintura esta hecha sobre cartón y la hice en estilo minimalista. Espero que les guste este homenaje.

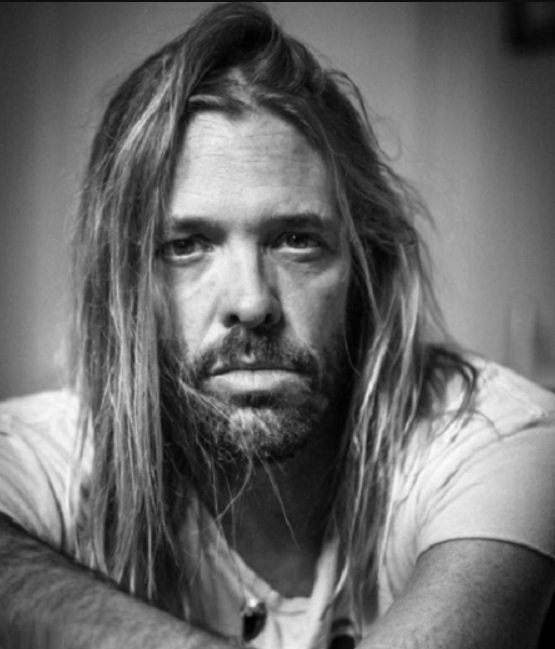
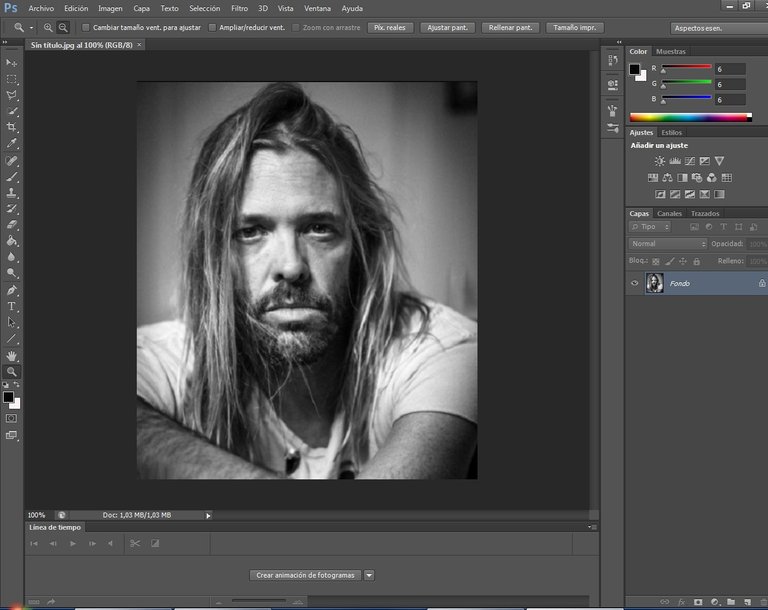
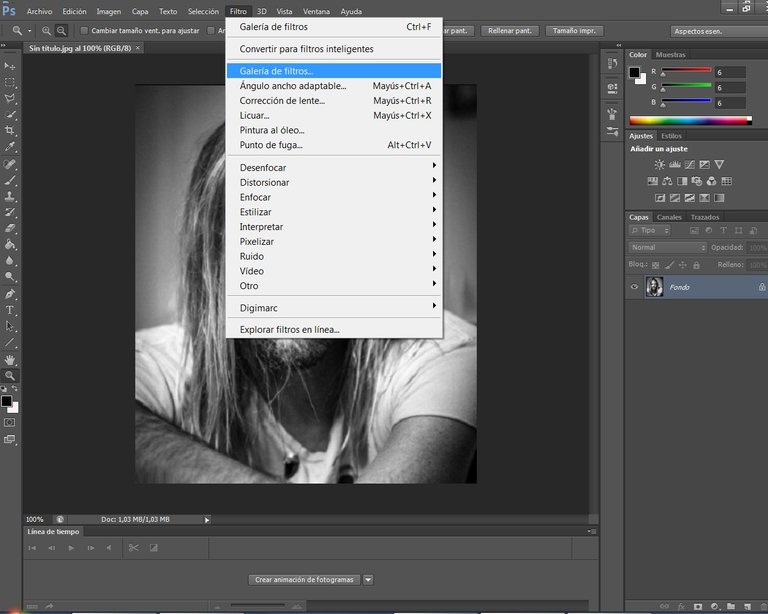
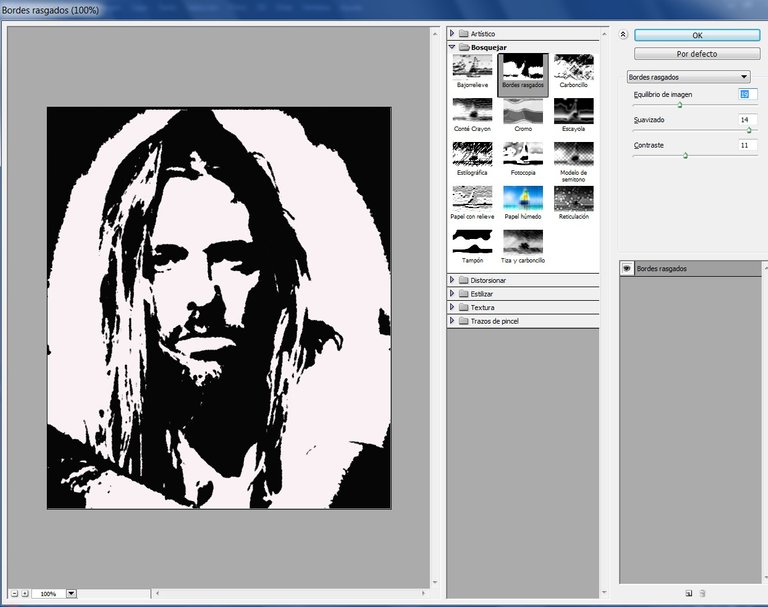
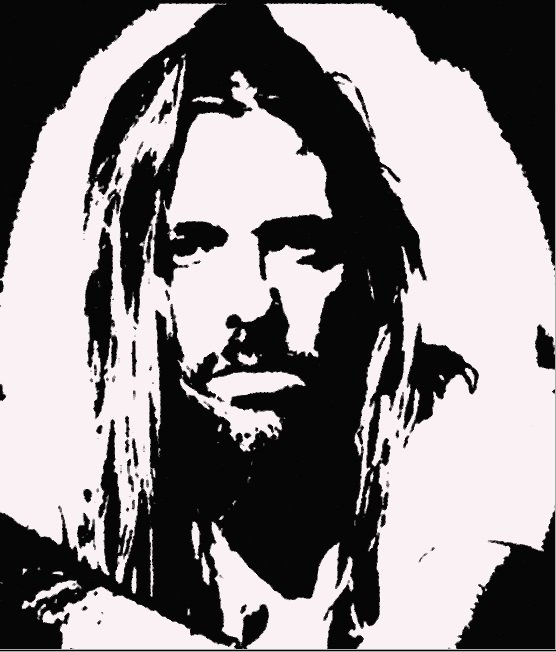
The first step was to take a reference photograph and transform it into a stencil, for this I used the Photoshop version CS6 program, we looked in the "Filter Gallery" and chose the "Torn Edges" filter, we chose the values according to our criteria and thus we transformed the image.
El primer paso fue tomar una fotografía de referencia y transformarla en stencil, para esto utilicé el programa Photoshop versión CS6, buscamos en la "Galeria de Filtros" y ecogemos el filtro "Bordes Rasgados" escogemos los valores según nuestro criterio y así transformamos la imagen.

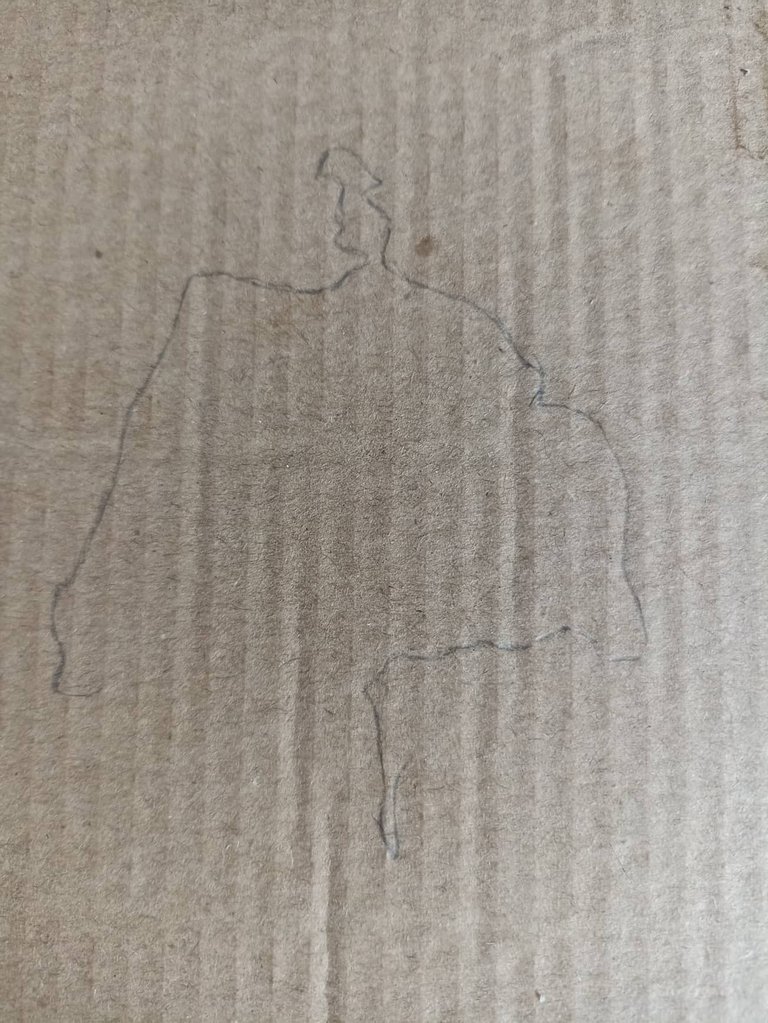
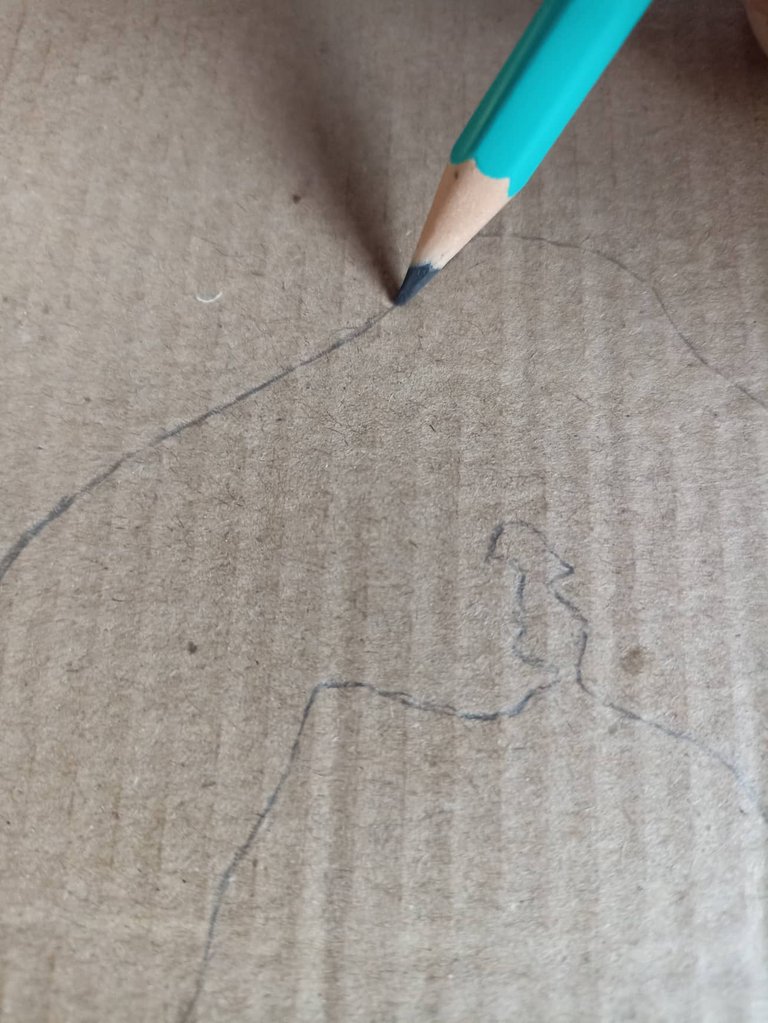
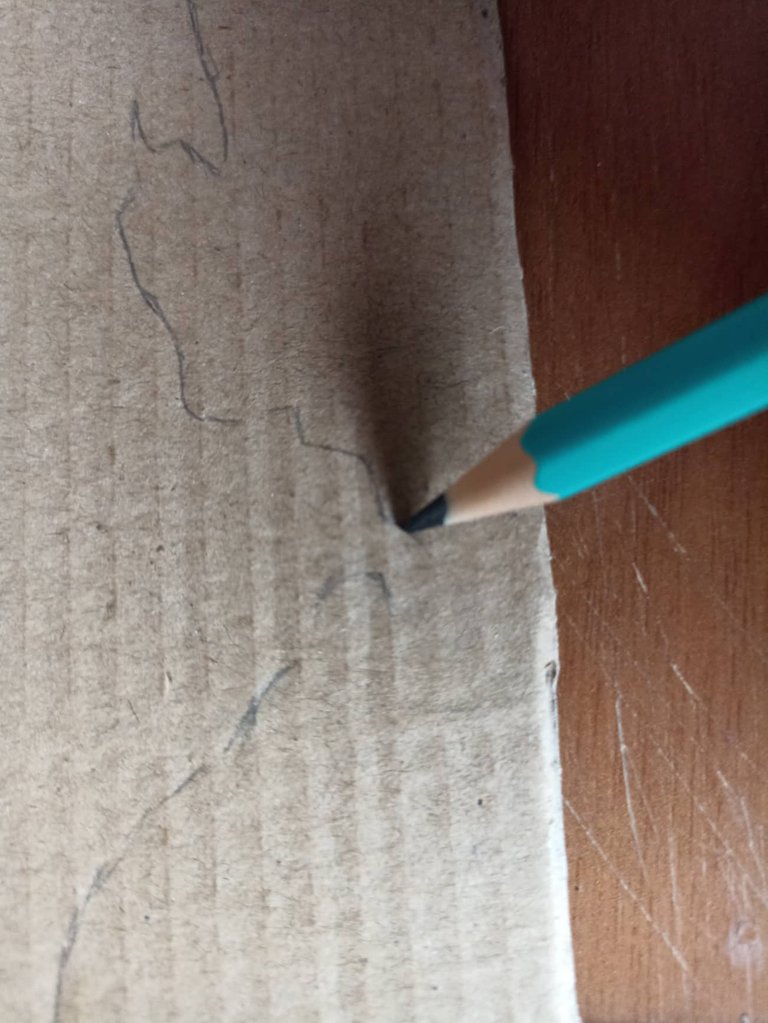
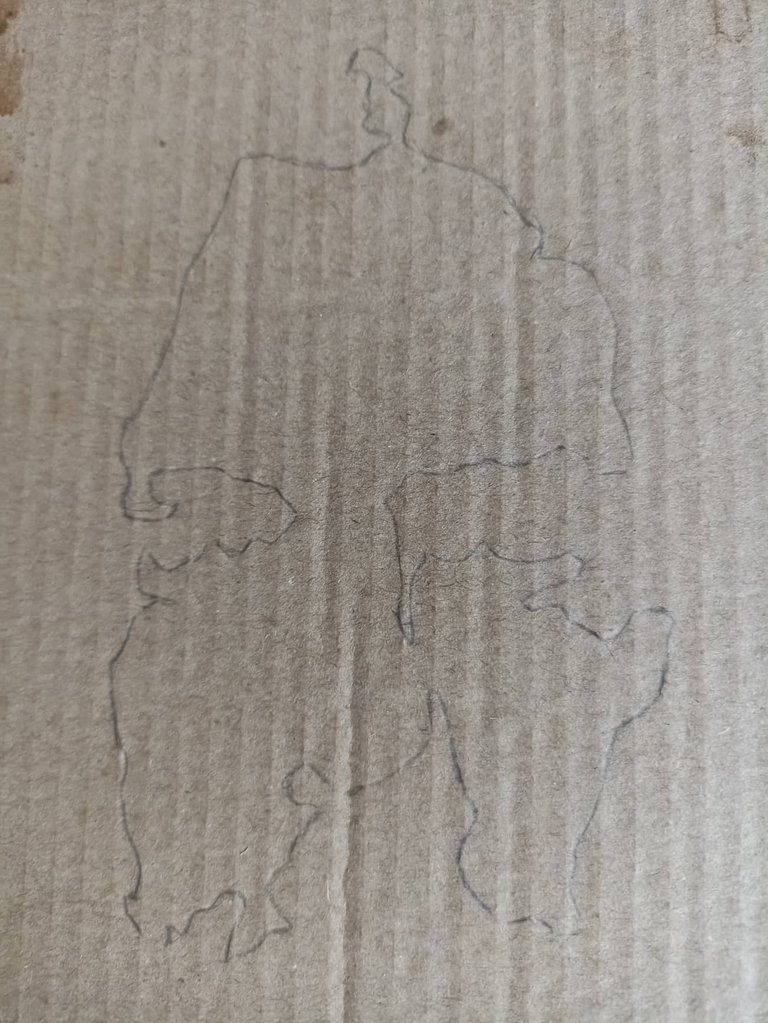
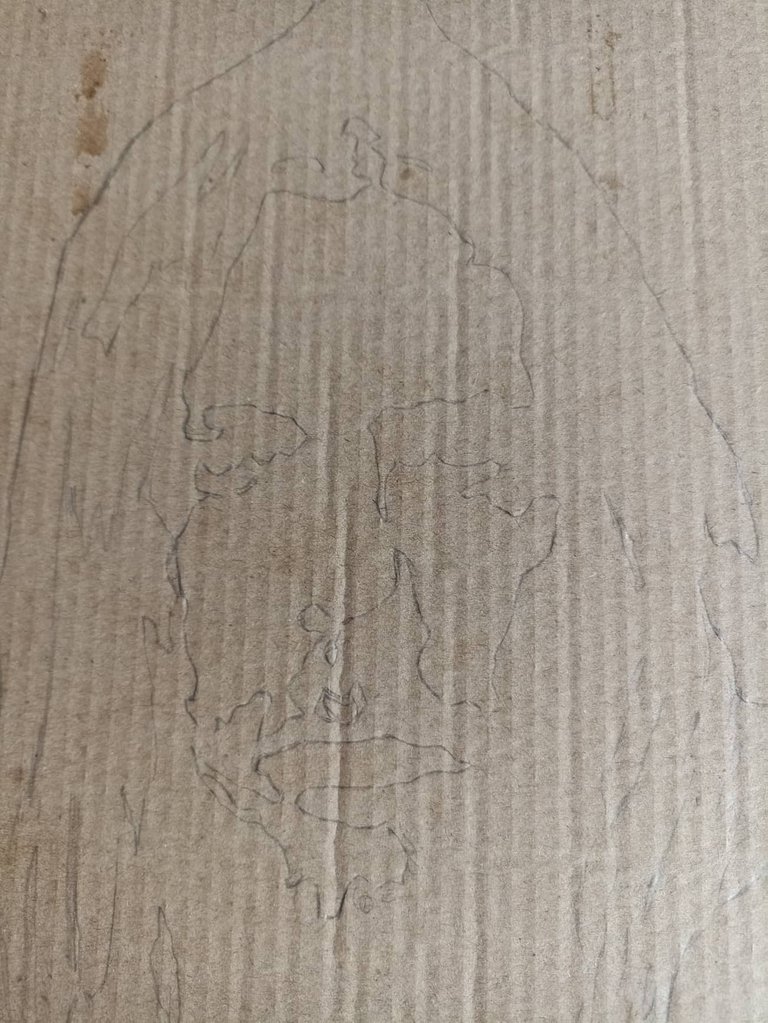
Then we choose a cardboard that is in good condition to draw, and with a pencil we will make the silhouette of the face guided by the image that we transform until we make the stencil on the cardboard, it is easier to print the image and do it from there using it as a pattern, but since I like the difficult and complicated I prefer to draw myself. Then we review the layout to mark it better.
Luego escogemos un cartón que se encuentre en buen estado para dibujar, y con lápiz haremos la silueta del rostro guiándonos por la imagen que transformamos hasta hacer el stencil en el cartón, es más facil imprimir la imagen y hacerlo desde ahí utilizandola como un patrón, pero como a mi me gusta lo dificil y complicado prefiero ir dibujando yo mismo. Luego hacemos un repaso del trazado para marcarlo mejor.

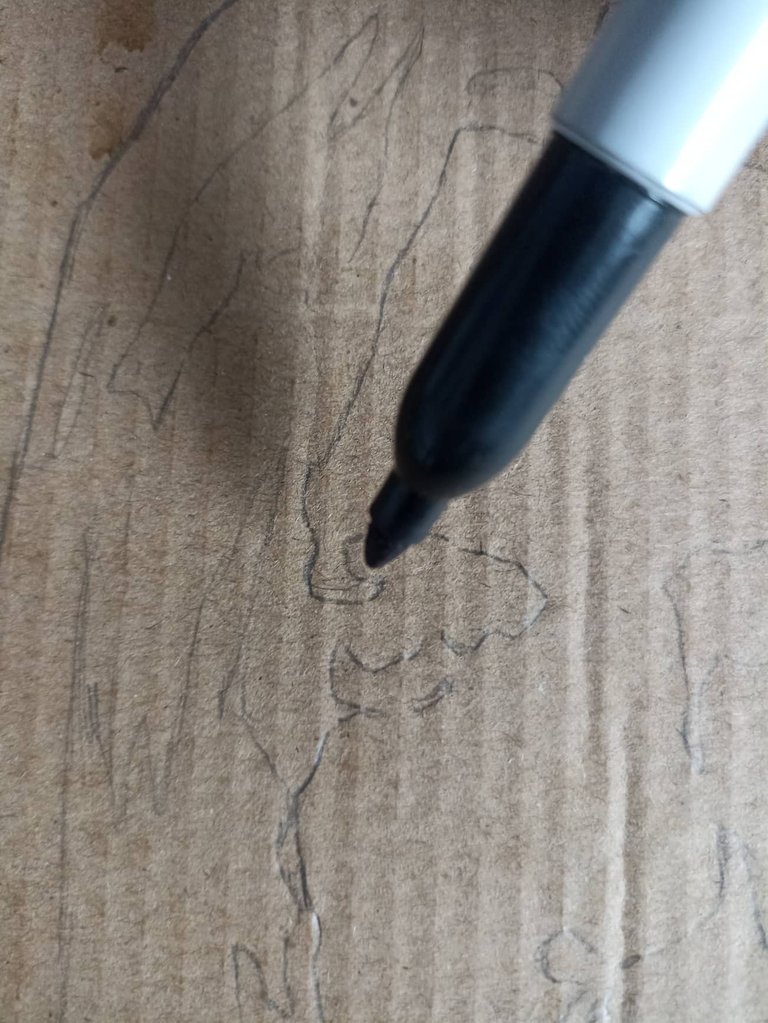
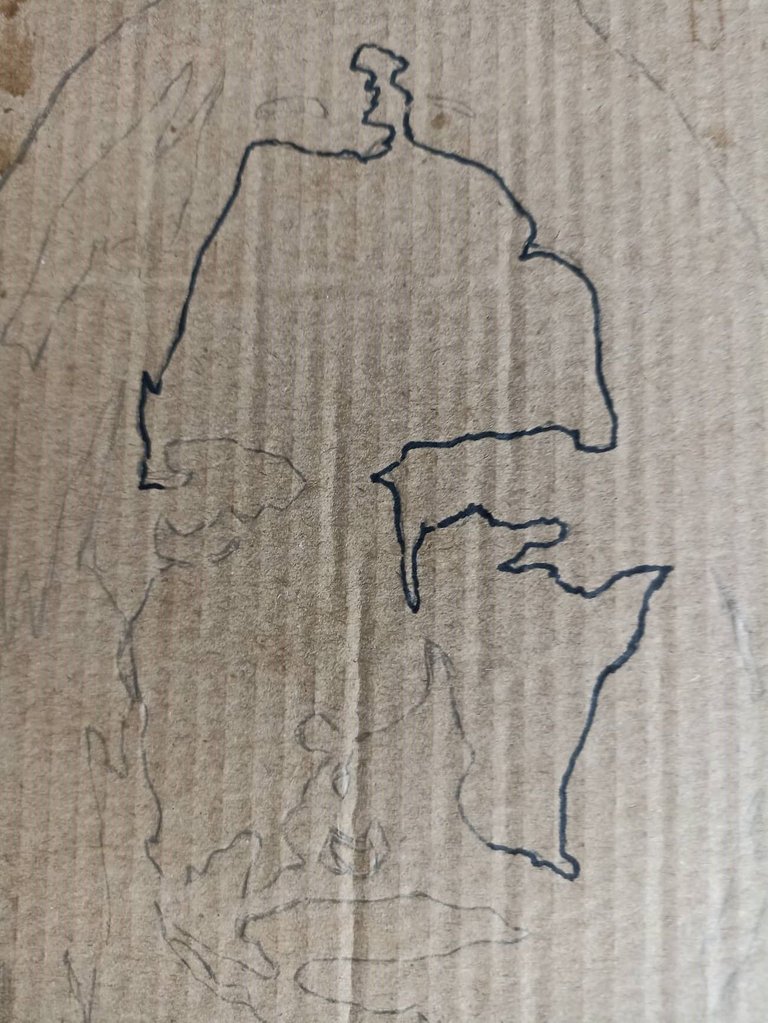
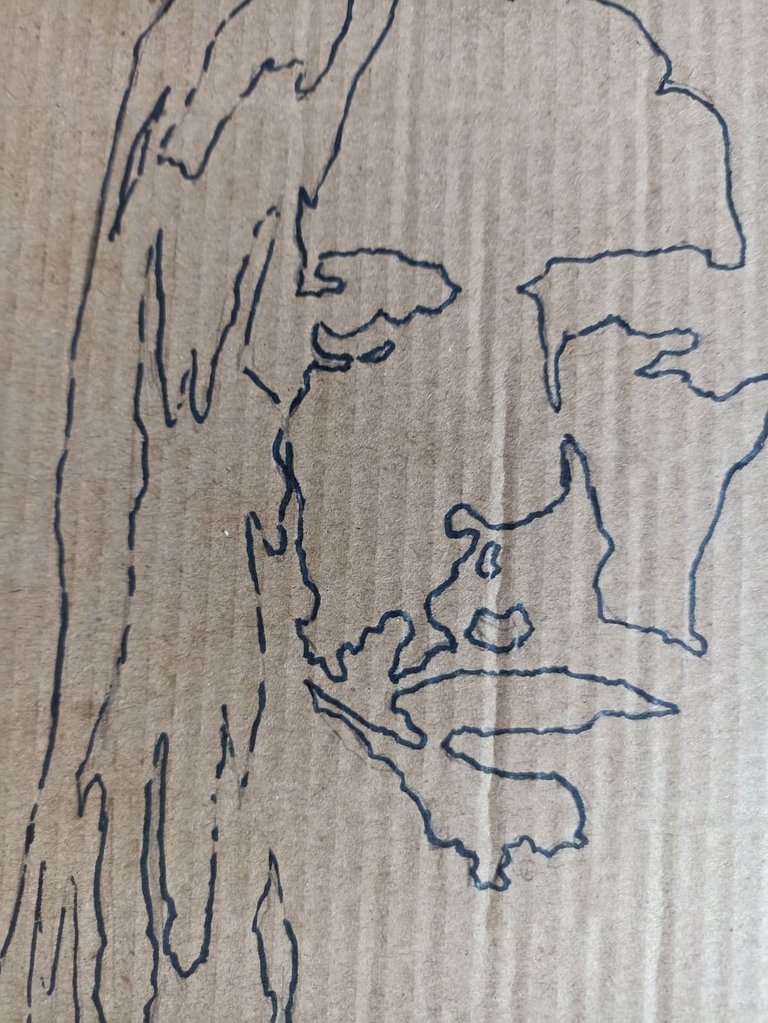
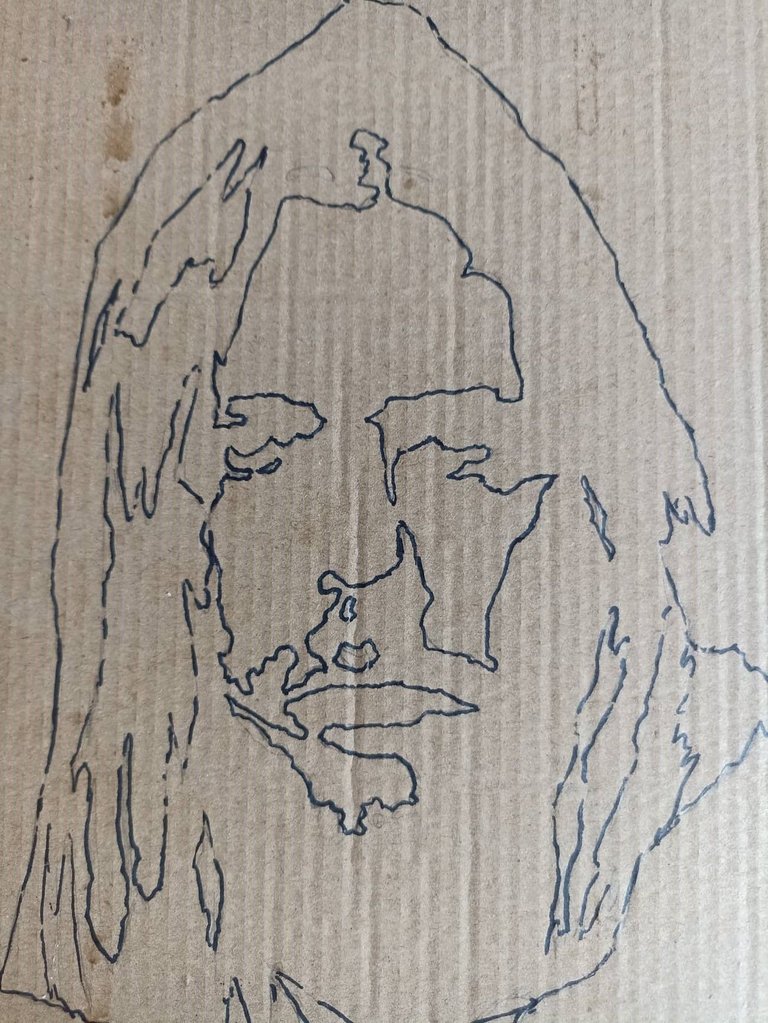
The next step is to take a black marker and highlight the entire stroke, here we can do it a little slower and thus we can have a better perspective after finishing and thus we can better see the shape of the drawing. We will cover each part that we have made with pencil with black color.
El siguiente paso es tomar un marcador de color negro y remarcar todo el trazo, aqui podemos hacerlo un poco más lento y así podemos tener una mejor perspectiva luego de terminar y así podremos ver mejor la forma del dibujo. Cada parte que hayamos hecho con lápiz la cubriremos con color negro.

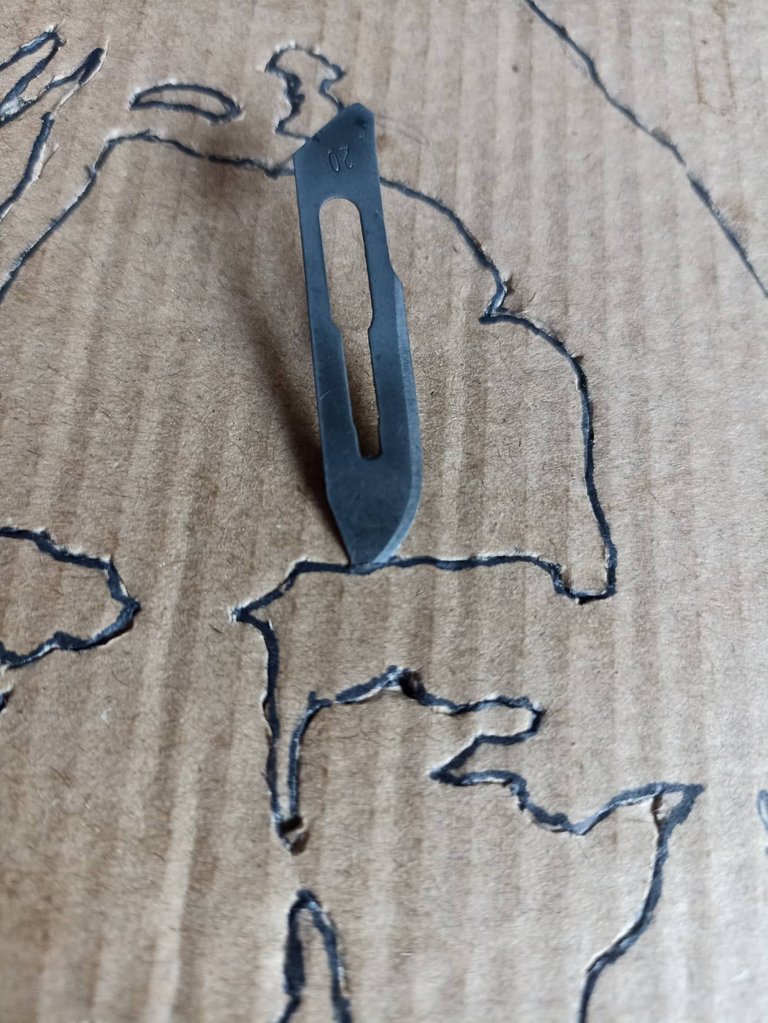
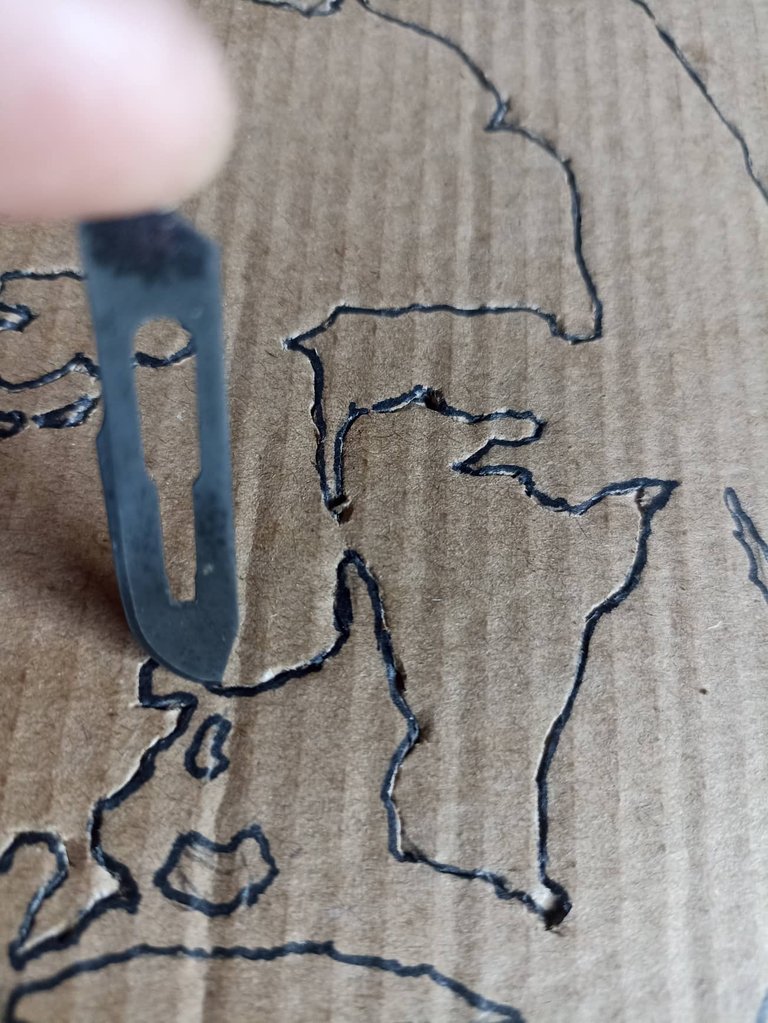
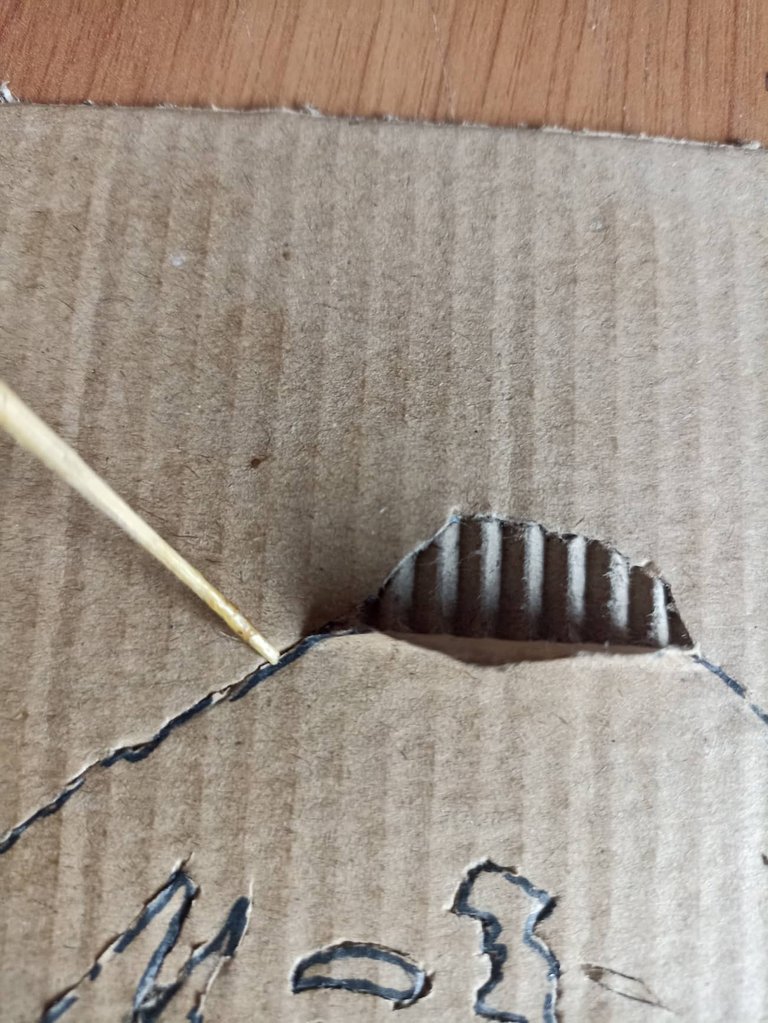
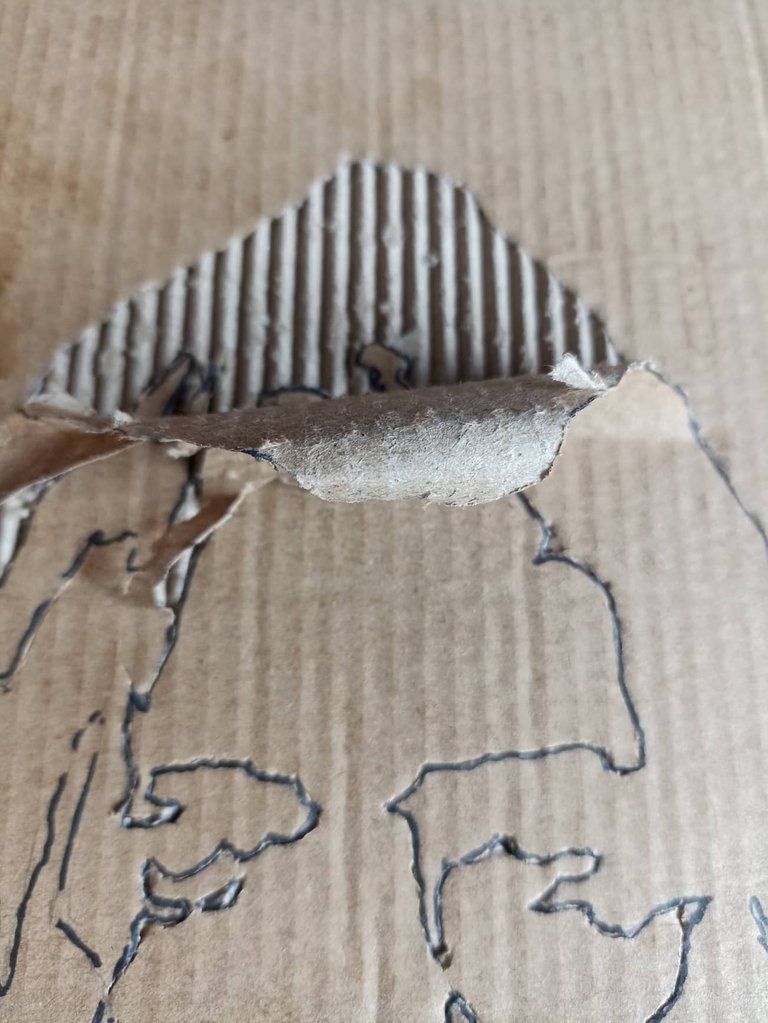
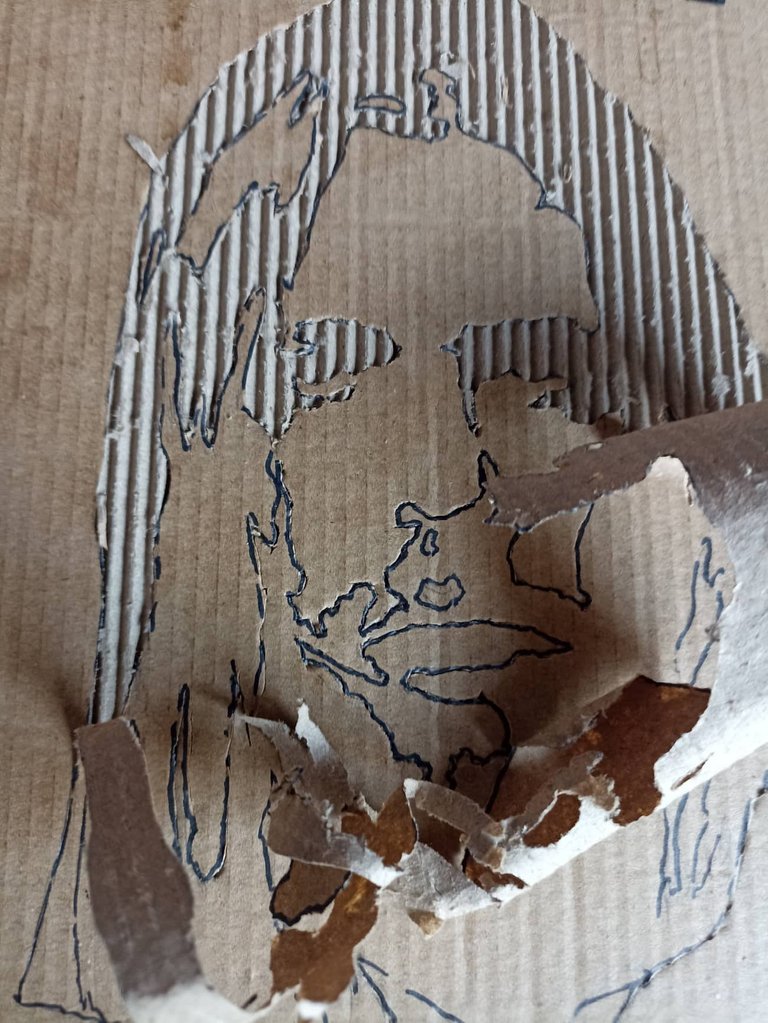
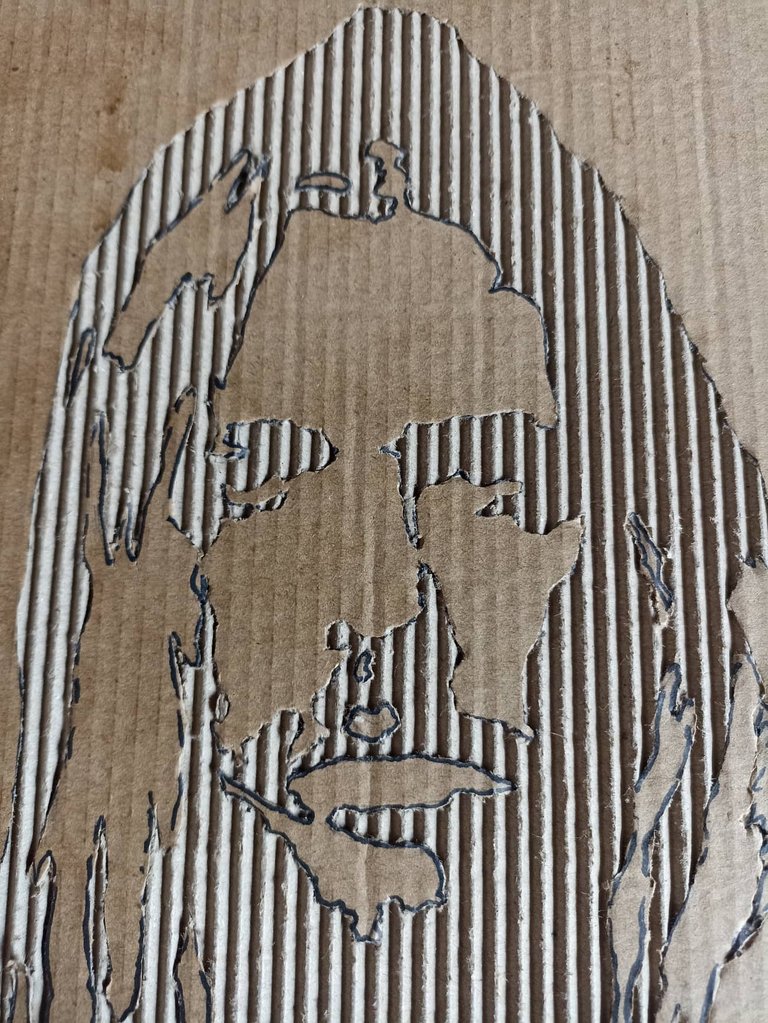
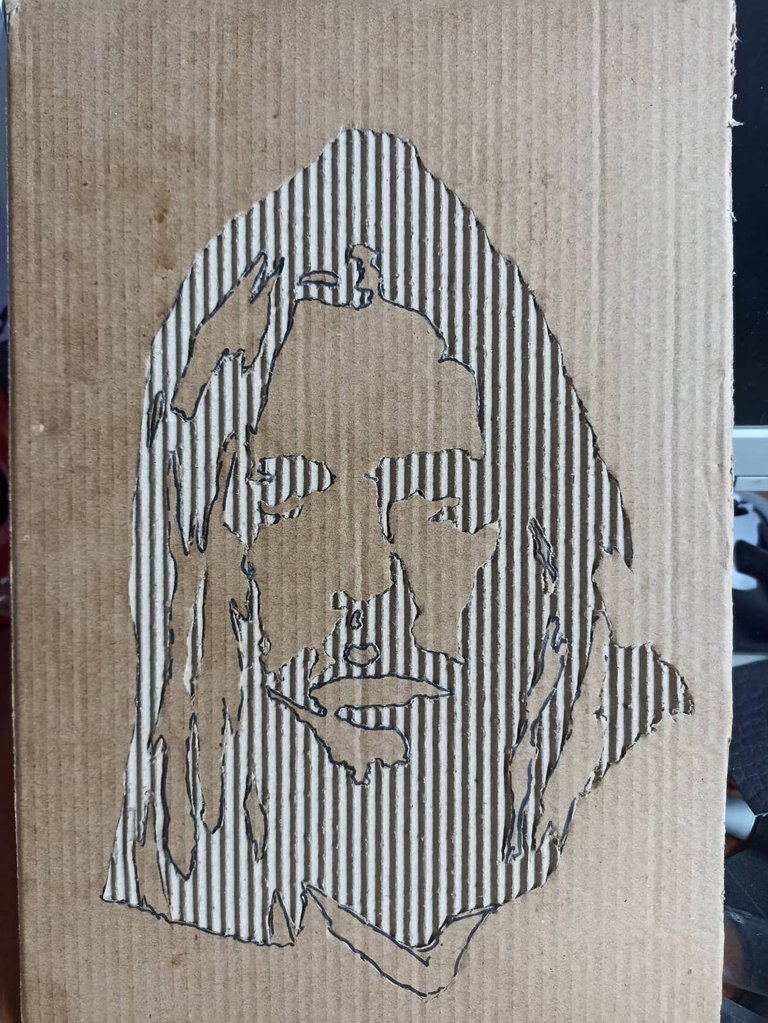
Now we come to the most difficult step and therefore where we must work carefully. First we take a paper knife or any blade and we are going to cut the entire drawing where we made the strokes, we must do it carefully so as not to cut in the opposite direction and ruin the drawing. After doing this step, take a small wooden stick and begin to remove the layer that we cut so that the interior of the cardboard can be seen in relief. We are also carefully removing the paper until we leave the drawing the way we want, finally we remove all the dirt and the rest that has remained to leave the drawing clean.
Ahora llegamos al paso más dificil y por lo tanto donde debemos trabajar cuidadosamente. Primero tomamos una navaja de papel o cualquier hojilla y vamos a cortar todo el dibujo por donde hicimos los trazos, debemos hacerlo con cuidado para no cortar en la dirección contraria y arruinar el dibujo. Luego de hacer este paso tomanos una pequeña vara de madera y comenzamos a retirar la capa que cortamos de manera que se vea el interior del cartón en forma de relieve. Tambien de forma cuidadosa vamos retirando el papel hasta dejar el dibujo de la forma que queremos, por último retiramos toda la suciedad y resto que haya quedado para dejar el dibujo en limpio.

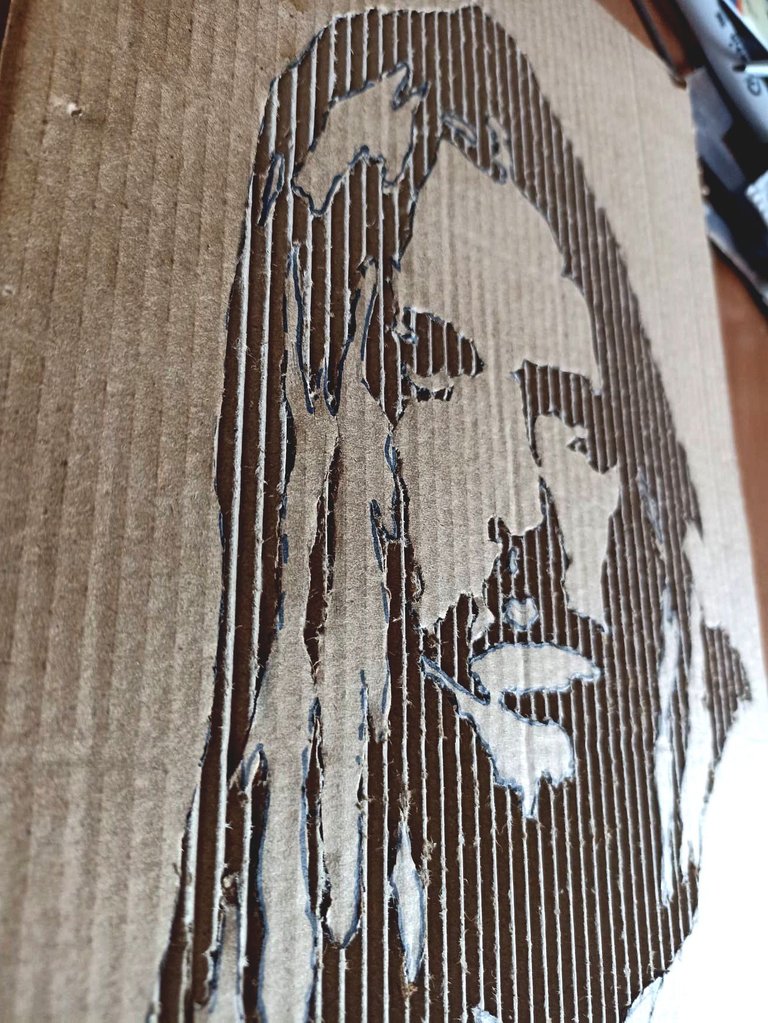
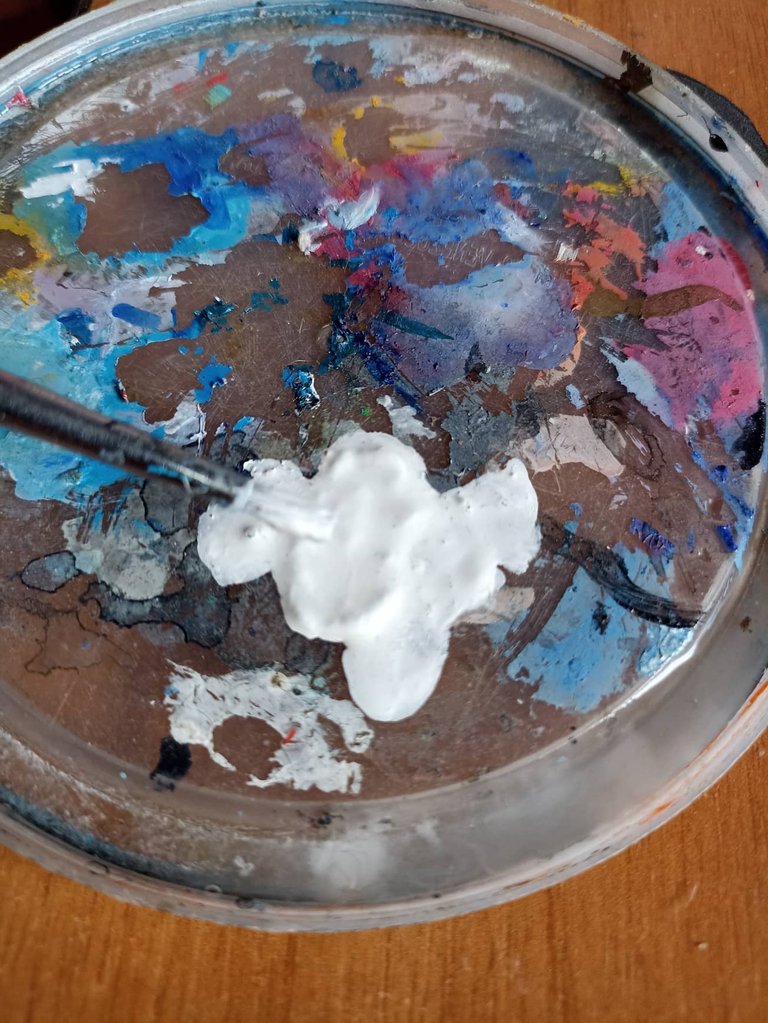
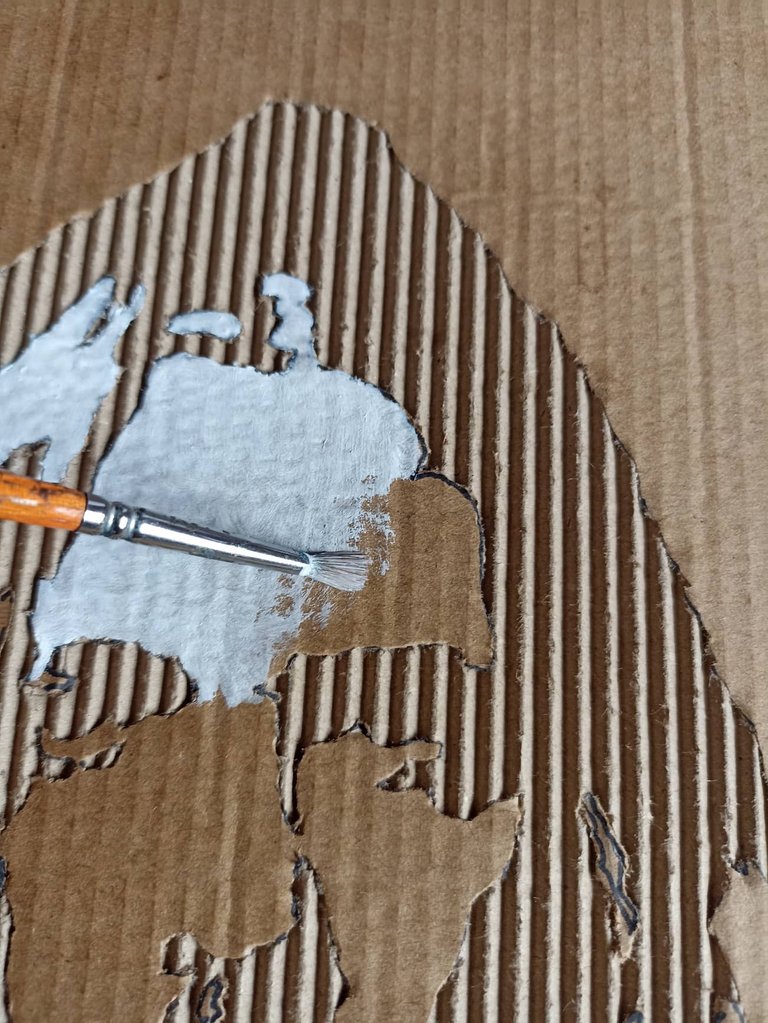
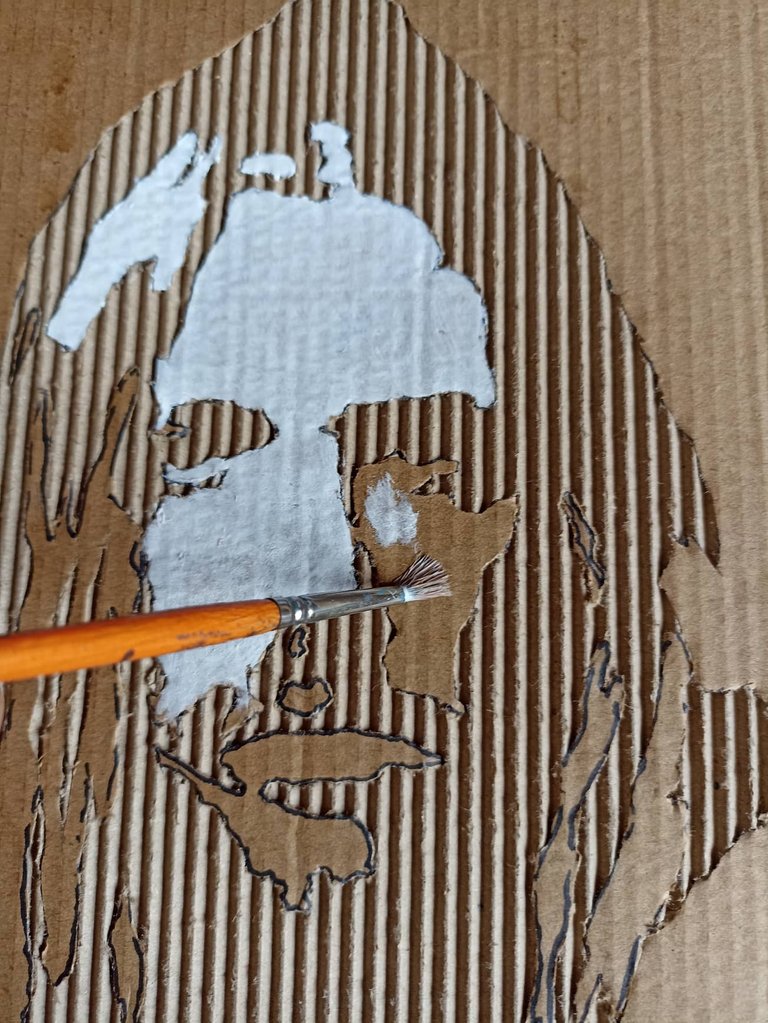
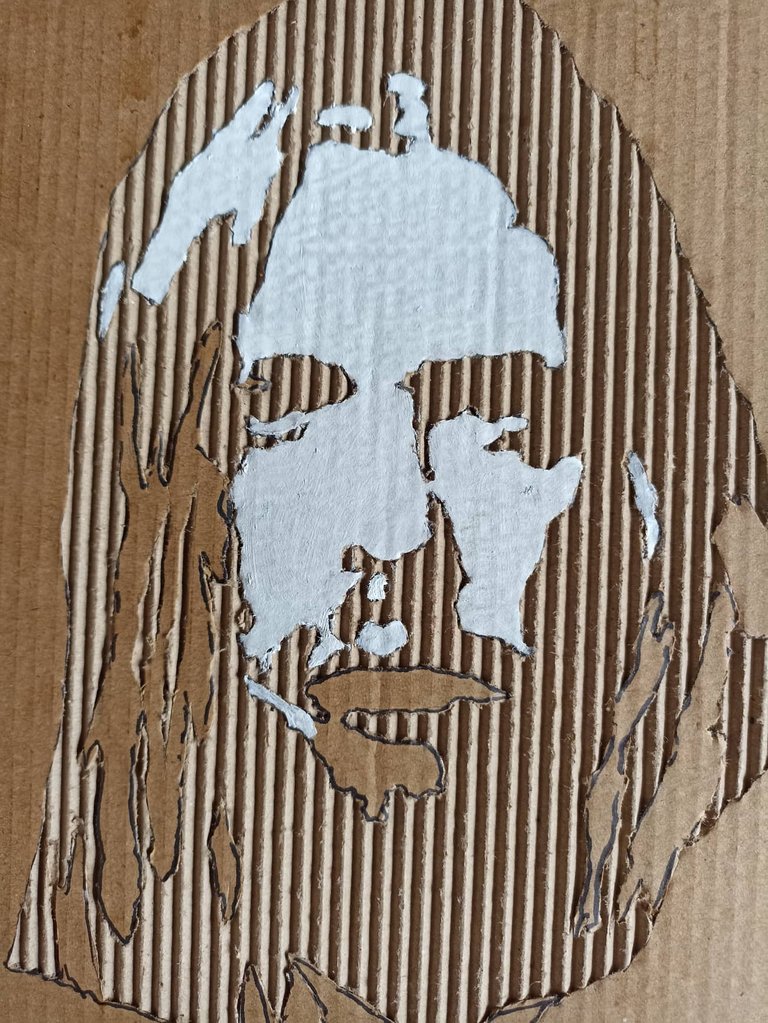
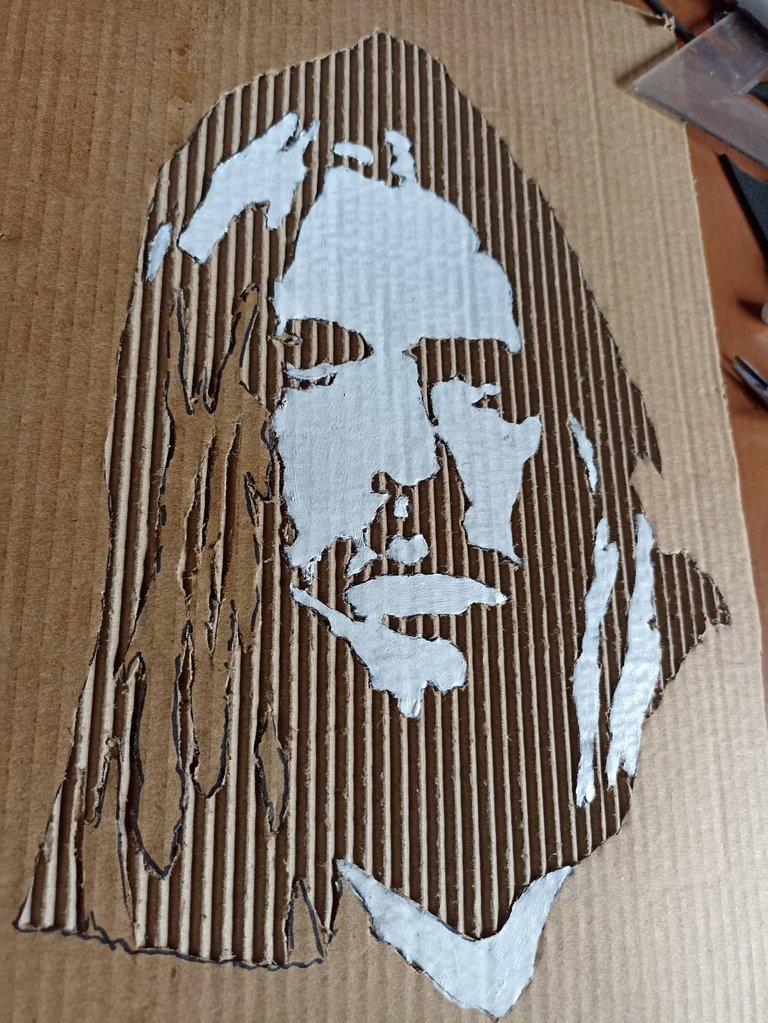
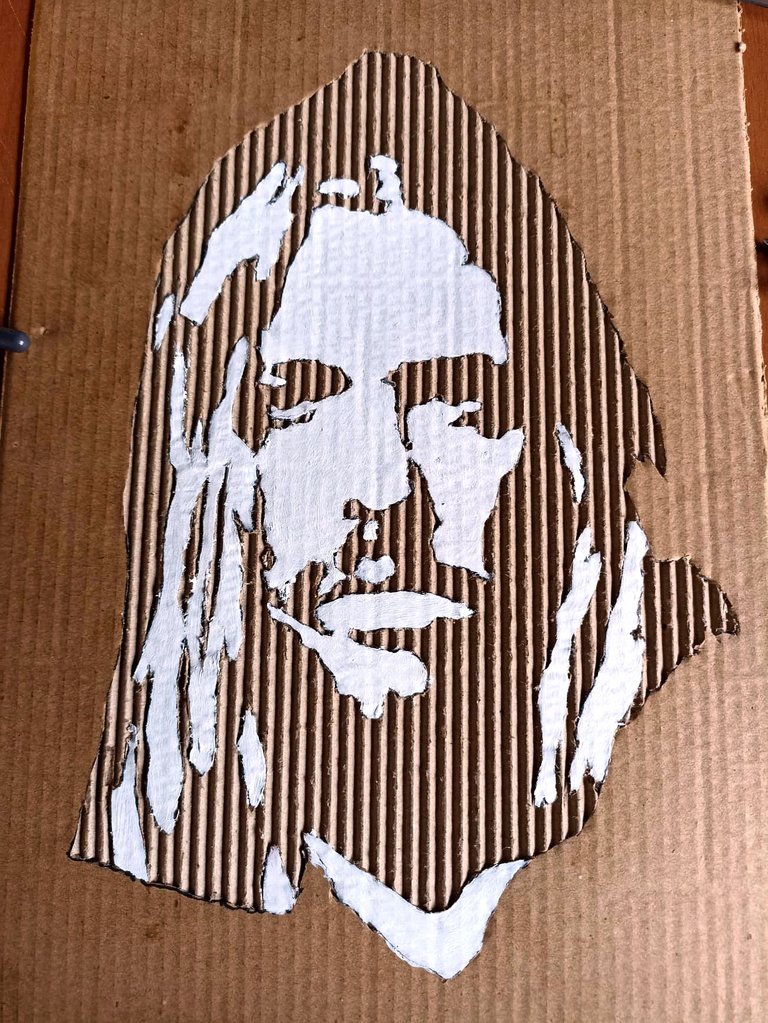
Once we have cleaned the drawing well, we proceed to paint it, so we will take white acrylic paint and a soft and fine bristle brush. We wet the paint with a little water so that it does not dry so quickly and thus be able to make the brush strokes easier. We will paint the face and the illuminated parts of the hair, the rest will be the shadow and will remain unpainted, the relief of the cardboard will give that effect.
Una vez hayamos limpiado bien el dibujo procedemos a pintarlo así que tomaremos pintura acrílica de color blanco y un pincel de cerda suave y fina. Mojamos la pintura con un poco de agua para que no se seque tan rápido y así poder dar las pinceladas más faciles. Pintaremos el rostro y las partes iluminadas del cabello, el resto será la sombra y se quedará sin pintar, el relieve del cartón dará ese efecto.


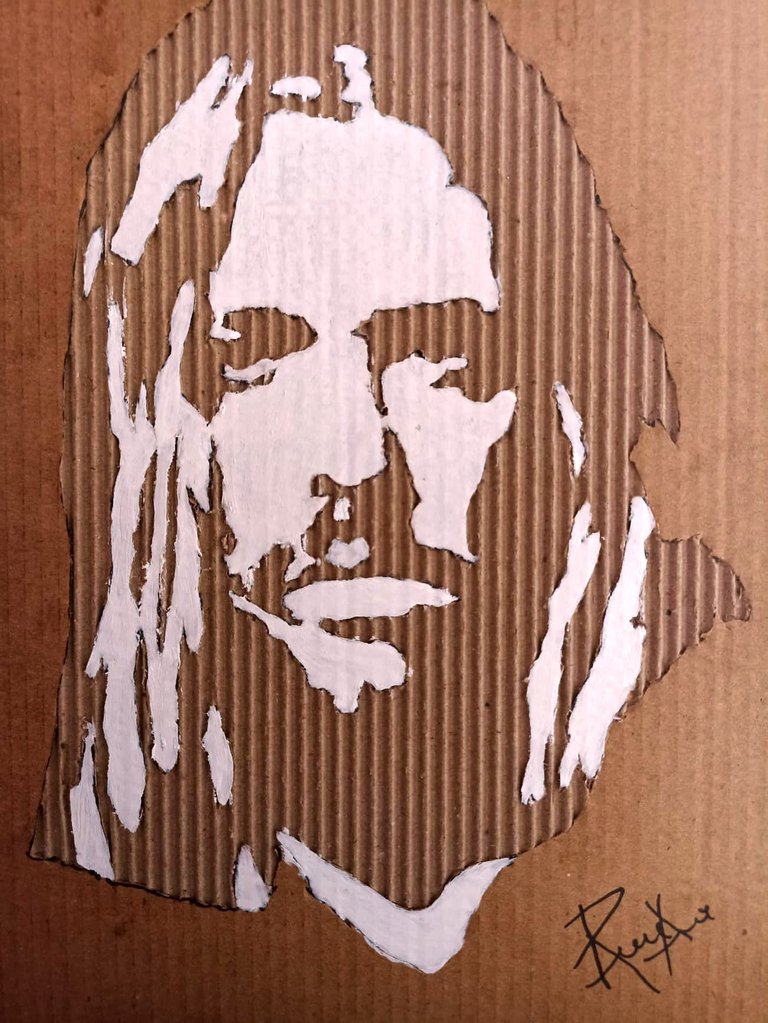
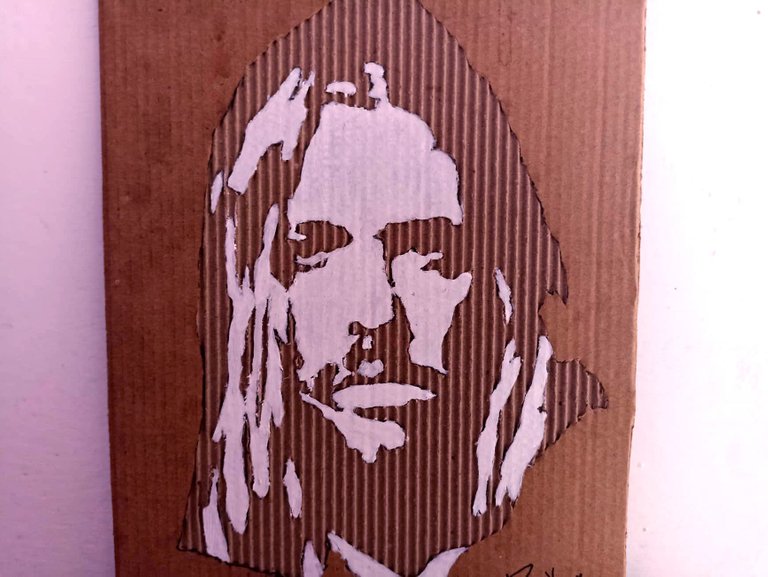
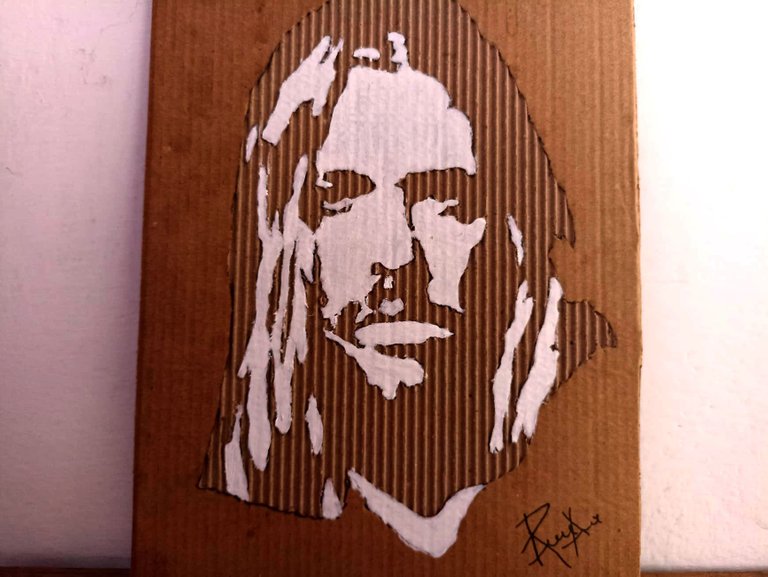
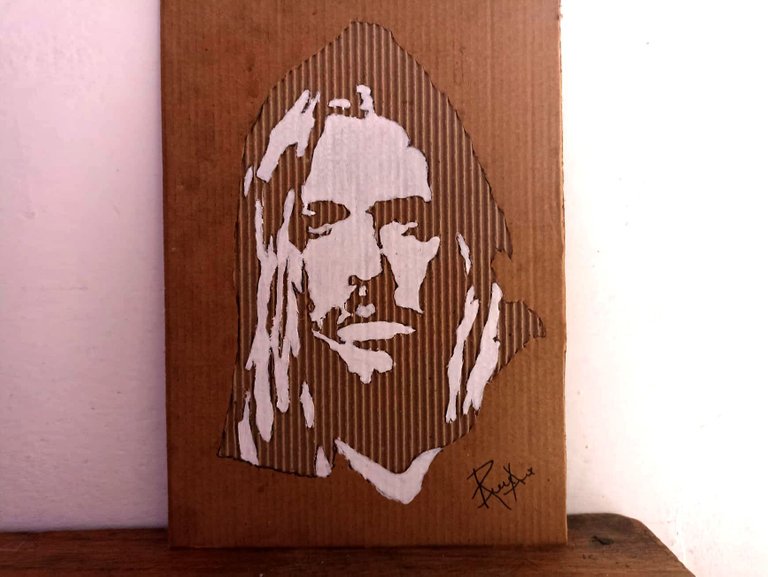
This is how the minimalist portrait of Taylor Hawkins has been, this is really a humble tribute to a person who was not only a great musician, but also had a great personality, in each concert he left everything and sent that positive vibe, a great talent has left but a legend is born. I hope you liked my contribution, do not forget to comment what you think. I say goodbye until a new opportunity.
Así ha quedado el retrato minimalista de Taylor Hawkins, este es realmente un humilde homenaje a una persona que no solo fue una gran músico, sino que tenía una gran personalidad, en cada concierto lo dejaba todo y expedía esa vibra positiva, un grna talento nos ha dejado pero una leyenda ha nacido. Espero que les haya gustado mo aporte, no dejen de comentar que les ha parecido. Me despido hasta una nueva oportunidad.
Guoaoooo.😍 Fenomenal amigo. Como todo lo que haces. Esto también lo va a amar mi hija, tiene que verlo. Por acá la menciono con tu permiso. (Mira bebe @shinfxx 💕 )
Saludos querida amiga, un gsuto enorme leer tu comentario. Espero que le guste jejeje!
💕
envío corazones infinitos <3 <3
The rewards earned on this comment will go directly to the person sharing the post on Twitter as long as they are registered with @poshtoken. Sign up at https://hiveposh.com.
¡Felicidades! Esta publicación obtuvo upvote y fue compartido por @la-colmena, un proyecto de Curación Manual para la comunidad hispana de Hive que cuenta con el respaldo de @curie.
Si te gusta el trabajo que hacemos, te invitamos a darle tu voto a este comentario y a votar como testigo por Curie.
Si quieres saber más sobre nuestro proyecto, acompáñanos en Discord: La Colmena.
Muchas gracias por su gran apoyo queridos amigos!
Your content has been voted as a part of Encouragement program. Keep up the good work!
Use Ecency daily to boost your growth on platform!
Support Ecency
Vote for new Proposal
Delegate HP and earn more
Thank you very much for your great support.
Demasiado brutal hermano, la idea de usar el Photoshop para tener una imagen de estarcido mas definida, gran resultado final.
Gracias hermano, no soy muy experto en photoshop pero para este trabajo se usar esos filtros.. Necesitaba esa imagen de referenciaa, me gusta mucho los stencils. Gracias por pasar!
¡Saludos! Excelente trabajo con técnicas mixtas. Sin duda el efecto de obtener un positivo de esto es algo que requiere mucha paciencia. Por cierto, sí que la muerte de Taylor tomo a todos por sorpresa, una lastima, veremos si el grupo continúa. Un abrazo
Si, fue una noticia sorpresiva y lamentable, la desaparición física de este genio, la verdad yo dudo que puedan continuar. Se merecía esto y mucho más por tantos años dedicados a la música.. Saludos para ti!
Vaya¡¡¡ tremenda técnica que aplicaste; toda una obra de arte, como ya he dicho todo un genio. Gracias por compartir tanta creatividad. Un fuerte abrazo🤩👌💯❤
Este genio me inspiróa hacerlo, marcó toda una época en mi vida en cuanto a gustos musicales.. Jeje gracias por siempre apreciar lo que hago con mucho cariño.. Feliz fin de semana.