Hello hivers,i hope you are doing well!.Lately I have not been very connected because between virtual classes and mid-term exams, they lead me down the path of madness!But I am writing to you this time, to share with you a drawing task that the drawing teacher sent me recently, trying to make a fruit still life and paint it with complementary colors,It was my first time working with this technique so I hope you like the result.
Let us begin :)
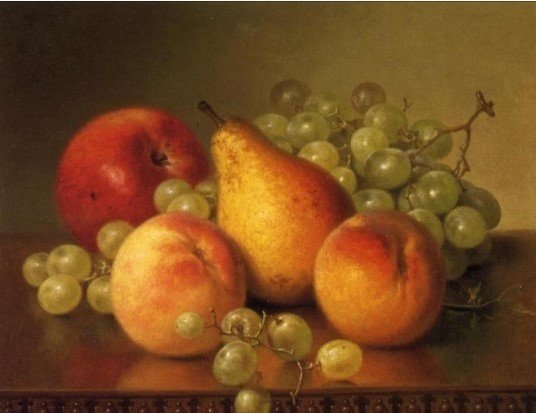
PROCESS// PROCESO
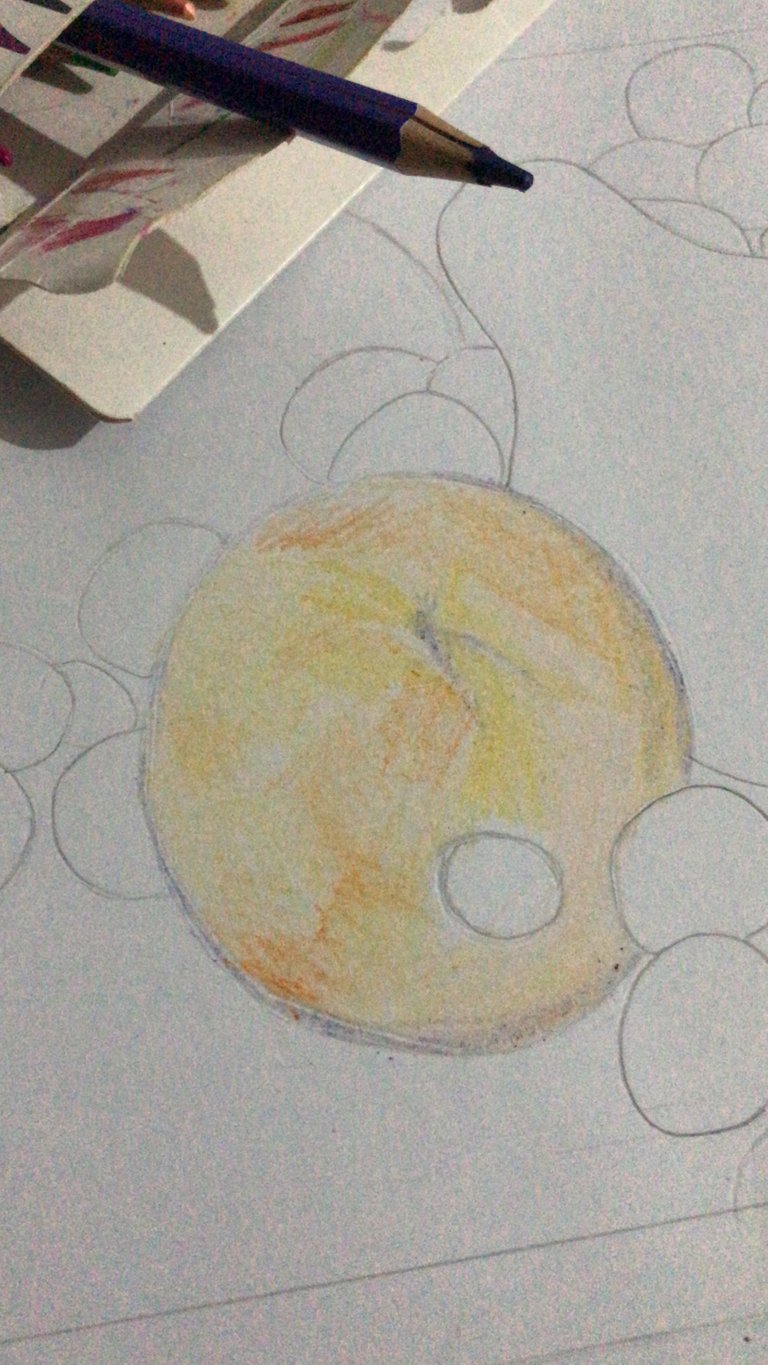
1° I sketch the shape of the fruits and started with the peaches.
I made the outline of the peach with purple because it is the complementary colour of yellow.
1° comencé hacer un bosquejo de la forma de las frutas y empecé con los duraznos.
El contorno del durazno lo hice con morado ya que es el complementario de amarillo.
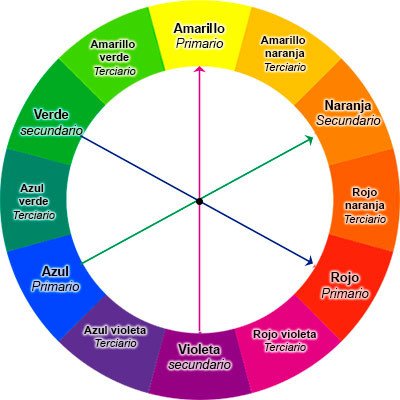
The objective of the drawing is to make the shadows of the fruits without using black or brown, so as you can see in the images to make the shadow I will have to use cool colors.
El objetivo del dibujo es realizar las sombras de las frutas sin usar negro o marrón, por eso como podrás ver en las imagen para realizar la sombra tendré que usar tonos fríos.
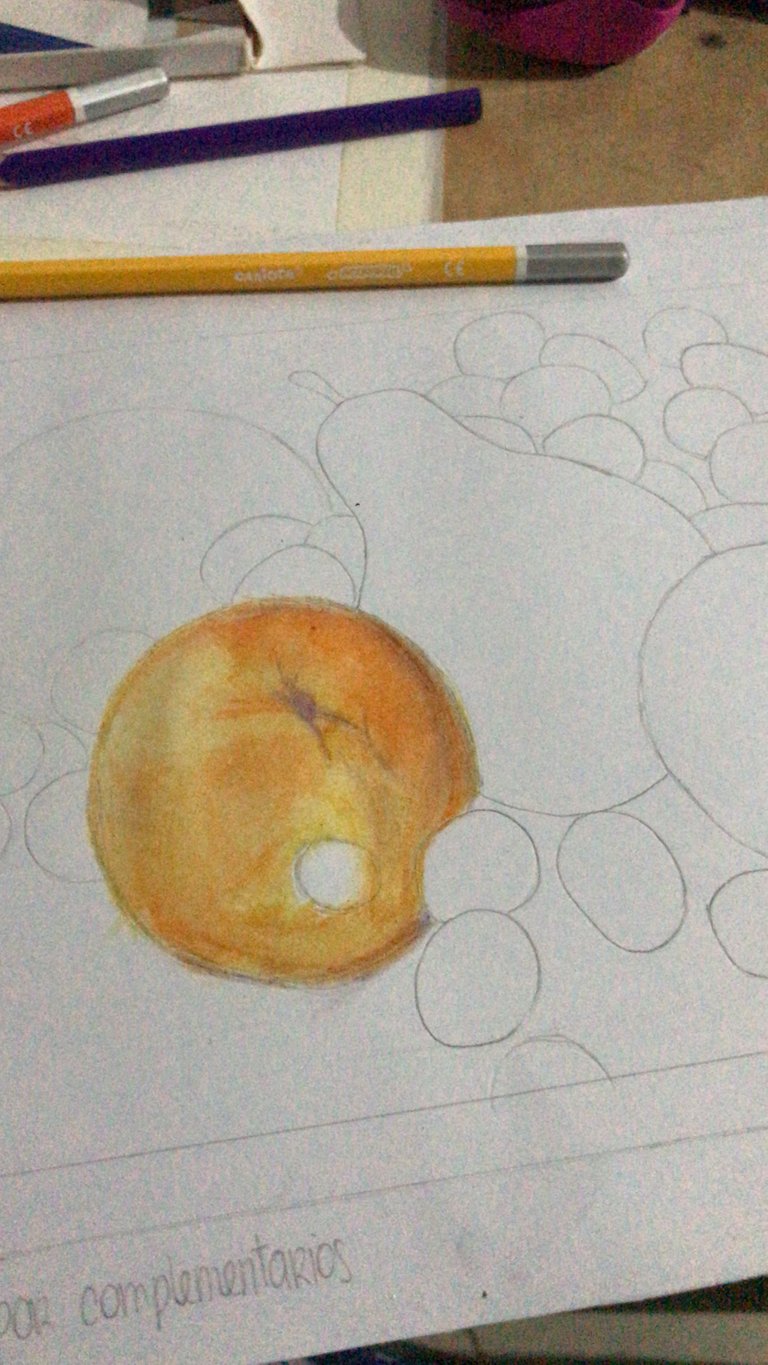
2° I use watercolor colors that with a little water could make the orange tones blend well.
2° Usé colores acuarelables con los que con un poco de agua podía hacer que los tonos anaranjados se mezclaran bien.
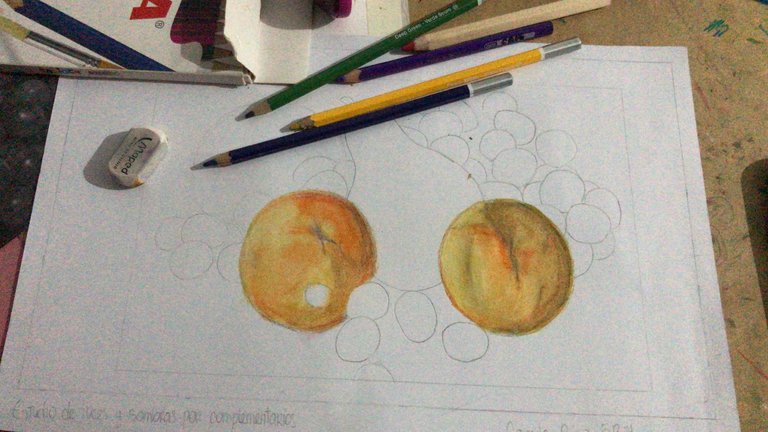
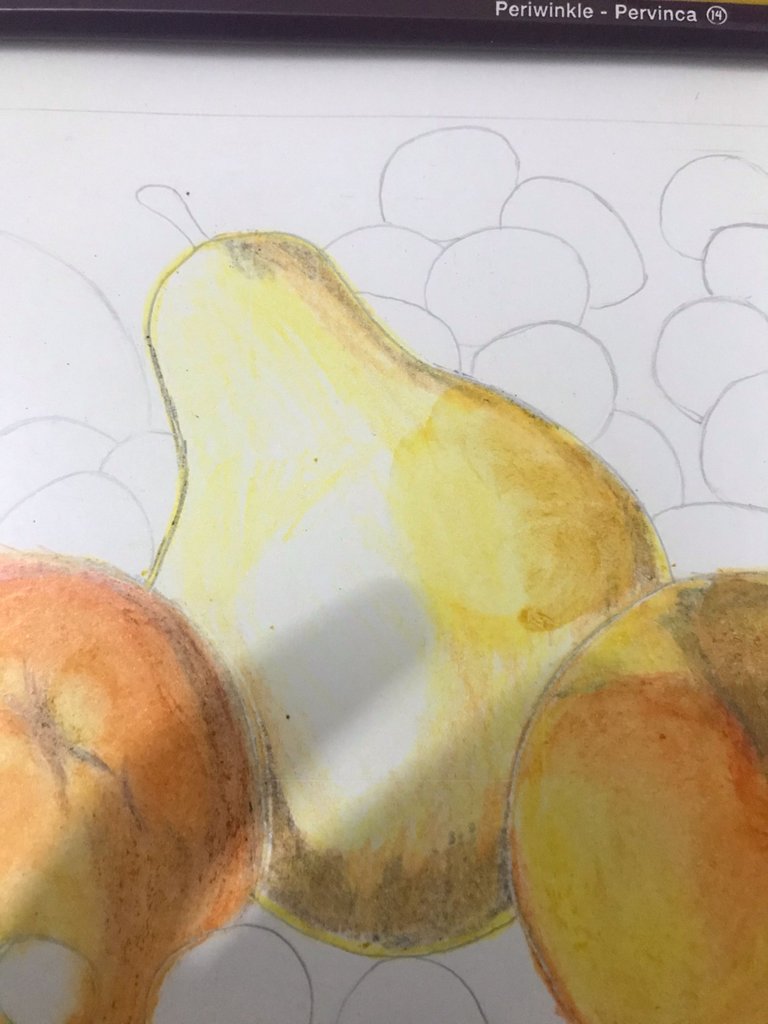
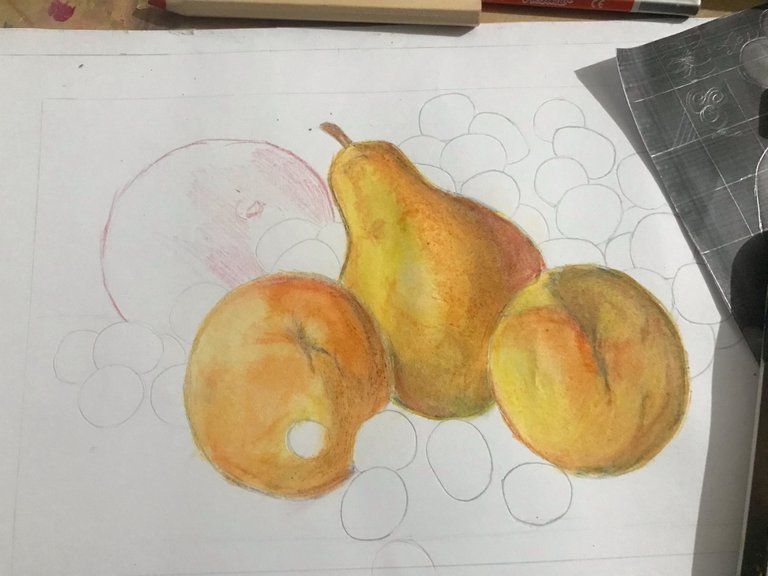
3° I kept putting a layer of warm colors, after one of the complementary color and again another of the warm colors until little by little it became the characteristics browns tones of the shadows.
3° Seguí poniendo una capa de colores cálidos, después una del color complementario y otra vez otra de los colores cálidos hasta que poco a poco fue agarrando el color marrón característico de la sombra.
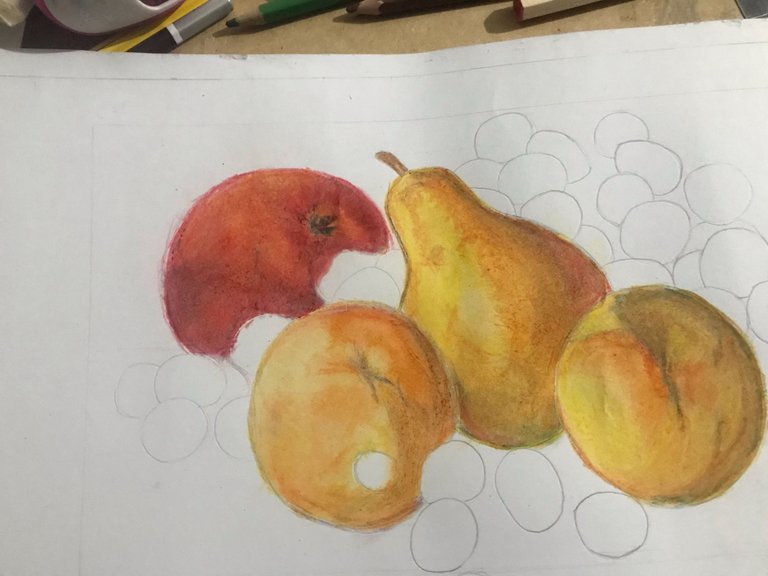
4° In this case, since the apple is red, I went back through the steps, but changing that i only used green tones to make the dark areas. I made the whites with pink and orange.
4° En este caso como la manzana es roja, volví a seguir los pasos anteriores solo que usé tonalidades verdes para hacer las zonas oscuras. Las claras las hice con rosa y naranja.
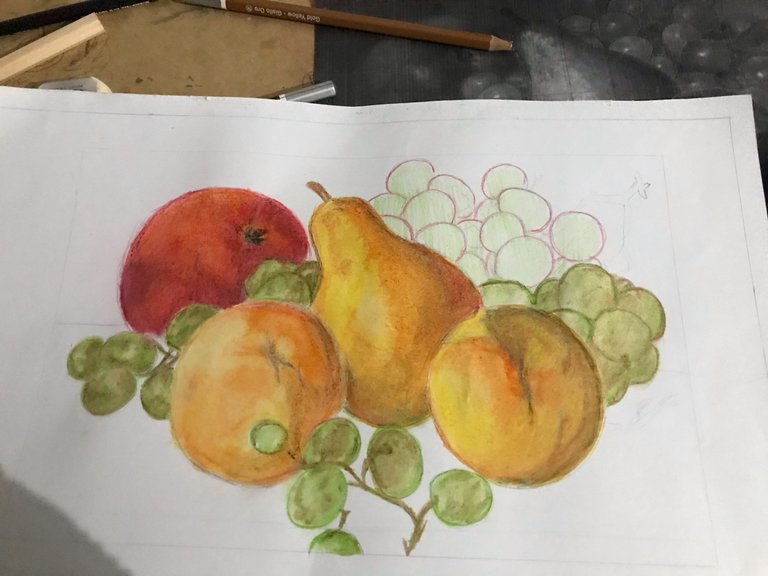
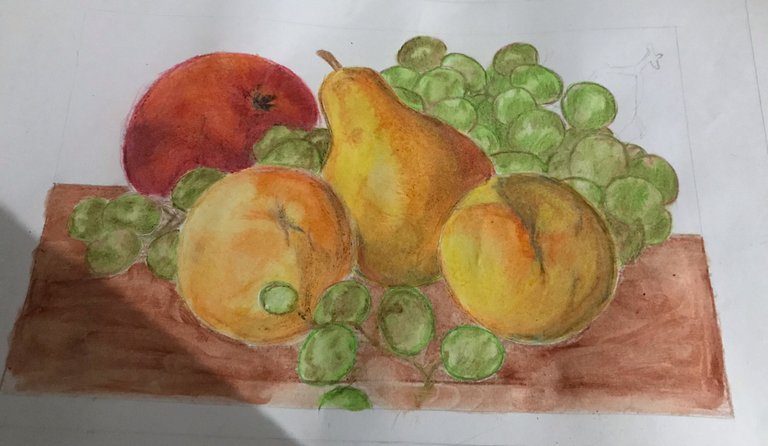
5° In this step I took care of the grapes, first I marked the edge with green and also painted them, then with a little of color red I was shaping it.
I was also in charge of painting the table where the fruits were.
5° En este paso me encargué de las uvas, primero remarqué el borde con verde y también las pinte, luego con un poco de rojo le fui dando forma.
También me encargué de pintar la mesa donde las frutas se encuentran.
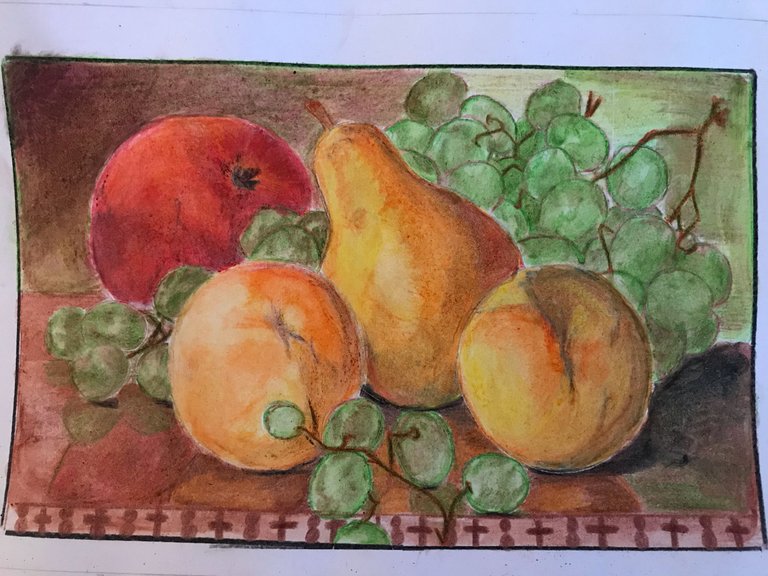
6° And finally, I painted the background and made the shadow of the fruits that are reflected on the table to give it more realism (of course in this case I used black colors).
all photos were taken with my smartphone.I hope you liked it and I will see you soon!. @erodacss❤
6° Y por último, pinté el fondo e hice la sombra de las frutas que se reflejan en la mesa para darle más realismo (claro en este caso si pude utilizar negro).
todas las fotos fueron tomadas con mi teléfono inteligente.Espero que te haya gustado y nos veremos pronto!. @erodacss❤
Hermoso 🤩🤩🤩
Congratulations @erodacss! You have completed the following achievement on the Hive blockchain and have been rewarded with new badge(s) :
Your next target is to reach 900 upvotes.
You can view your badges on your board and compare yourself to others in the Ranking
If you no longer want to receive notifications, reply to this comment with the word
STOPCheck out the last post from @hivebuzz: