Recently a friend asked me if I could salvage a dress she'd tried to shorten and hem. It was one of those purchases that she'd loved the style and colour of, but it was too long and the price was too good not to buy it. So she wanted to hem it and get some wear from it before summer was over. Unfortunately, it wasn't hanging right when she'd finished, so she asked if I could rescue it, or she’d throw it out.
It actually wasn't a hard save. Once un-picked it was apparent the hem wasn't level and measuring from the skirt section had given a false length, because it was different at the front and the back. So I levelled the hem up, overlocked it to match the sleeve hems and re-hemmed it. A quick iron to flatten the hem and it was all good again.
She insisted on giving me a bit of money for it and a conversation ensued about how I'd been considering whether I could make a little business repairing and altering clothes. She later sent me an article on visible mending and I figured I may as well start practicing on some of our old clothes. Hubby was quick to jump on board and gave me a favourite hoodie to repair.
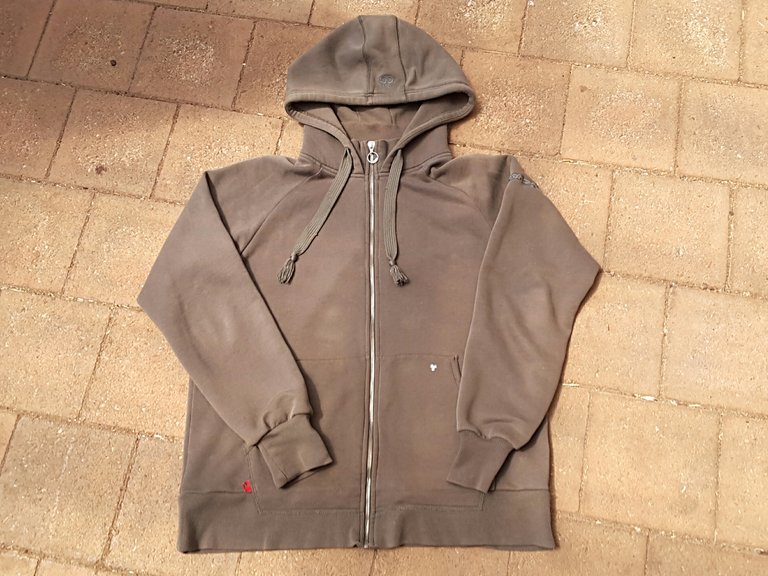
I've done alterations and repairs for the family before, but usually shy away from more complex jobs, which was why I'd put this off before. His biggest complaint was that the sleeve cuffs had stretched and were now baggy. He wanted around 10cm taking out or new cuffs, but the chances are that I wouldn't be able to match the fabric, because it's well over ten years old and faded. So reducing the current cuffs was looking like the best option.
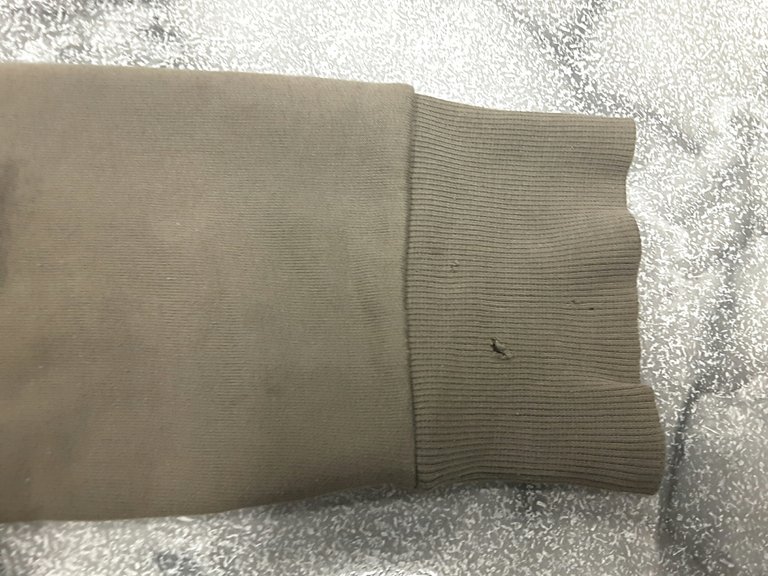
The cuffs had some holes and stains, which were well enough placed that I could remove them when I trimmed the 10cm excess away. On one cuff they were close enough to the joining seam to remove and keep the one seam. On the other side they were a bit far from the seam, so removing only 10 cm from the seam edge wouldn't have removed all of the holes. I made an executive decision and removed the 10 cm around the holes, but it meant I had to add in a second seam. With the ribbing, it shouldn't be too visible anyway.
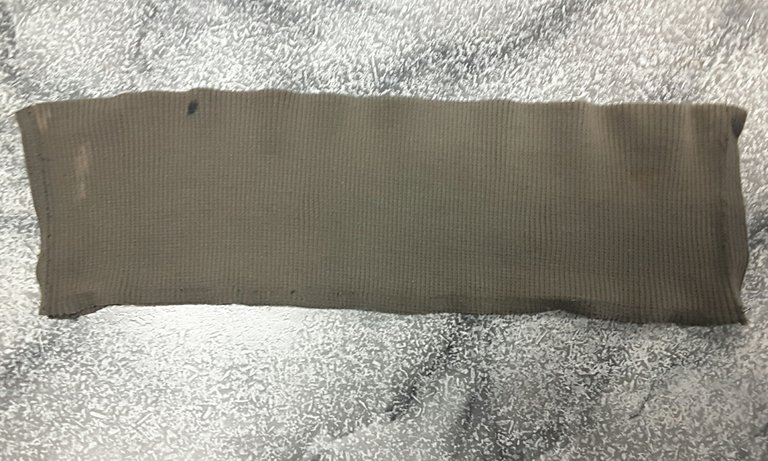
One cuff removed.
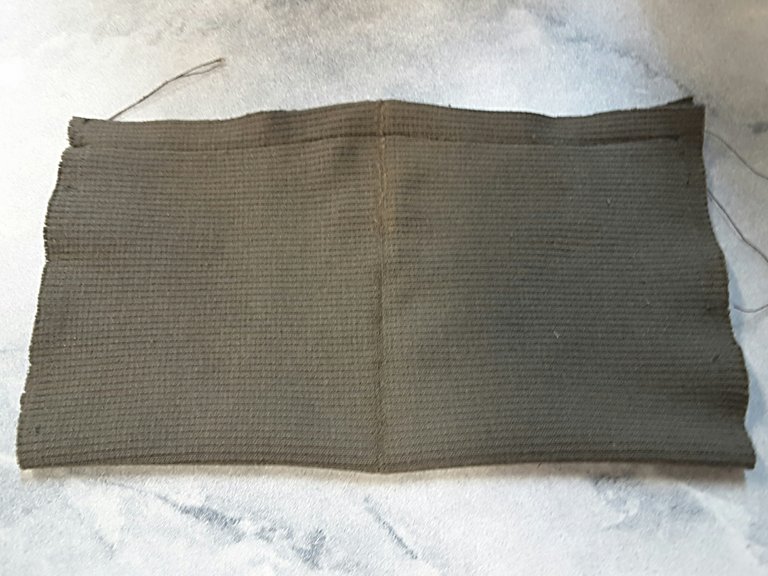
Cuff opened out, the 10cm removed and stitched back together. It's amazing that the ends of the cuffs, where the fold sits, haven't worn through.
Once resized and sewn back together, I needed to figure out how I wanted to reattach these new, smaller cuffs to the sleeves without pleating the sleeves or over stretching the cuffs again. I decided on hand stitching with a back and forth stitch (like a running stitch, but pushing the needle directly from one side to the other at a 90° angle rather than running it along. I find this allows for more stretch to happen in the fabric without risking the stiches breaking when it gets stretched a bit. It's slower going, but worth it on stretchy fabrics.) By making the stitch nearly double the size on the sleeve side compared to the stitch on the cuff side, this draws the sleeve in gradually without it pleating at all. Once the cuffs were back in place then I could overlock them to stop any fabric fray.
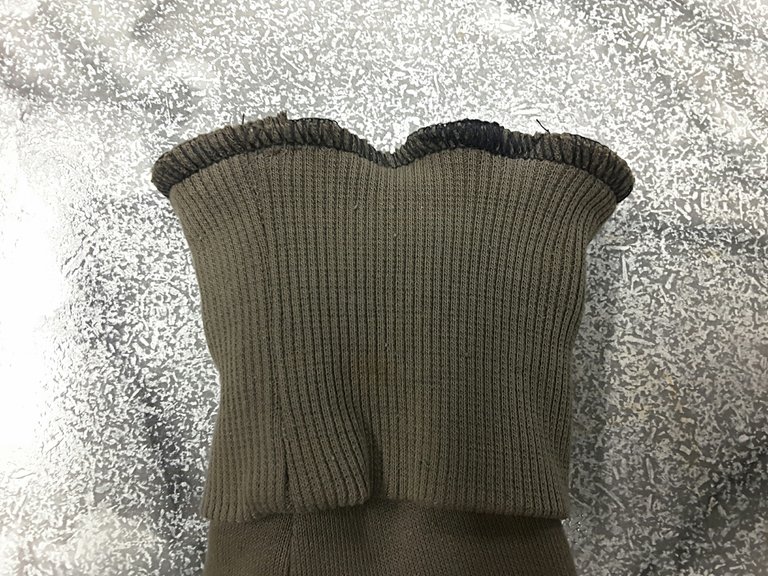
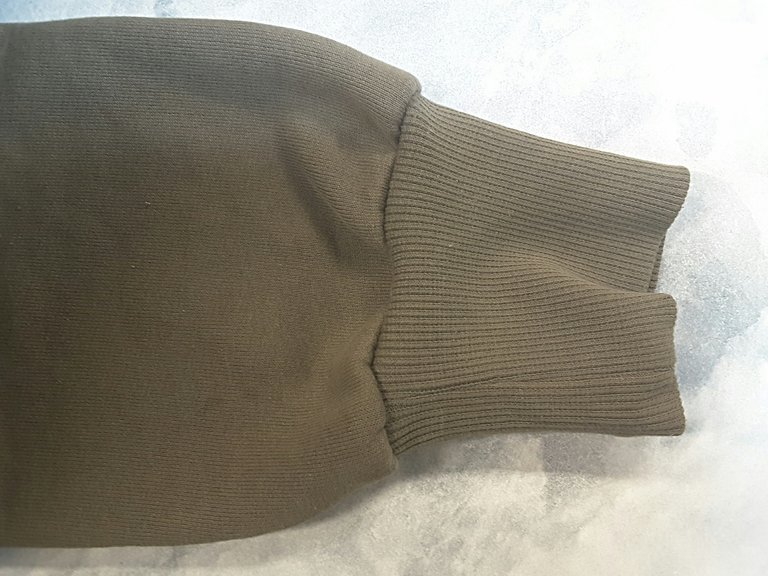
Like new!
While altering the sleeves I noticed that the rest of the hoodie wasn't in quite as good condition as I'd first thought. There was a hole at the back which was over a centimetre across...
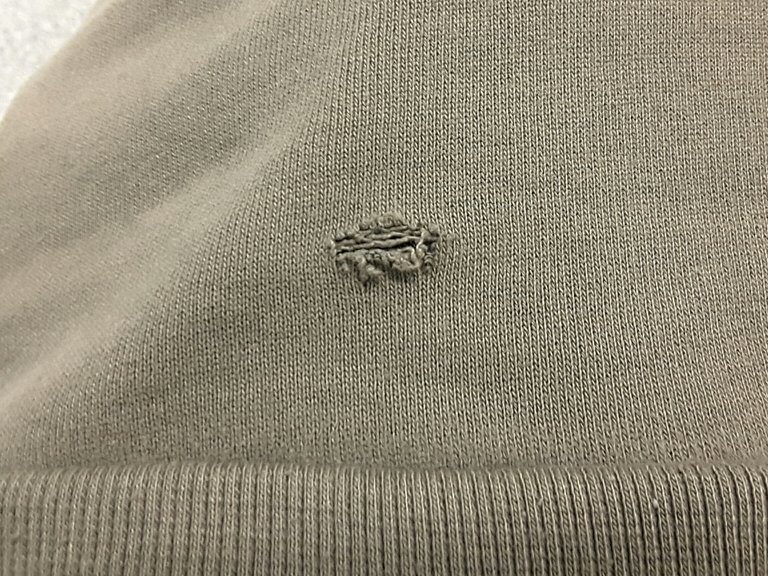
...and one of the sleeves was starting to wear through a little next to the seam.
No matter how I repaired these I couldn't make them invisible repairs, but hubby doesn't like obvious ones, so I wanted to camouflage them as best I could. The sleeve just needed a few stiches to pull the hole in and stop further runs in the knit fabric.
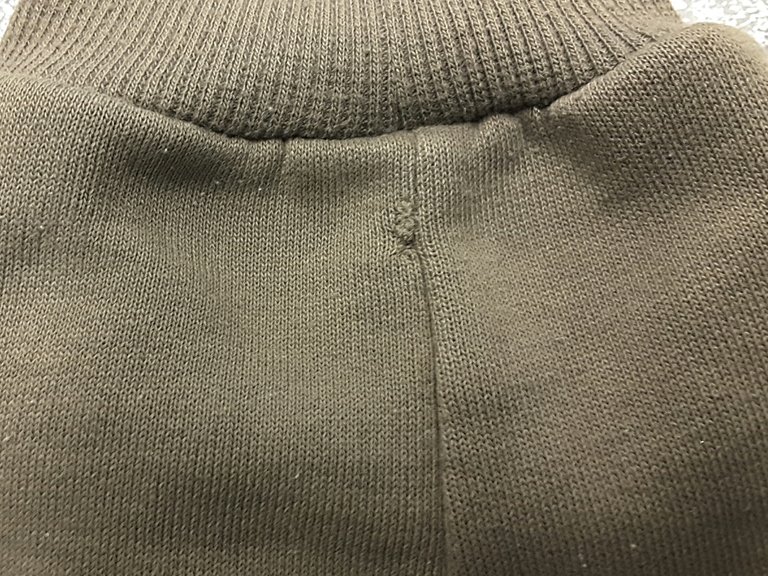
The larger hole at the back I could close like a seam, but that would lead to a pucker at the back which would draw your eye to it. So I went for the other option which is sewing it down to a patch on the reverse. As I mentioned before, the fabric is a fine knit, so I wanted to make sure I sewed through all of the loops around the hole to stop it laddering any more. The thread I used was not a match to the fabric. From the choices I had in my sewing box, a dark brown stood out the least, but I still wanted to make the stiches on the outside as small as possible to keep them less visible. Once the flap was seen back down the hole became less obvious anyway, so while the repair is visible, it doesn't stand out too much, so I have a happy husband.
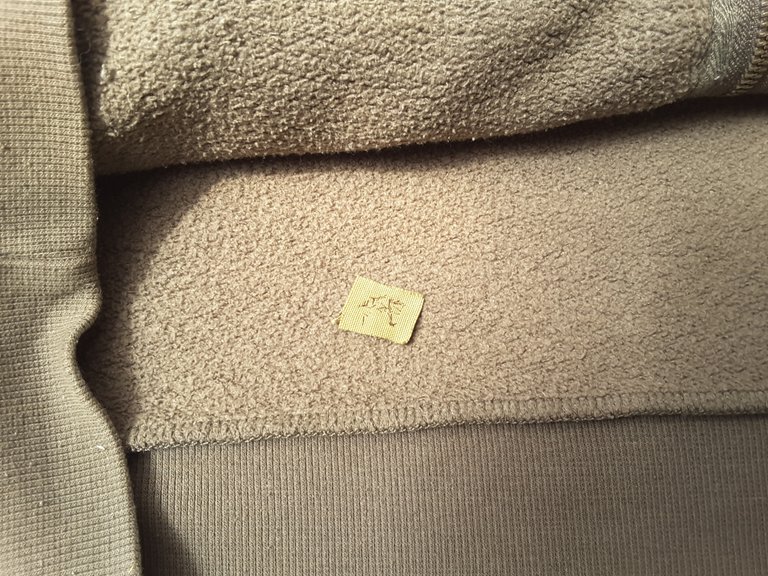
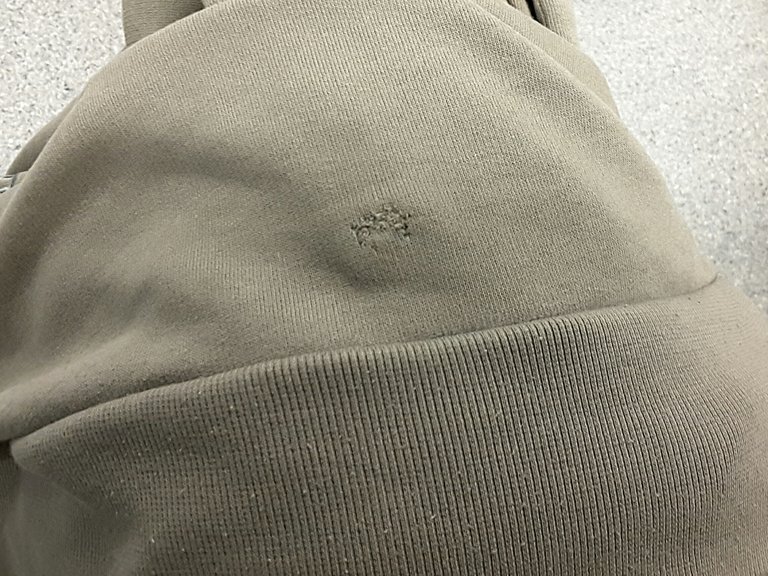
There, not too obvious, especially with camera blur. ;D
I think my next project will be visible mending on some of my old jeans. Autumn approaches, so it will be good to be able to wear some old favourites without a draft getting in.
Congratulations @diy-homestead! You have completed the following achievement on the Steem blockchain and have been rewarded with new badge(s) :
You can view your badges on your Steem Board and compare to others on the Steem Ranking
If you no longer want to receive notifications, reply to this comment with the word
STOP