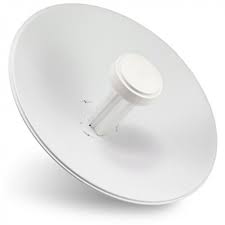
Power Beam M5
Before discussing the Power Beam, I will introduce what exactly the power beam is.
But before I have provided an explanation on how to set Mikrotik Part 1, Please read for the settings.
Beam is one of the products from Ubiquilti which is currently a wireless product. Power Beam which has advantages, namely:
- This antenna has great strength around 25 dB or 400 mw so it's strength a very wide beam of up to 5 km.
- Equipped with POE (Power Over Ethernet) so just use one type of UTP cable for data transfer and electric cables
- Power Beam M5 is an external antenna which has 25 dBi antenna gain frequency of 5 Ghz
For further details, you can visit the official website of this tool.
It turns out that this product has been widely used in various countries, and until now this product is also widely used.
For discussion, I will give a tutorial on how to configure Power Beam M5
First, you must set the IP address on your computer.
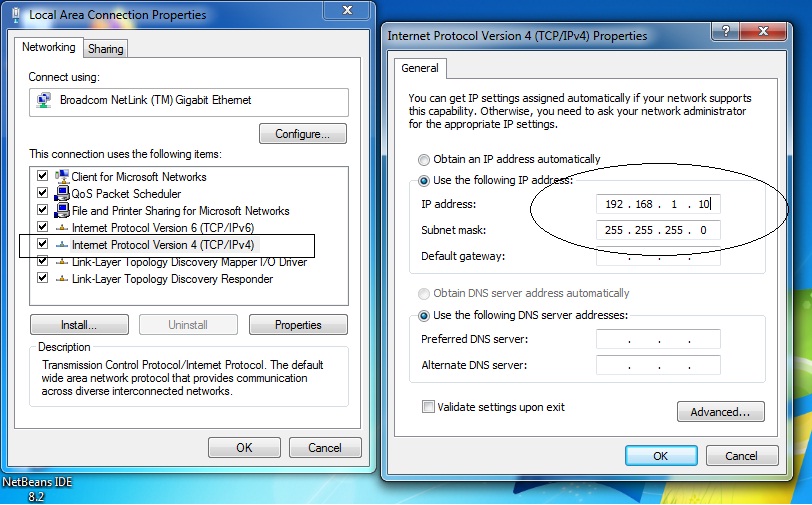
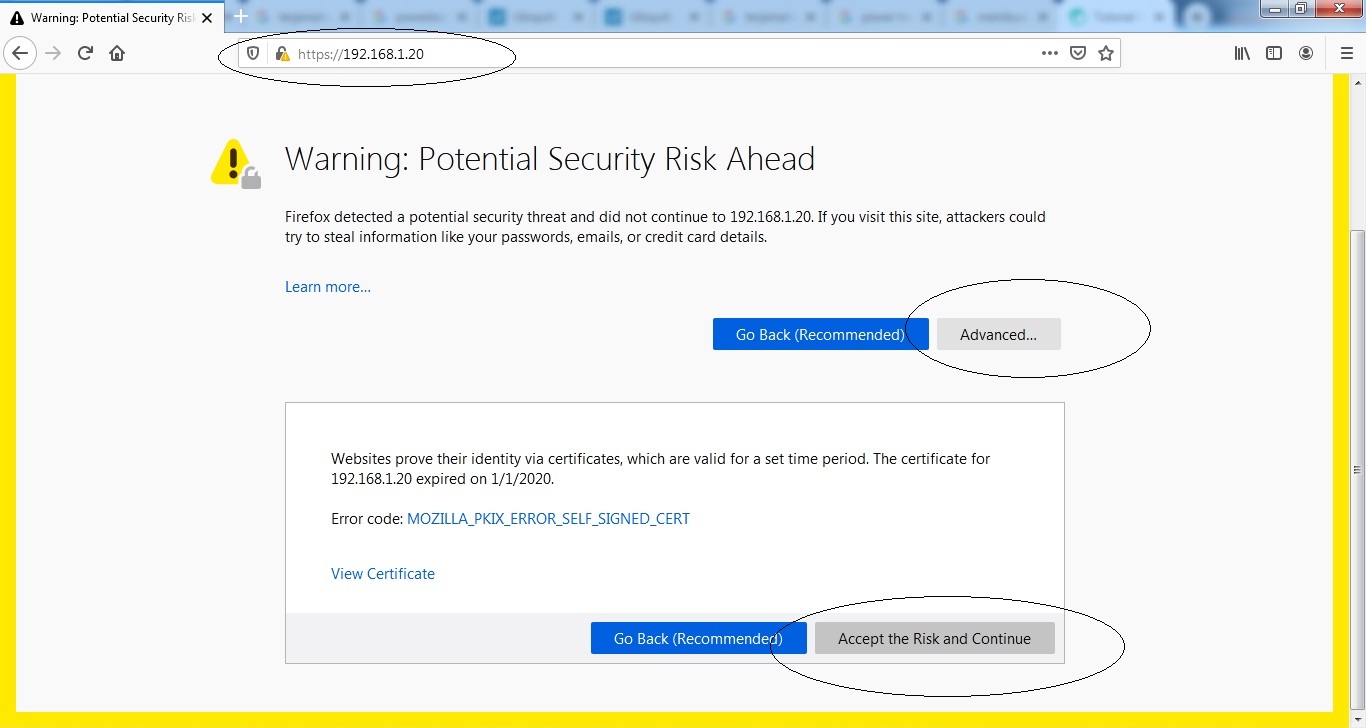
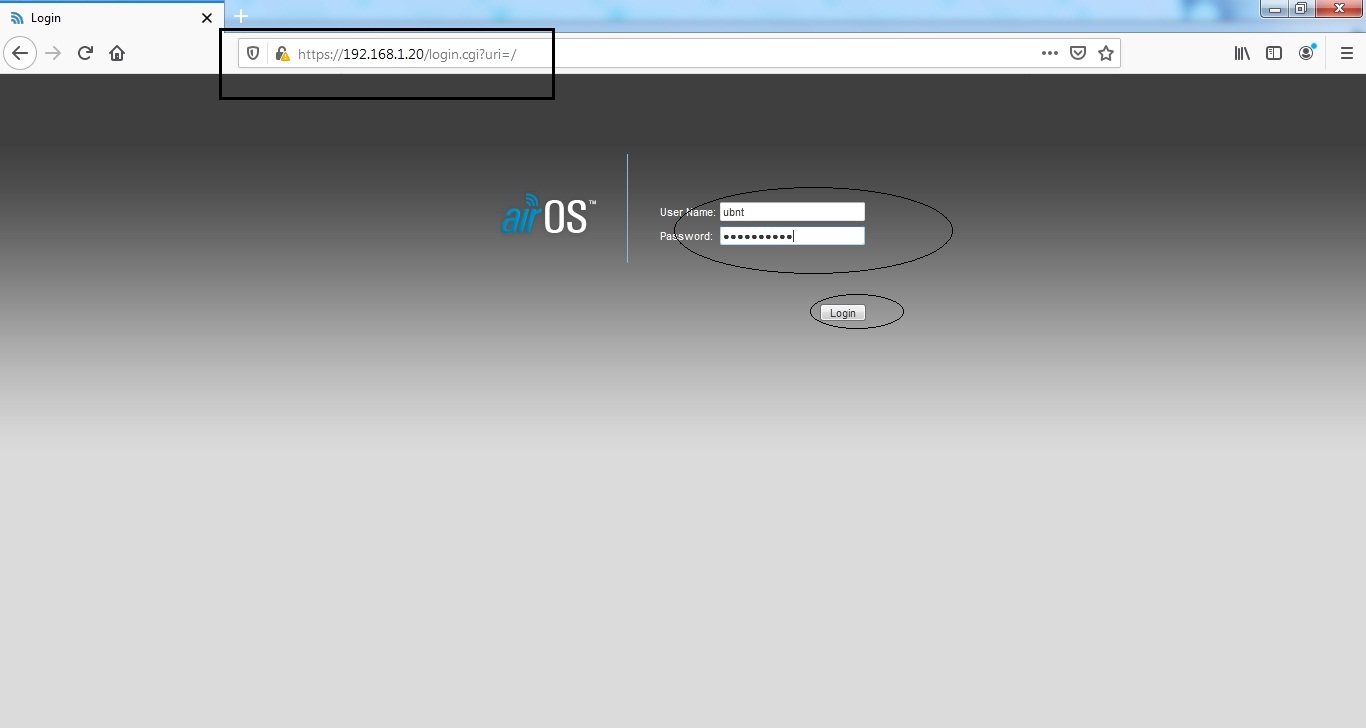
then you connect the Power Beam using a UTP cable to your computer. Then you have to make one Power Beam to be an Access Point. Then you open your browser, then you type IP Address 192.168.1.20, please follow the picture.
then you will be taken to the next page, entering your username "ubnt" and password "ubnt" as shown below.
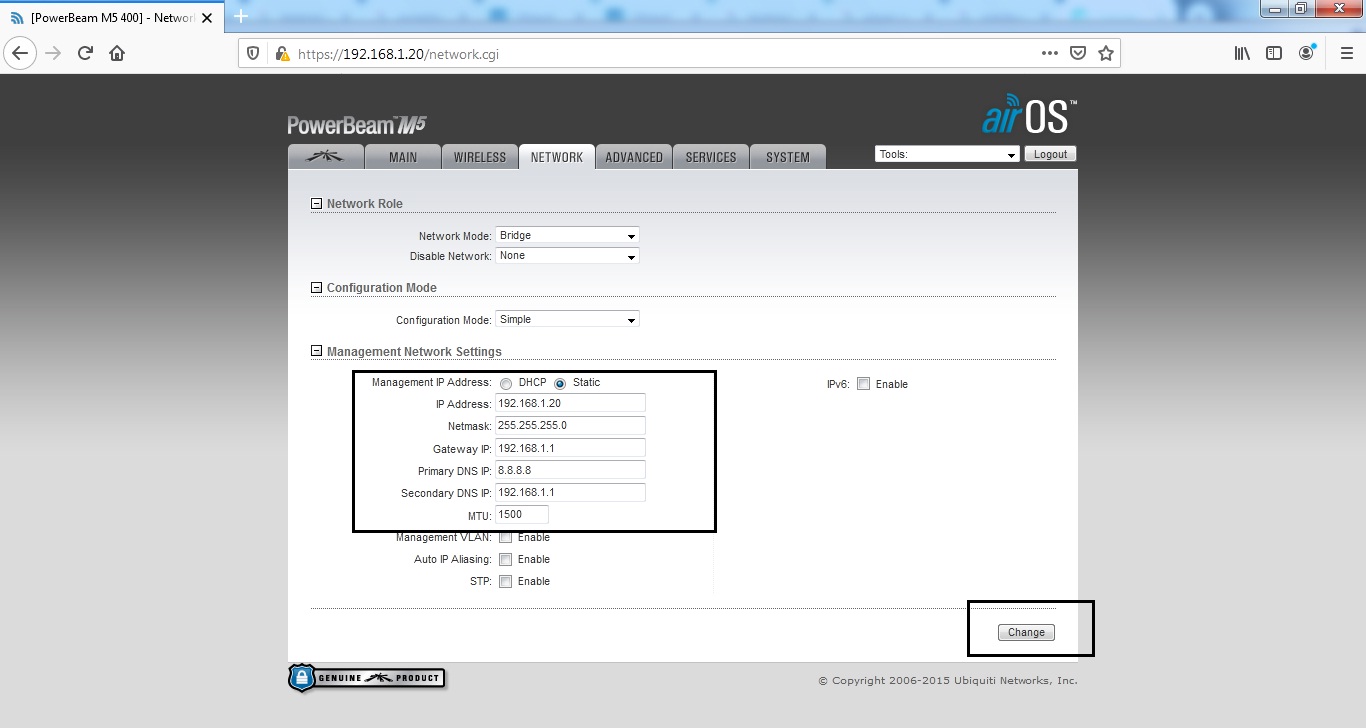
will then display the next page, as shown below, but you must immediately set the network for the IP address:
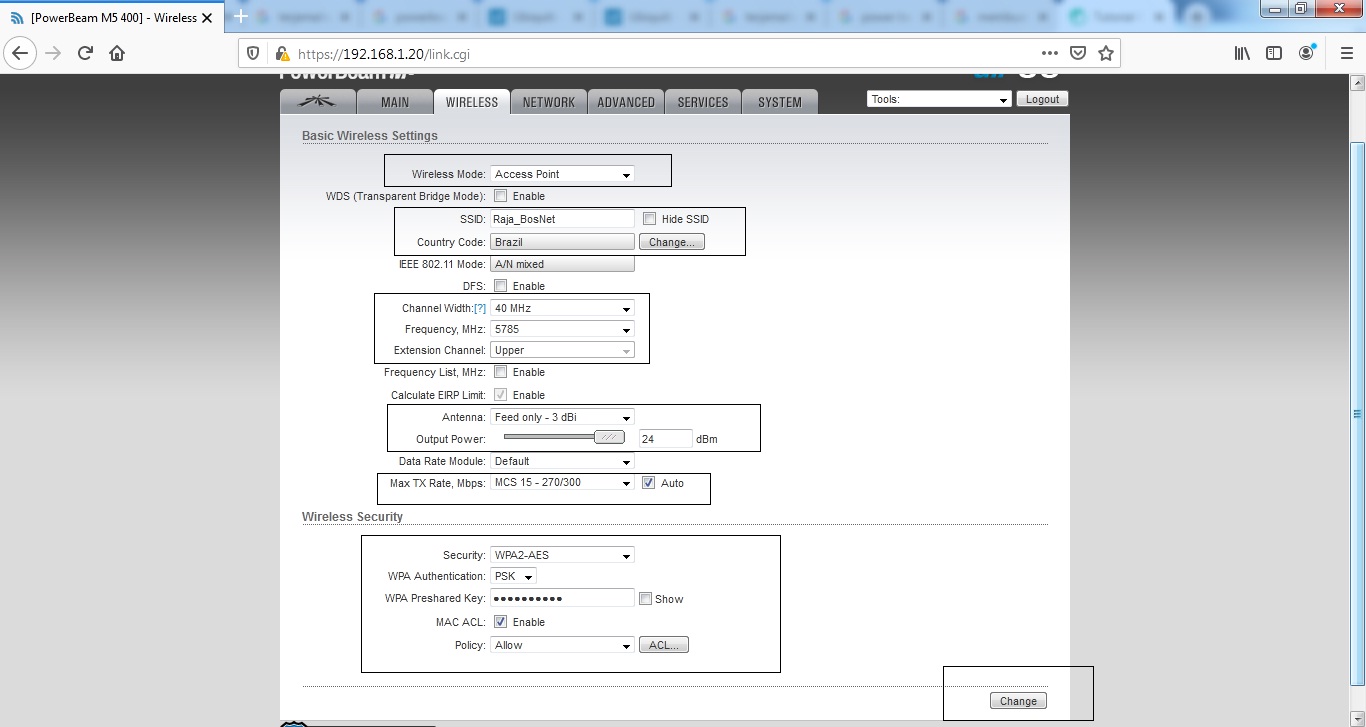
After you set the ip address, then you next choose the wirelles menu, then set it according to the following picture:
After you set the wirelles, then you go to the Advance menu, on that menu you have to adjust the distance from indoor and outdoor.
After you set up the Advance section, we consider it an Access Point, and that's done. Then continue to set the client part (Station).
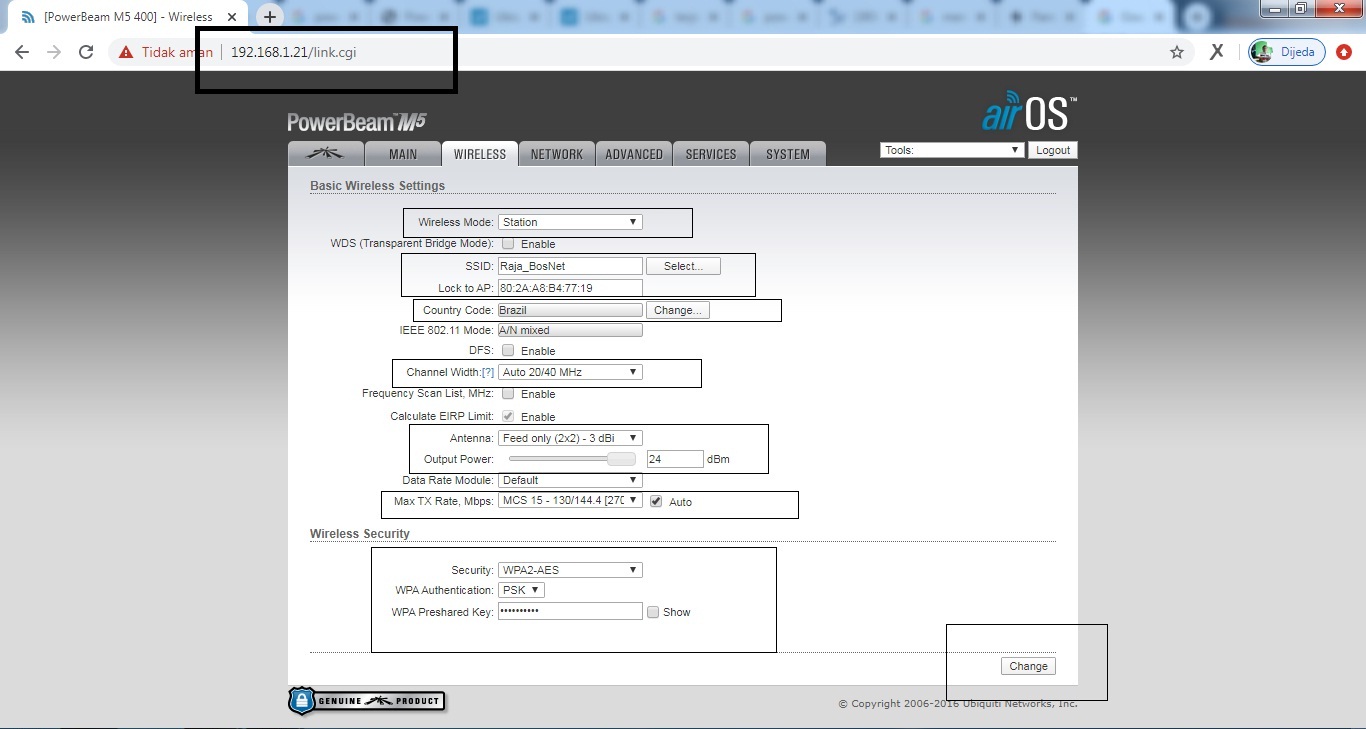
After you set the Wirelles section, then you set the Network section:
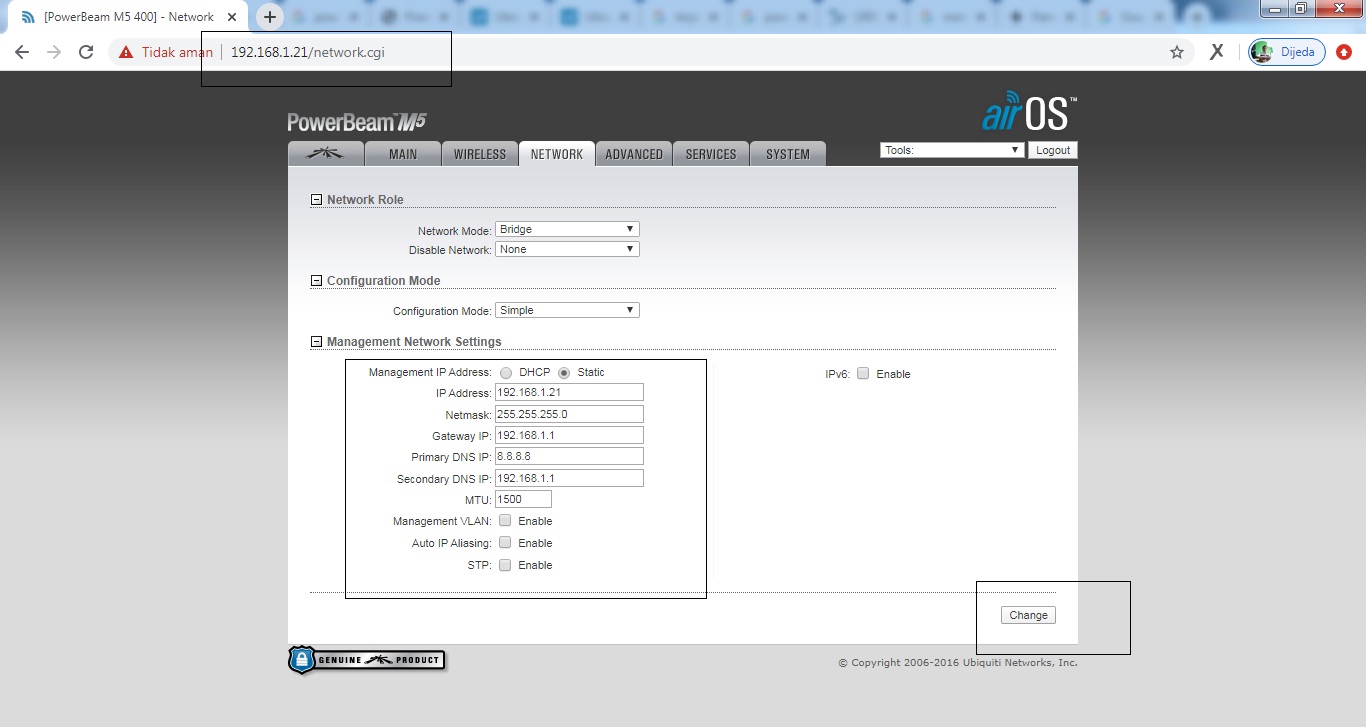
After you set the network part, then you set the Advance section, this setting is the same as the Access Point.
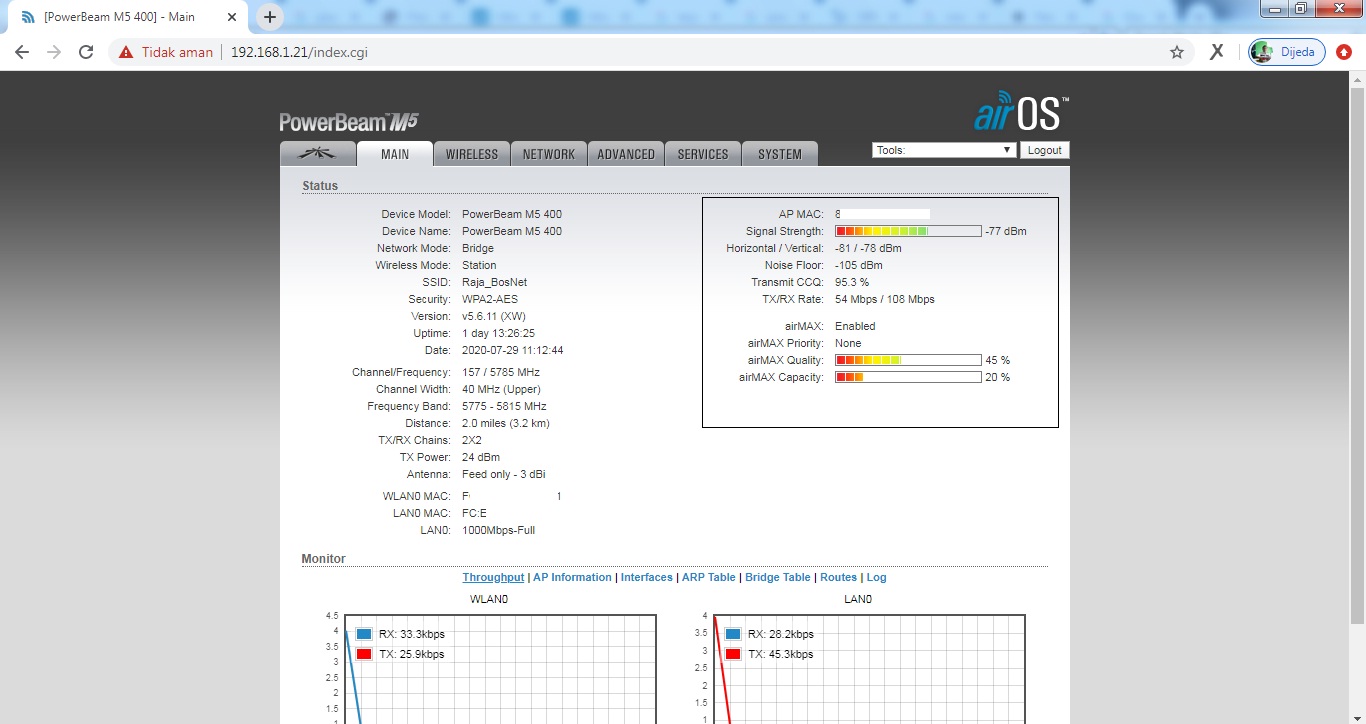
and for results, this is only an experiment that is already connected, you can see it.
Yes, I think this setup is complete, and you can try it at home. thank you
My community
 |||
|||  |||
|||  |||
|||  |||
|||  |||
|||  |||
|||  |||
|||  |||
|||  |||
|||  |||
|||  |||
||| 
My Social Media
 |||
|||  |||
|||  |||
||| 
Congratulations @mhdbobbi! You have completed the following achievement on the Hive blockchain and have been rewarded with new badge(s) :
You can view your badges on your board And compare to others on the Ranking
If you no longer want to receive notifications, reply to this comment with the word
STOPTo support your work, I also upvoted your post!
Do not miss the last post from @hivebuzz:
Hello @hivebuzz, thank you for the appreciation, I like it
You're welcome @mhdbobbi👍🙂