Puedes leerlo aquí, o simplemente desplázate hacia abajo en la página.
[ENG] Creating StarWhiskers: A Journey from Sketch to Sticker
Hello Alien Art Hive community. If there are three things I love, it's cats, aliens and stickers. So why not combine them all? This is the story of StarWhiskers, an OC I created and today I'm showing you the process of bringing it to life. But first, let's talk briefly about who StarWhiskers is.

StarWhiskers was born on a moon on the planet Vespera. He belongs to the Mogusphinx species and spends his days at the spaceport accompanying his owner, Evel. For the moment, they don't know that their life will take an unexpected turn when they meet a young sailor with amnesia.
The Mogusphinx are friendly beings and are always ready to help. They can levitate in the air and communicate with each other through telepathy, thanks to an antenna on their heads. They are also associated with good luck and happiness for children.
Well, now that you know all about StarWhiskers and the Mogusphinx, you're ready to see it come to life on paper.
In my sketchbook, I quickly create a sketch of his face that will allow me to guide me later. I'm not looking for perfection or well-structured features, just the basis of his most representative visual characteristics, which would be the alien eyes, the whiskers and, of course, his antenna to communicate. When I feel convinced, I am ready to take a photo on paper and take it to the computer.

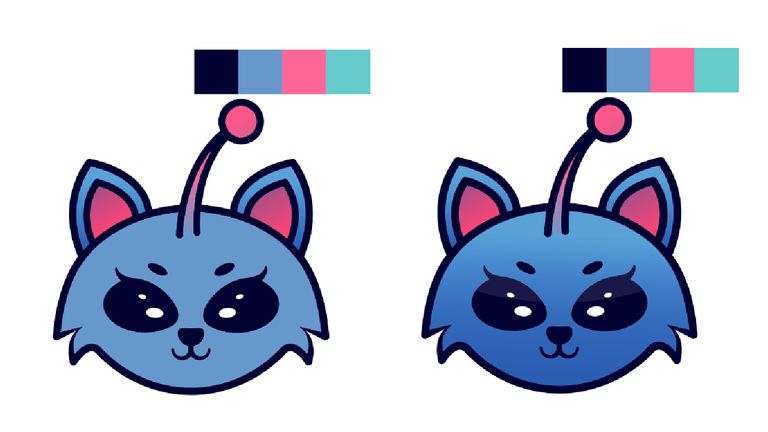
Now comes the part I enjoy the most: choosing the color palette. Since I created this OC, I had one thing for sure: it would be light blue, like a Mew shiny. I decided on a bright but soft color palette, choosing between an analog and a complementary.

There, with all this I can start to draw all the lines of my drawing. As it is a symmetrical figure, I will only make a section of the face and, using the reflection tool, I get the whole face. In about 30 minutes, I have it completely ready. This is the result.

For color, I opted for soft gradients in my color palette, transparencies and small highlights and shadows. I really enjoyed this part and I especially liked how her eyes turned out.

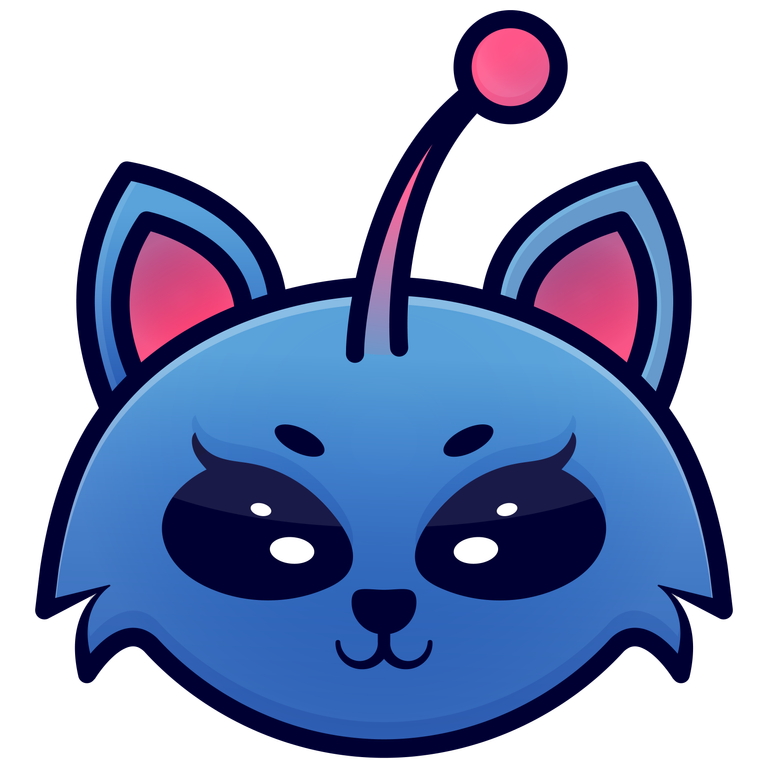
And with you, the incomparable, StarWhiskers, in its final version:

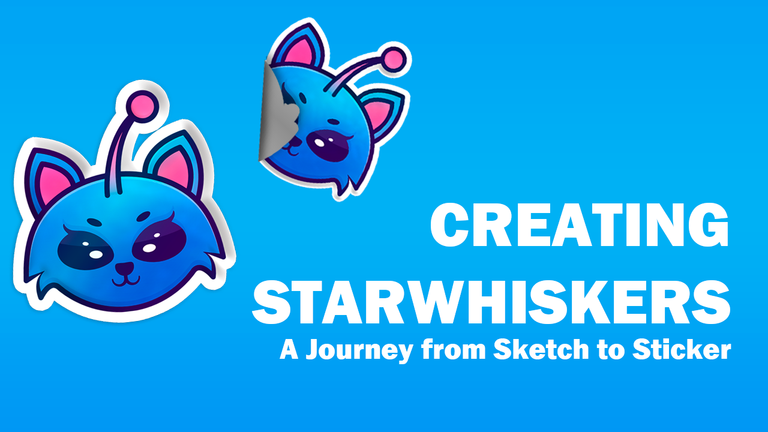
Since I really wanted to see what it would look like as a sticker, I decided to create them myself virtually and I'm really pleased with the final result.
If you've made it this far reading, I hope you've enjoyed my creative process and the little background of my character today. I want to sincerely thank you for taking the time to read this article. It means a lot to me and motivates me to keep sharing content that may be useful and interesting to you. If you found this article useful or enjoyed reading it, I would love to hear your feedback. Please feel free to share your thoughts in the comments. Best wishes.

[ESP] Creando a StarWhiskers Un Viaje desde el Boceto hasta el Sticker
Hola comunidad de Alien Art Hive. Si hay tres cosas que amo, son los gatos, los aliens y los stickers. Entonces, ¿por qué no combinarlo todo? Esta es la historia de StarWhiskers, un OC que creé y hoy les muestro el proceso de traerlo a la vida. Pero primero, hablemos brevemente de quién es StarWhiskers.

StarWhiskers nació en una luna del planeta Vespera. Pertenece a la especie de los Mogusphinx y pasa los días en el puerto espacial acompañando a su dueña, Evel. Por el momento, no saben que su vida dará un giro inesperado cuando conozcan a un joven marinero con amnesia.
Los Mogusphinx son seres amistosos y siempre están dispuestos a ayudar. Pueden levitar en el aire y se comunican entre ellos a través de telepatía, gracias a una antena que tienen en la cabeza. Además, se les asocia con la buena suerte y la felicidad de los niños.
Bueno, ahora que conoces todo sobre StarWhiskers y los Mogusphinx, estás listo para verlo cobrar vida sobre el papel.
En mi sketchbook, creo rápidamente un boceto de su rostro que me permitirá guiarme más adelante. No busco perfección o rasgos bien estructurados, solo la base de sus características visuales más representativas, que serían los ojos de alien, los bigotes y, por supuesto, su antena para comunicarse. Cuando me siento convencido, ya estoy listo para tomar una foto al papel y llevarla al ordenador.

Ahora viene la parte que más disfruto: escoger la paleta de colores. Desde que creé este OC, tenía algo por seguro: sería de azul claro, como un Mew shiny. Me decidí por una paleta de colores brillante pero suave, escogiendo entre un análogo y un complementario.

Listo, con todo esto ya puedo comenzar a trazar todas las líneas de mi dibujo. Como es una figura simétrica, solamente haré una sección del rostro y, utilizando la herramienta de reflejo, obtengo el rostro completo. En aproximadamente 30 minutos, lo tengo totalmente listo. Este es el resultado.

Para el color, optaré por degradados suaves en mi paleta de colores, transparencias y pequeñas luces y sombras. Disfruté mucho esta parte y me gustó sobre todo cómo quedaron sus ojos.

Y con ustedes, el inigualable, StarWhiskers, en su versión final:

Como tenía muchos deseos de ver cómo se vería como un sticker, decidí crearlos yo mismo de manera virtual y la verdad, estoy muy satisfecho con el resultado final.
Si has llegado hasta aquí leyendo, espero que hayas disfrutado de mi proceso creativo y del pequeño trasfondo de mi personaje de hoy. Quiero agradecerte sinceramente por tomarte el tiempo de leer este artículo. Significa mucho para mí y me motiva a seguir compartiendo contenido que pueda ser útil e interesante para ti. Si encontraste este artículo útil o disfrutaste leyéndolo, me encantaría conocer tus opiniones. Por favor, no dudes en compartir tus pensamientos en los comentarios. Éxitos.

I apologize if there are any grammatical errors, English is not my native language, I have tried to be as careful as possible.
Translated with DeepL.com (free version)
I regularly create images on Pixabay, which are free of copyright. Access my gallery by clicking here.
Image by Dmitriy from Pixabay
All the other effects and textures are of my authorship achieved with the use of editing programs and digital brushes from my collection and authorship.
