Arte Digital | Digital Art
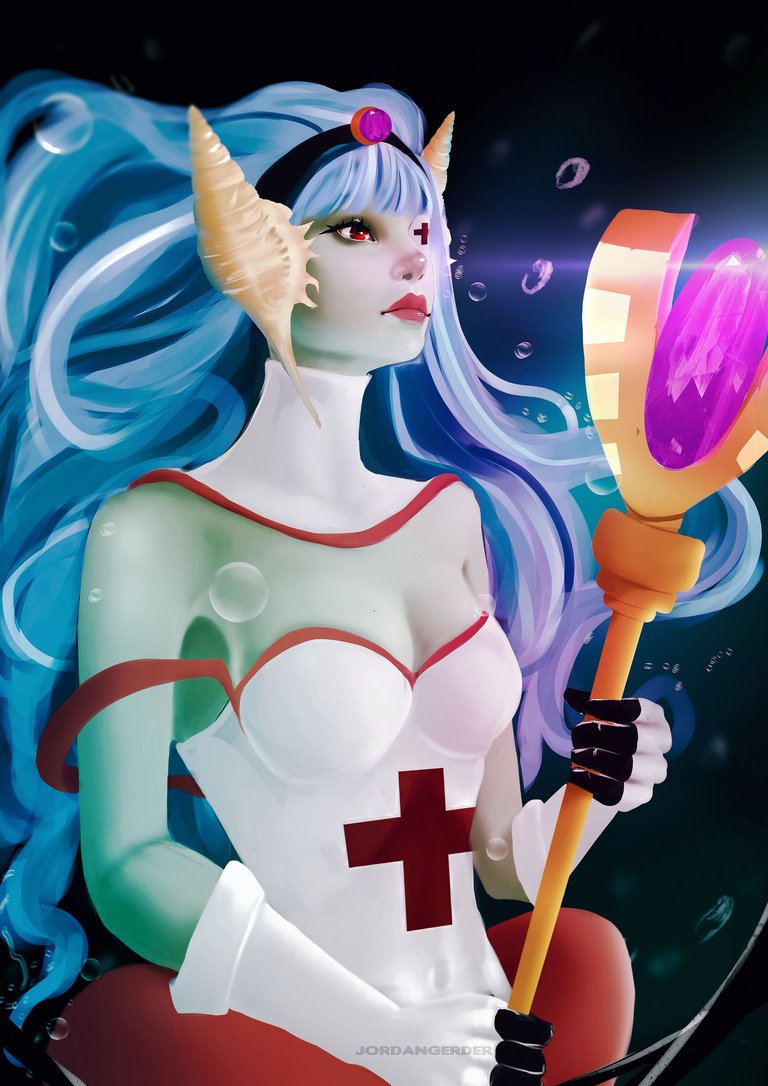
Hello people. How are you doing today? I have already prepared my new entry for the art contest created by @splinterlands. I am very happy to have risen a little higher in the contest rankings, it inspires me to improve my art and continue participating. It's been a long time since I drew the beautiful mermaid curator of Splinterlands and today I wanted to be inspired by her and recreate her in my style...
Let's see a little about the creation process, it's always good to see what's behind each art, come with me⏩⏩⏩...
Materiales | Materials
- Desktop computer
- Tableta Huion H950P
- Programa Adobe Photoshop 2019
- Ordenador de mesa
- Huion H950P tablet
- Adobe Photoshop 2019 program
Proceso | Process
Paso 1
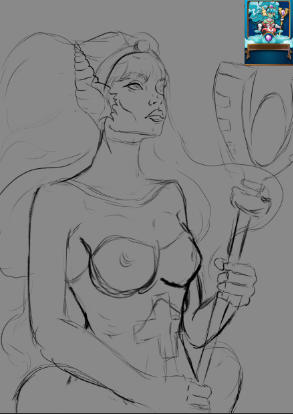
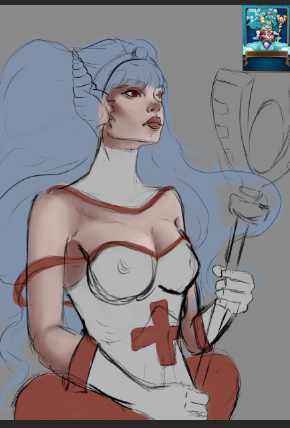
- Inciamos con un bosquejo de lo que sería el personaje agregué el arte orginal a un extremo para captar todas las partes y no perder ningun detalle, asi es como resulta mas facil su creación:
Step 1
- We started with a sketch of what the character would be. I added the original art to one end to capture all the parts and not lose any details, this is how its creation is easier:
Paso 2
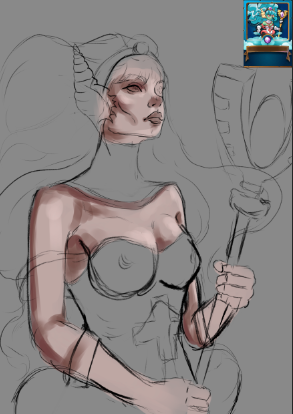
- Una vez que conseguimos un bosquejo mas claro, o donde se aprecie el personaje al cual agregaremos color, es momento de pasar a la siguiente etapa donde se seleccionan tres tonos de color no muy saturados para empezar a crear volumen en su piel:
Step 2
- Once we get a clearer sketch, or where the character to whom we will add color can be seen, it is time to move on to the next stage where three not very saturated color tones are selected to begin creating volume in their skin:
Paso 3
- Es momento de mezclar los parches de color que agregué anteriormente (este paso lo hago con la herramienta dedo), para luego suavizar un poco con un pincel difuso, y asi es como conseguimos una piel mas trabajada:
Step 3
- It's time to mix the color patches that I added previously (I do this step with the finger tool), and then soften a little with a diffuse brush, and this is how we get a more polished skin:
Paso 4
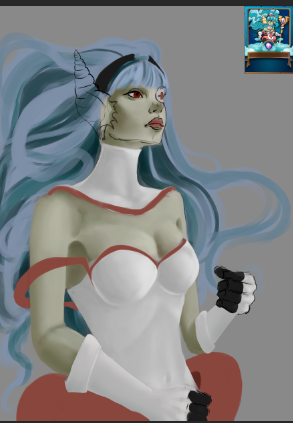
- Despues de haber unificado el color de la piel y de haber agregado colores base en su cabello y vetuario procedi a ir un poco mas a detalle, lo primero es cambiar la tonalidad de la piel para que este sería en tonos verdes con la herramienta de tono y saturacion resulta muy facil, agregué hebras en su cabello para darle mas movimiento y empece a trabajar en las partes del rostro...
Step 4
- After having unified the skin color and having added base colors to her hair and clothing, I proceeded to go into a little more detail, the first thing is to change the skin tone so that it would be in green tones with the tone tool and saturation is very easy, I added strands to her hair to give it more movement and started working on the parts of the face...

Paso final
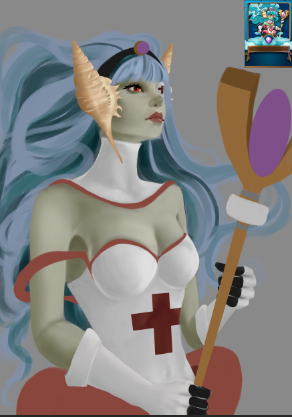
- Para finalizar todo el proceso de creación agregué detalles finales como brillos, mas luces y ajustes totales de color.
Final step
- To finalize the entire creation process, I added final details such as highlights, more highlights and total color adjustments.
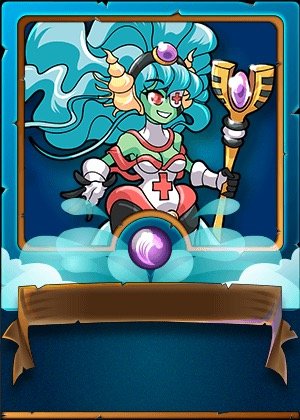
We got an incredible result, I really enjoyed the creation process. I hope you liked it, I have elaborated it with love for all the viewers who visit this publication, see you in the next one 😍
𝑮𝒓𝒂𝒄𝒊𝒂𝒔 𝒑𝒐𝒓 𝒗𝒊𝒔𝒊𝒕𝒂𝒓 𝒎𝒊 𝒃𝒍𝒐𝒈, 𝒂𝒑𝒓𝒆𝒄𝒊𝒐 𝒎𝒖𝒄𝒉𝒐 𝒕𝒖 𝒂𝒑𝒐𝒚𝒐 / 𝑻𝒉𝒂𝒏𝒌 𝒚𝒐𝒖 𝒇𝒐𝒓 𝒗𝒊𝒔𝒊𝒕𝒊𝒏𝒈 𝒎𝒚 𝒃𝒍𝒐𝒈, 𝑰 𝒓𝒆𝒂𝒍𝒍𝒚 𝒂𝒑𝒑𝒓𝒆𝒄𝒊𝒂𝒕𝒆 𝒚𝒐𝒖𝒓 𝒔𝒖𝒑𝒑𝒐𝒓𝒕.
TWITTER ⚪ NFT SHOWROOM ⚪ INSTAGRAM ⚪ DISCORD



Wooo que lindisimo le quedo el arte, cuando vi la carta que hiciste quede imprecionado, te quedo lindo.
Tengo un programa llamado 'Conociendo Hivers', si te gustaria participar?
!HUESO
!HUESO
Hola muchas gracias ☺️
Thanks for sharing! - @isaria

Thank You ❤️
Congratulations @jordangerder! You have completed the following achievement on the Hive blockchain And have been rewarded with New badge(s)
Your next target is to reach 77000 upvotes.
You can view your badges on your board and compare yourself to others in the Ranking
If you no longer want to receive notifications, reply to this comment with the word
STOPCheck out our last posts: