Arte Digital | Digital Art
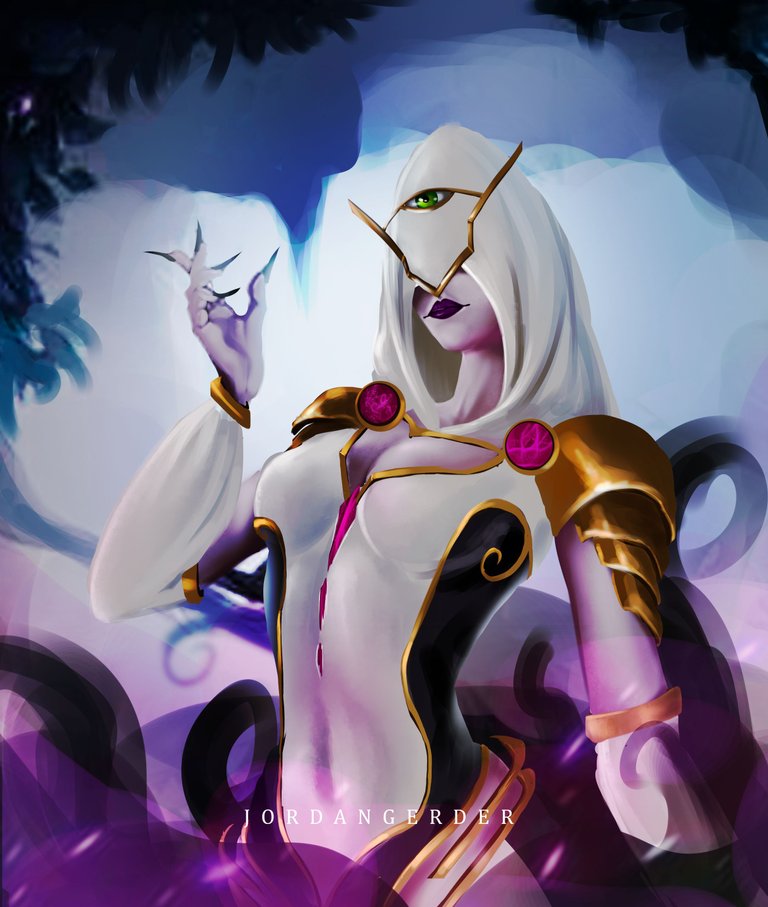
Greetings dear community, welcome once again to a new art process. This is my new entry to the art contest created by @splinterlands, God, every day I bring a new problem haha crazy thing, in my last art post I mentioned something about the low electricity levels that were happening in the country, and One of them destroyed my Windows, I solved it as quickly as I could, I think I still have time to participate. This week I played like the beautiful Iziar, a great character from the splinter of life, I loved it in its entirety and it is something curious to see that even though it is from that splinter, it has colors that reflect evil, coincidentally this is the last letter of life from From it begins the splinter of death. Come join me to see a little of the process...
Materiales | Materials
- Desktop computer
- Tableta Huion H950P
- Programa Adobe Photoshop 2019
- Ordenador de mesa
- Huion H950P tablet
- Adobe Photoshop 2019 program
Proceso | Process
Paso 1
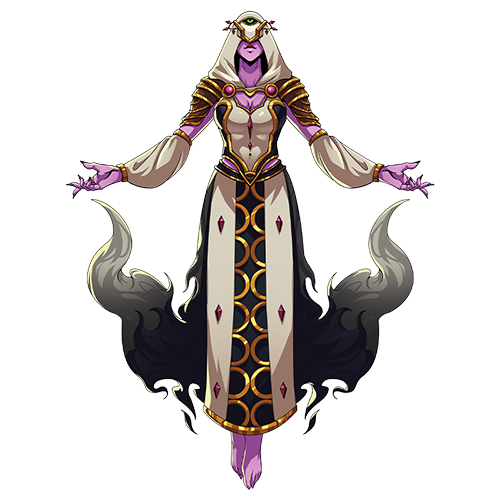
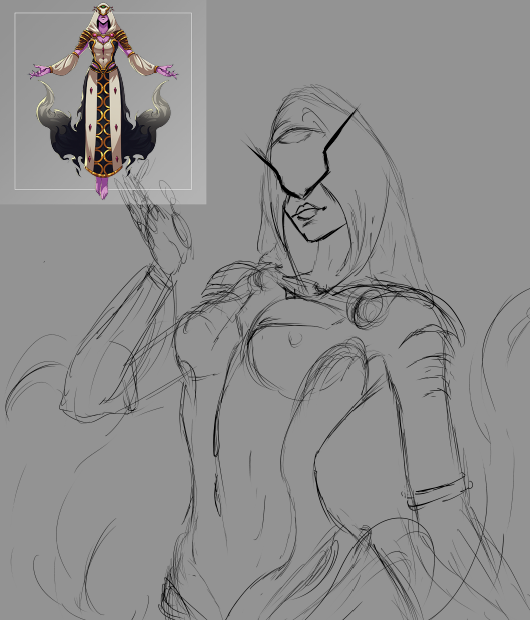
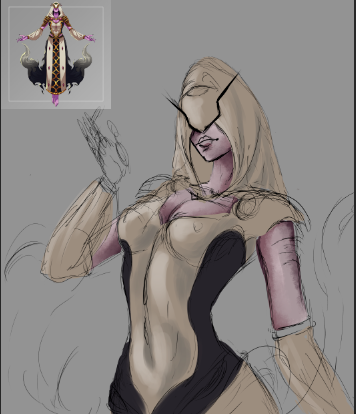
- El primer paso para esta creación, fue idear todas la escena, tenía el personaje de inspiración en un extremo para captar todas las partes mas visibles del personaje, forma del rostro silueta y demas:
Step 1
- The first step for this creation was to devise all the scene, I had the character of inspiration at one end to capture all the most visible parts of the character, shape of the face, silhouette and others:
Paso 2
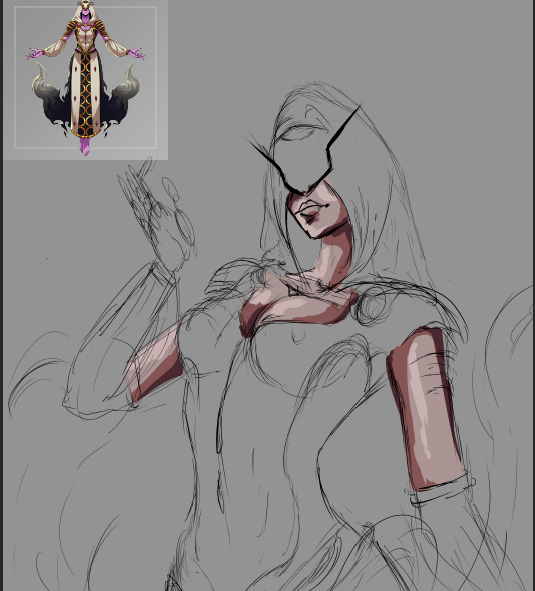
- Seleccionamos tres tonos de color no muy saturados para empezar con el proceso de colores sobre la piel, para ello escogí un tono base, uno para las sombras y otro para la luz o la parte mas alta y asi ir creando volumen:
Step 2
- We selected three not very saturated color tones to start the color process on the skin, for this I chose a base tone, one for the shadows and another for the light or the highest part and thus create volume:
Paso 3
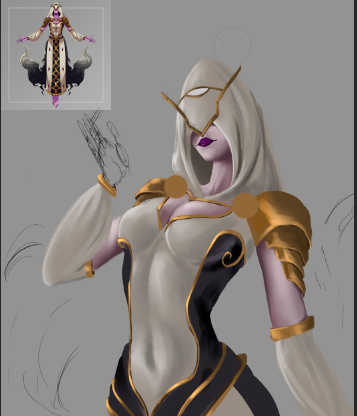
- Mezclé y suavicé los colores antes agregados, para este paso usé la herramienta dedo para mezclar y un pincel difuso para suavizar toda la piel:
Step 3
- I blended and smoothed the colors added earlier, for this step I used the finger tool to blend and a soft brush to smooth all the skin:
Paso 4
- Agreguè colores base a su vestuario, despues suavice un poco con un pincel algo difuso, continuè trabajando sobre el metal, tiene mucho metal este personaje en su vestuario, siento que eso es lo que lo hace parte de la estilla de vida y ese ojo de angel que lleva en su cabeza...
Step 4
- I added base colors to his costume, then I softened a little with a somewhat diffuse brush, I continued working on the metal, this character has a lot of metal in his costume, I feel that that is what makes him part of the style of life and that eye of angel that he carries in his head...

Paso final
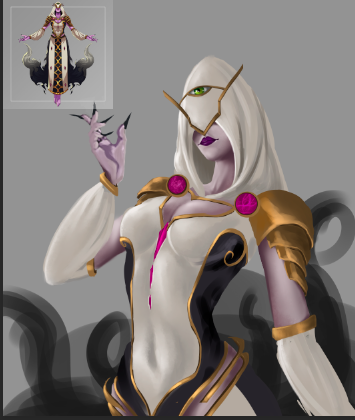
- Para finalizar todo el proceso de creación agregué detalles finales como brillos, mas luces y ajustes totales de color.
Final step
- To finalize the entire creation process, I added final details such as highlights, more highlights and total color adjustments.
We got an incredible result, I really enjoyed the creation process. I hope you liked it, I have elaborated it with love for all the viewers who visit this publication, see you in the next one 😍

De verdad. Un genio. Me encanta. Mucho talento. Cualquier editorial quisiera tenerte en su equipo.
Jeje gracias, saludos ☺️
Congratulations @jordangerder! You have completed the following achievement on the Hive blockchain And have been rewarded with New badge(s)
Your next target is to reach 57000 upvotes.
You can view your badges on your board and compare yourself to others in the Ranking
If you no longer want to receive notifications, reply to this comment with the word
STOPTo support your work, I also upvoted your post!
Check out our last posts:
Damn this definitely making it into the leader boards, not gonna lie. great work man.
Thank you so much my friend 😋
you are welcome
Thanks for sharing! - castleberry#6859

Thank you very much, I appreciate the support ✨