Greetings friends. Relatively recently I made a sculpture of Muten Roshi for a small Dragon Ball collection I'm putting together.
You can see the publication of that sculpture by following this link:
https://peakd.com/hive-130560/@gaboamc2393/diy-muten-roshi-sculpture-engspa-ebp
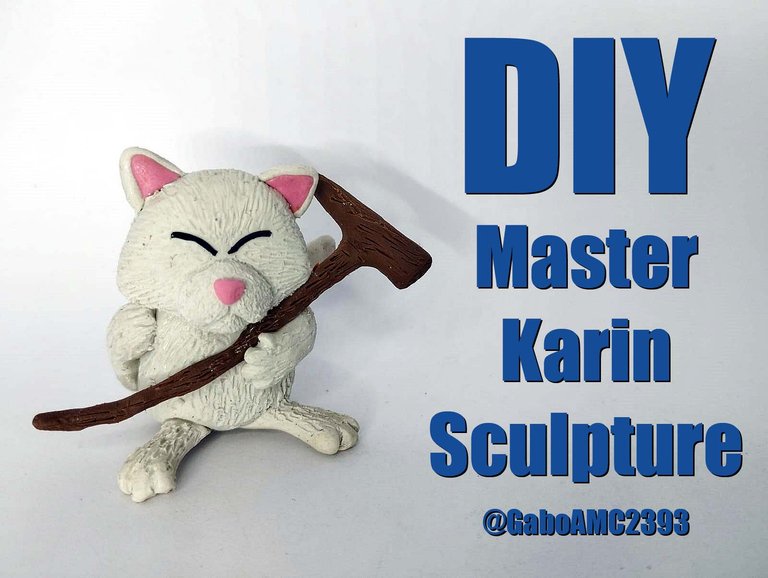
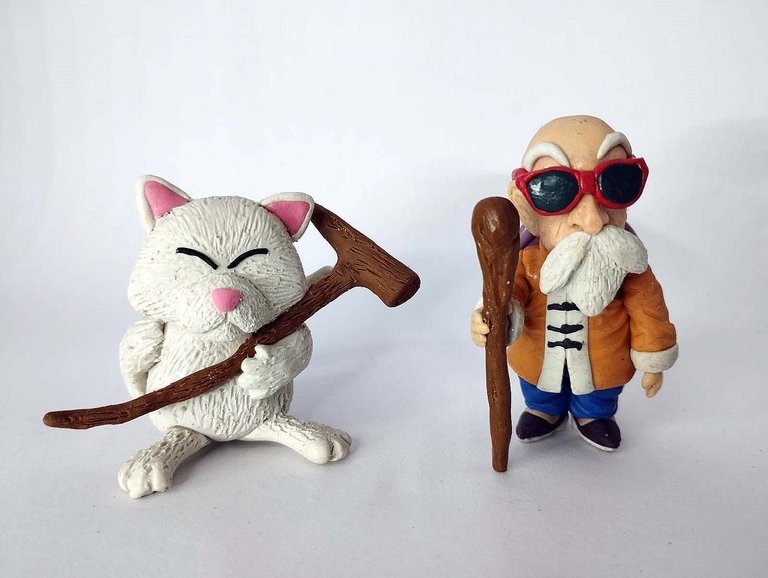
Well, today I'd like to share another work I did, a sculpture of Master Karin, another of Goku's masters. Join me to show you how I made this sculpture.
Español
Saludos amigos. Hace relativamente poco hice una escultura de Muten Roshi para una pequeña colección de Dragon Ball que estoy armando.
Pueden ver la publicación de esa escultura siguiendo este enlace:
Pues bien, hoy me gustaría compartir otro trabajo que hice, una escultura del maestro Karin, otro de los maestros de Goku. Acompáñenme para mostrarles cómo hice esta escultura. https://peakd.com/hive-130560/@gaboamc2393/diy-muten-roshi-sculpture-engspa-ebp
Step by step
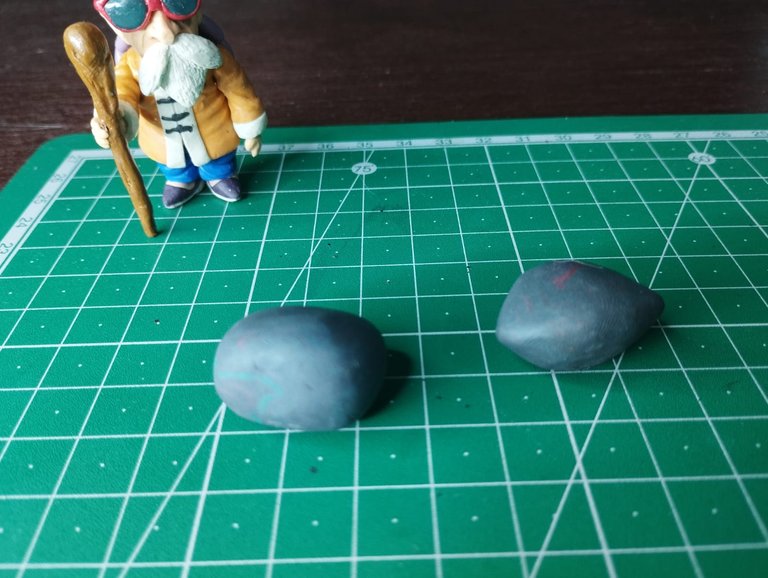
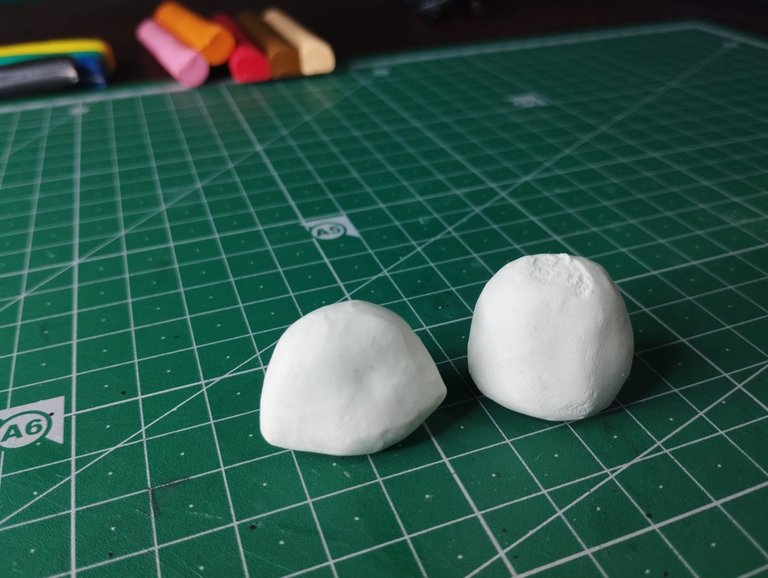
Being a figure that could be considered as “chubby”, I did not use all the white color I had, on the contrary I mixed several shades of plasticine for what would be the base of the figure, so I made the two main pieces, which would be the head and the body.
Paso a paso
Al ser una figura que podríamos considerar como "gordita", no usé todo el color blanco que tenía, por el contrario mezclé varias tonalidades de plastilina para lo que sería la base de la figura, así que hice las dos piezas principales, que serían la cabeza y el cuerpo.
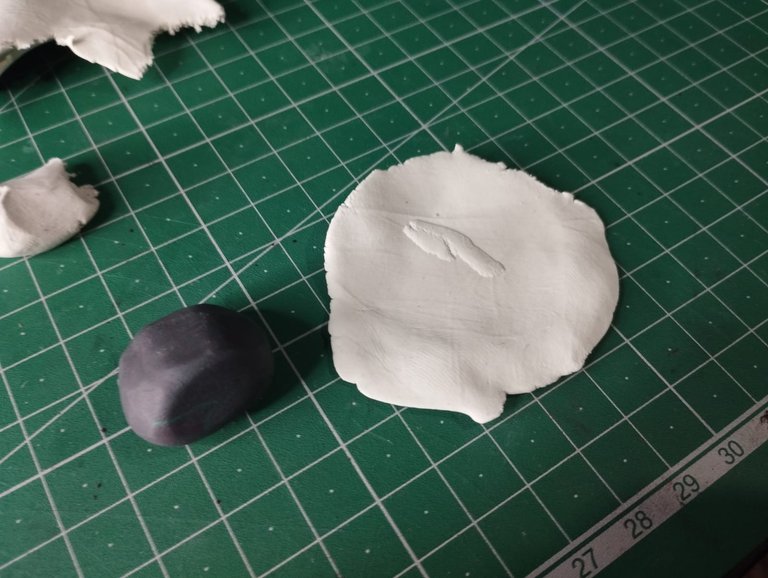
After making these two pieces I spread a thin sheet of white plasticine, with which I would cover these pieces. Here I should mention that of course I could paint them, but they don't look quite right when painting this type of figures with relief, so I preferred to do it with the plasticine and cover the material with this thin layer of white plasticine.
Después de hacer estas dos piezas extendí una delgada lámina de plastilina blanca, con la que cubriría estas piezas. Aquí debo mencionar que claro que pude pintarlas, pero no quedan del todo bien cuando se pintan este tipo de figuras con relieve, así que preferí hacerlo con la plastilina y cubrir el material con esta delgada capa de plastilina blanca.
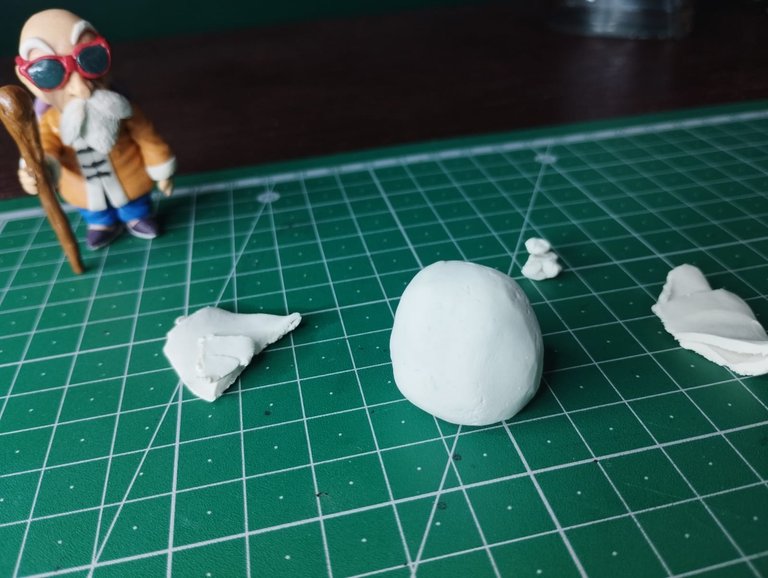
I started first with the head, to see how it looked, then with the torso. As you can see, it looks like two solid pieces of white plasticine. When I covered the black pieces with the white plasticine, this thin layer of white plasticine adopted the shape of the base piece, so no problem...
Comencé primero con la cabeza, para ver que tal quedaba, luego con el torso. Como pueden ver, parece como si fuesen dos piezas macizas de plastilina blanca. Al cubrir las piezas negras con la plastilina blanca esta delgada capa de plastilina blanca adoptó la forma de la pieza base, así que ningún problema...
 |  |
|---|
On the other hand, the other smaller pieces, such as the tail, arms and legs, I did make them with white plasticine only, since the pieces were small. The staff was also made with brown plasticine directly.
It should be noted that I placed a small piece of wire inside these pieces, which would serve as a support to place them on the torso of the character.
Por otra parte, las otras piezas más pequeñas, como la cola, los brazos y las patas sí las hice con plastilina blanca solamente, pues eran pequeñas las piezas. El báculo también lo hice con plastilina marrón directamente.
Cabe destacar que estas piezas les coloqué un trocito de alambre en su interior, que serviría de soporte para colocarlas en el torso del personaje.
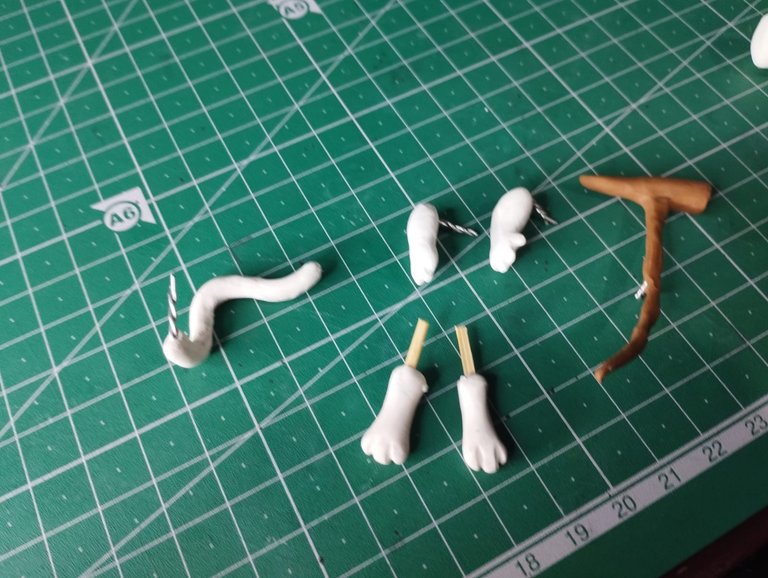
Well, after completing almost all the pieces, I started to join them together to form the body of the character. As you could see, all the pieces had wooden sticks or pieces of wire to hold them together, so to strengthen the joints I used glue so that everything would stay in place over time.
Bien, después de completar casi todas las piezas, comencé a unirlas hasta formar el cuerpo del personaje. Como bien pudieron observar, todas las piezas tenían palillos de madera o trocitos de alambre para poder sostenerse, así que para fortalecer las uniones usé pegamento para que todo se mantuviese en su lugar con el pasar del tiempo.
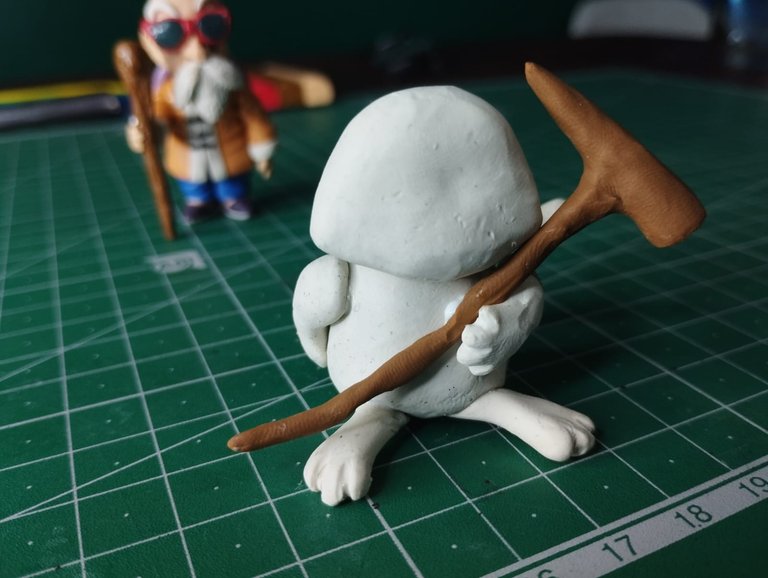
Later I placed the mouth, nose, eyes and ears. I also placed them all using glue for strength. The last thing I did was to make numerous lines all along the figure to give it that fur-like look.
Posteriormente le coloqué la boca, la nariz, los ojos y las orejas. Todas también las coloqué usando pegamento para mayor fuerza. Ya lo último que hice fue hacer numerosas líneas a lo largo de toda la figura para darle ese aspecto similar al pelaje.
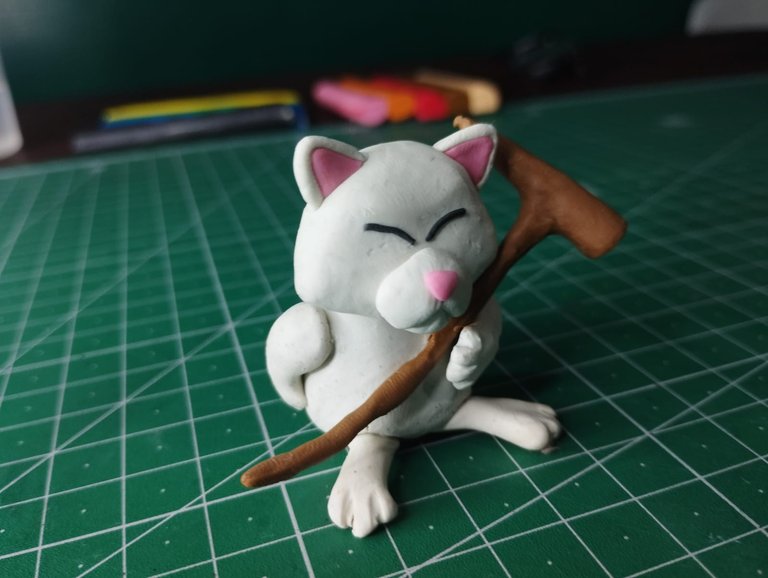
In this way the figure was completely finished. Below you can see a series of photographs of the final result:
De esta manera la figura quedó completamente terminada. A continuación pueden ver una serie de fotografías del resultado final:
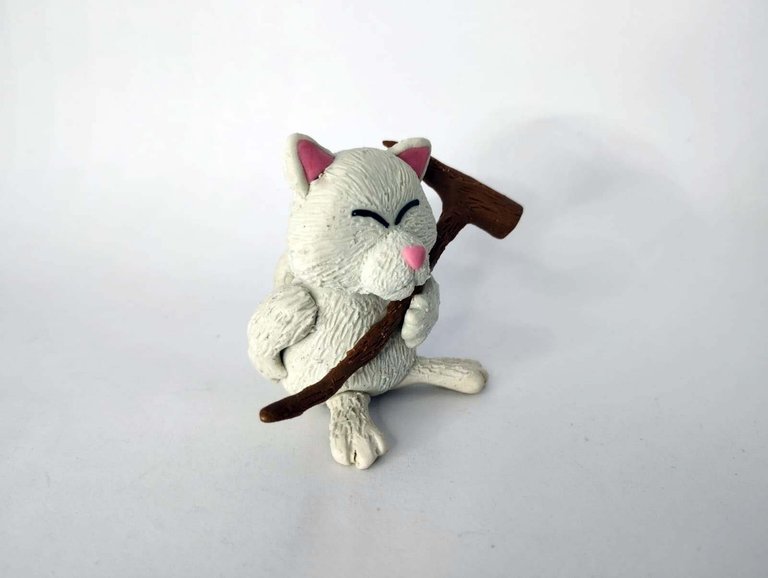
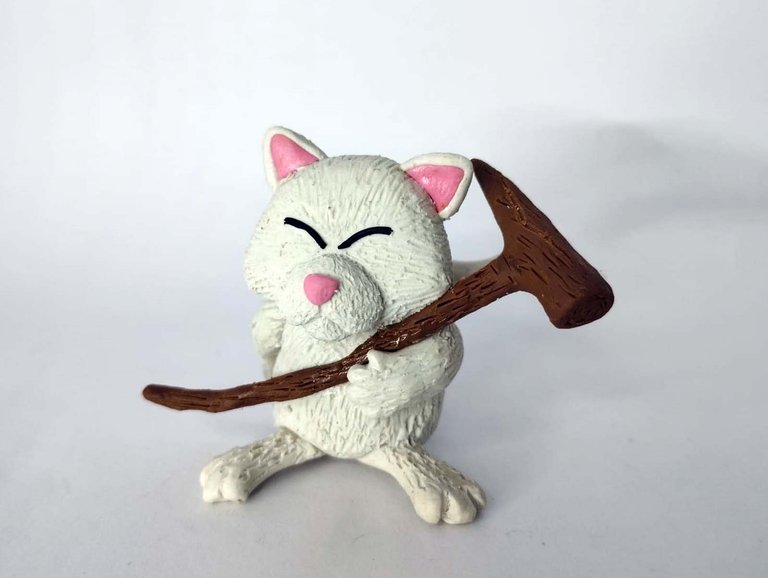
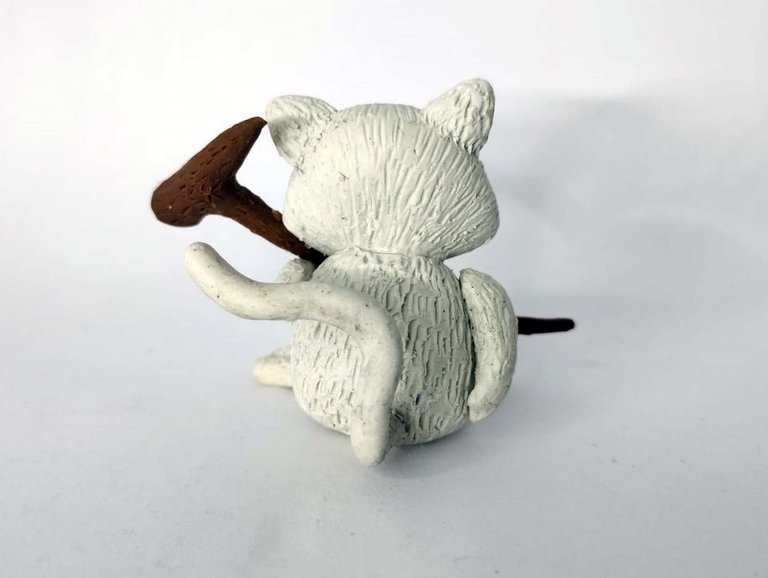
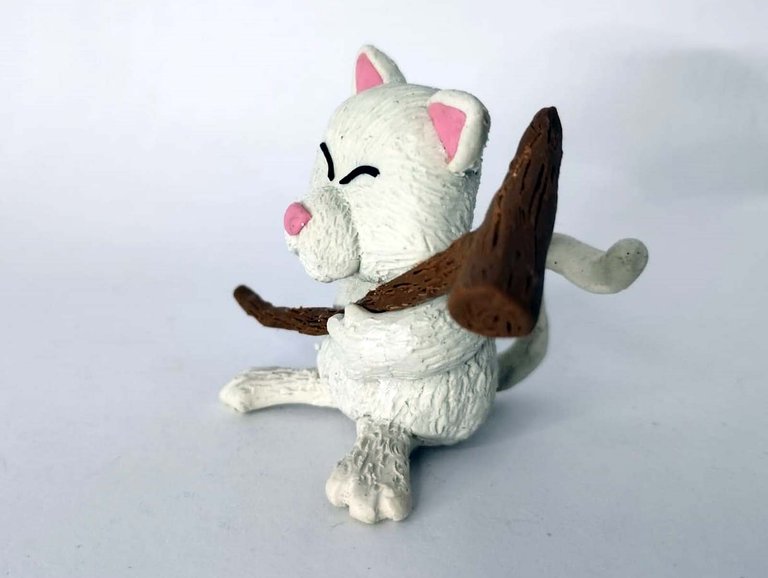
Well friends, this has been all for now. I hope you liked this second figure of this collection, I invite you to leave your opinions below in the comments, as always I will be happy to read them. Without more to add, I say goodbye then...
See you next time!
Bien amigos, esto ha sido todo por ahora. Espero que esta segunda figura de esta colección les haya gustado, los invito a dejar sus opiniones abajo en los comentarios, como siempre estaré encantado de leerlos. Sin más que agregar, me despido entonces...
¡Hasta la próxima!
Ohhh
This is very impressive bro...
Thank you, I tried to do my best!
Thank you for sharing this post with the community and for preferring us, it is a pleasure for us to have you here.
We hope to see you soon. Best regards!
The pleasure is mine to share my sculptures with other anime fans. I'm glad you liked it.
What a beautiful thing 🤎😍, as always my heart doing a great job. This new collection is going to be a dream come true for you.
!discovery 45
!LUV
!PIZZA
(1/1) sent you LUV. | tools | discord | community | HiveWiki | <>< daily@gaboamc2393, @dayadam
I hope to finish it at some point hehehe thanks for stopping by to comment!
This post was shared and voted inside the discord by the curators team of discovery-it
Join our Community and follow our Curation Trail
Discovery-it is also a Witness, vote for us here
Delegate to us for passive income. Check our 80% fee-back Program
Esto es tan bonito!! Me encanta 🤧💗
Quedó encantador!
Te quedó muy lindo éste personaje... Me gusta la forma en que haces la textura del pelaje 😊... Buen trabajo 😃👍🏼
!LUV
!PIZZA 🍕
(1/1) sent you LUV. | tools | discord | community | HiveWiki | <>< daily@gaboamc2393, @chacald.dcymt
Holis! Este siempre es un toque especial que los hace lucir más bonito, sin eso quedan bien, pero es un plus jejeje Saluditos!
$PIZZA slices delivered:
(1/5) @chacald.dcymt tipped @gaboamc2393
Quedó increíble, me gusta el efecto de textura que le diste. Gran trabajo 👏
It turned out amazing, I like the textured effect you gave it. Great job 👏
It's something that takes a lot of patience and work, I'm glad you liked it.
Perfect.