Preparing all details for a successful texturing
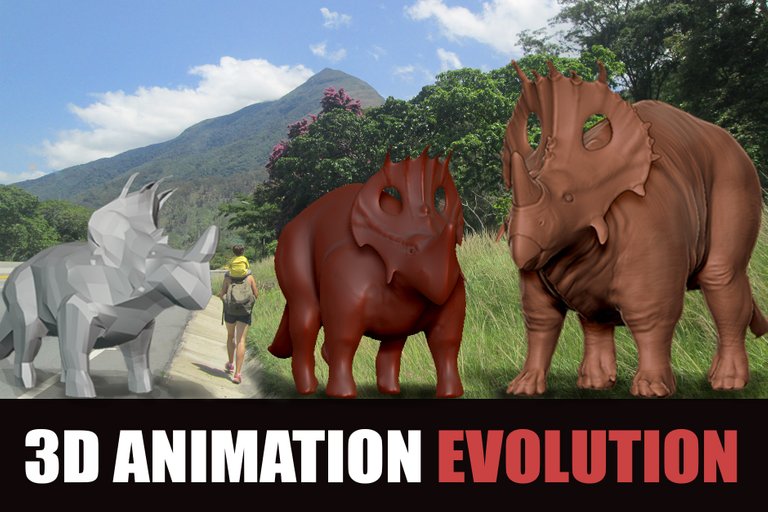

In my last post I talked about the workout for 3D animation in the hope of help those who may have doubts like the ones I have had, today I want to tell you about my latest discoveries.
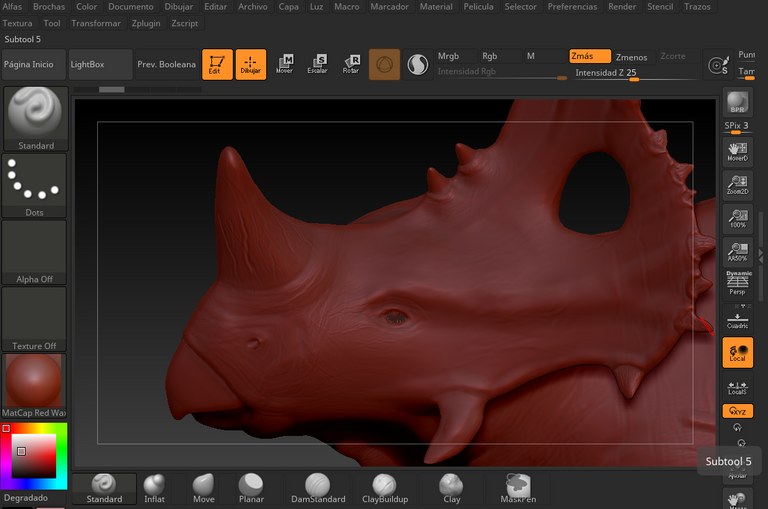
Just after performing the retopology on my dino, I noticed a couple of breaks in my mesh, this happened after rearranging my polygons because the original mesh had too many faces in the concavity of the eye. It was a challenge to repair it because in ZBrush I didn't know any way to fix it. In blender this process of modifying the mesh by manipulating vertices, edges, or faces was much more intuitive. But finally, I discovered how to eliminate the errors of my mesh in Zbrush.
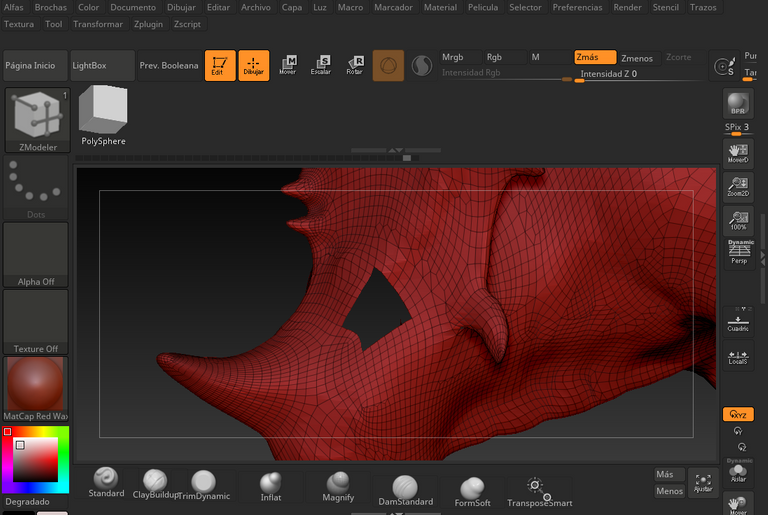
I eliminated the faces that I did not want and I started to perform a reconstruction of it, applying a kind of patch.
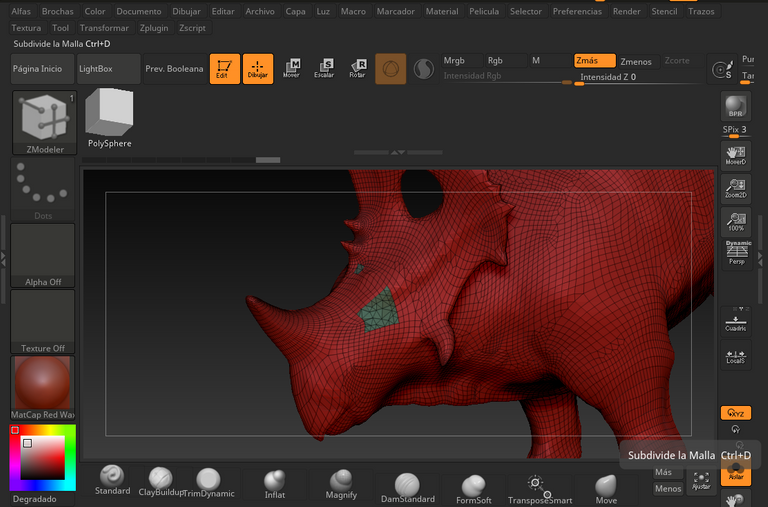
It was a long process because I didn't know how to do it, but in the end, with a few clicks, it was solved.
The surgery on my dino was a success and there is no evidence of it. So, let’s textured!
![]()
All images are of my original creation.
The programs used are Blender 2.82a, Zbrush 2018 y adobe Photoshop CC2018
Thanks for reading 😉 See you soon !
If you want to know the evolution process of this dinosaur, you can go to: