.jpeg)

Español
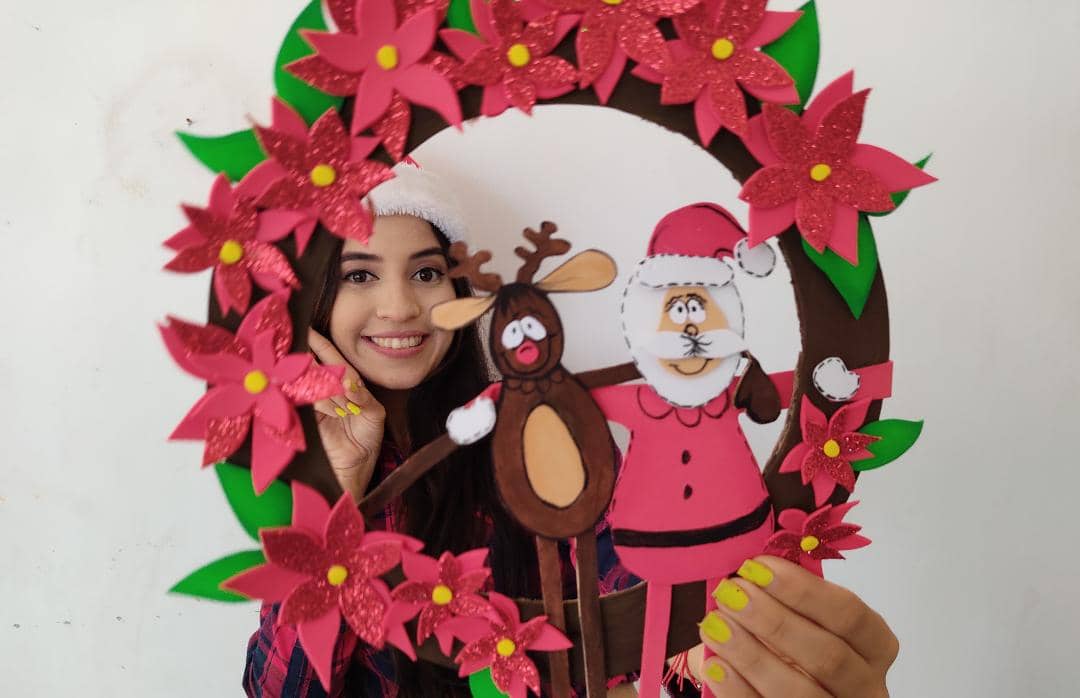
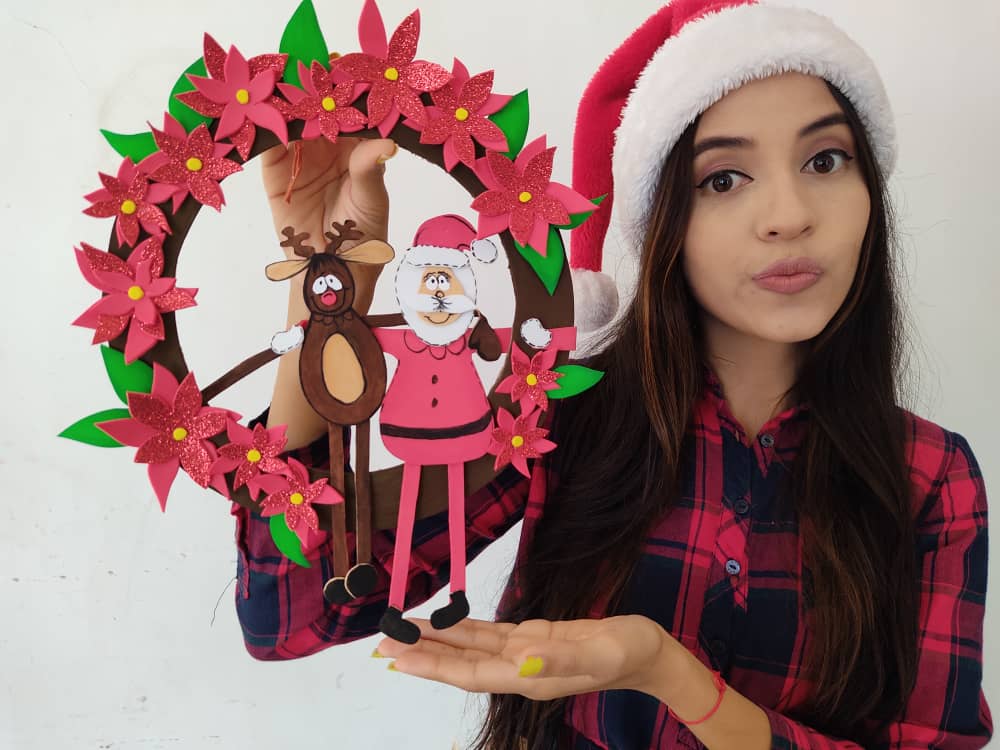
Hola querida familia de HIVE ❤️ Este día les traigo un nuevo y navideño tutorial lleno de mucho amor y creatividad, donde les mostrare como realizar una hermosa corona de navidad, perfecta para decorar nuestras paredes en estas navidades y lo mejor de todo es que está hecha con materiales muy económicos y fáciles de conseguir, así que, no esperemos más y démosle la bienvenida a esta navidad.
English
Hello, dear HIVE family ❤️ This day I bring you a new Christmas tutorial full of love and creativity, where I will show you how to make a beautiful Christmas wreath, perfect to decorate our walls this Christmas and the best of all is that it is made with very cheap materials and easy to get, so let's not wait any longer and welcome this Christmas.
¿Qué están esperando?
Gracias a esta técnica podemos elaborar fácilmente una hermosa corona de navidad, perfecta e ideal para decorar nuestro entorno y darle ese toque creativo a nuestra navidad. Antes de comenzar no olvidemos lavarnos nuestras manos.
What are they waiting for?
Thanks to this technique we can easily make a beautiful Christmas wreath, perfect and ideal to decorate our environment and give that creative touch to our Christmas. Before we start, let's not forget to wash our hands.


[Materiales | Materials]
Para hacer esta hermosa corona necesitaremos:
- Foamy o goma eva.
- Lápiz de grafito.
- Cartón.
- Pinturas.
- Pinceles.
- Hilo.
- Tijera.
- Pegamento o silicón liquido.
To make this beautiful wreath we will need:
- Foamy or eva foam.
- Graphite pencil.
- Cardboard.
- Paintings.
- Brushes.
- Thread.
- Scissors.
- Glue or liquid silicone.
Procedimiento (paso a paso)
Process (step by step)
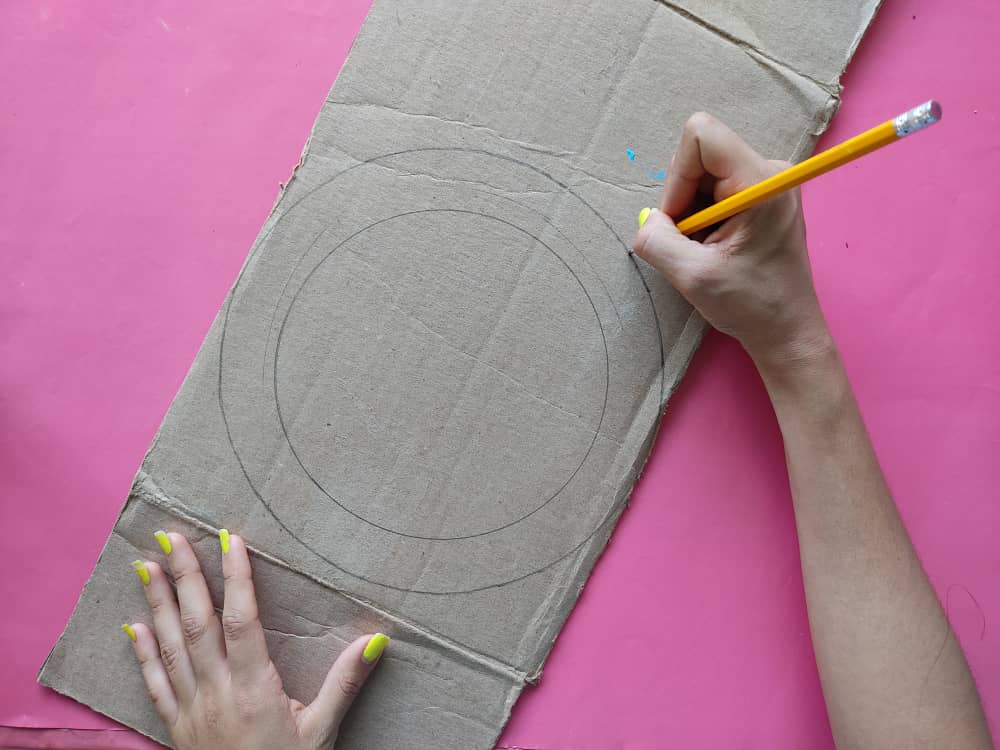
Primero, elaboramos un círculo de aproximadamente 13 cm de diámetro y un grosor de 3cm sobre una lámina de cartón grueso y recortamos cuidadosamente.

First, we make a circle of approximately 13 cm in diameter and a thickness of 3 cm on a thick cardboard sheet and carefully cut out.
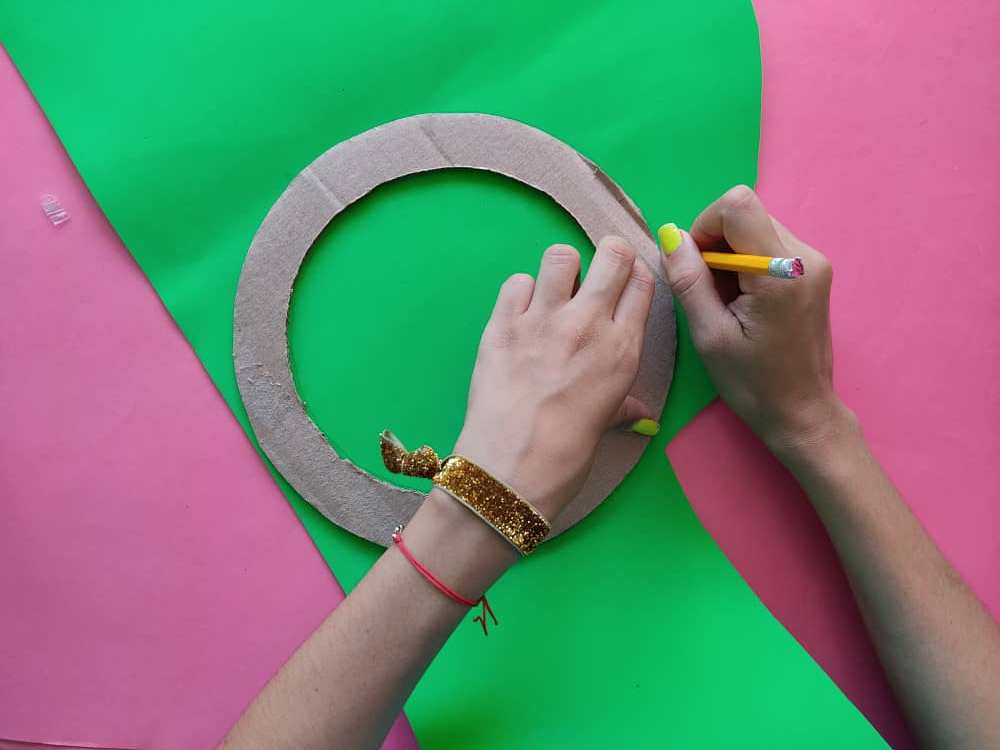
Seguidamente, transferimos el molde de este círculo al foamy con mucho cuidado de manera que quede del mismo tamaño, y recortamos.

Next, we transfer the mold of this circle to the foamy very carefully so that it is the same size, and cut.
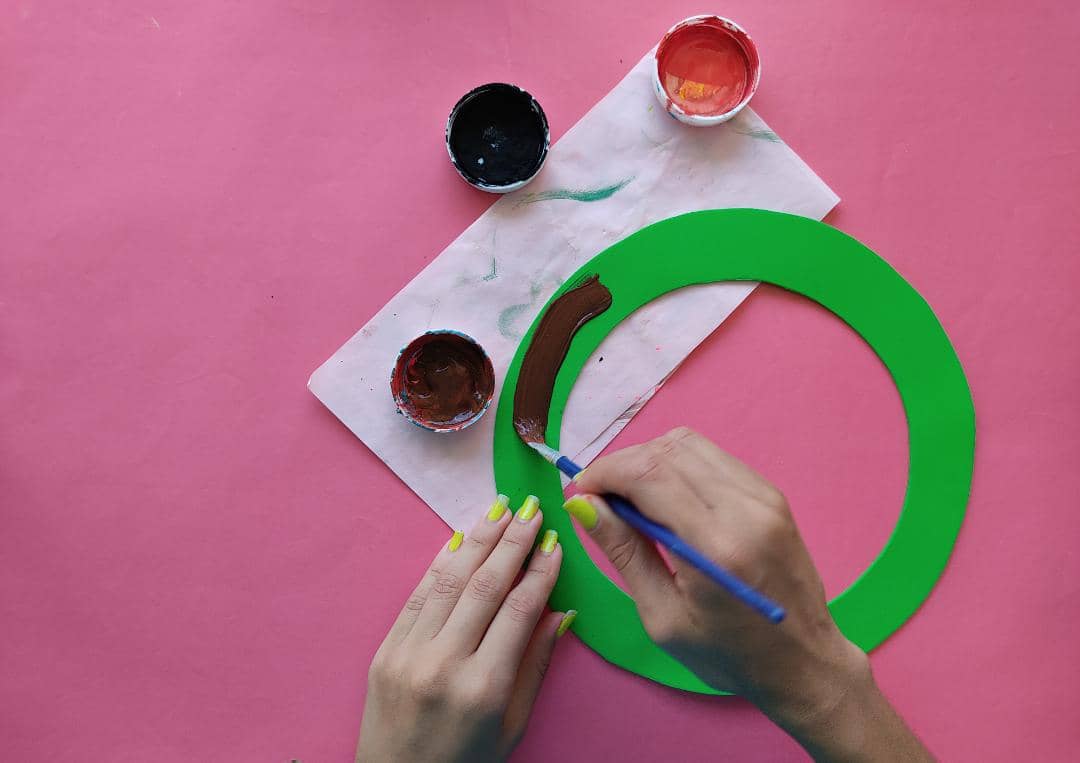
Luego, pintamos el círculo de foamy aplicando un hermoso tono marrón.

Then, we paint the foamy circle applying a beautiful brown tone.
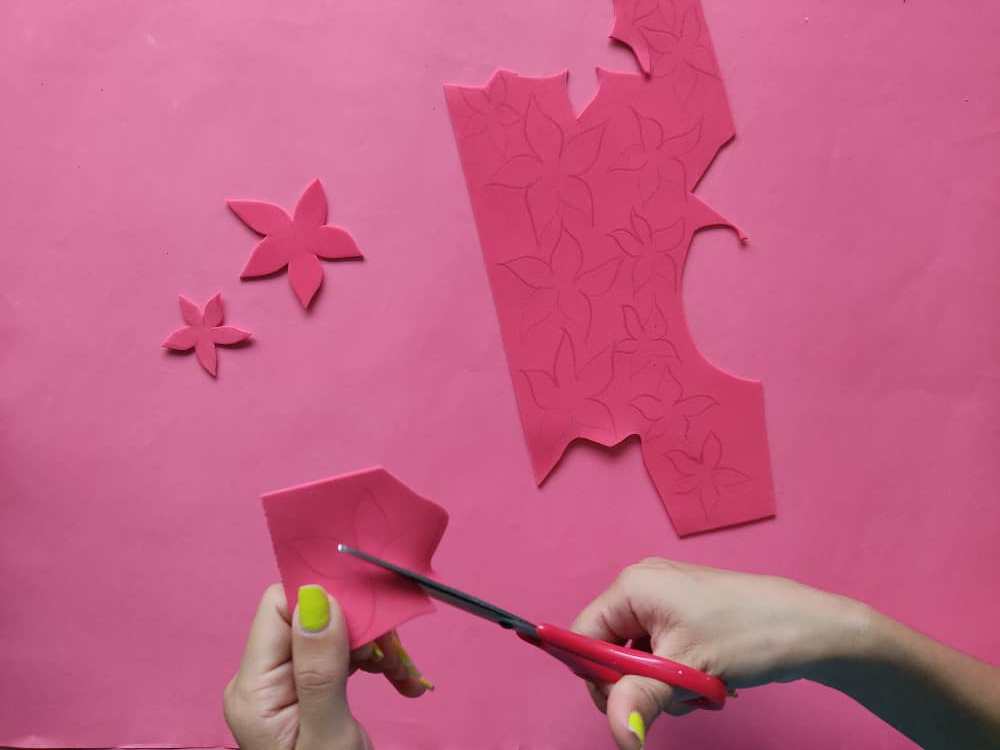
Ahora, elaboramos muchas flores estilo navideñas foamy de color rojo y rojo escarchado para darle un hermoso y elegante toque.

Now, we make lots of red and frosty red foamy Christmas style flowers to give it a beautiful and elegant touch.
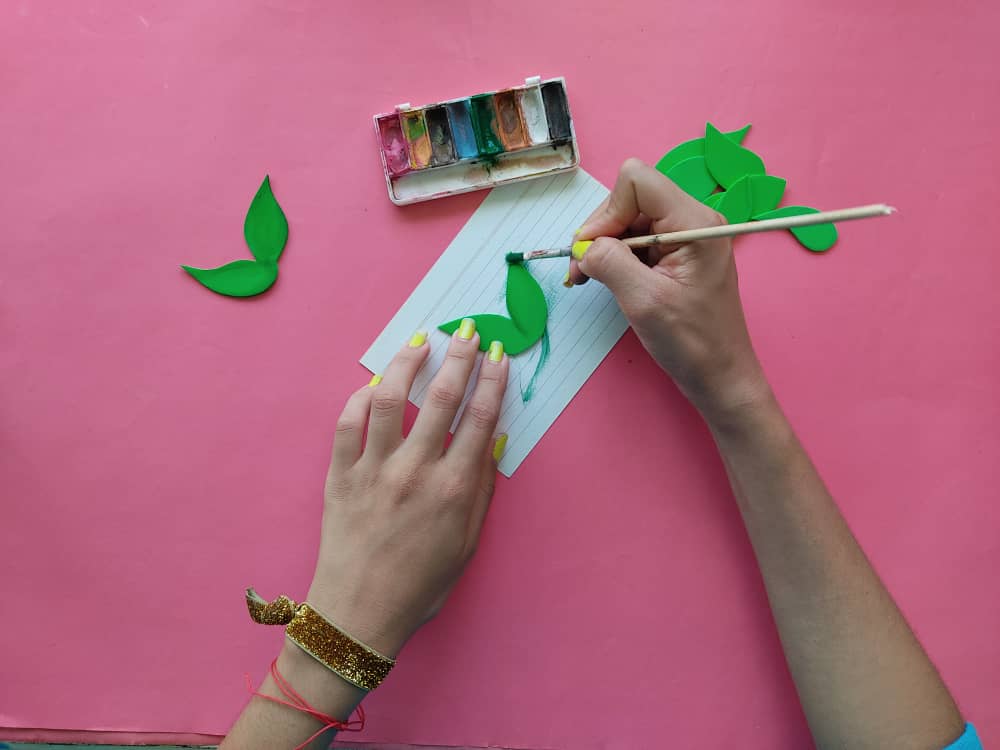
Seguidamente, elaboramos pequeñas hojas verdes para decorar nuestra linda corona, y sombreamos un poco los bordes de estas lindas hojas para que luzca más hermosas.

Next, we make small green leaves to decorate our cute wreath, and we shade the edges of these cute leaves a little to make it look more beautiful.
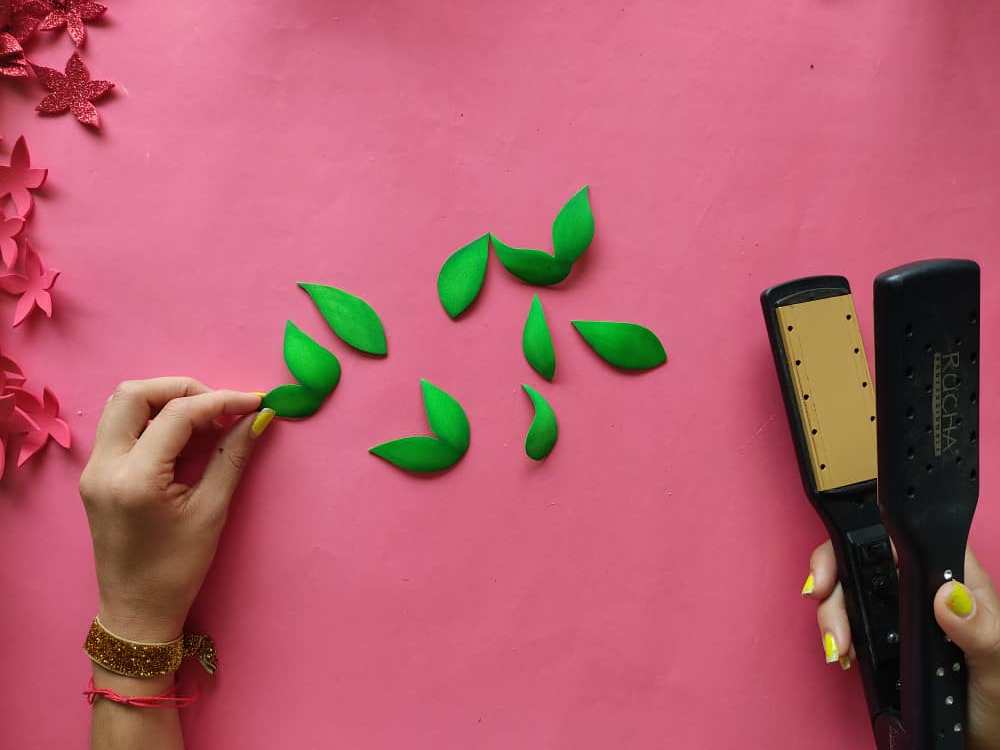
Ahora, utilizamos la plancha de cabello para aplicar la técnica de termoformado a nuestras hojas y flores, y así, lucirán hermosas y mucho más reales.

Now, we use the hair straightener to apply the thermoforming technique to our leaves and flowers, and thus, they will look beautiful and much more real.
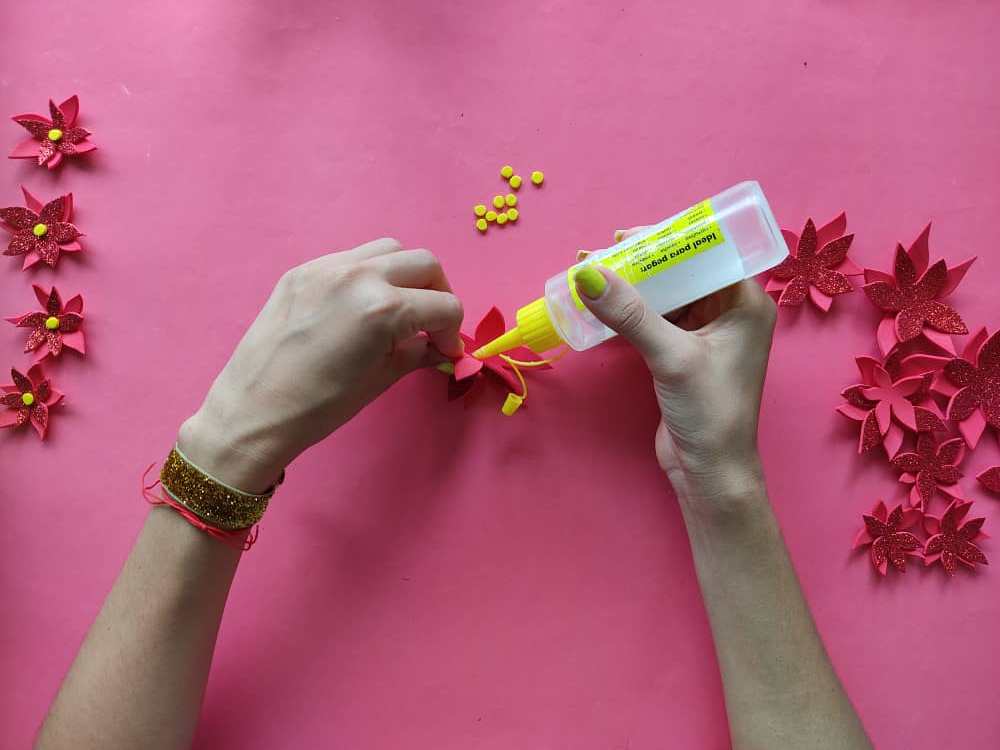
Luego, armamos nuestras flores pegando una de foamy normal, otra de foamy escarchado y el centro de color amarillo.

Then, we assemble our flowers by gluing one of normal foamy, another of frosted foamy and the center of yellow color.
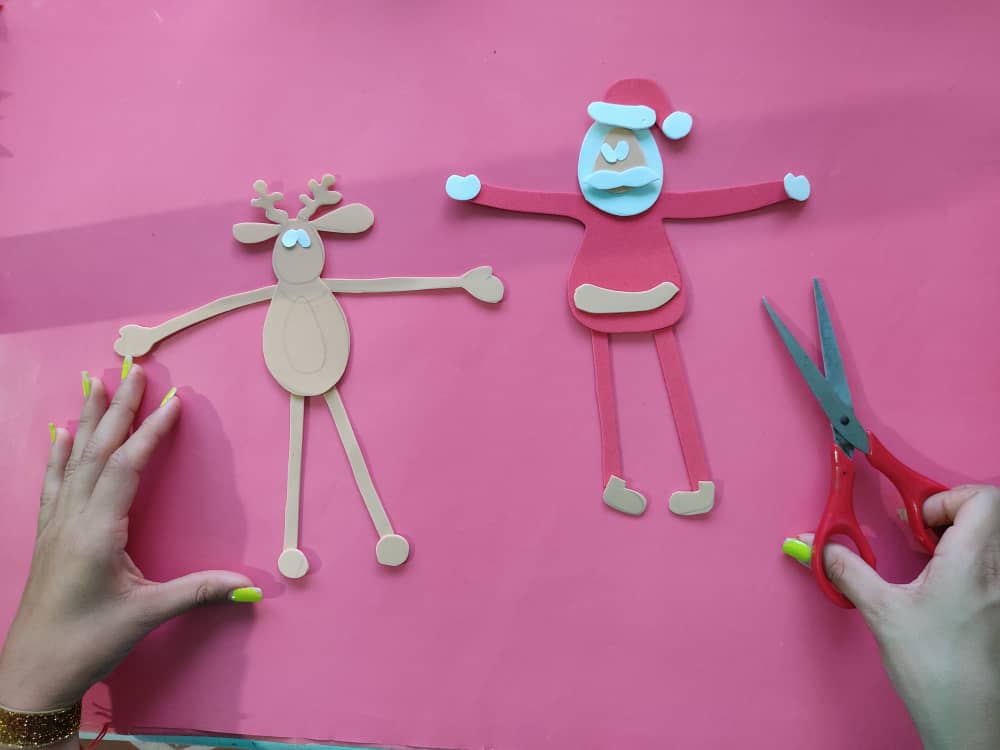
Ahora, elaboramos un Santa Claus y un reno en foamy de los colores que más nos gusten. Seguidamente, pintamos el reno y el mini Santa Claus, definimos sus pequeños detalles con color negro. Y armamos estas figuras utilizando silicón o pegamento.
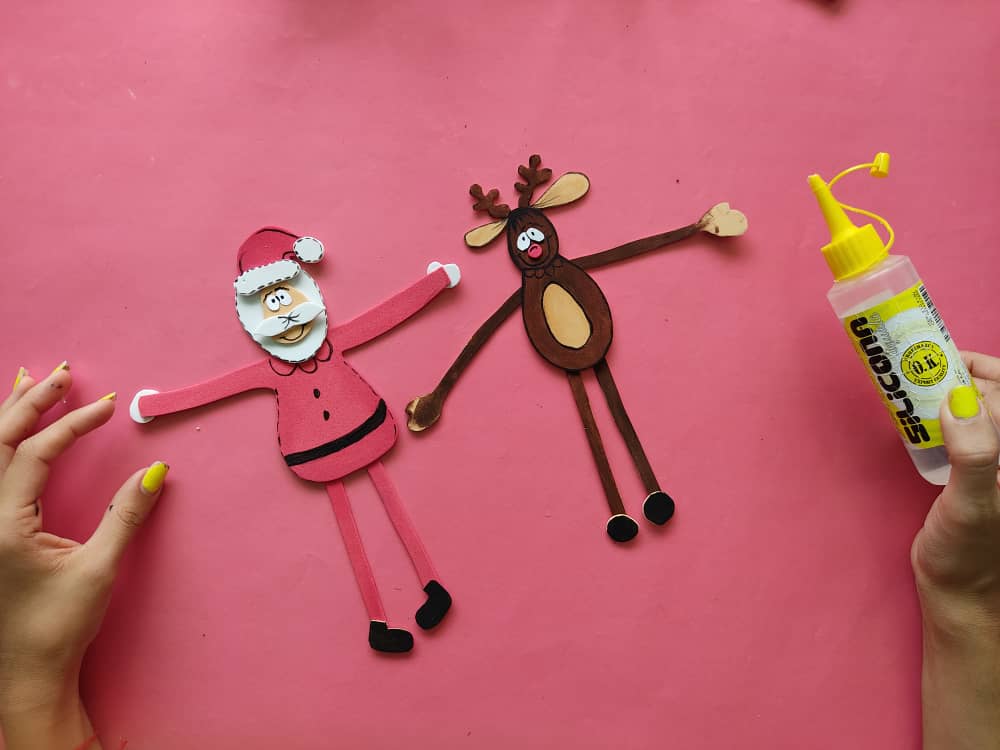
Now, we make a Santa Claus and a foamy reindeer in the colors that we like the most. Next, we paint the reindeer and the mini Santa Claus, we define their small details with black. And we assemble these figures using silicone or glue.
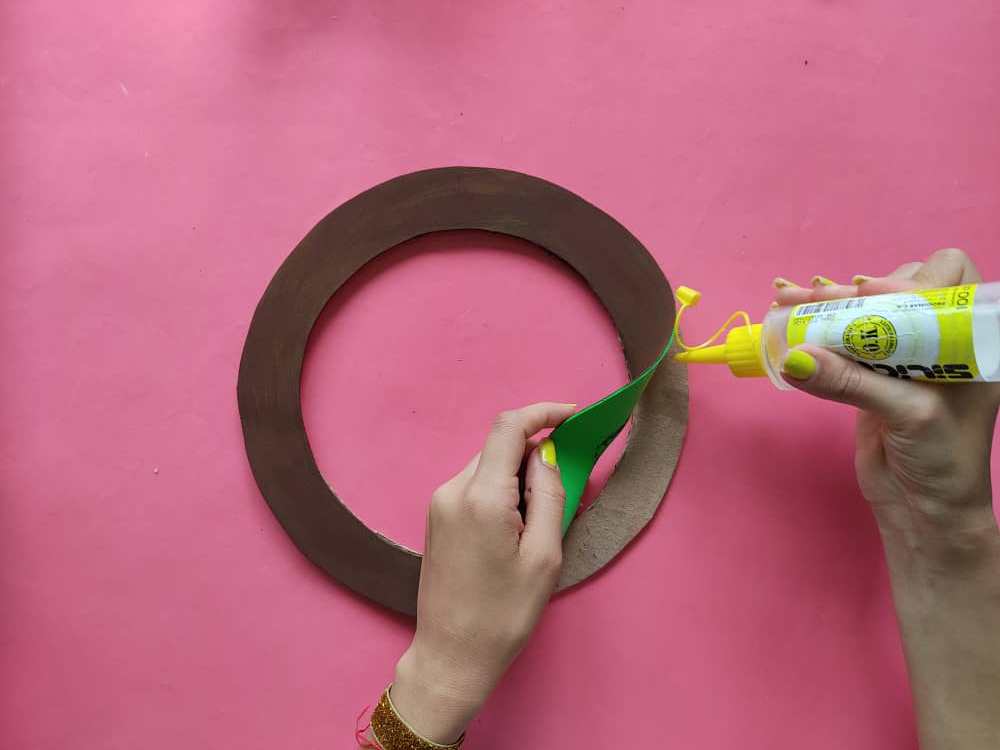
Luego, unimos el círculo de foamy que hemos pintado de color marrón al círculo de cartón para que nuestra corona sea más firme.

Then, we join the foamy circle that we have painted in brown to the cardboard circle so that our crown is firmer.
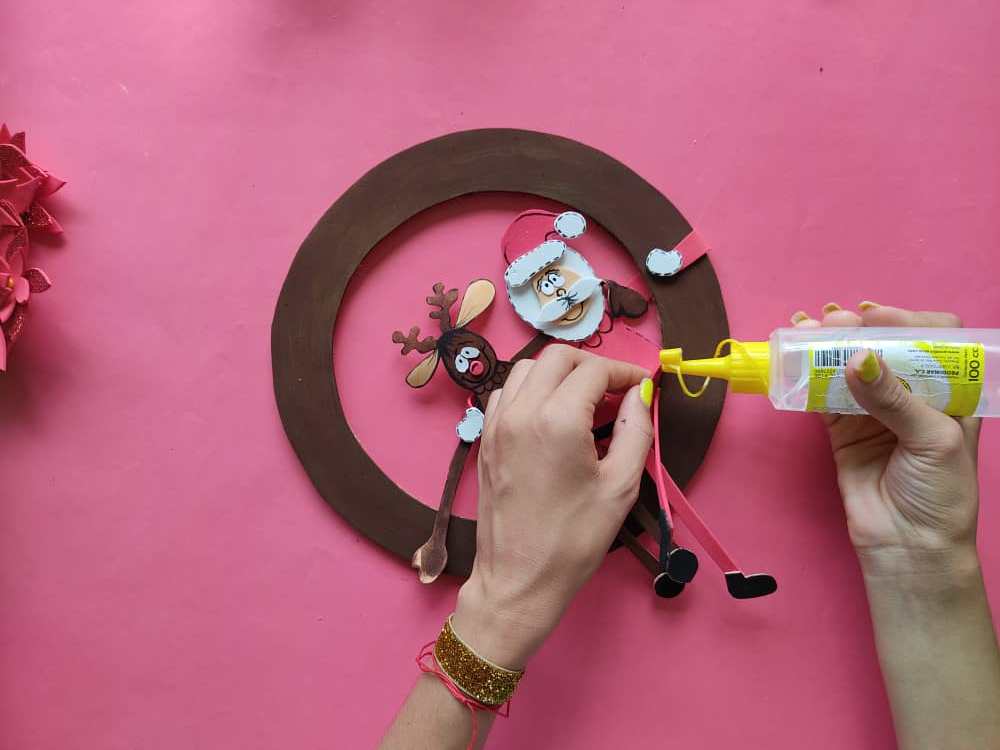
Seguidamente, pegamos al reno y a Santa de manera que luzcan como que están abrazados y a la vez sostenidos de la corona.
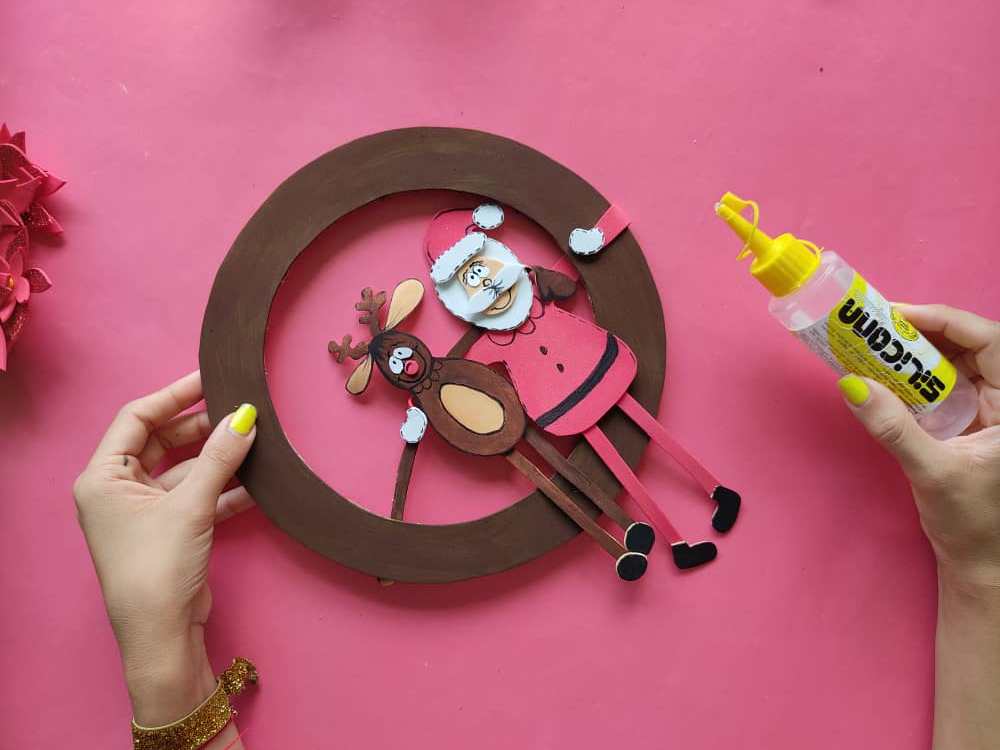
Next, we glue the reindeer and Santa so that they look like they are hugging and at the same time supported by the crown.
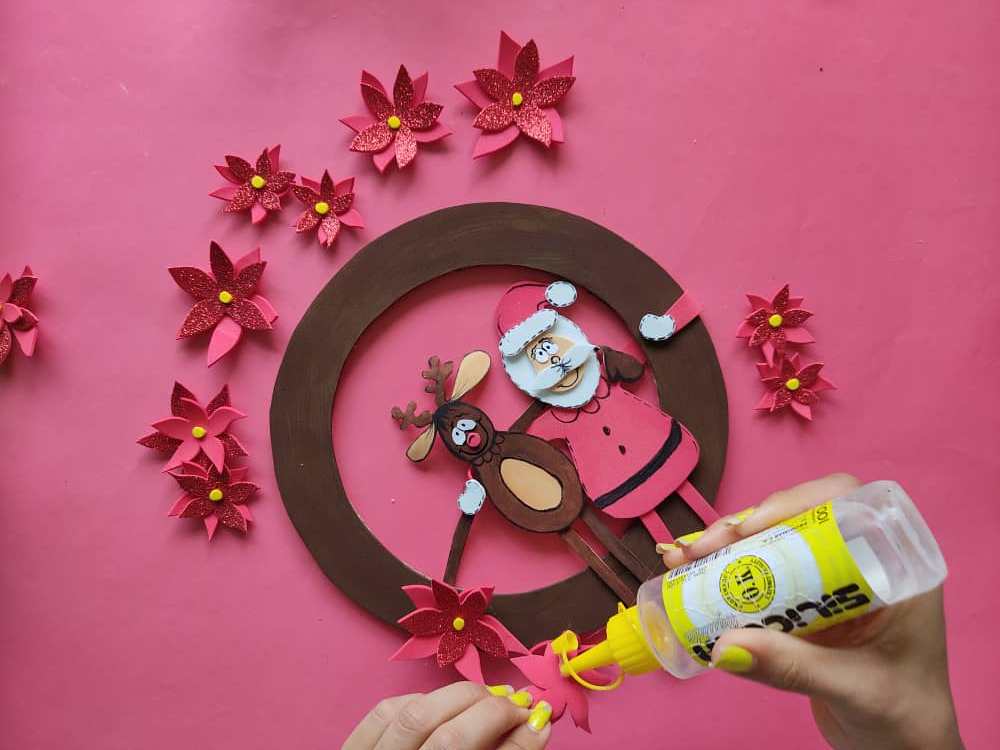
Ahora, pegamos las hermosas flores y las pequeñas hojas al rededor de esta preciosa corona navideña.
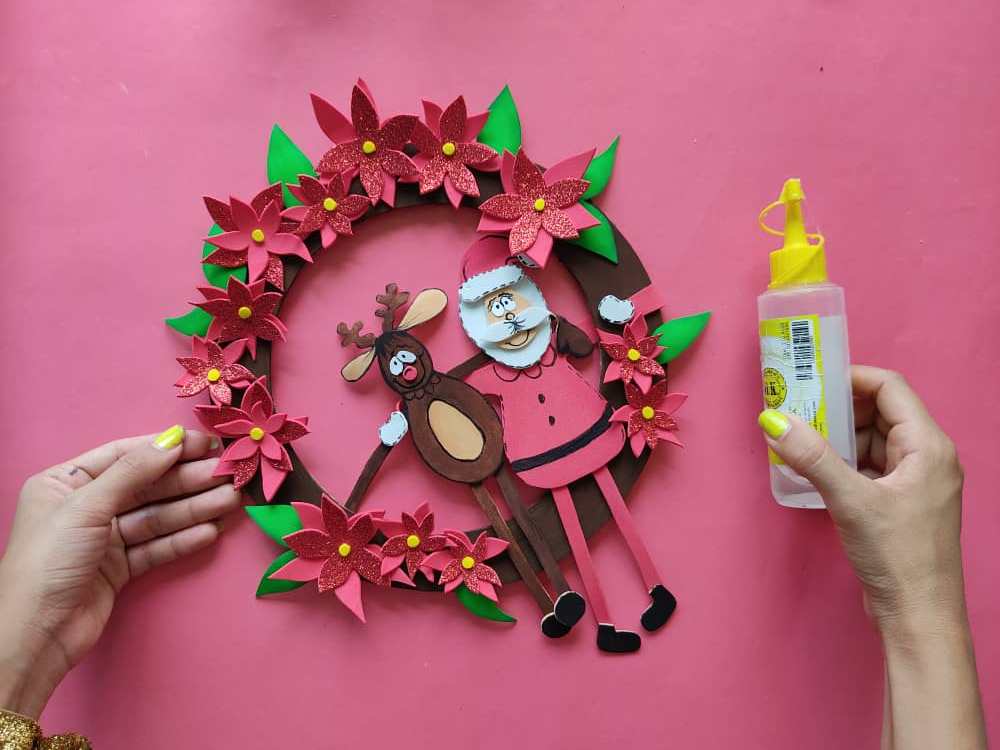
Now, we glue the beautiful flowers and small leaves around this beautiful Christmas wreath.
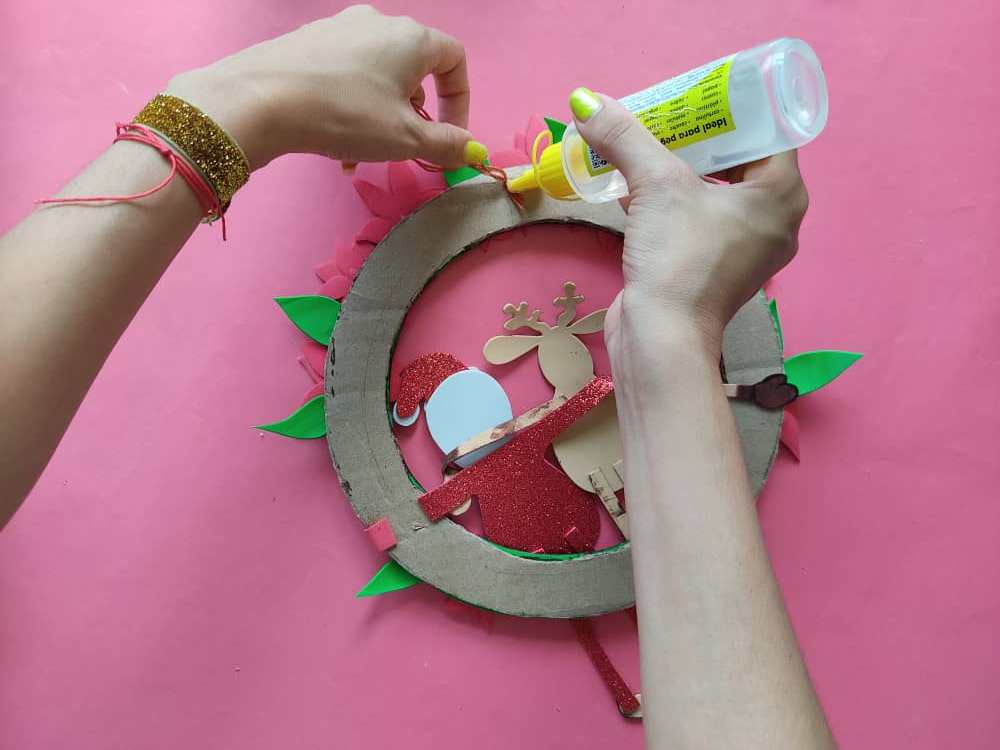
Finalmente, pegamos un pequeño hilo en la parte trasera de la corona para colgar y decorar nuestros espacios favoritos.
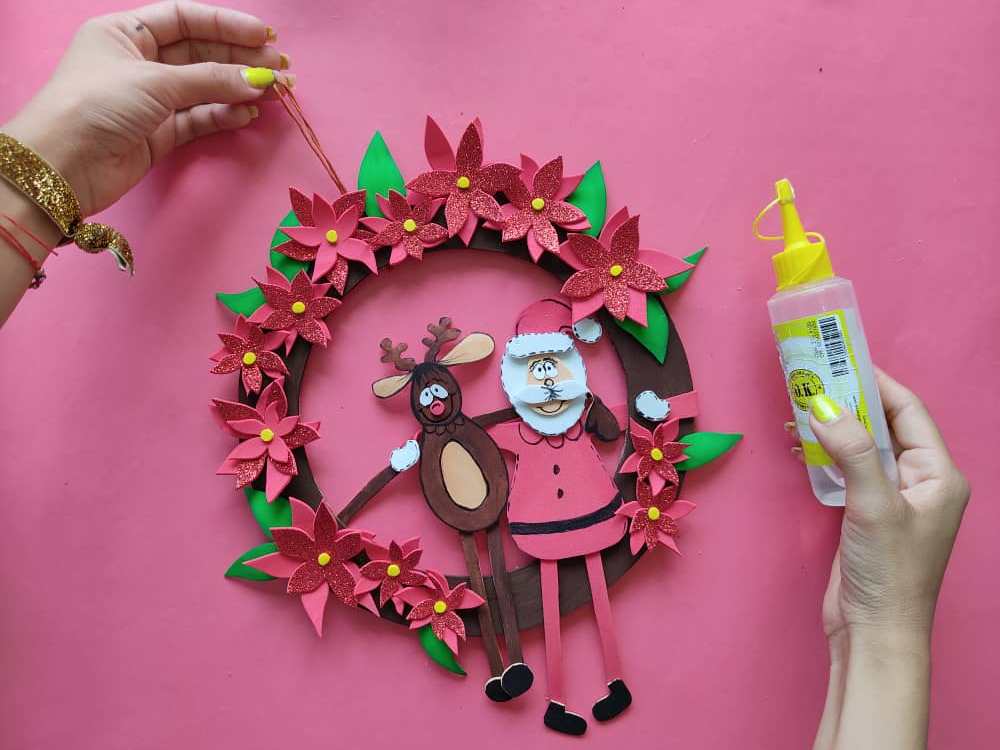
Finally, we glued a small thread to the back of the wreath to hang and decorate our favorite spaces.

Gracias por acompañarme y espero que lo hayan disfrutado. ❤️
Thanks for joining and I hope you enjoyed it.❤️
.jpeg)
.jpeg)
.jpeg)
.jpeg)
.jpeg)
.jpeg)


My twt #posh
Epale mi señorita sus videos son muy increíbles 😉👋 genial
Congratulations, your post has been upvoted by @dsc-r2cornell, which is the curating account for @R2cornell's Discord Community.
Thank you for sharing this amazing post on HIVE!
Your content got selected by our fellow curator @priyanarc & you just received a little thank you via an upvote from our non-profit curation initiative!
You will be featured in one of our recurring curation compilations and on our pinterest boards! Both are aiming to offer you a stage to widen your audience within and outside of the DIY scene of hive.
Join the official DIYHub community on HIVE and show us more of your amazing work and feel free to connect with us and other DIYers via our discord server: https://discord.gg/mY5uCfQ !
If you want to support our goal to motivate other DIY/art/music/homesteading/... creators just delegate to us and earn 100% of your curation rewards!
Stay creative & hive on!
awww que hermoso te quedo amiga @saracampero