.jpeg)

Español
Hola querida familia de HIVE ❤️ Este nuevo día les traigo otro divertidísimo paso a paso donde les mostrare como realizar un hermoso cuadro de una dama con sombrero, ideal y perfecto para decorar nuestras paredes favoritas dando ese toque creativo y personal, y lo mejor de todo es que esta hecho de materiales súper económicos y muy fáciles de conseguir. Así que, no dejemos de mantener nuestra mente ocupada haciendo estas obras, que además, de ser muy lindas son bastante productivas, y así, sacar provecho a cada tiempo que tengamos libre.
English
Hello, dear HIVE family ❤️ This new day I bring you another hilarious step by step where I will show you how to make a beautiful painting of a lady with a hat, ideal and perfect to decorate our favorite walls giving that creative and personal touch, and the best of all is that it is made of materials super cheap and very easy to get. So, let's not stop keeping our minds busy doing these works, which in addition to being very beautiful are quite productive, and thus, take advantage of every free time we have.
¿Qué están esperando?
Gracias a esta técnica podemos crear nuestro propio cuadro de dama con sombrero, además, una hermosa obra hecha en casa es una manera creativa y muy económica de darle un toque de alegría a nuestro entorno. Antes de comenzar no olvidemos lavarnos nuestras manos.
What are they waiting for?
Thanks to this technique we can create our own painting of a lady with a hat, in addition, beautiful homemade work is a creative and very economical way to give a touch of joy to our surroundings. Before we start, let's not forget to wash our hands.

[Materiales | Materials]
Para hacer esta hermosa dama necesitaremos:
- Moldes.
- Foamy o goma eva.
- Papel vegetal o calco.
- Lamina de cartón.
- Regla.
- Lápiz.
- Marcador.
- Tijera.
- Cúter.
- Pincel o brocha.
- Pinturas.
- Silicón liquido o pegamento.
To make this beautiful lady we will need:
- Molds.
- Foamy or eva foam.
- Vegetable paper or tracing.
- Cardboard sheet.
- Rule.
- Pencil.
- Bookmark.
- Scissors.
- Cutter.
- Brush or brush.
- Paintings.
- Liquid silicone or glue.
Procedimiento (paso a paso)
Process (step by step)
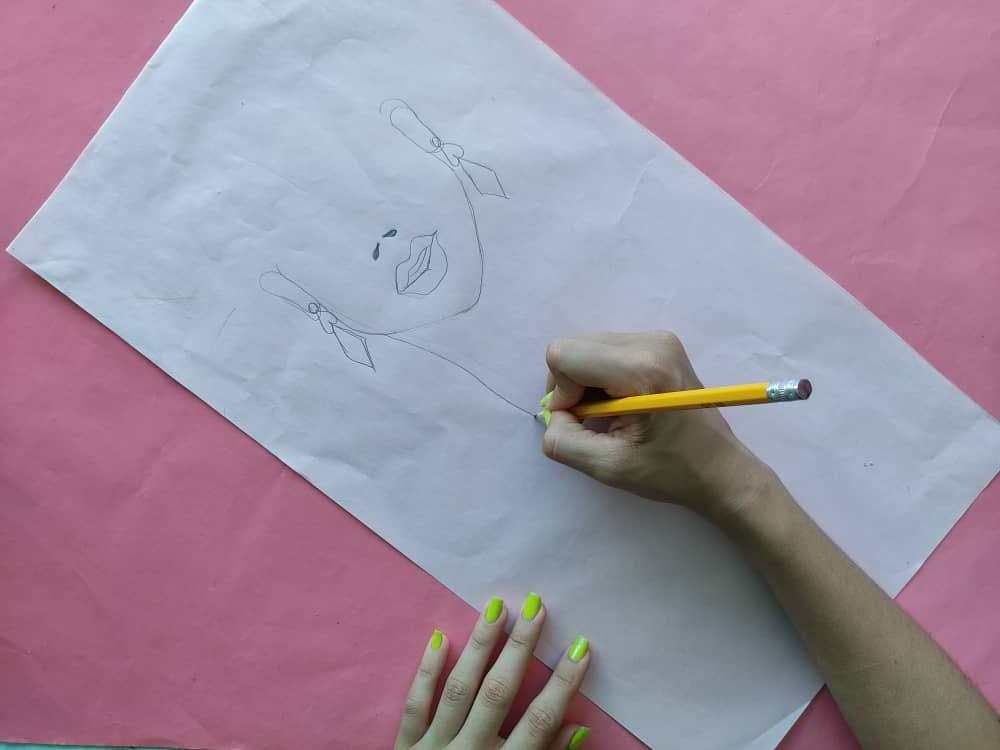
Primero, dibujamos a una chica posando con un hermoso sombrero que tape la mitad de su cara y agregamos los detalles que más nos gusten, pues en este caso decidí agregar unos hermosos zarcillos.
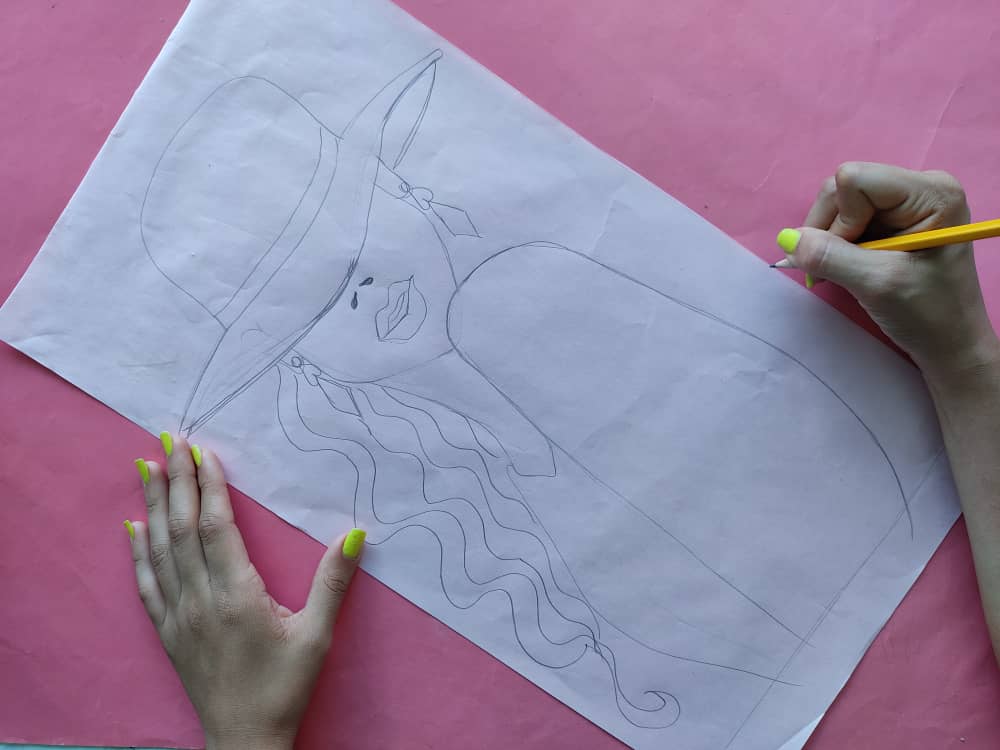
First, we draw a girl posing with a beautiful hat that covers half of her face and we add the details that we like the most because in this case, I decided to add some beautiful earrings.
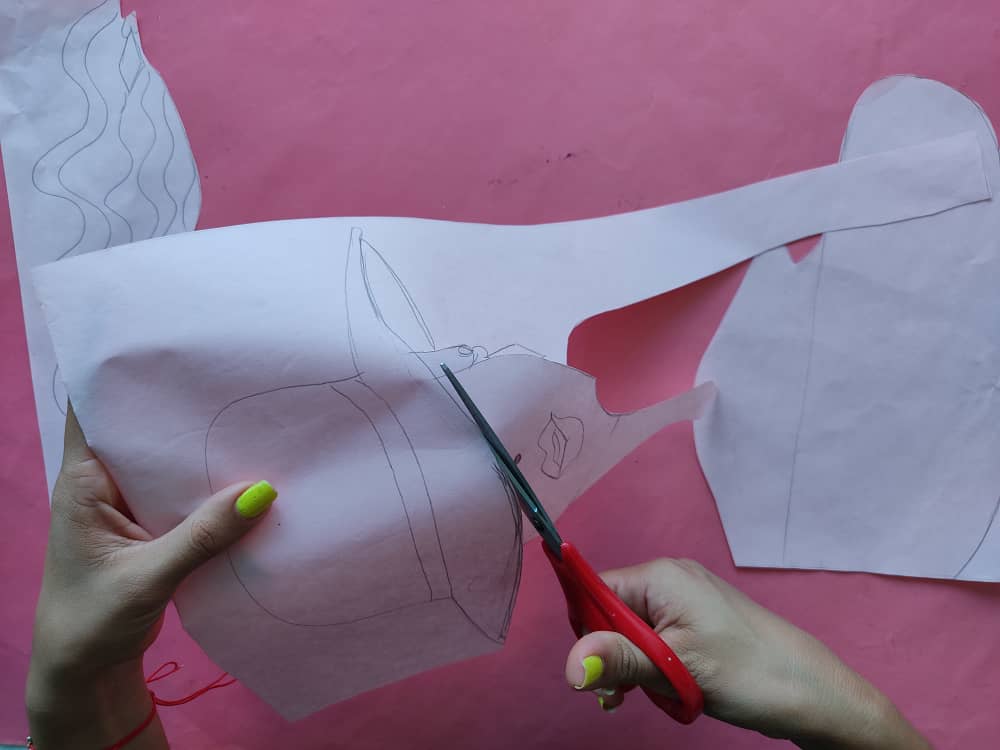
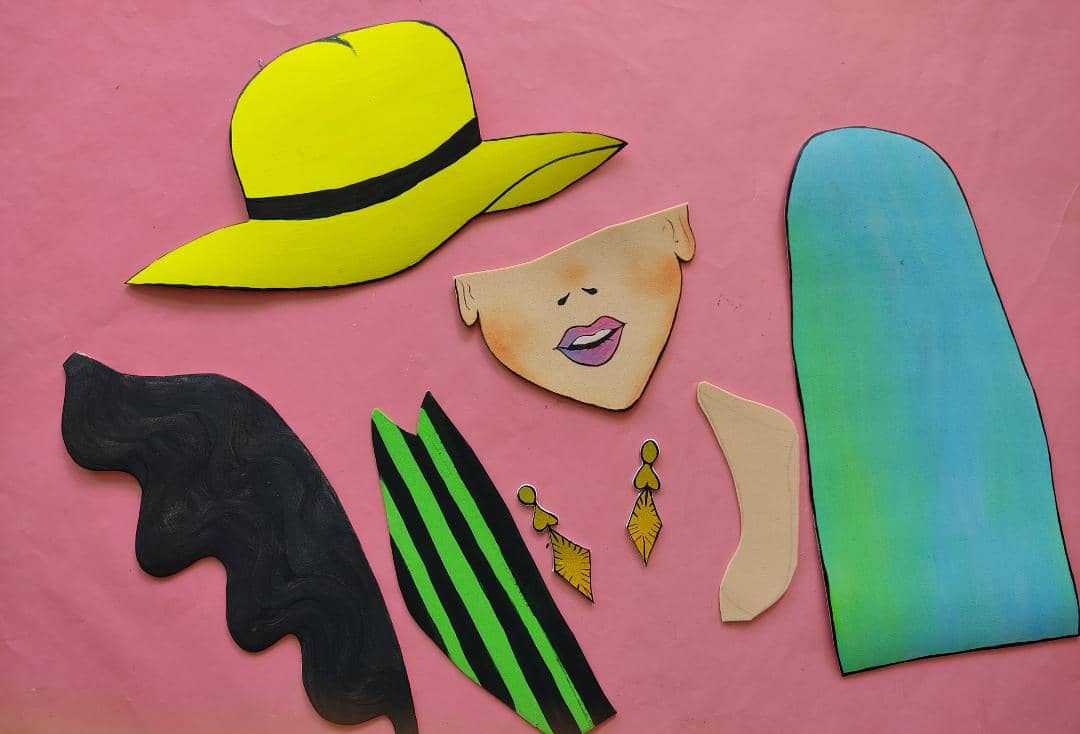
Seguidamente, recortamos nuestro dibujo con mucho cuidado separando el sombrero, la cara, la ropa, el cabello, y por supuesto los zarcillos.
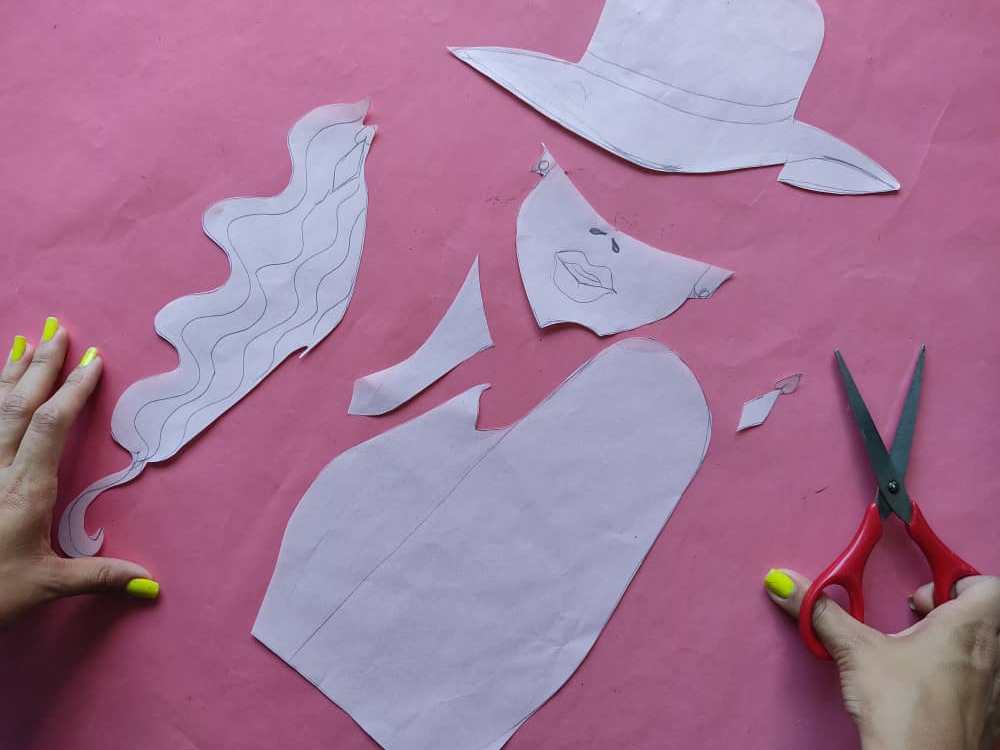
Next, we cut out our drawing very carefully separating the hat, the face, the clothes, the hair, and of course the earrings.

Ahora, transferimos cada uno de los moldes (sombrero, cara, ropa, y el cabello) al foamy de los colores que más nos gusten.
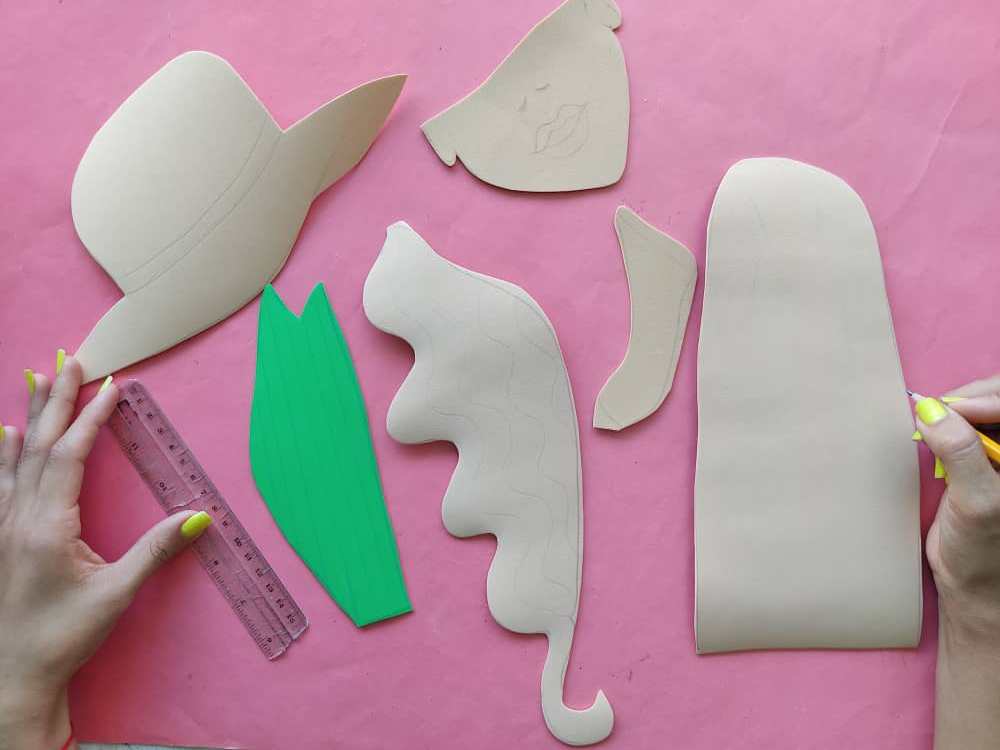
Now, we transfer each of the molds (hat, face, clothes, and hair) to the foamy of the colors that we like the most.
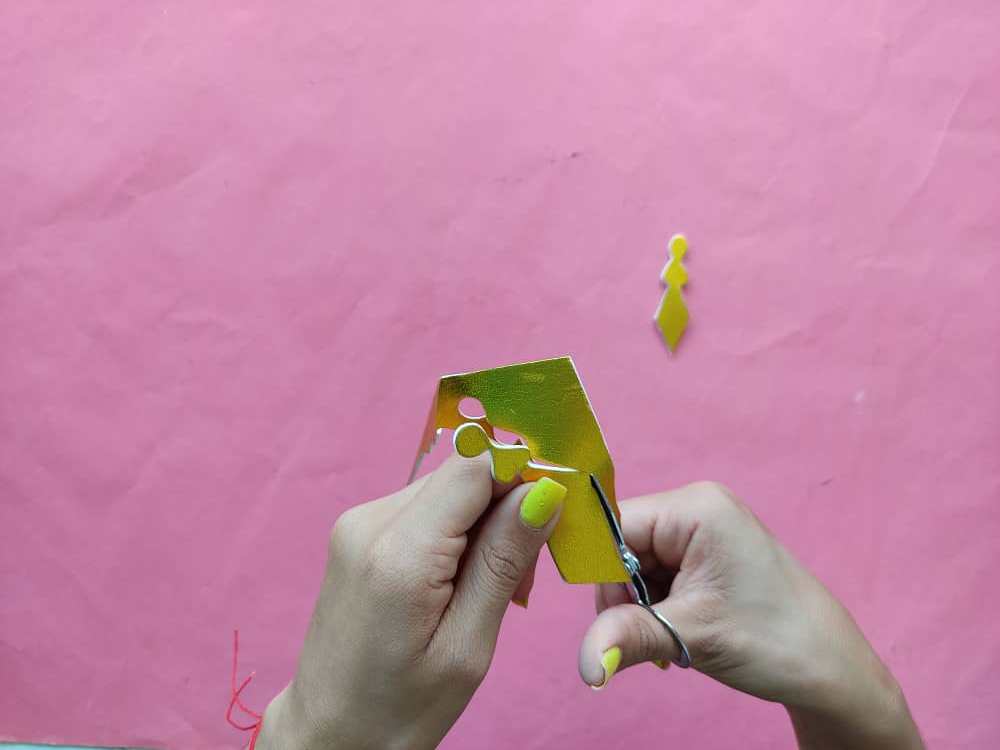
Luego, transferimos los zarcillos al foamy de color dorado metalizado, ya que es ideal para este tipo de figuras.
Then, we transfer the earrings to the metallic gold foamy, since it is ideal for this type of figure.

Ahora, comenzamos a darle color a su media cara, es decir, definimos su boca y pintamos sus labios mezclando colores rosa, azul, y morado. Seguidamente coloreamos un poco sus mejillas para que luzca muy hermosa y marcamos cuidadosamente sus bordes con el pincel de punta fina y color negro.
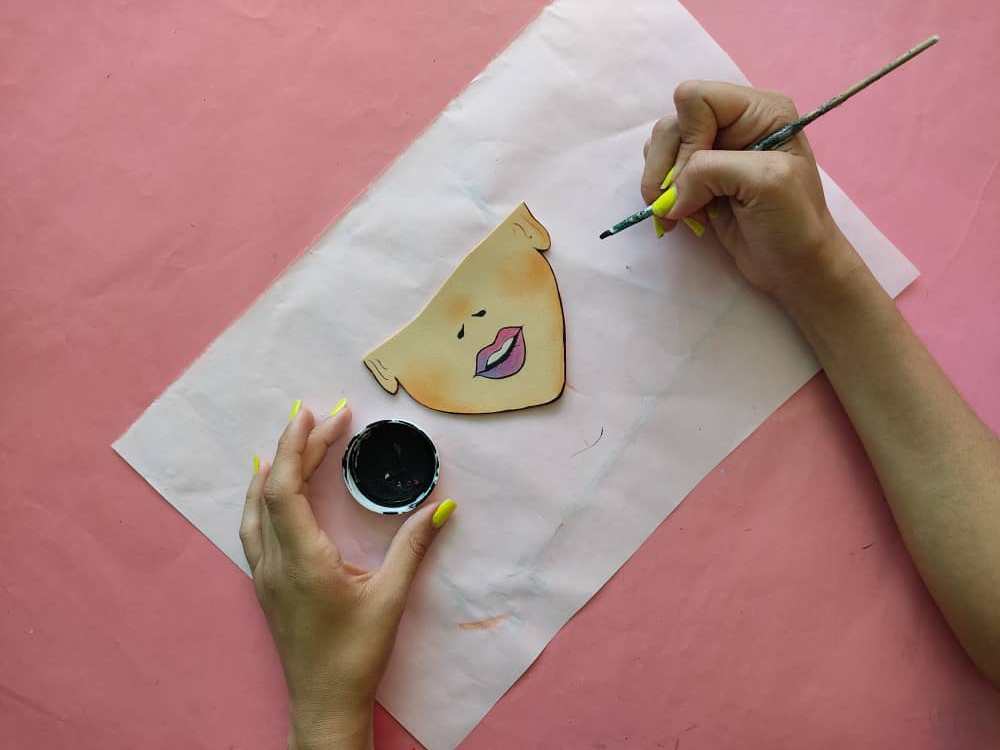
Now, we begin to color her half-face, that is, we define her mouth and paint her lips mixing pink, blue, and purple colors. Next, we color her cheeks a little to make it look very beautiful and carefully mark its edges with the black fine-tipped brush.
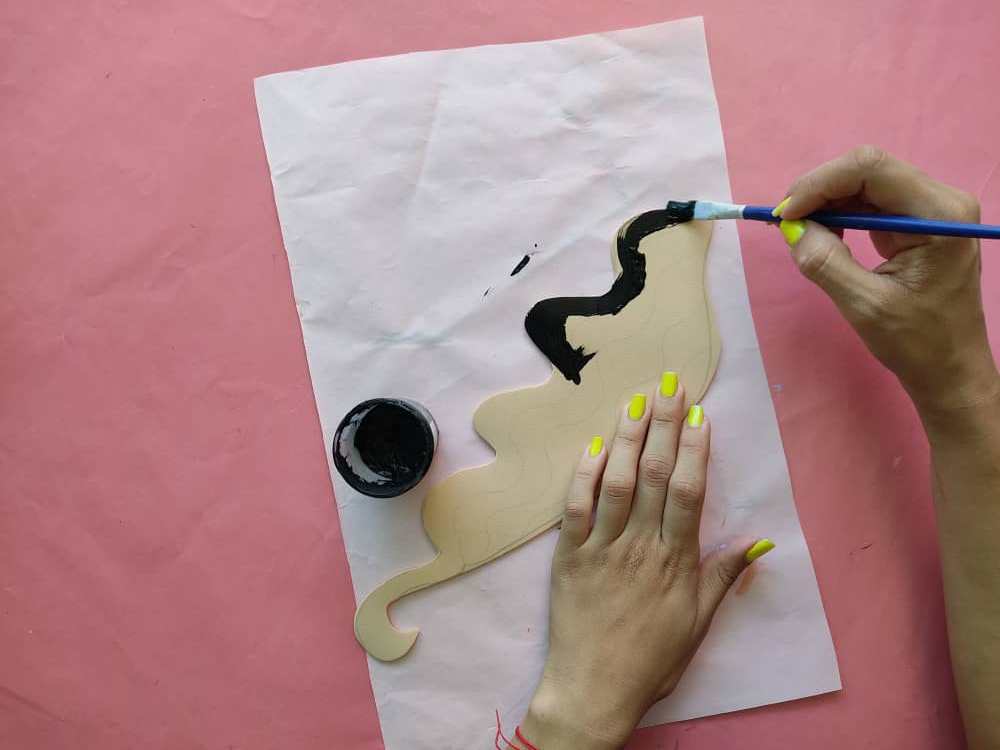
Luego, pintamos su lindo cabello de color negro ya que esta chica tendrá muchos colores a su alrededor, y este color negro le dará un toque genial a esta hermosa obra.
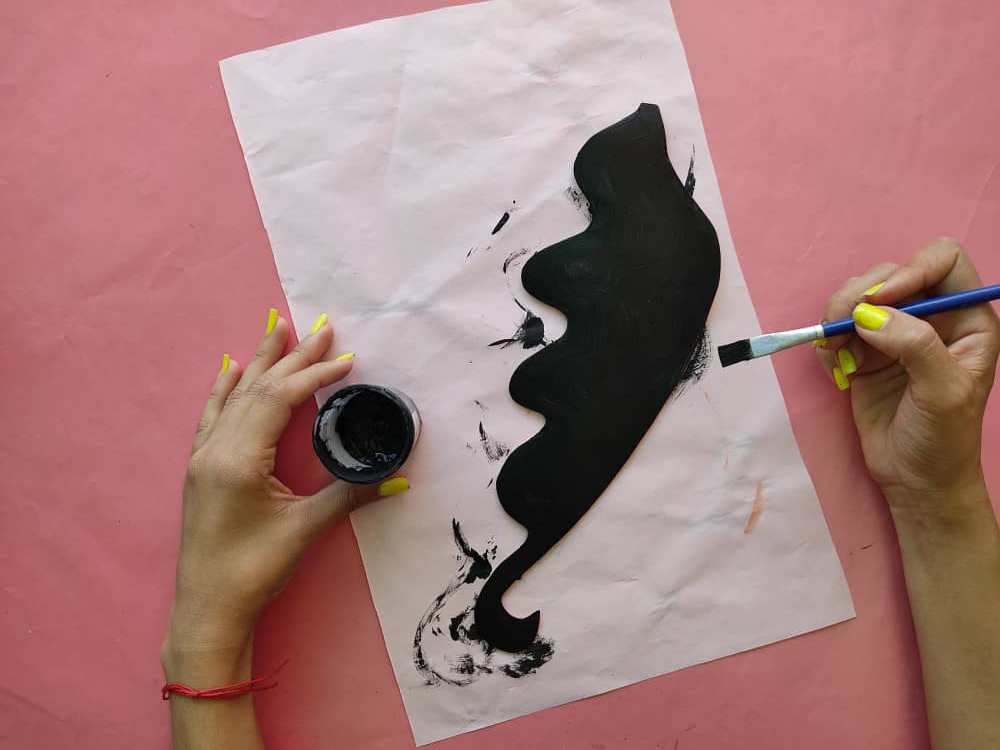
Then, we paint her cute hair black as this girl will have many colors around her, and this black color will give a cool touch to this beautiful work.
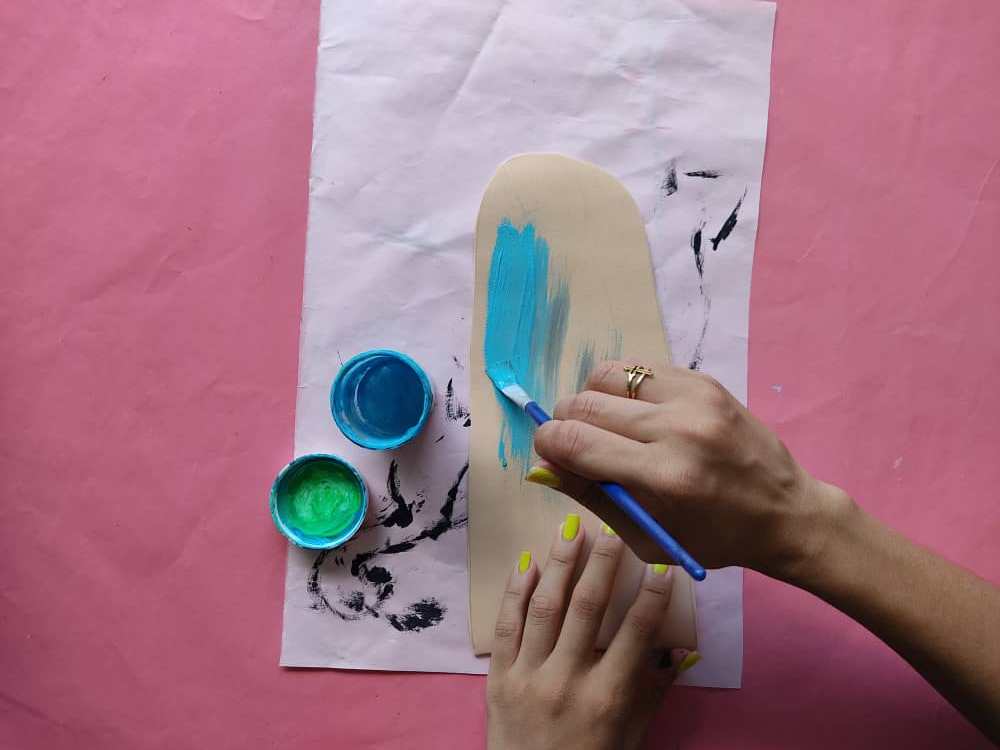
Ahora, pintamos la hermosa ropa de la chica de color verde con algunas líneas negras, y su lindo chaleco en tonos turquesa y azul. Sin olvidar marcar los bordes con el pincel fino.
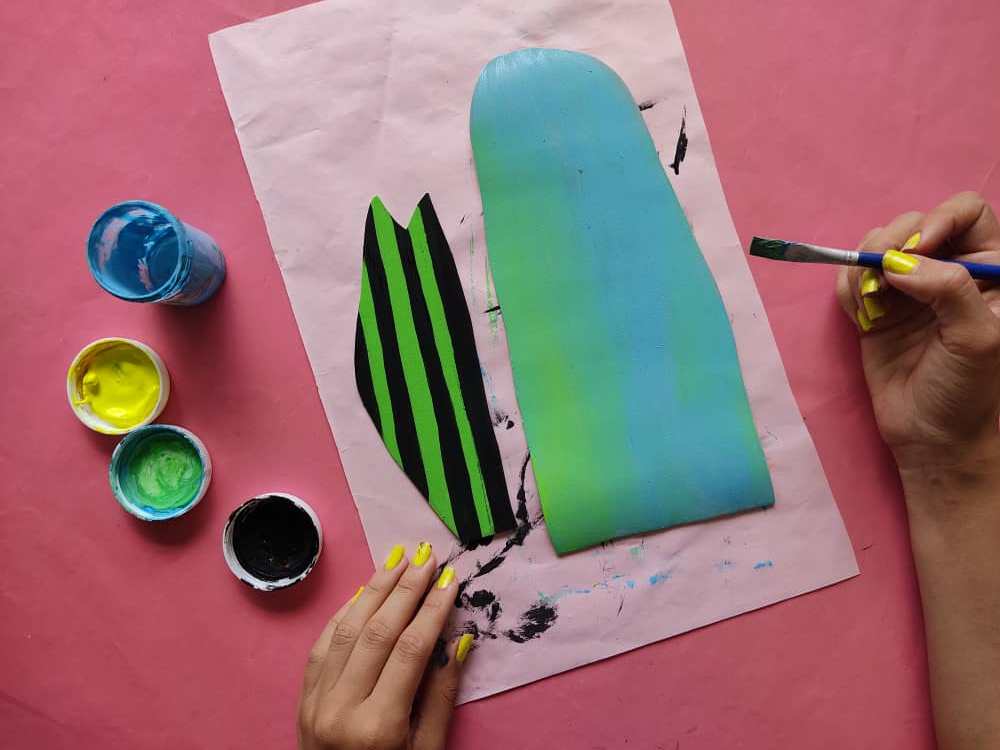
Now, we paint the girl's beautiful clothes green with some black lines, and her cute vest in turquoise and blue tones. Not forgetting to mark the edges with a fine brush.
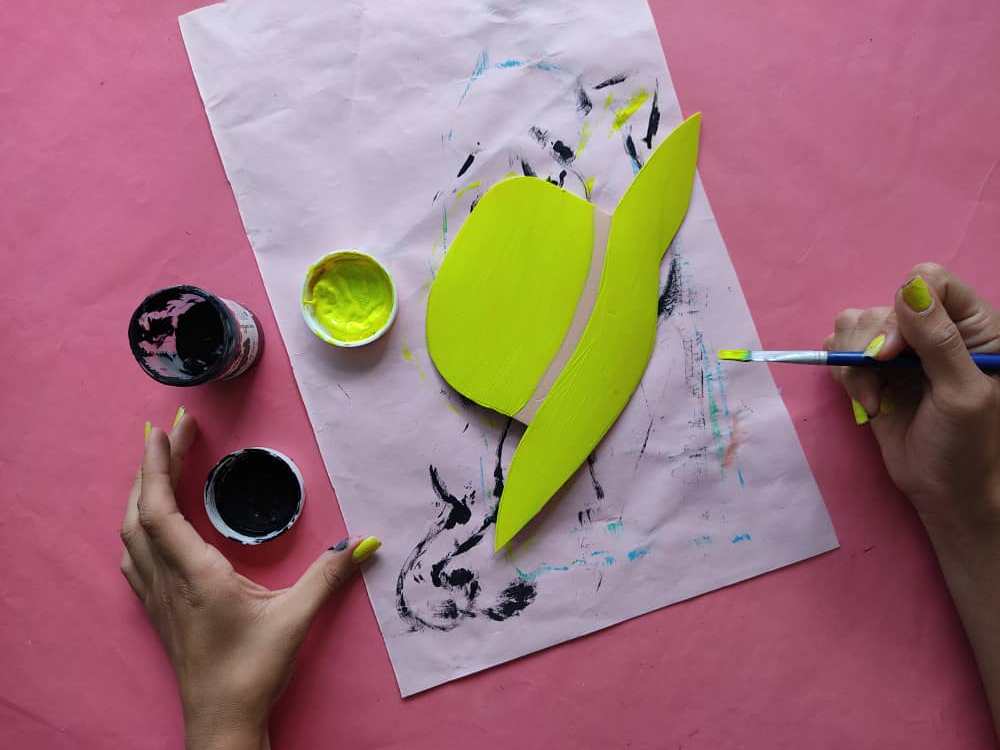
Seguidamente, pintamos el sombrero de la chica de color amarillo muy brillante, y marcamos la cinta y los bordes del sombrero con pintura negra, hermoso no?
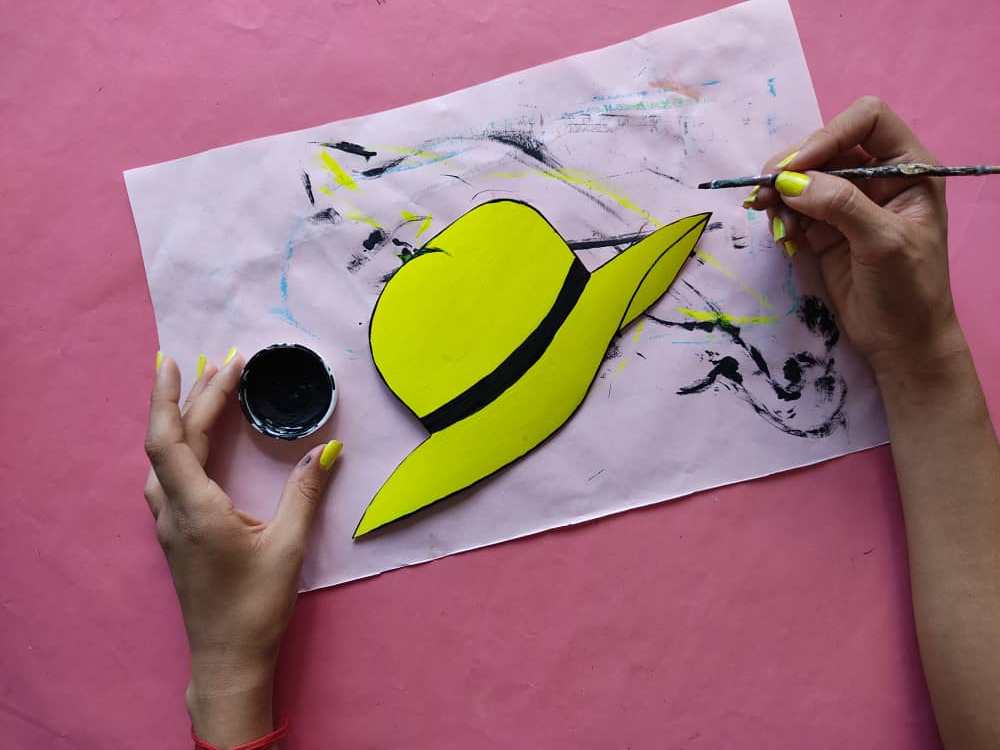
Next, we paint the girl's hat very bright yellow, and we mark the ribbon and the edges of the hat with black paint, beautiful isn't it?
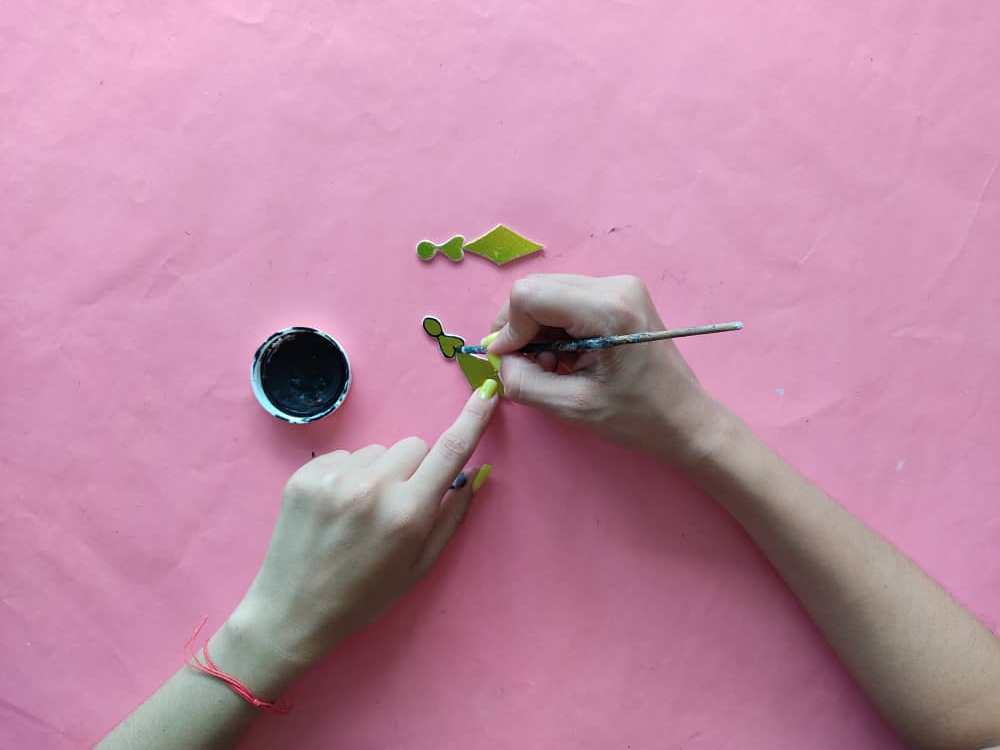
Ahora, marcamos los zarcillos haciendo pequeñas líneas que simulen sus detalles.
Now, we mark the tendrils by making small lines that simulate their details.
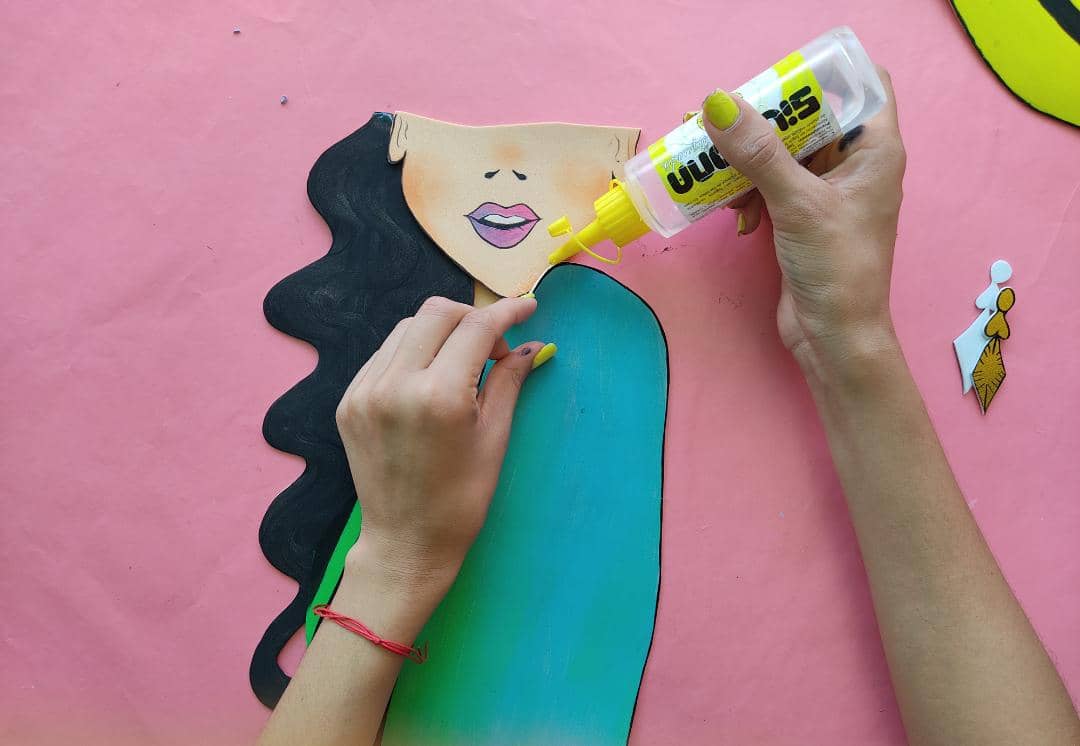
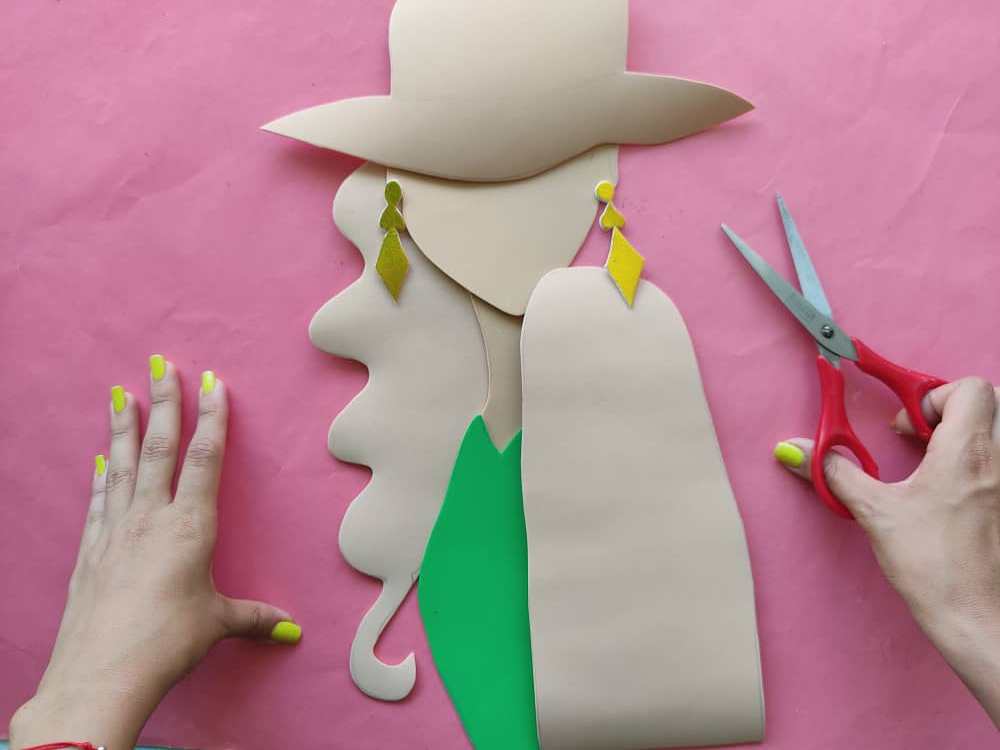
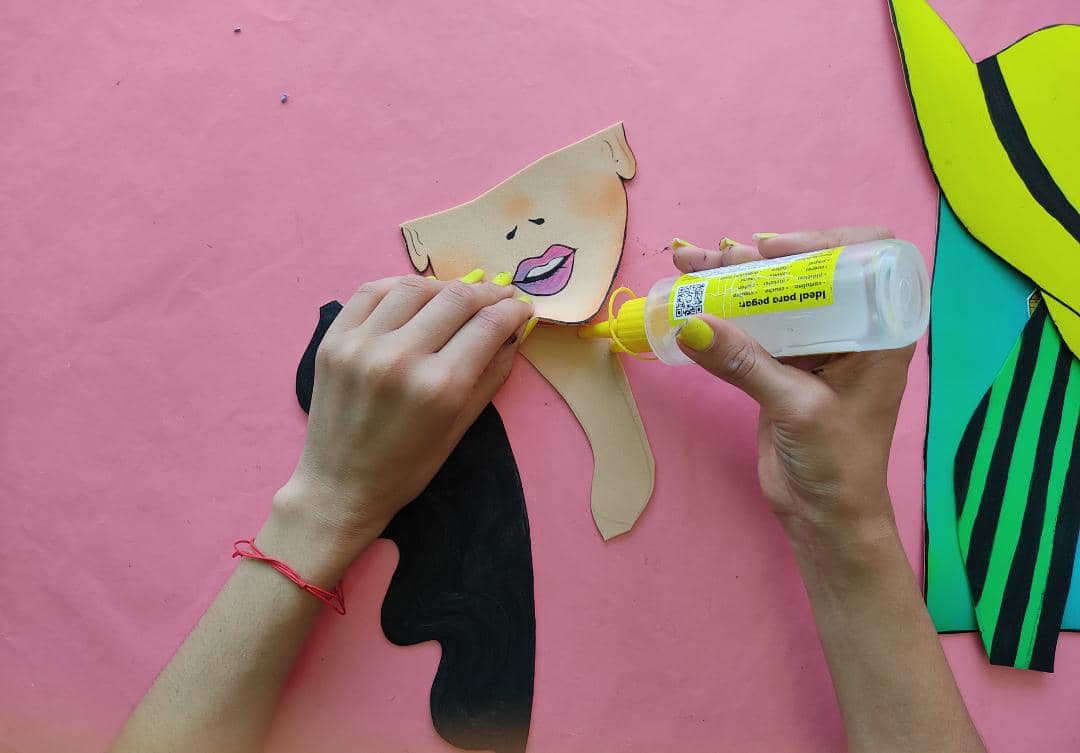
Una vez que toda la pintura este totalmente seca, armamos a esta chica cool con un estilo genial, pegando una a una sus piezas en el lugar adecuado, comenzando con la cara y el cuello y así sucesivamente.
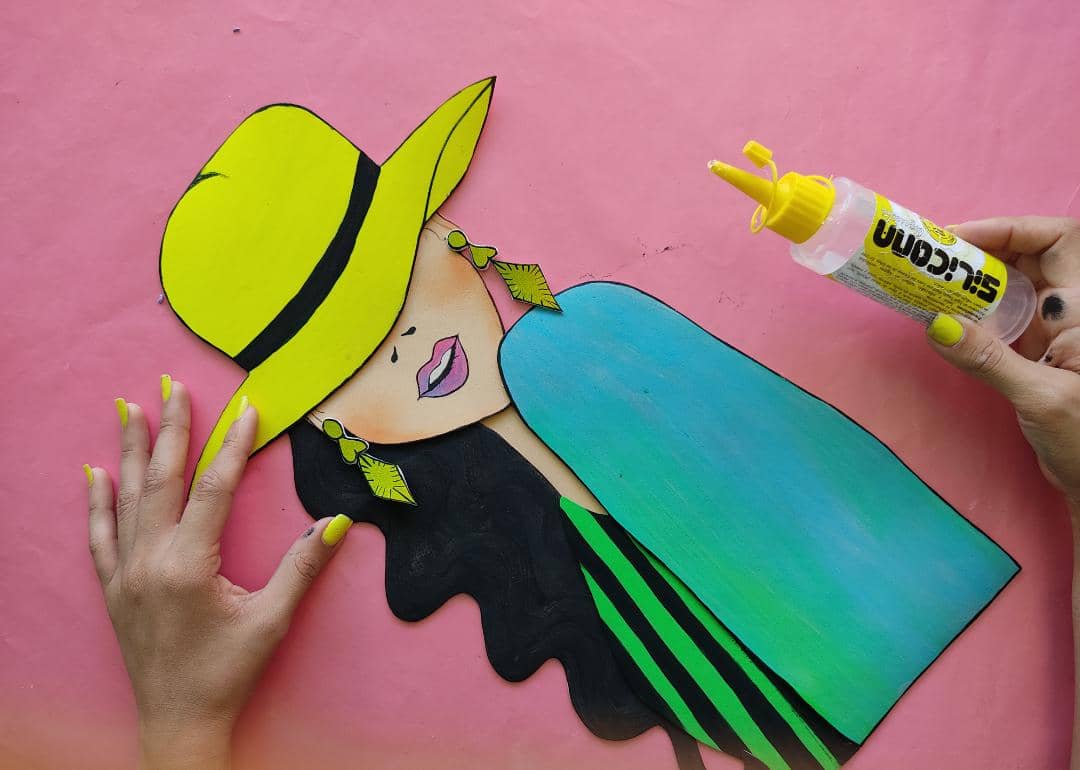
Once all the paint is totally dry, we put together this cool girl in a cool style, gluing her pieces one by one in the right place, starting with the face and neck, and so on.
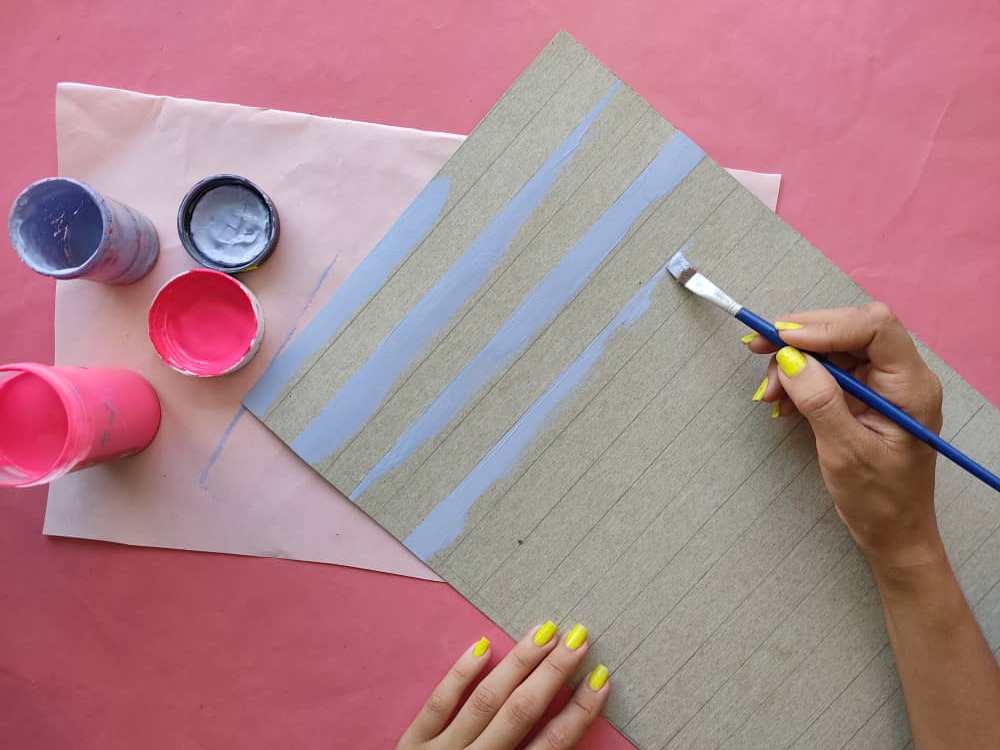
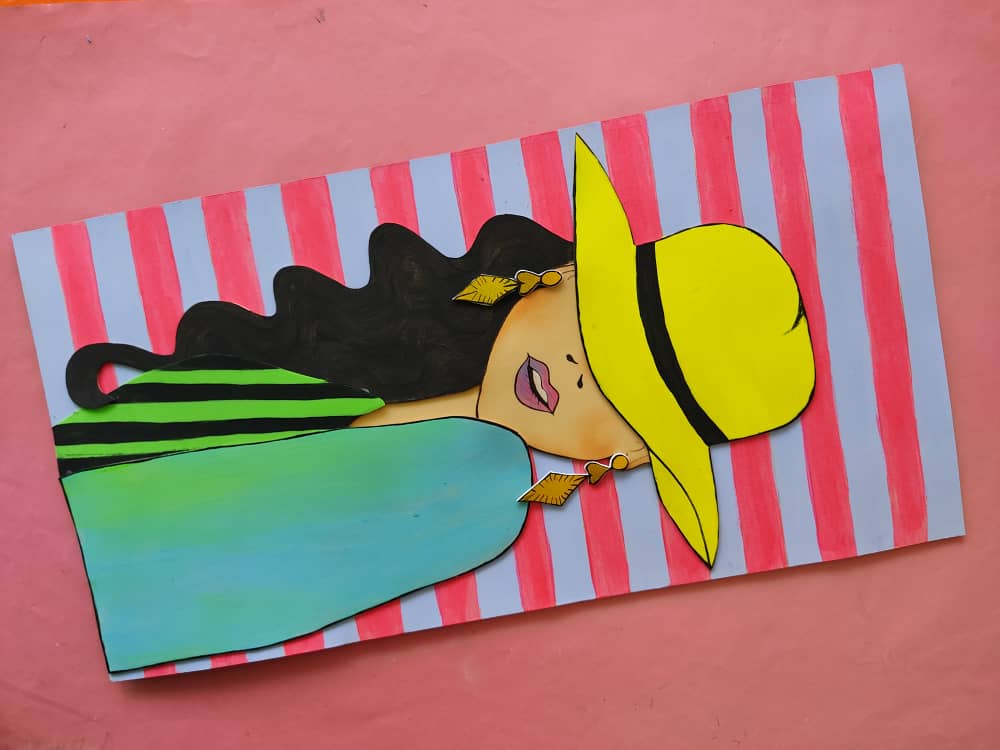
Ahora, fabricamos una base de 54cm por 28cm y marcamos muchas líneas con el lápiz y la regla para que queden perfectamente rectas. Seguidamente, pintamos esta linda base con dos colores (lila y rosa neón), y el resultado me encantó.
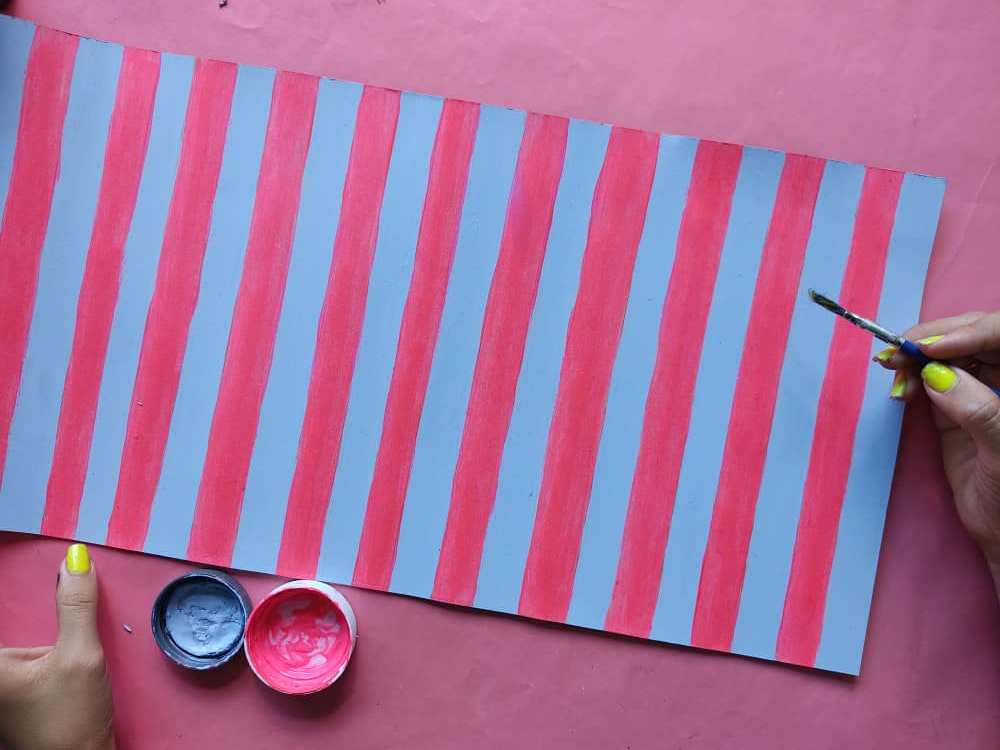
Now, we make a 54cm by 28cm base and mark many lines with the pencil and ruler so that they are perfectly straight. Next, we painted this beautiful base with two colors (lilac and neon pink), and I loved the result.
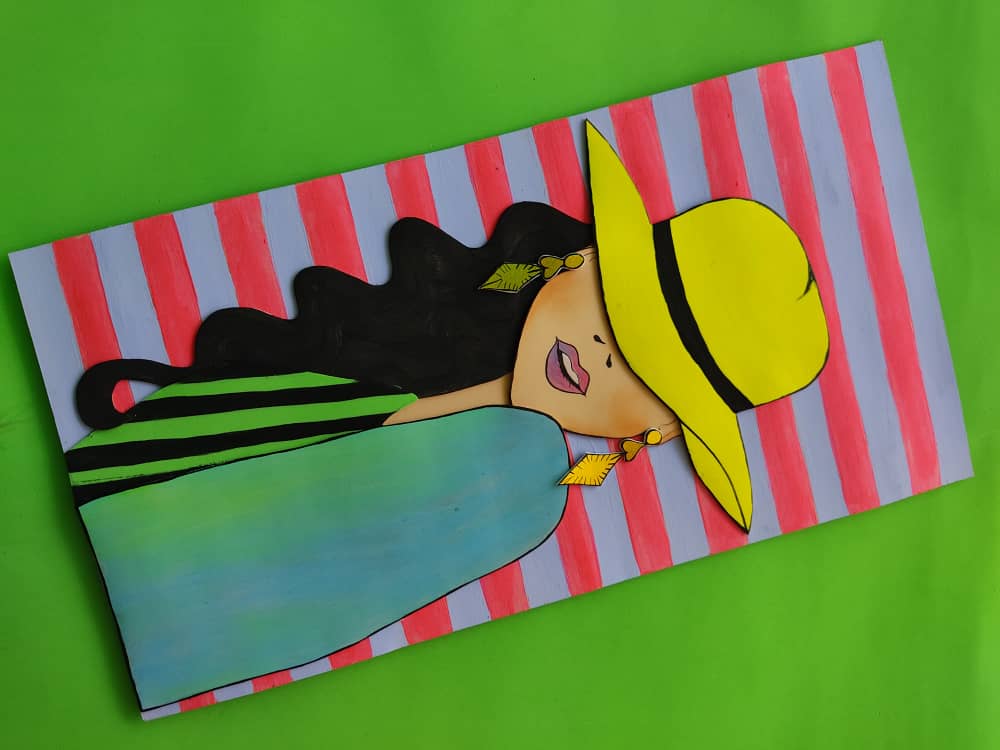
Luego de que se haya secado la pintura de la base, pegamos a nuestra hermosa dama sobre la base que hemos fabricado, asegurándonos hacer un poco de presión por unos segundos para que quede muy bien pegado.
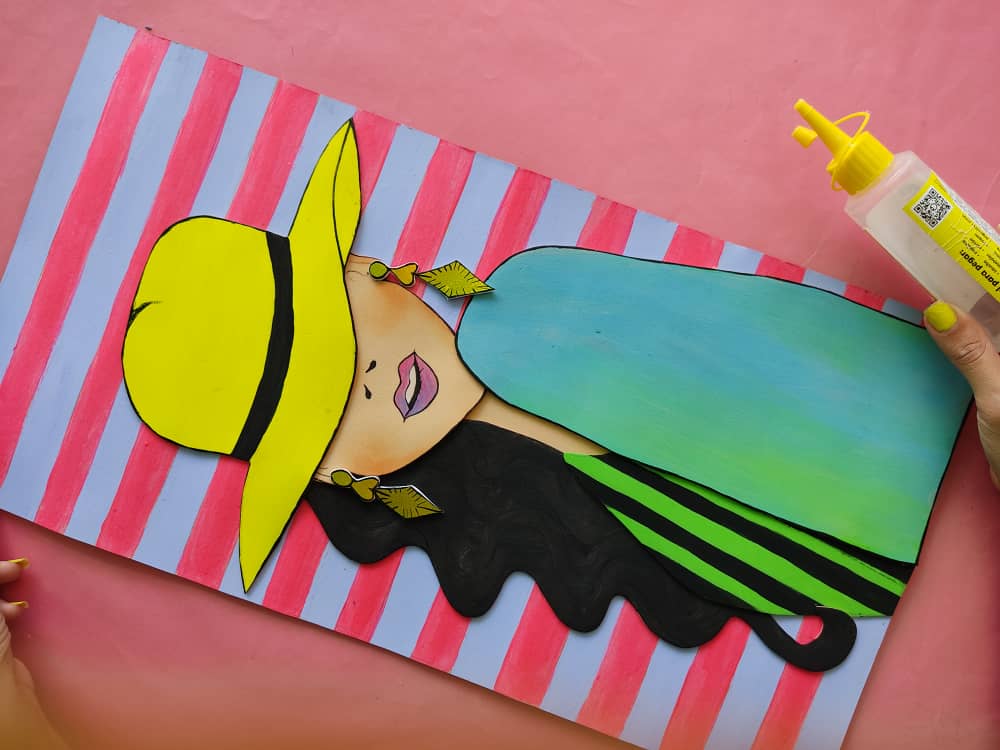
After the paint on the base has dried, we glue our beautiful lady on the base we have made, making sure to apply a little pressure for a few seconds so that it sticks very well.
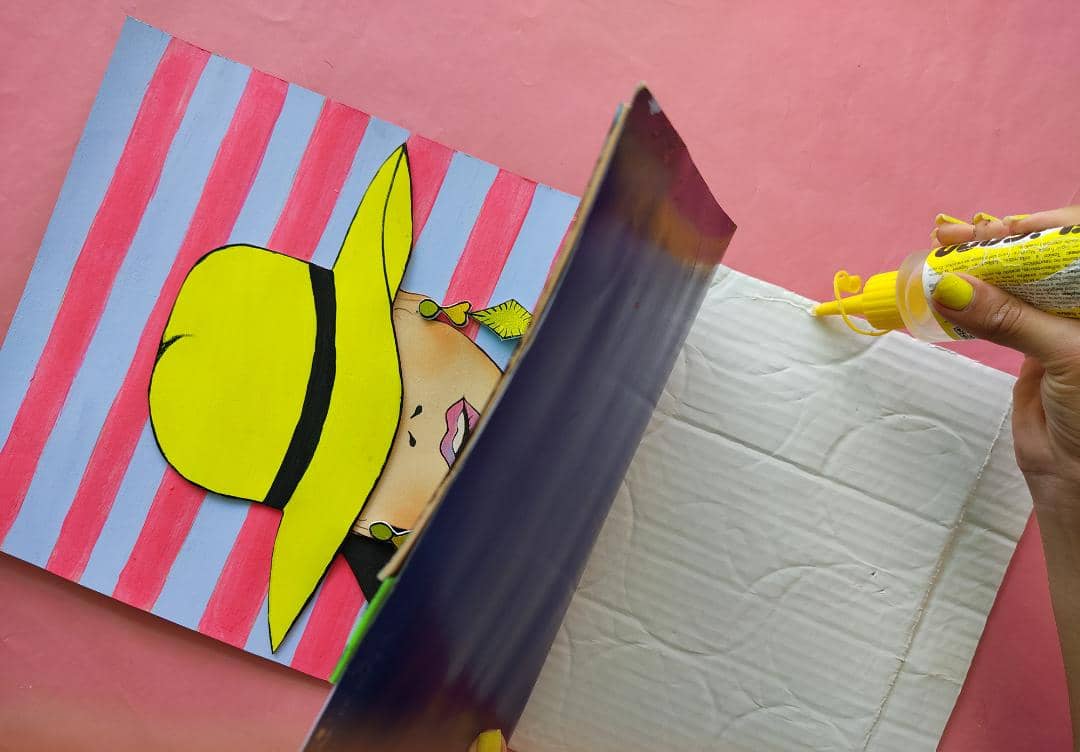
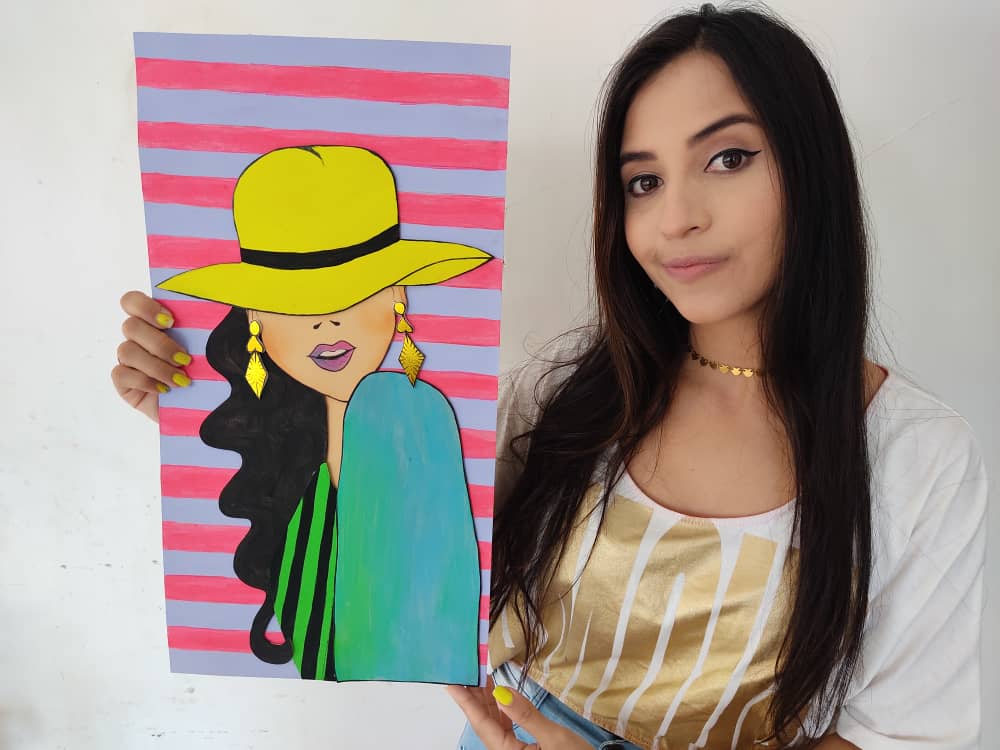
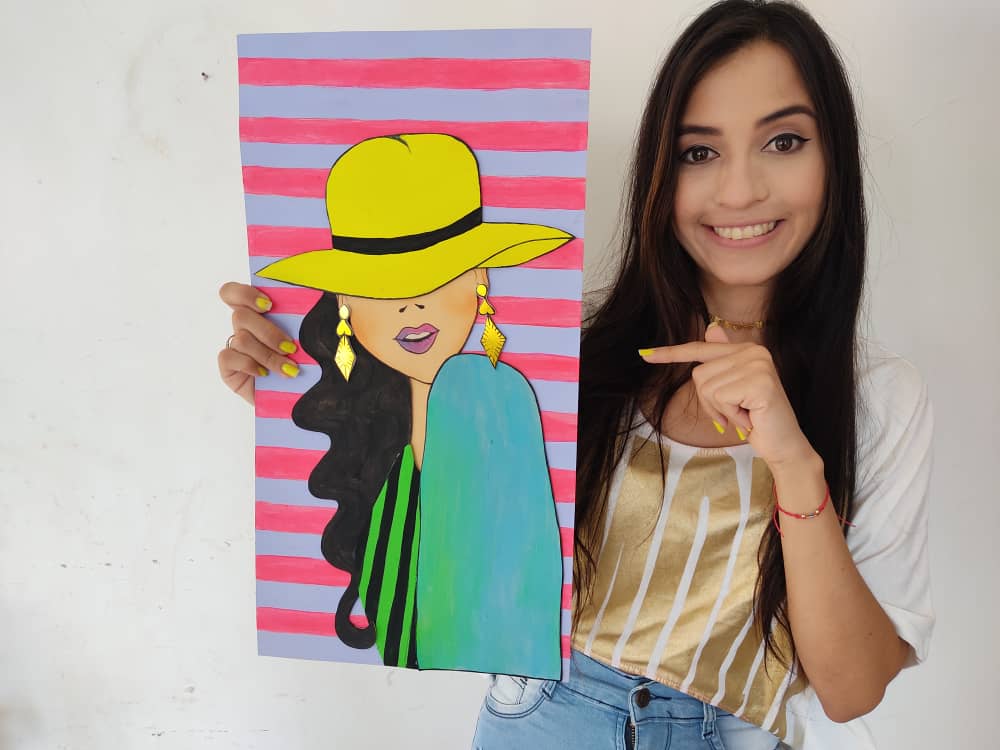
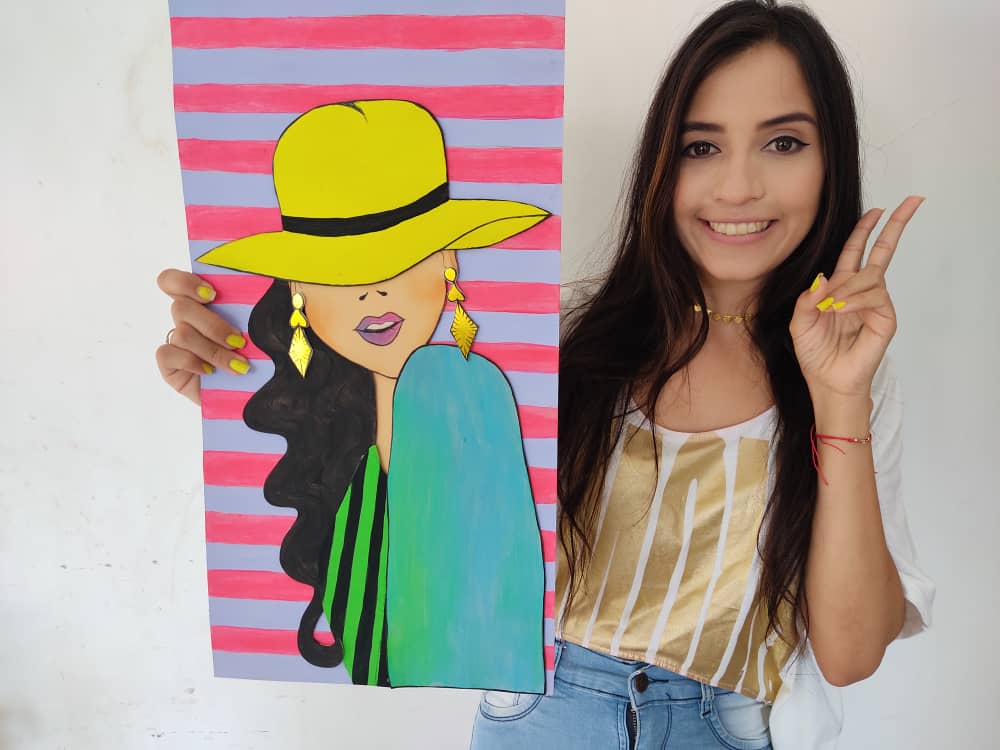
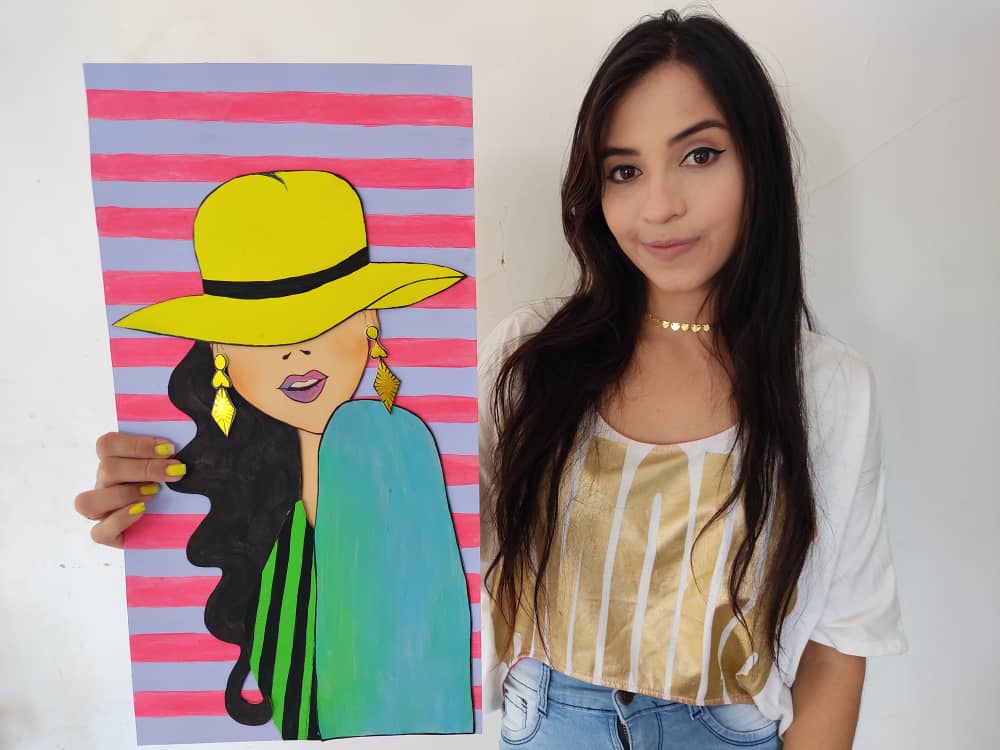
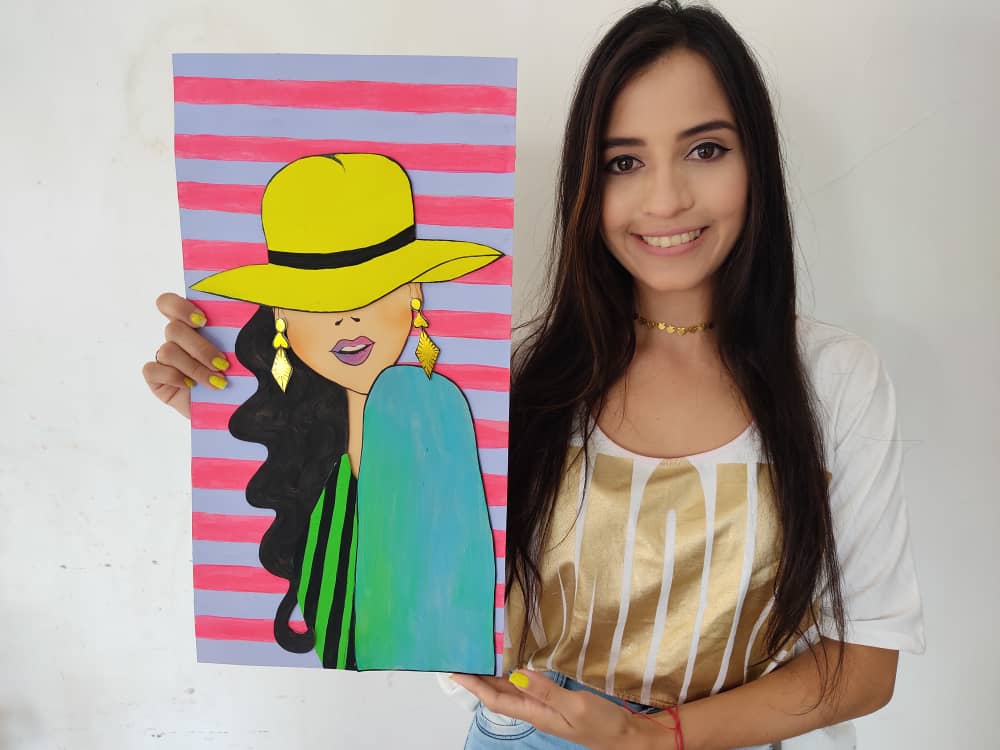
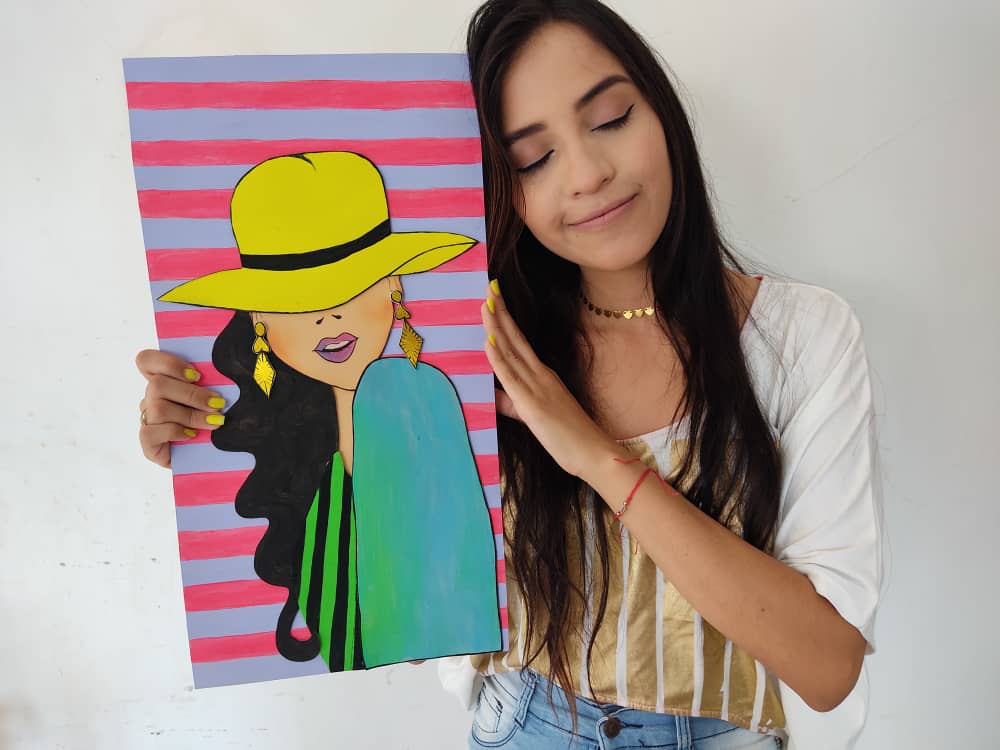
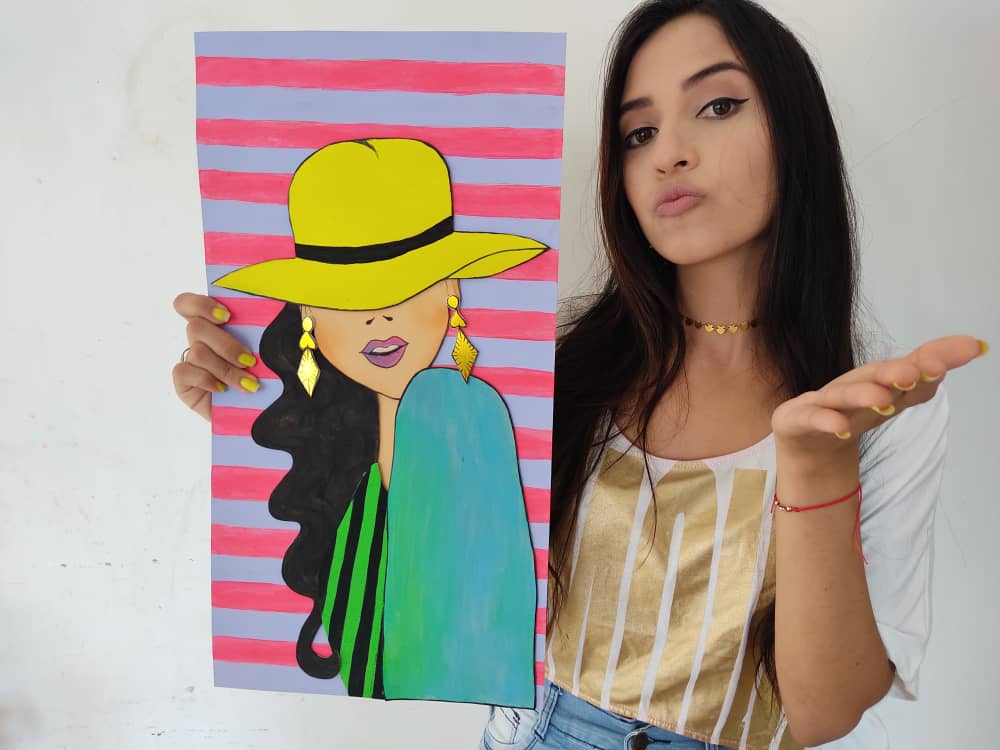
Finalmente, pegamos nuestra linda obra sobre un cartón más grueso de manera que quede firme, fuerte y perfecto para colgar.
Finally, we glue our beautiful work on thicker cardboard so that it is firm, strong, and perfect for hanging.
.jpeg)
.jpeg)
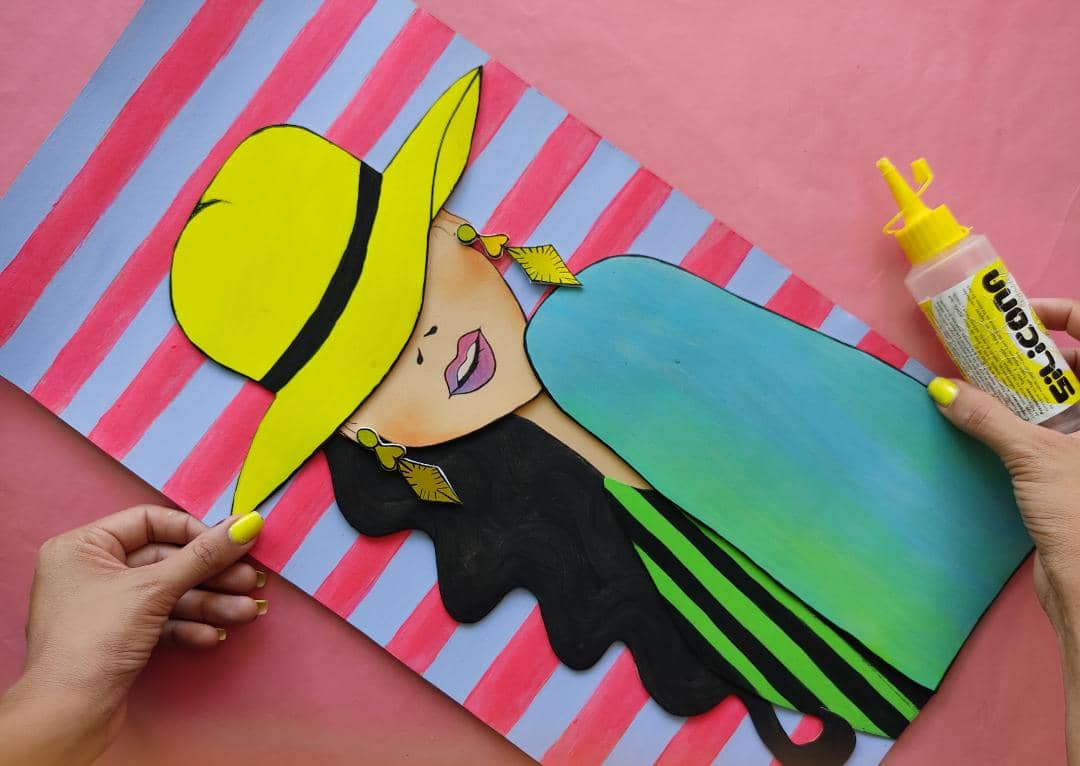
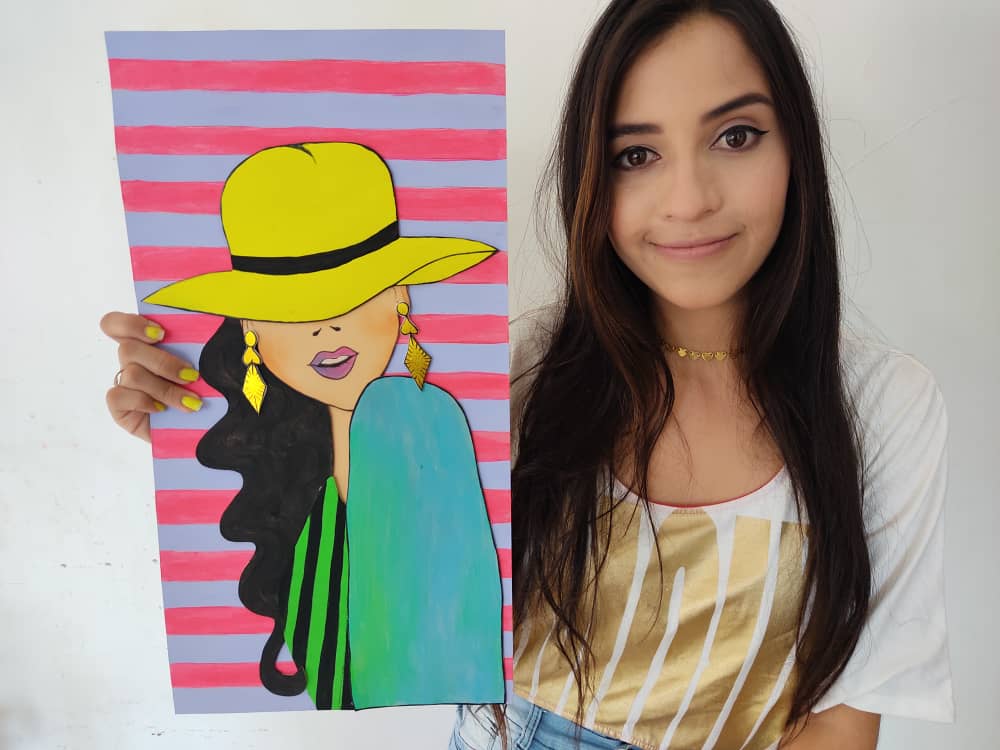
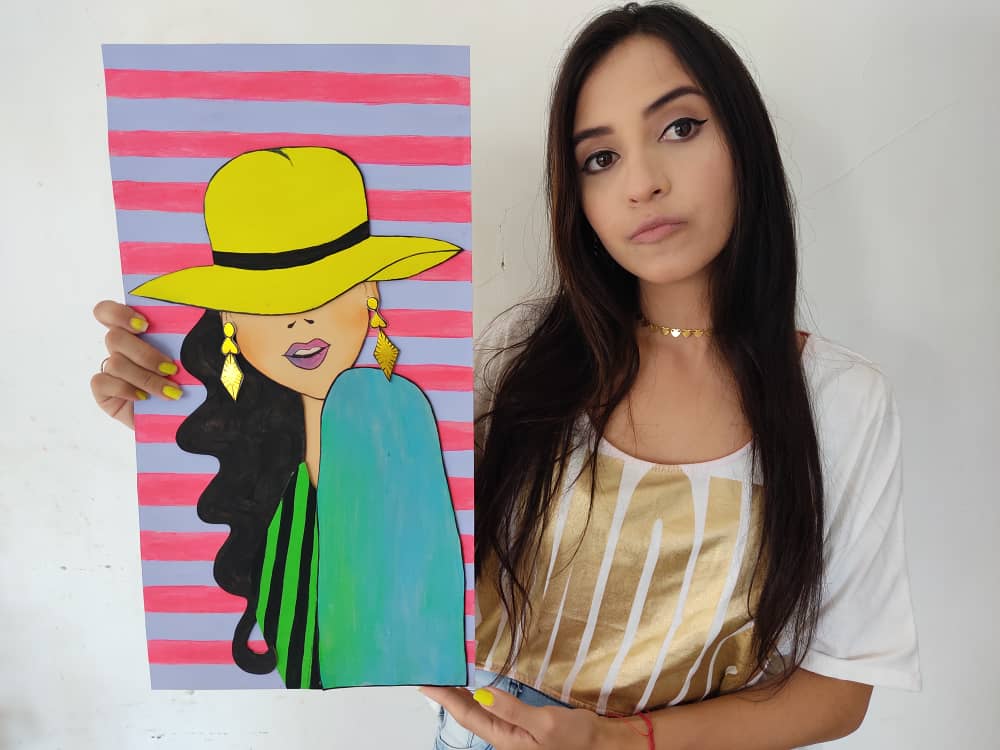
Gracias por acompañarme y espero que lo hayan disfrutado. ❤️
Thanks for joining and I hope you enjoyed it.❤️
.jpeg)
.jpeg)
.jpeg)
.jpeg)
.jpeg)
.jpeg)
.jpeg)
.jpeg)
.jpeg)


My twt #posh
¡Me encanto! muy buen trabajo amiga,te quedo fantastico.