Exploring and experimenting different art techniques with different art supplies is in my blood. Whenever I get time, I explore different art ideas, and observe other artist’s art styles. Then I started comparing myself with other artists (I know how bad it is! Still can’t help). Then nag to myself, why can’t I draw like them! And this goes on a loop!
While scrolling through others' work, a new art technique comes in front of me. I observe the art for a while and start to search how it is done. Then I came to know that this special technique is called “watercolor negative painting.”
Negative painting is a technique where you paint the spaces around the subject instead of the subject itself. Shortly, the focus is on the background rather than the subject. The best part is this method allows the subject to appear as untouched or lightly painted areas, creating a beautiful, natural contrast. It’s like a photographic negative, where the usual roles of light and dark are reversed. It's a fantastic way to create depth and intricate detail without the need for meticulous, direct rendering of your subject.
I get fascinated by learning through this technique. Without thinking anything, I started to experiment with this art style.
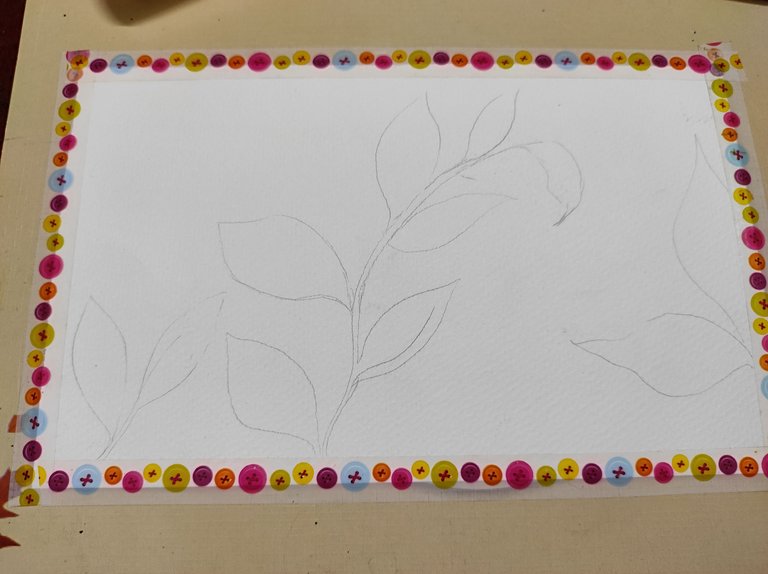
I planned my negative painting journey with a simple botanical theme. What I learned is that leaves and flowers offer organic shapes that are perfect for this technique. I lightly sketched the outline of a few leaves on my paper, keeping the lines minimal and focusing more on the spaces between these elements.
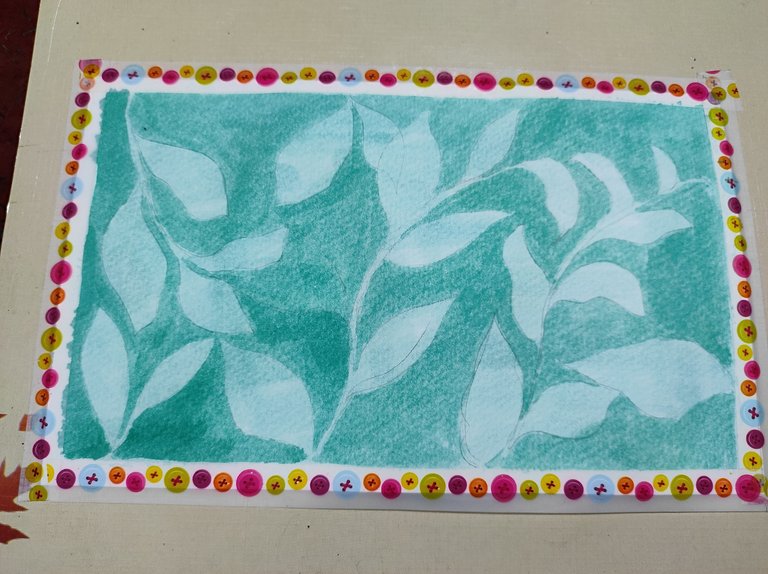
Oh and as I have to put some layers of colors for this project, I took a heavy and thick paper. Here I used 300 GSM paper (my personal favourite for watercolor and gouache). As a long-time fan of gouache, I decided to try it with gouache instead of watercolor.
To me, gouache is an ideal medium for negative painting because of its versatility. This paint is like a blend between watercolor and acrylic: it’s opaque and vibrant like acrylic, but it can also be thinned down to transparency like watercolor.
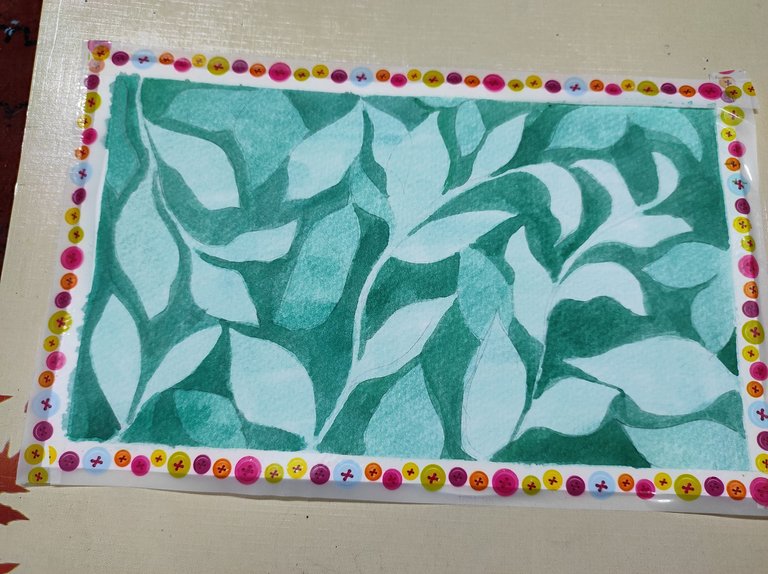
I used a light wash of green to define the spaces around the leaves. Initially, it felt odd not to paint the leaves directly. But as I continued, the shapes of the leaves started to show up against the painted background. It was like they were magically appearing on the paper.
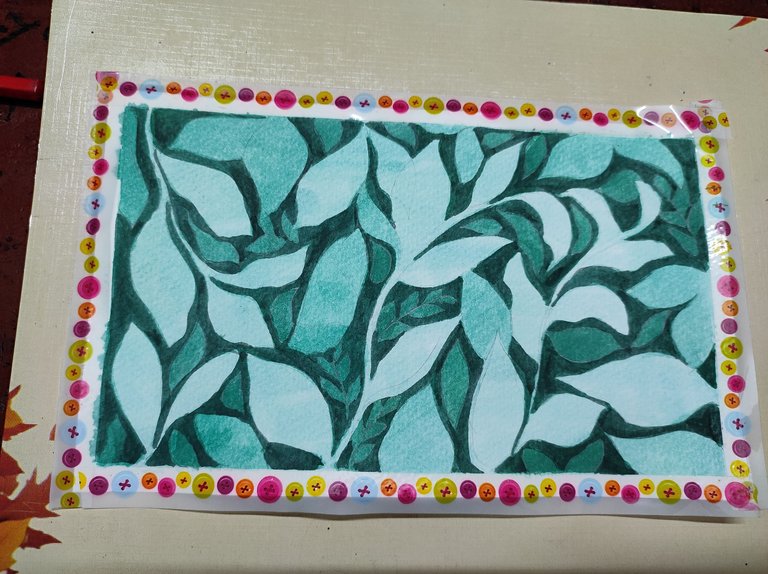
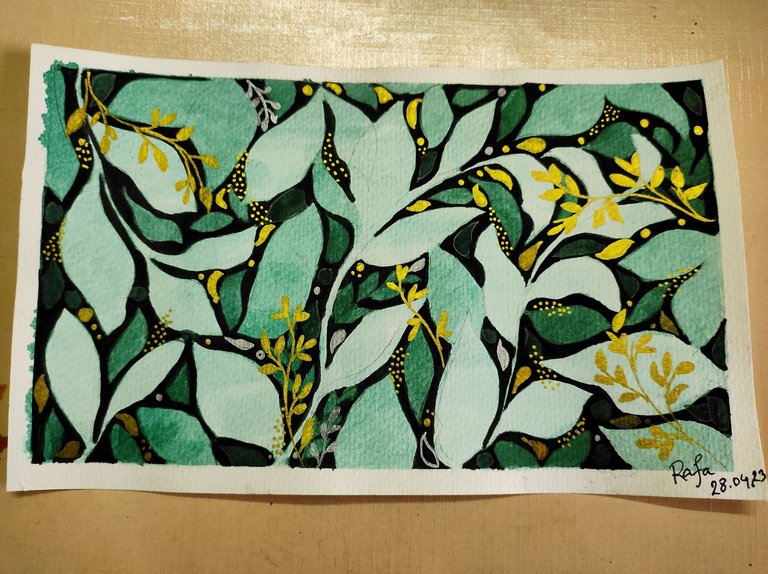
Once the first layer dried, I added more layers to create depth. I used the darker shades of green to paint around the leaves again, but this time focusing on the spaces between the initial leaves and adding new leaves. Then I did the same thing once more. This three layering made the painting look richer.
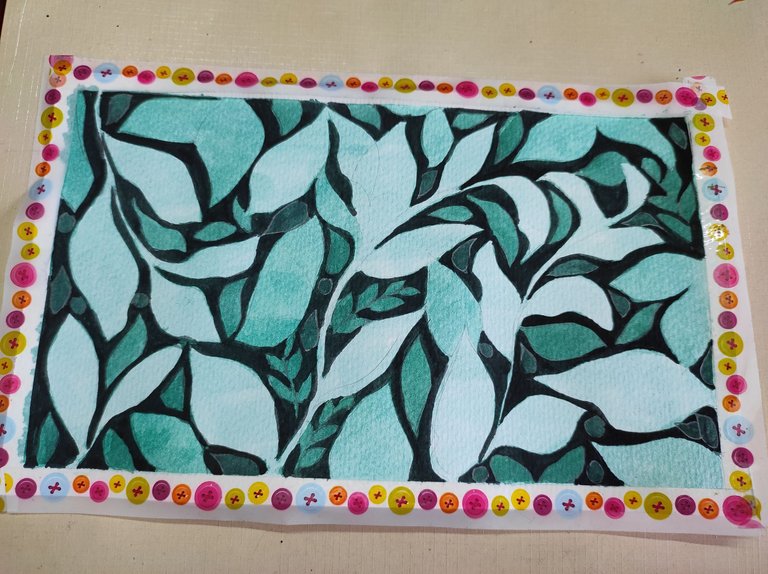
To add details, I used a fine brush marker of golden color to paint tiny leaves and dots. These details enhanced the effect of the negative space and made the leaves look more realistic and vibrant. Also it gives a three-dimensional look.
Tips for Beginners
Start Simple: Choose simple shapes like leaves or flowers to get used to with the technique.
Be Patient: You can’t make rush into negative painting. It needs to allow each layer to dry completely before adding more. I have learnt it through making mistakes!
Experiment: Try different color combinations and brush techniques. Next time I’ll try with blue shades!
Embrace Mistakes: Use them as chances to learn and discover new effects.
Experimenting negative painting was really a fun thing to try! It gives a new perspective and look in the artistic world. You might find it as captivating and enjoyable as I did. Happy painting!
I'm a pattern hunter, checked your site very nice creations and patterns!
ayee, thank you dear!!