¿Ya vieron la nueva película de Mortal Kombat?
Yo no, pero sí quiero hacerlo. Por eso me entró la inspiración de dibujar uno de mis personajes favoritos de la saga: Mileena.
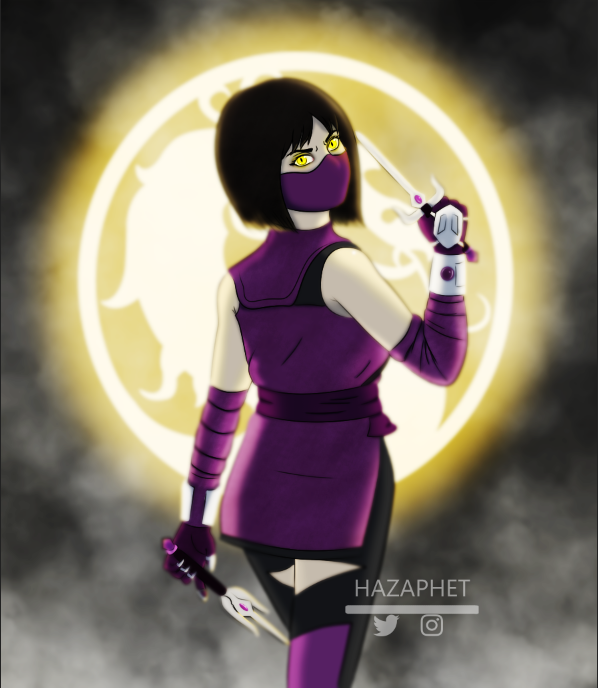
Como no me decidía por una, hice dos versiones: con máscara y sin una.
Have you watched the new Mortal Kombat movie yet?
I haven't, but I do want to. That is why I was inspired to draw one of my favorite characters in the series: Mileena.
Since I couldn't choose just one, I tried to make two version: with a mask and without it
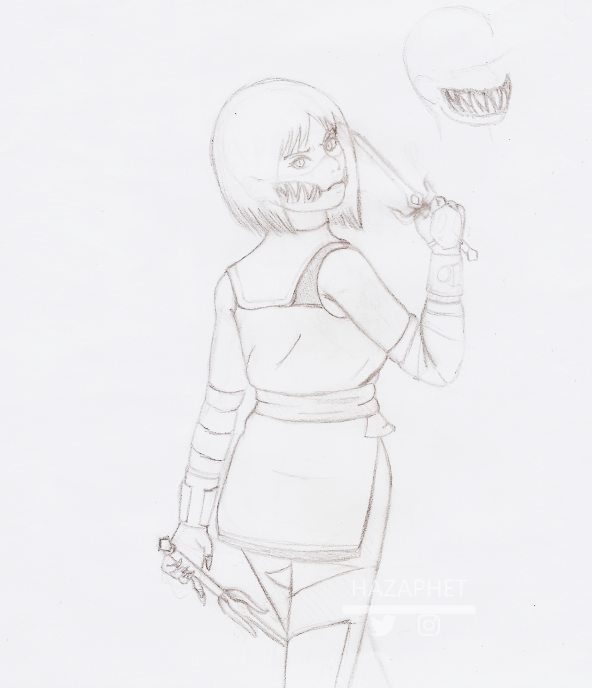
El dibujo tradicional me salió bastante rápido a comparación con otros.
Como pueden notar, le hice la línea de la máscara como referencia. También dibujé en la esquina una segunda versión de la boca, que vendría siendo la original.
The traditional drawing came out pretty fast compared to others.
As you can see, I drew the mask line for reference. I also added a second version of the mouth in the corner, which would be the original.
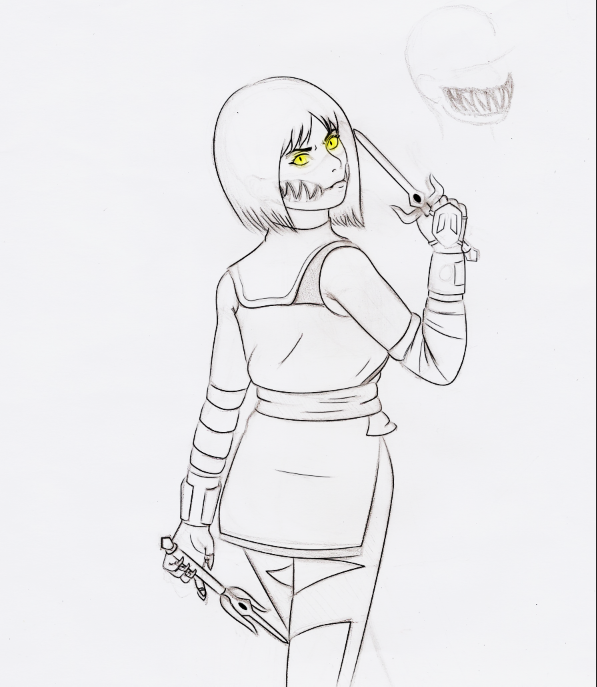
Si les soy sincero la parte de vectorizar no es mi favorita, por el tema de que me gustaría sólo dibujar y cambiar directamente las cosas que veo sin tener que utilizar un mouse.
Desde el principio hice los ojos amarillos para que se me haga más rápido, nada más hice un círculo en cada uno.
If I'm honest, the vectorizing part is not my favorite; I'd like to just draw directly to change what I see without having to use a mouse.
From the beginning I painted the eyes yellow to make it faster, I just made a circle in each one.
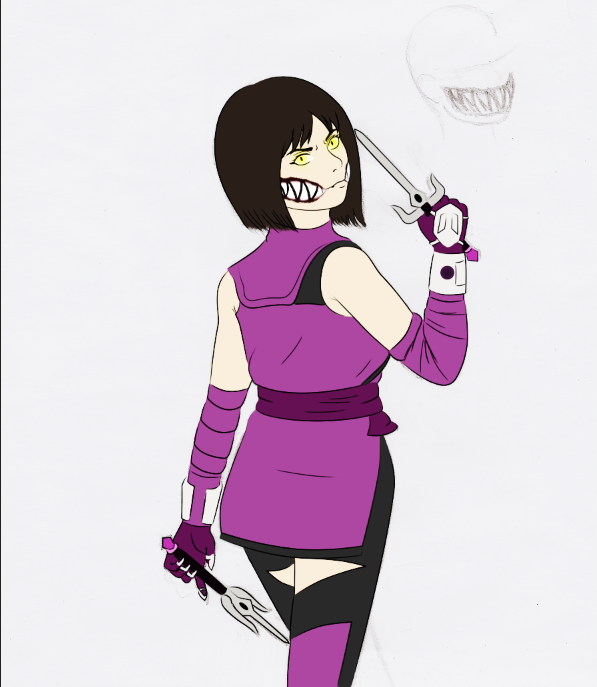
Colores base, nada raro hasta ahora. Lo más loco que hice fue utilizar dos tonos de rojo para las encías desde el principio.
Aunque no lo crean el pelo no es negro. Nunca suelo usar negro puro a menos que sea para el lineart, y aún así la mayoría de veces aplico un filtro o coloreo ciertas zonas.
Base colors, nothing unusual so far. The craziest thing I did was use two shades of red for the gums from the start.
Believe it or not, the hair is not black. I never usually use pure black unless it is for lineart, and still most of the time I apply a filter or color on certain areas.
Lo que hice aquí fue pintar TOTALMENTE el dibujo con un azul en otra capa configurada en “multiply”, y luego usando un pincel suave borré la zonas donde se suponía impactaba la luz. Que en este caso sería desde atrás, ya verán.
También añadí rubor y pintalabios; y pinté de amarillo una zona del lineart en los Sais por el tema de la luz. Lo mismo haré con lo demás.
El brillo de los ojos fue con una capa en “color dodge”.
What I did here was to paint the drawing TOTALLY with a blue in another layer set to "multiply", and then using a soft brush I erased the areas where the light was supposed to hit. Which in this case would be from behind, you'll see.
I also added blush and lipstick; and I painted an area of the lineart yellow on the Sais because of the light. I will do the same with the rest.
The shine in the eyes was done with a "color dodge" layer.
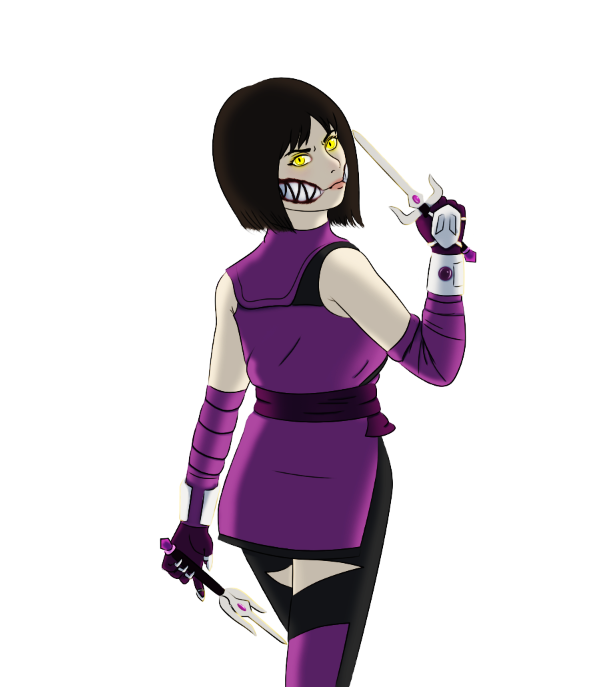
Lo único que hice aquí fue añadir la textura de la ropa con el pincel que creé para mi anterior ilustración, pueden buscar la publicación en mi perfil y si se fijan verán que es la misma textura.
The only thing I did here was adding the clothe's texture with the brush I created for my previous illustration, you can look for the post in my profile and if you look, you will see that it is the same texture.
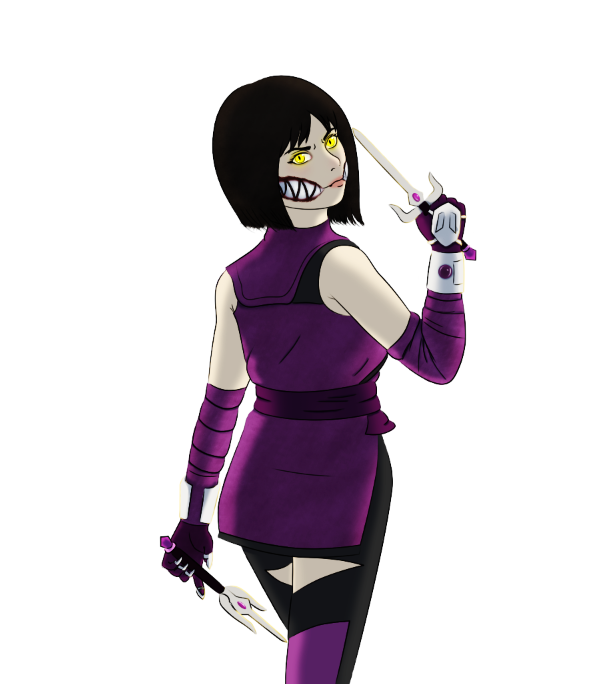
Otra capa de sombras algo más oscura en ciertas zonas para darle la apariencia sombría que busco.
Another layer of shadows a little bit darker in certain areas to achieve the bleak appearance that I am looking for.
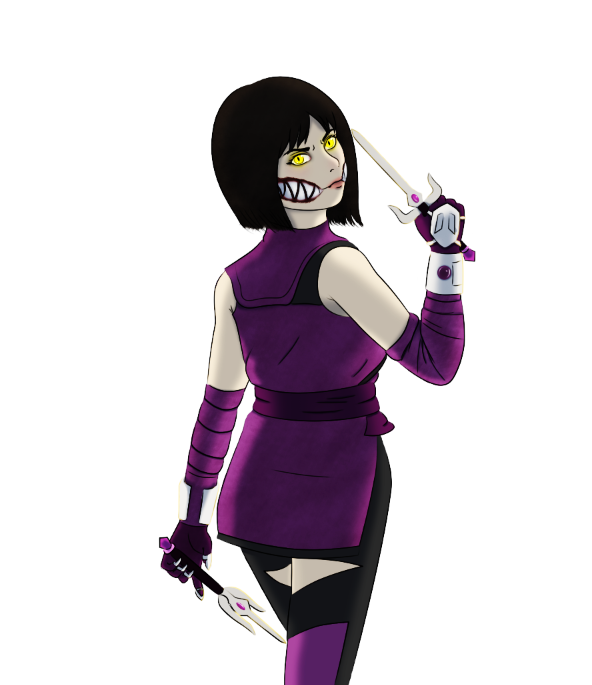
¿Se ve mal el logo detrás? No por mucho tiempo.
Does the logo behind look bad? Not for much longer.
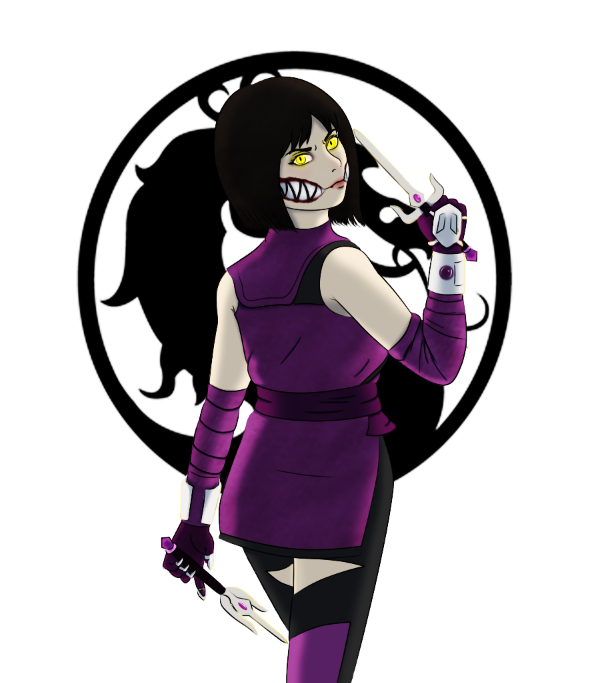
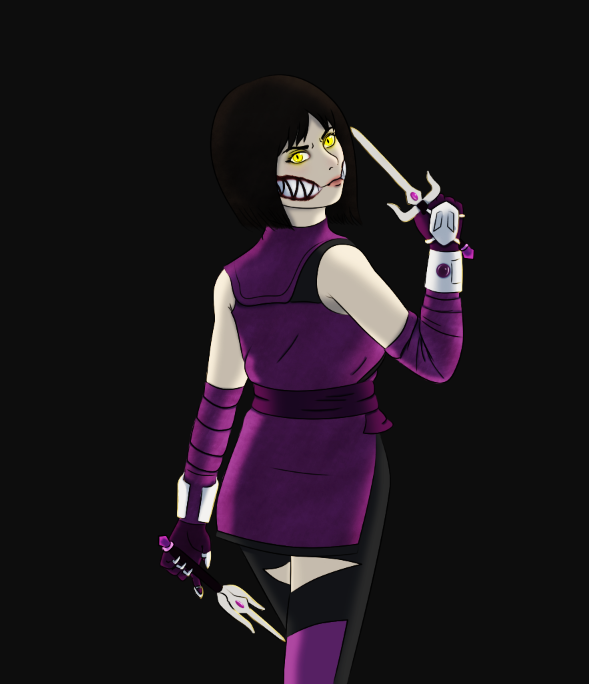
Fondo en negro para que el logo contraste con los efectos que le añadí. Eso y que las sombras dan a entender que es un lugar oscuro.
Black background so the logo contrasts with the effects that I added. That and that the shadows imply she's in a dark place.
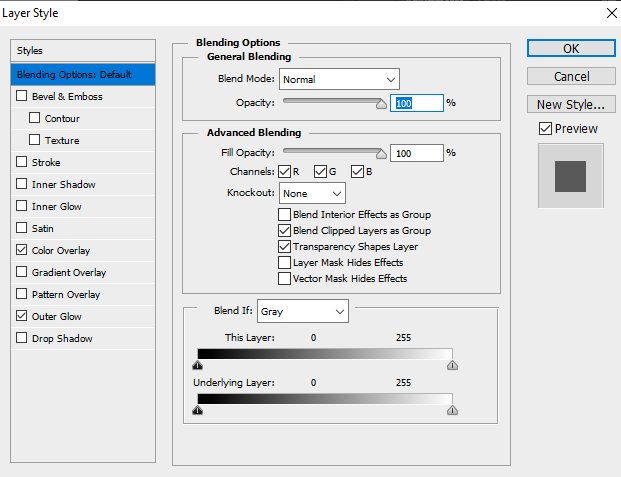
En la capa del logo (que debería ser una separada de lo demás; todo tendría que estar separado en capas, amigos.) le damos click derecho y a “Blending Options”, ya ahí nos encontraremos con muchas opciones. Yo usé “color overlay” para cambiar el color del dragón y “outer glow” para que desprendiera una luz.
In the logo layer (which should be a separate one from the rest; everything should be separated into layers, buddies.) right click and select "Blending Options", and there we will find many options. I used "color overlay" to change the dragon's color and "outer glow" so it gives off light.
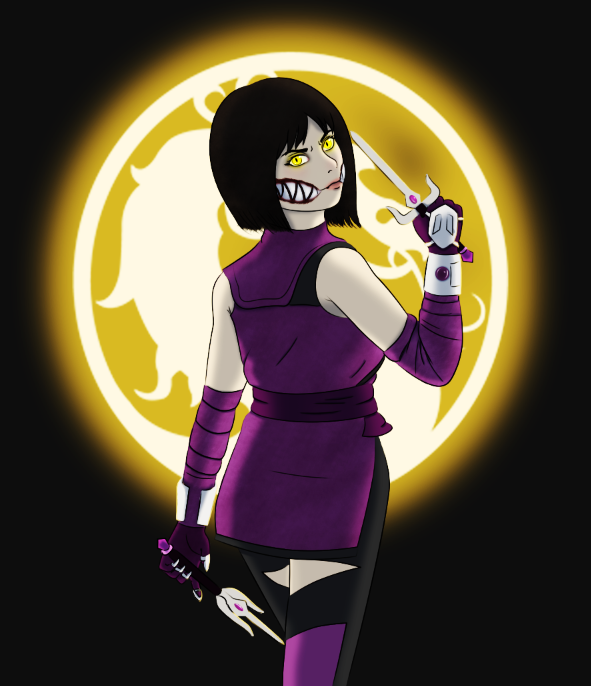
¡Ahora sí! Combina con sus ojos.
Now that looks better! It matches her eyes.
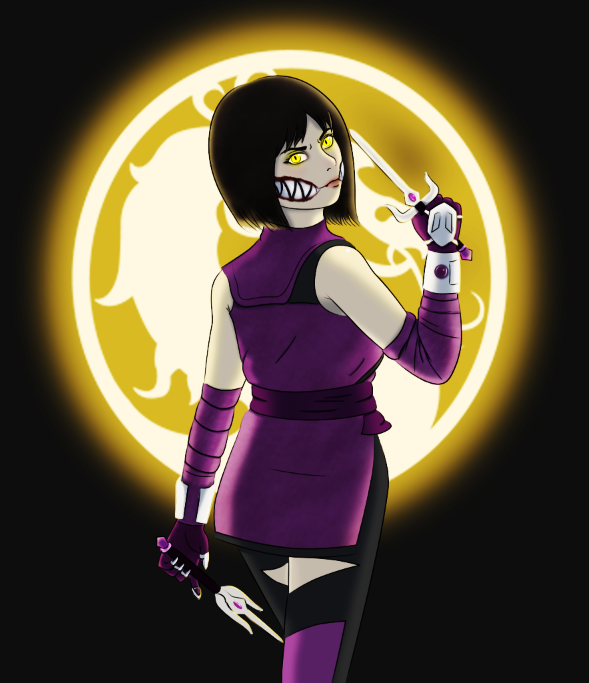
En otra capa (muchas en realidad, una para cada parte del personaje) configurada en “hard light” añadí el color amarillo de la luz.
Un ejemplo claro sería el cabello.
In another layer (many actually, one for each part of the character) set to "hard light" I painted the yellow from the light.
A clear example would be the hair.
Quería que el entorno se viera frío para contrastar con la luz, así que ahí va algo de neblina.
I wanted the surroundings to look cold to contrast with the light, so there it goes some fog
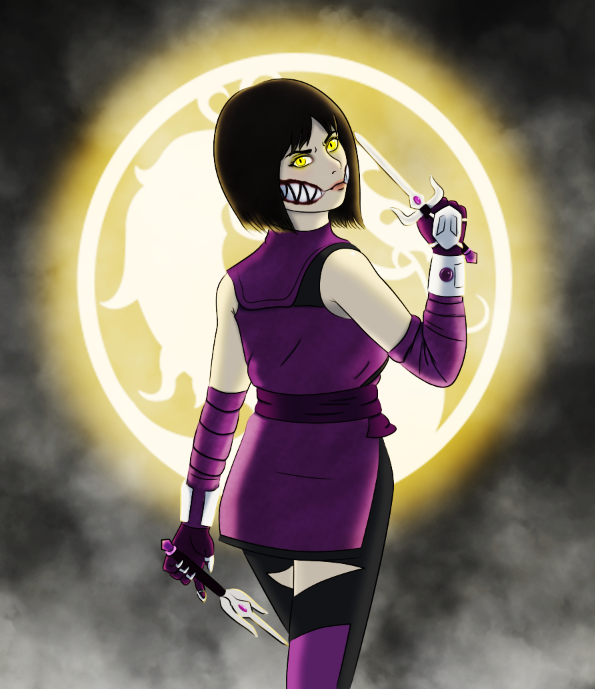
Y sigo el mismo procedimiento con la máscara.
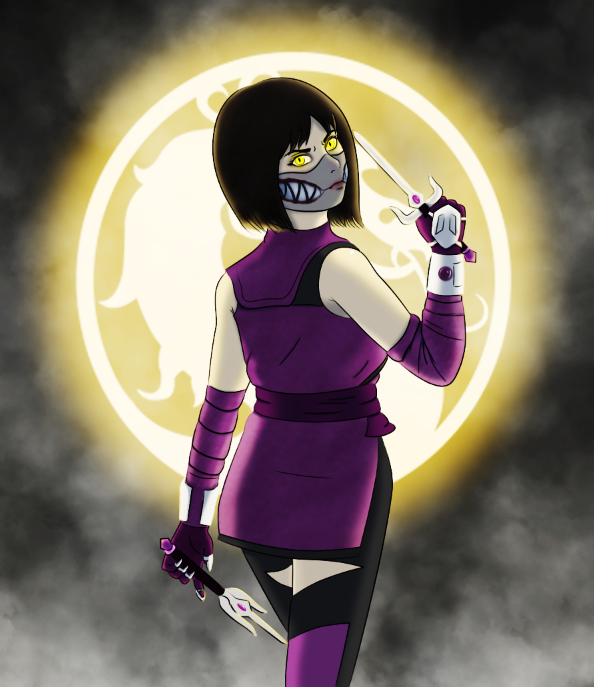
Pinté la sombra debajo como si alguien alguna vez fuera a revisar eso. Para nada porque acoplé esa sombra a la máscara, por lo que al quitarla no se verá que estaba ahí.
And I follow the same process with the mask.
I painted the shadow underneath like someone was ever going to check that out. Not at all because I attached that shadow to the mask, so when you remove it you won't see that it was there.
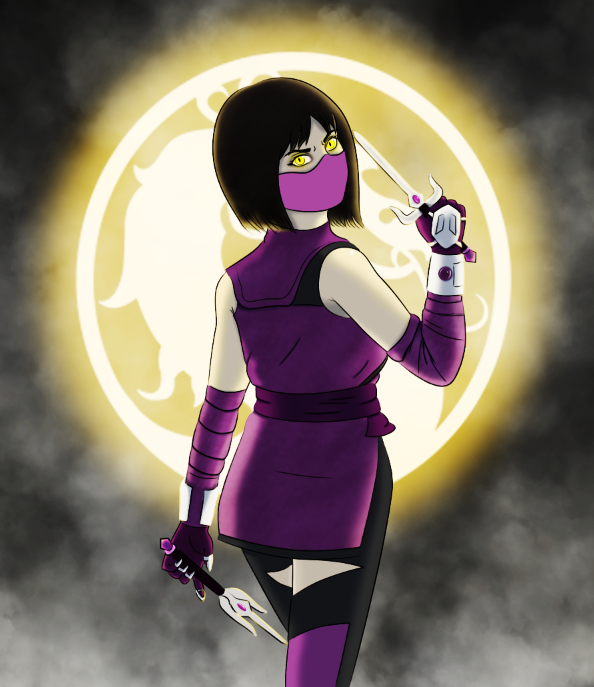
¡Color base!
Base color!
Luce y Ombra.
Ya está, como siempre apliqué un blur gausiano porque soy fan.
Luce and Ombra.
That's it, as always I applied a Gaussian blur because I'm a fan.
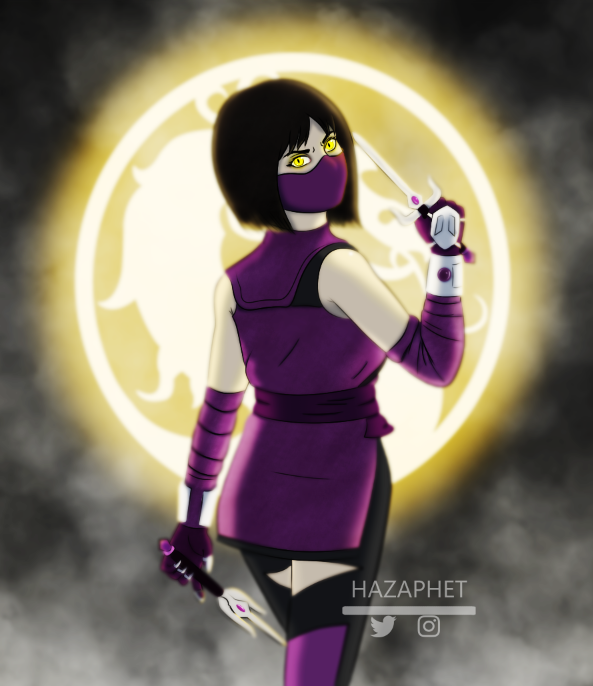
Como estoy loco hice CUATRO versiones de la misma ilustración, sí señor.
Since I'm crazy I made FOUR versions of the same illustration, yes sir.
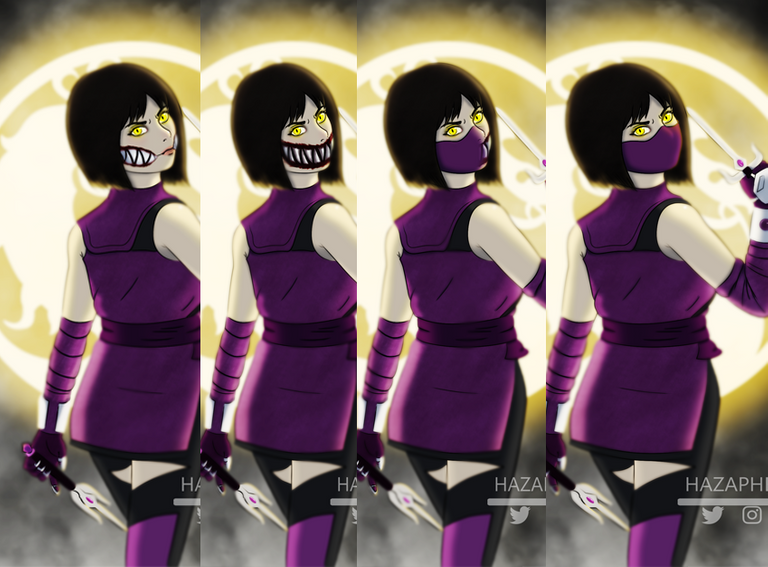
¿Cuál es su favorita?
Que les vaya re bien.
Which one's your favorite?
have a greeat week.
NFTs are not ecologic.
Congratulations @hazaphet! You have completed the following achievement on the Hive blockchain and have been rewarded with new badge(s) :
Your next target is to reach 20 posts.
Your next target is to reach 2000 upvotes.
You can view your badges on your board and compare yourself to others in the Ranking
If you no longer want to receive notifications, reply to this comment with the word
STOPSupport the HiveBuzz project. Vote for our proposal!