
Creating Apple ID
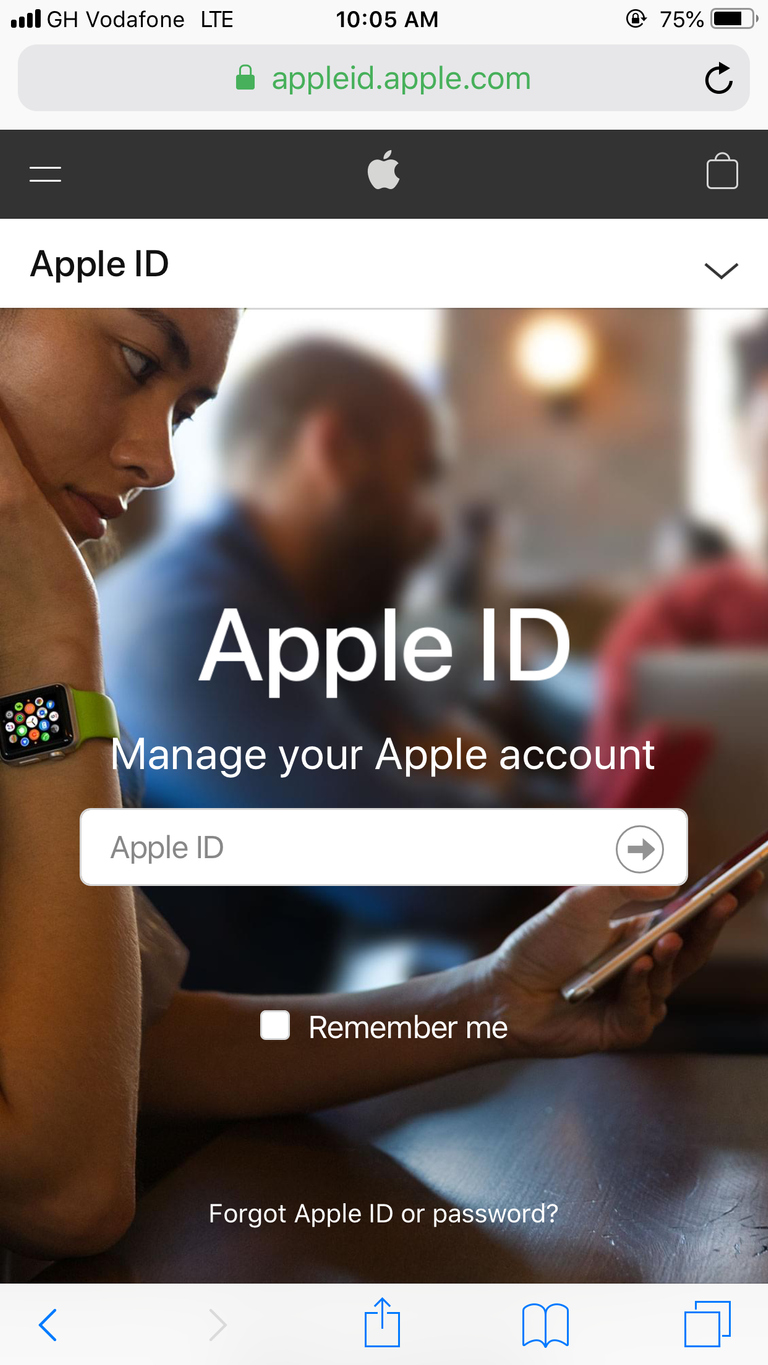
- Launch your web browser and open create apple ID
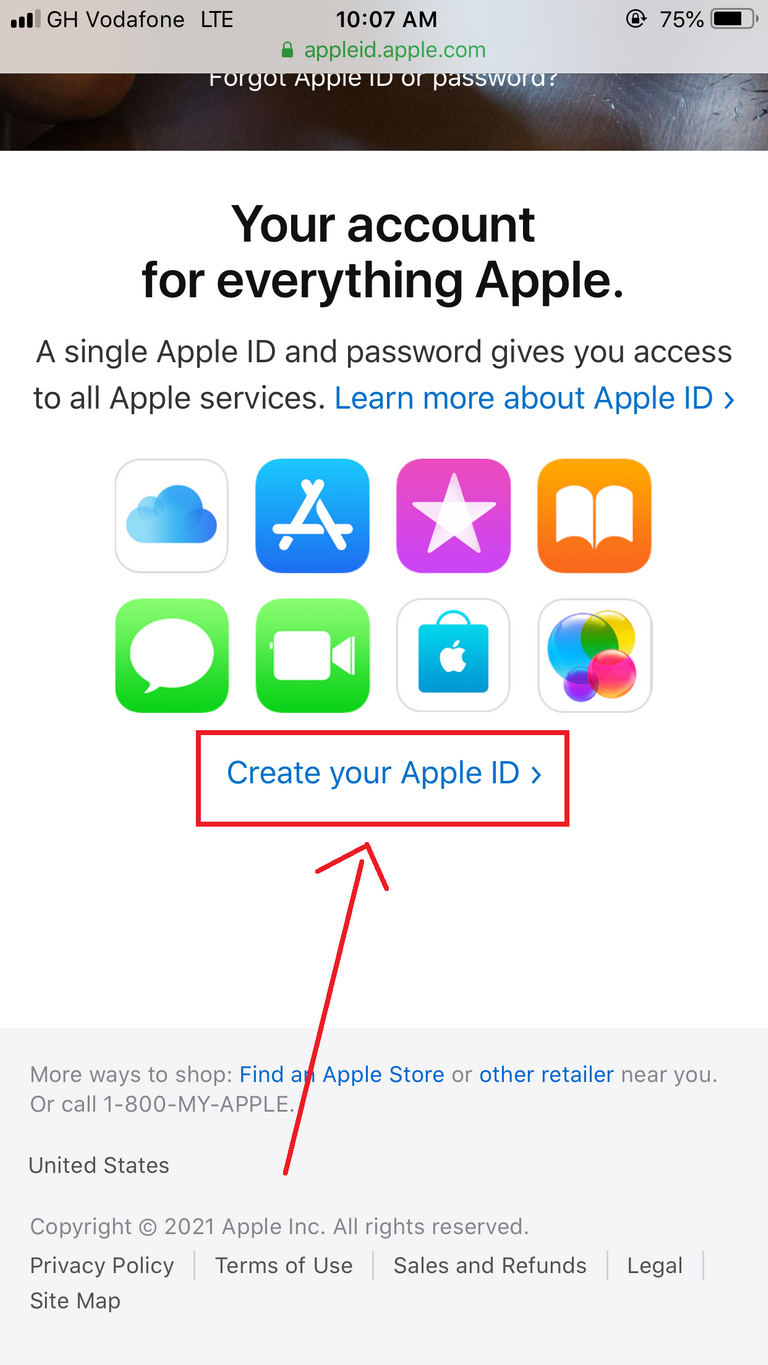
- On the homepage, scroll down and click on
Create your Apple ID
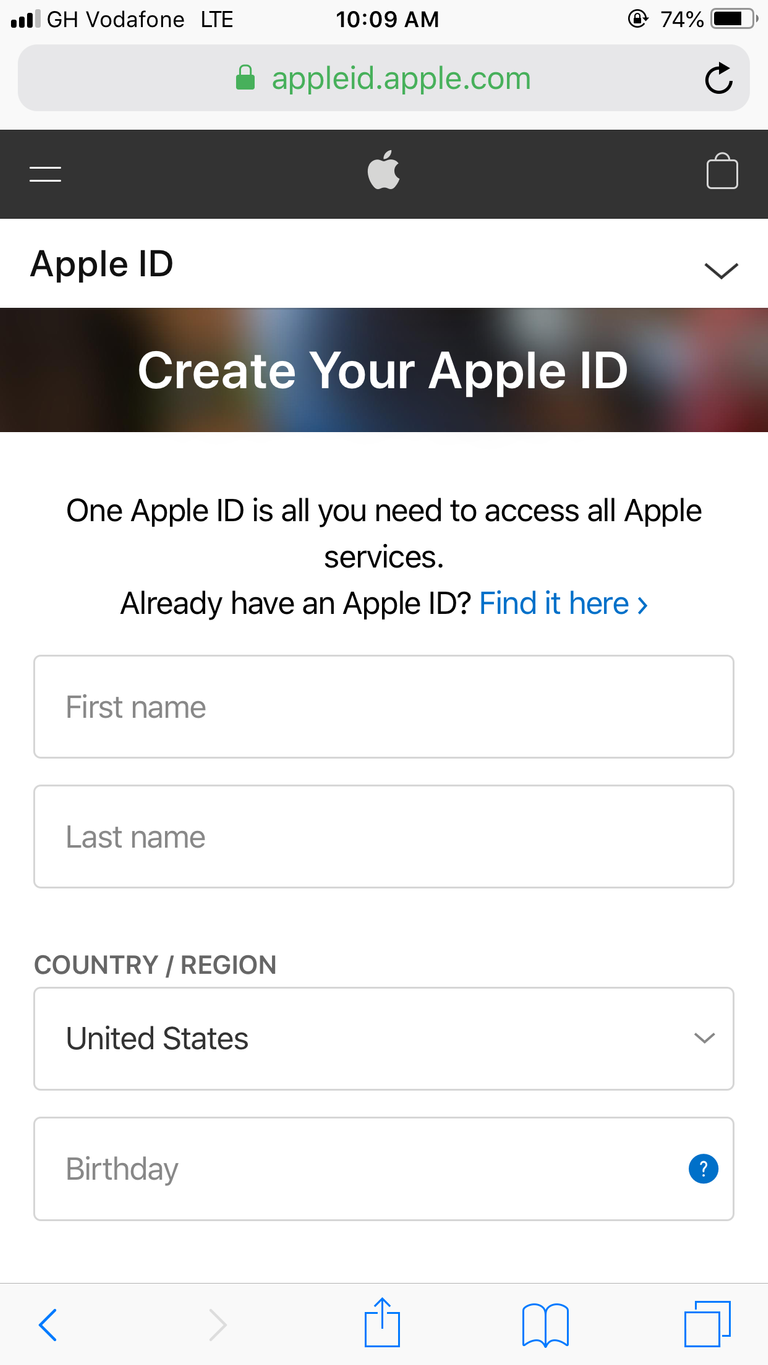
- Enter your details by providing your First name, Last name, Country, Birthday, the email you wish to be your Apple ID, and your phone number.
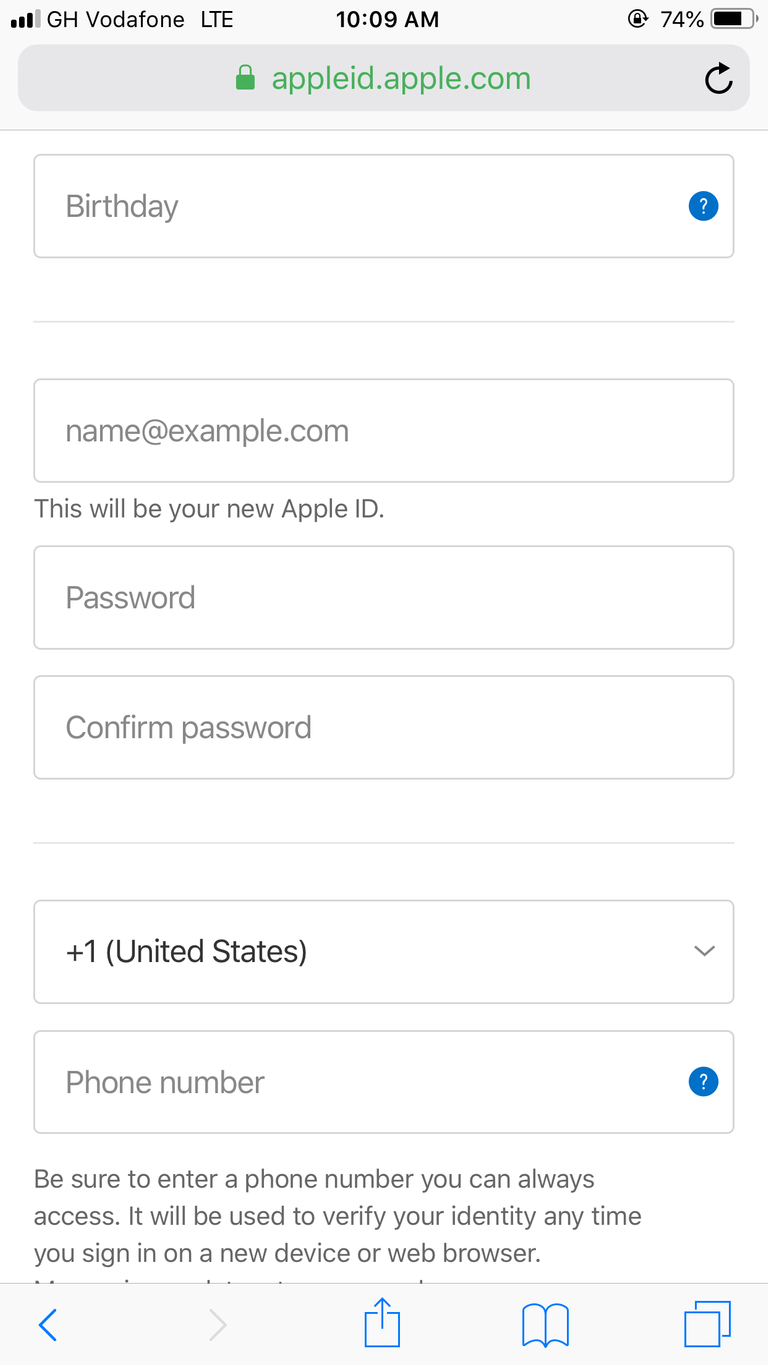
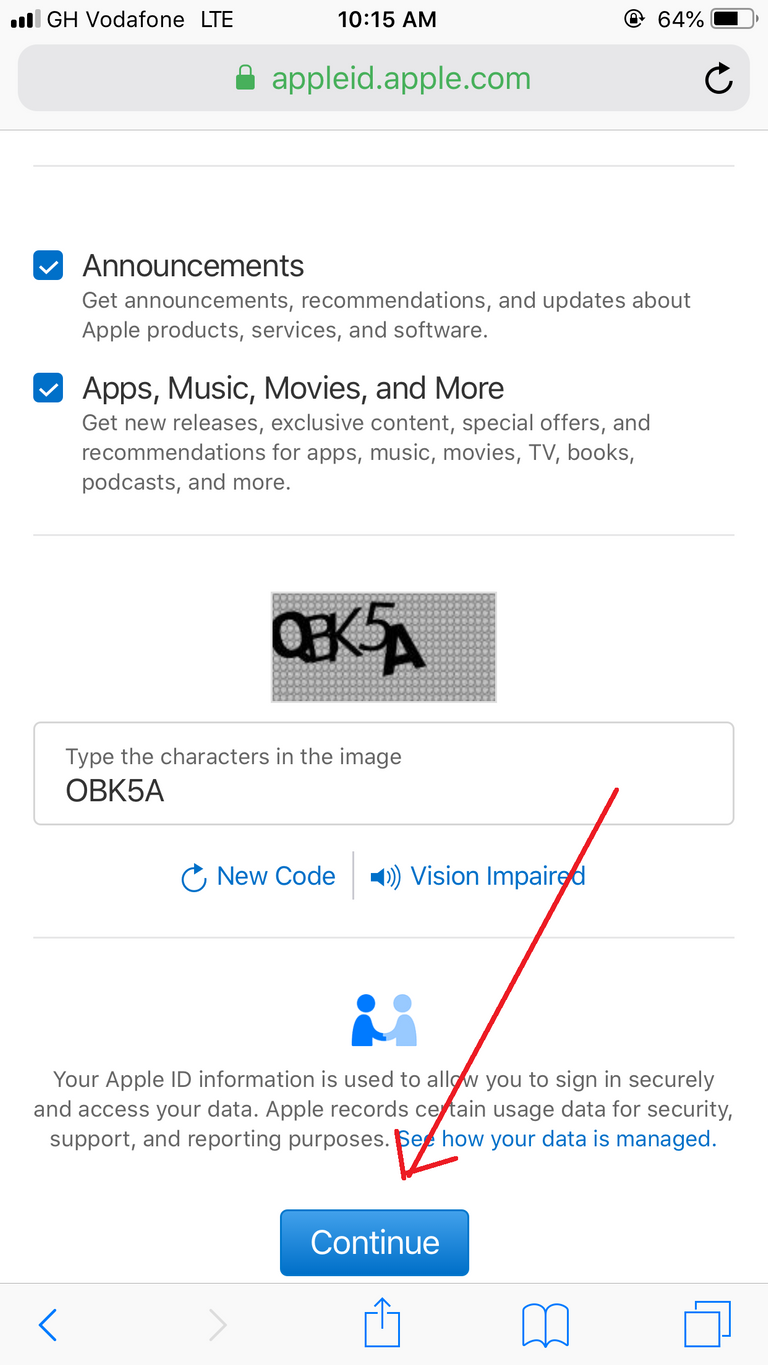
- After you provide all information required, hit
Continueat the bottom.
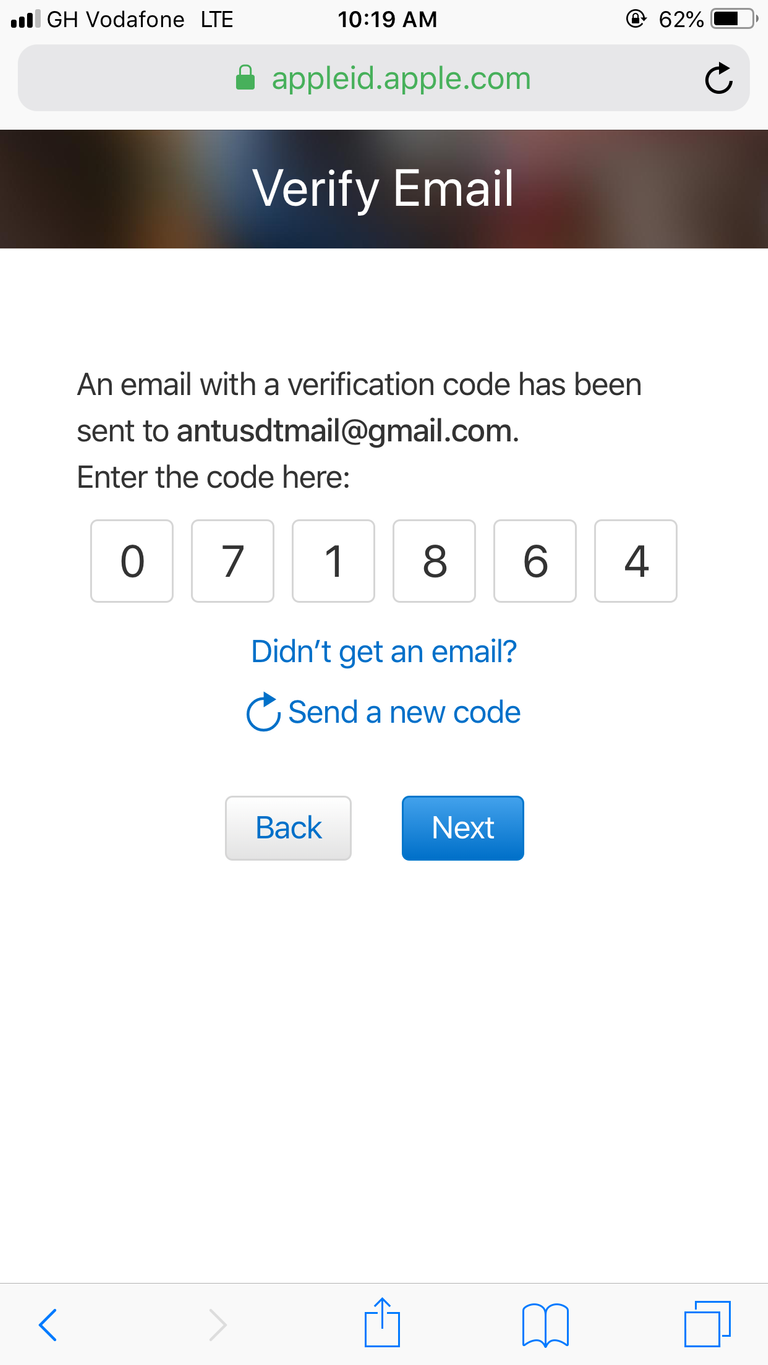
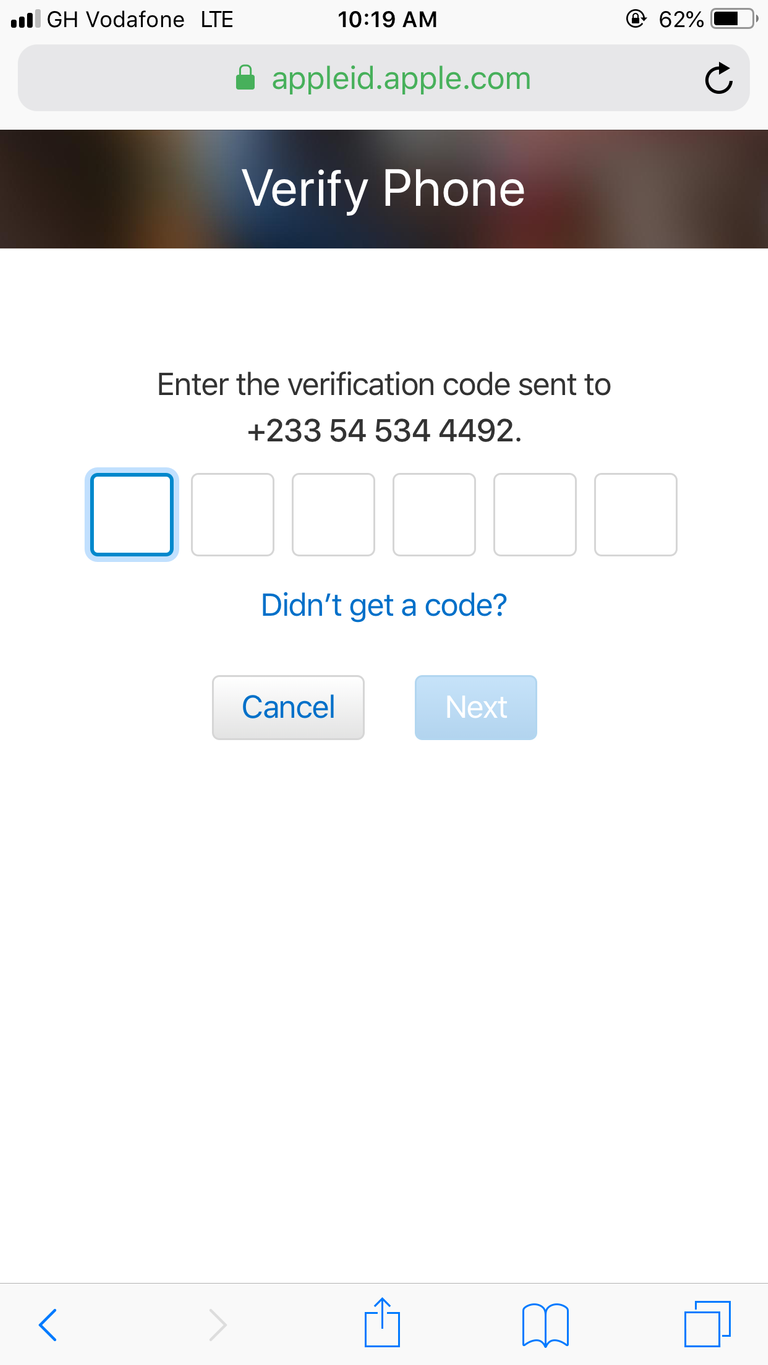
- Enter the verification codes sent to your email and phone number for verification
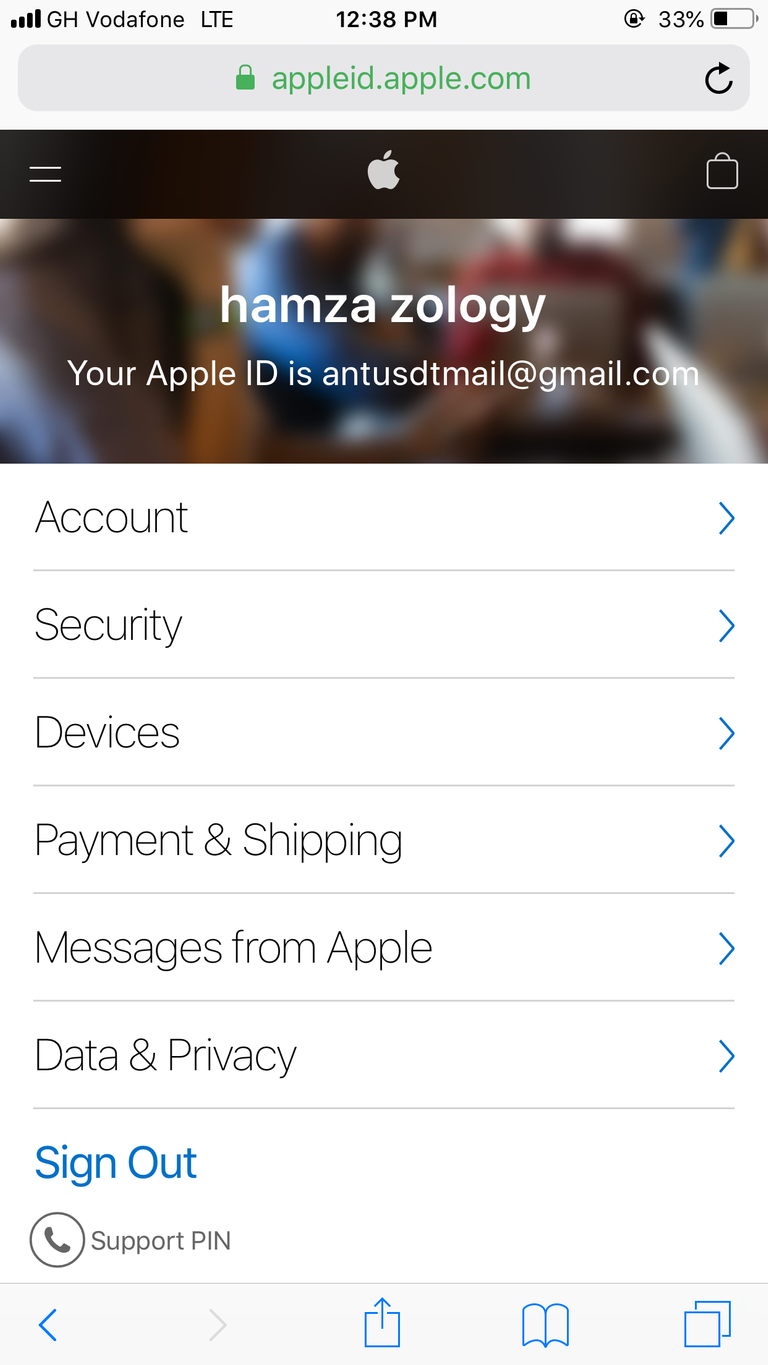
- Our Apple ID has been created successfully

Creating A Microsoft Account On Windows PC
- Launch your web browser, go to Microsoft homepage,and on the homepage, click on
Create a Microsoft accounton the homepage screen.
.png)
- Type in the mail you want to create your account using. I’ll be using my Gmail in this case, so I enter my Gmail in the space.
.png)
- On the next page, I create a password for the Microsoft account I am creating and I hit
Next.
.png)
- A verification code is sent to my email. I retrieve the email, enter in the space provided here, and hit
Nextagain.
.png)
- A pop-up appears asking me if I want to stay logged in. I will choose
Yessince I don’t want to have to log in every time I want to use my Microsoft account.
.png)
- And voila! My Microsoft account is created.
.png)
- I can add more information about myself by clicking
Your Info. Over here, you can add a picture of yourself, your full name, Date of Birth, Country, Phone Numbers, and others.
.png)
You can explore a lot more about your Microsoft account and Apple ID by going to the related settings. Also, leave questions about this tutorial in the comment section and I will do my best to make you understand better. Thank you for reading.