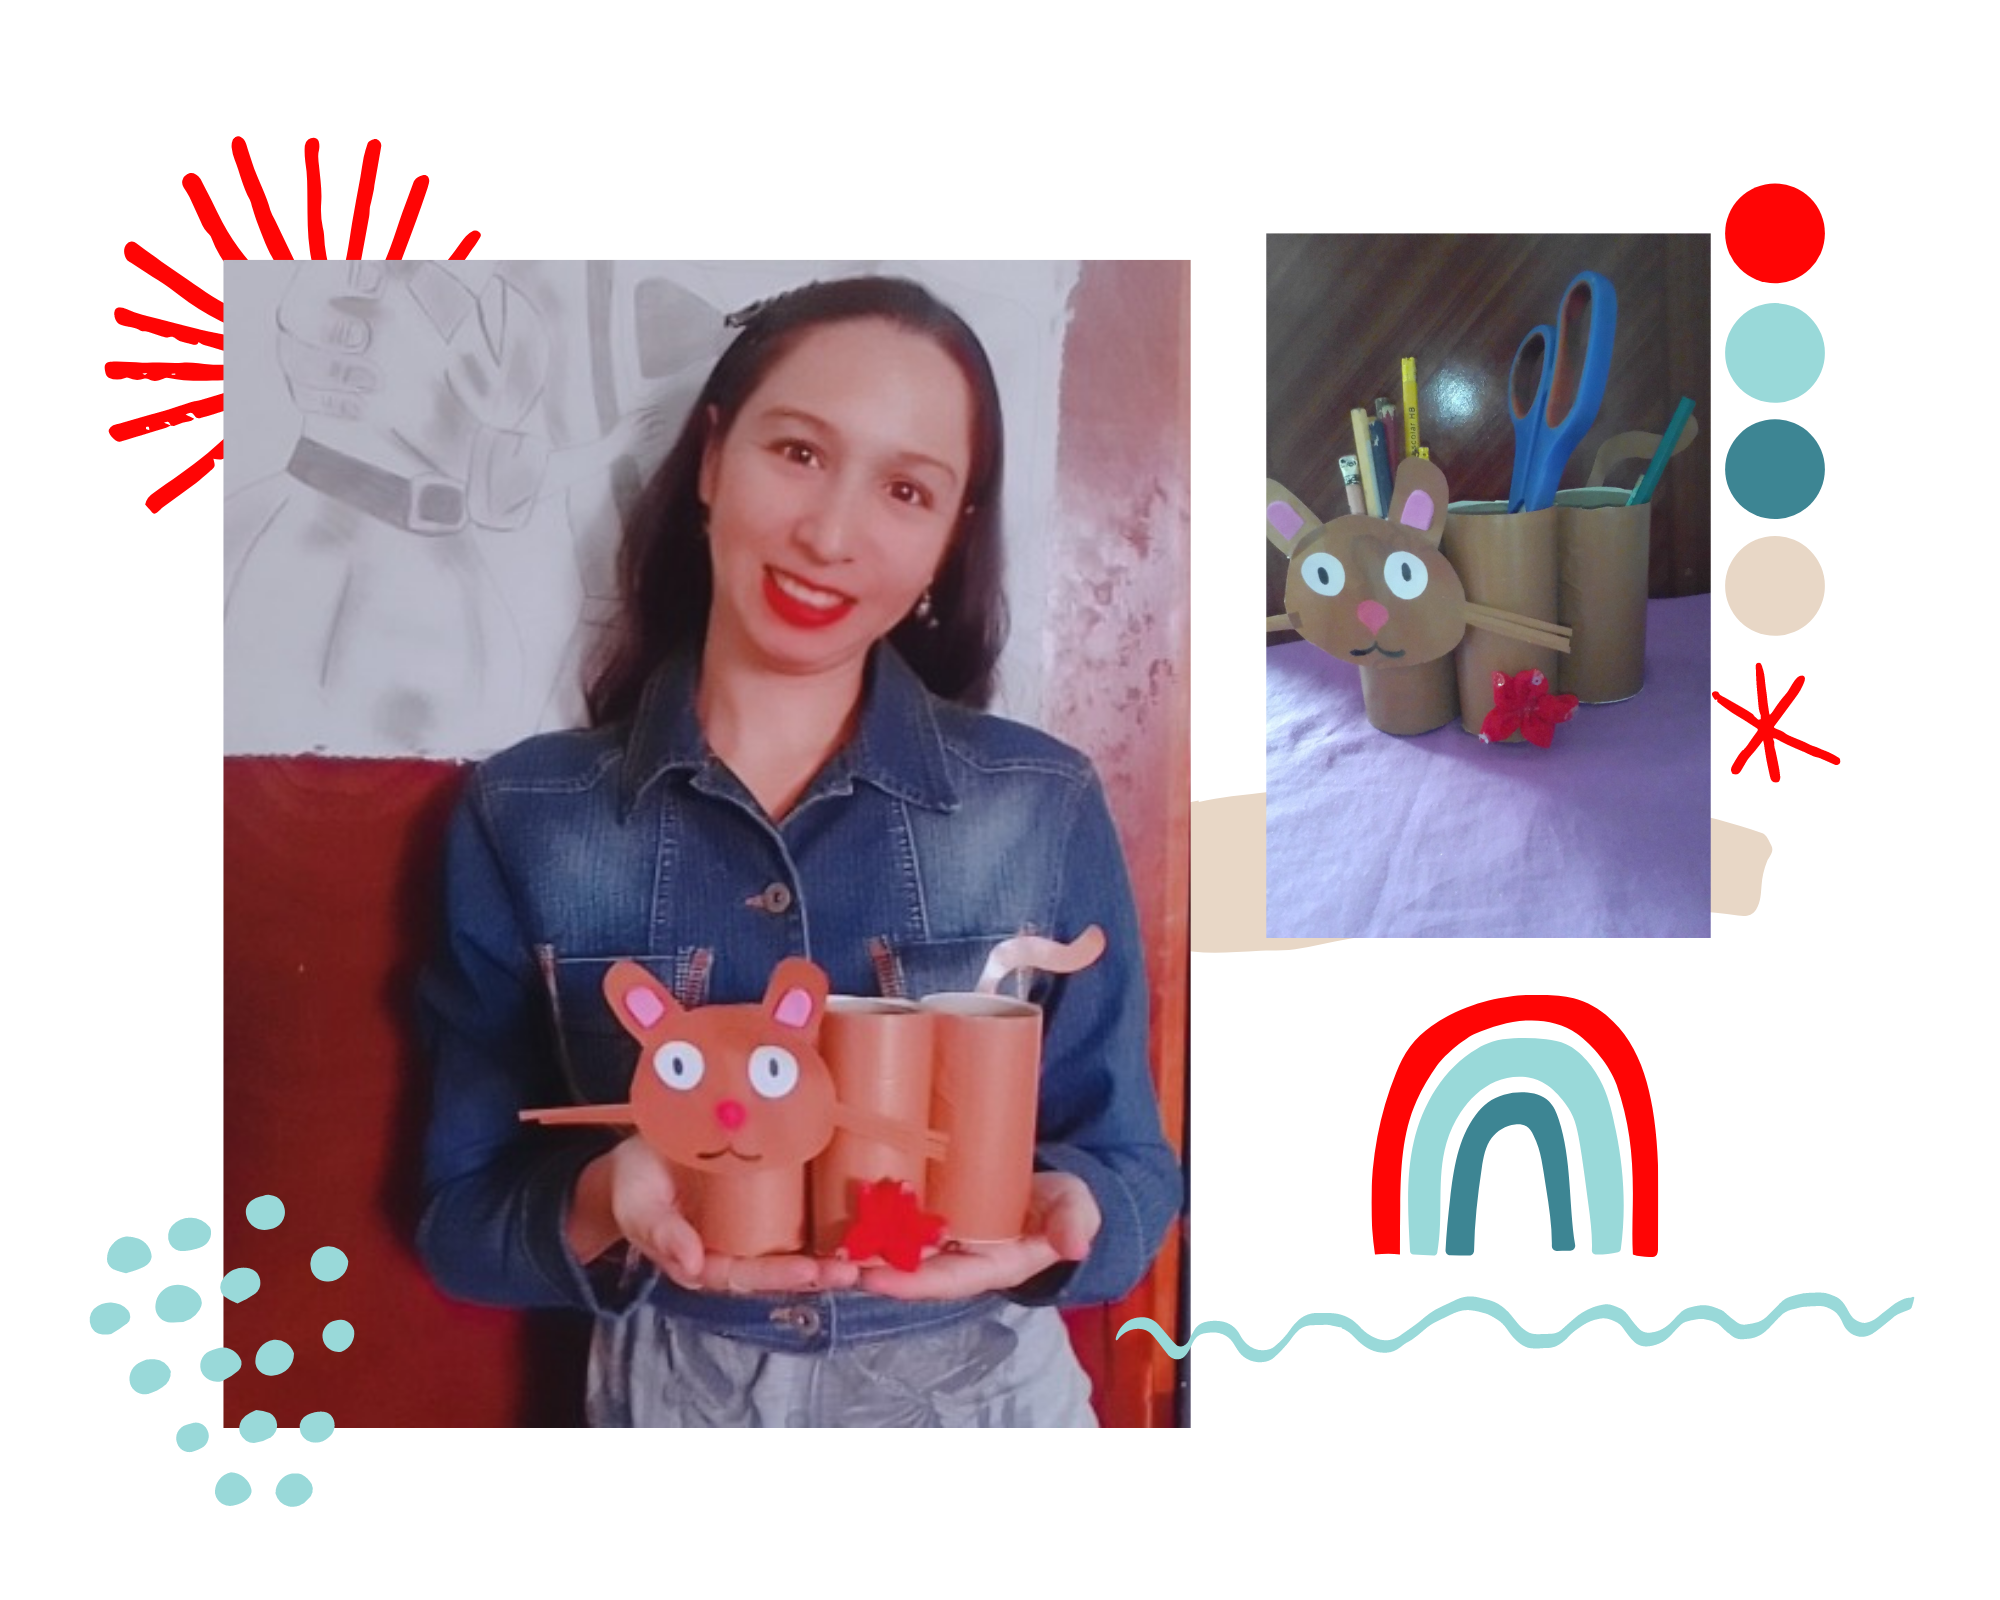
Greetings my dear beehive, I am pleased to greet you, hoping that everyone is very well, today I want to show you a nice tutorial on how to make a pencil holder, an excellent activity to have fun with the little ones in the house, it is very easy to do and the best thing is that we can reuse the paper rolls, remember to teach children the importance of recycling and caring for the environment
Materiales
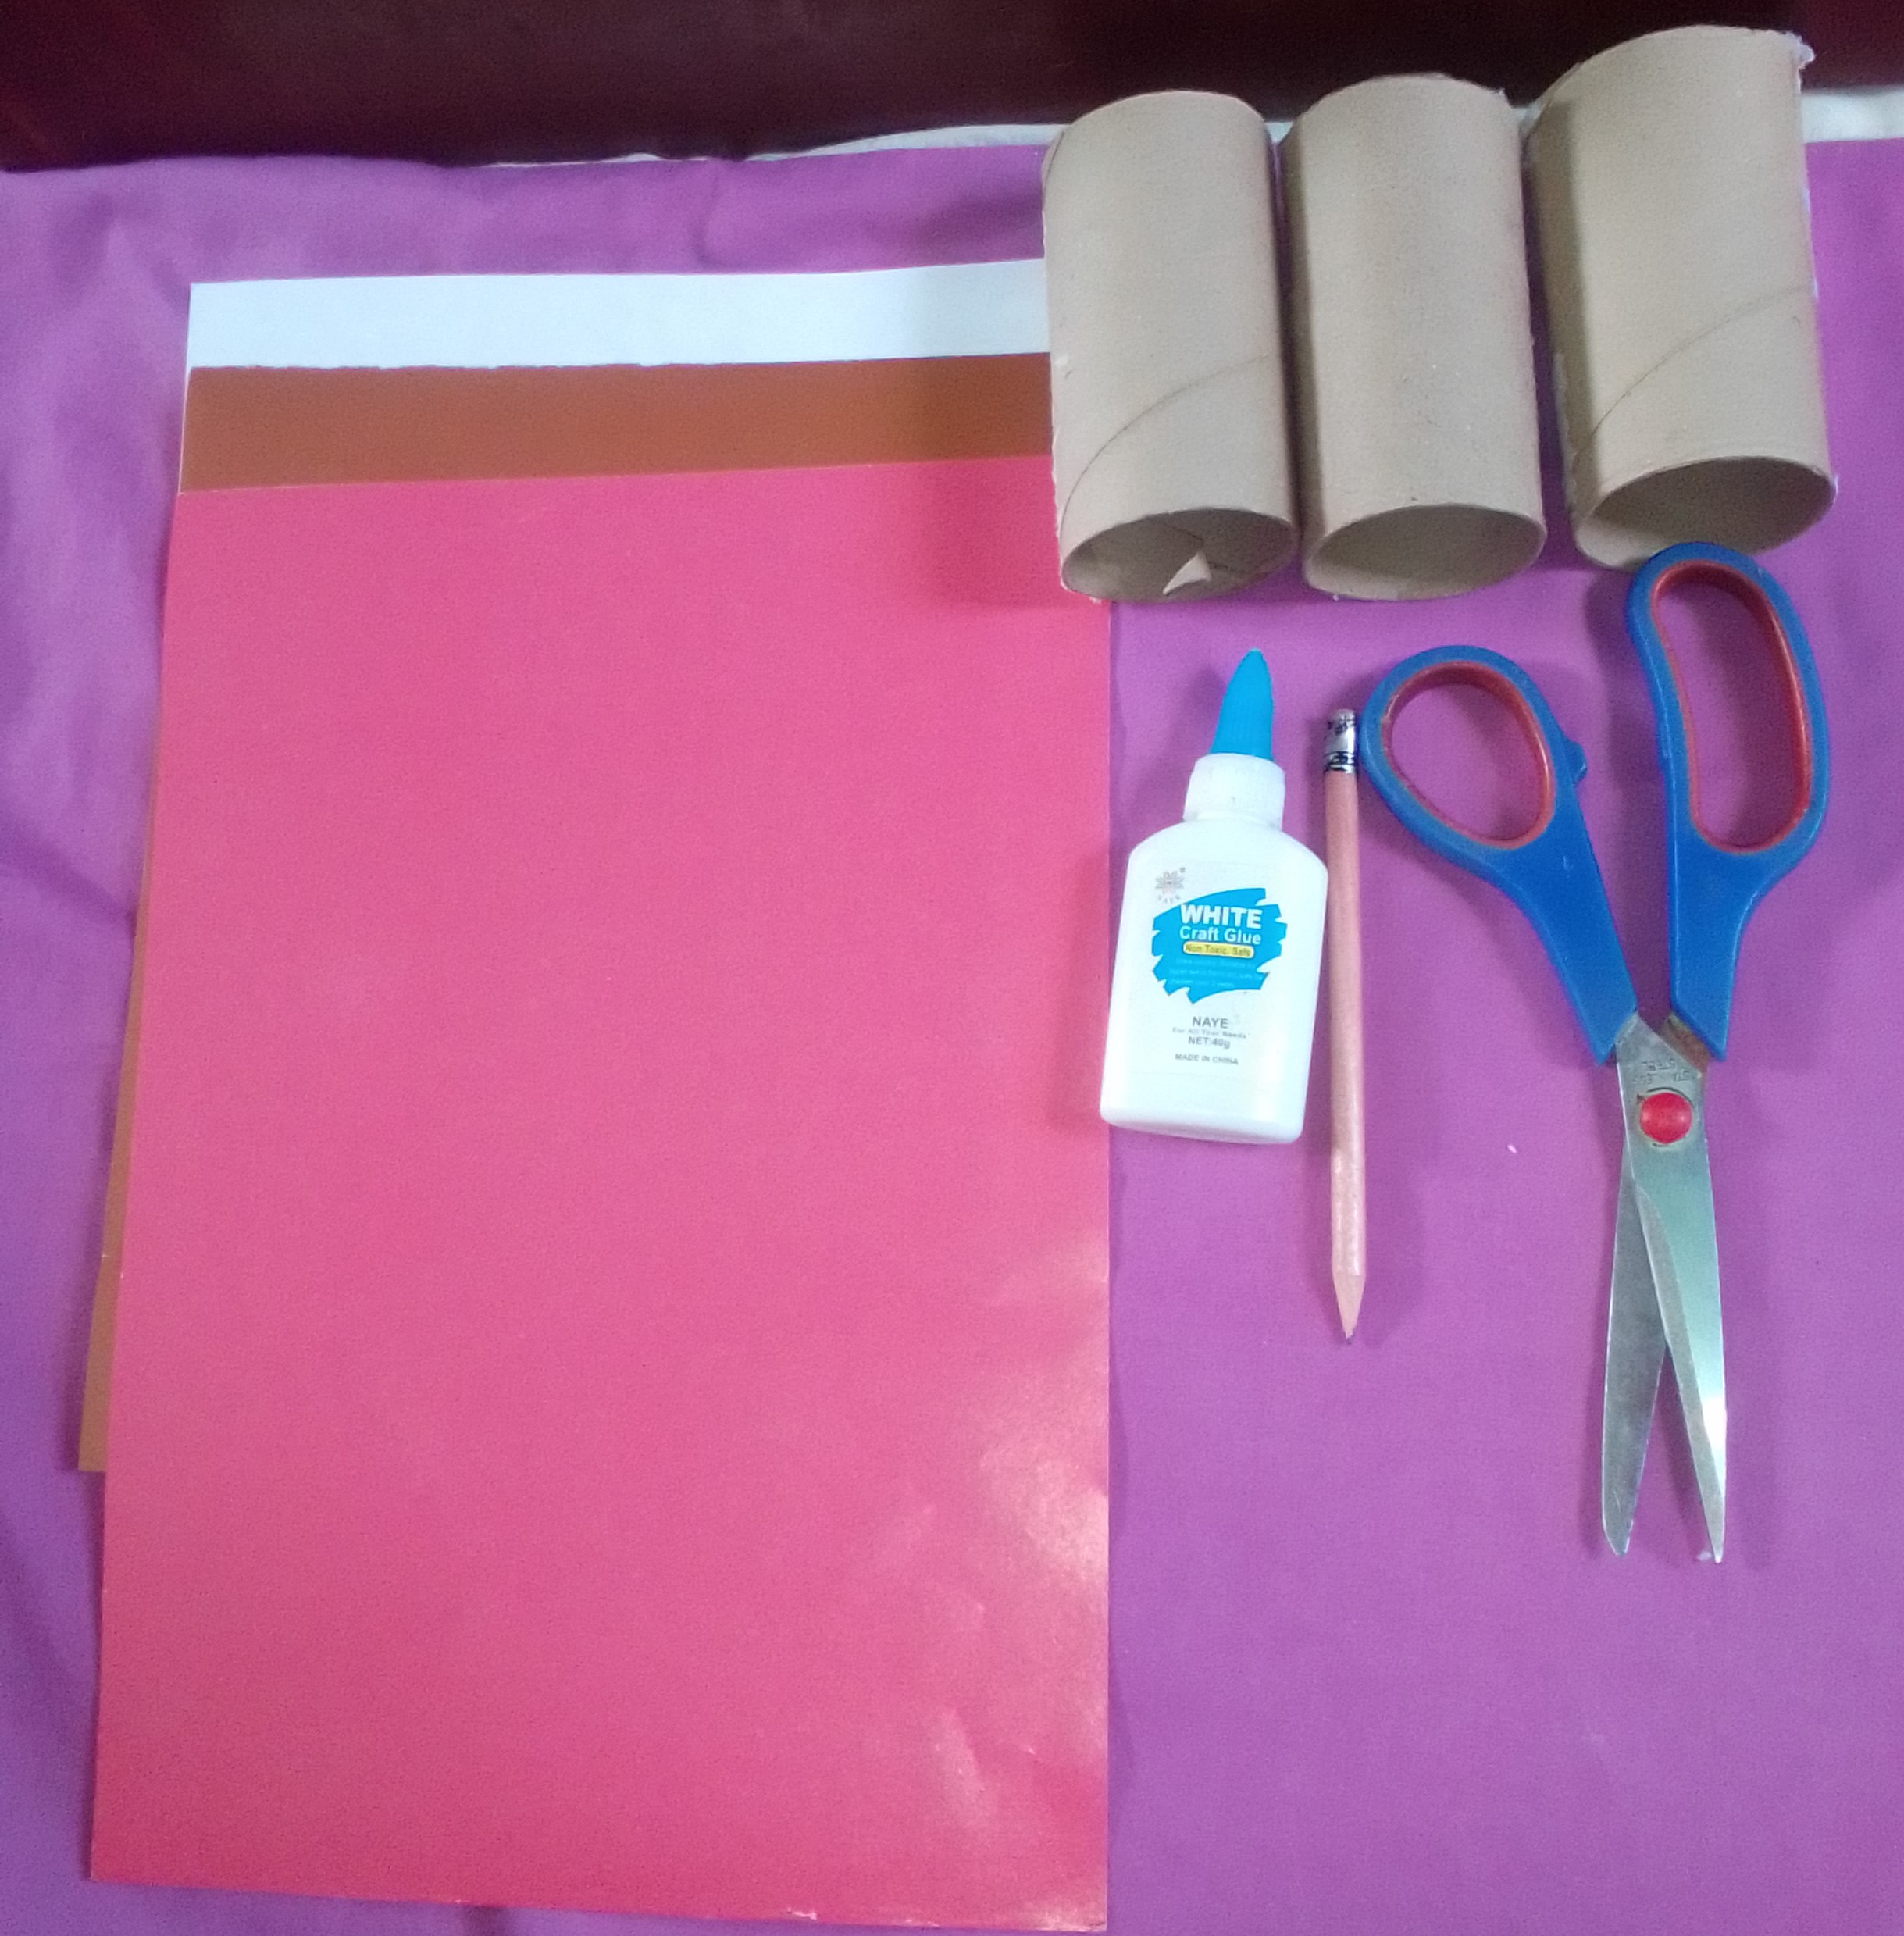
- Rollos de papel
- Hojas de colores
- Pega blanca
- Lápiz
- Tijera
Materials
- Paper rolls
- Colored sheets
- White glue
- Pencil
- Scissors
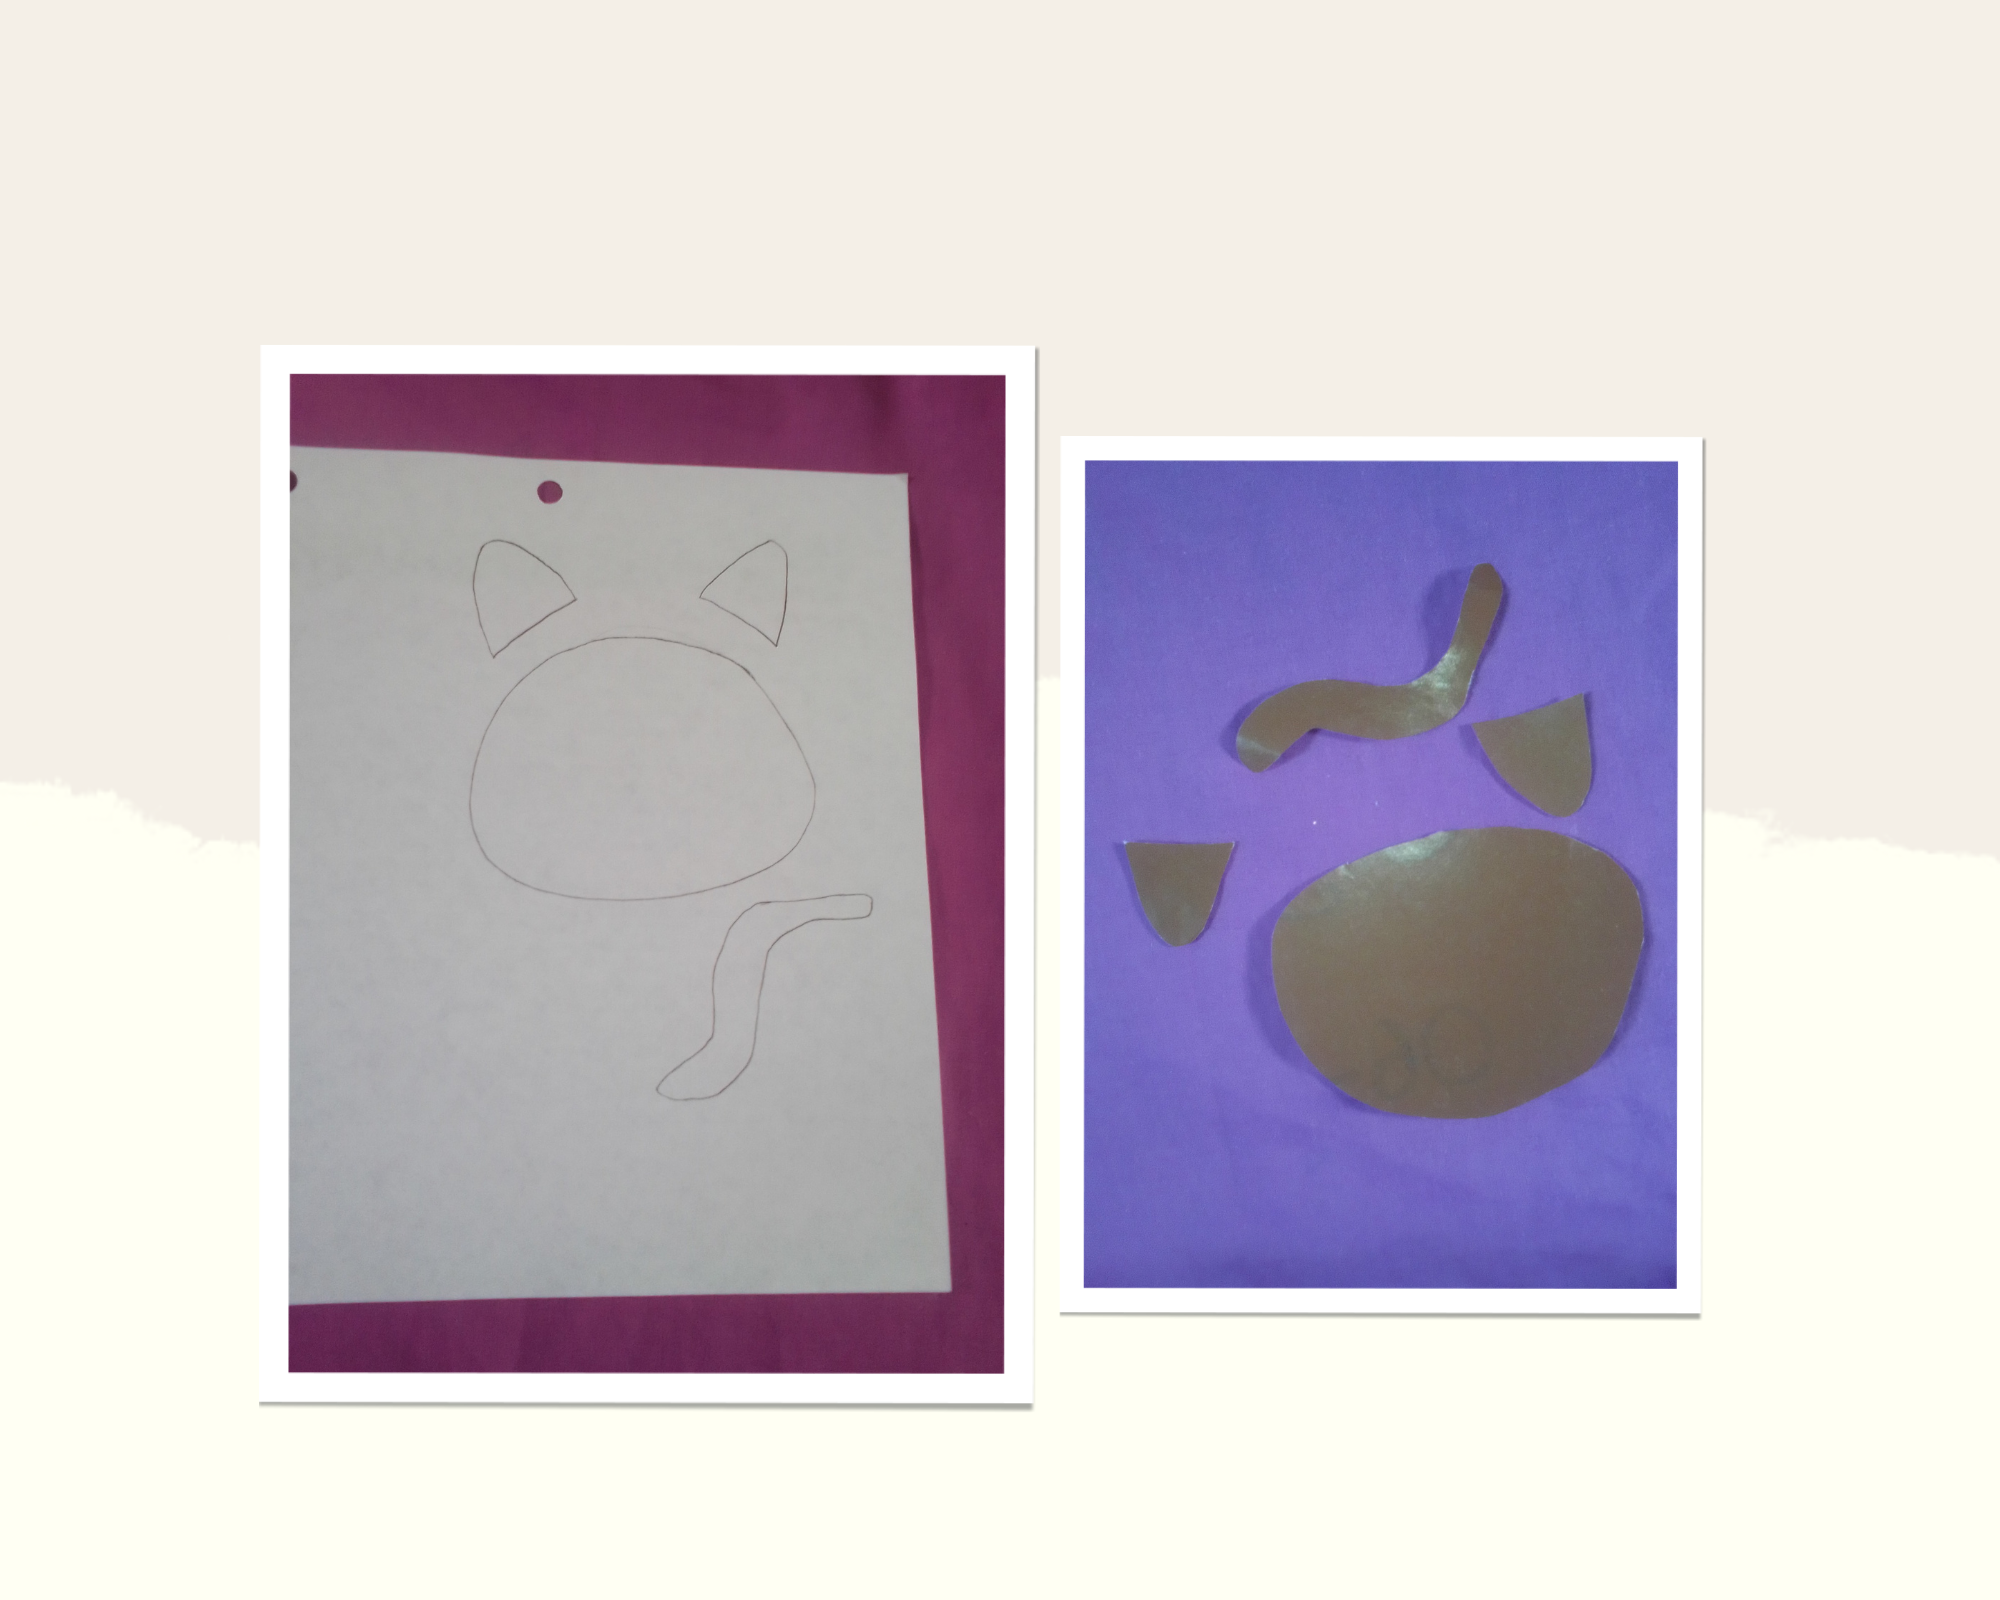
Paso 1: En una hoja blanca marcamos los moldes del gato, cabeza, orejas y el rabo, una vez listos los transferimos a la hoja color marrón y recortamos
Step 1 : On a white sheet we mark the molds of the cat, head, ears and tail, once ready we transfer them to the brown sheet and cut
Paso 2 : Cortamos 3 piezas de color marrón para cubrir los rollos de papel
Step 2 : We cut 3 pieces of brown color to cover the paper rolls
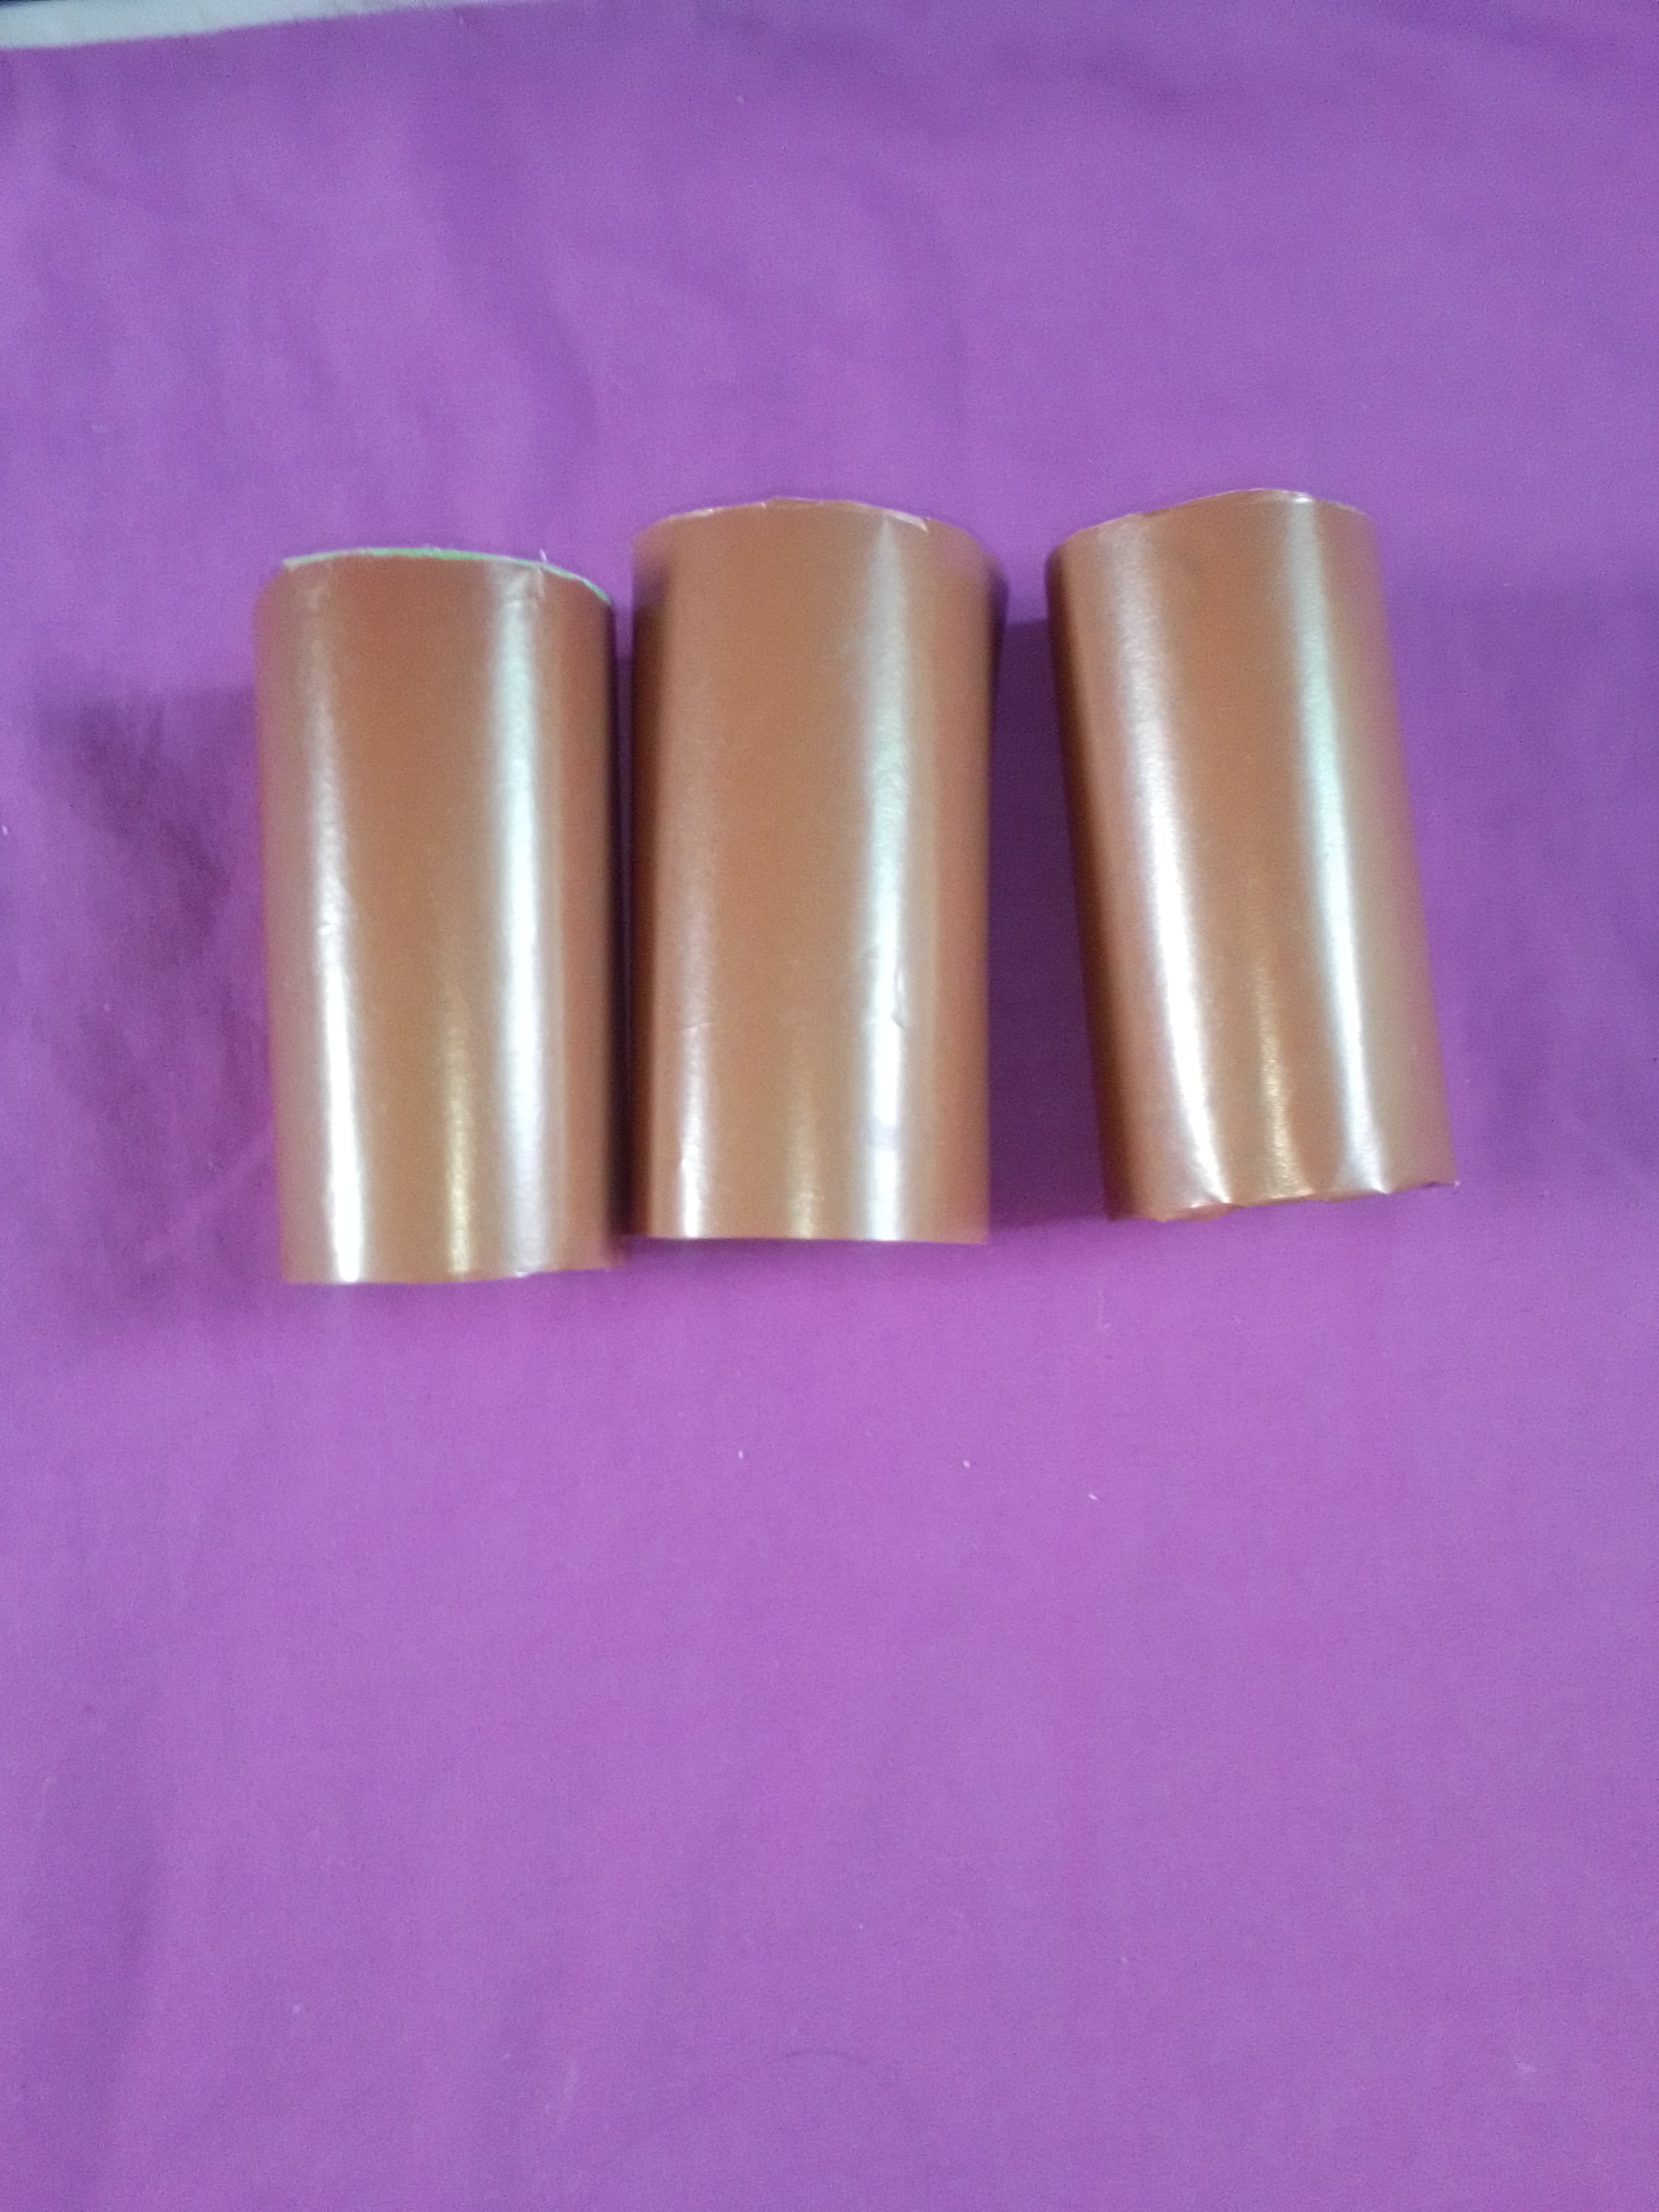
Paso 3 : Pegamos los 3 rollos
Step 3: We glue the 3 rolls
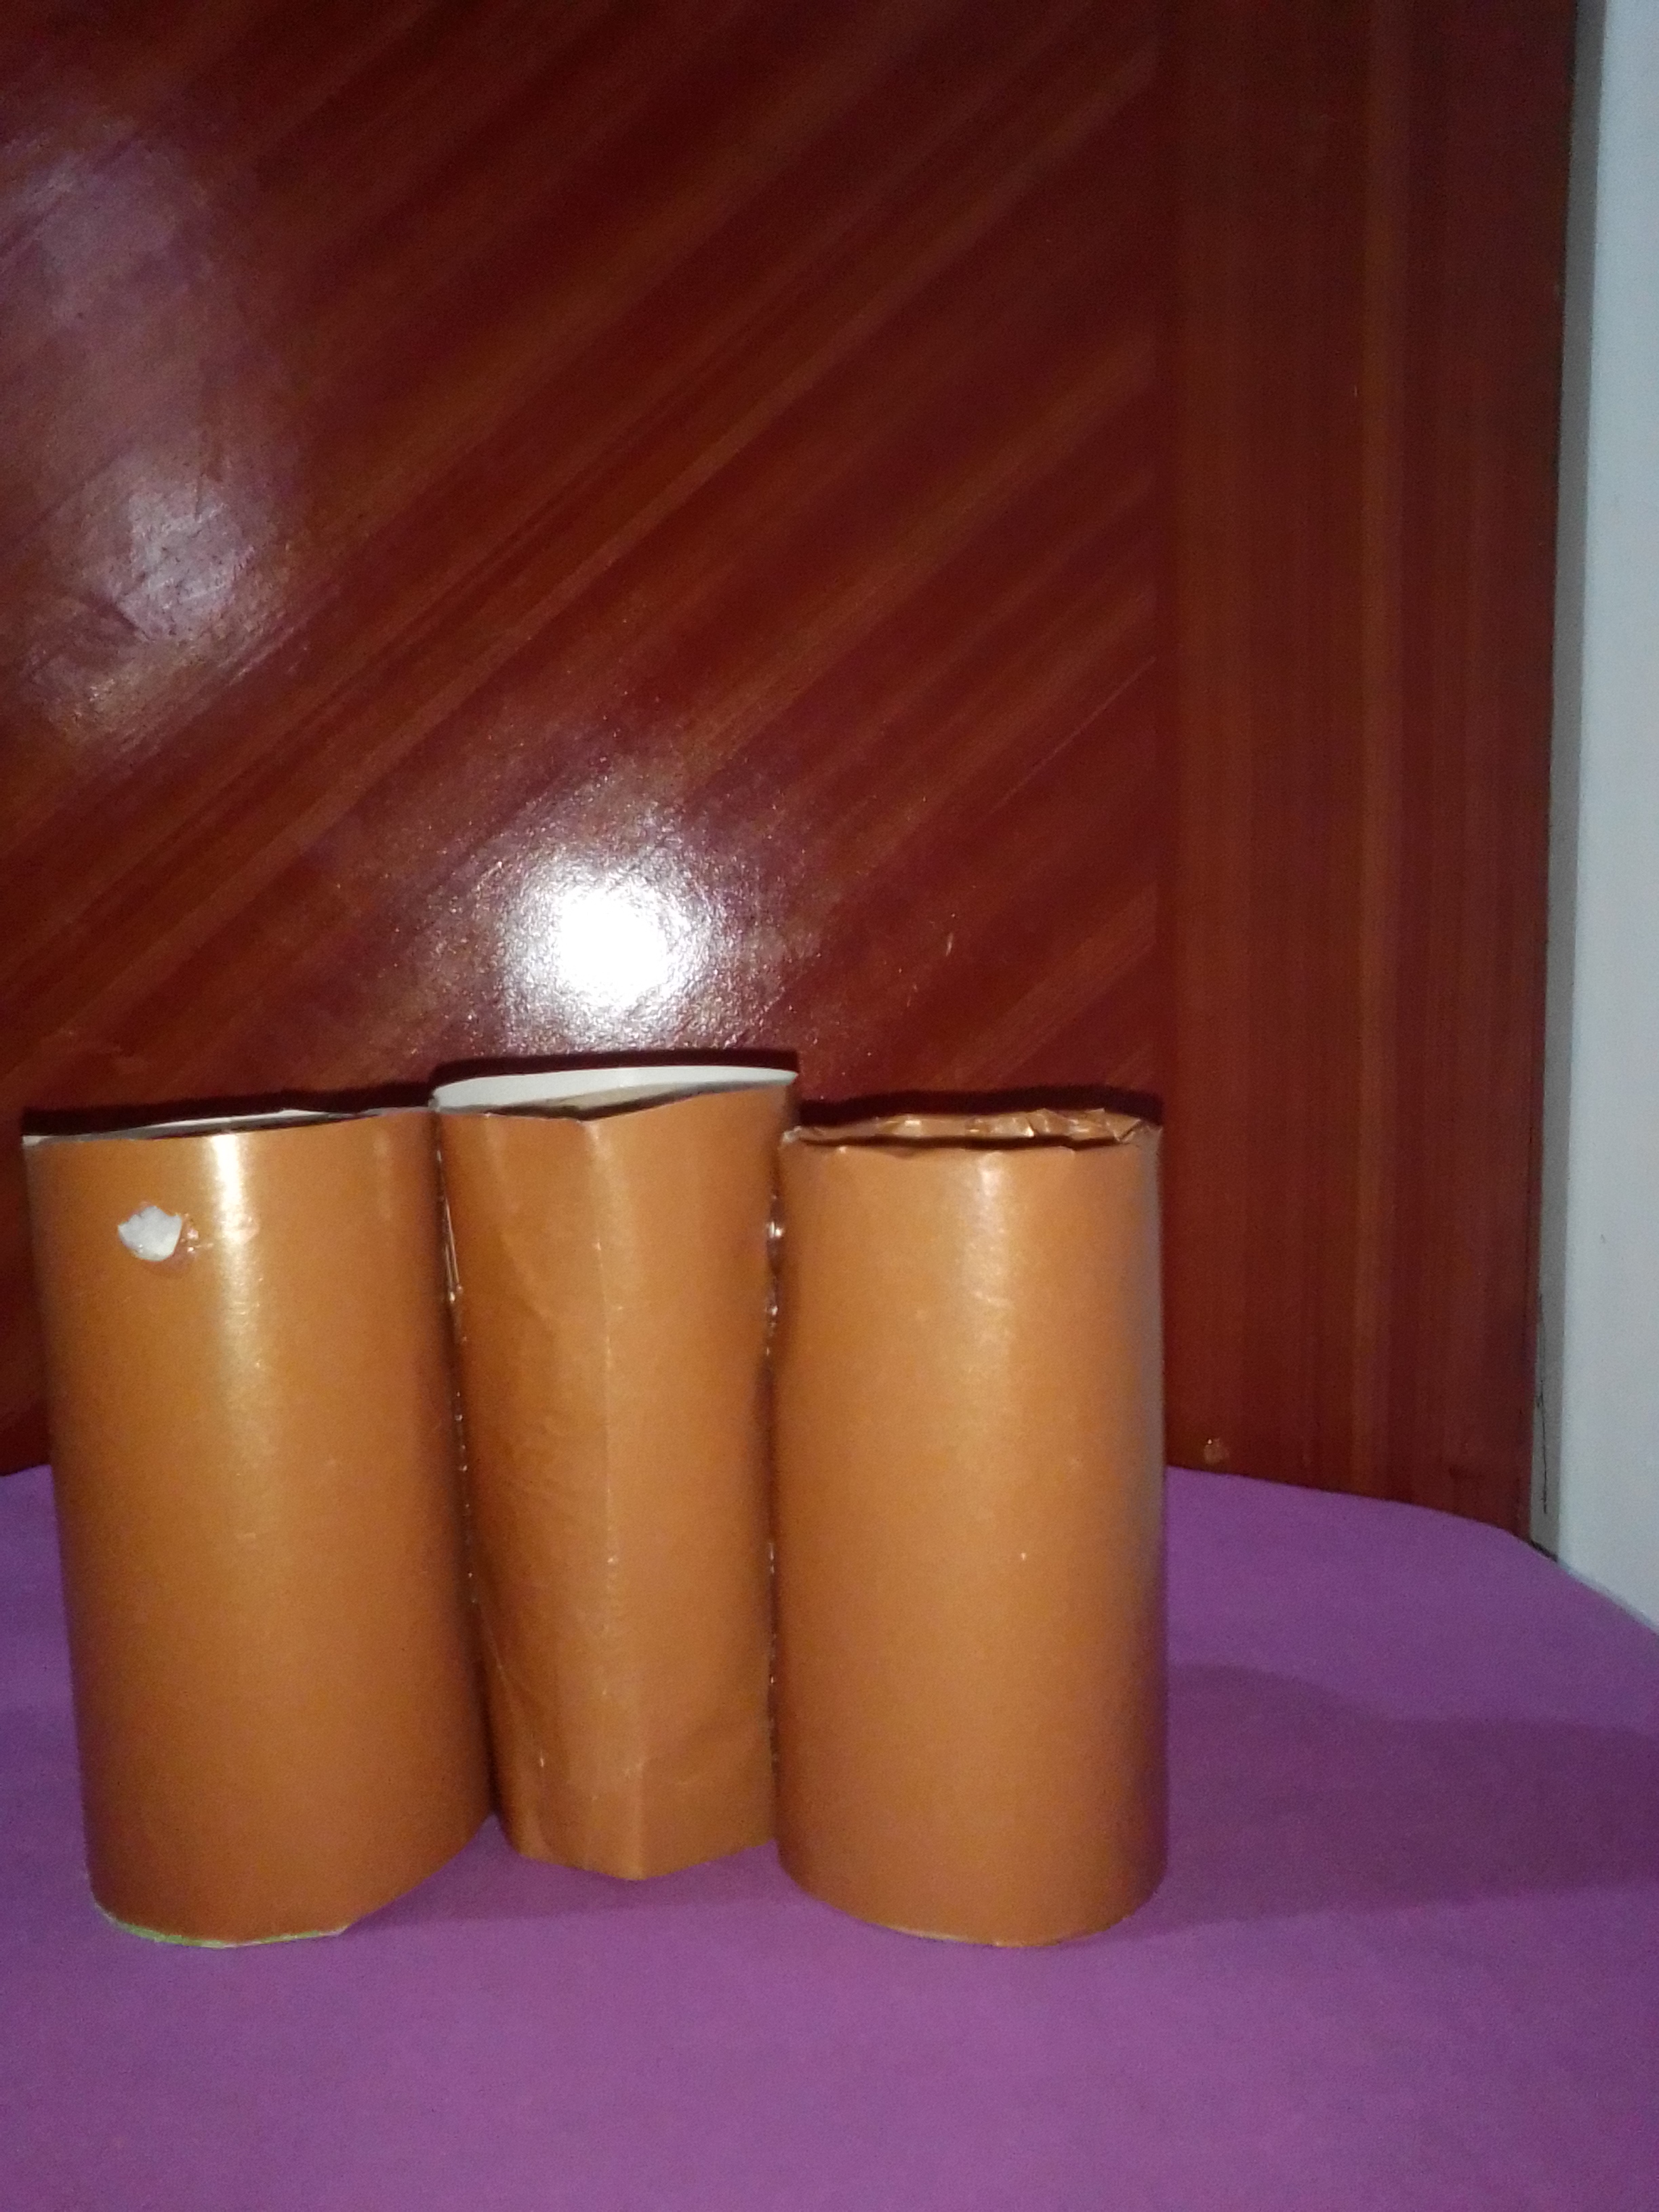
Paso 4 : Pegamos la cabeza, las orejas, los bigotes, el rabo, dibujamos los ojos y boca
Step 4: We glue the head, ears, whiskers, tail, draw the eyes and mouth
Y listo tenemos un hermoso portalápices, nos sirve como decoración y organizar nuestras cosas
And voila we have a beautiful pencil holder,It serves us as decoration and organize our things

Anímense a realizar esta linda actividad, gracias por visitar mi blog, hasta pronto
Go ahead and do this beautiful activity, thank you for visiting my blog, see you soon
Fotos principal editadas con Canva
Fotos de mi autoría, tomadas con mi tlf zte blade
Traducido con www.DeepL.com/Translator (versión gratuita)
Main photos edited with Canva
Photos of my authorship, taken with my phone zte blade
Translated with www.DeepL.com/Translator (free version)
Congratulations @yurasil! You have completed the following achievement on the Hive blockchain and have been rewarded with new badge(s) :
Your next target is to reach 20 posts.
Your next target is to reach 50 comments.
You can view your badges on your board and compare yourself to others in the Ranking
If you no longer want to receive notifications, reply to this comment with the word
STOPCheck out the last post from @hivebuzz:
Support the HiveBuzz project. Vote for our proposal!
Congratulations, your post has been upvoted by @dsc-r2cornell, which is the curating account for @R2cornell's Discord Community.
Muchas gracias por el apoyo, me anima a seguir creando contenido. Saludos
¡Excelente tutorial amiga! muy bello, me encanta. De verdad que quedaron espectaculares. Los mayores de los éxitos para ti.
Muchas gracias amiga, me alegro que te haya gustado. Son lindos y fáciles de hacer.saludos
Te ha quedado muy cuchi 🥰
muchas gracias por el apoyo y valoración de este post, me alegara que te haya gustado. saludos
muchísimas gracias