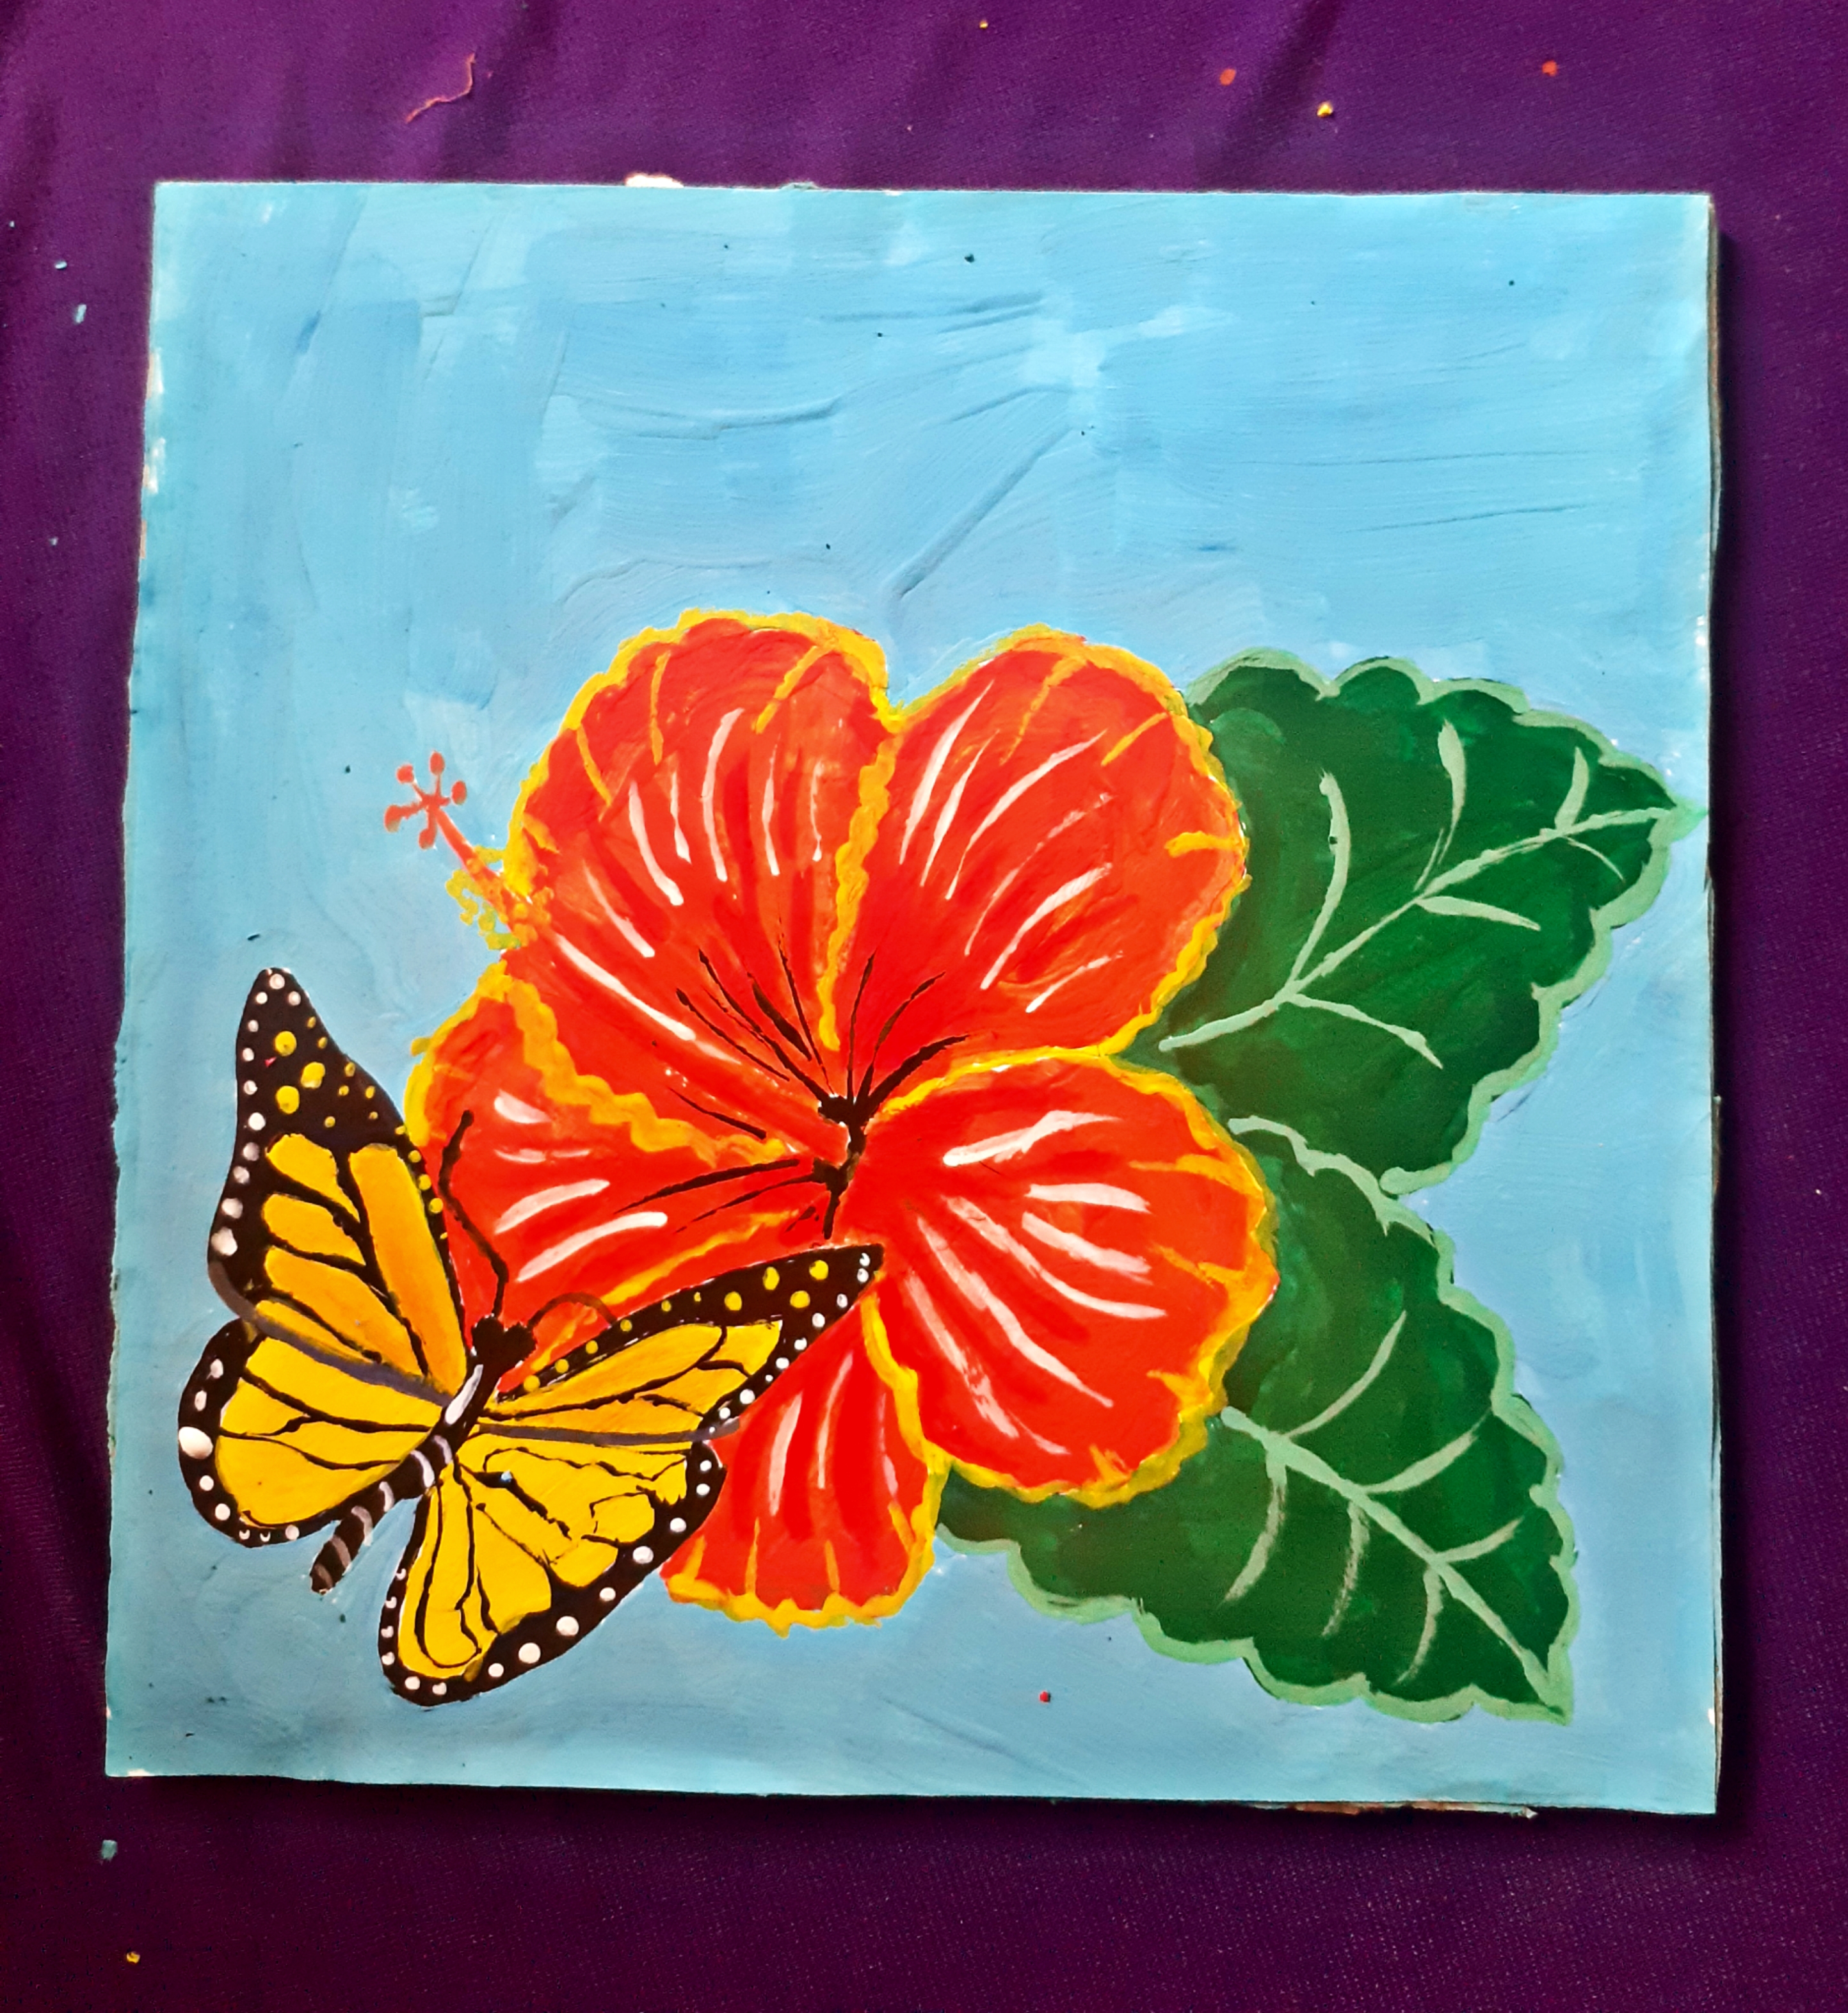
Hola amigos de Hive blog, nuevamente con ustedes, Dios les bendiga, hoy quiero compartir con ustedes un hermoso cuadro decorativo inspirada en las flores de mi jardin y de uno de muchos insectos que llegan a el, atraido por las flores y en especial la cayena que es una de mis favoritas.
Hello friends of Hive blog, again with you, God bless you, today I want to share with you a beautiful decorative painting inspired by the flowers in my garden and one of many insects that come to it, attracted by flowers and especially cayenne which is one of my favorites.
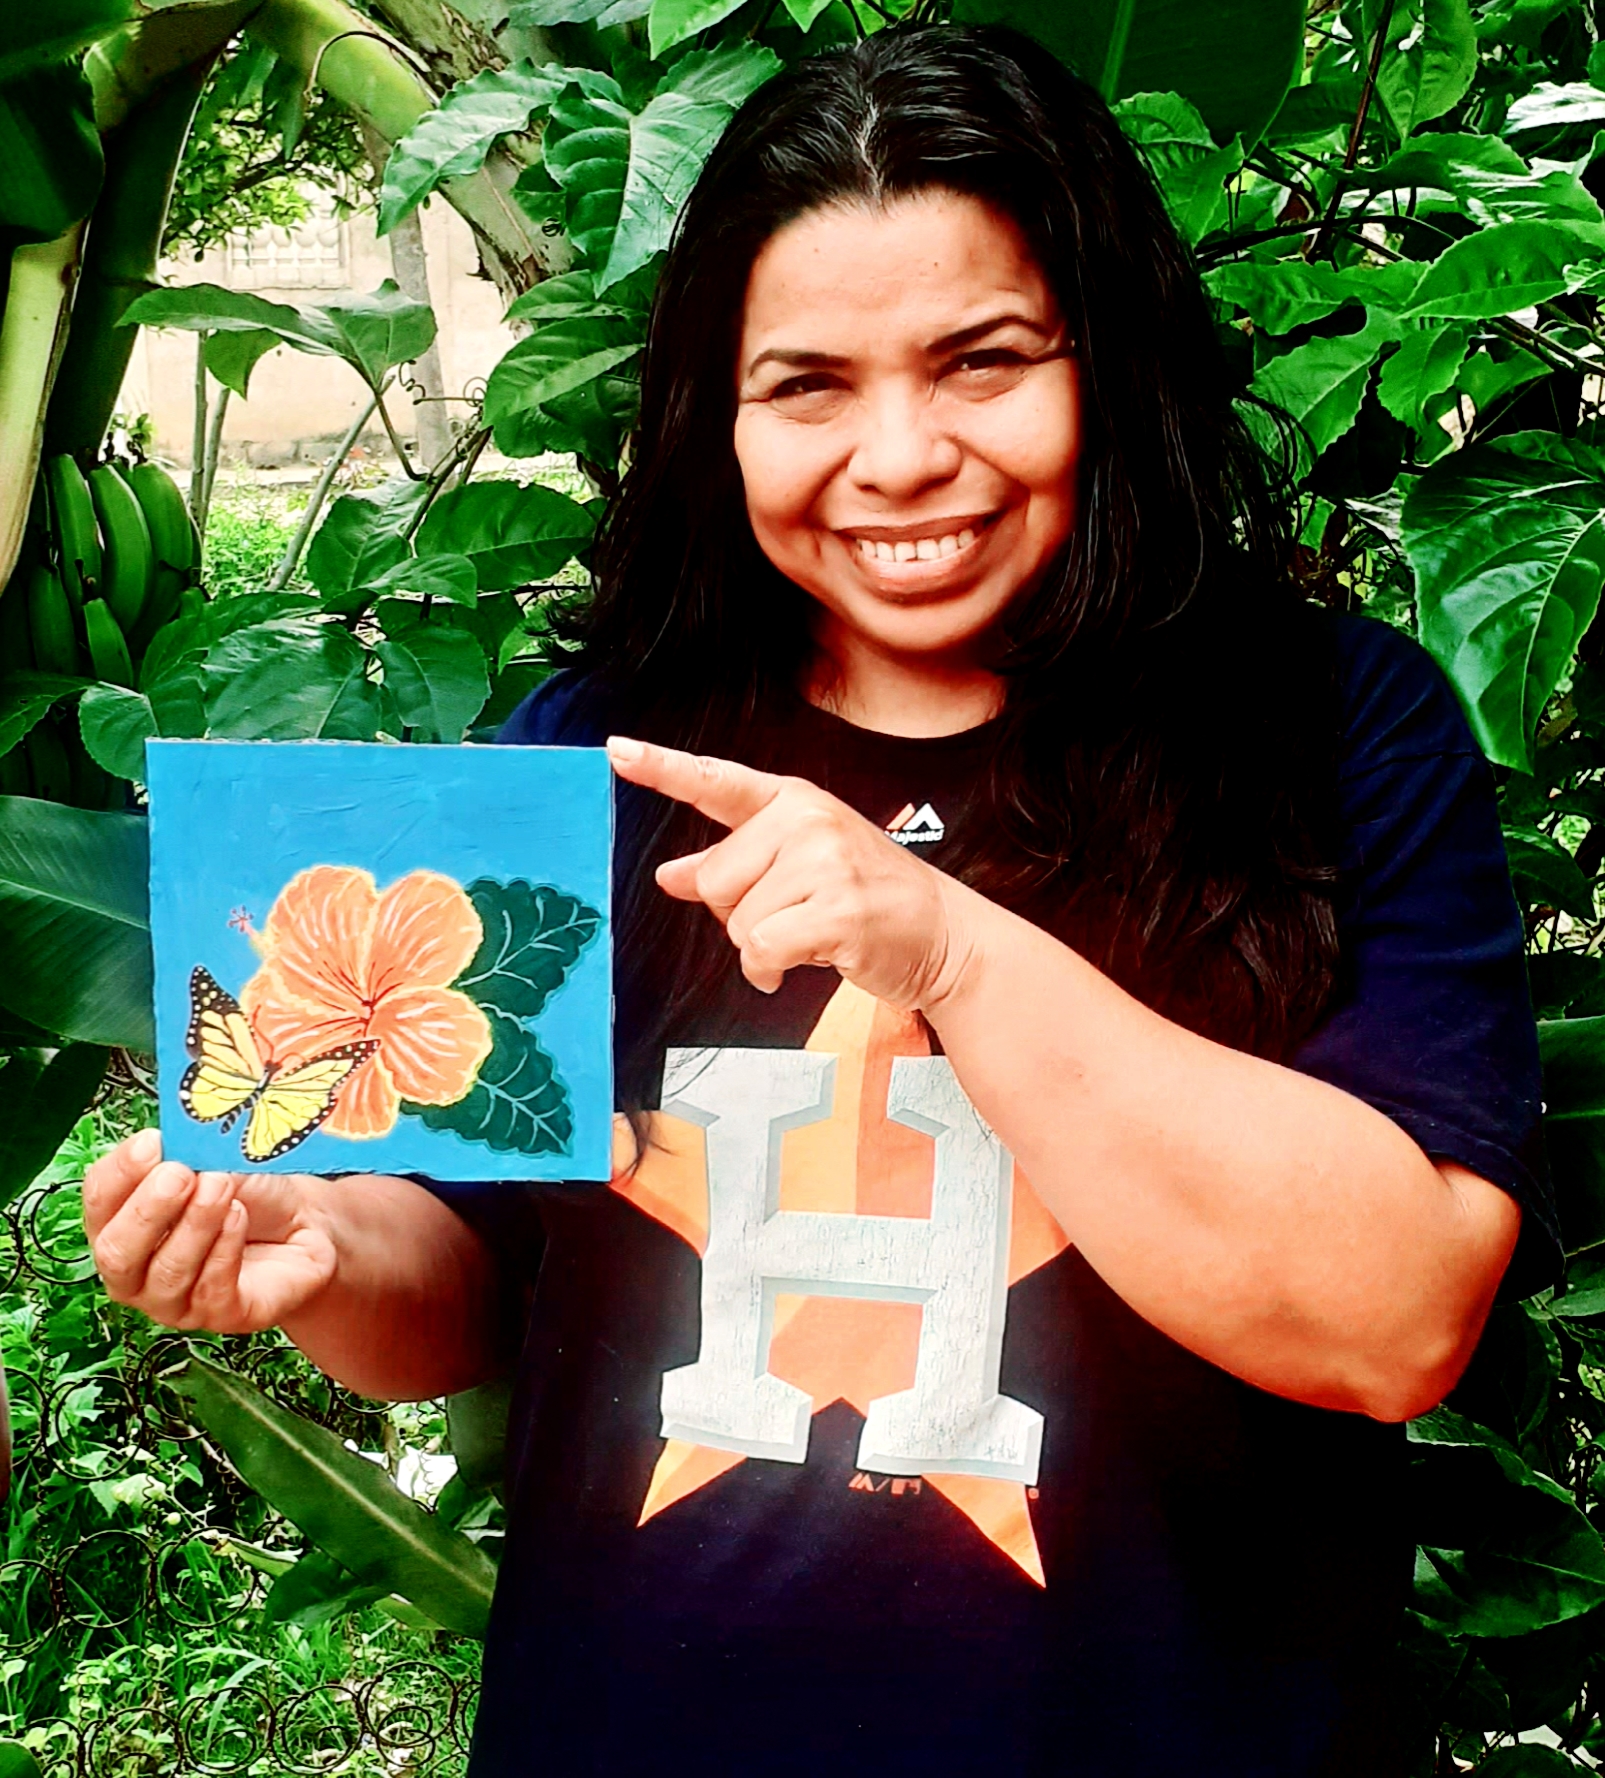
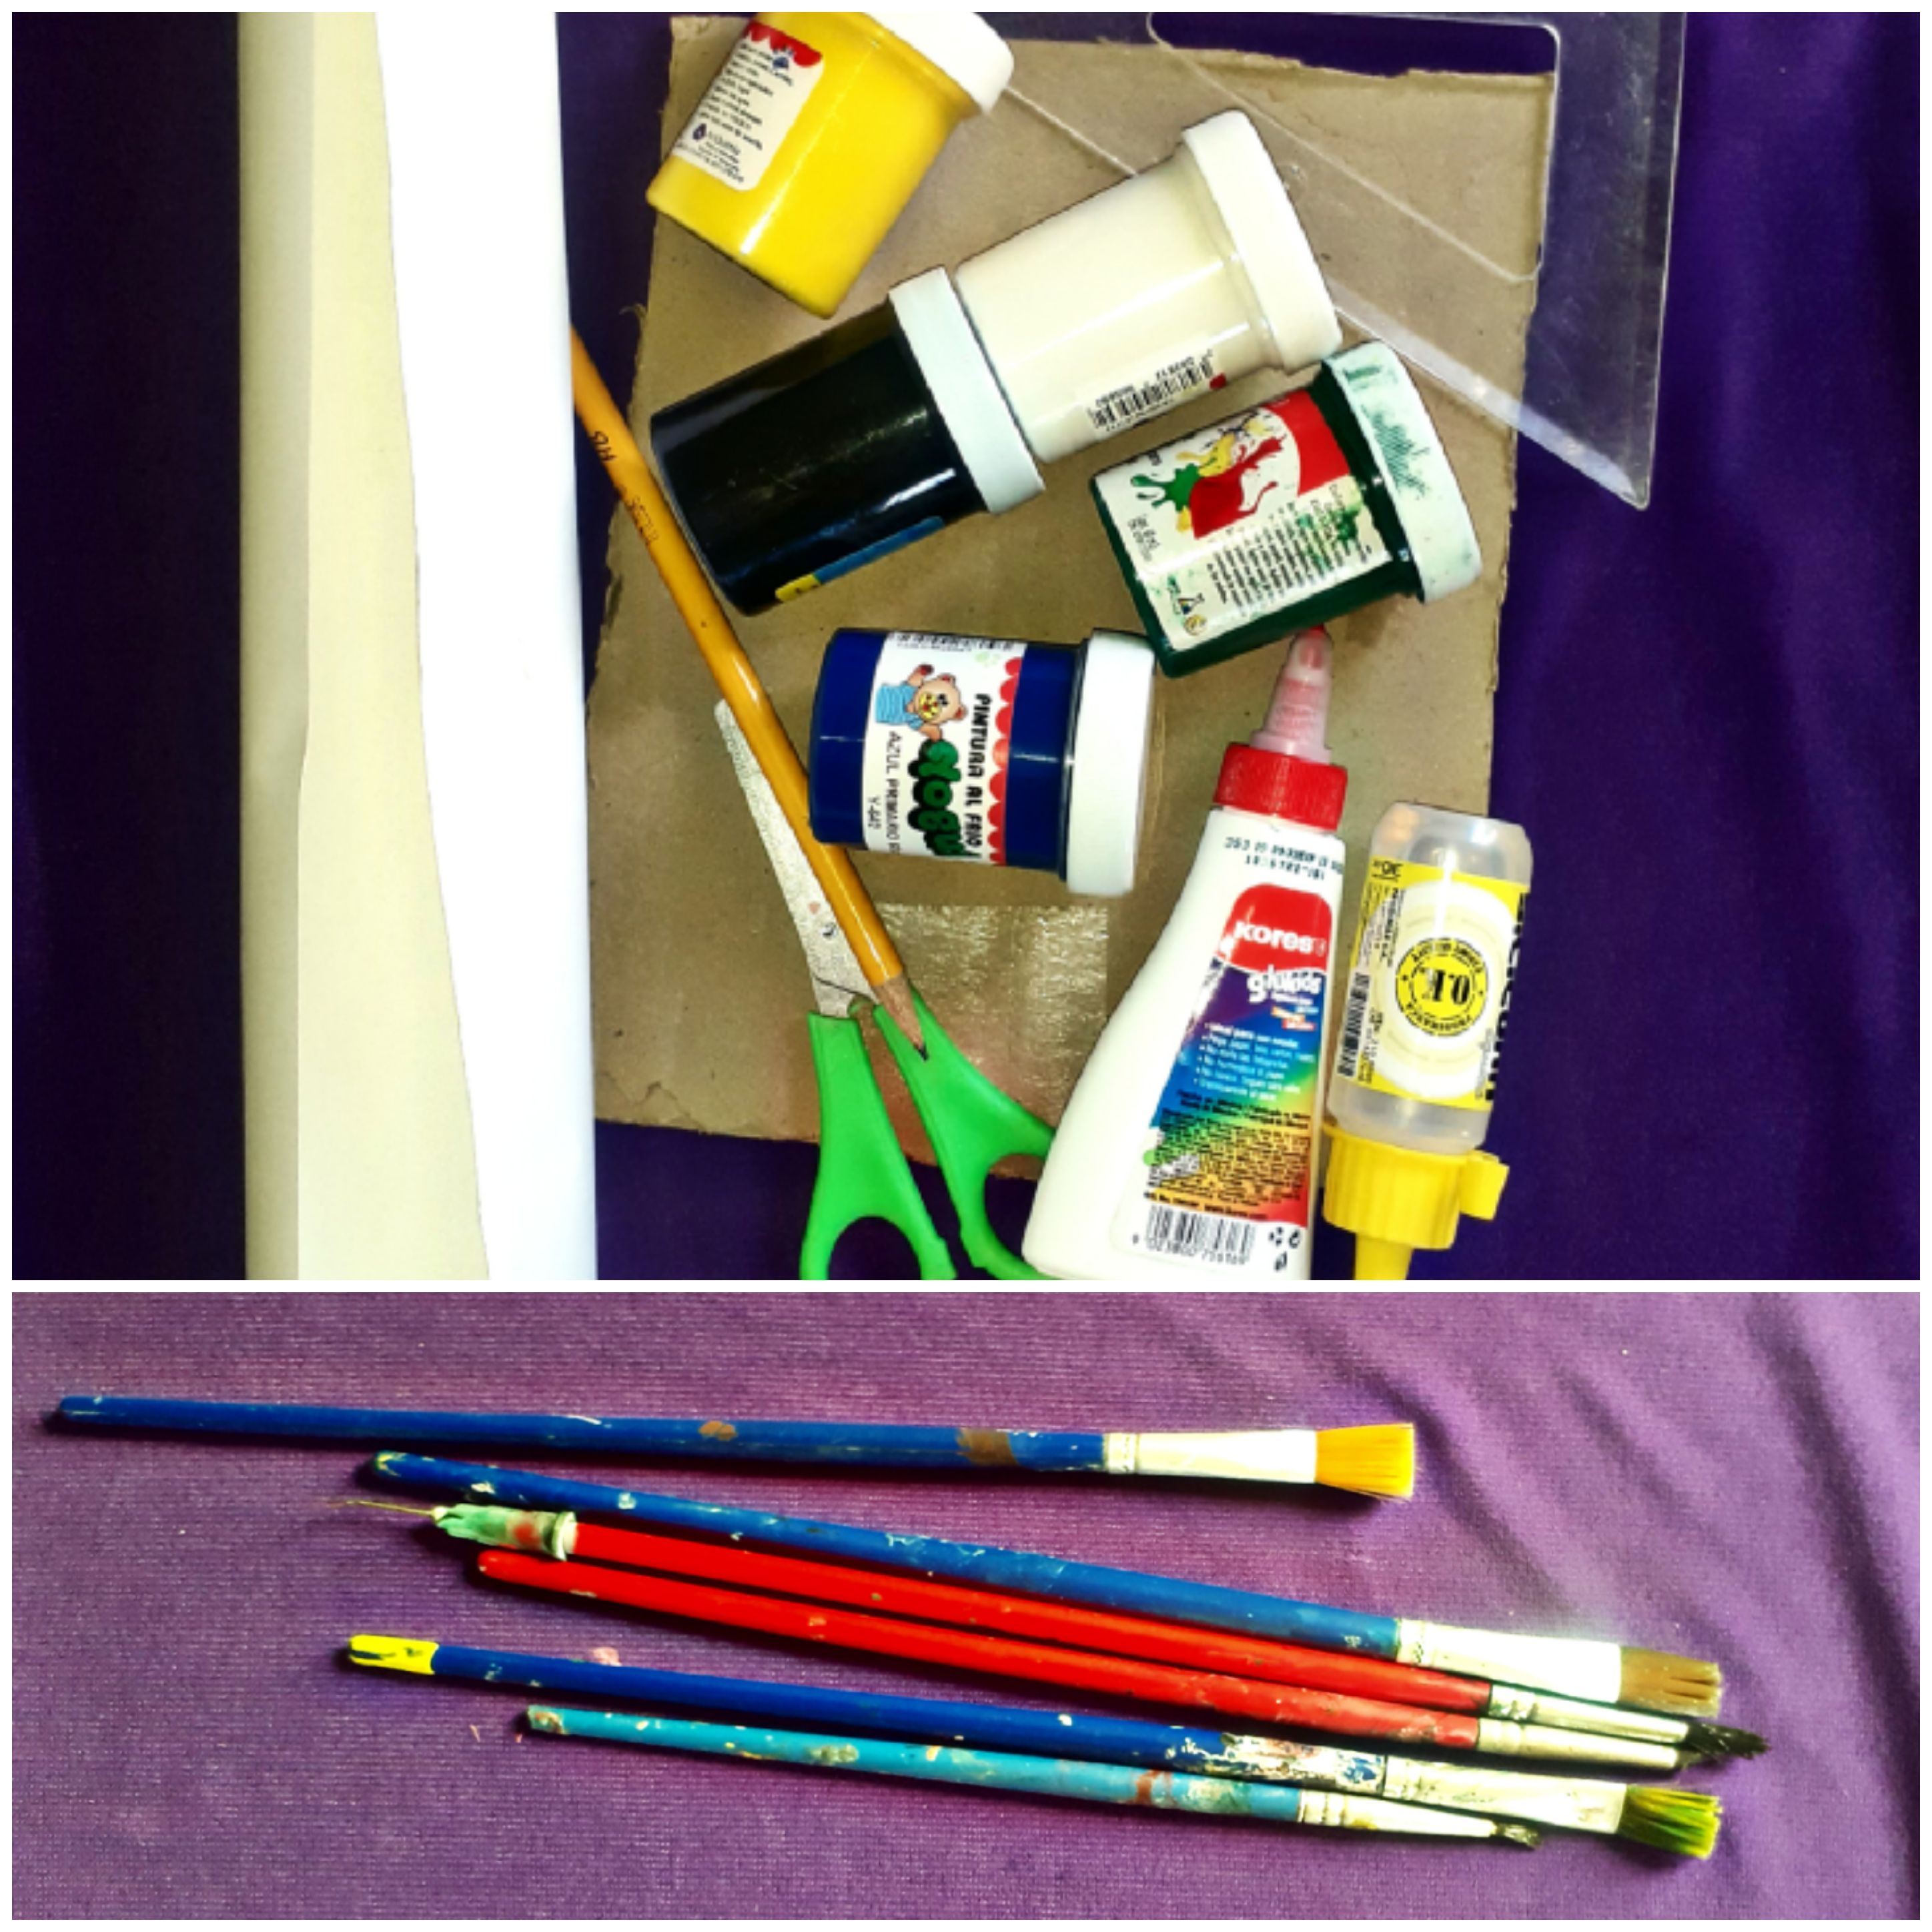
Materiales // Materials
- Cartón.
- Pega blanca.
- Pinturas, blancas, negra, azul, amarilla y roja.
- Lapiz.
- Cartulina.
- Pinceles.
- Cardboard.
- White paste.
- Paints, white, black, blue, yellow and red.
- Pencil.
- Cardboard.
- Brushes.
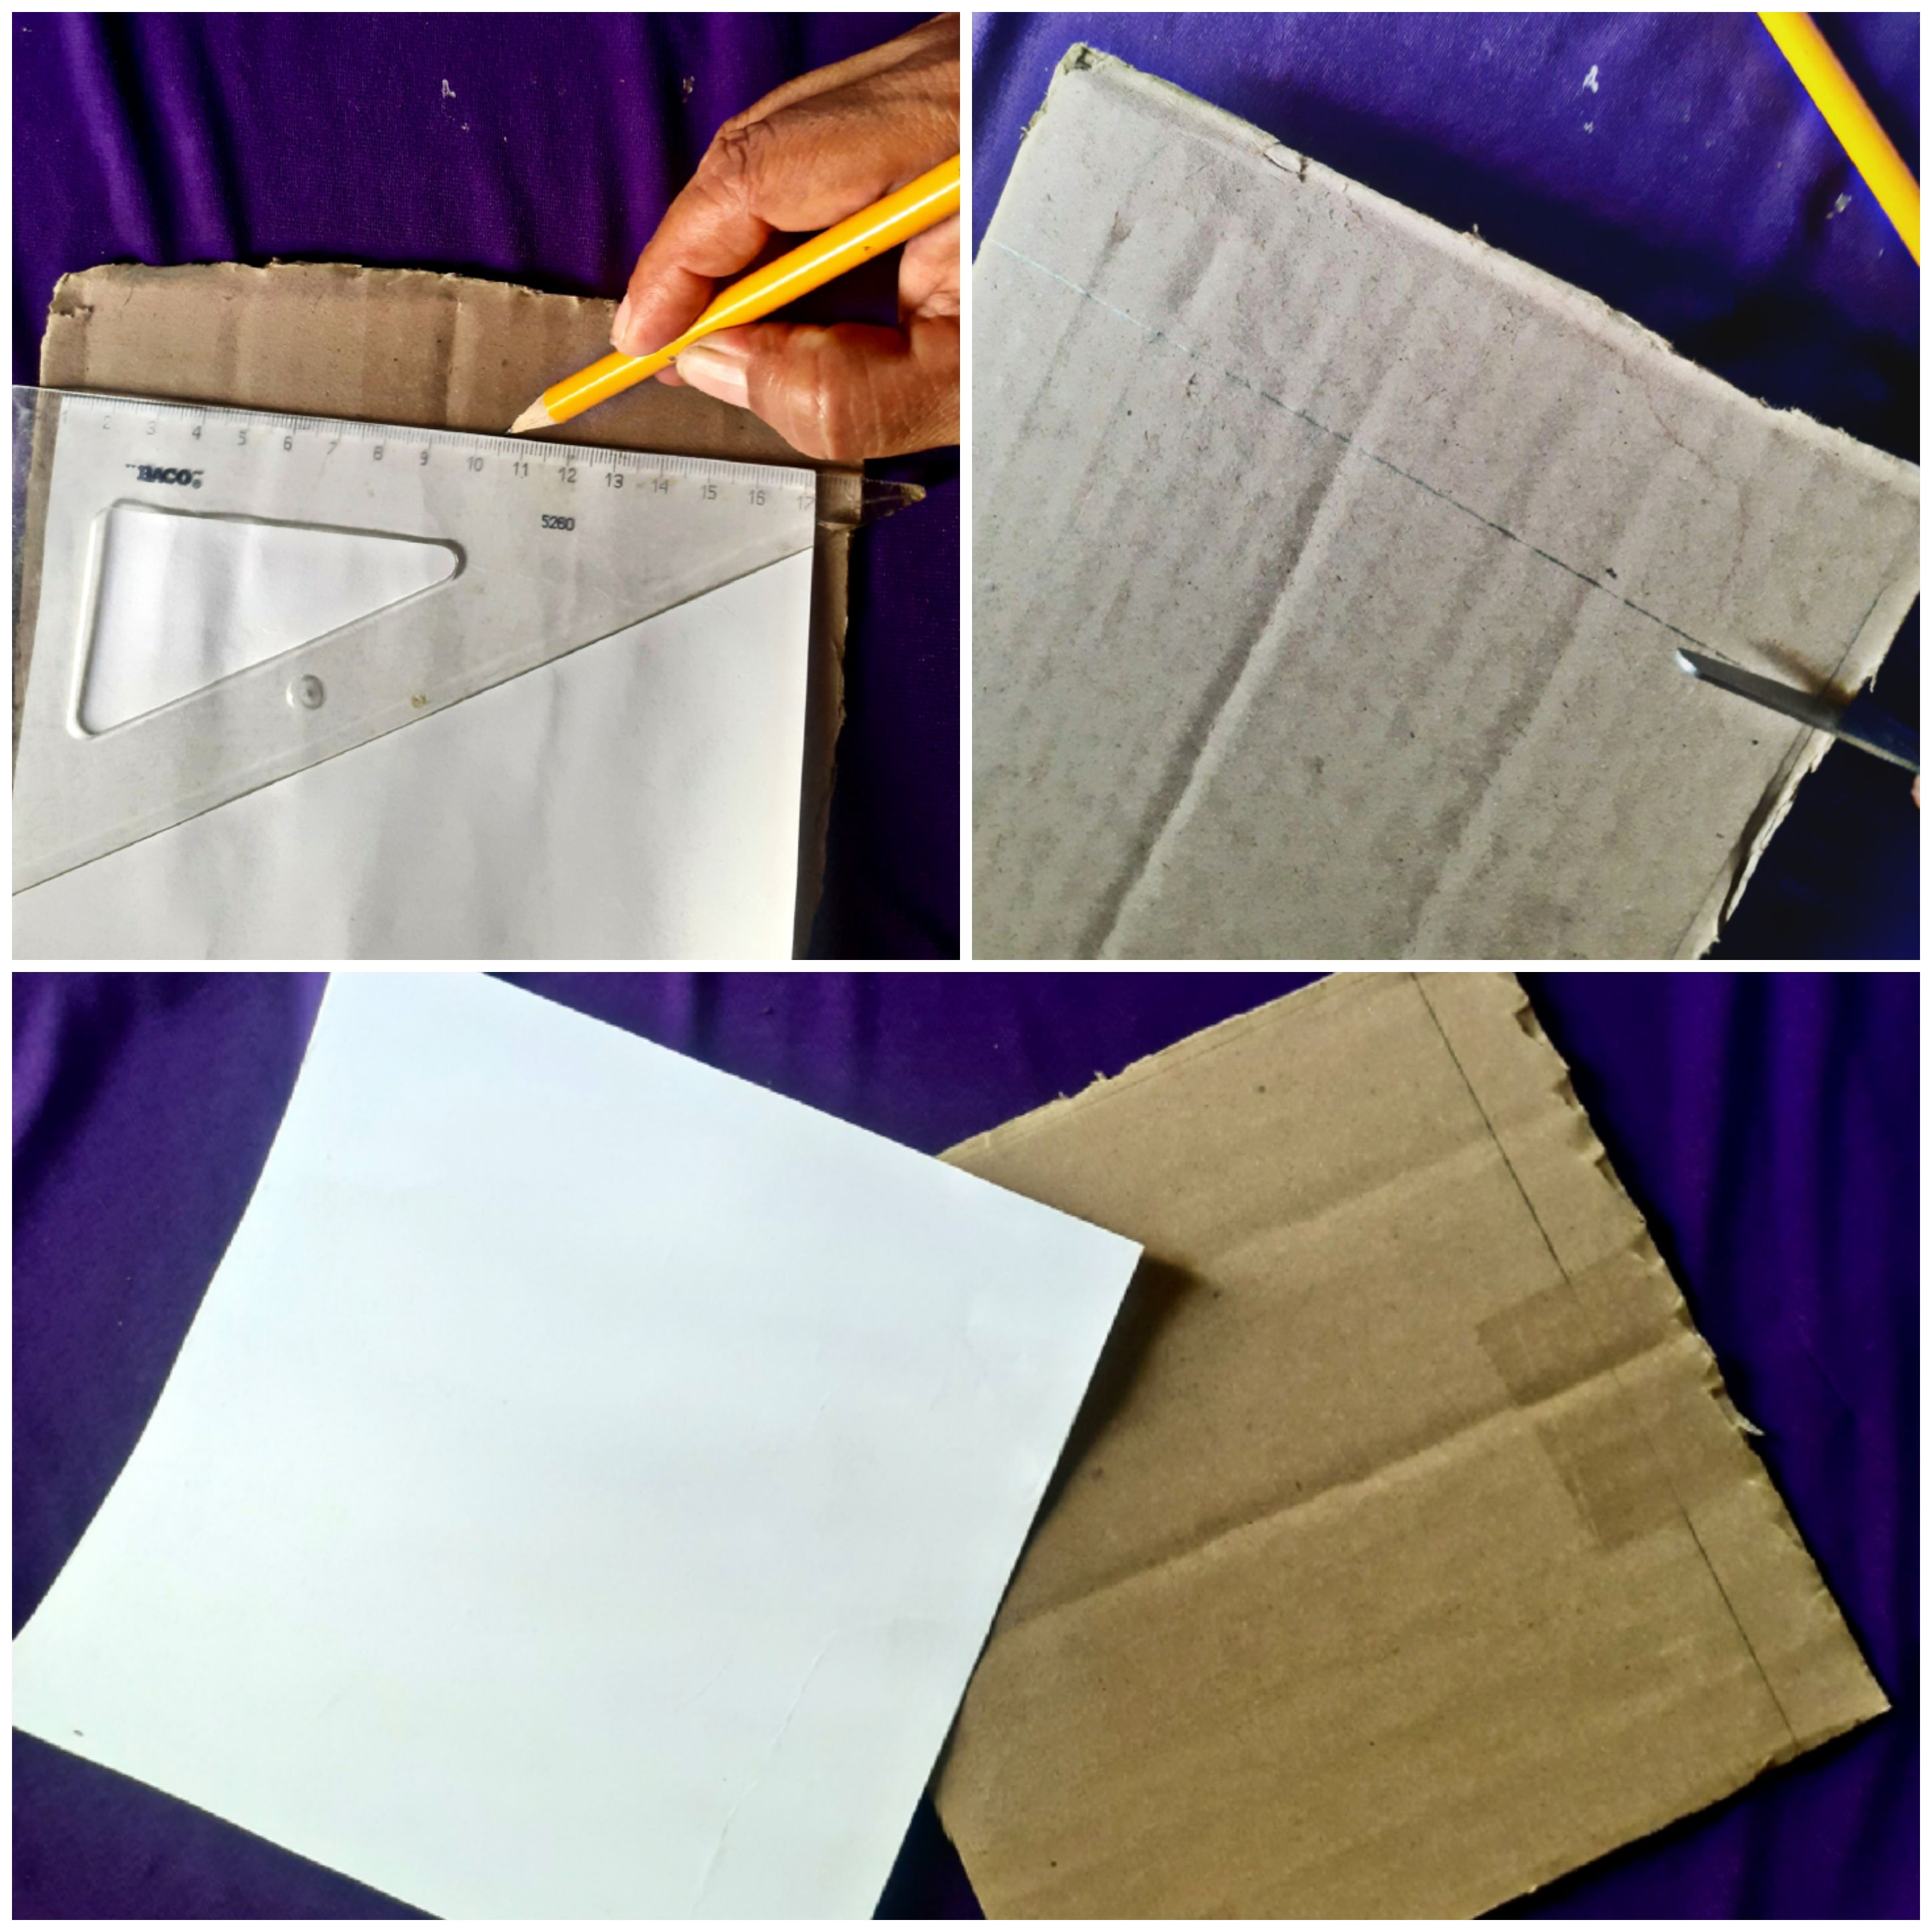
Manos a la obra:
Paso 1:
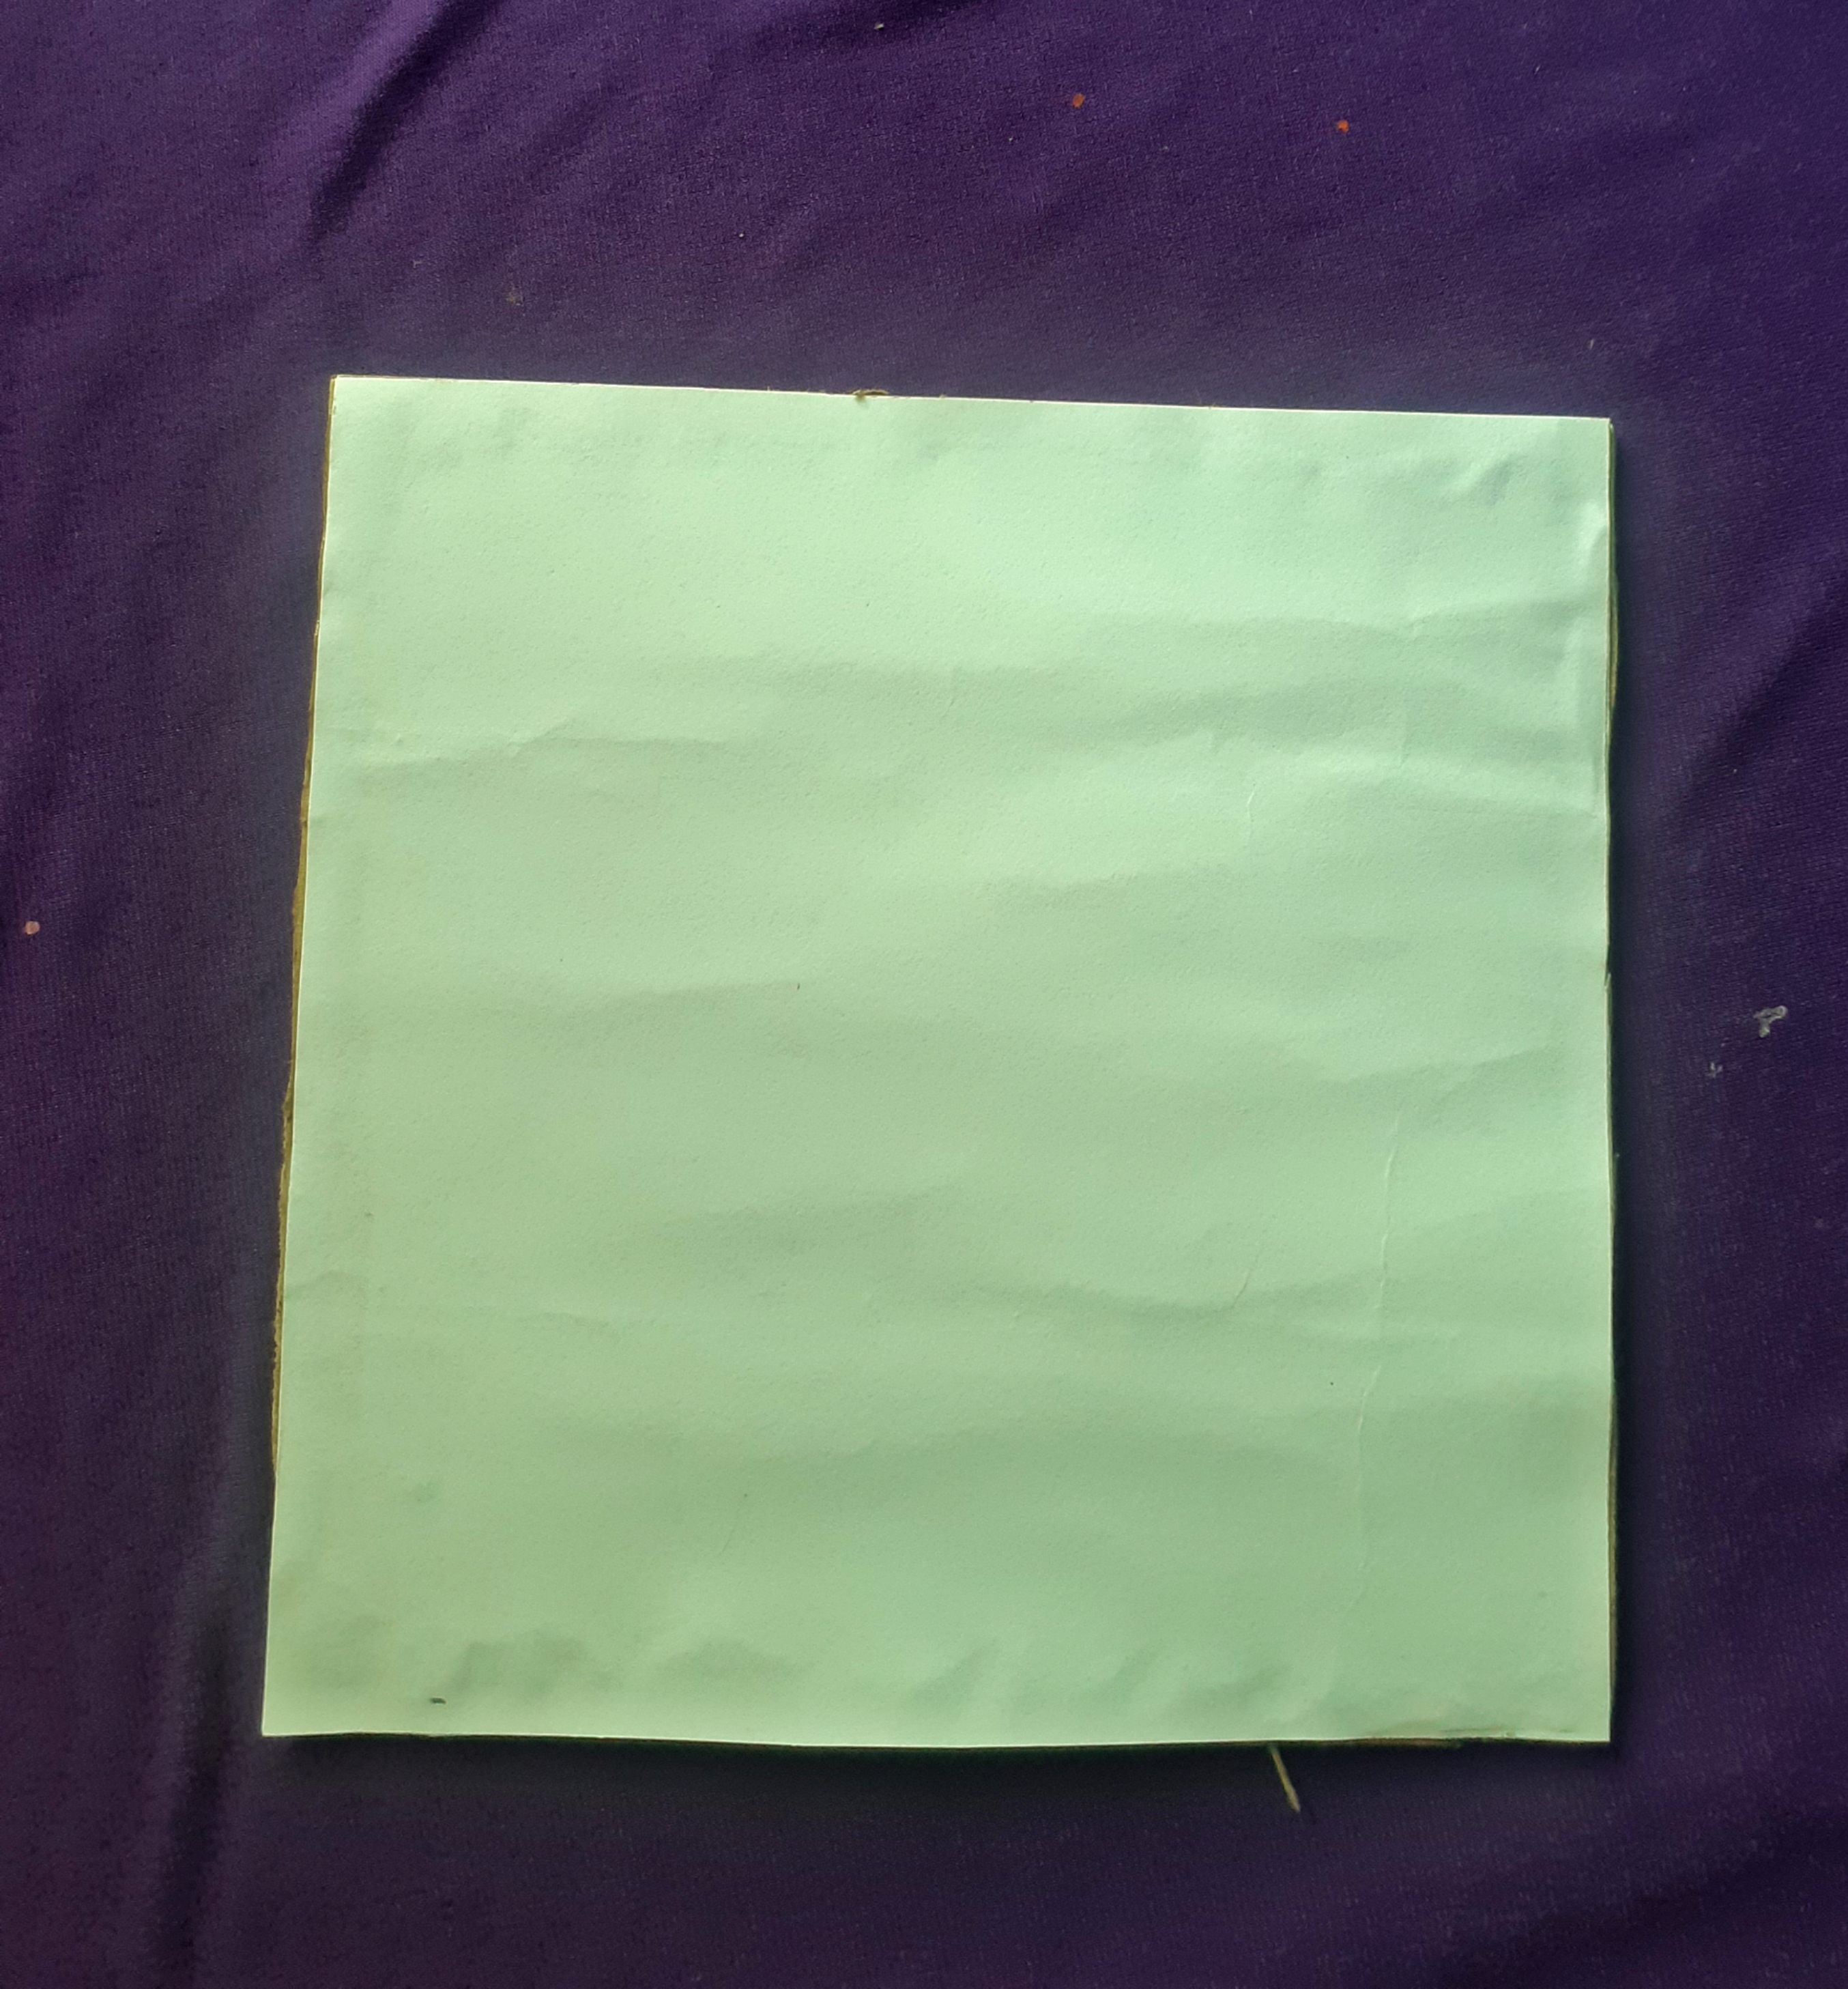
Lo primero que vamos hacer es preparar el cuadro donde pintaremos nuestra cayena y mariposa.
Step 1: The first thing we are going to do is prepare the painting where we will paint our cayenne and butterfly.
Paso 2:
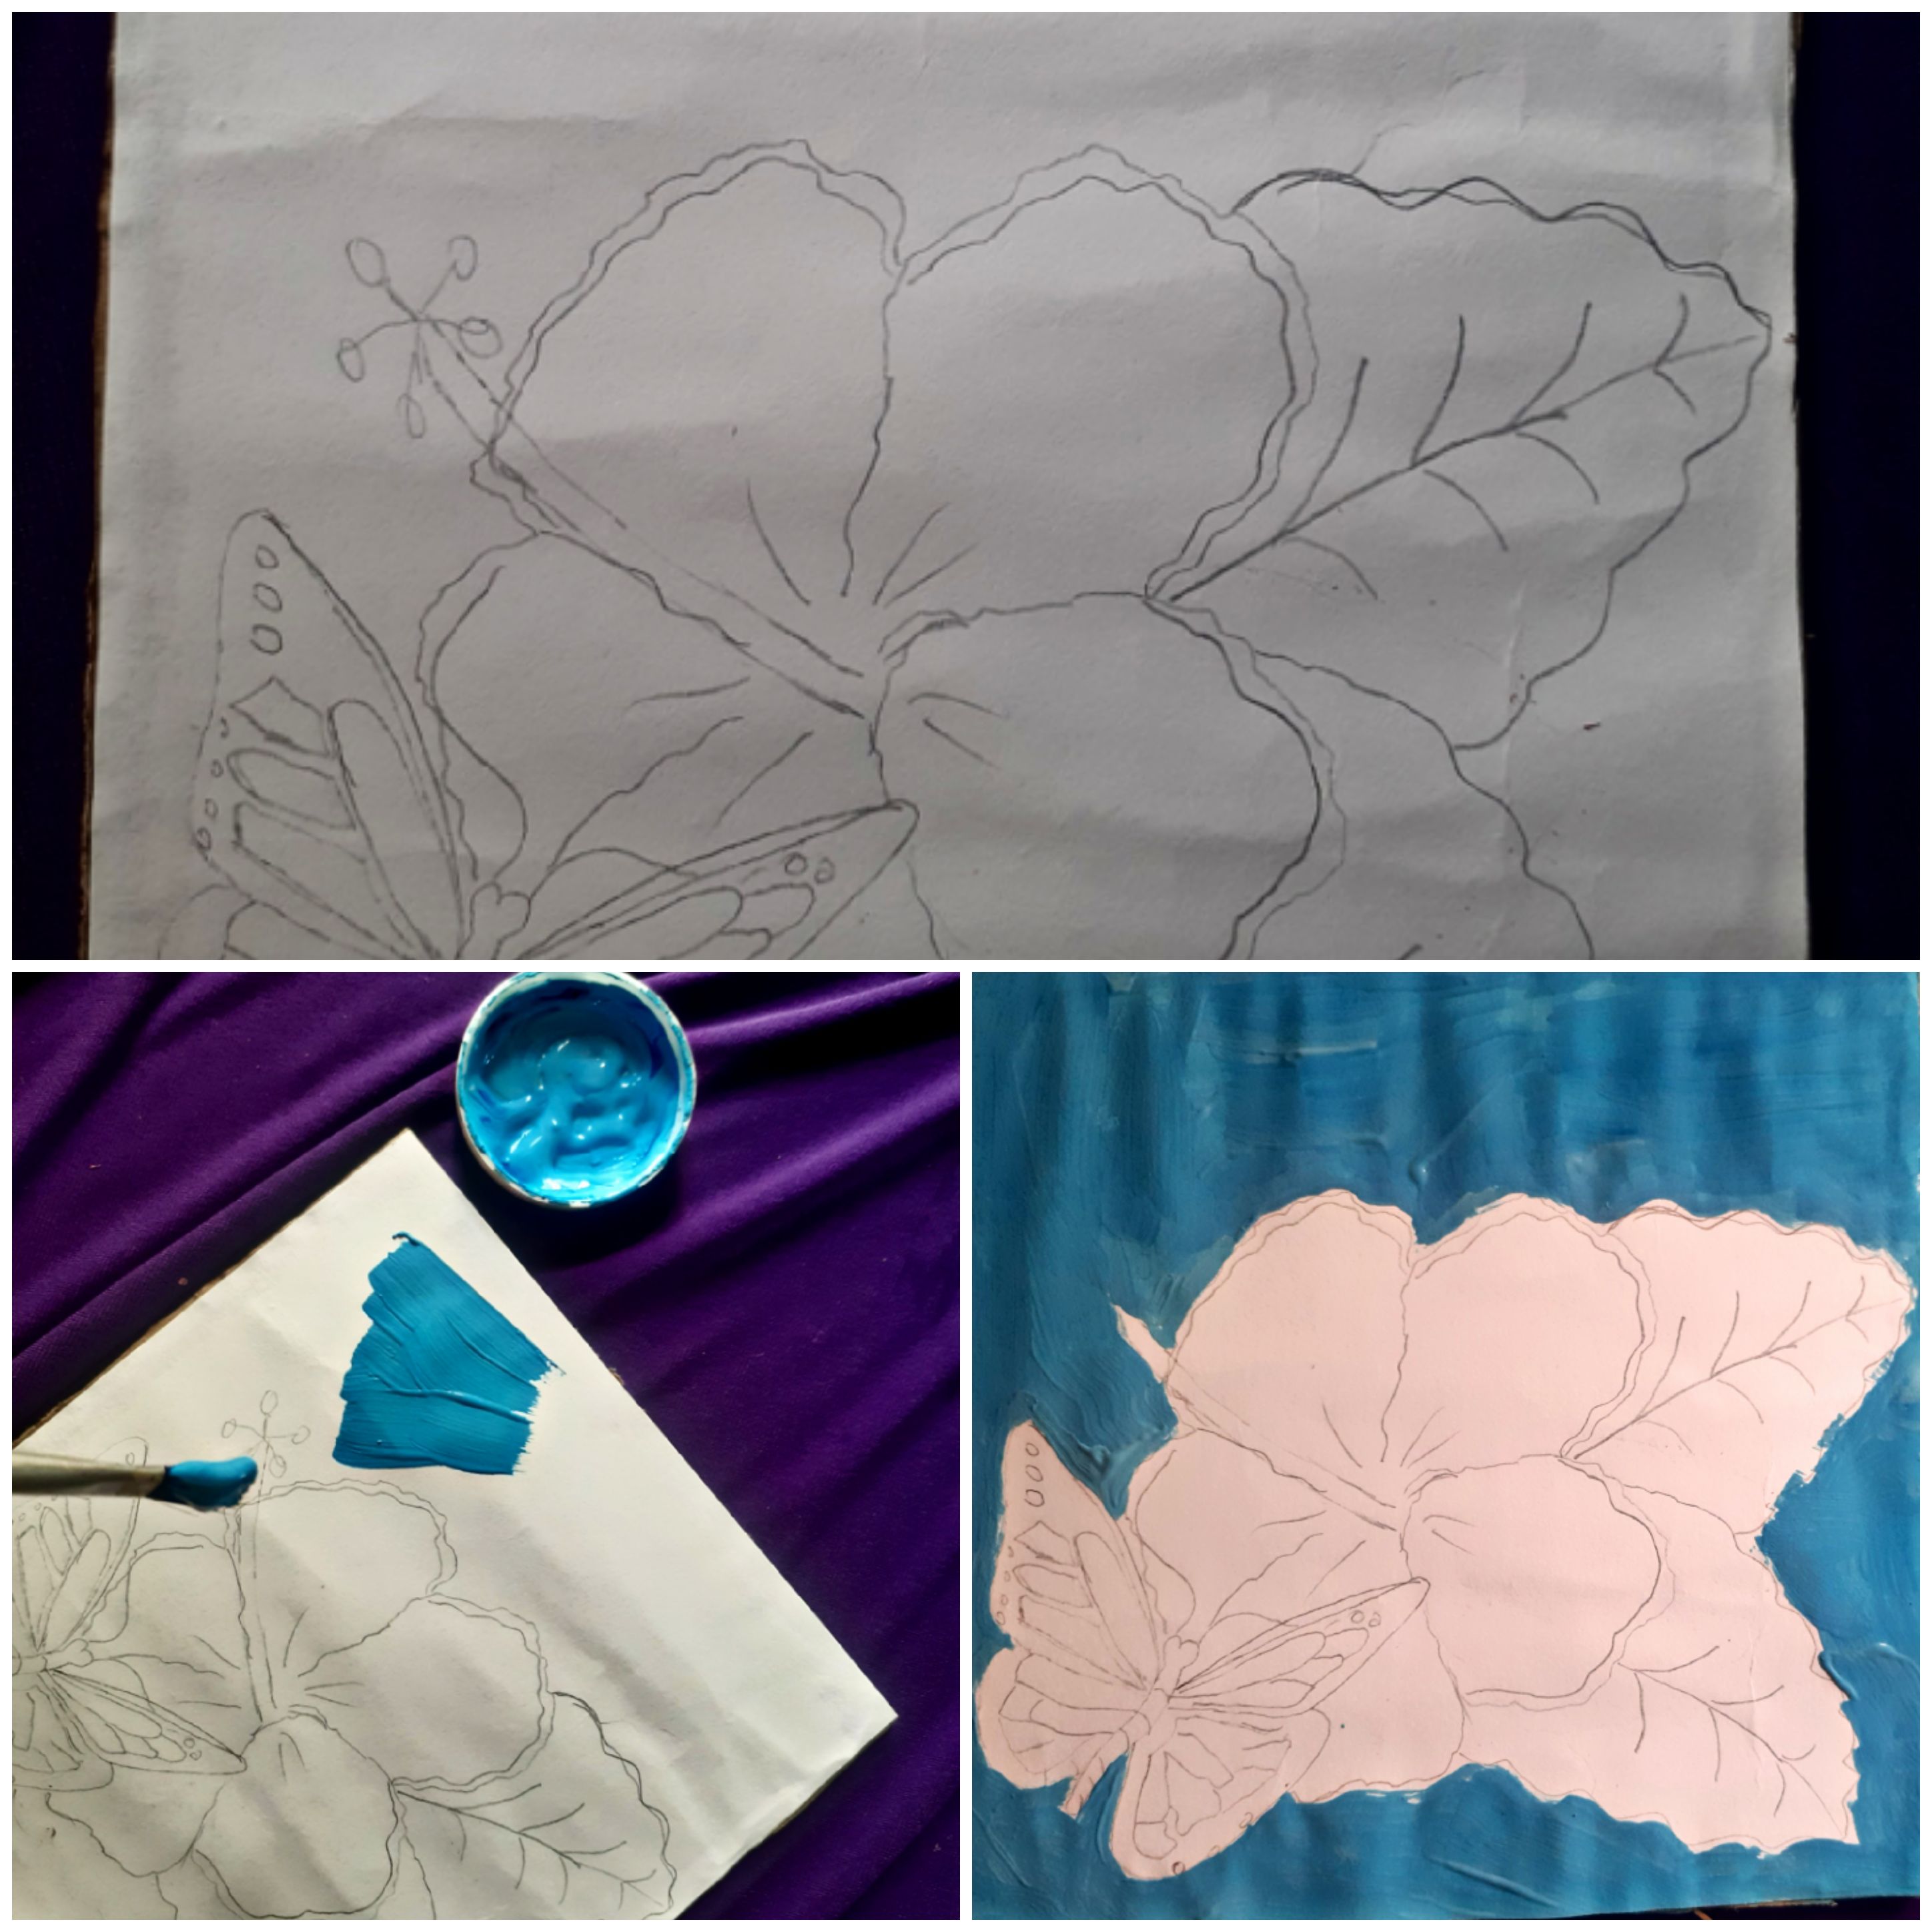
Luego dibujamos el collage de la cayena y mariposa, y lo pintamos de azul cielo sin tocar el dibujo.
Step 2: Then we draw the collage of the cayenne and butterfly, and paint it sky blue without touching the drawing.
Paso 3:
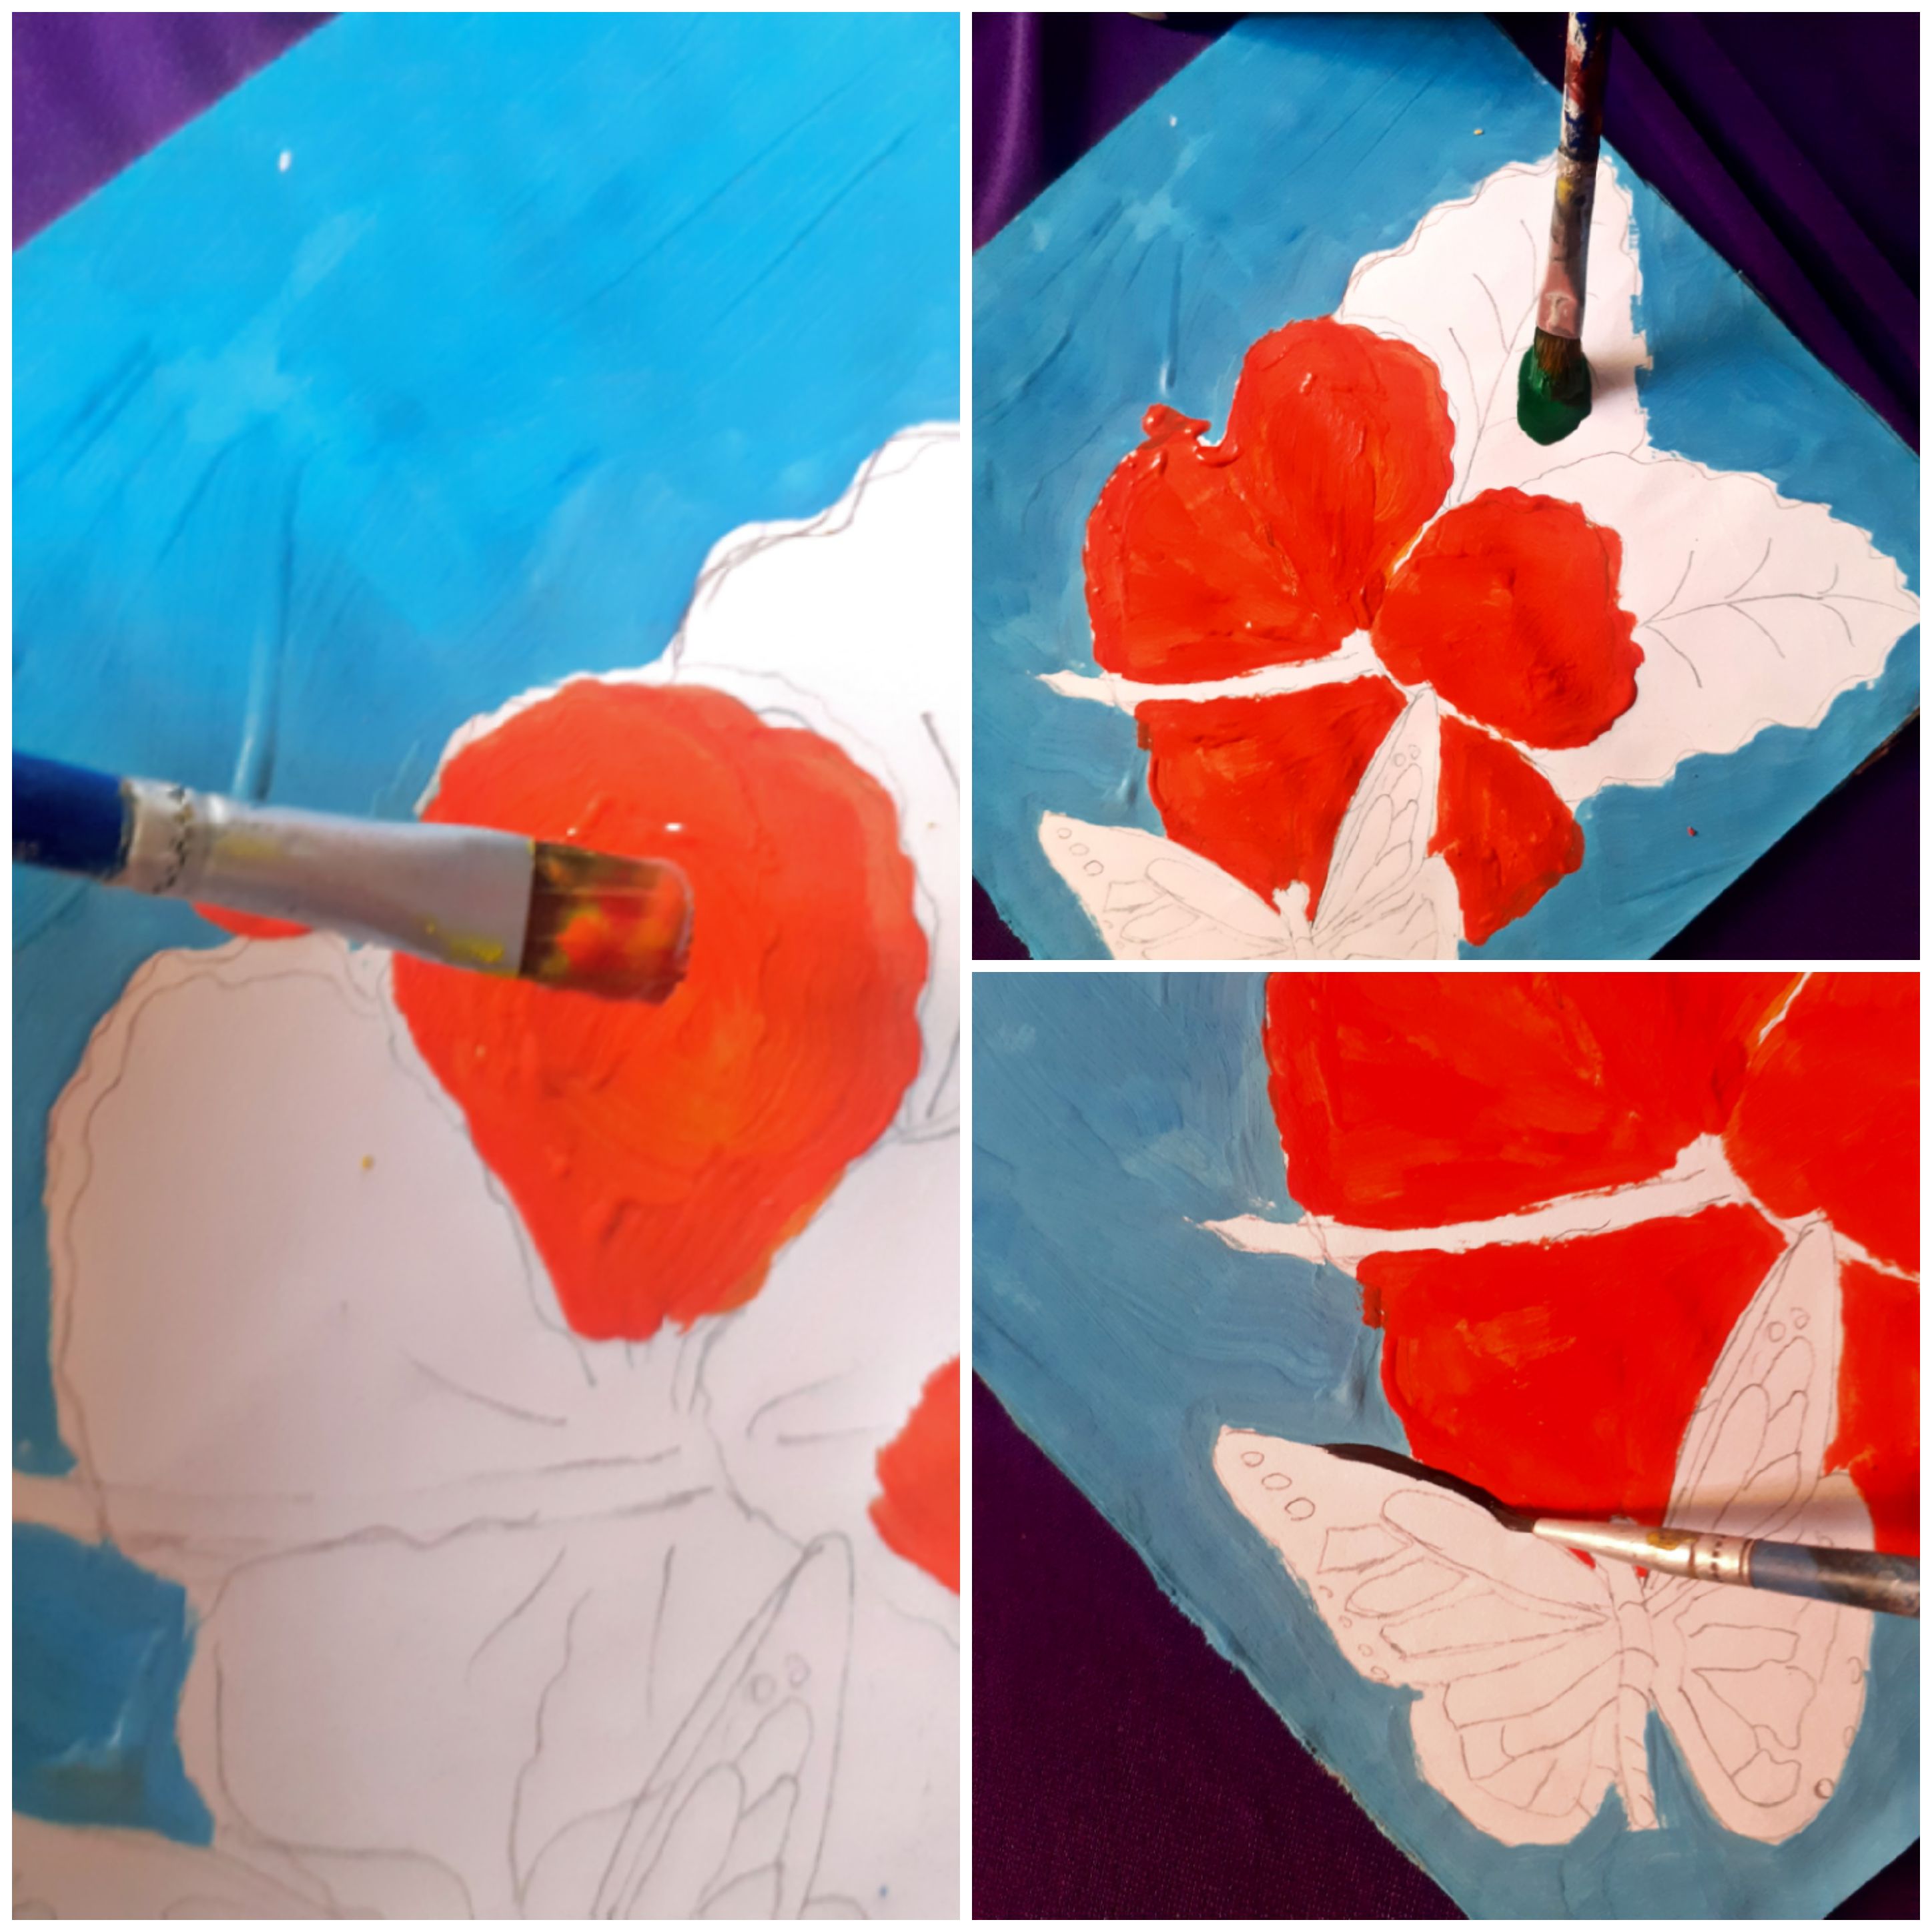
Empezamos ha colocarle color a nuestra cayena puedes colocarle el color que gustes, en este caso yo le coloque un color naranja,luego pintamos las hojas.
Step 3: We started to put color to our cayenne, you can put the color you like, in this case I put an orange color, then we paint the leaves.
Paso 4:
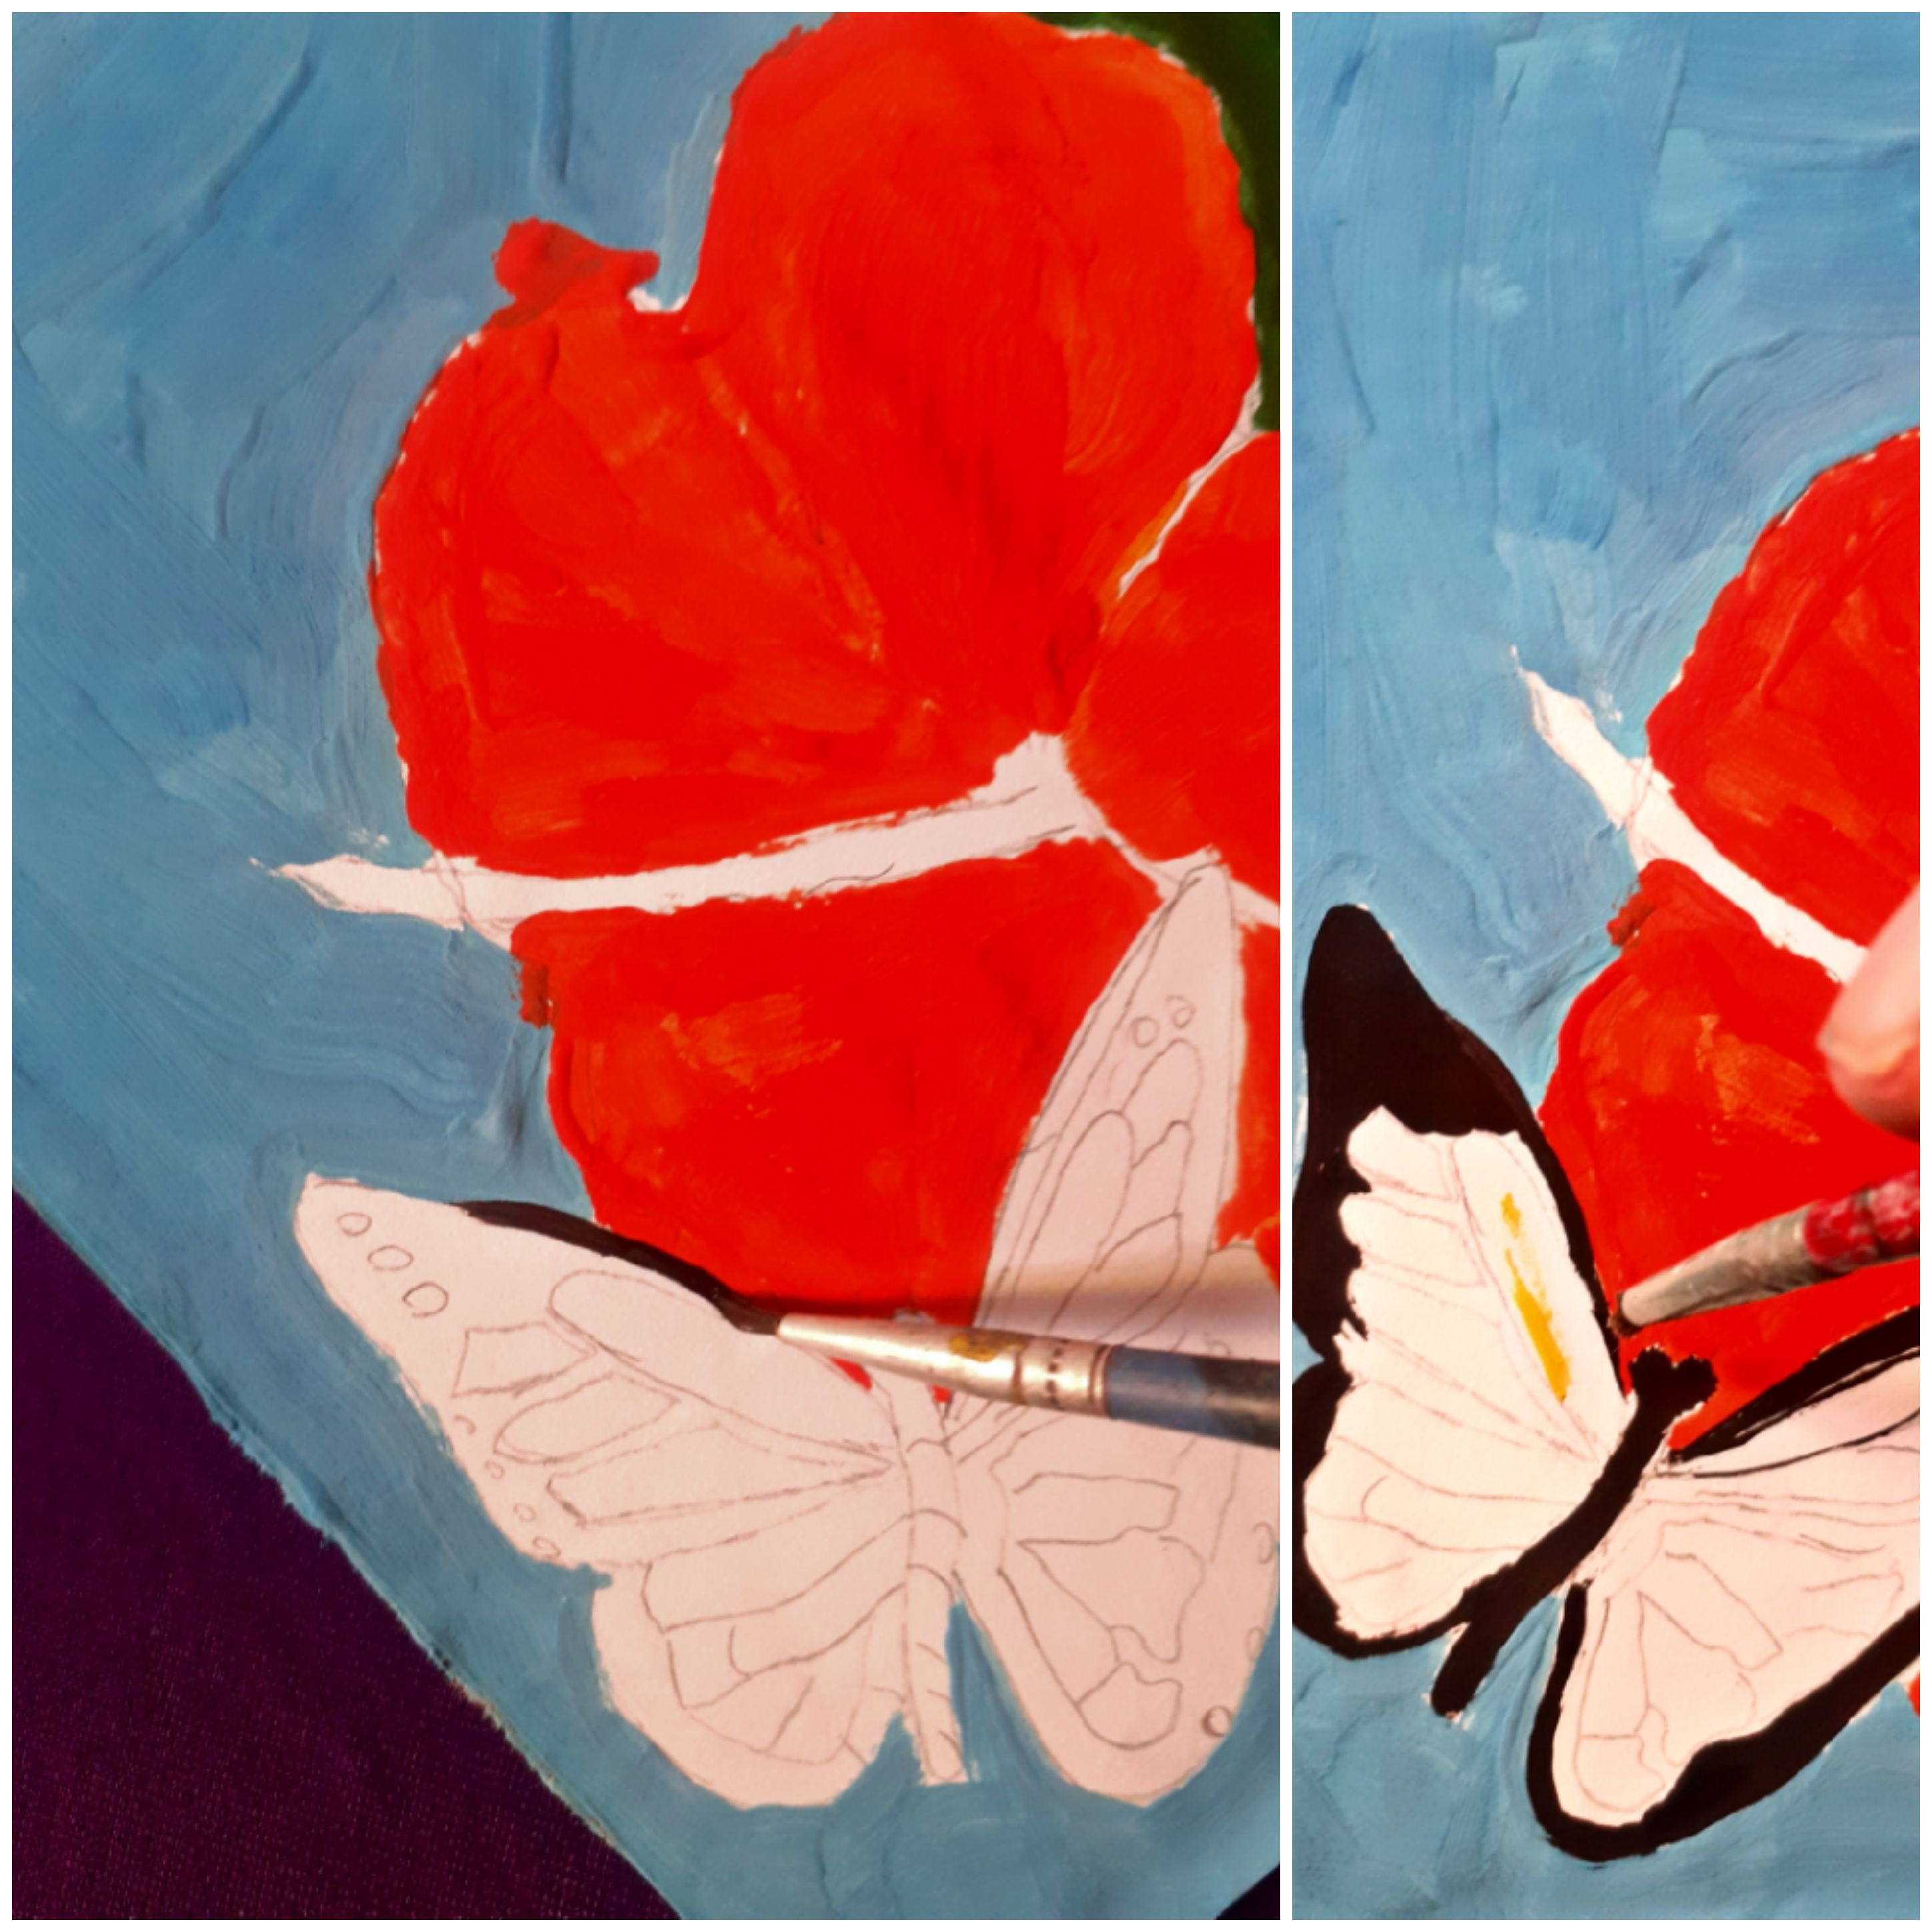
Seguimos con la mariposa, colocando el color negro en las orillas de sus alas, para luego colocarle amarilo en el centro de sus alas.
Step 4: We continue with the butterfly, placing the black color on the edges of its wings, and then placing yellow in the center of its wings.
Paso 5:
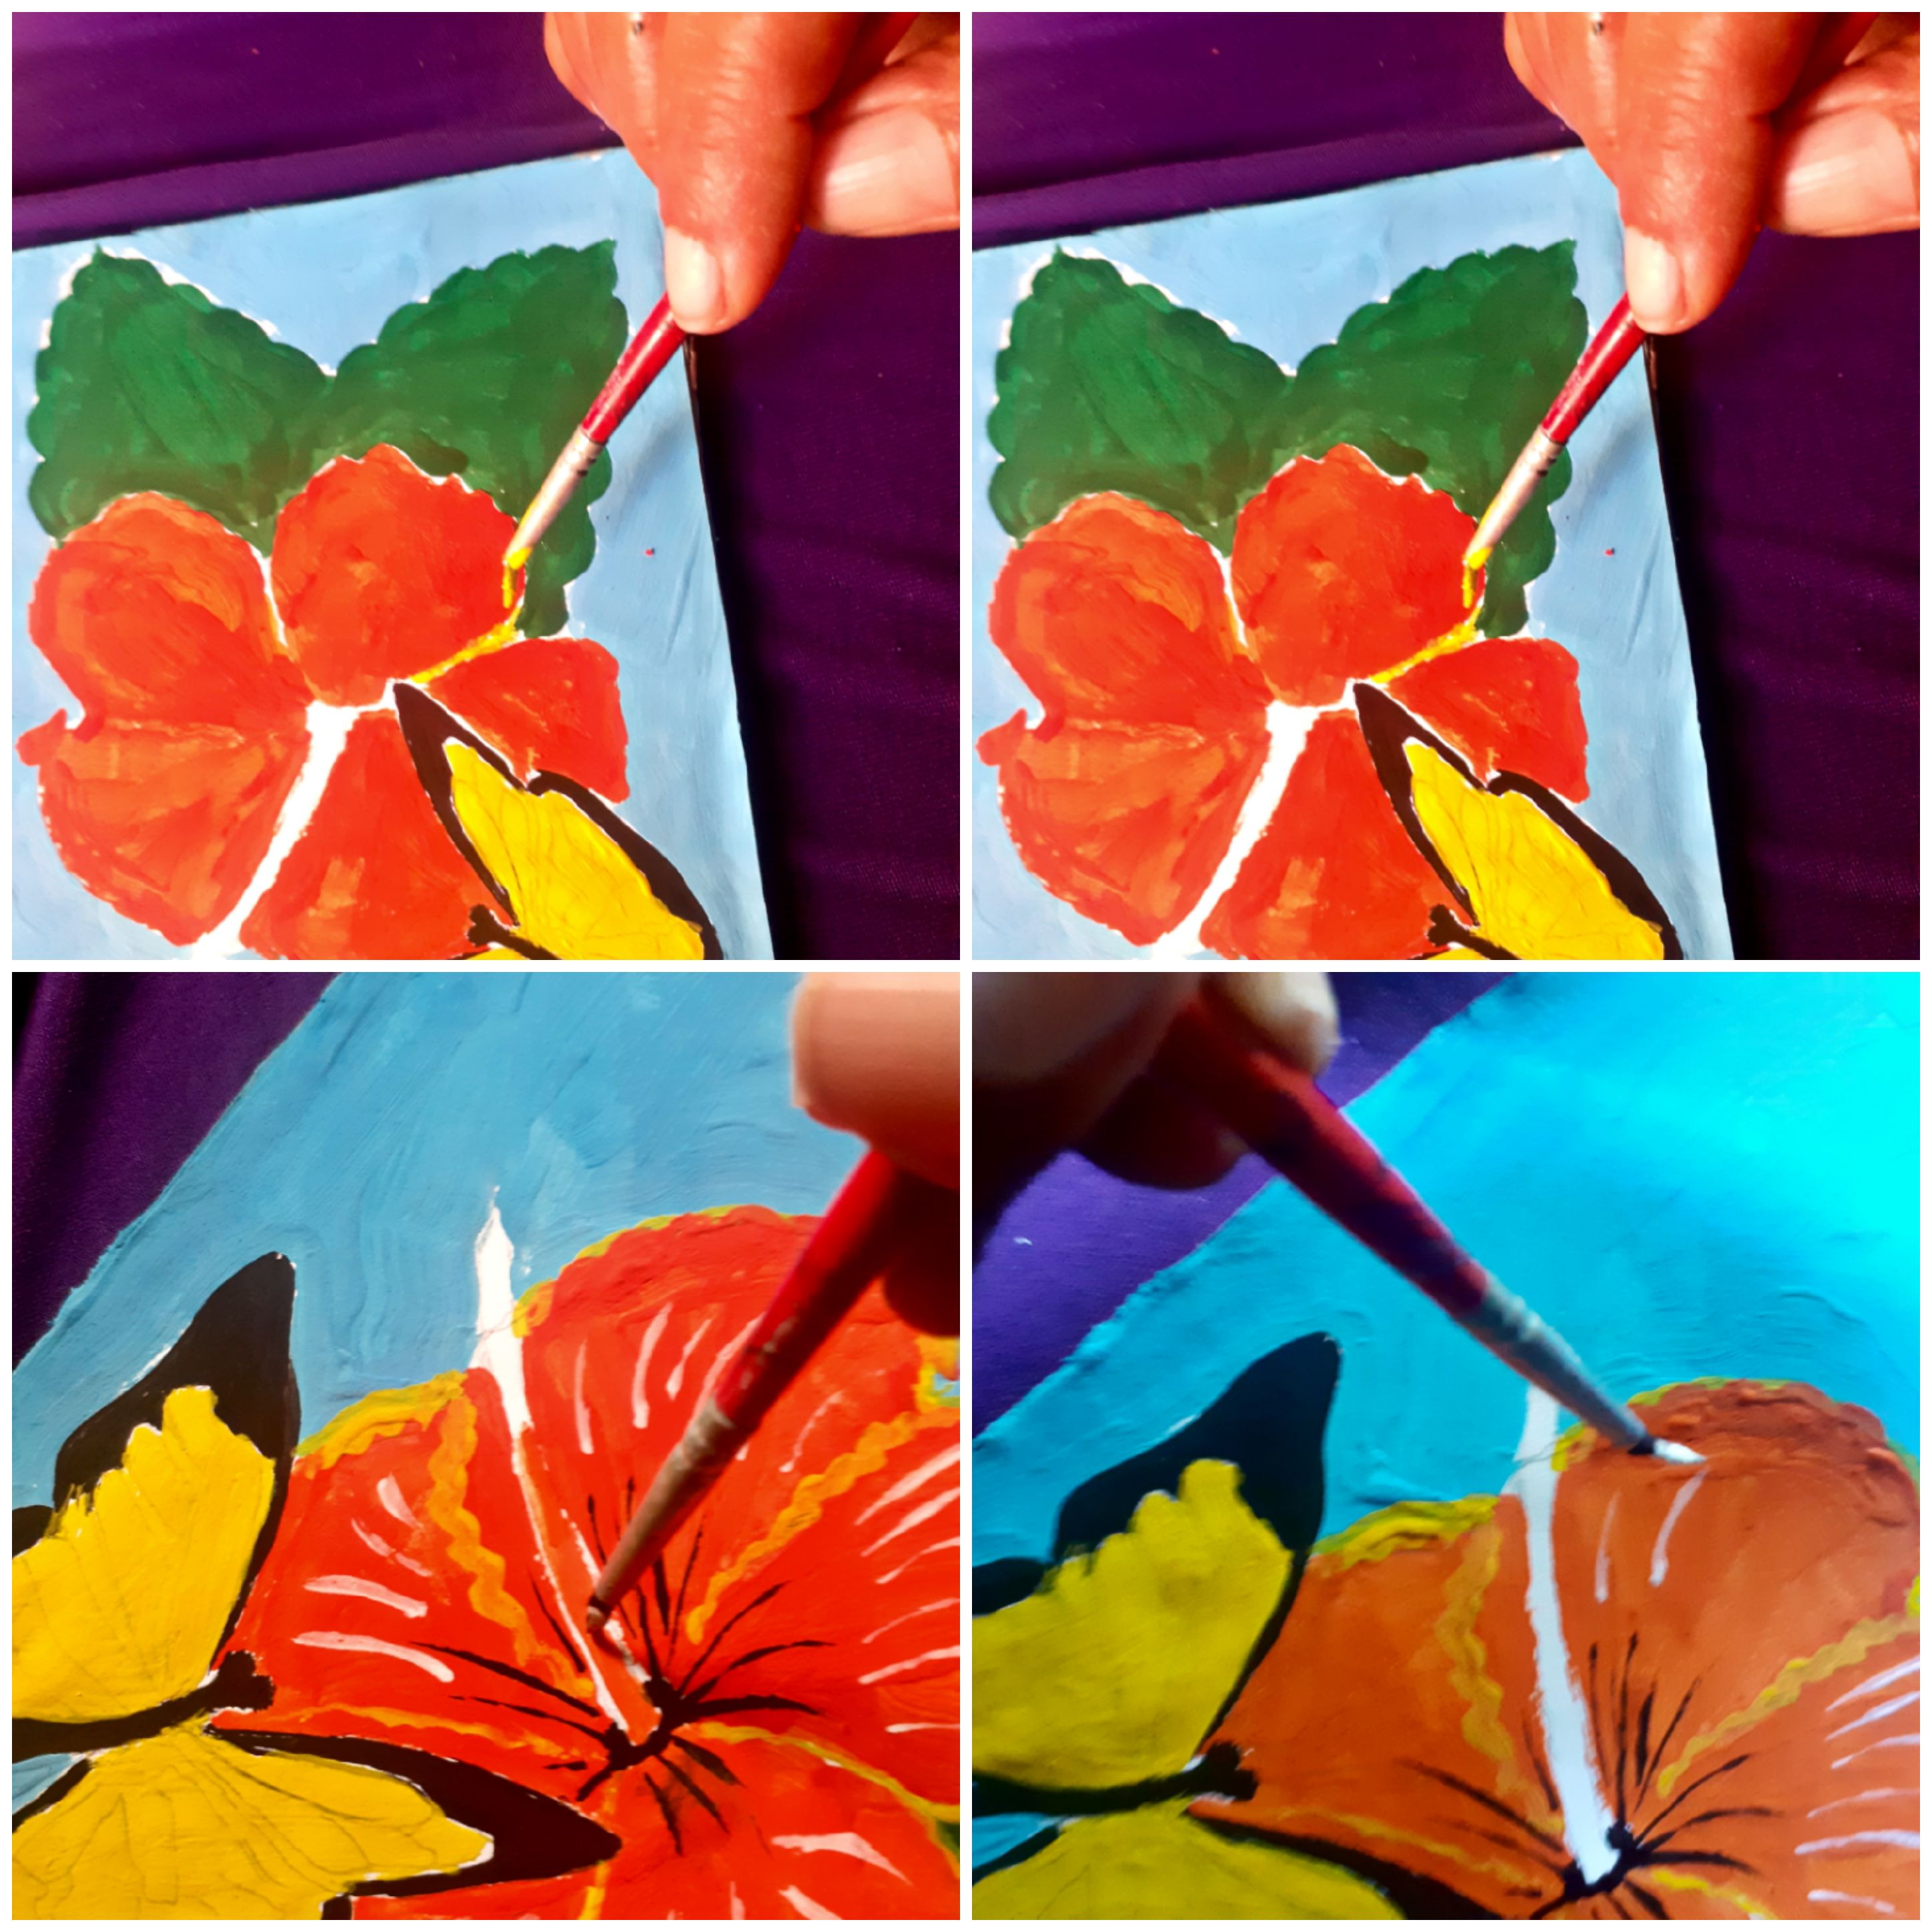
Ya cuando tenemos todo con sus colores empezamos a colocarle los detalles en los petalos, mariposa y hojas.
Step 5: When we have everything with its colors we begin to place the details on the petals, butterfly and leaves.
Y listo ya terminamos nuestro hermoso cuadro, lo podemos usar para decorar la sala de nuestra casa y se vera muy lindo, espero que les haya gustado.
And ready we finished our beautiful painting, we can use it to decorate the living room of our house and it will look very nice, I hope you liked it.
