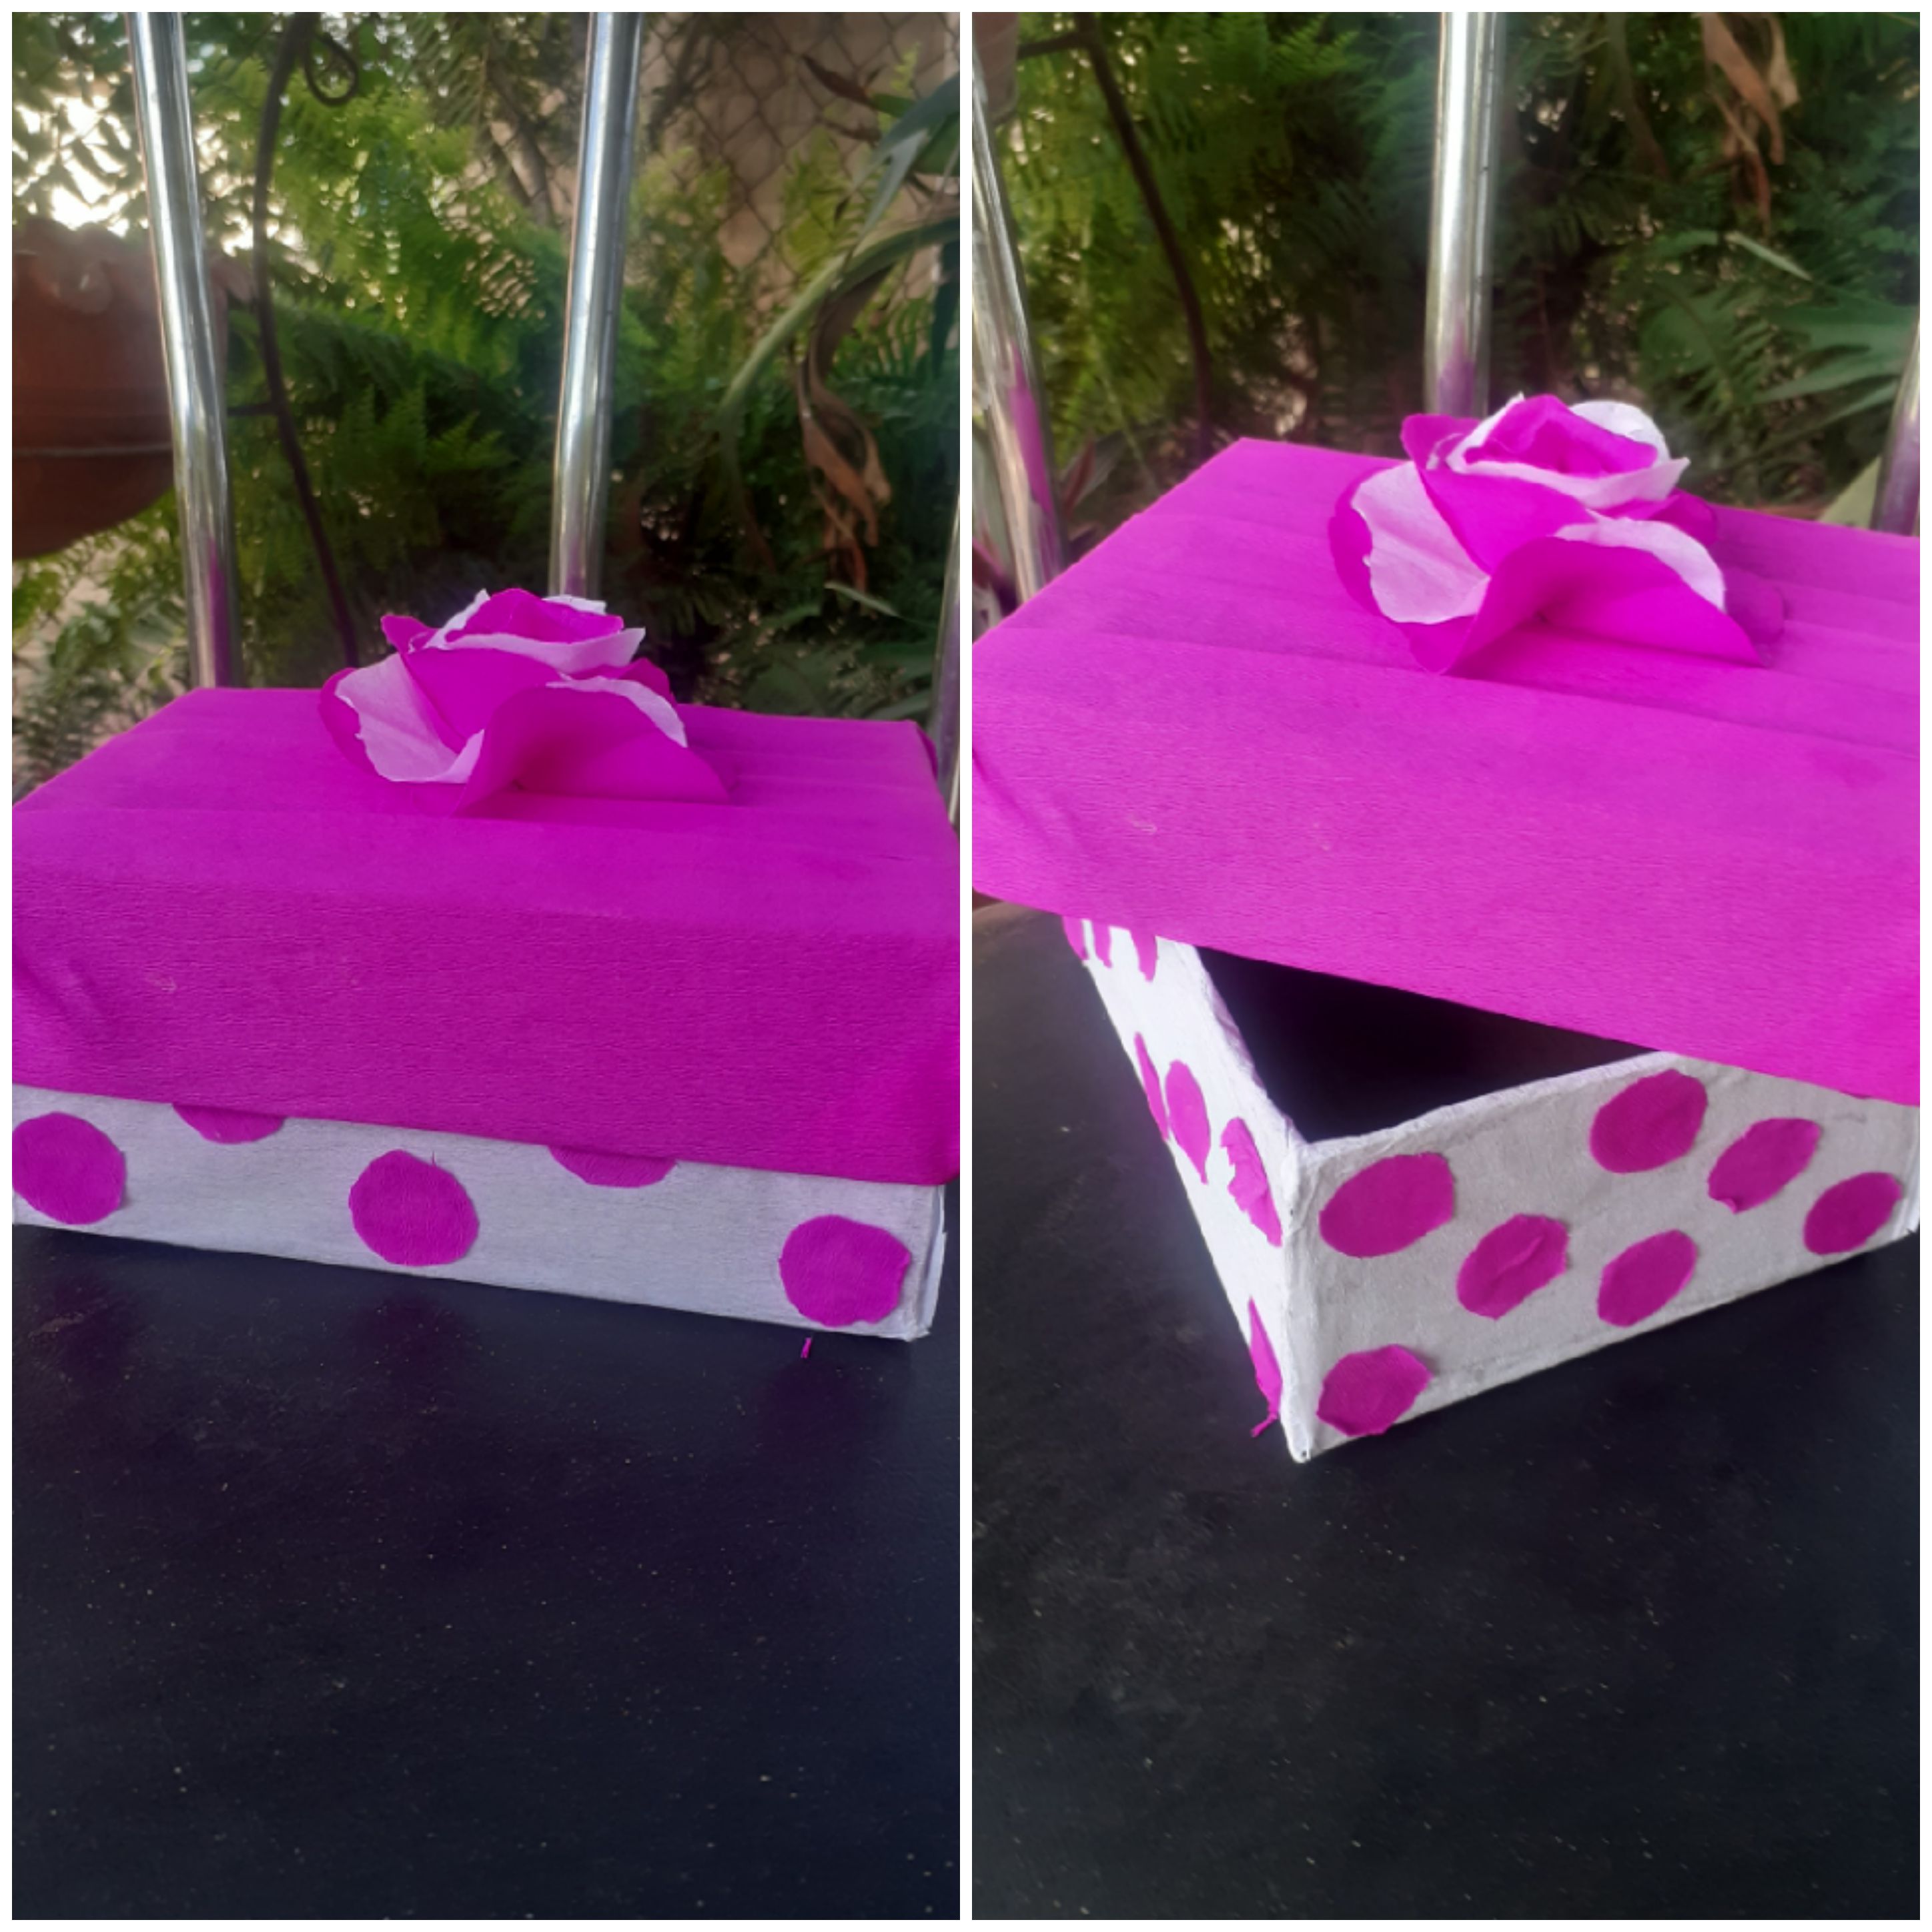
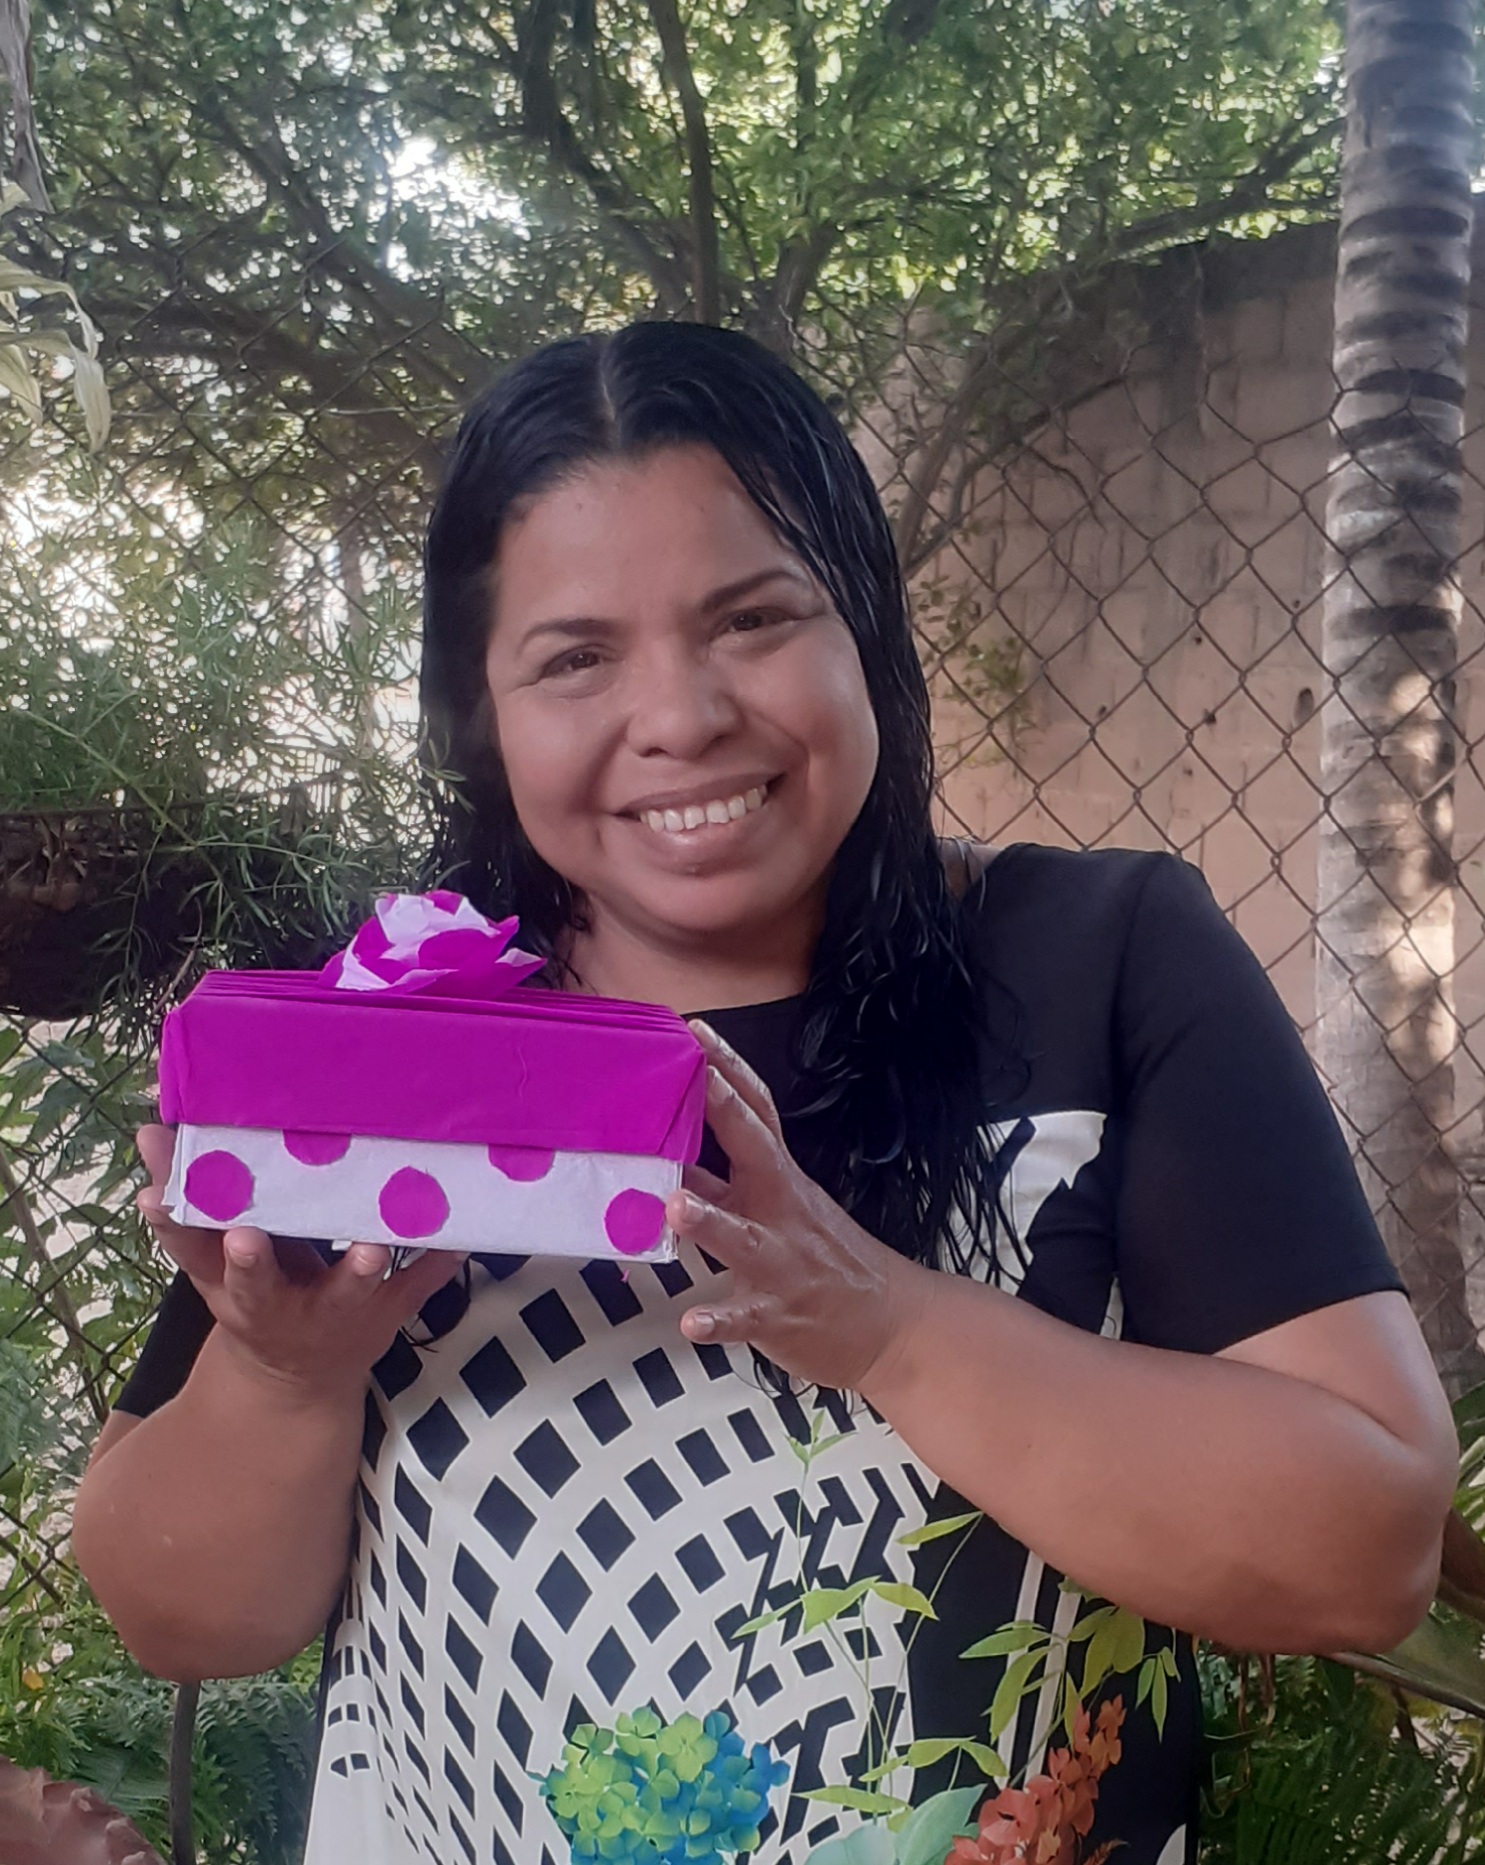
="text-justify"-Dios les bendiga mi amigos de hive cuanto tiempo sin saludarlos, feliz de estar nuevamente con todos ustedes, hoy quiero compartir con ustedes como realizar una cajita de cartón decorada propicia para nuestras hermosas madres o alguien especial,en la cual colocar dentro lo que querramos.
="text-justify"-God bless you my hive friends, long without greeting you, happy to be with all of you again, today I want to share with you how to make a decorated cardboard box suitable for our beautiful mothers or someone special, in which to place whatever we want inside.
-Cartón.
-Papel crepes (blanco y fucsias).
-lapiz.
-Silicon.
-Tijera.
-Regla.
-Cardboard.
-Crepe paper (white and fuchsia).
-pencil.
-Silicon.
-Scissors.
-Rule.

####
="text-justify" Paso 1:
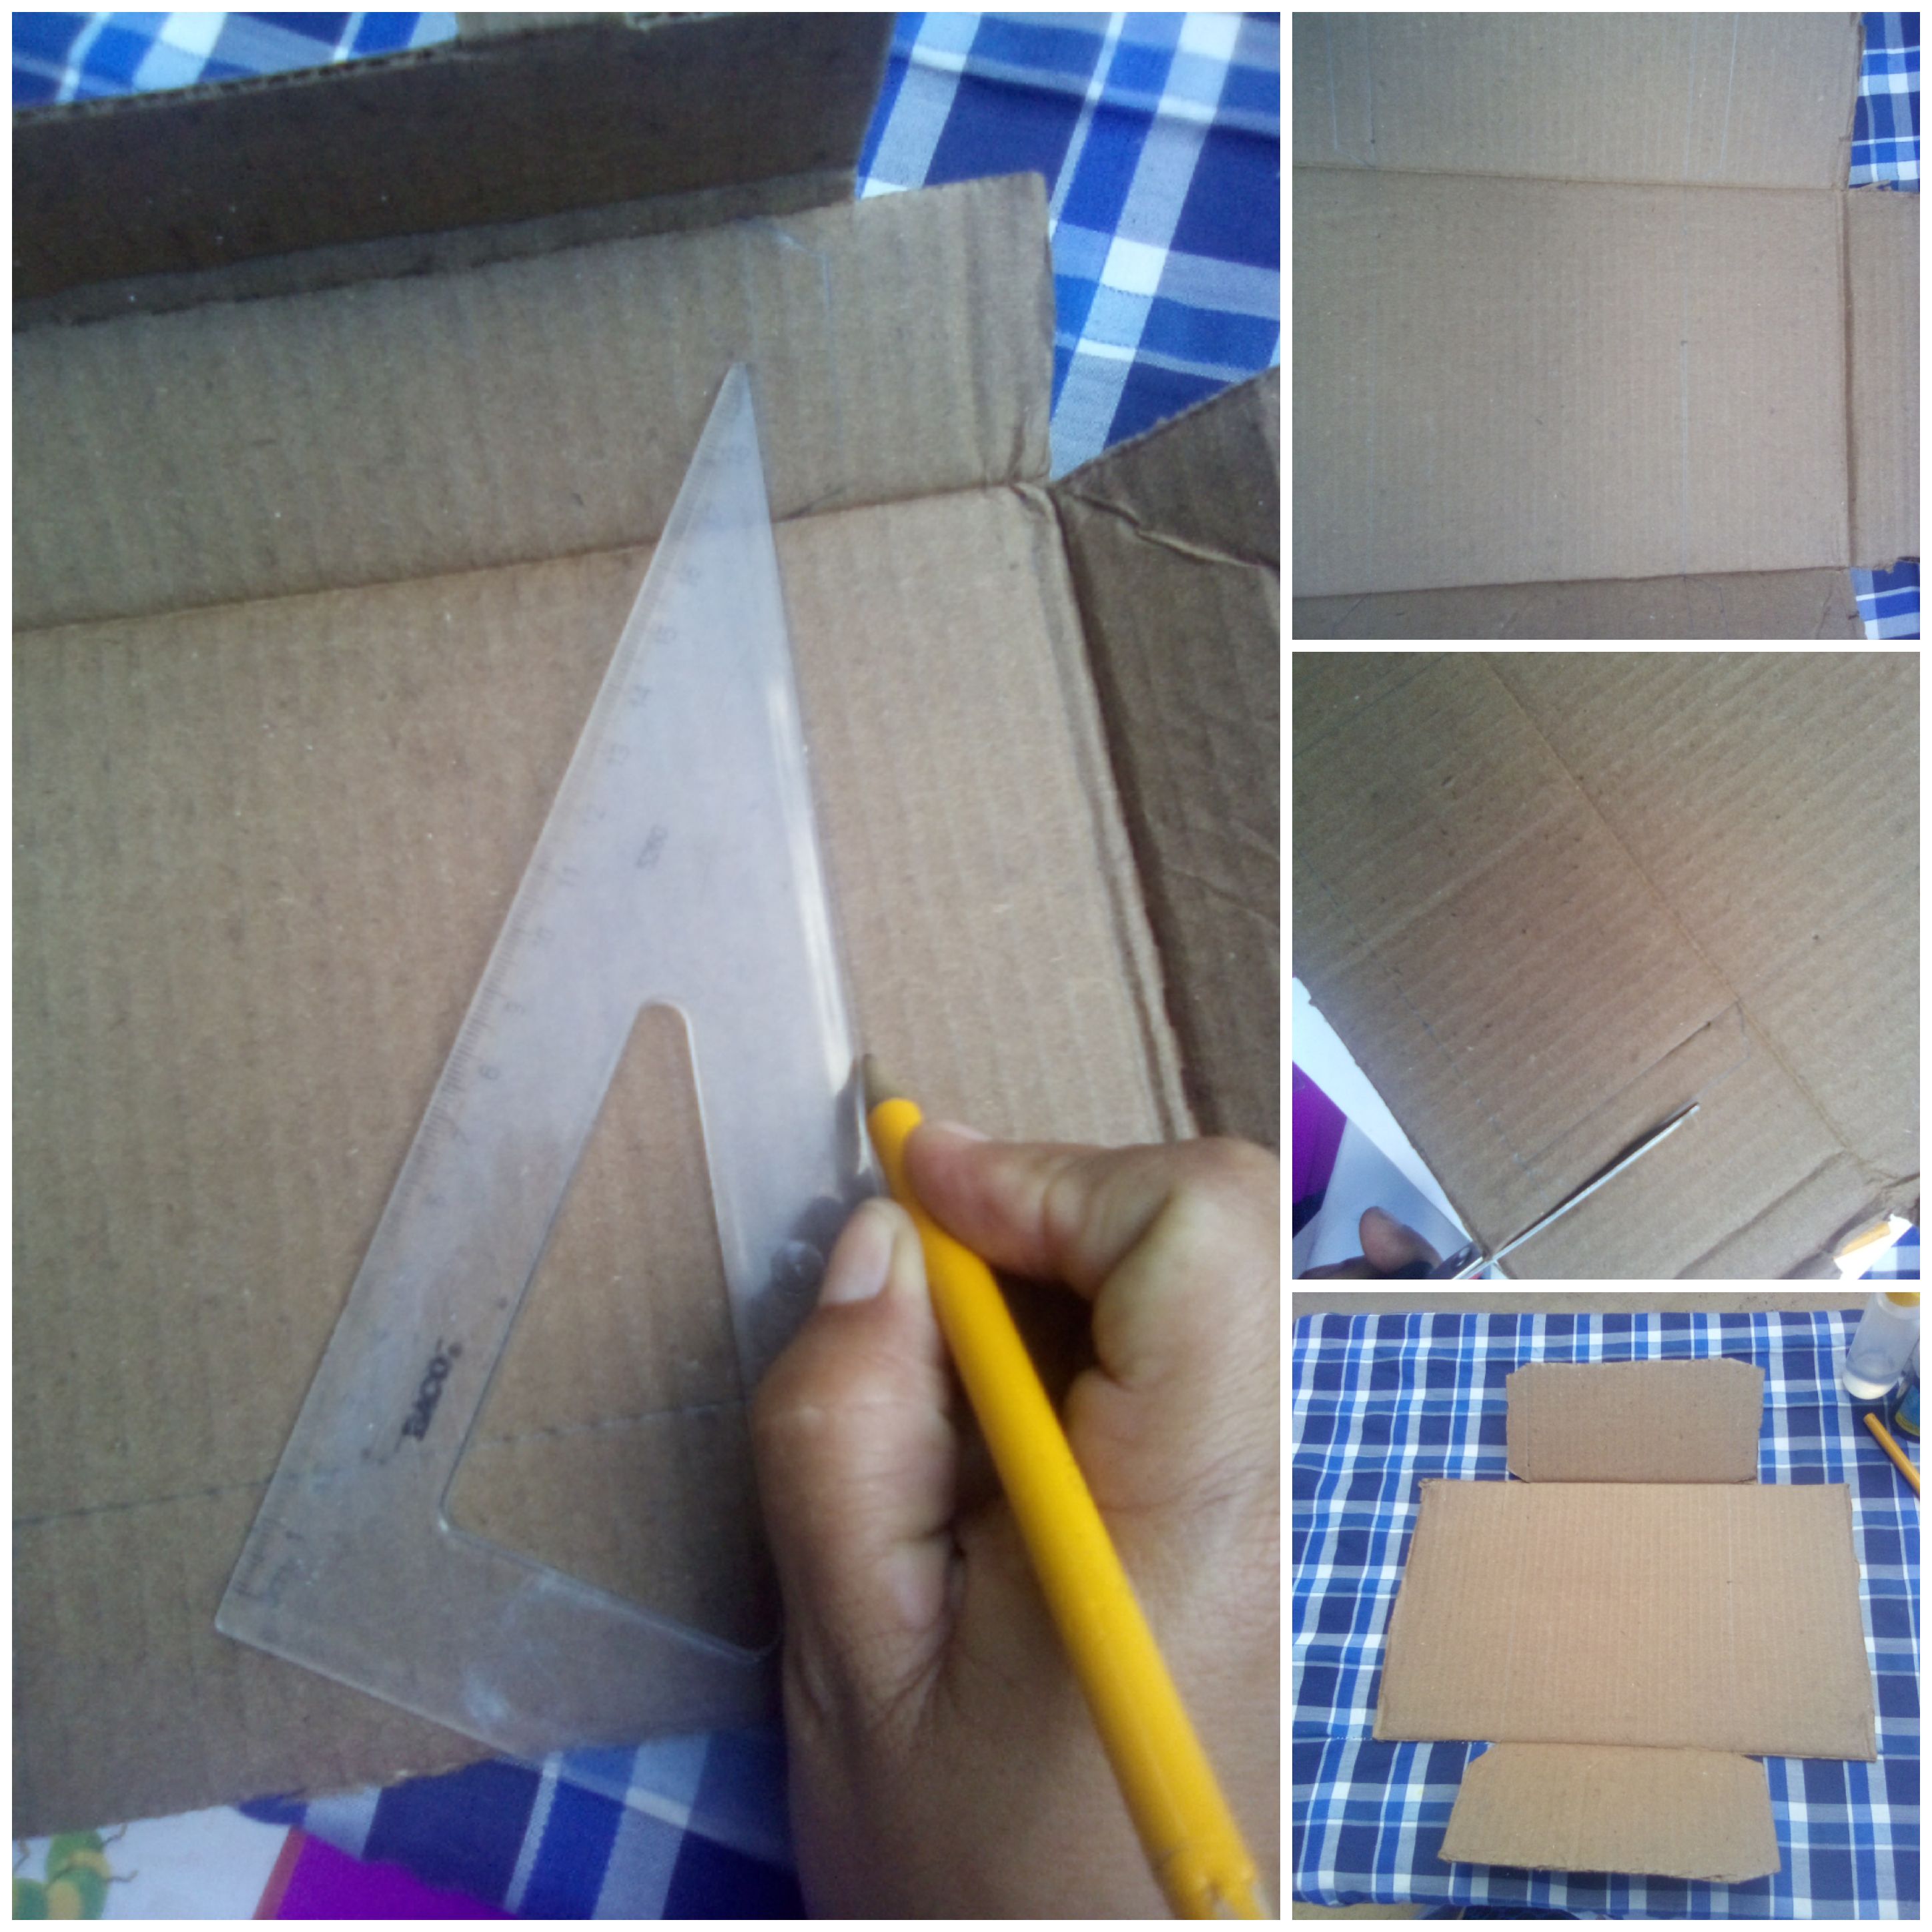
Lo prim^^:ero que haremos es marcar con la regla las medidas de nuestra caja en el cartón puedes tomar cualquiera medida dependiendo el tamaño que la quieras, no olvidando que las medidas de la tapa debes ponerle unos centimetros mas que la parte de debajo.
="text-justify"-Step 1: The first thing we will do is mark the measurements of our box on the cardboard with the ruler, you can take any measurement depending on the size you want it, not forgetting that the measurements of the lid must be a few centimeters more than the bottom
="text-justify" Paso 2.
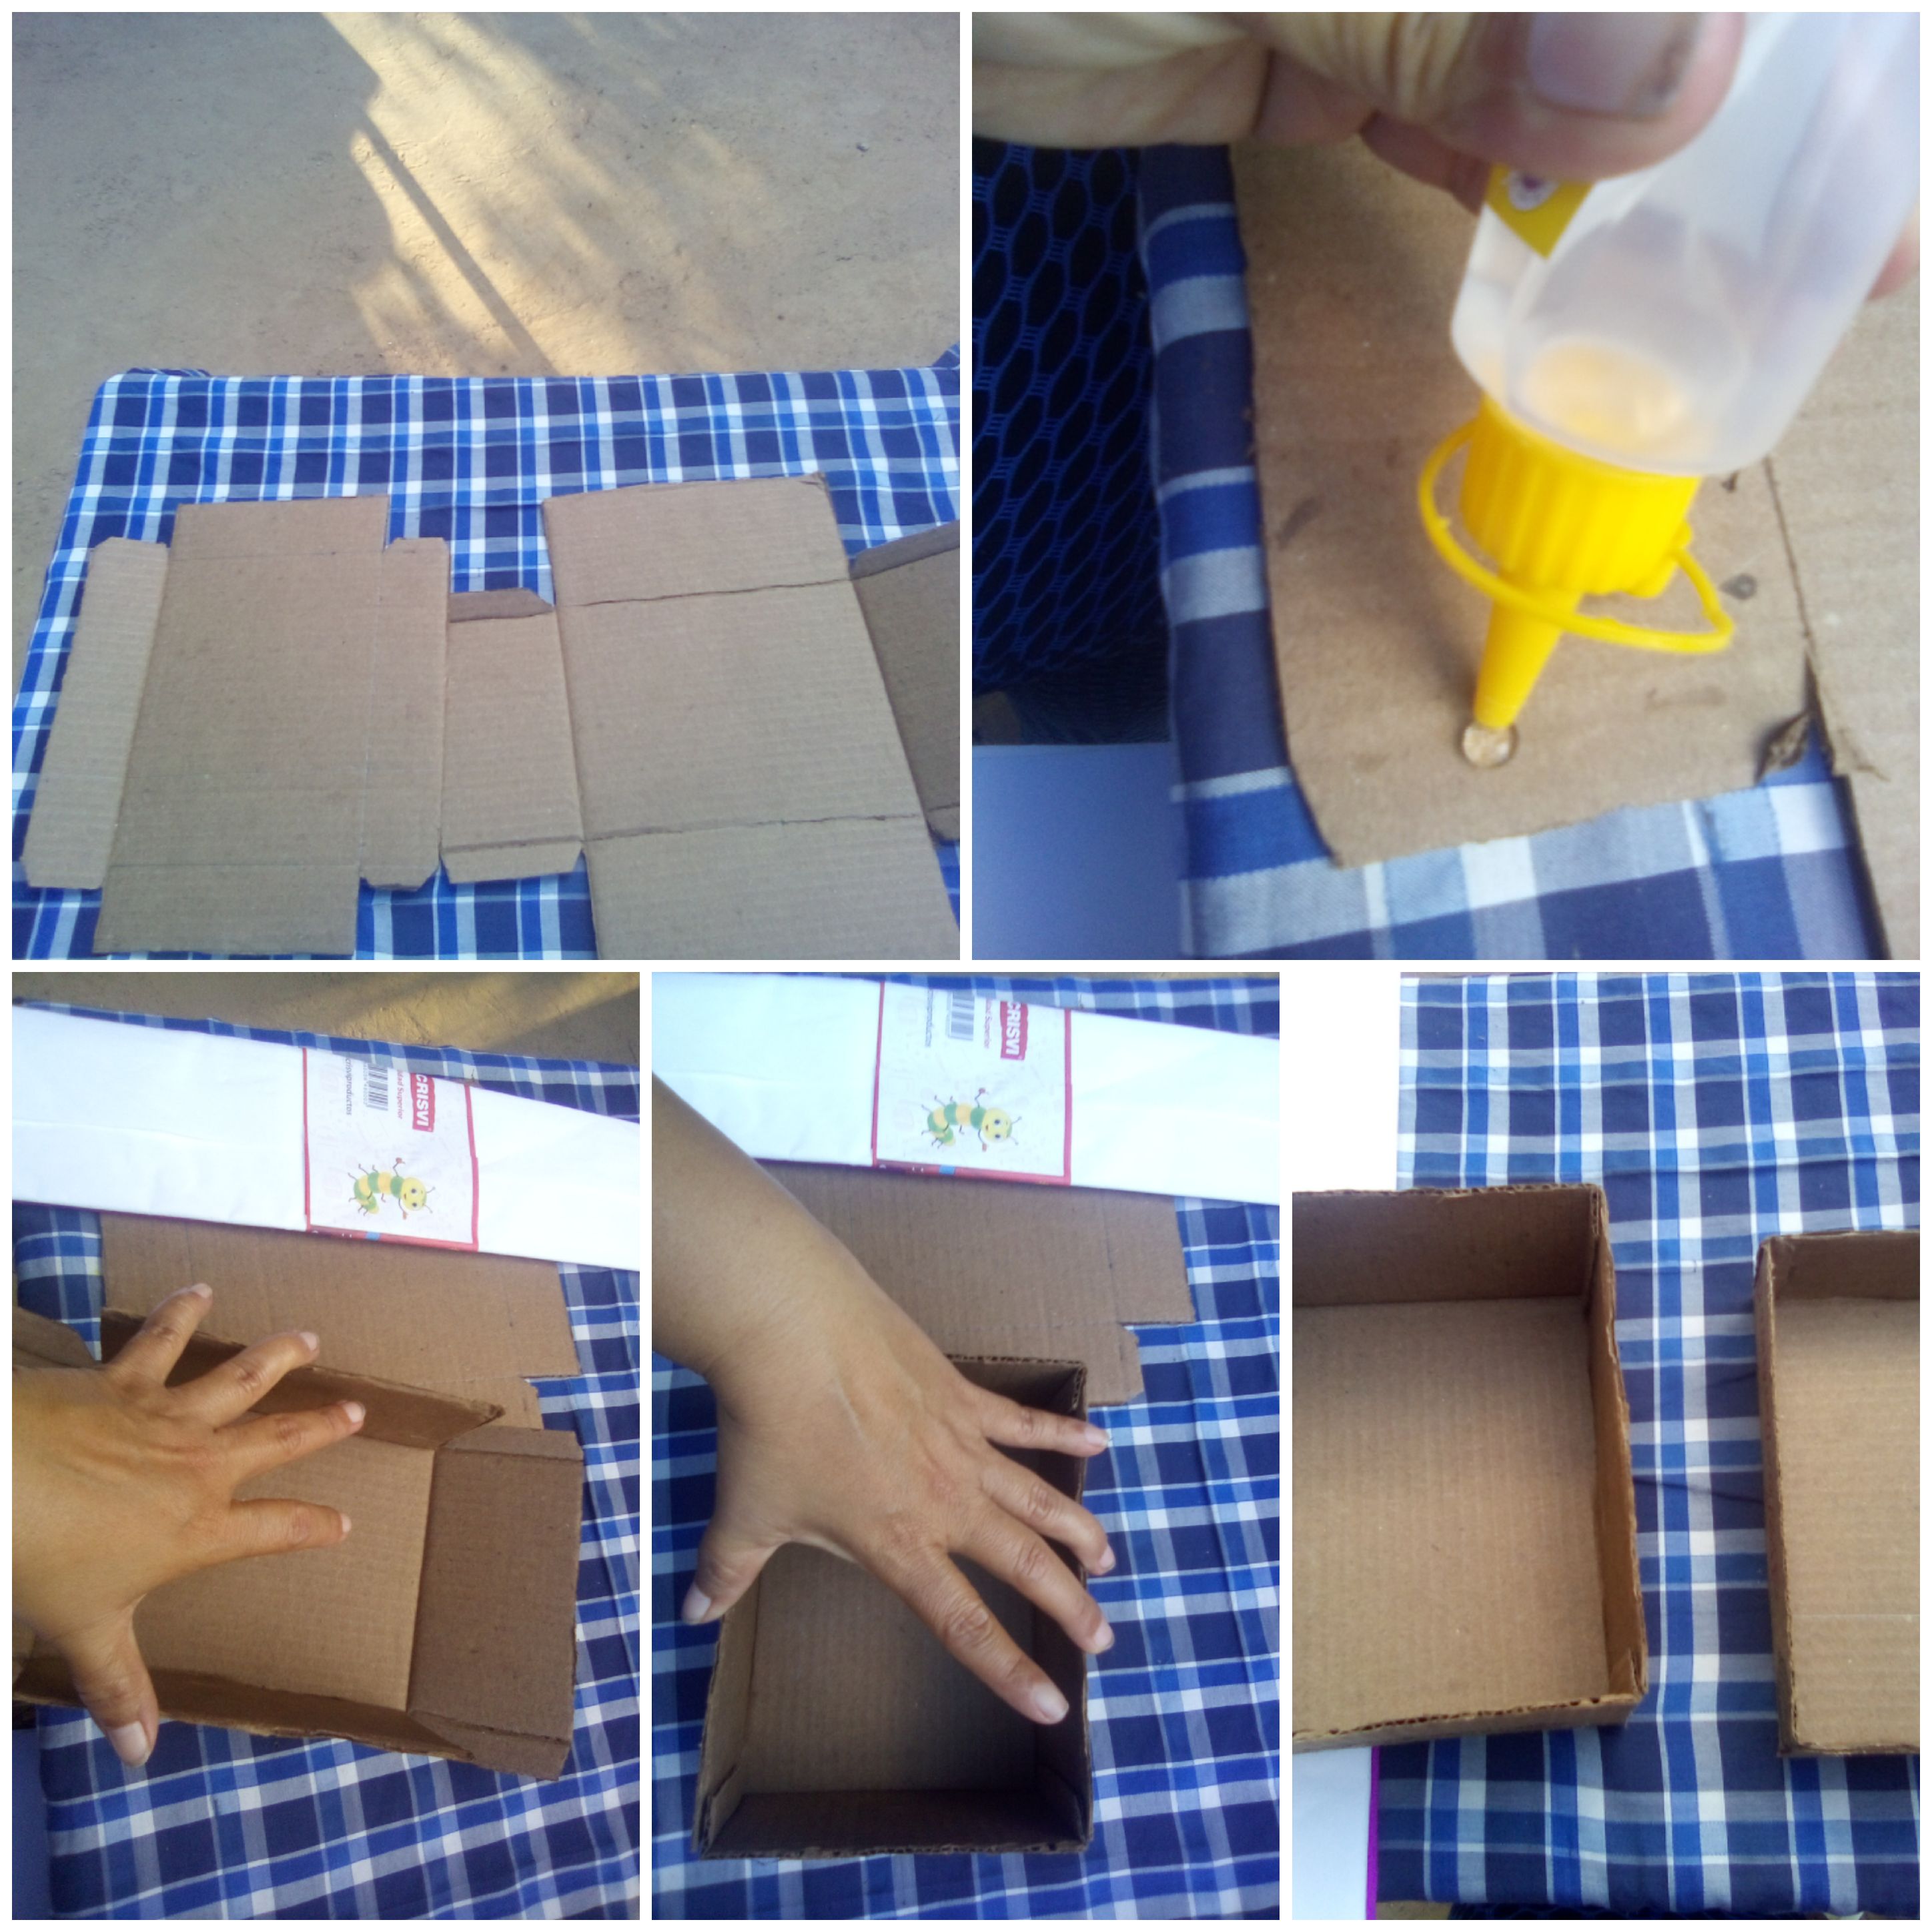
Luego de tener ya las medidas y recoltadas, procedemos a pegar, colocando la pega en las alas que se les dejo en el borde.
="text-justify"-Step 2. After having the measurements and collected, we proceed to glue, placing the glue on the wings that were left on the edge.
="text-justify" Paso 3.
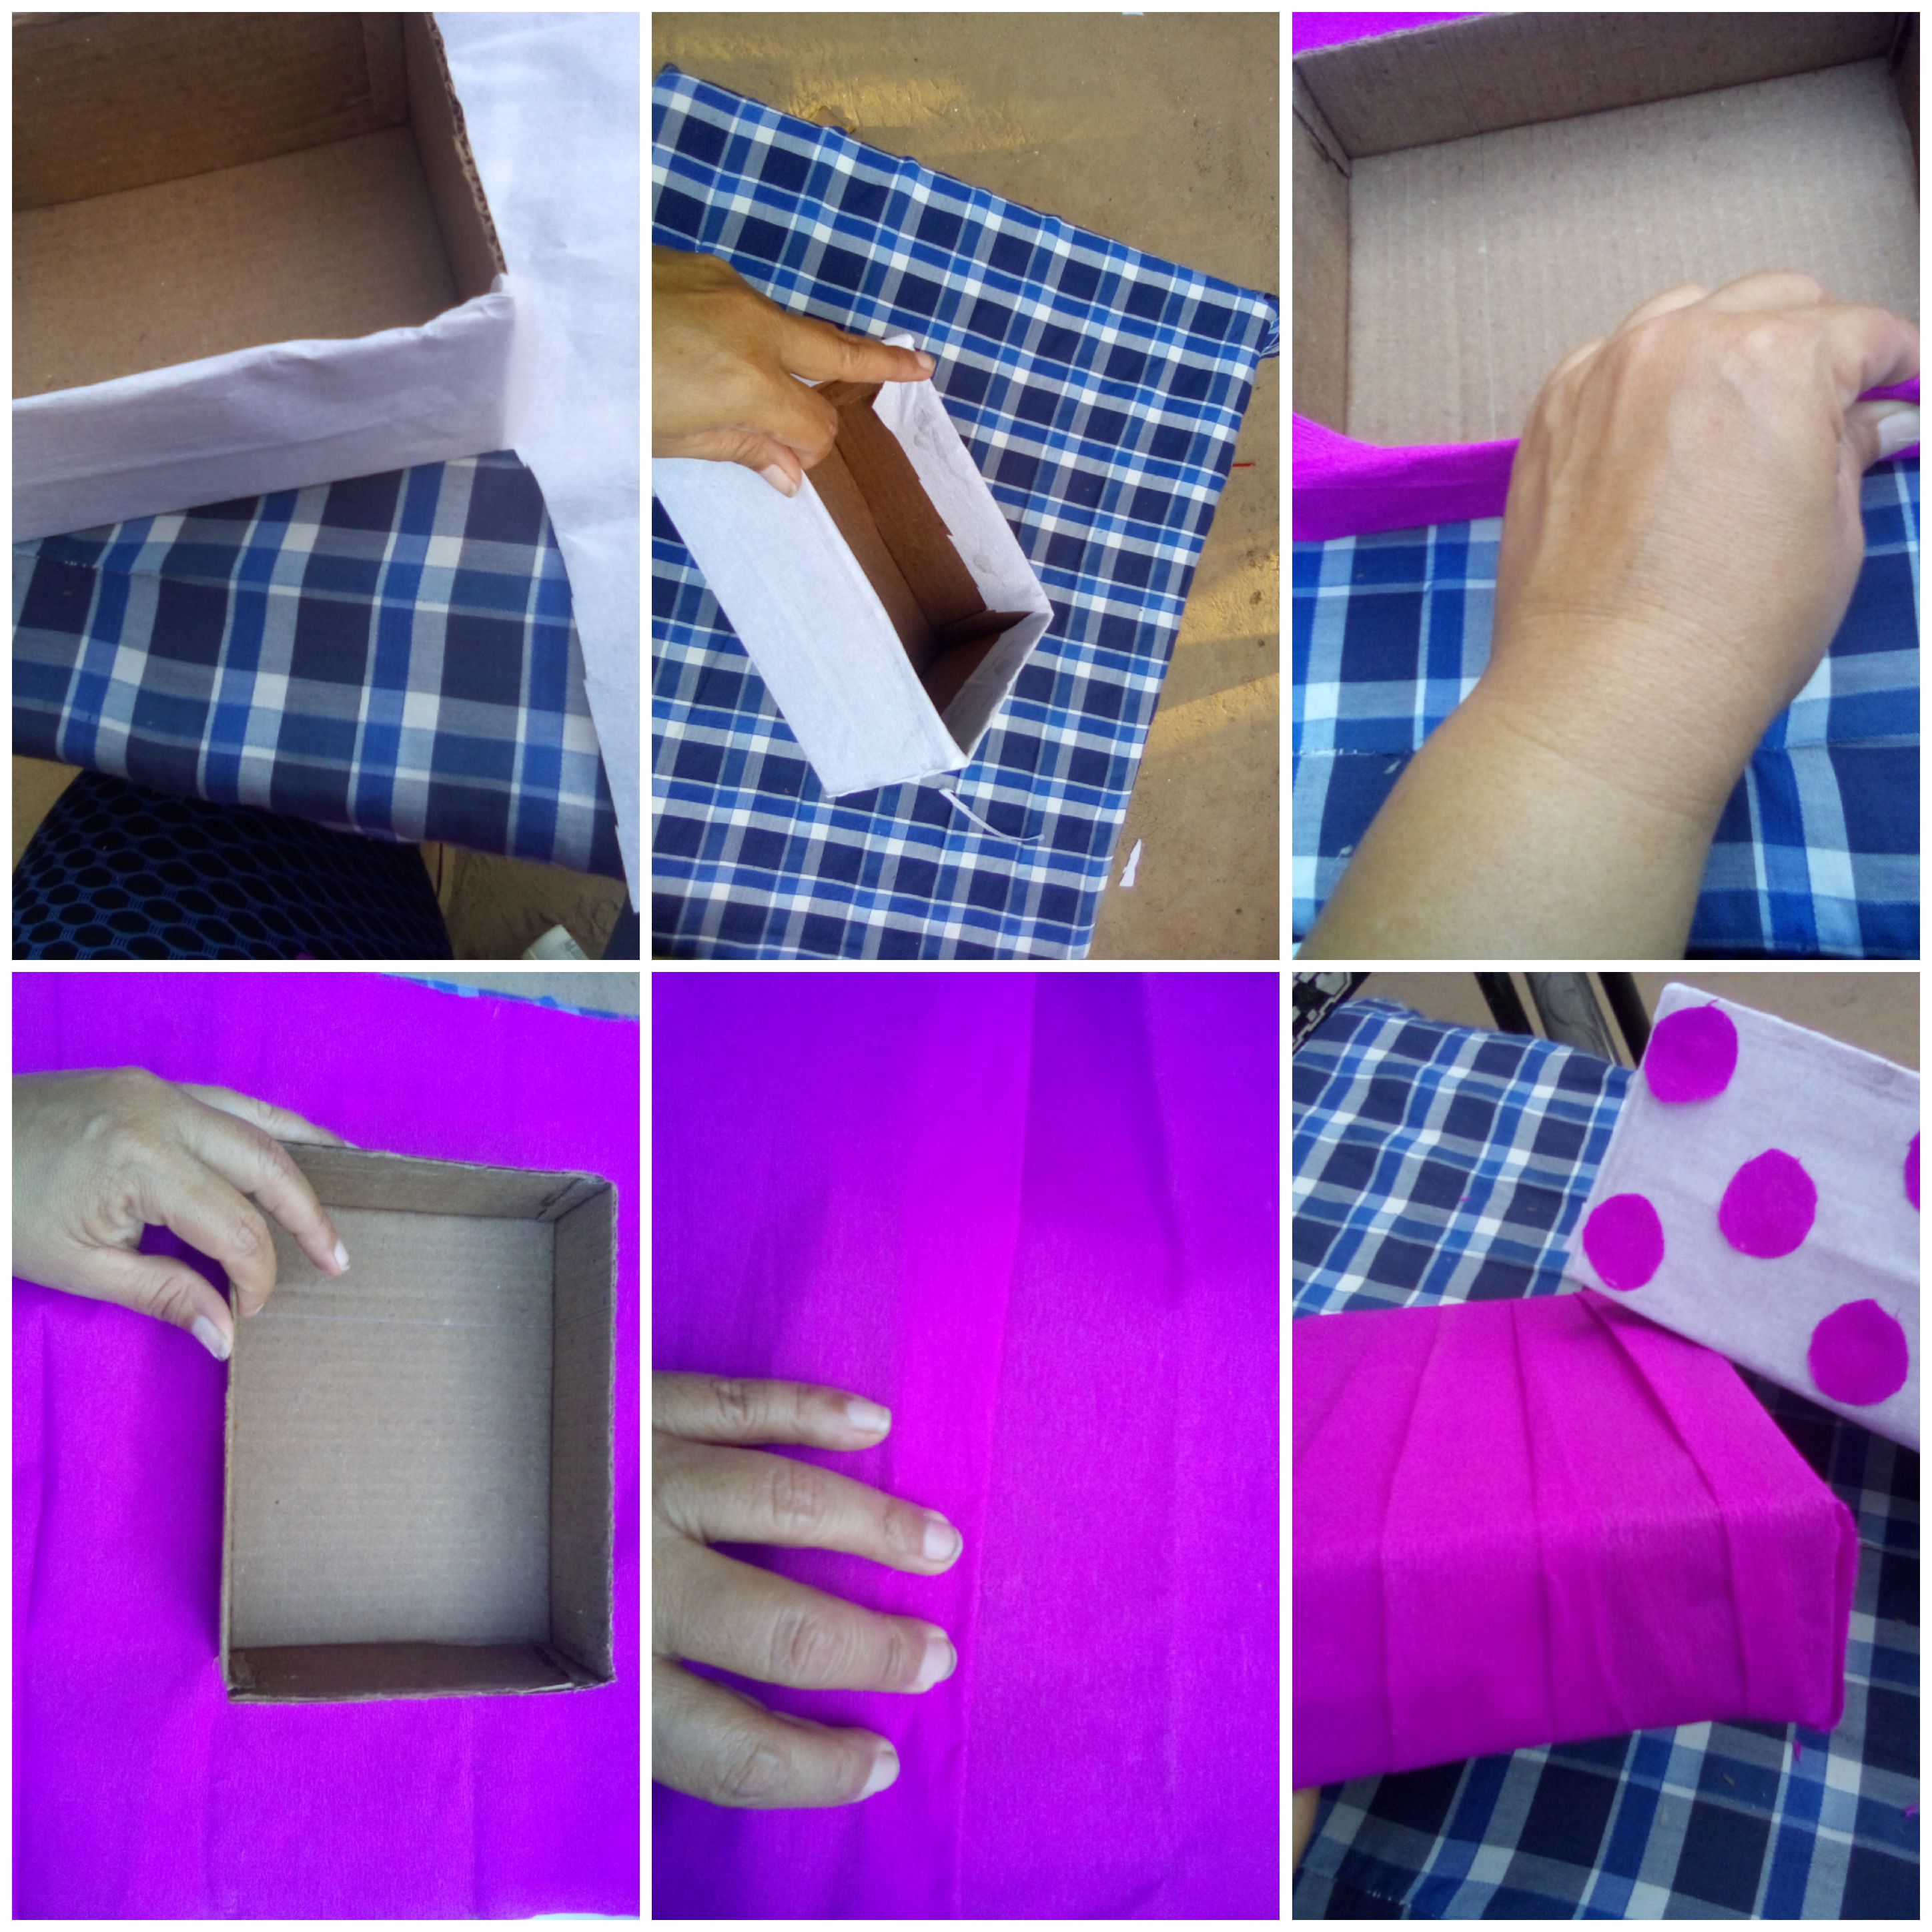
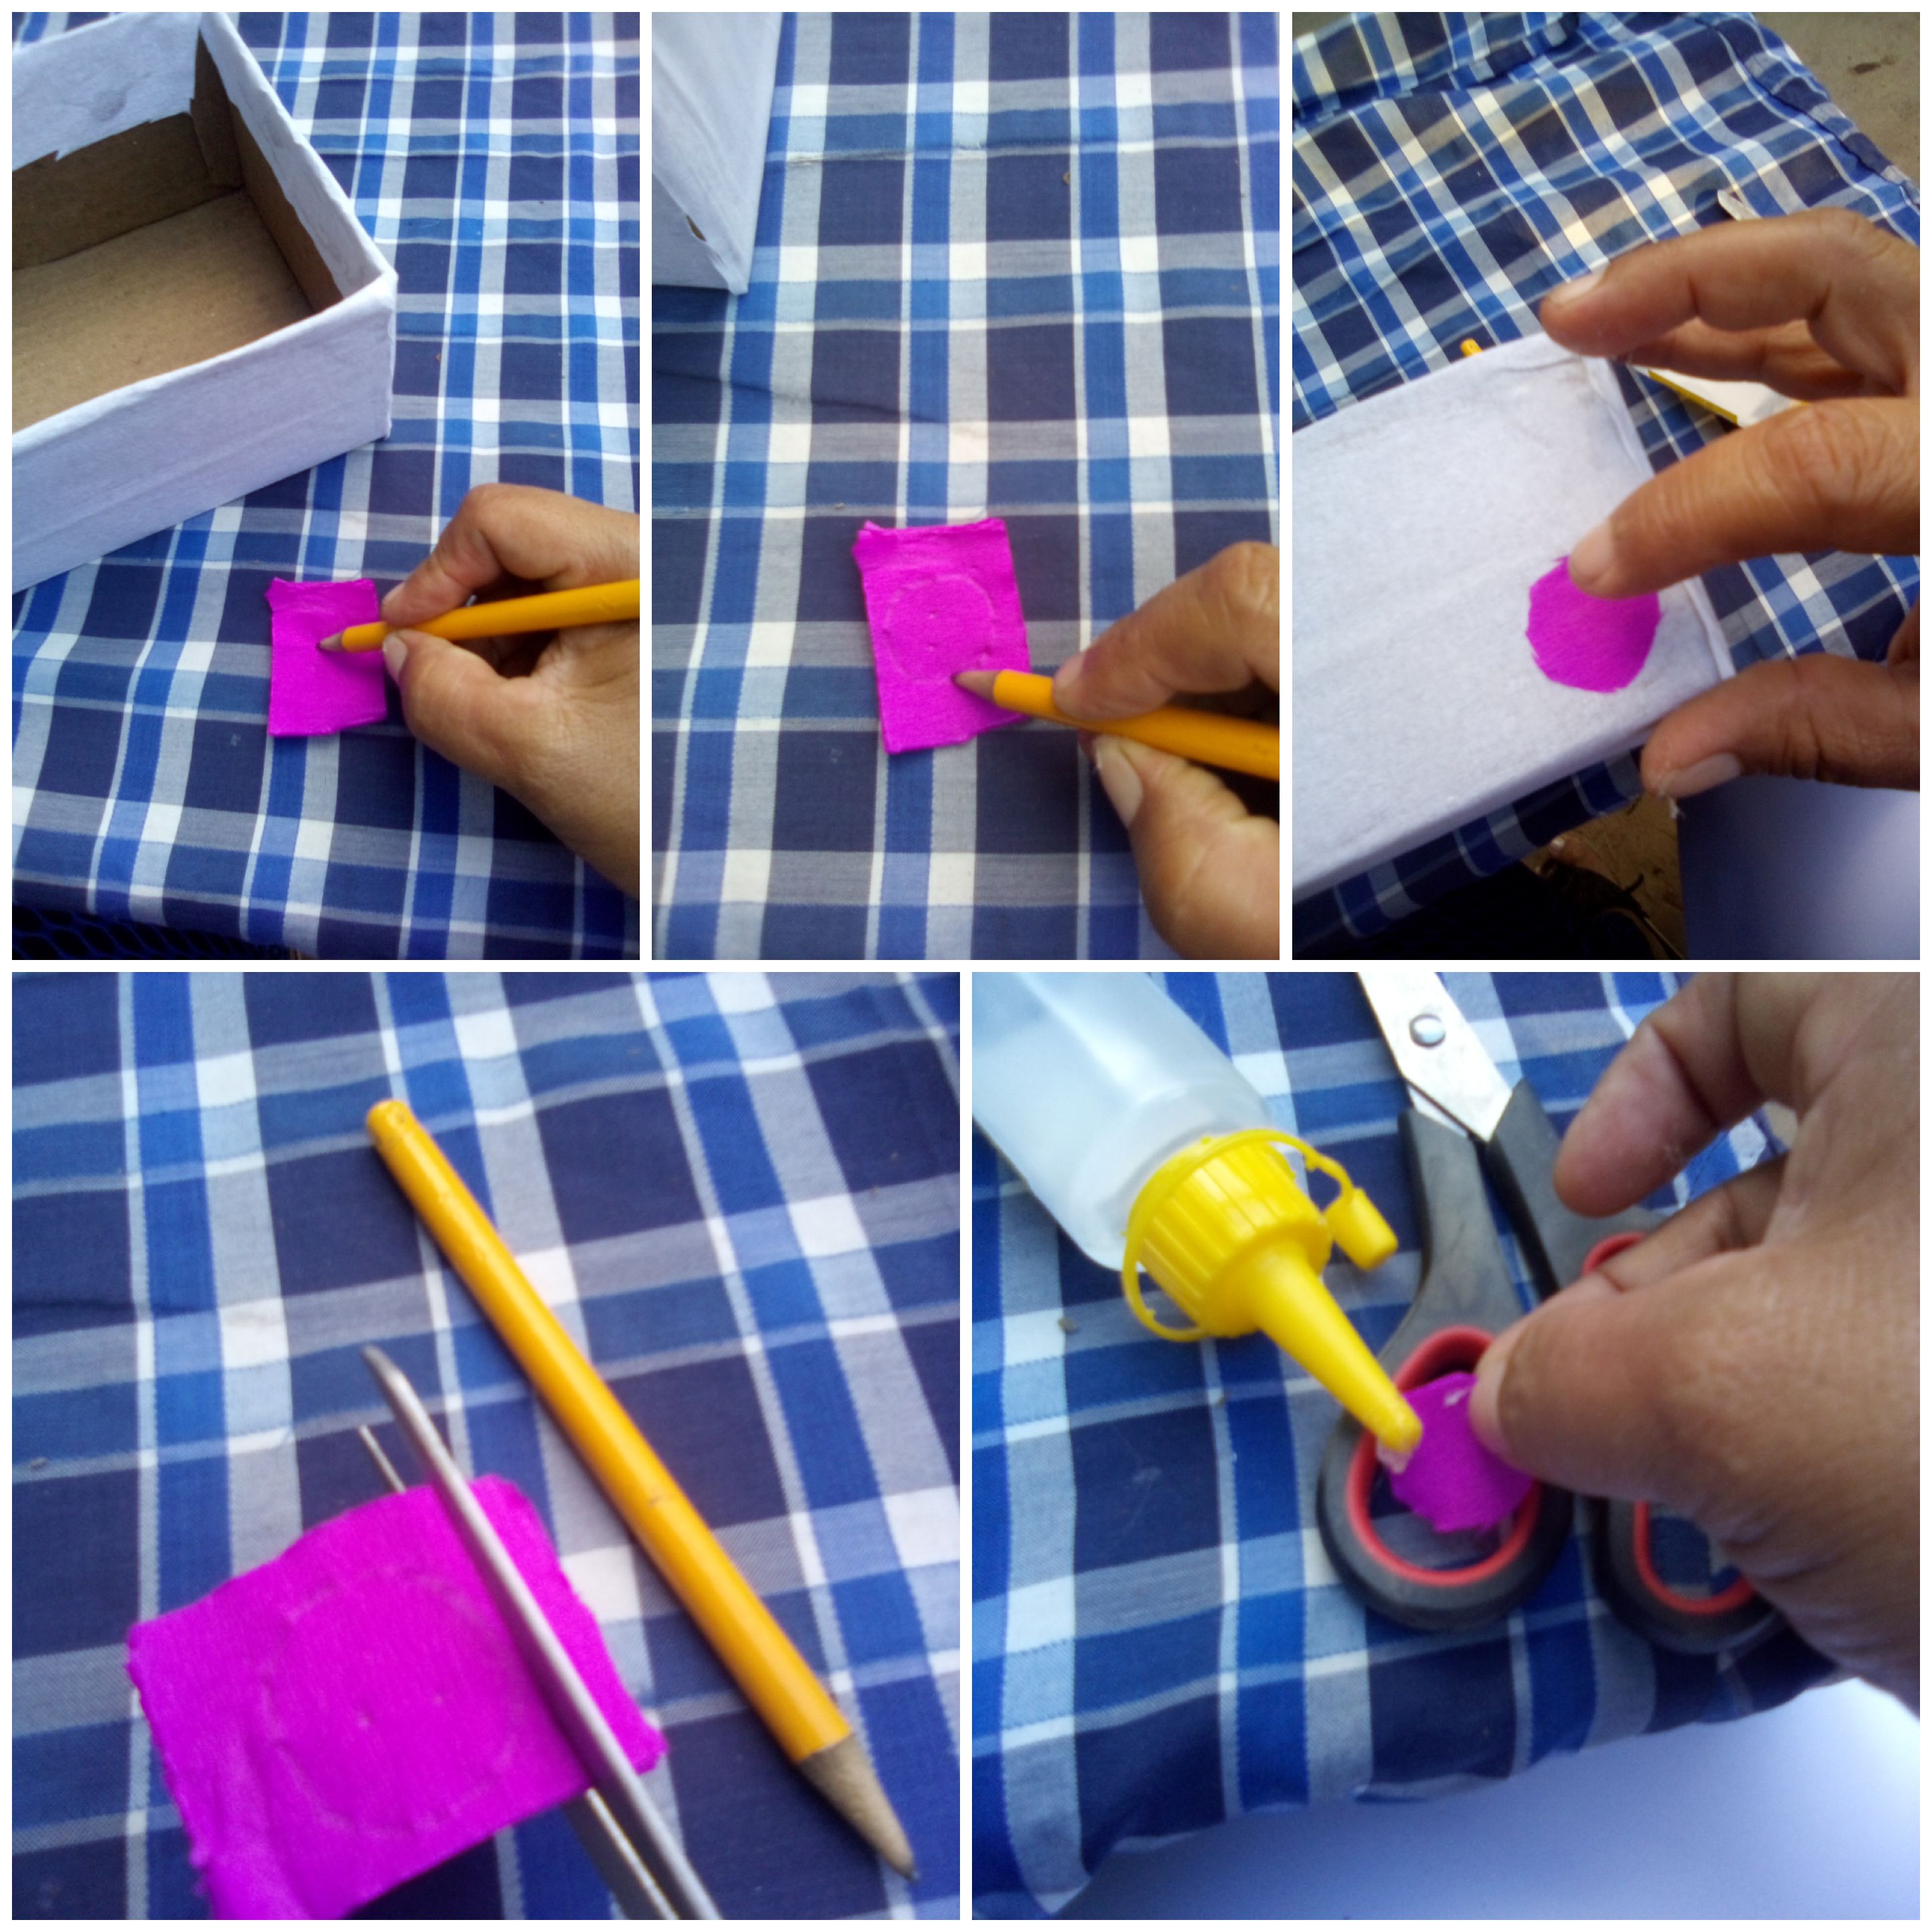
Ya pegadas y armadas las dos partes procedemos a forrarlas con el papel crepes, puedes jugar con los colores en lo personal coloque el color blanco en la parte posterior de la caja y combinando el color fucsia
Recortando unos puntos y colocándolo en la parte posterior.
="text-justify"-Step 3. Once the two parts are glued and assembled, we proceed to line them with crepe paper, you can play with the colors personally, place the white color on the back of the box and combine the fuchsia color Trimming a few stitches and placing it on the
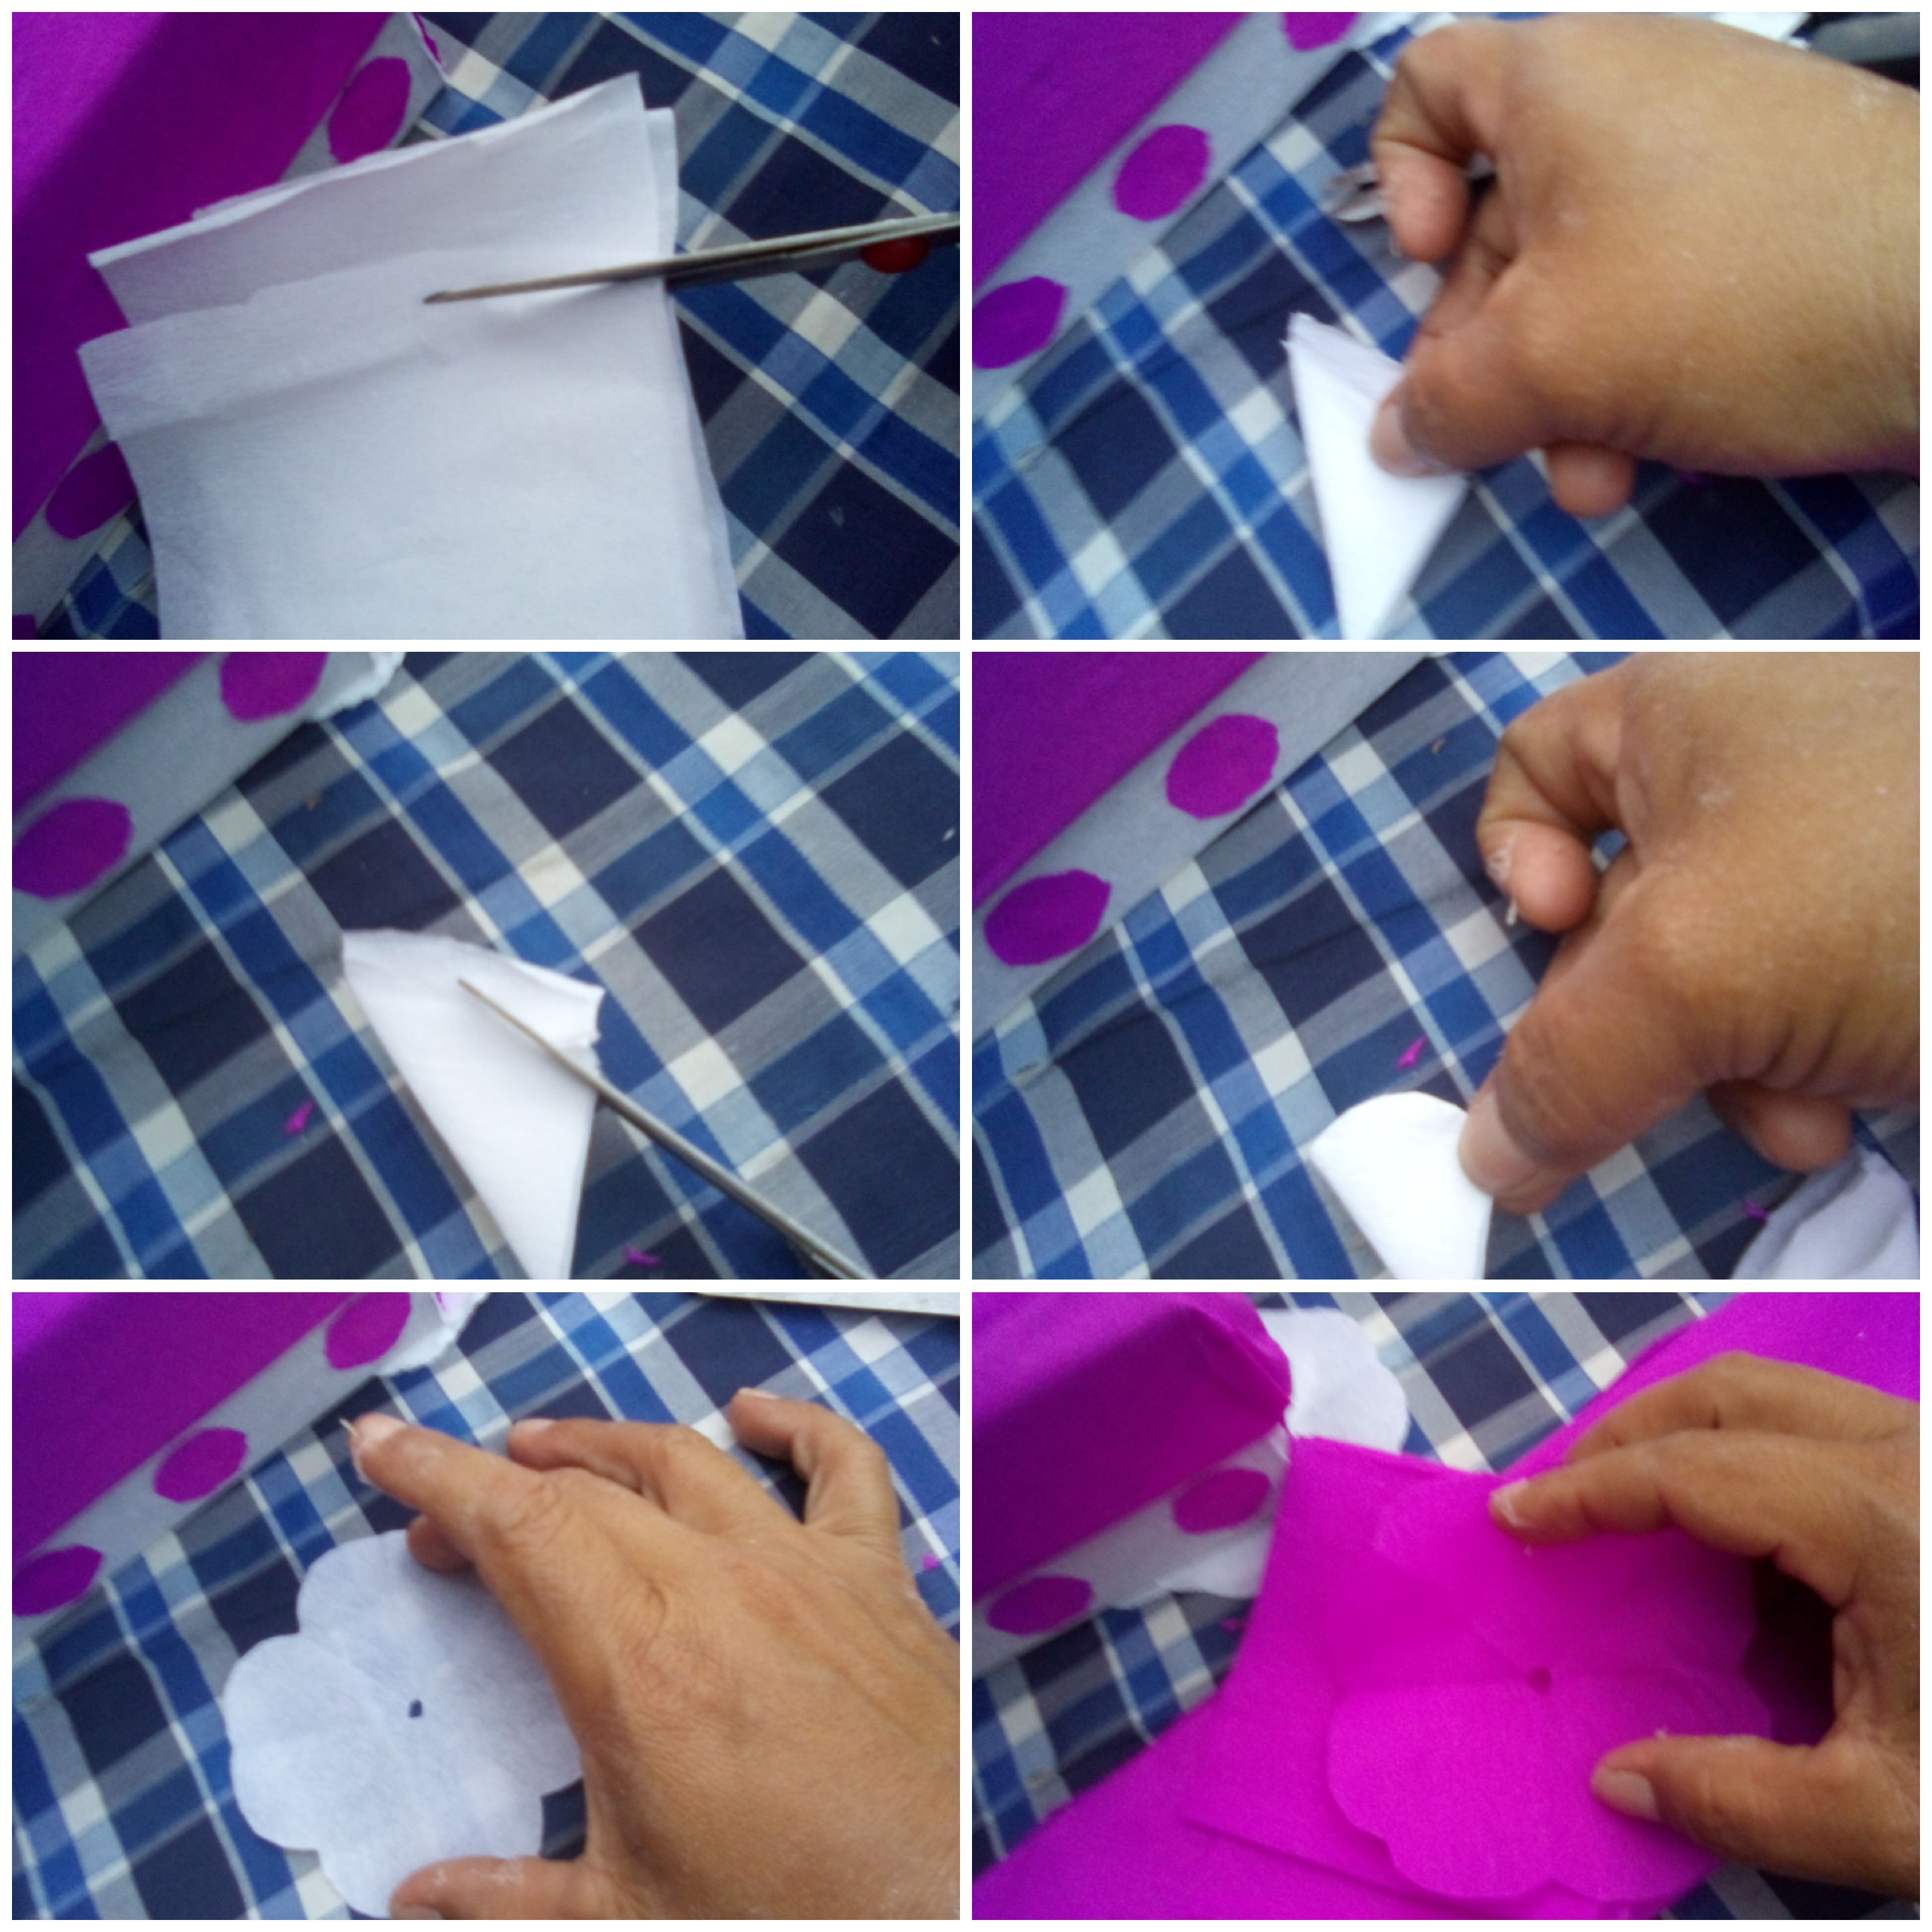
="text-justify" Paso 4. Quise realizarle una flor como un detalle decorativo con petalos de papel crepes cortando tres cuadrados de cada color , doblando, hacia abajo y luego hacia un lado y recortamos de la manera que lo muestra la imagen,con un pedazo de papel crepes blanco hago un tallito, y en él voy colocando los petalos ya recortados colocando un color diferente al otro petalo, hasta tener nuestra flor.
="text-justify"-Step 4. I wanted to make a flower as a decorative detail with crepe paper petals by cutting three squares of each color, folding, down and then to the side and cutting as shown in the image, with a piece of white crepe paper I make a stem, and in it I place the already cut petals, placing a different color from the other petal, until we have our flower
="text-justify" Y asi quedo nuetra cajita de ternura, espero que les haya gustado,y te animes a realizar una para esa persona especial.
="text-justify"-And so our little box of tenderness remains, I hope you liked it, and you are encouraged to make one for that special person.
