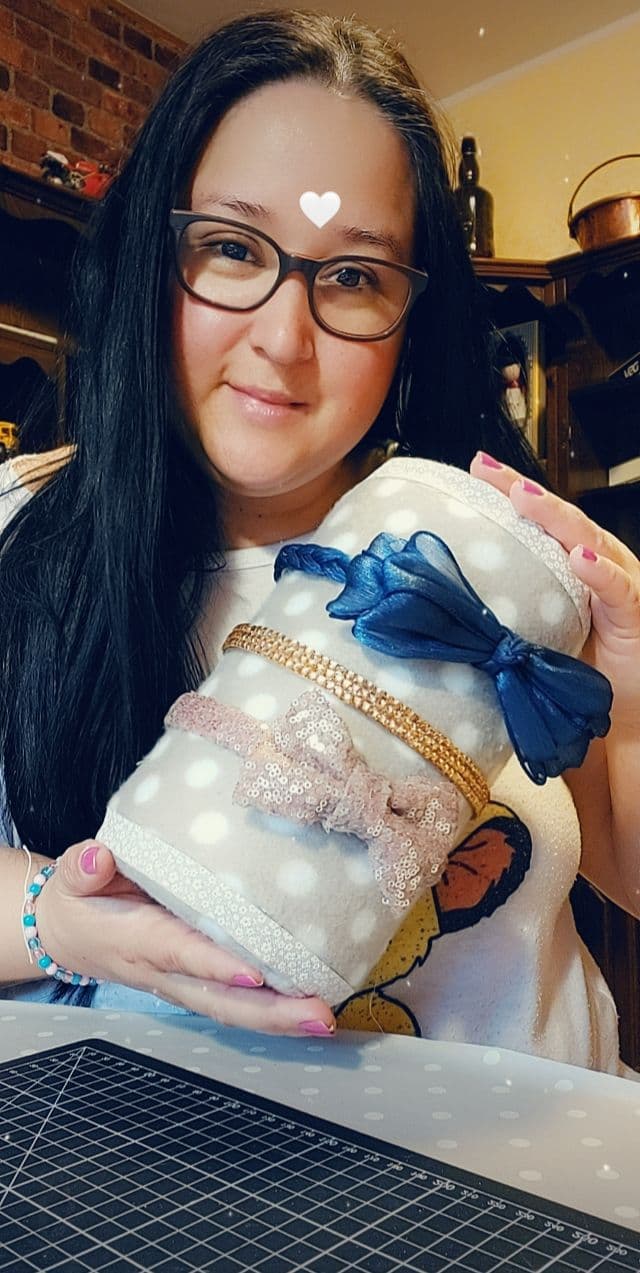
Hello! Nice happy community last day of the weekend I hope you are very well today I wanted to show you a step by step of how to make a headband with recycled material.
Materiales:
envase de plástico
retazo de tela
retazo de esponja fina
tijera
regla
marcador
silicon caliente
cintas
elementos decorativos
Materials:
Plastic Packaging
piece of cloth
scrap of fine sponge
scissor
rule
marker
hot silicon
ribbons
decorative elements
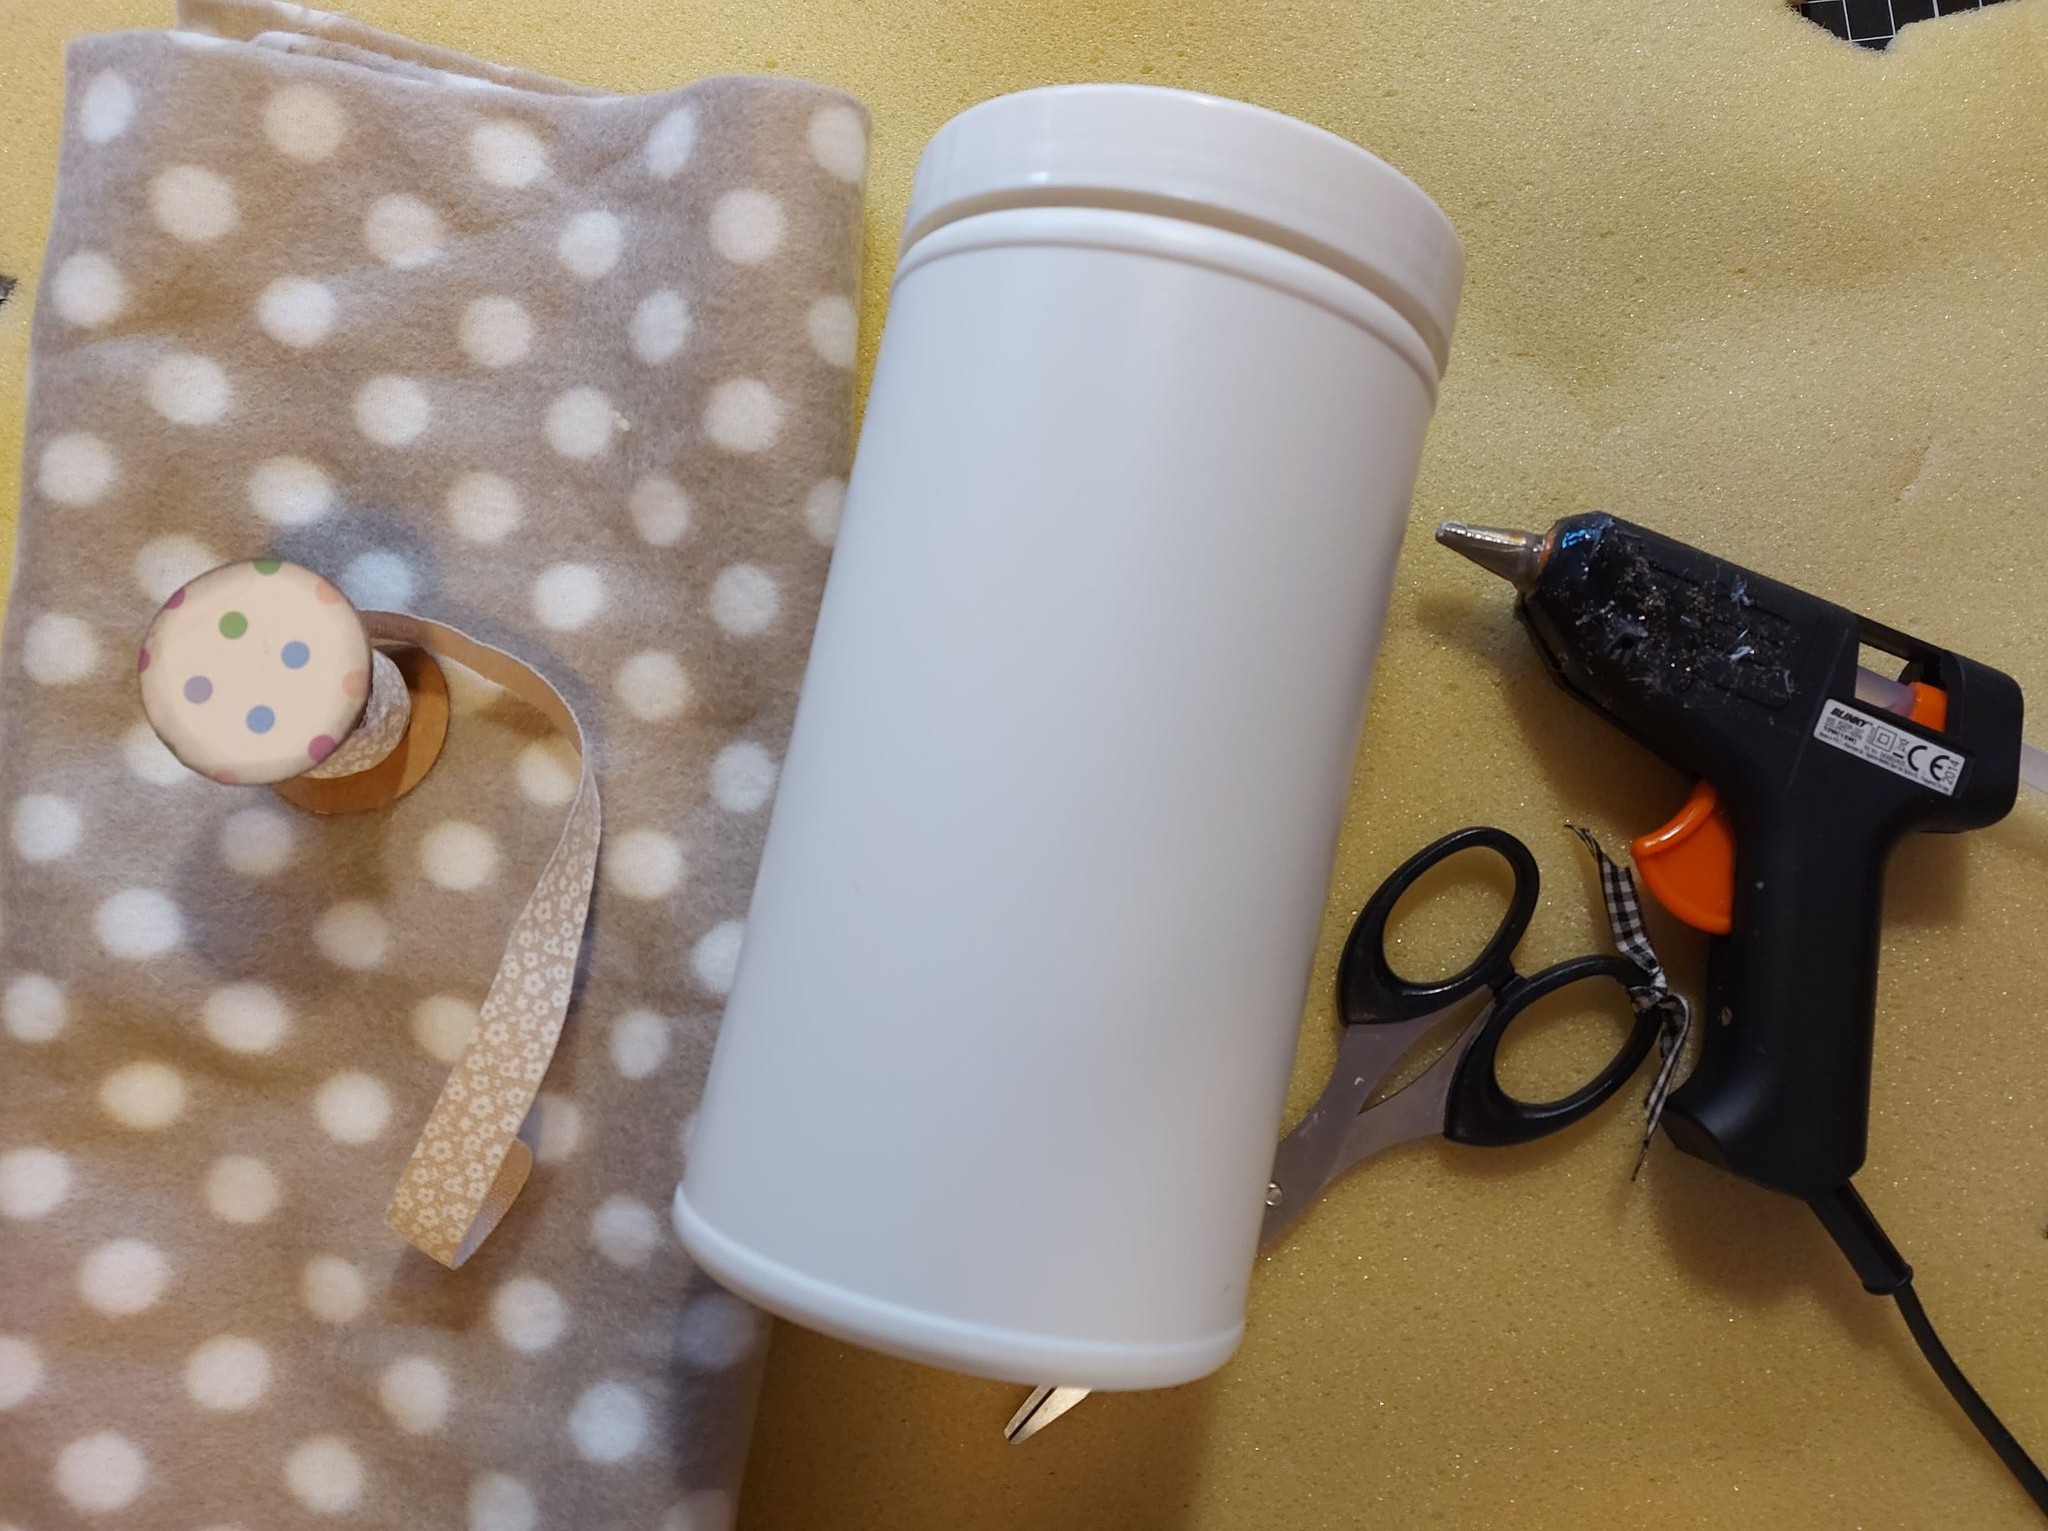
PASO A PASO
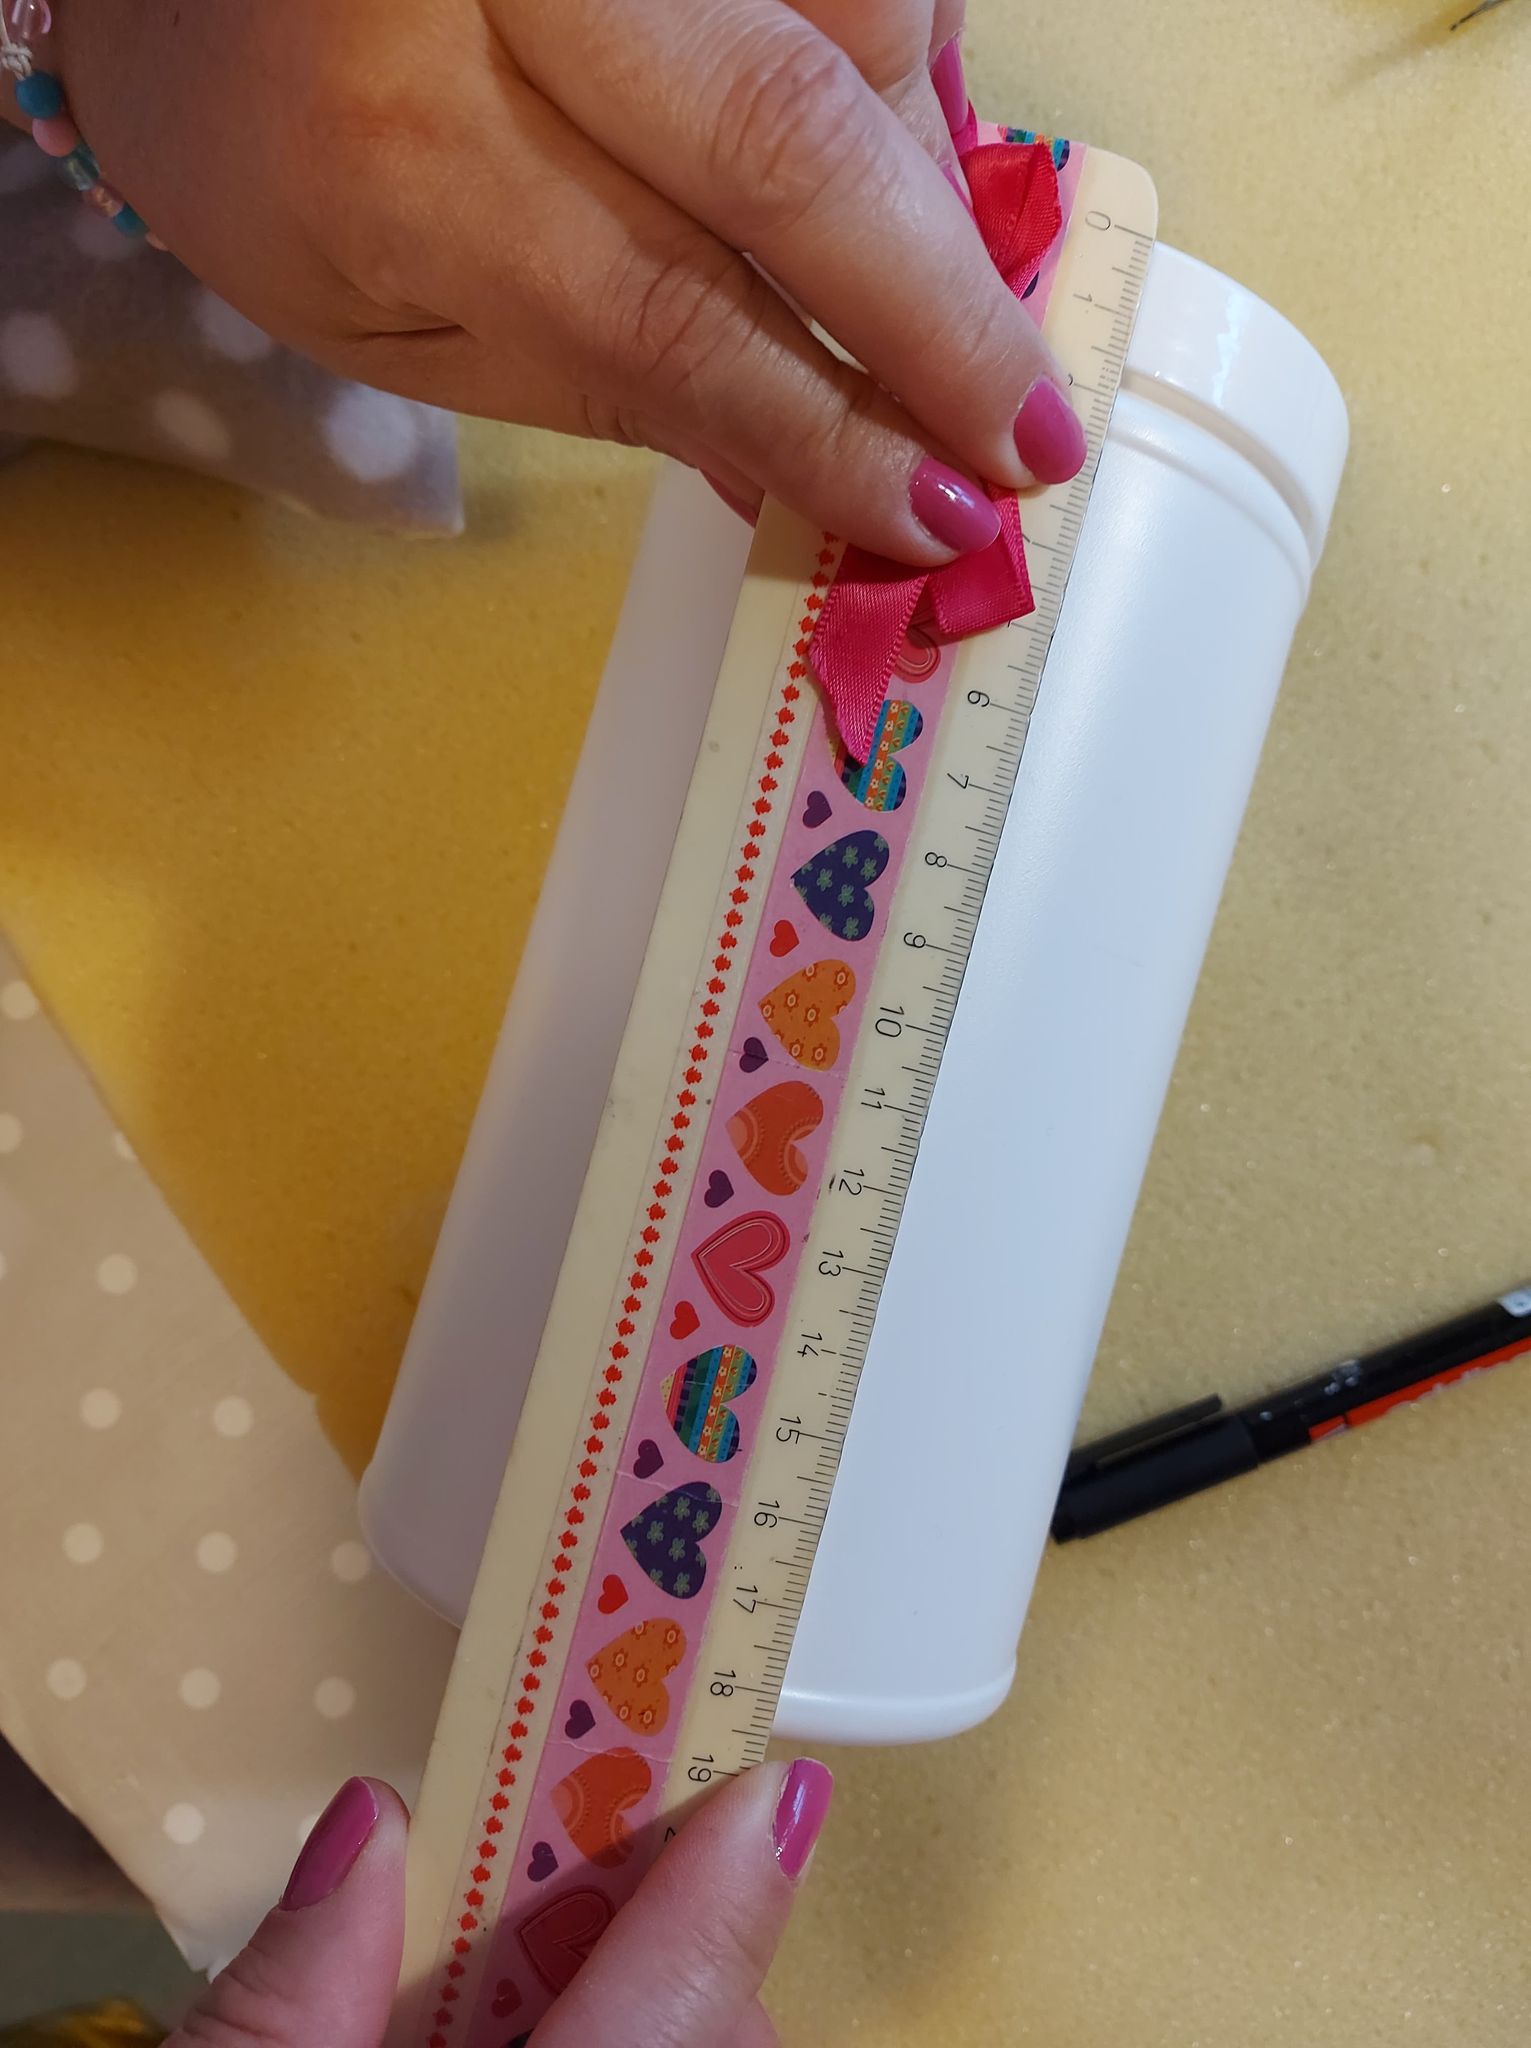
- Tomamos las medidas del envase, el mio mide 19cm de largo por 10 de diámetro.
- We take the measurements from the container, mine is 19 cm long by 10 in diameter.
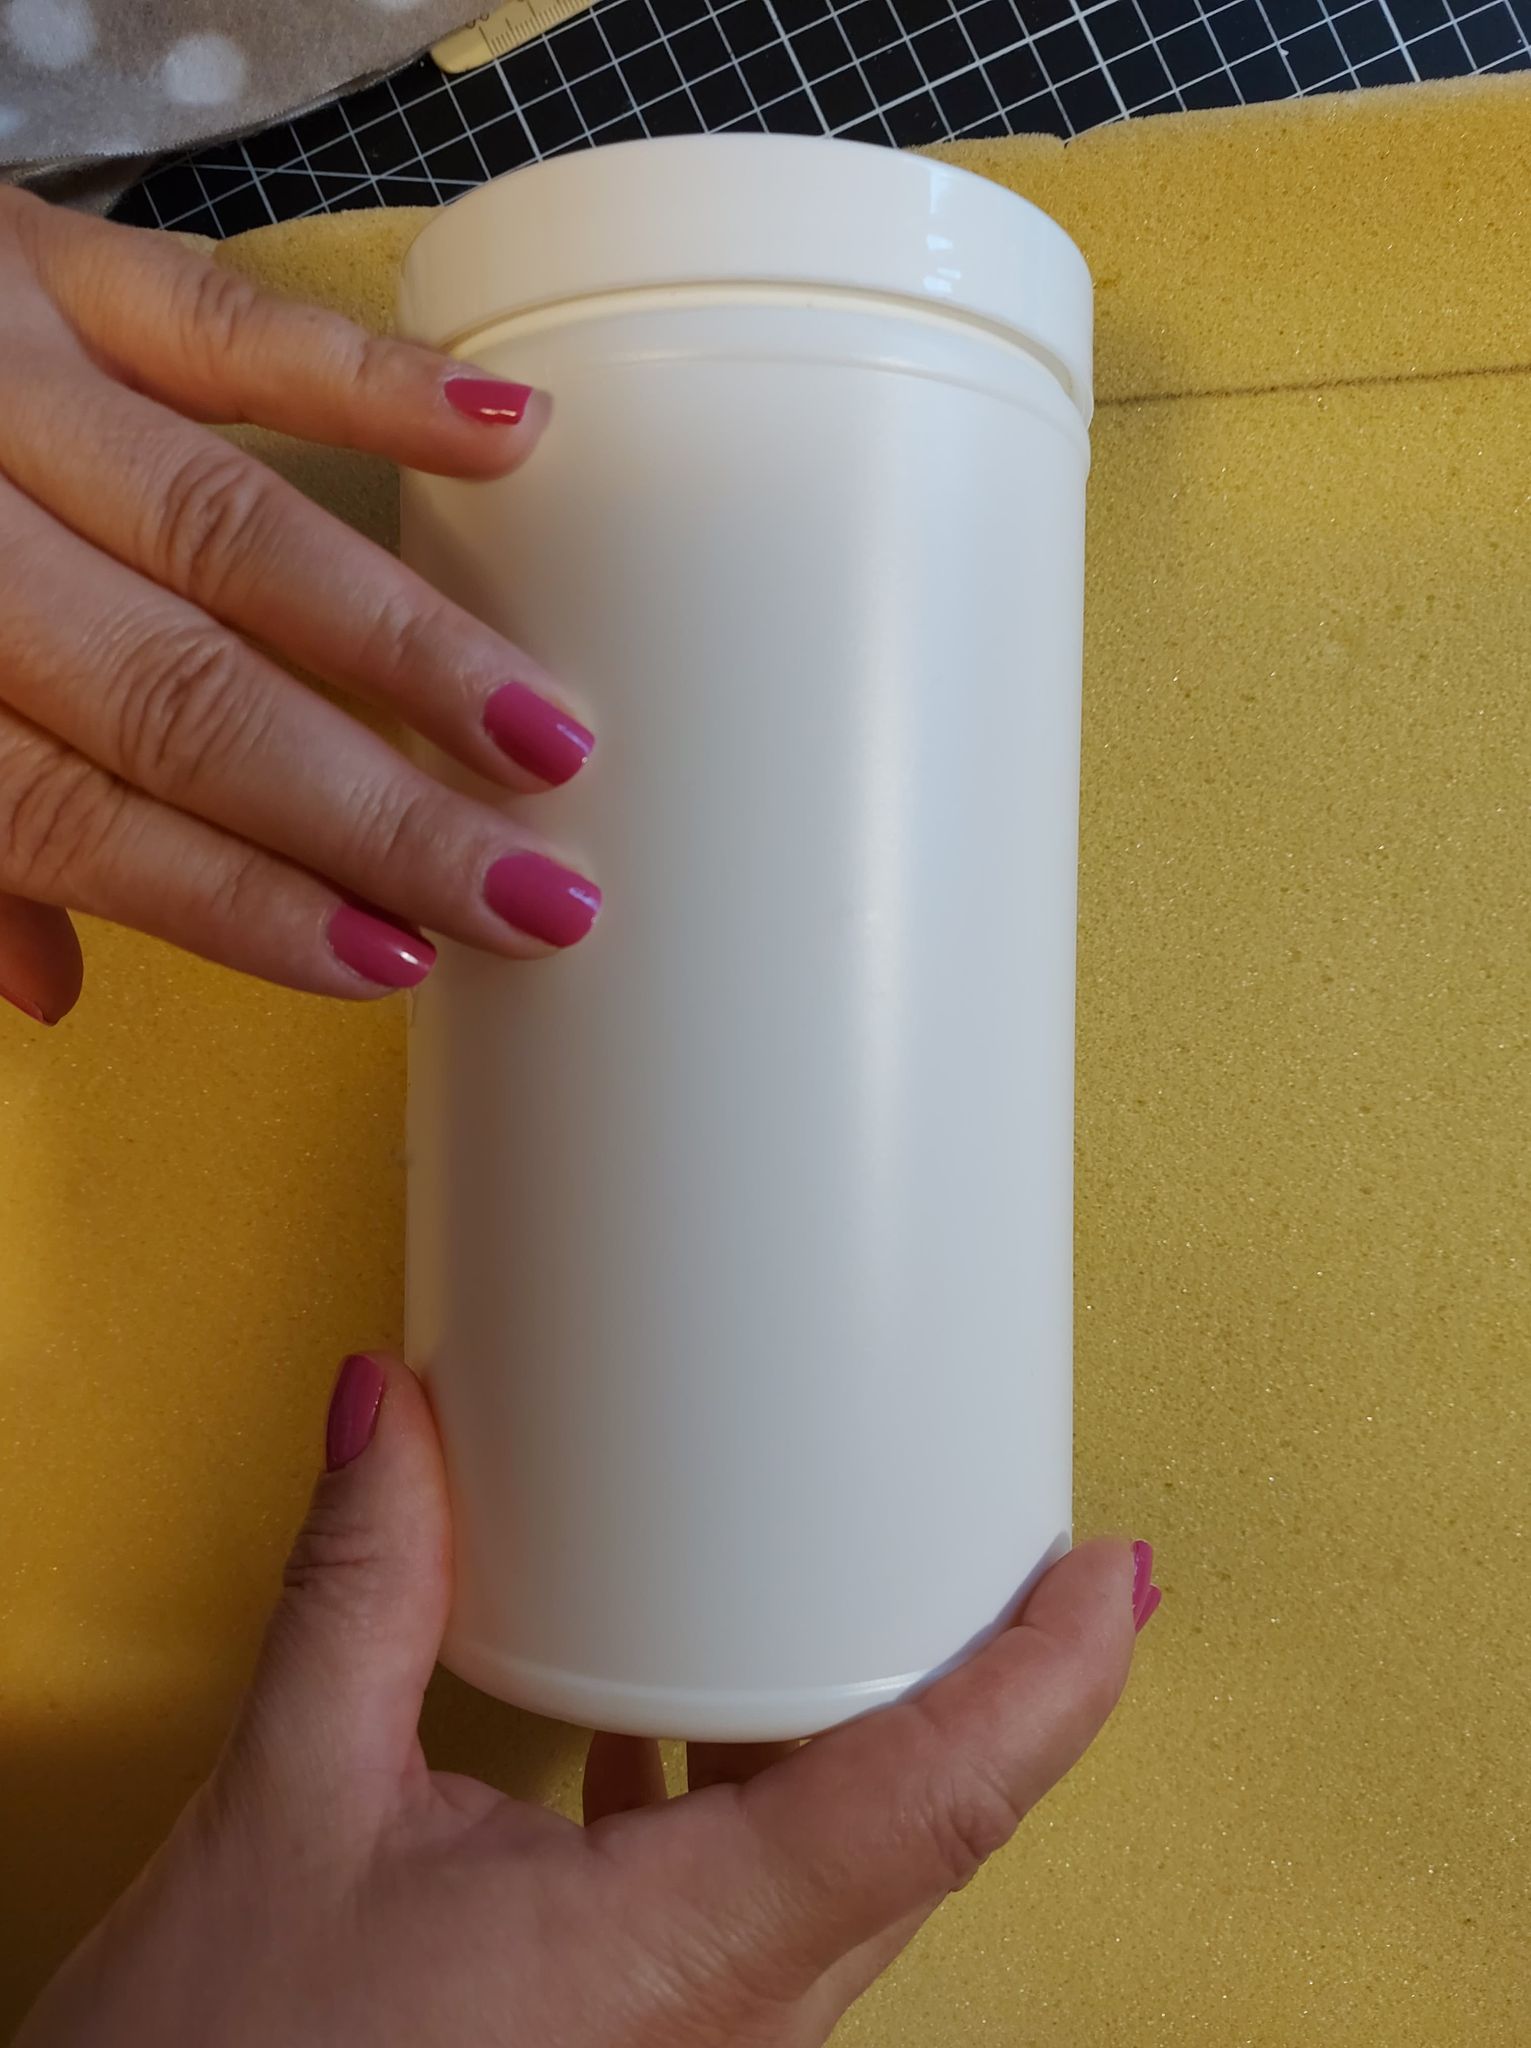
2 -After having the measurements of the container, the marks on the sponge and on the fabric, since with this we will proceed to line our container.

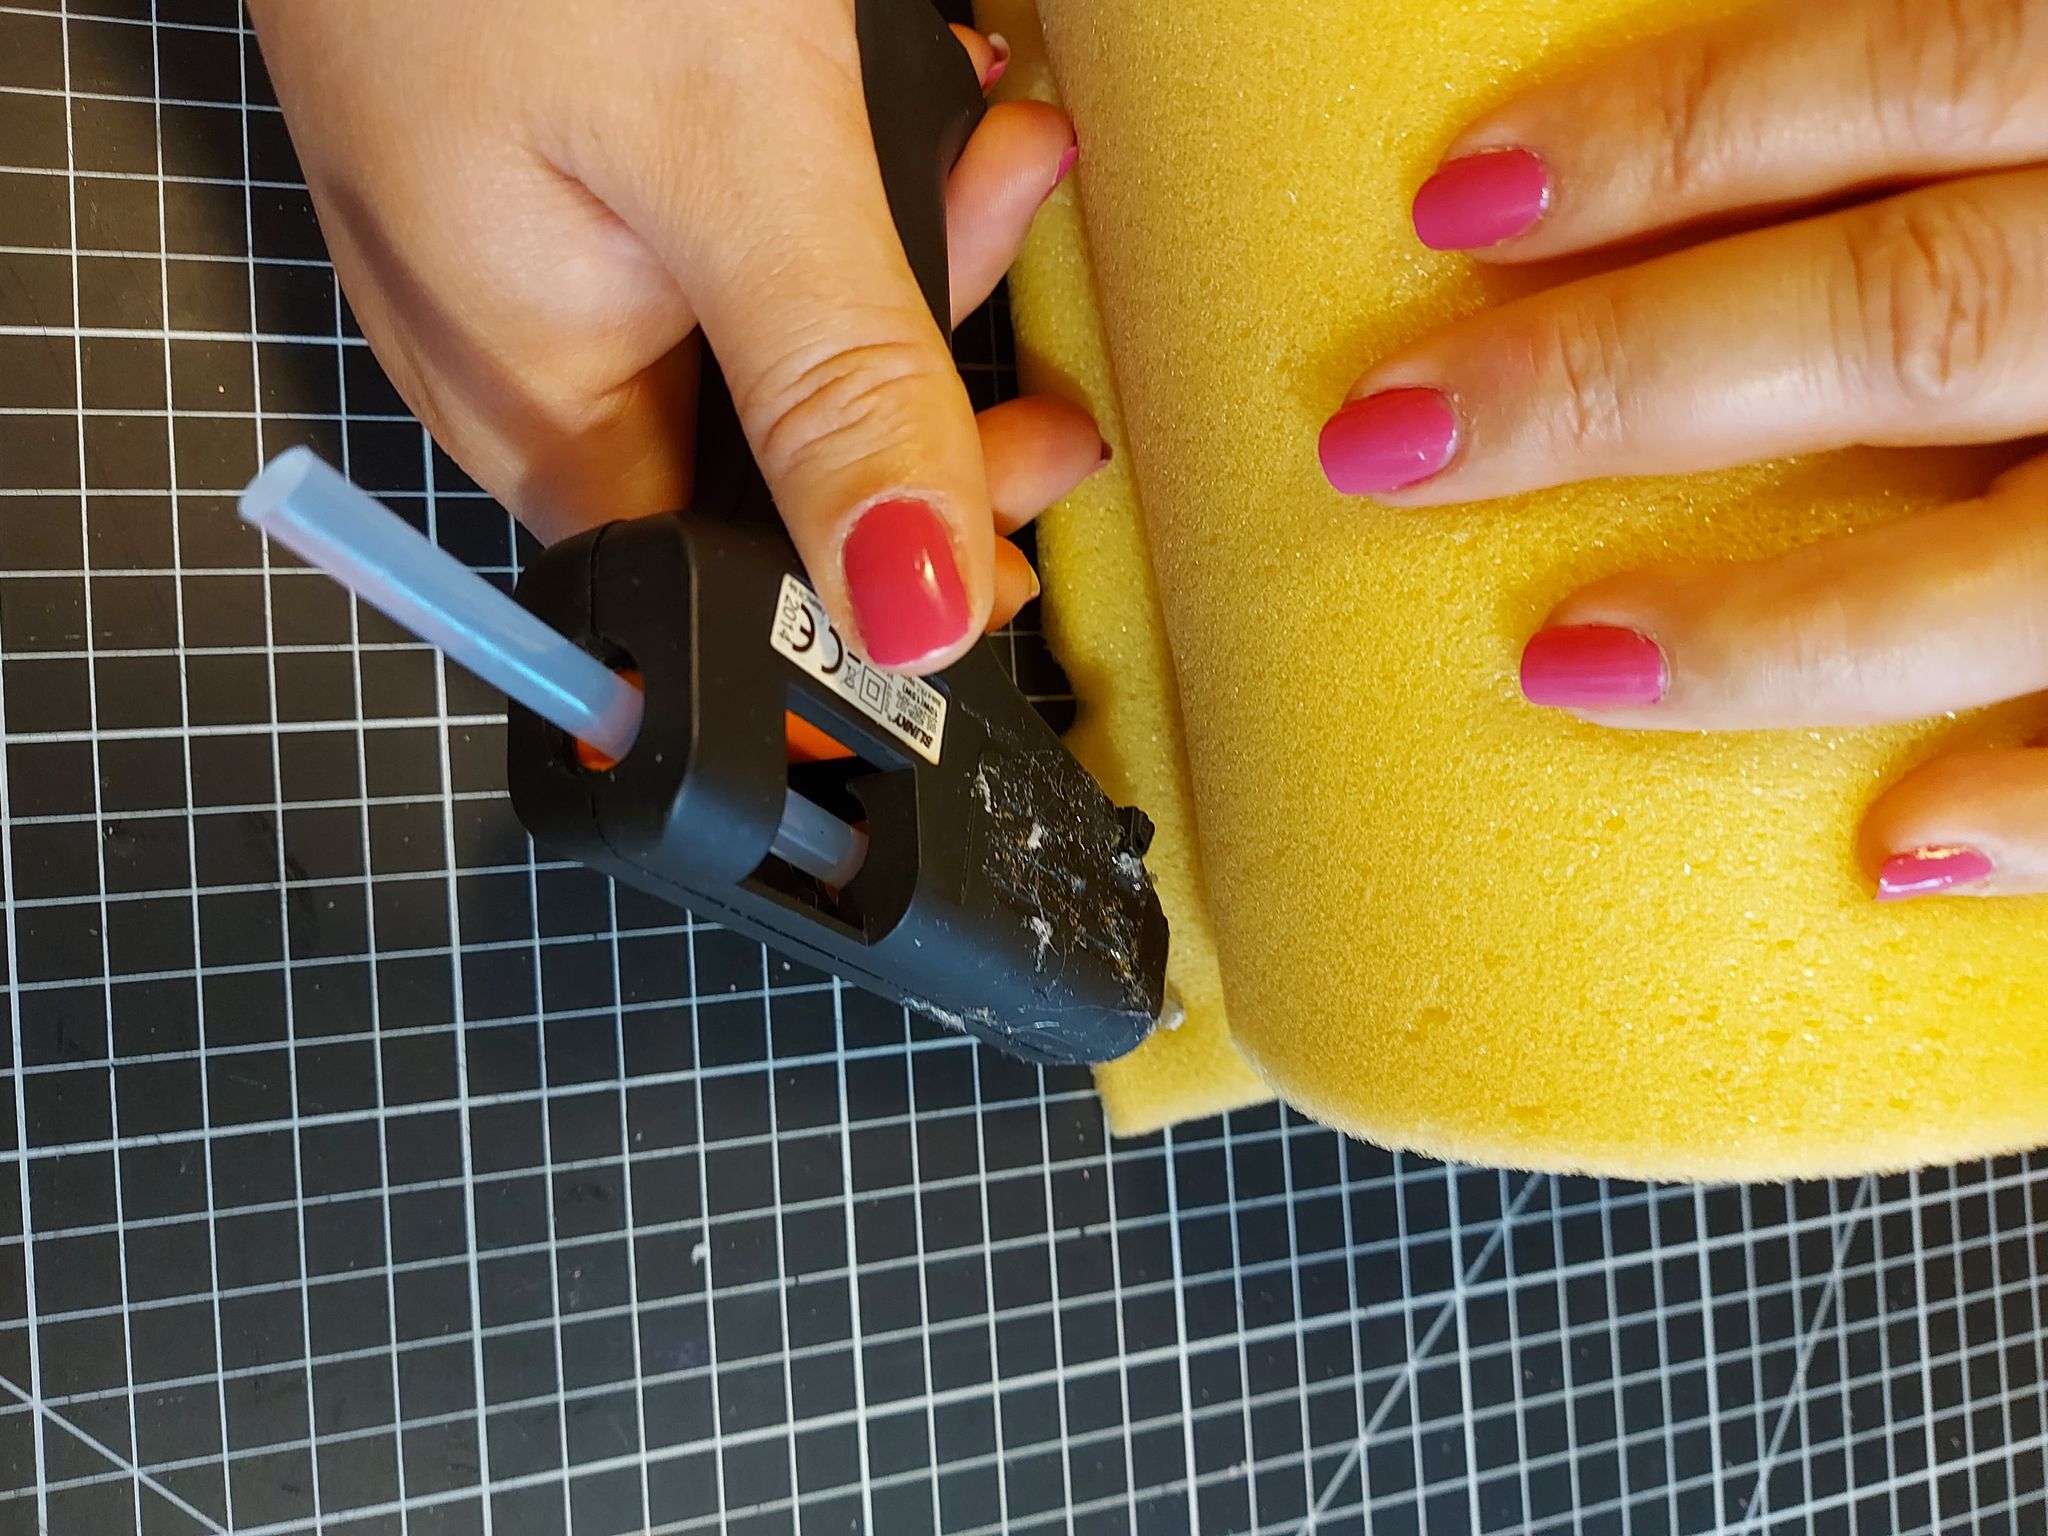
3- After having closed the container we proceed to cover it with the fabric, leaving a space of 1cm on the edges to close them with hot silicone.
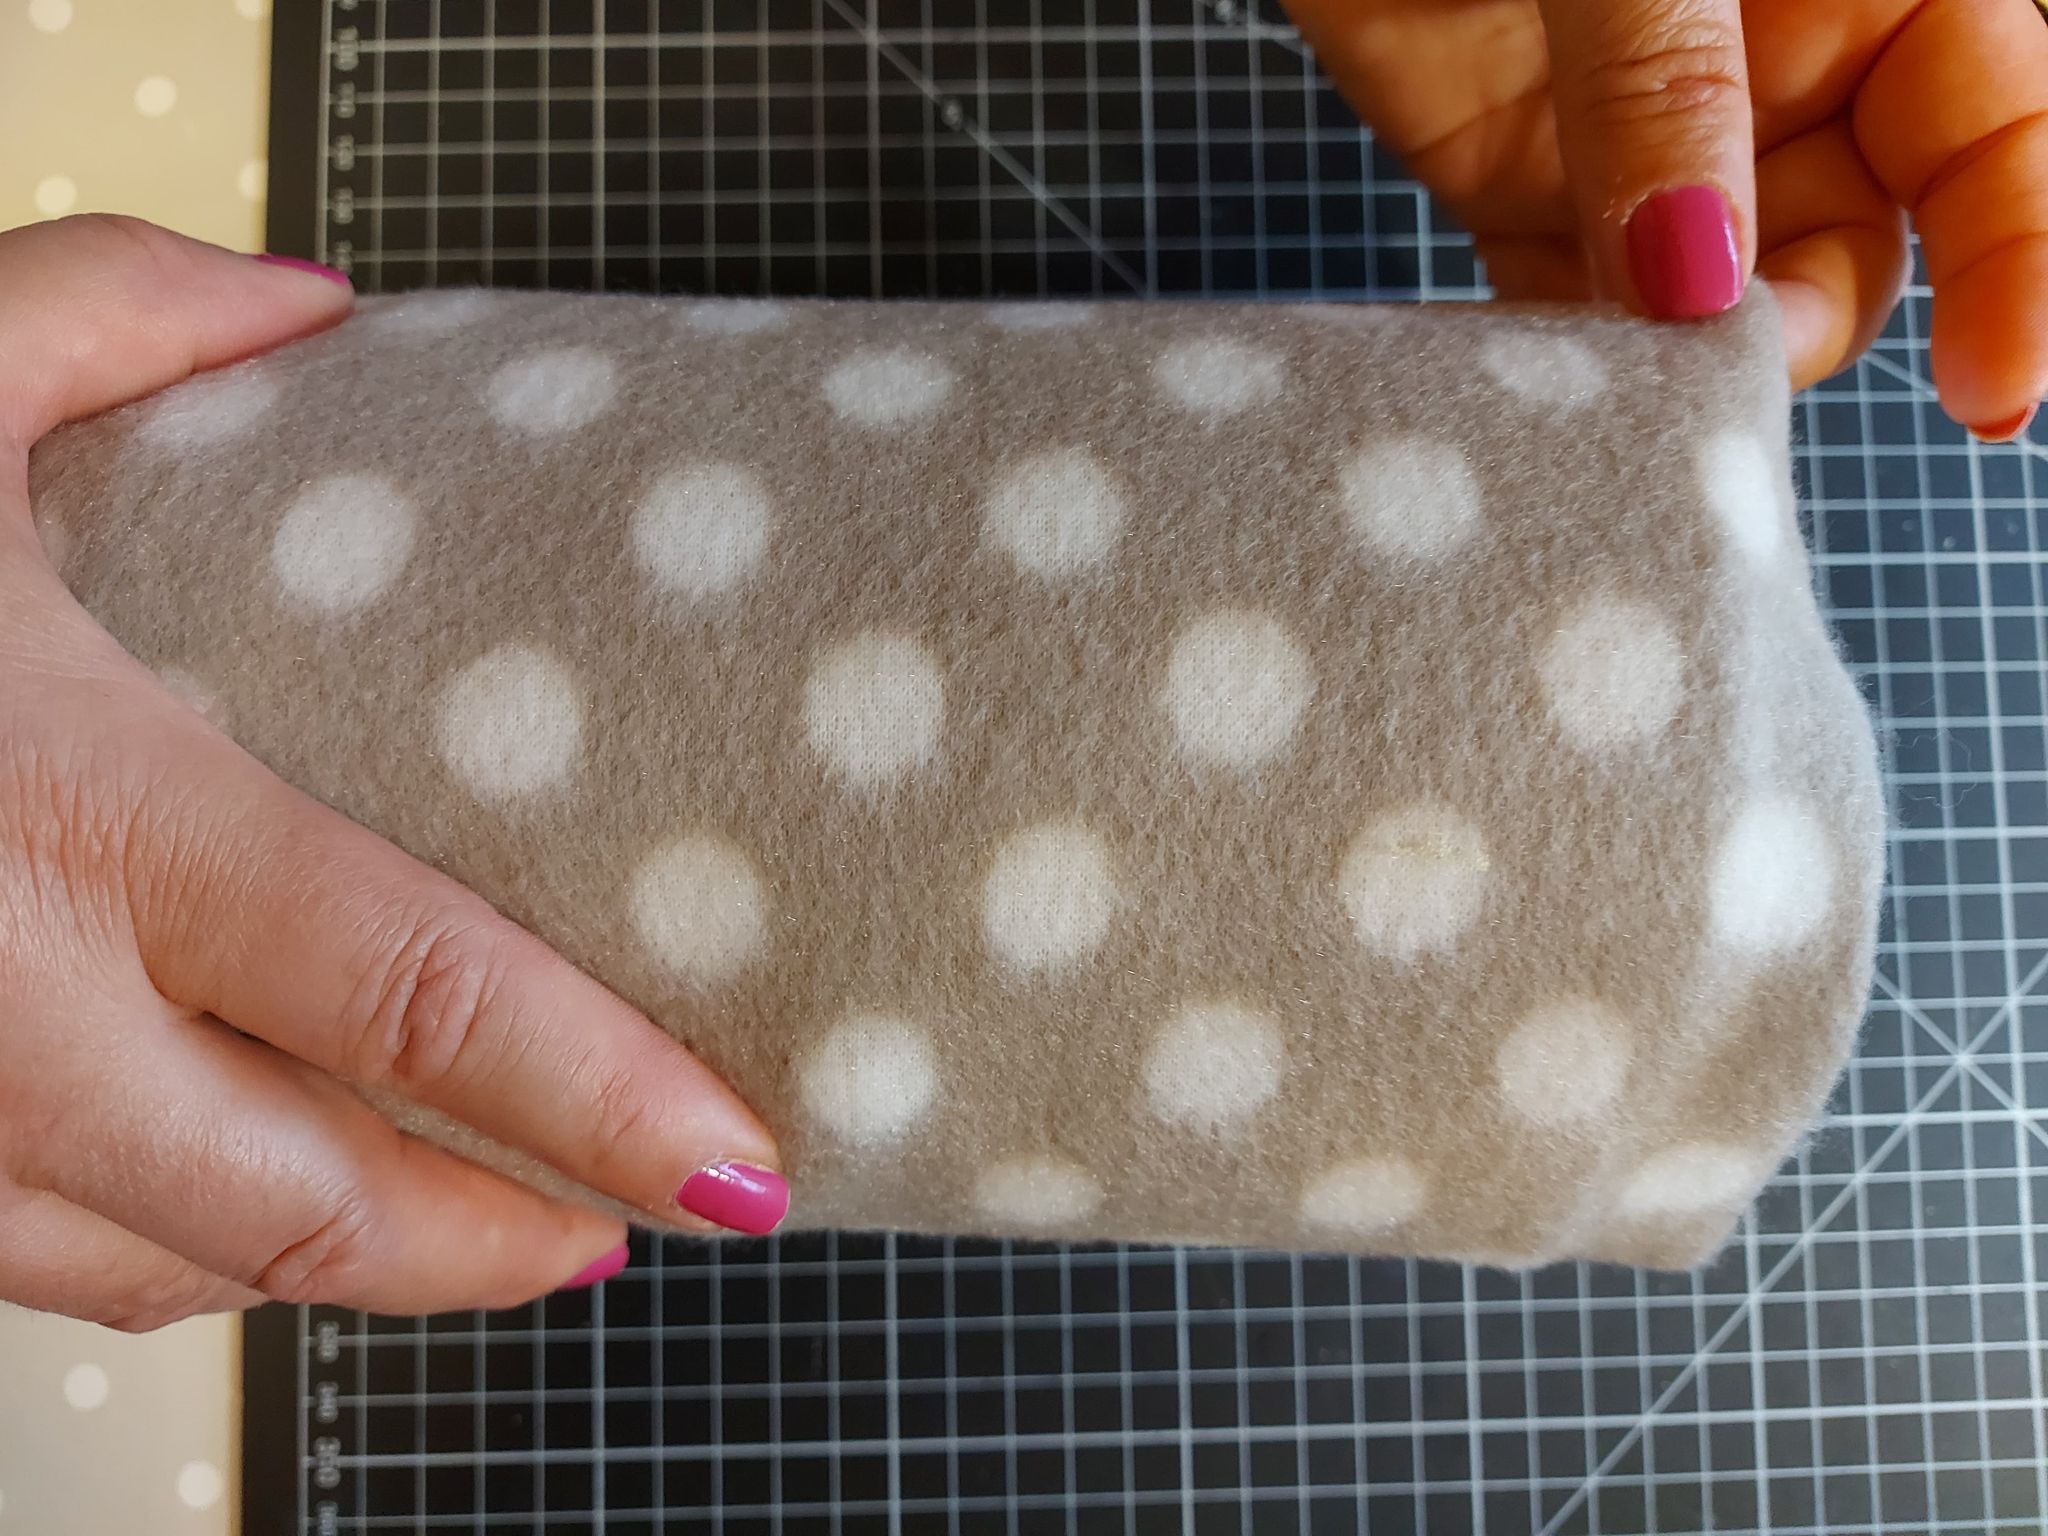
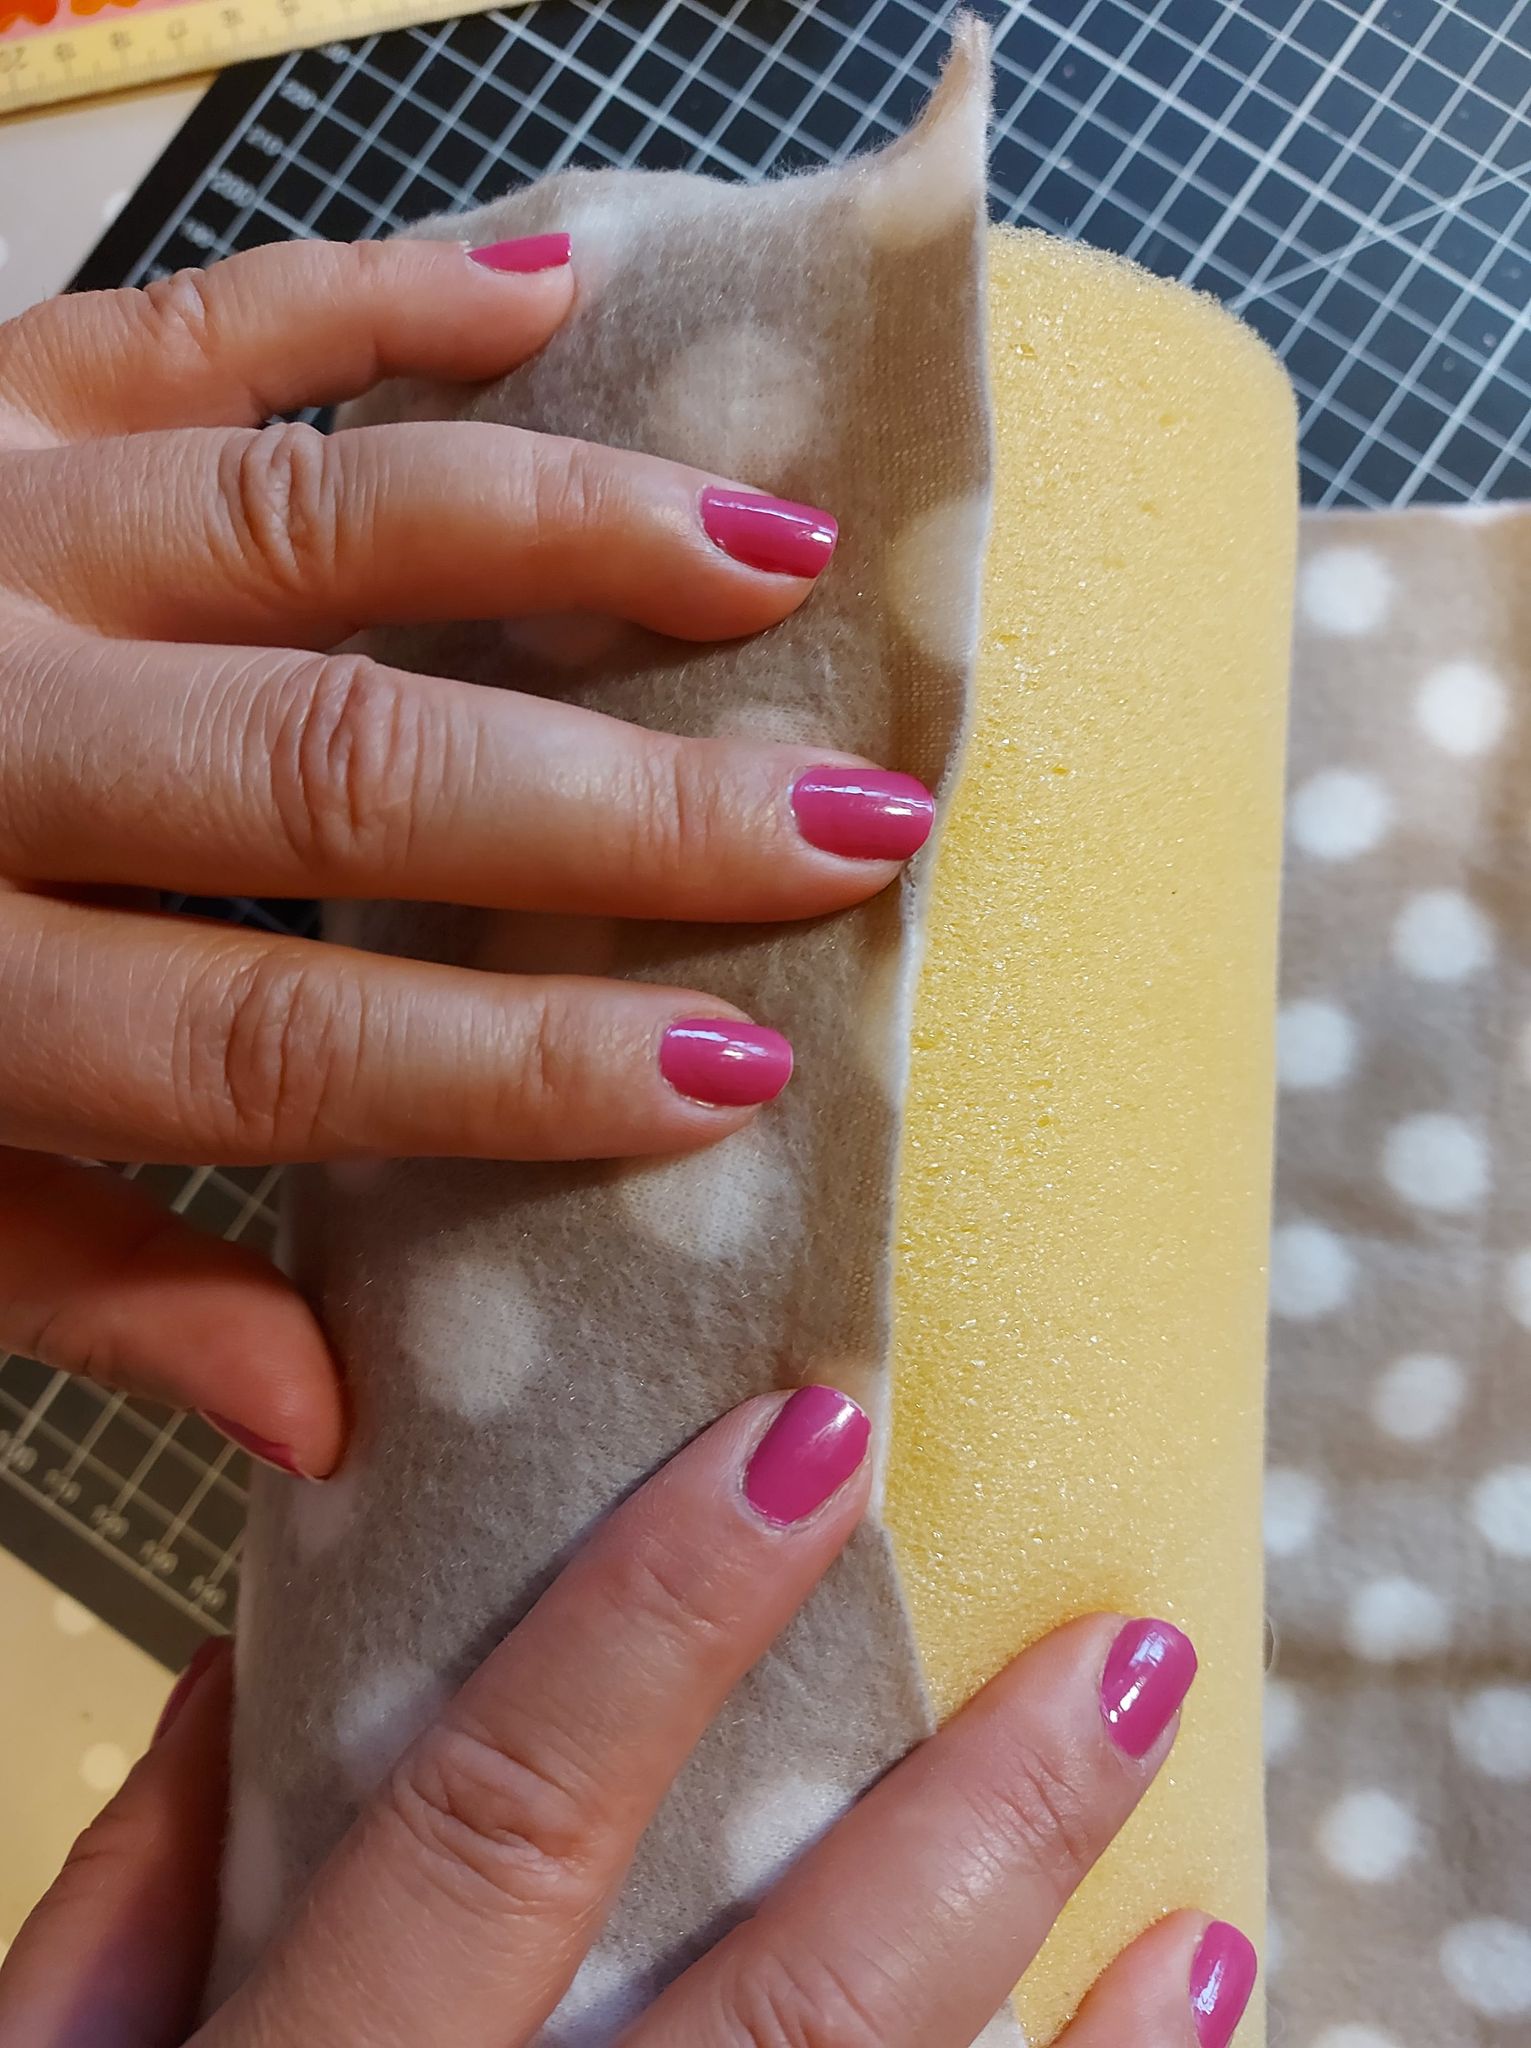
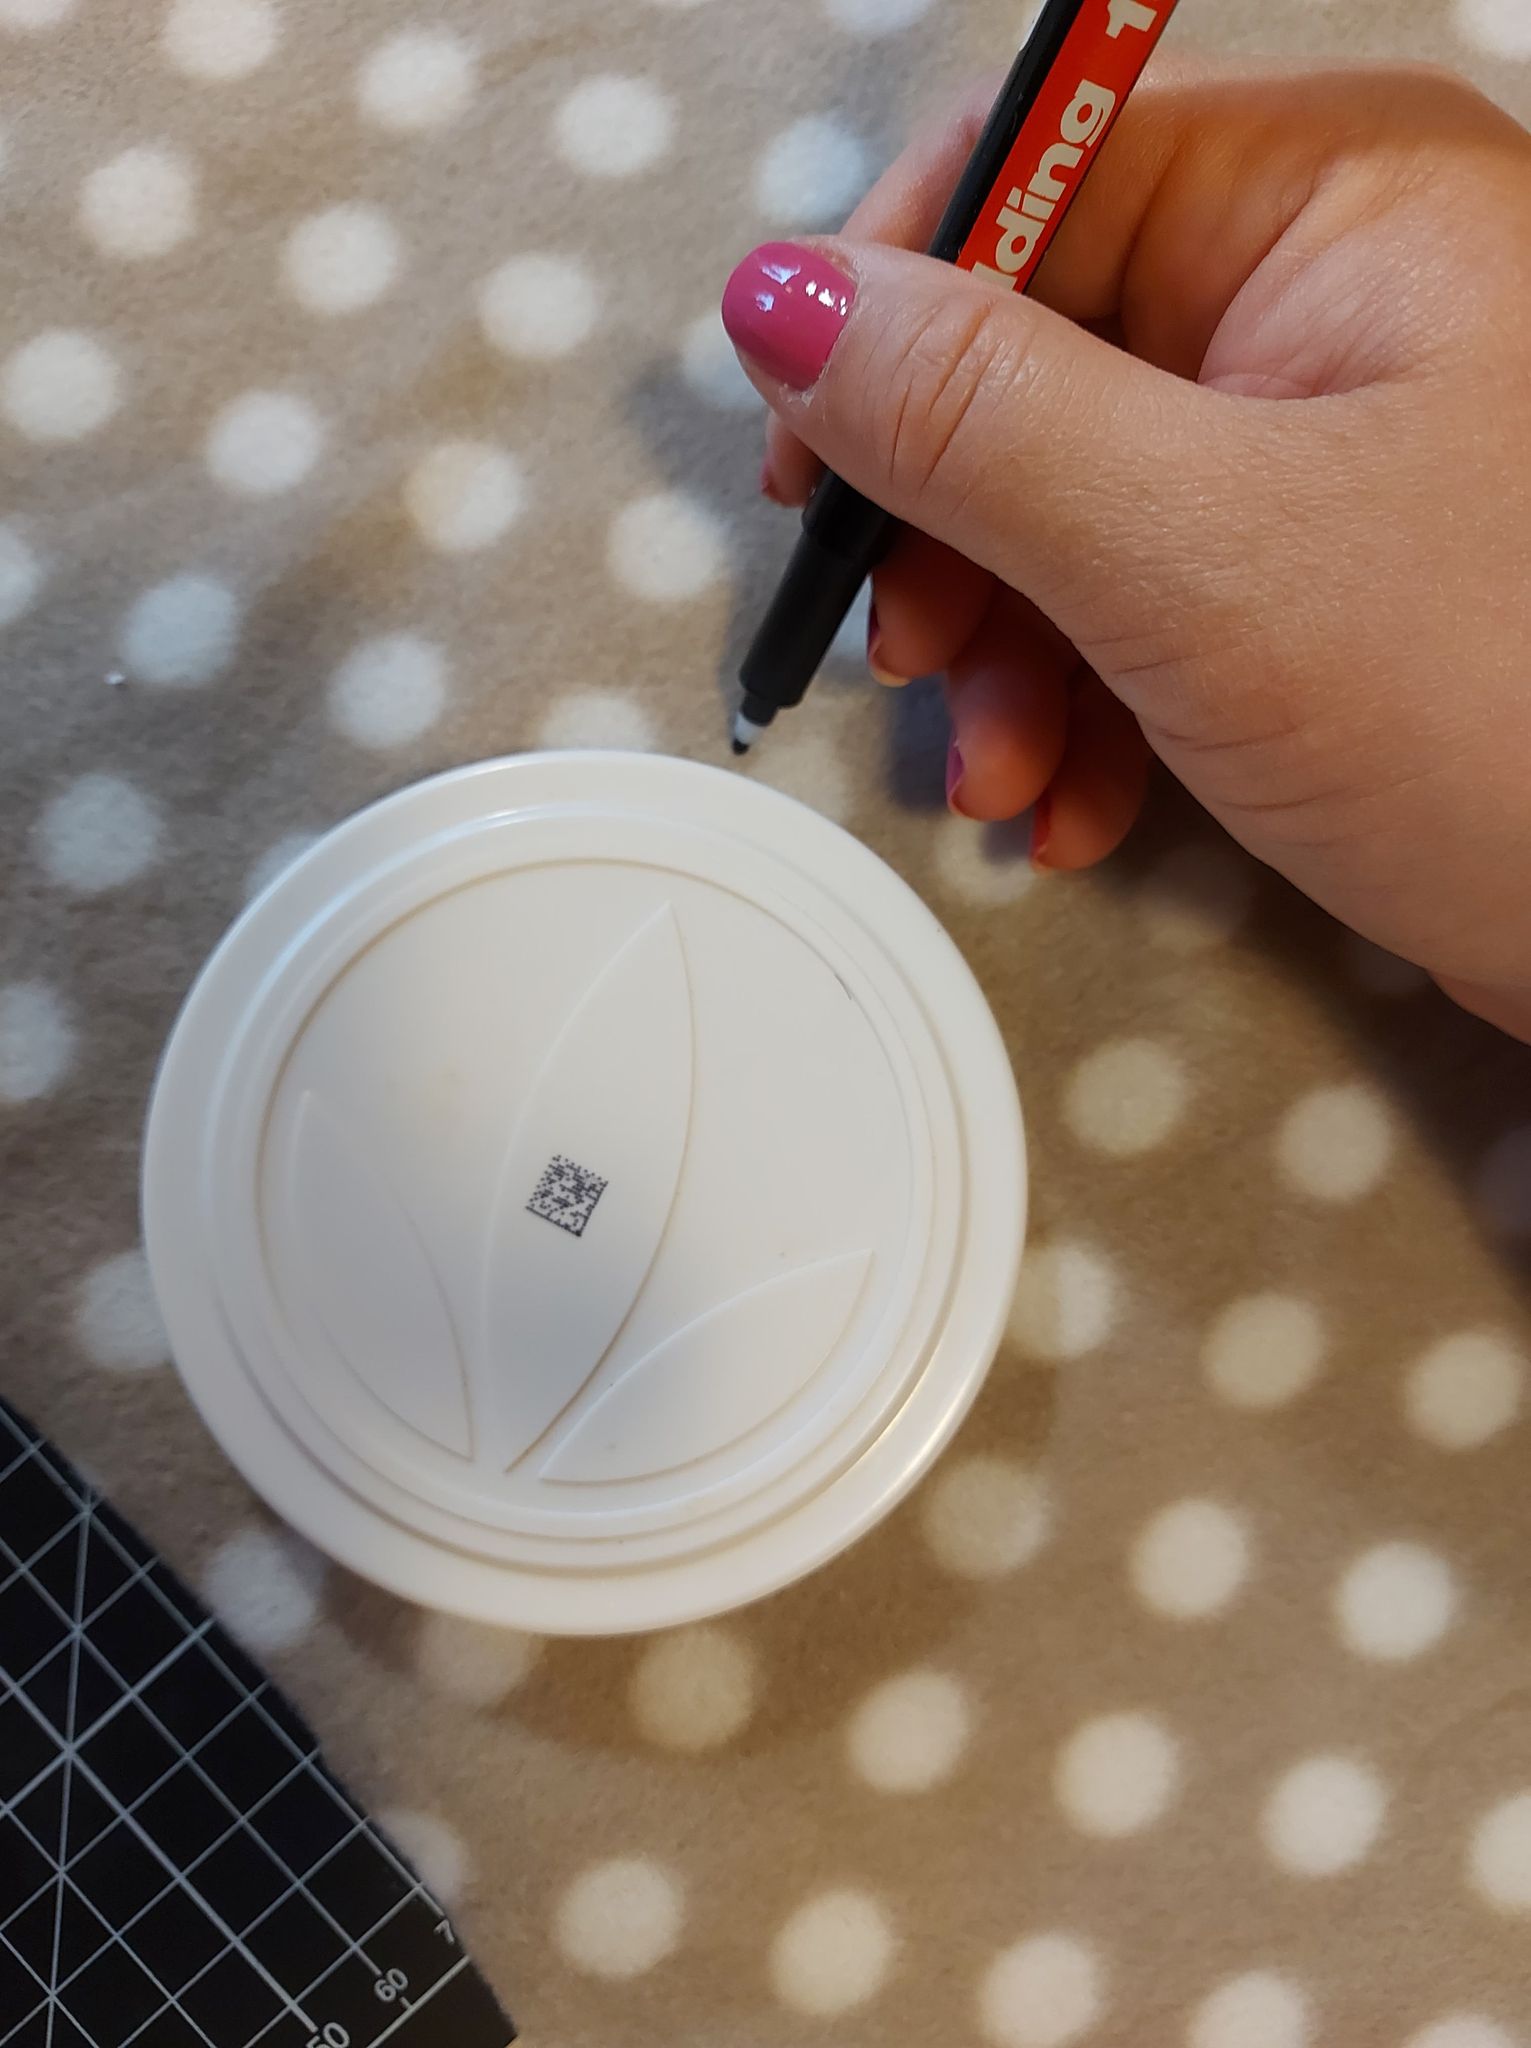
- We mark the sides of the container on fabric, for that we will use the measure of the lid. We also line with fabric.
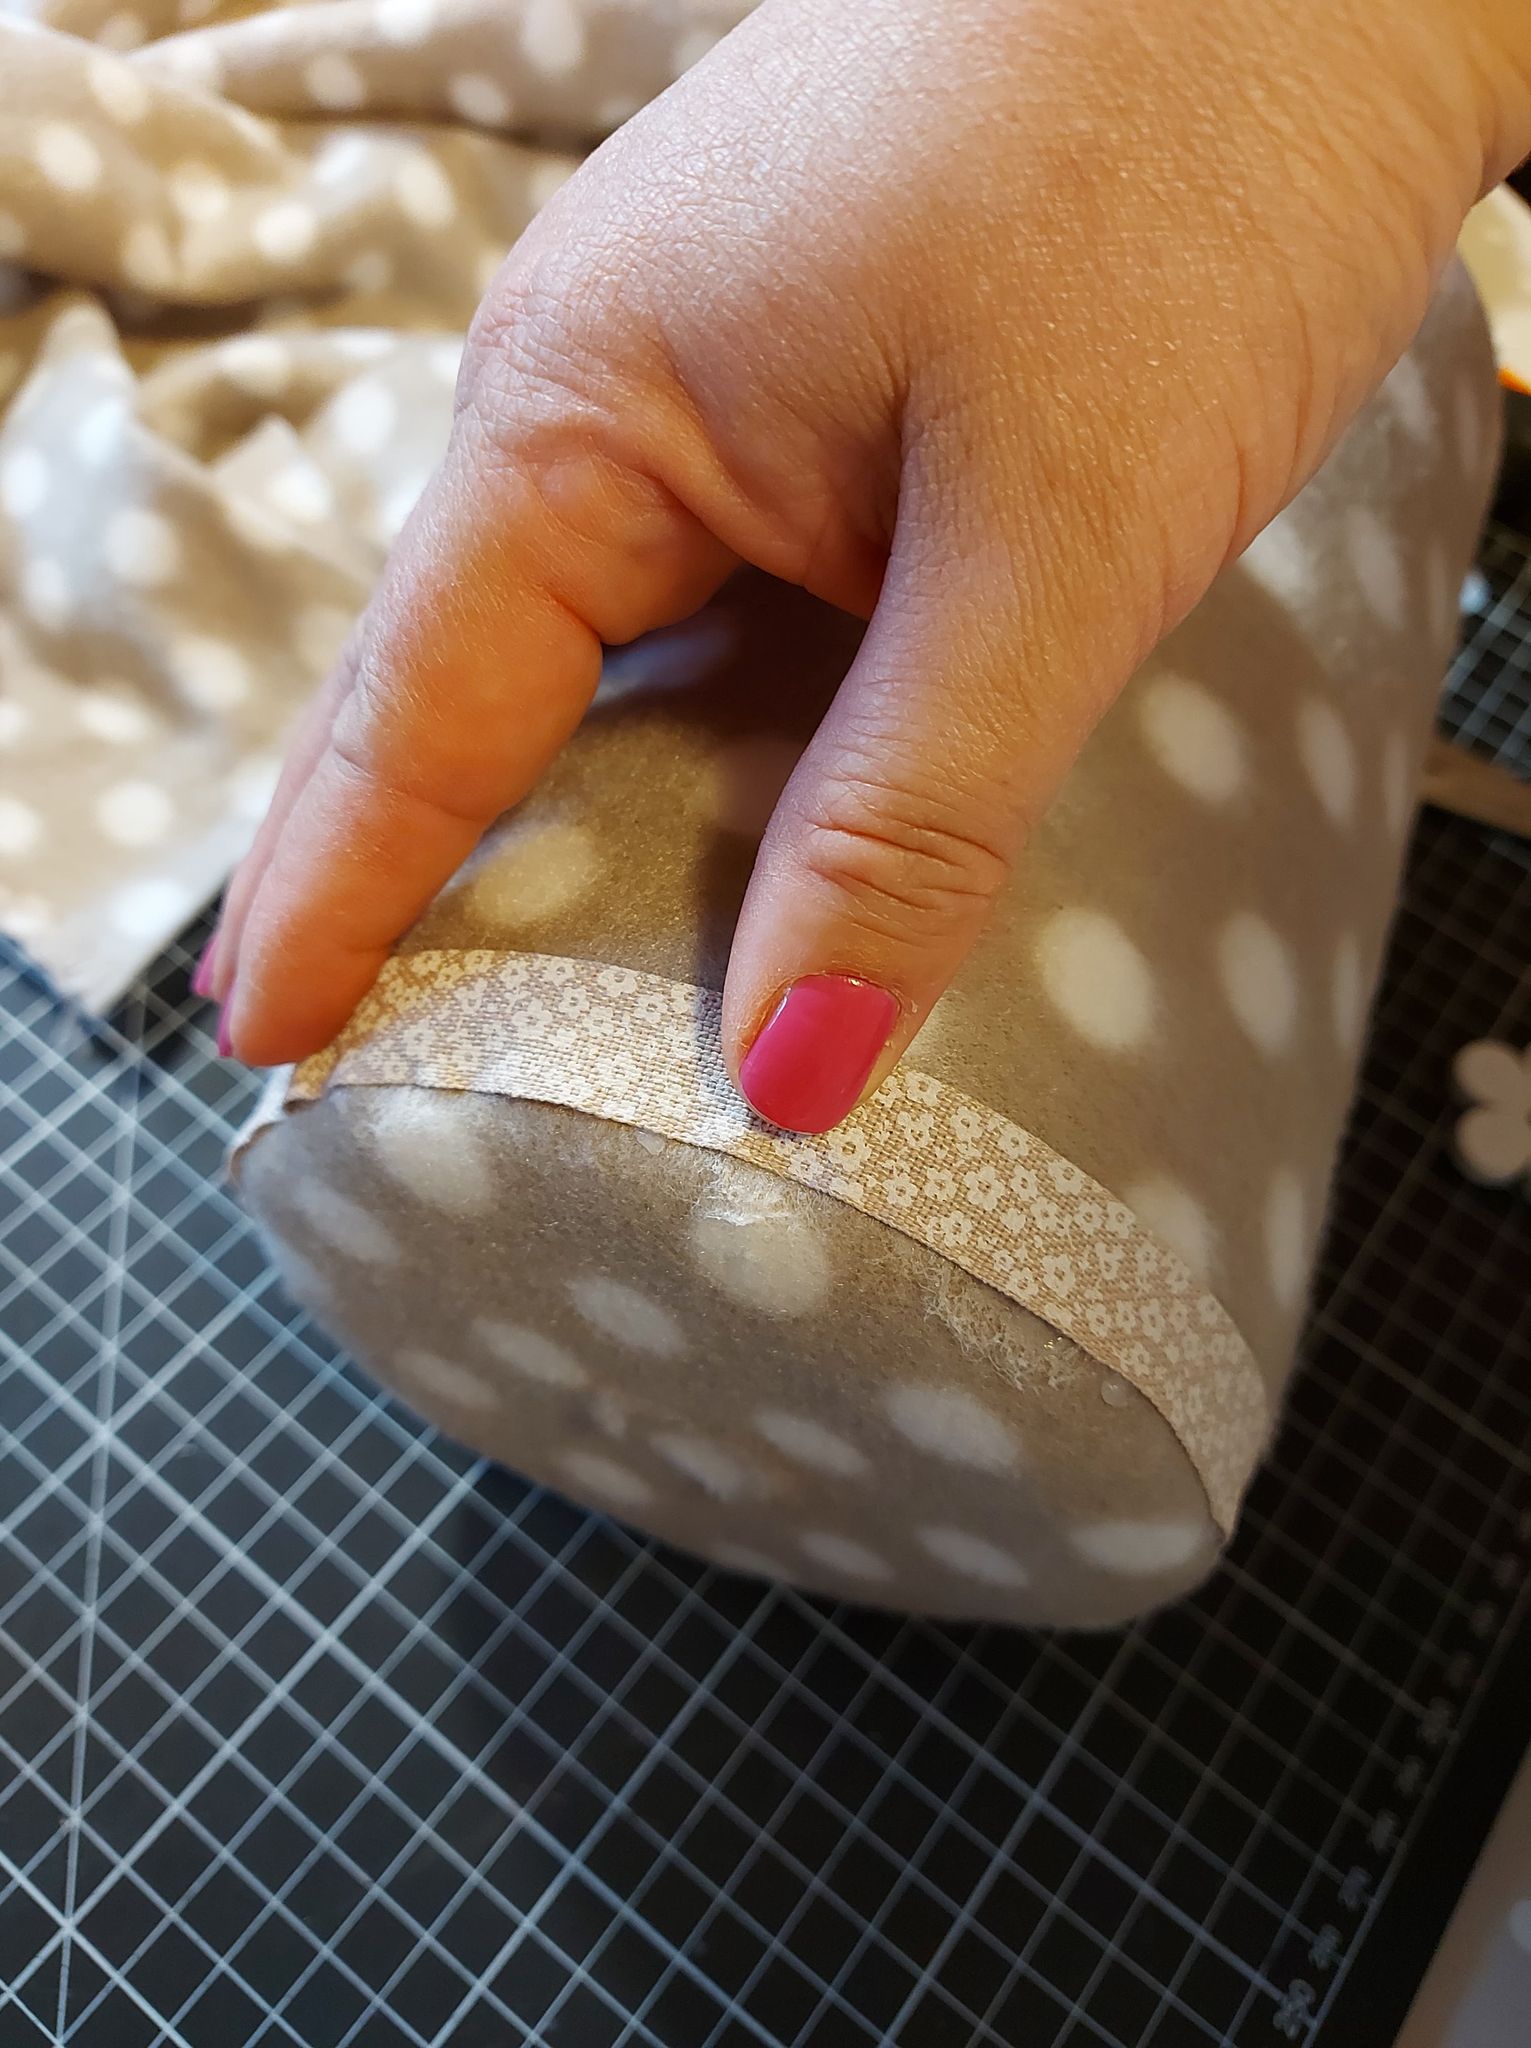
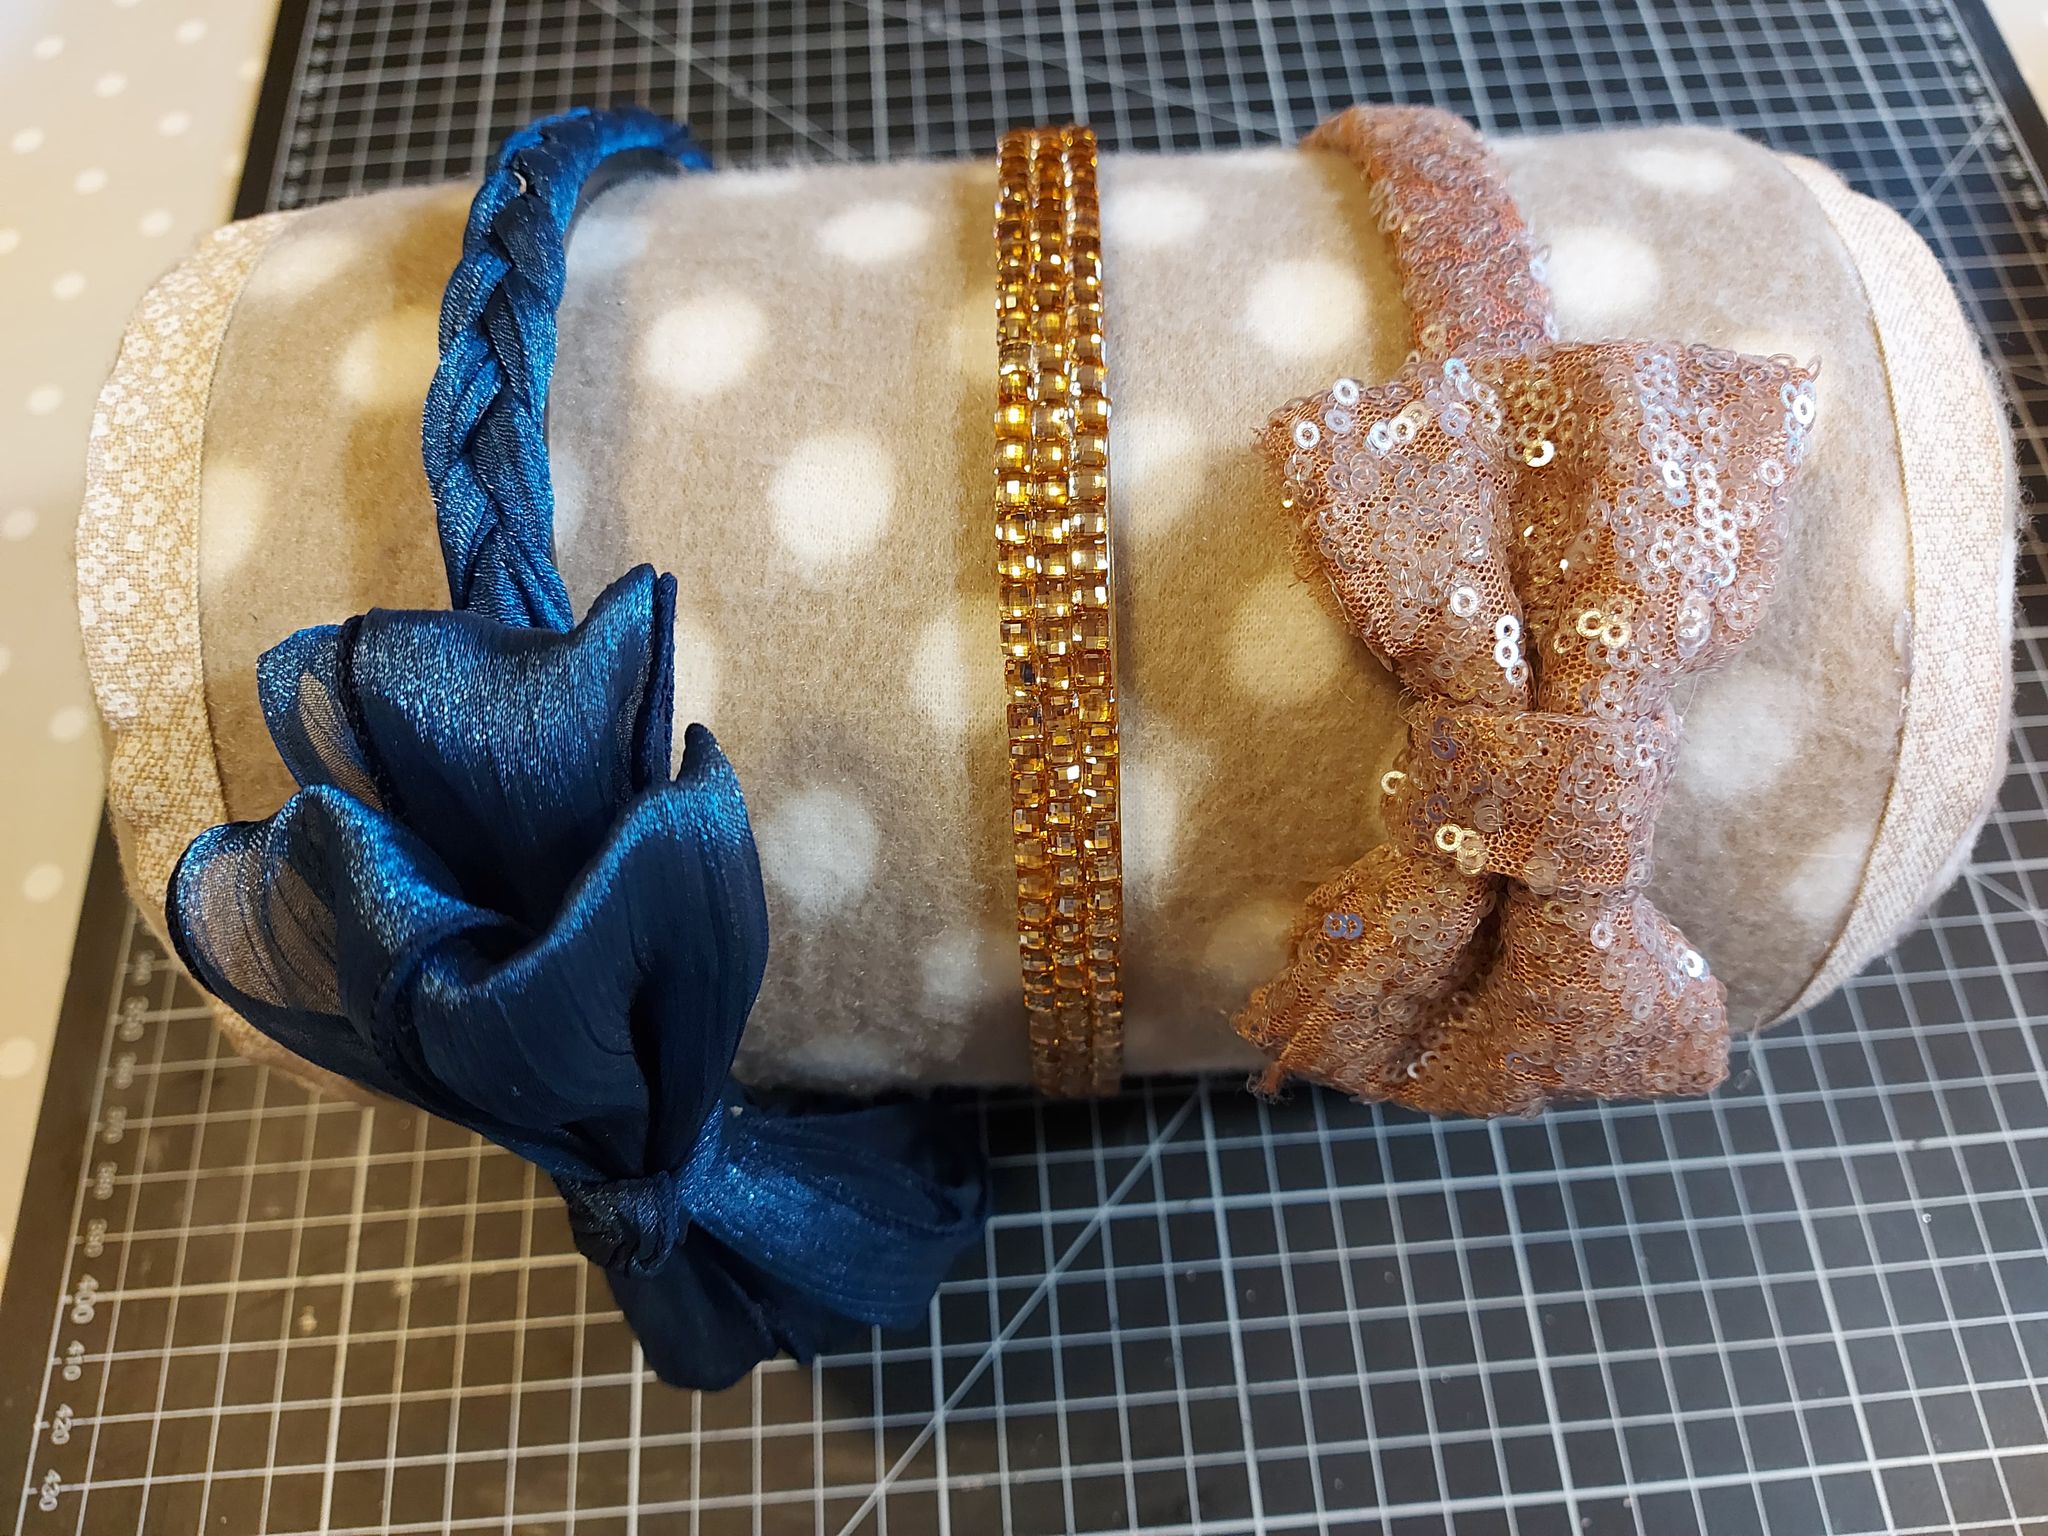
- Finally with tape we will cover the imperfections of the edges and place the decorative elements, they could be buttons, bows or in my case wooden flowers.
And this is my work today, I hope you recreate it at home, thanks for reading me
Your post has been curated by us! Received 20.00% upvote from @opb. Do consider delegate to us to help support our project.
Do join our discord channel to give us feedback, https://discord.gg/bwb2ENt
* This bot is upvoting based on the criteria : 1. Not plagiarised, 2. Persistent previous quality posts, 3. Active engagement with other usersDo upvote this commment if you 💚 our service :)