Bricolaje: Bonito avión realizado con material de provecho[ Paso a paso] / DIY: Nice plane made with useful material [ Step by Step]

in GEMS4 years ago

¡HAGAMOSLO!

LET'S DO IT!
189185980_535647250930656_1086159750766332020_n.jpg

BUENOS NOCHES HERMOSA COMUNIDAD, VOLVÍ, HOY LES TRAIGO UN PASO A PASO DE COMO REALICE ESTE LINDO AVIÓN CON MATERIALES DE PROVECHO, SIGANME

GOOD NIGHT BEAUTIFUL COMMUNITY, I CAME BACK, TODAY I BRING YOU A STEP BY STEP OF HOW I MAKE THIS BEAUTIFUL AIRPLANE WITH USEFUL MATERIALS, FOLLOW ME

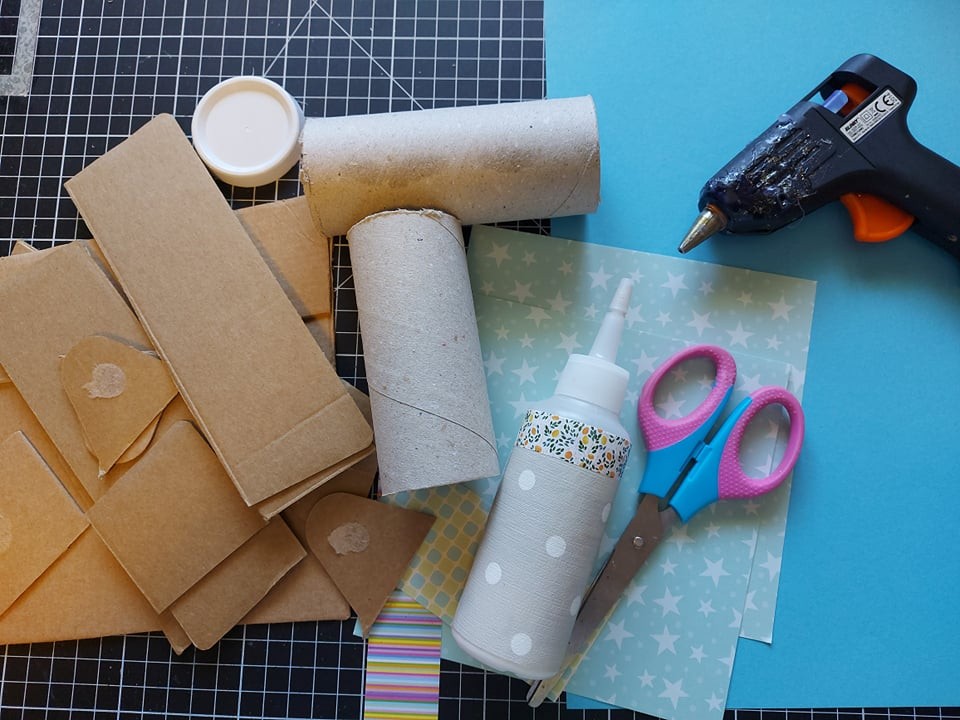
Materiales:
retazos de cartón
tubo de cartón puede ser de papel higiénico u otro
retazos de papel decorativo,
pega
tijeras
regla silicona caliente.

Materials:
cardboard scraps
cardboard tube can be toilet paper or other
scraps of decorative paper,
job
pair of scissors
hot silicone ruler.
190462796_295056912253248_5080239390766068632_n.jpg

PASO A PASO

STEP BY STEP

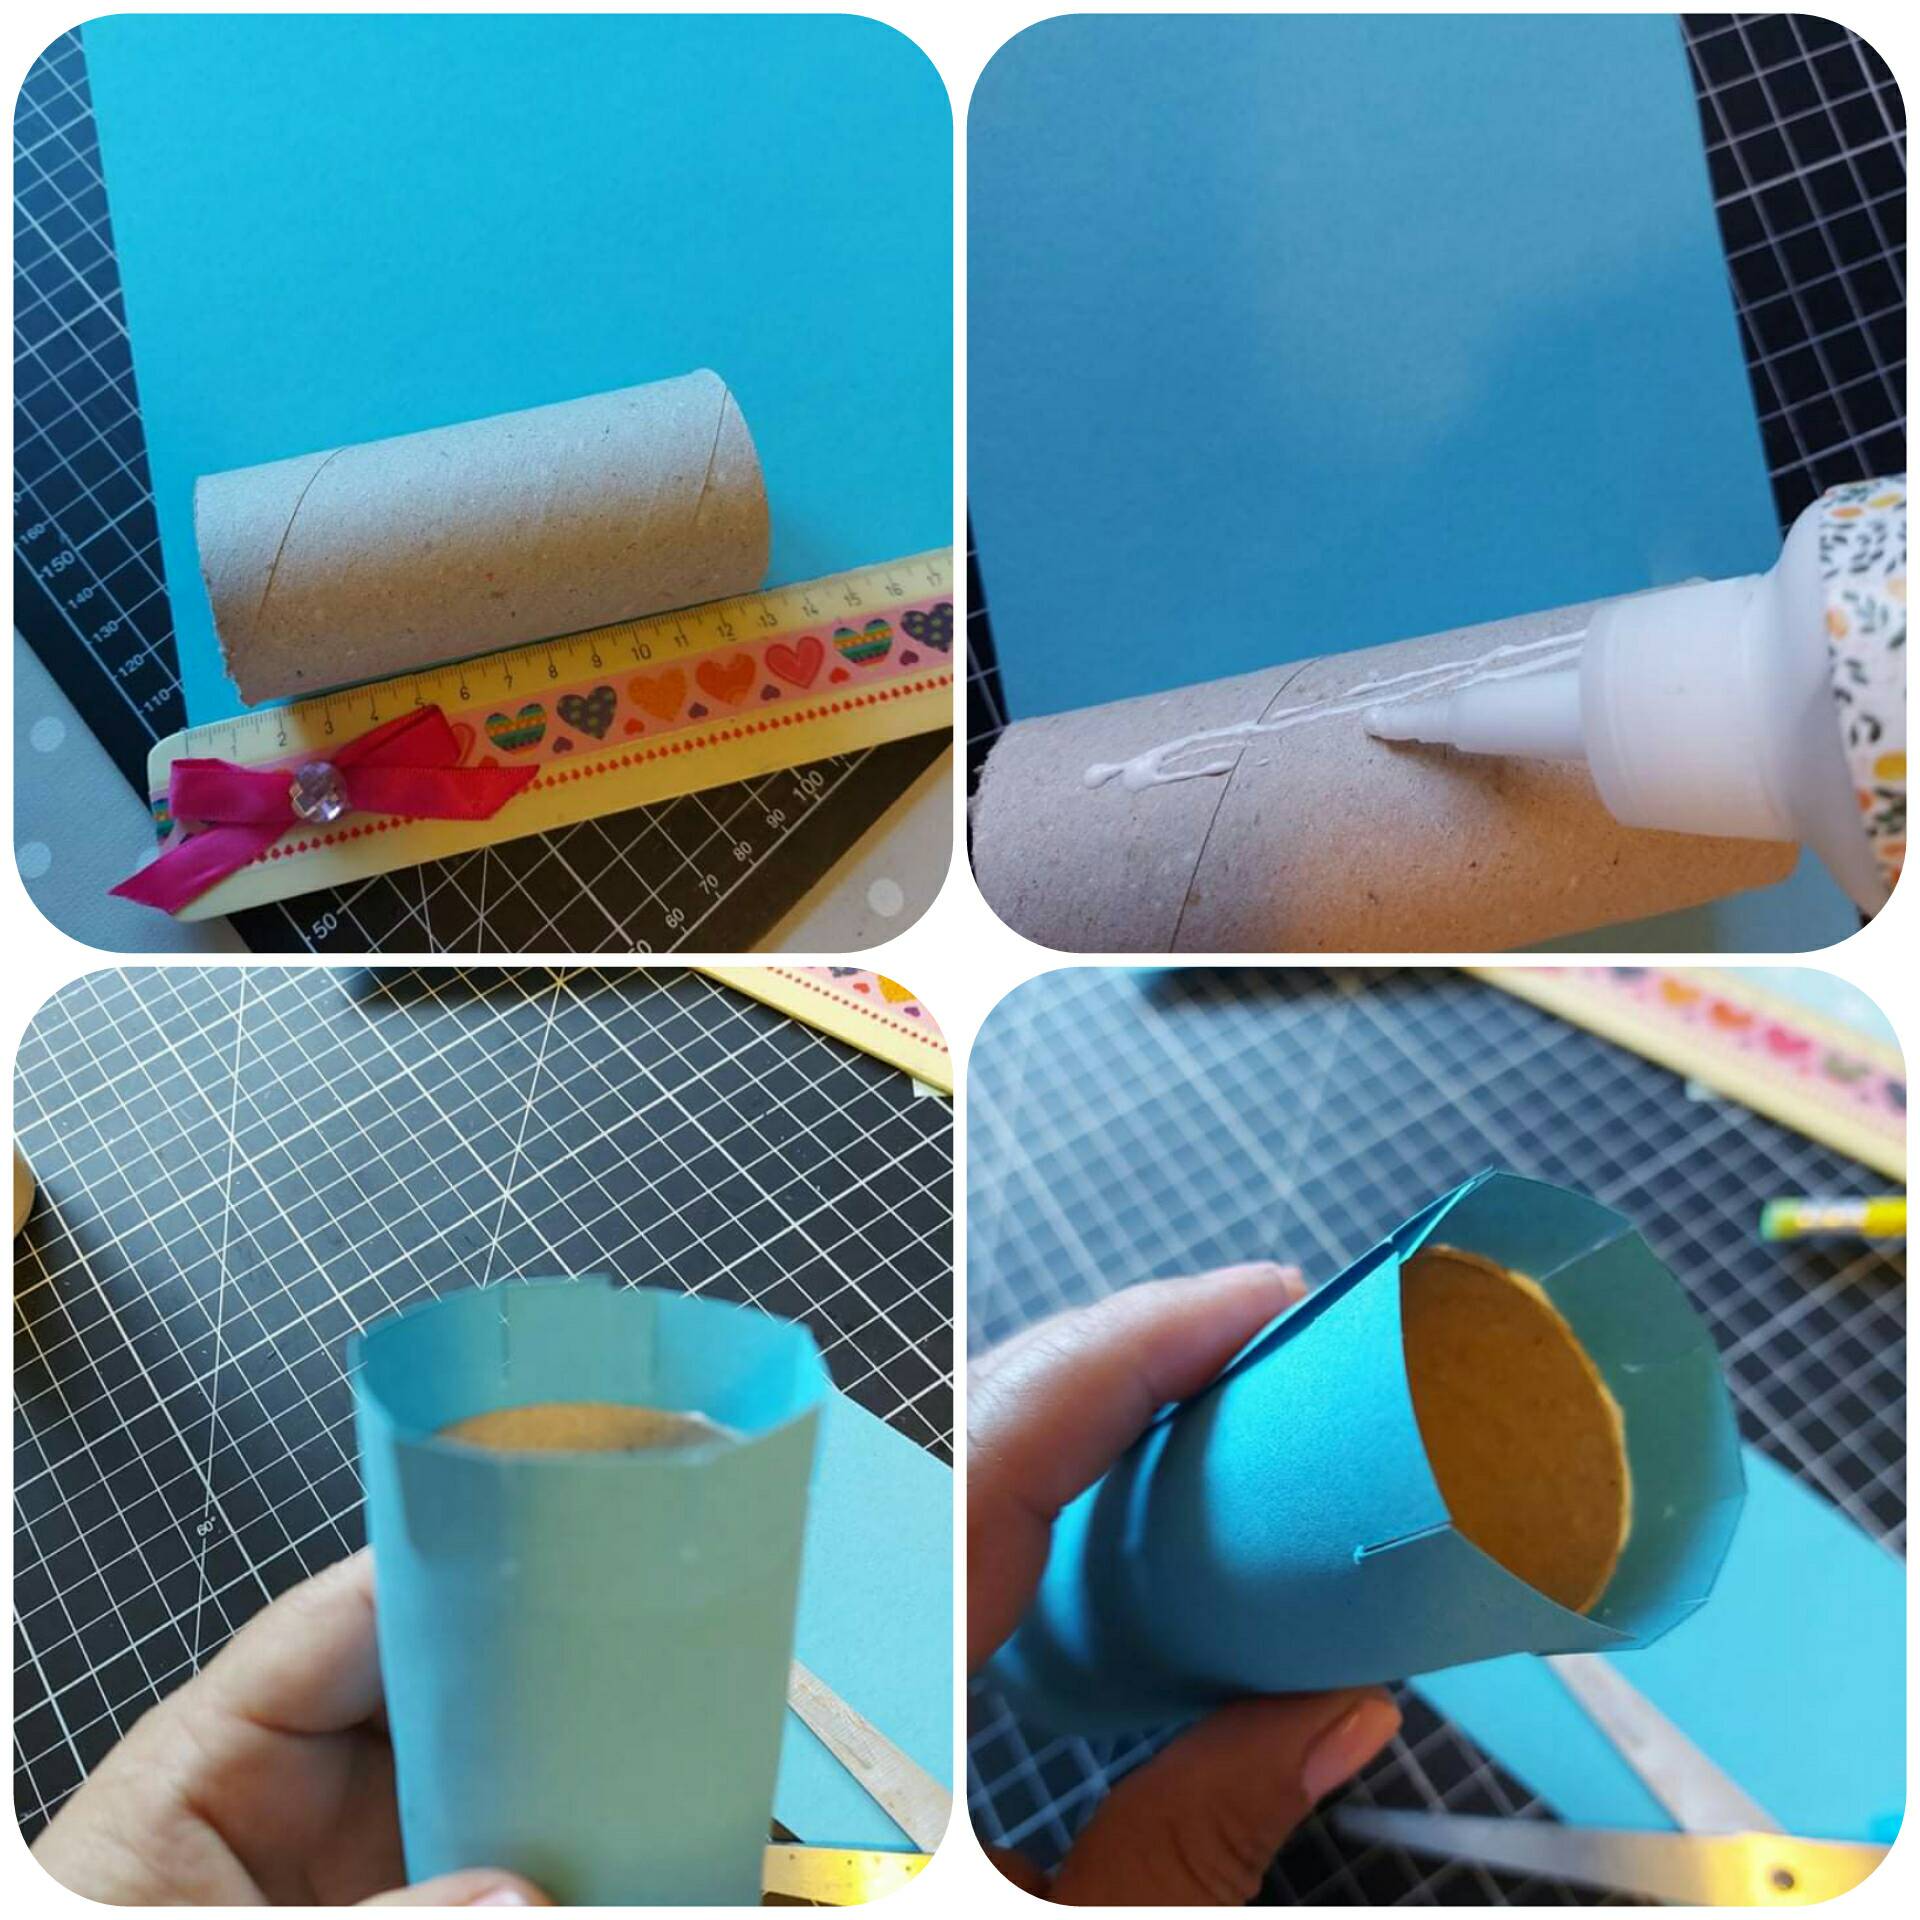
1. Medimos y cortamos nuestro tubo de cartón, luego pegamos y forramos el tubo con un papel unicolor

1. We measure and cut our cardboard tube, then glue and line the tube with a solid color paper.

2. En los extremos del tubo, hacemos cortes y introducimos el papel hacia el interior del tubo.

2. At the ends of the tube, we make cuts and introduce the paper into the tube.
188858318_851846455679447_950553890469537991_n.jpg

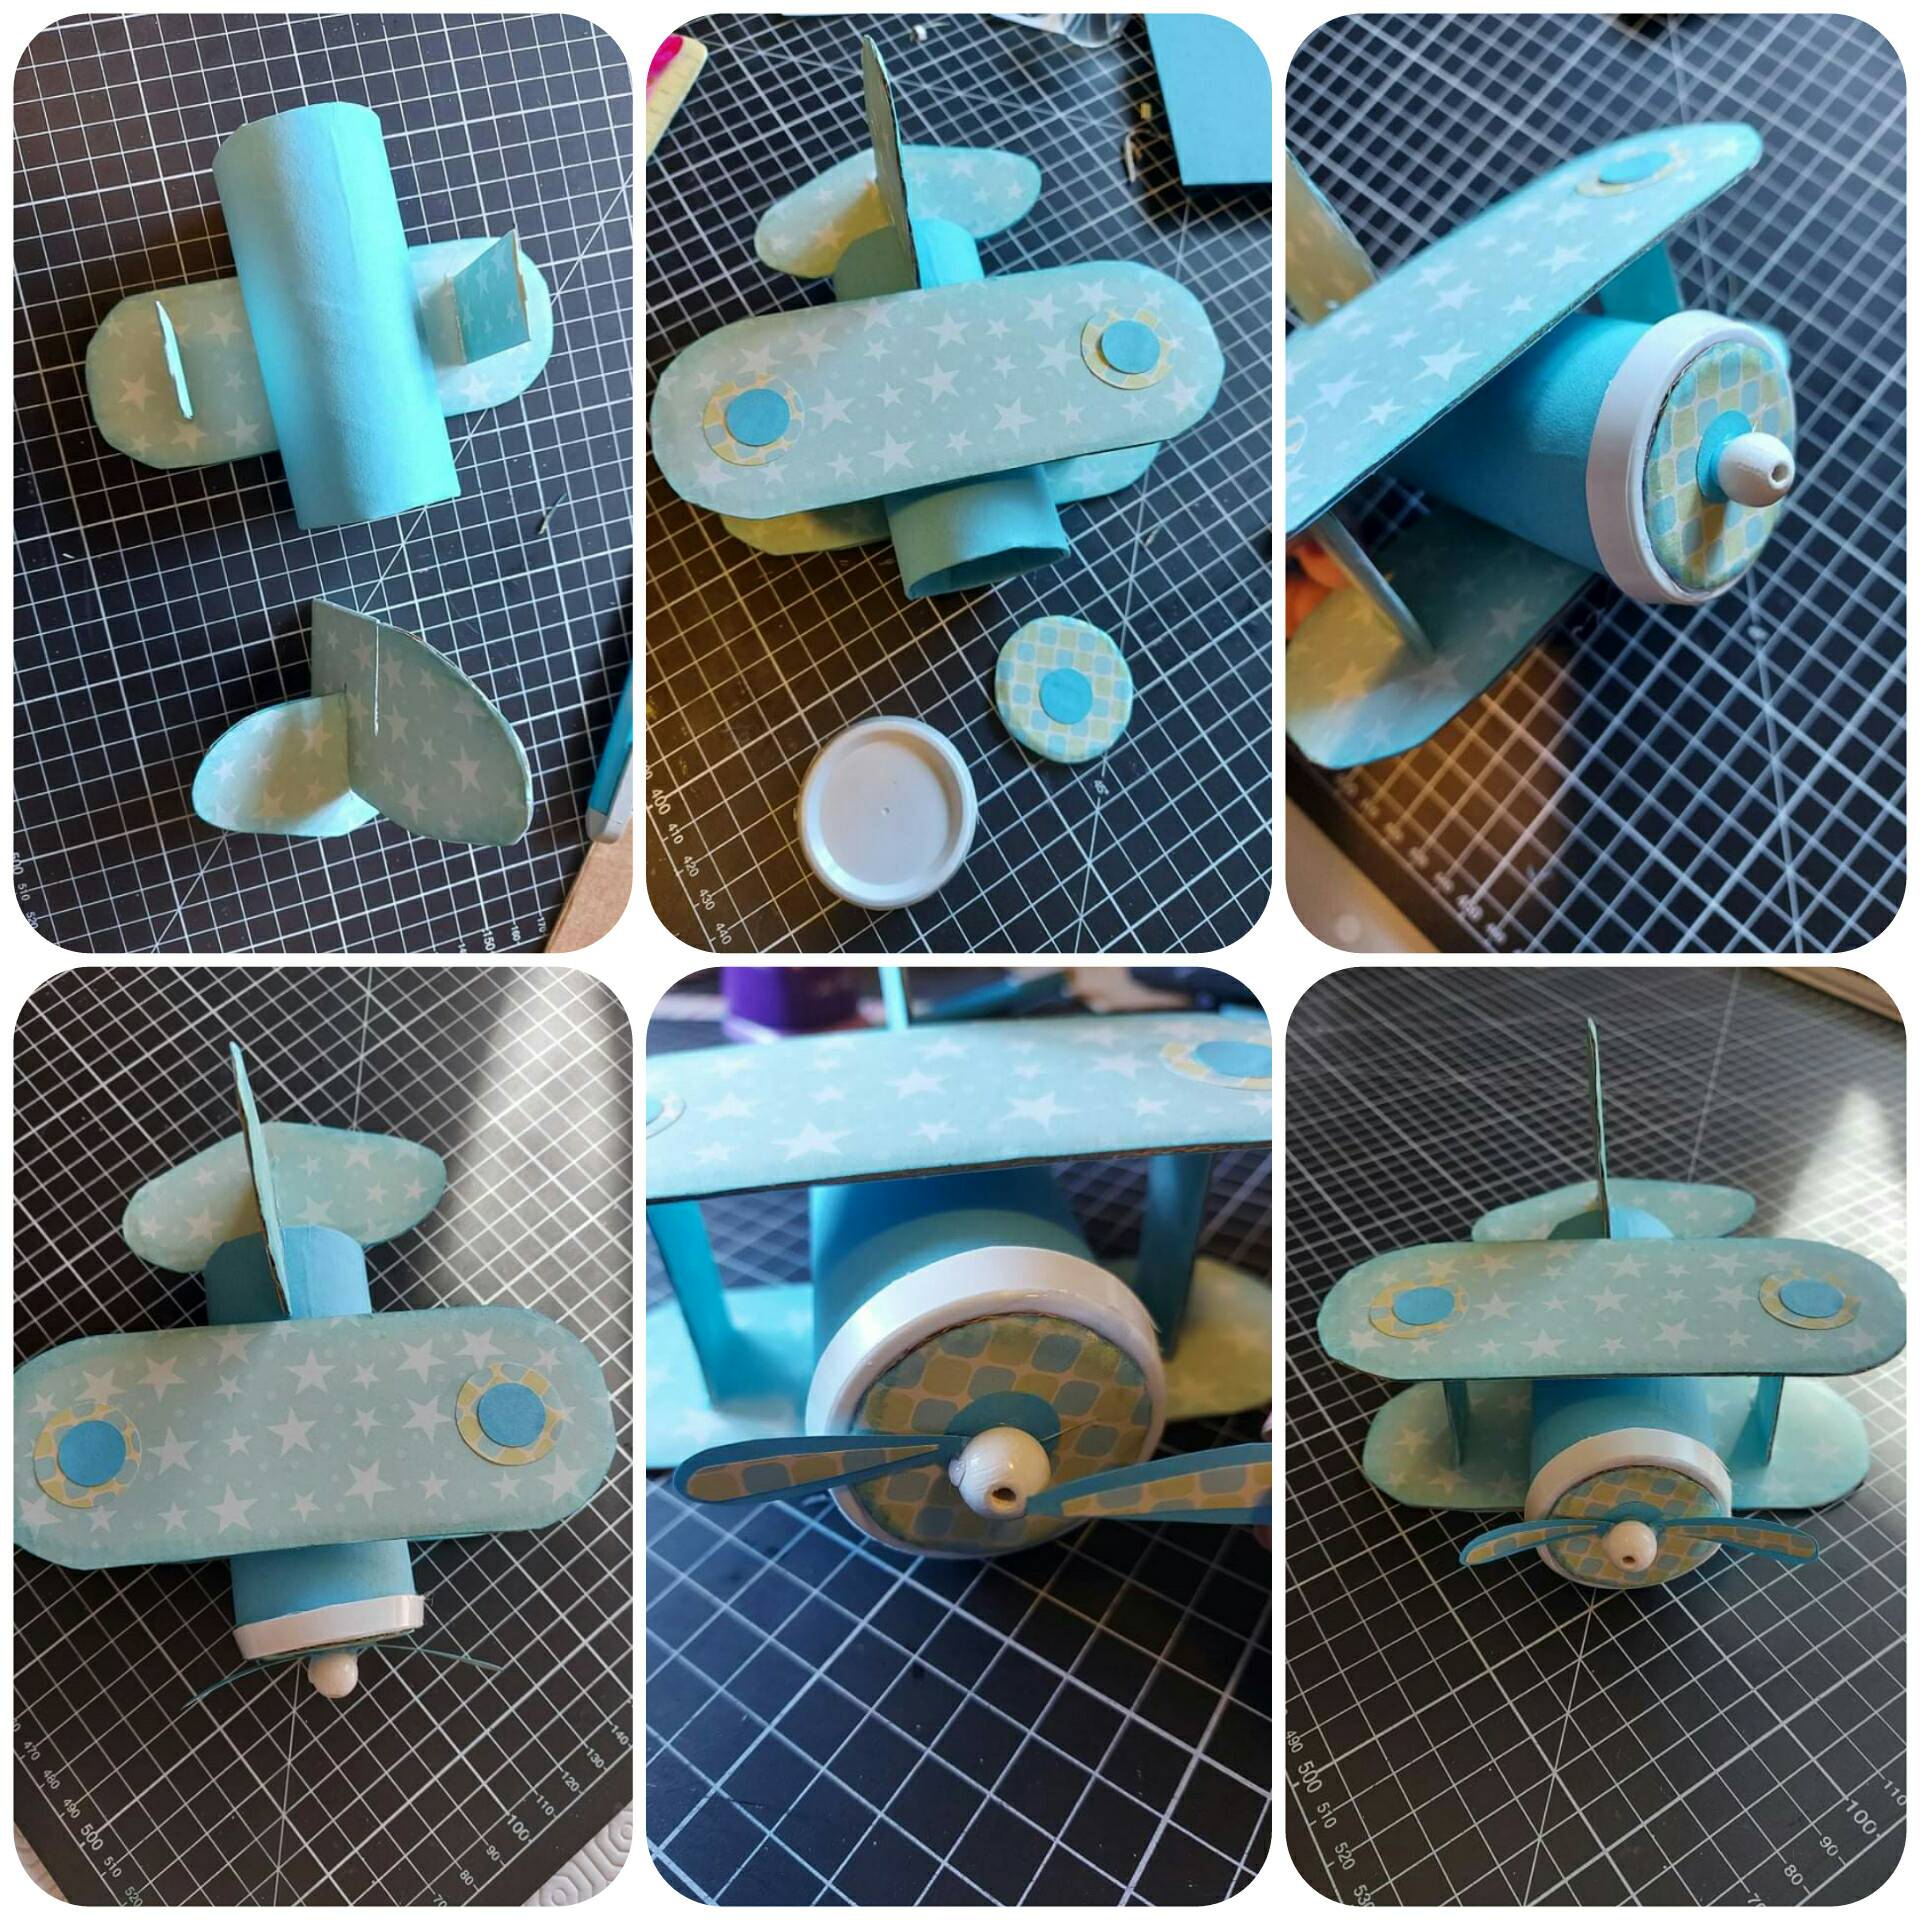
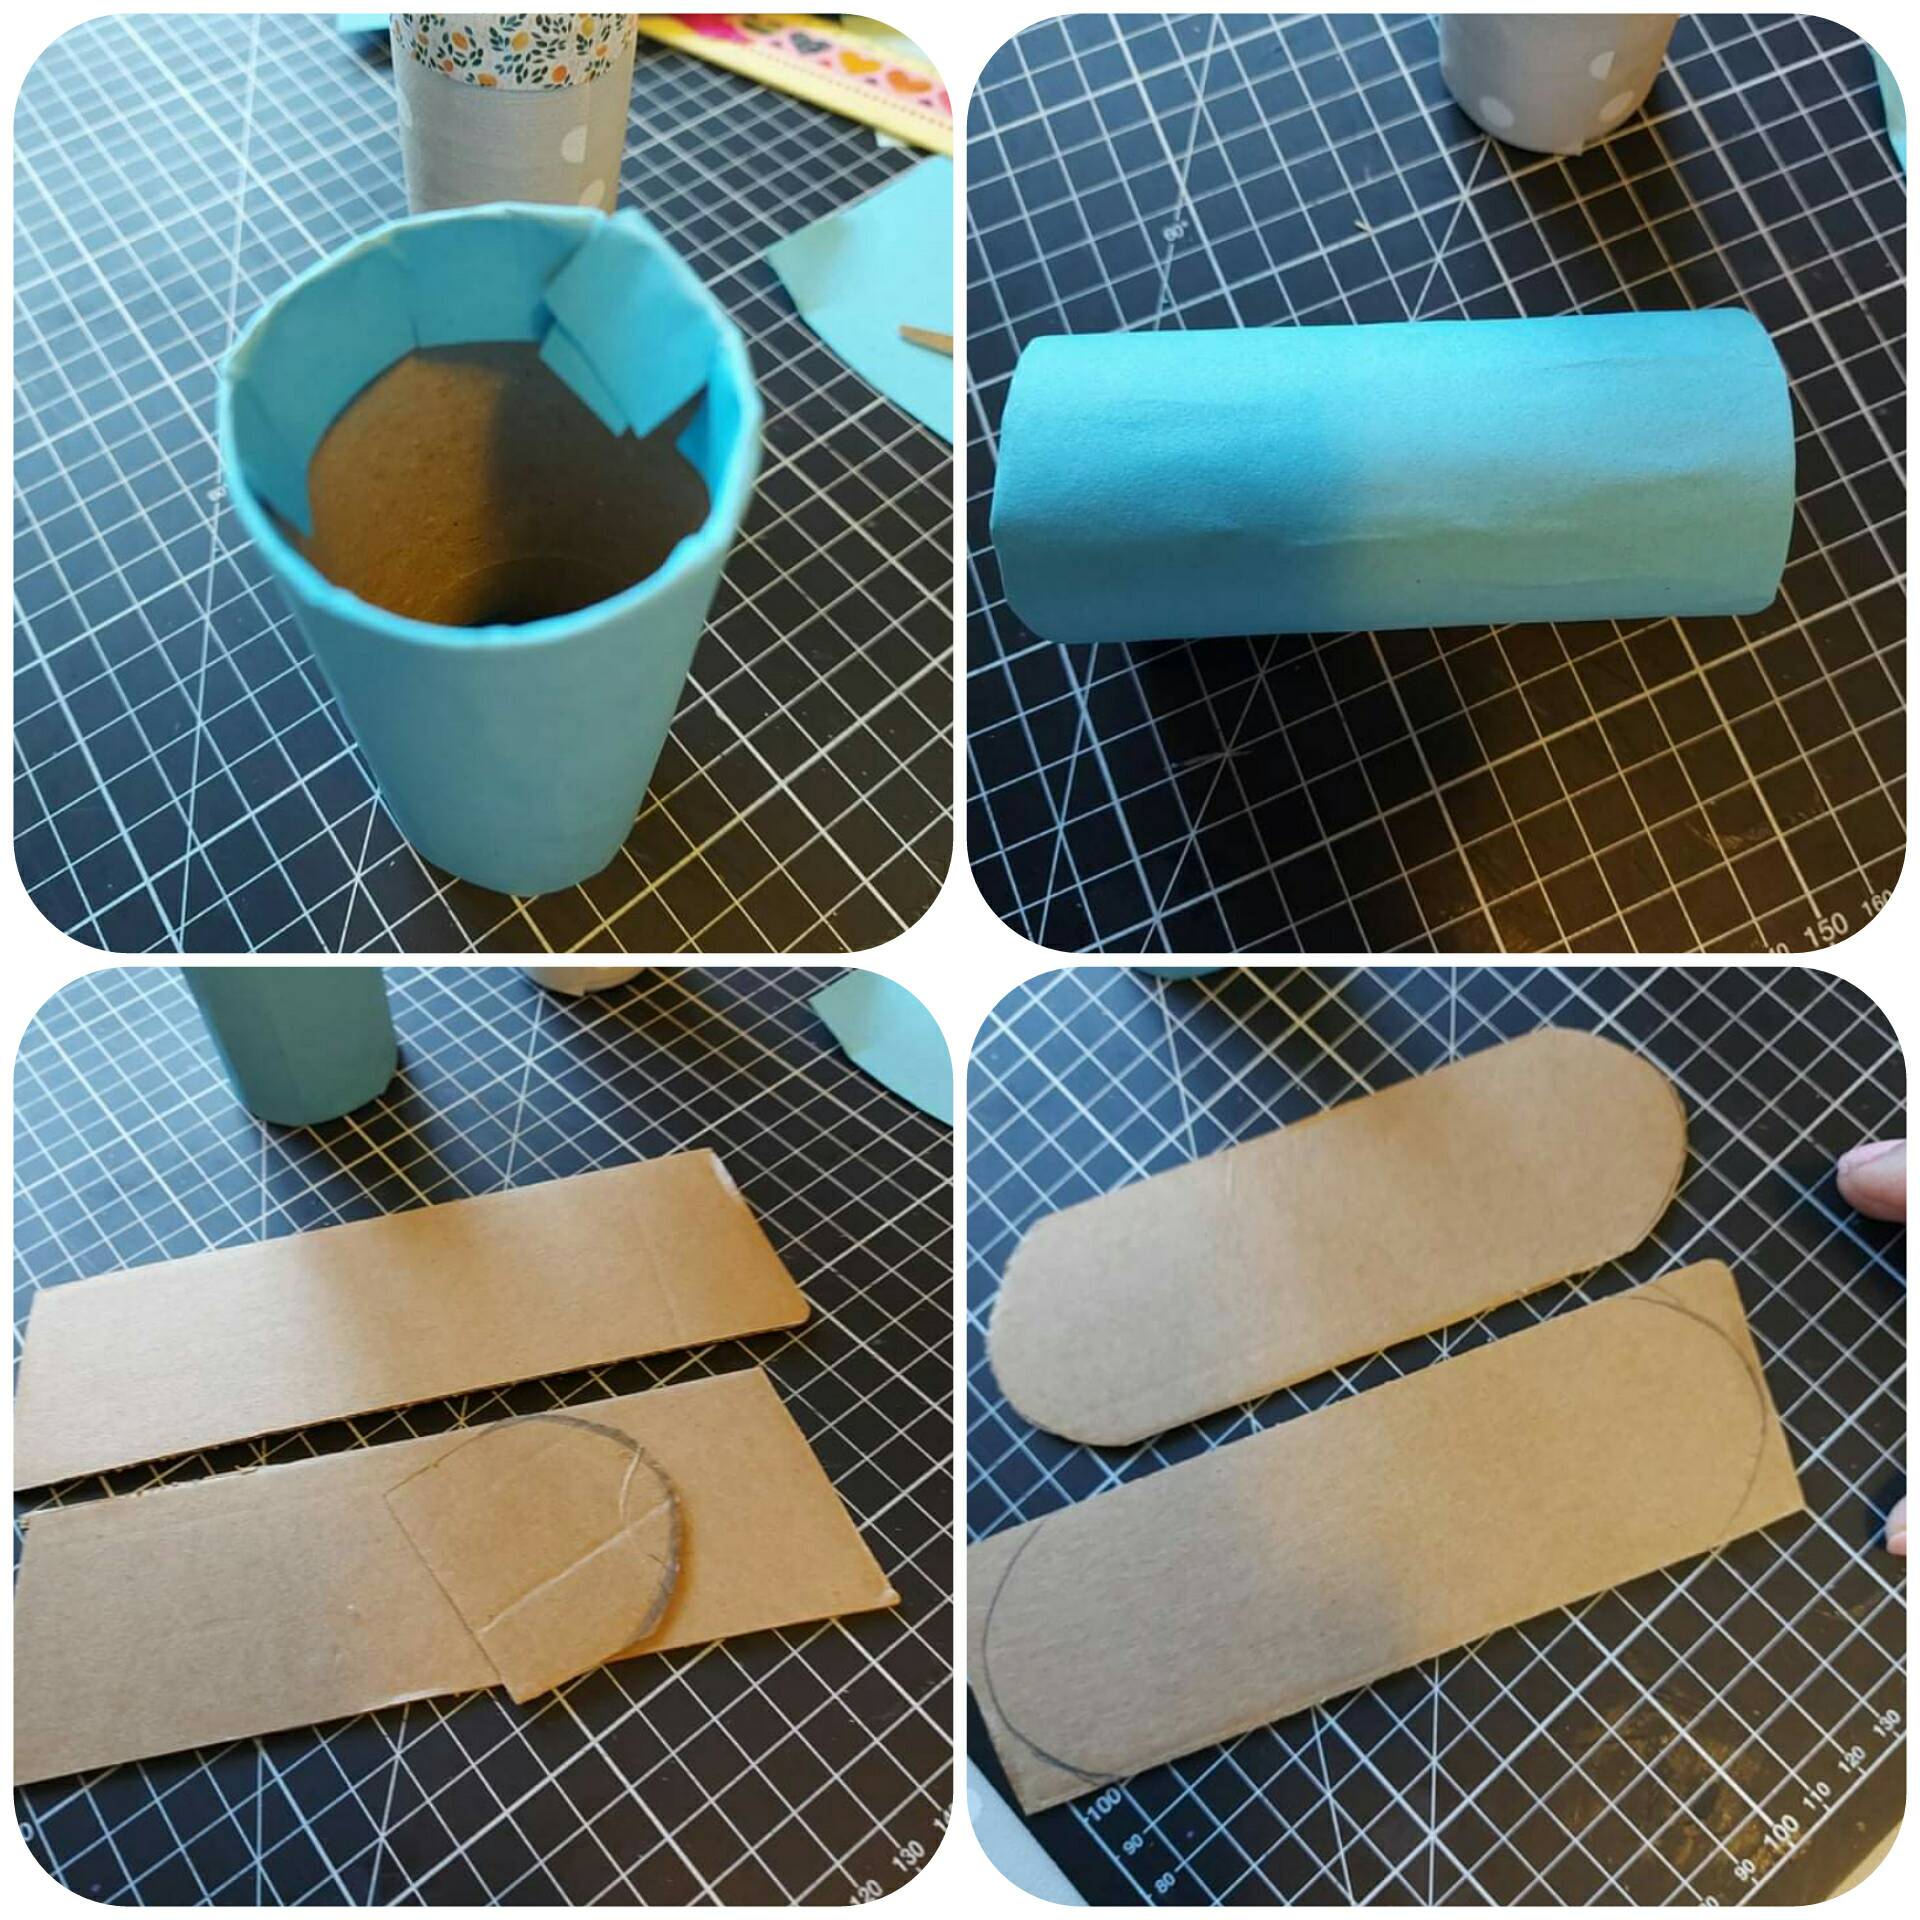
3. Preparamos las alas y la cola del avión, para las alas cortamos dos rectángulos de cartón , arredondeamos las puntas y los forramos con papel decorativo. Por ambos lados

3. We prepare the wings and the tail of the plane. For the wings we cut two cardboard rectangles, round the ends and cover them with decorative paper. On both sides
191410789_487712905805264_4336217612527166267_n.jpg

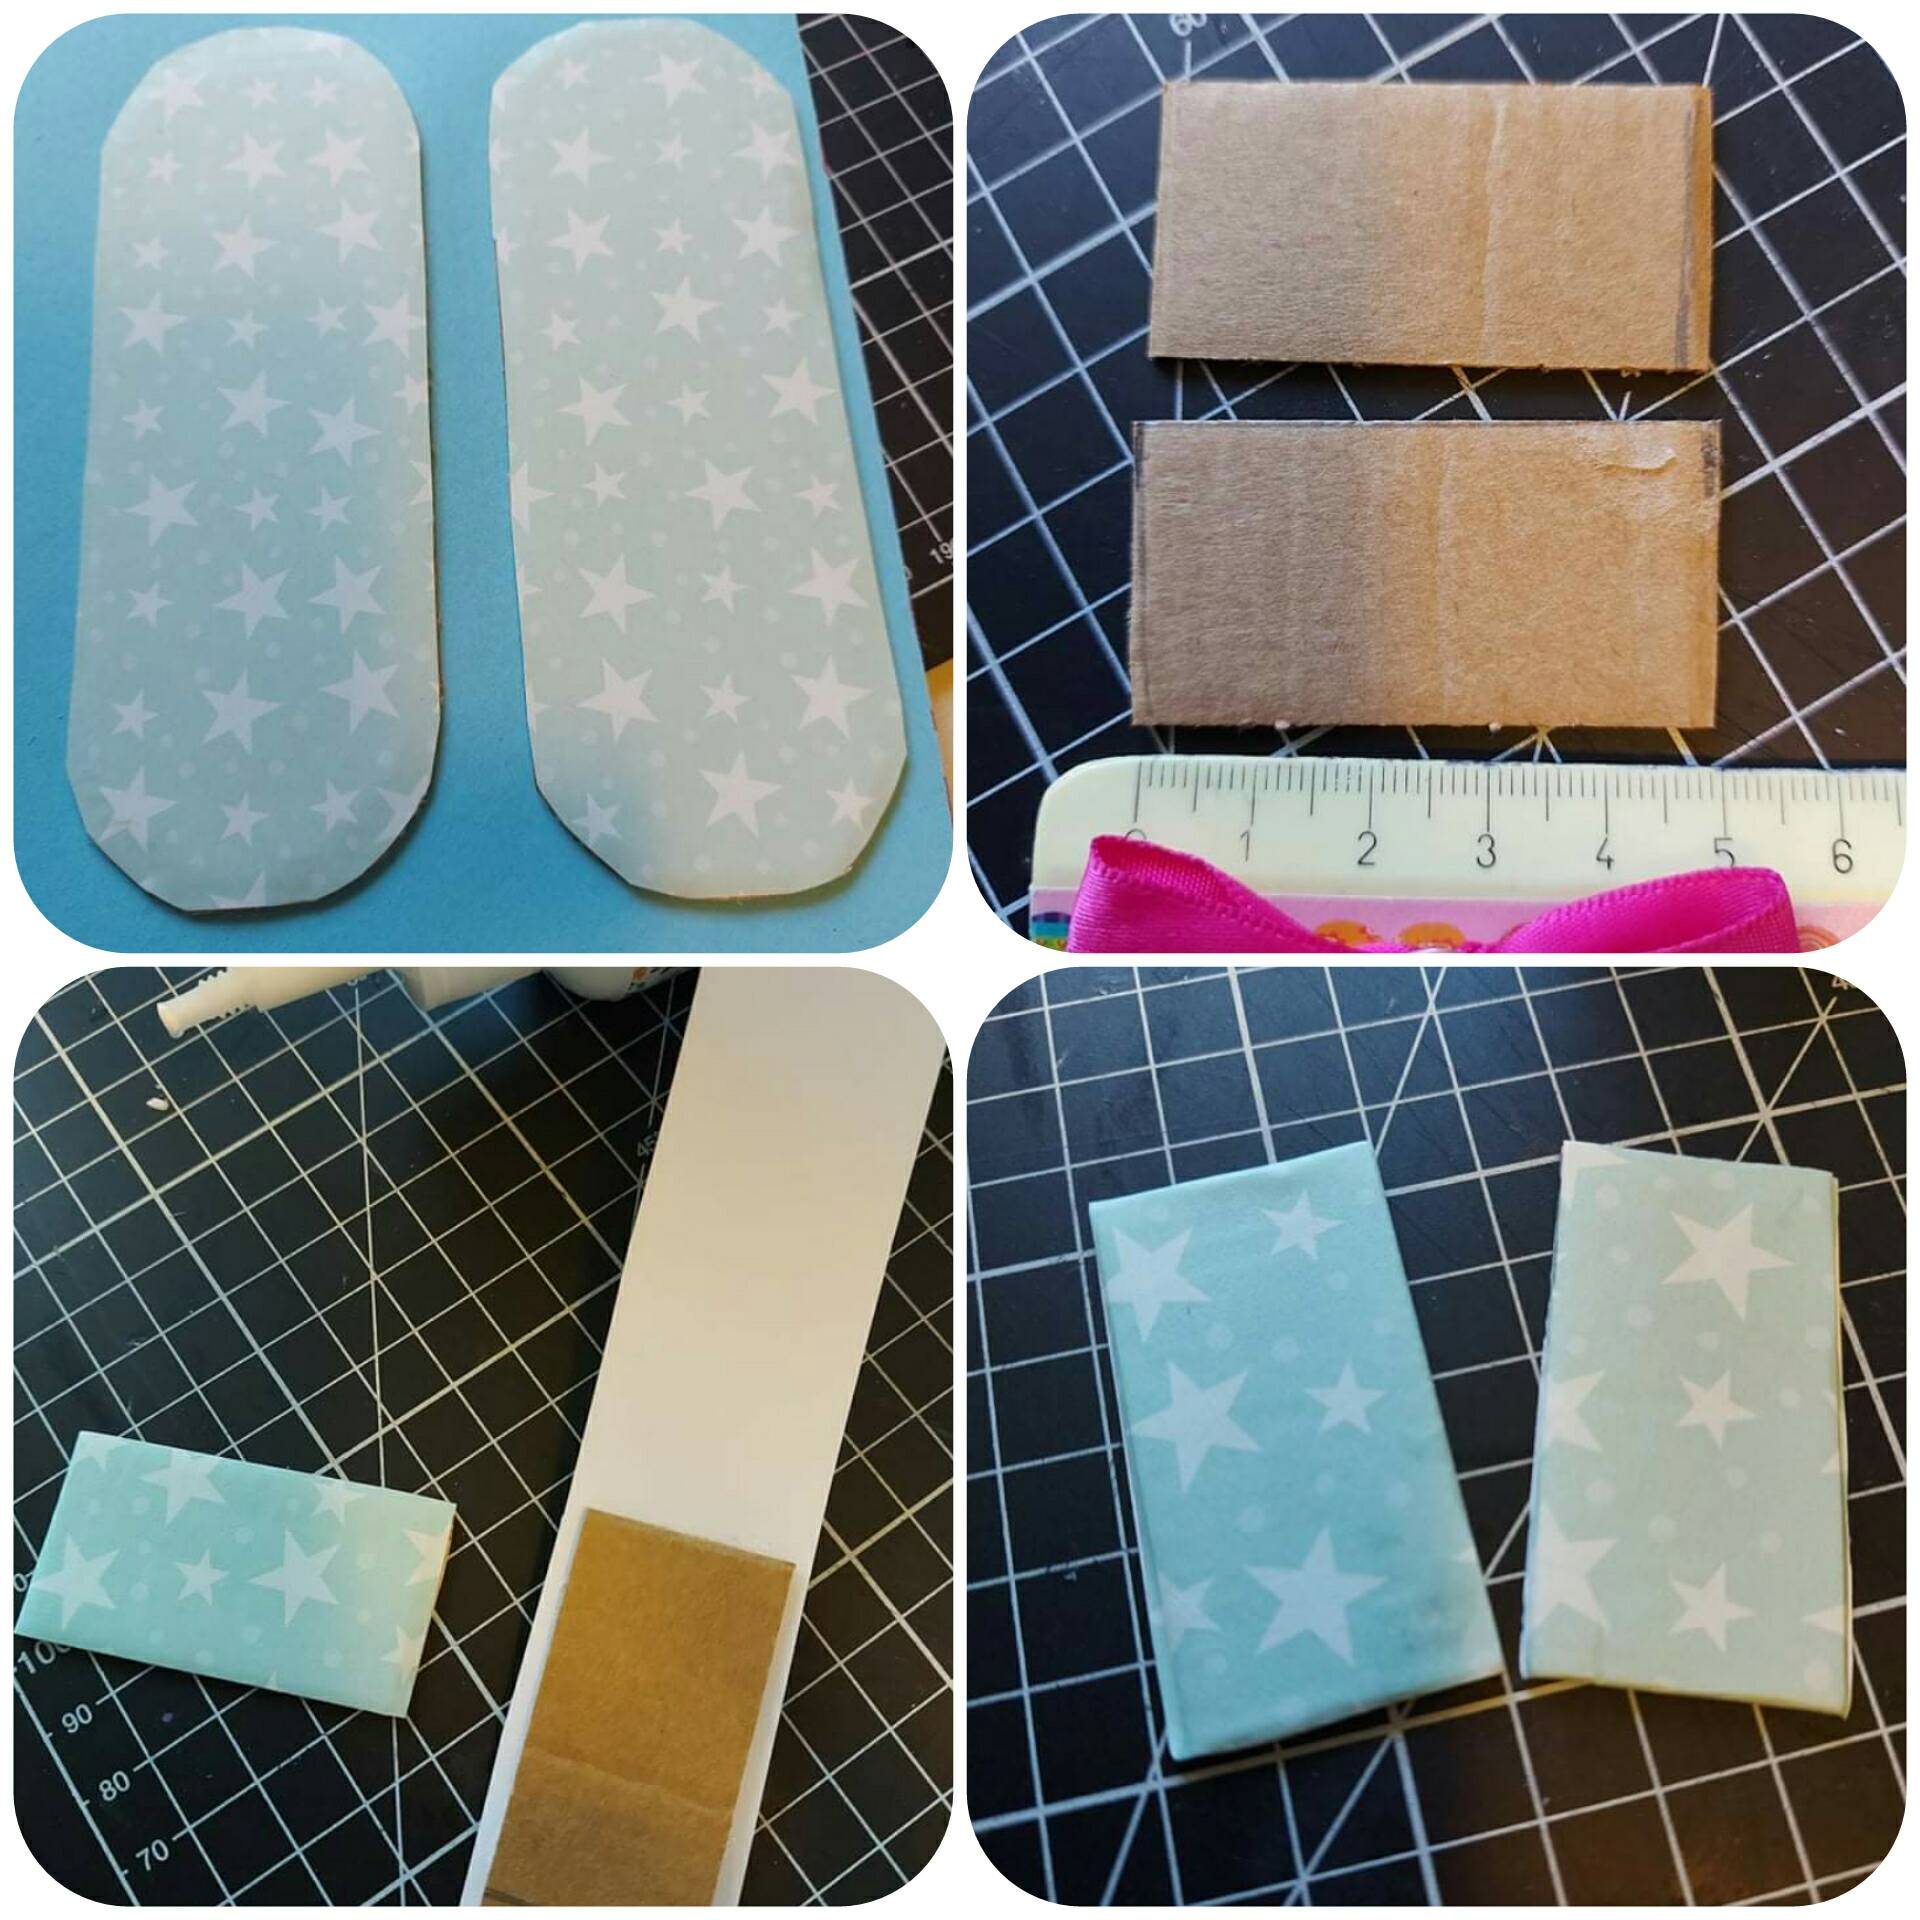
4. Marcamos y cortamos en el cartón dos rectángulos de 5×3cm y forramos con papel decorativo. Estas piezas serán el soporte de las alas.

4. We mark and cut two 5 × 3cm rectangles on the cardboard and cover with decorative paper. These pieces will be the support for the wings.
191571090_482067736410182_8207917013636475520_n.jpg

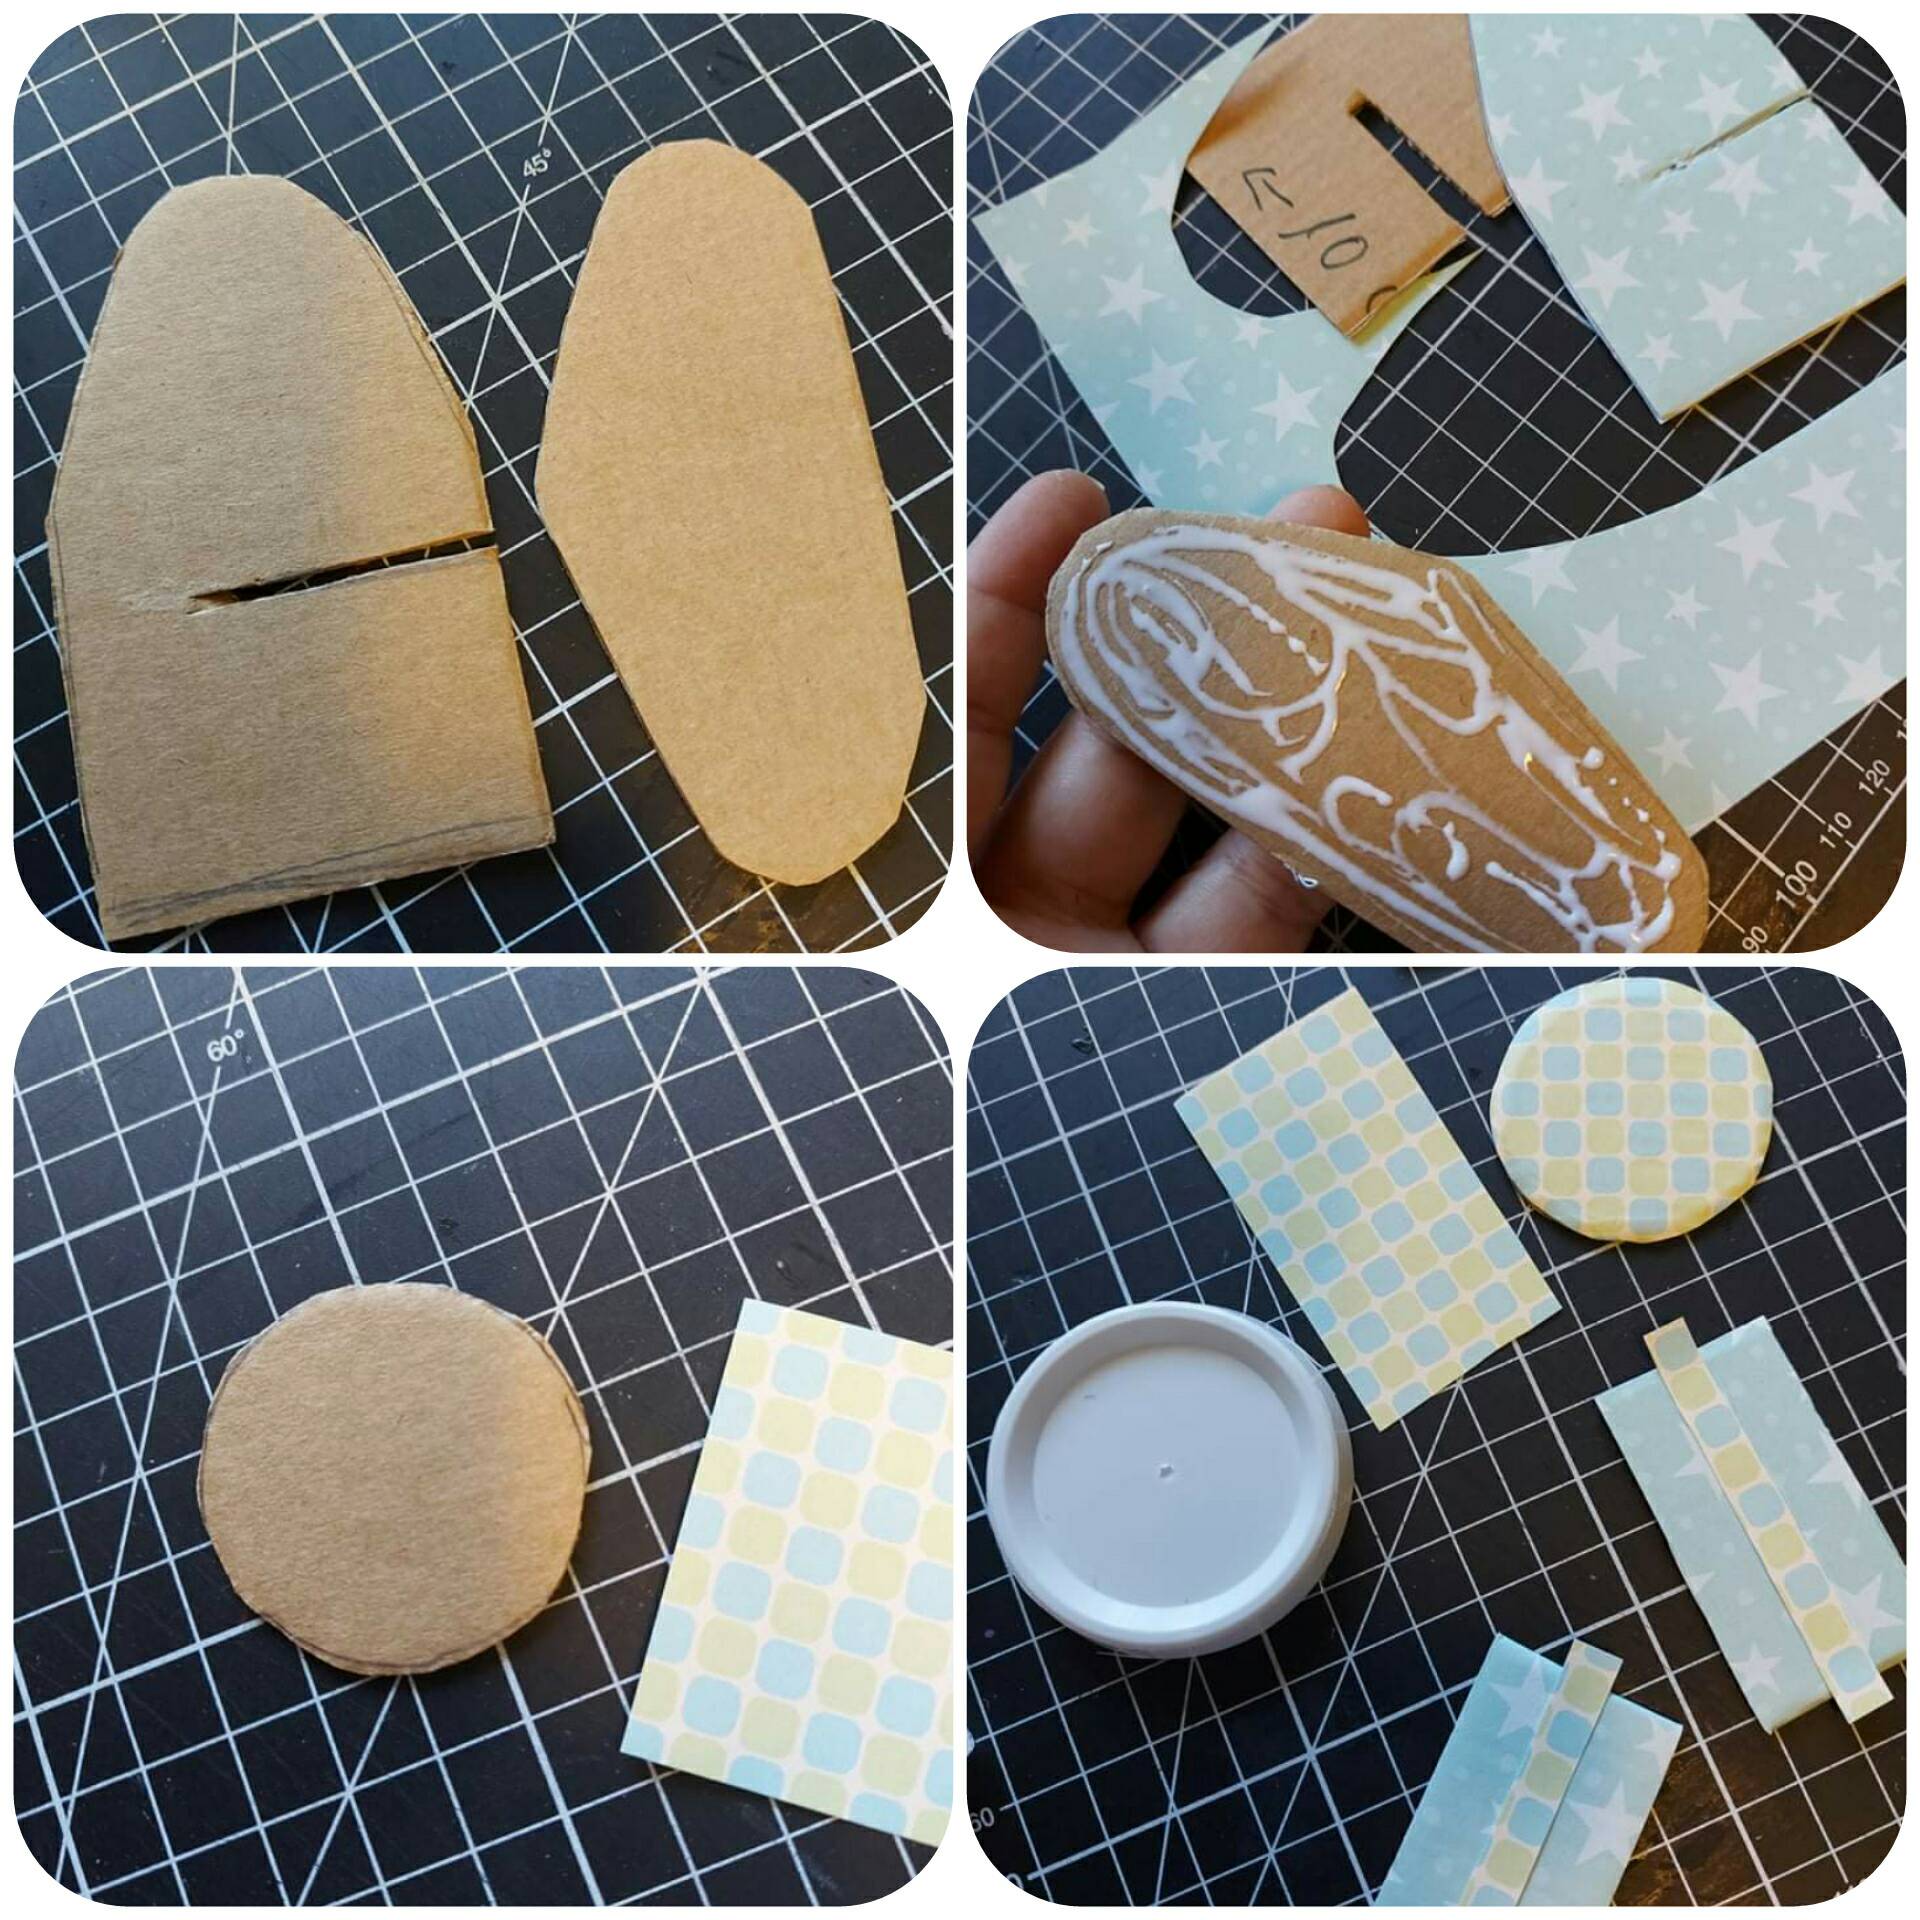
5. Procedemos a marcar y cortar la cola, son dos piezas que se ensamblan entre si. Las forramos y pegamos.

5. We proceed to mark and cut the tail, they are two pieces that are assembled together. We cover and glue them.

6. Por ultimo con una tapa de plástico decoramos la punta del avión, utilizando algunos elementos como círculos y una bolita de plástico o madera.

6. Finally, with a plastic cap we decorate the tip of the plane, using some elements such as circles and a plastic or wooden ball.
191736603_381235089931143_2242601642260080645_n.jpg

7. Armamos nuestro avioncito.

7. We put together our plane.

191531346_4112867722141383_2581354953577778451_n.jpg

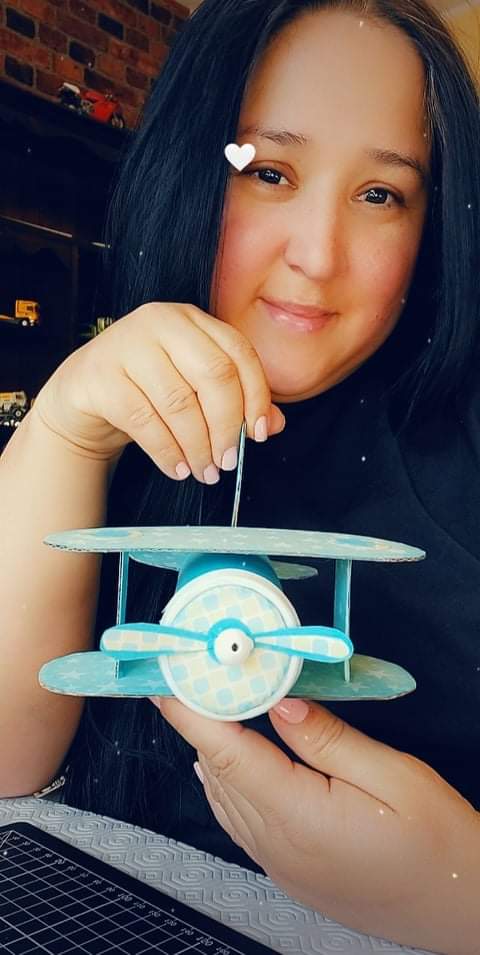
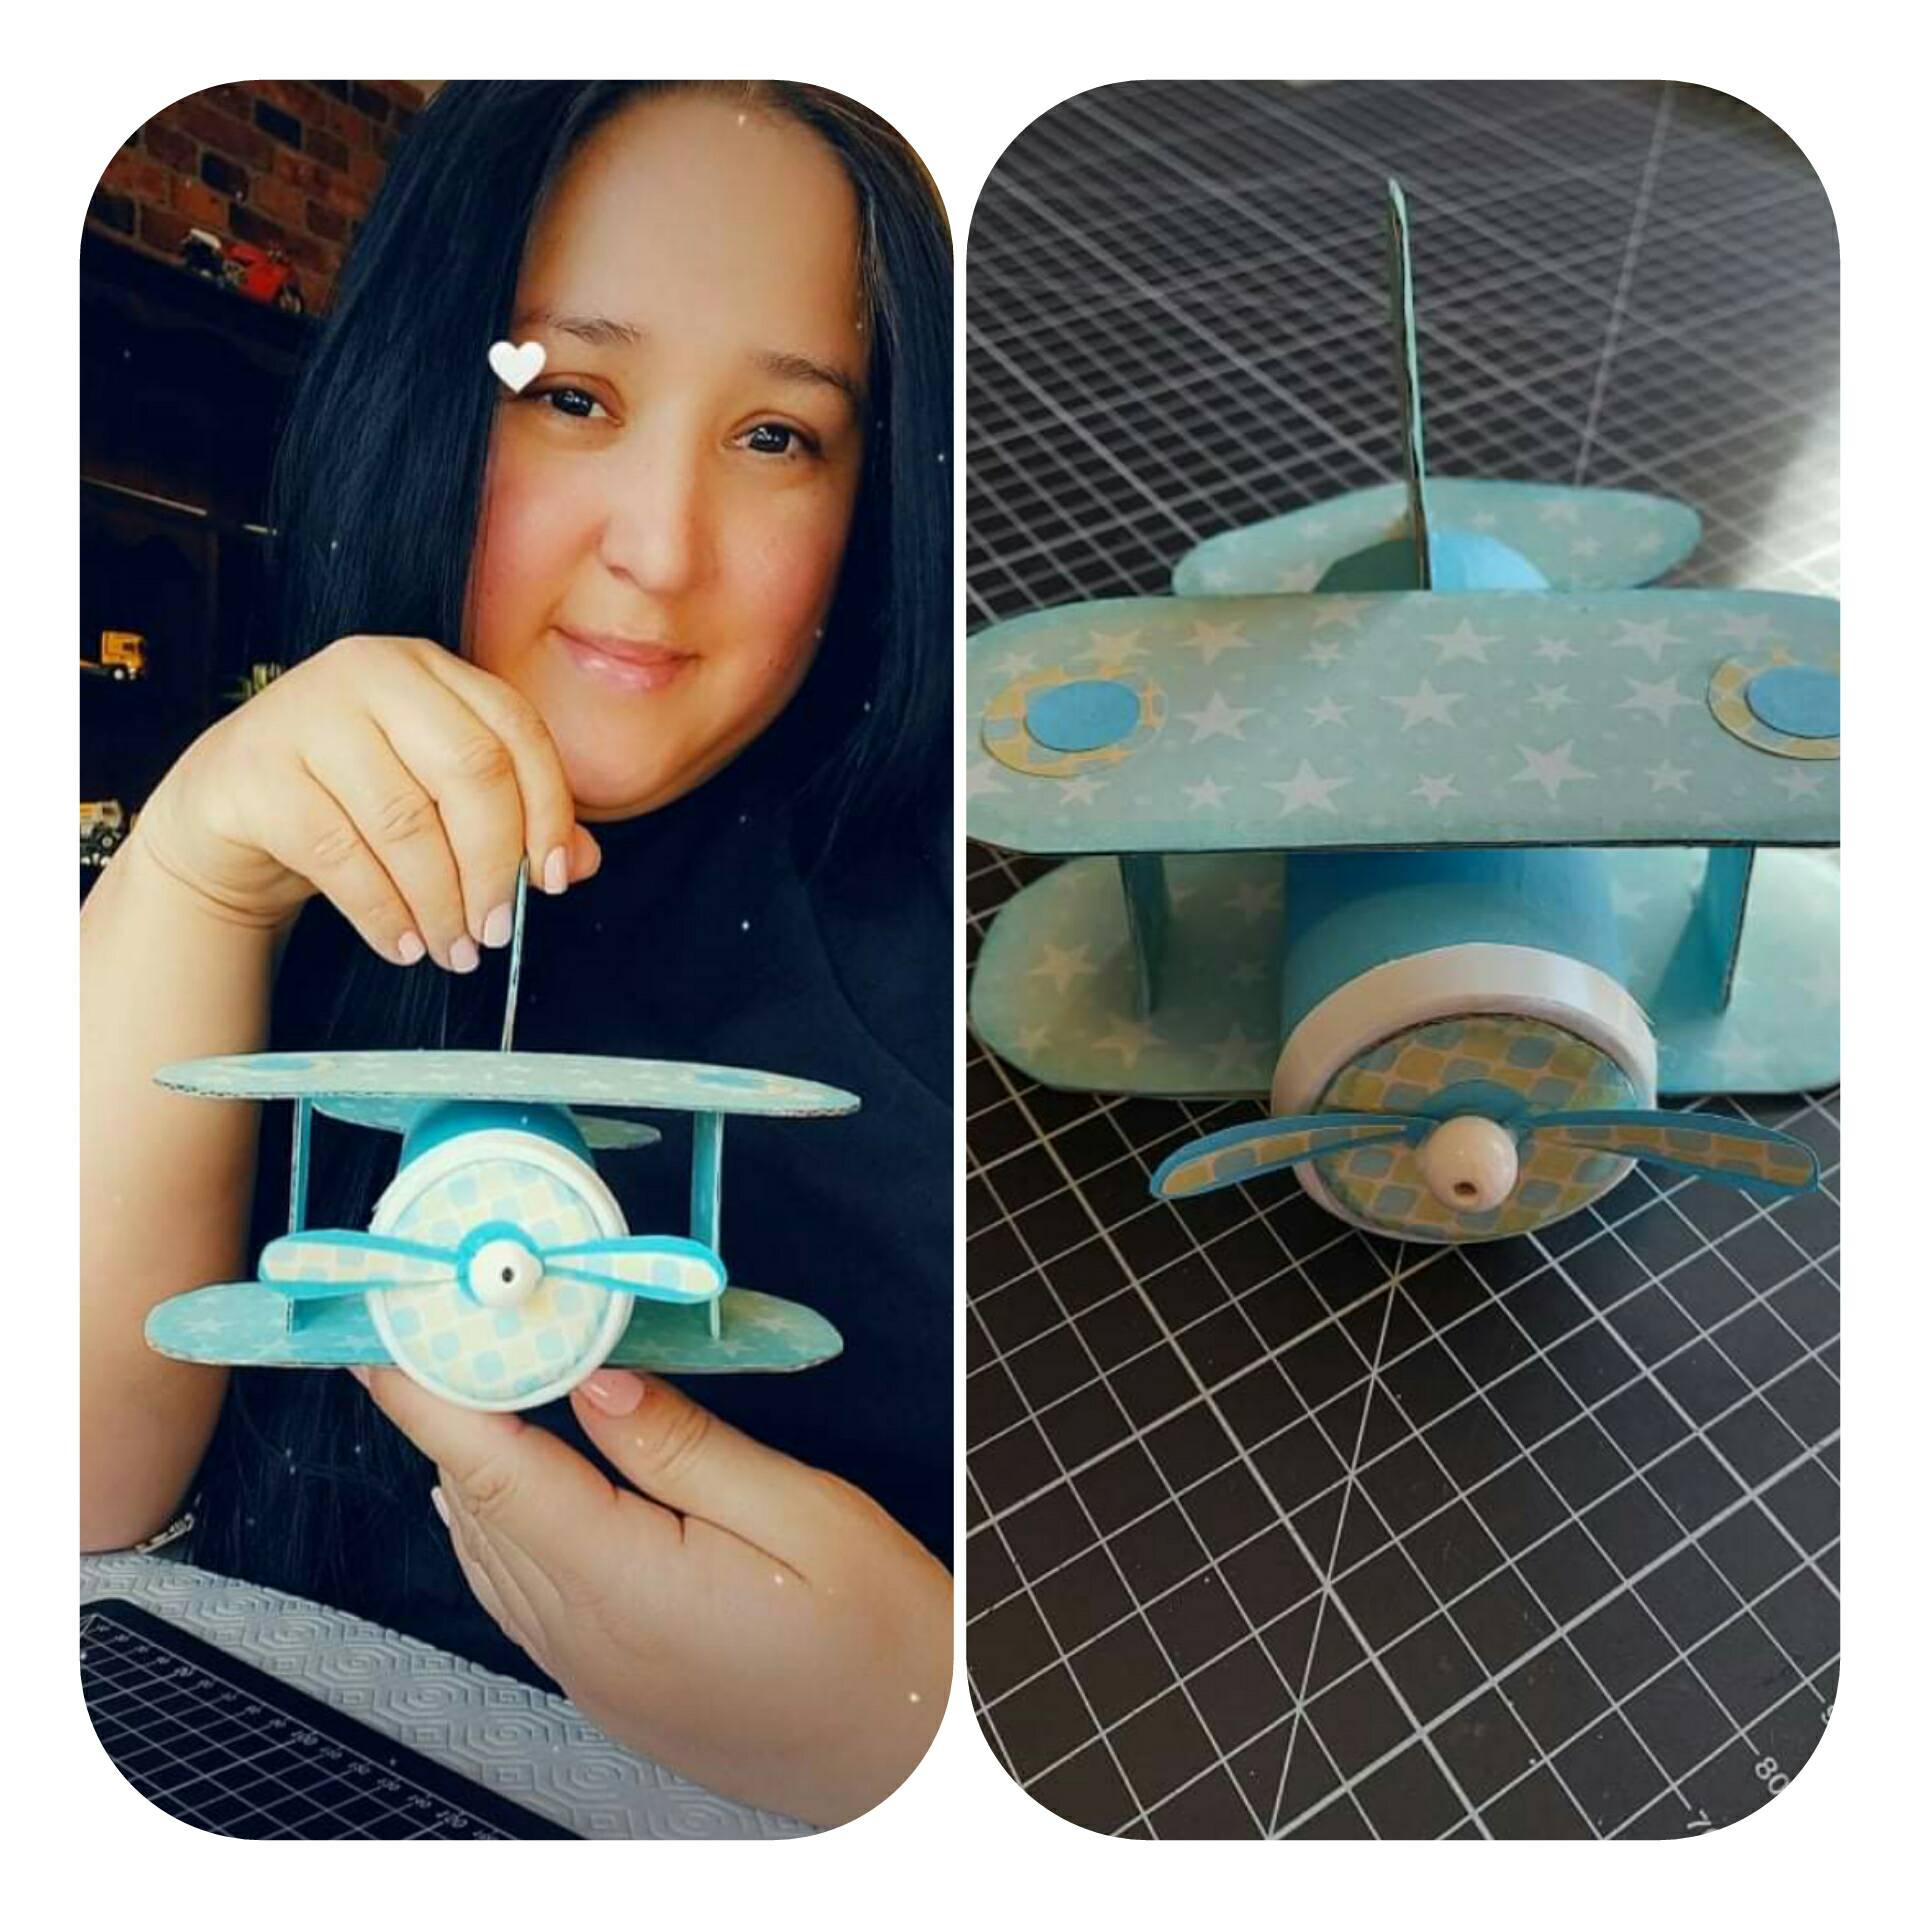
Y CREACIÓN TERMINADA ESPERO LES HAYA GUSTADO Y LO INTENTEN EN CASA

AND CREATION FINISHED I HOPE YOU LIKED IT AND TRY IT AT HOME

191815275_318973249625874_2250611000136783335_n.jpg

GRACIAS POR VER MI POST (1).jpg