Saludos cordiales para todos los lectores. Hoy me complace traerles un tutorial detallado para la elaboración del logo hive con exactitud.
Warm greetings to all readers. Today I am pleased to bring you a detailed tutorial for making the hive logo accurately.
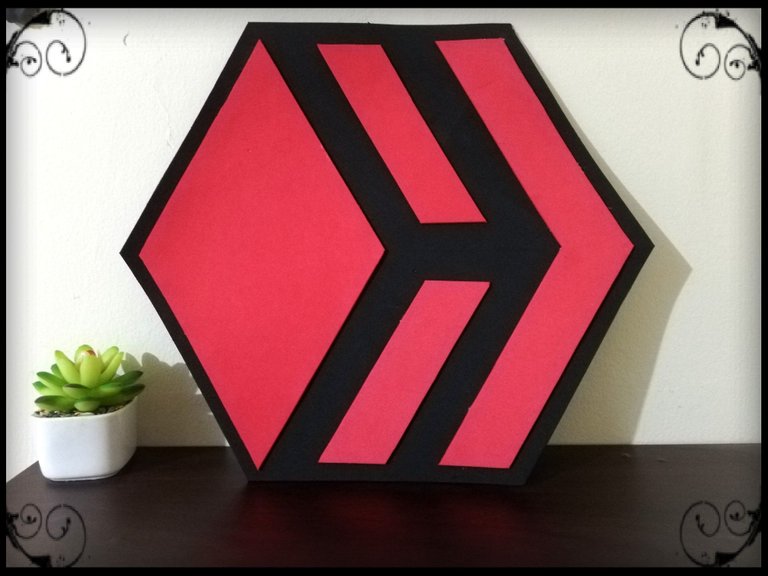
En mi caso, decidí hacer el logo en foamy (goma eva) para que tenga relieve, pero la siguiente técnica sirva para dibujarlo donde sea.
In my case, I decided to make the logo in foamy (eva rubber) so that it has relief, but the following technique can be used to draw it anywhere.
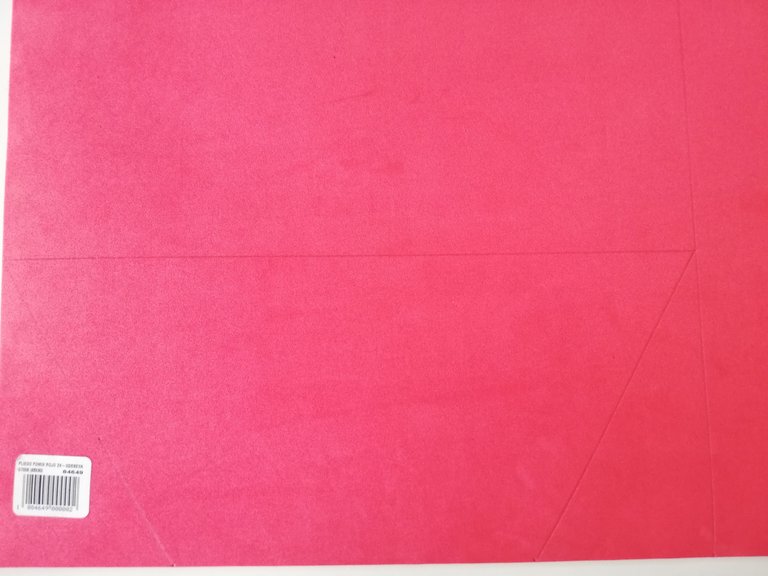
En mi caso, utilicé de superficie una lámina de foamy (goma eva) y decidí que los lados de mi logo serían de 15cm. El logo hive se realiza sobre la base de un hexágono regular, por lo que se pueden formar triángulos equiláteros (triángulo con todos sus lados iguales) para realizar nuestro hexágono.
In my case, I used a sheet of foamy (eva rubber) as a surface and decided that the sides of my logo would be 15cm. The hive logo is made on the base of a regular hexagon, so you can form equilateral triangles (triangle with all sides equal) to make our hexagon.

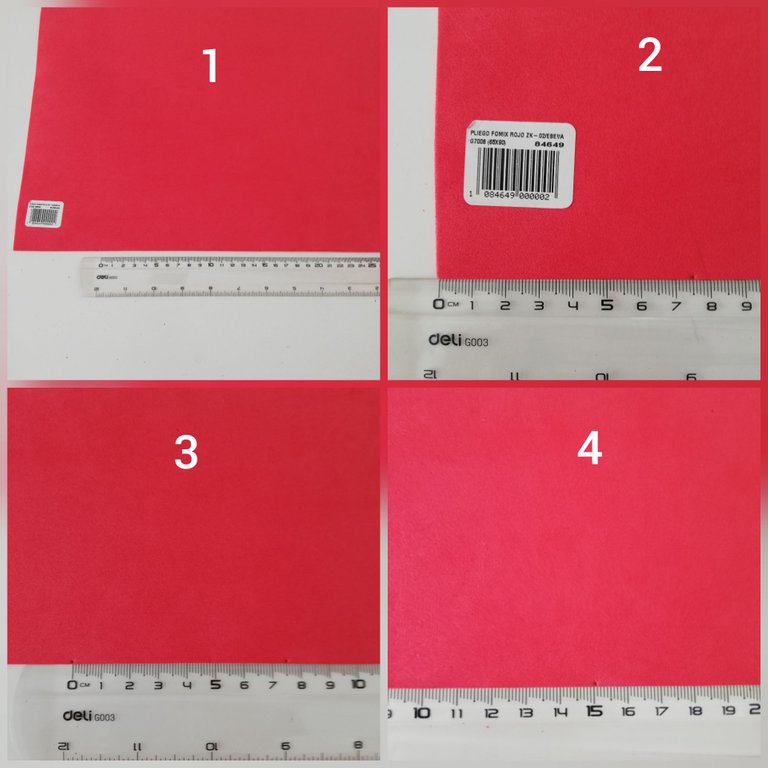
- Lo primero es tener lista la superficie (1)
- Seguido a eso, medimos desde una esquina hasta 7,5cm (2) y marcamos
- De ese punto, medimos 15cm y marcamos (4)
- y seguido a él, otros 7.5cm (3)
los 7,5 son la separación entre la base de nuestro hexágono que mide 15cm y las verticales que servirán de guía en ambos lados.
- The first thing to do is to have the surface ready (1).
- After that, we measure from a corner to 7,5cm (2) and we mark
- From that point, we measure 15cm and mark (4)
- and following it, another 7.5cm (3)
the 7.5 are the separation between the base of our hexagon that measures 15cm and the verticals that will serve as a guide on both sides.
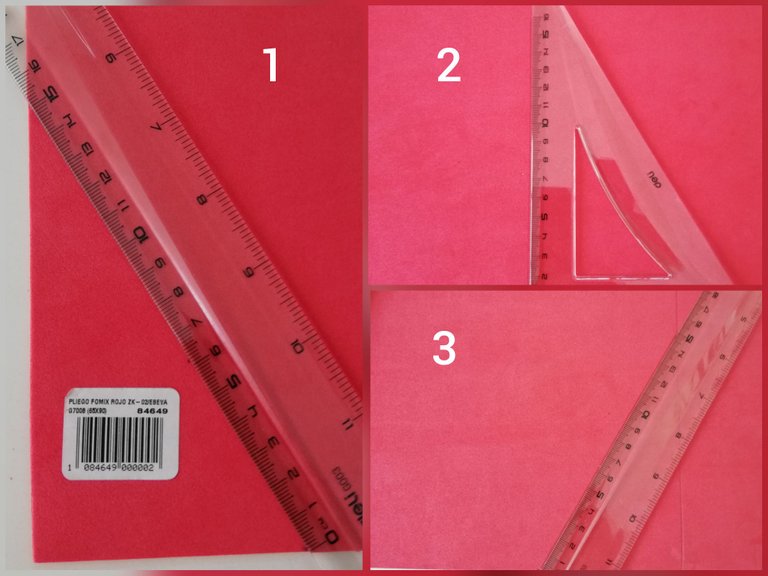
- Desde el primer punto marcado, mediremos 15cm hacia el extremo derecho (1)
- En el último punto al lado izquierdo, usaremos una escuadra para trazar una línea vertical (2)
- Seguido a eso, marcaremos desde el punto anterior (el que llegamos a 15cm) hacia la línea vertical izquierda con una longitud de 15 cm (3)
- From the first marked point, we will measure 15cm towards the right end (1)
- At the last point on the left side, we will use a square to draw a vertical line (2)
- Following that, we will mark from the previous point (the one we reached 15cm) towards the left vertical line with a length of 15 cm (3)
El resultado será el siguiente, luego de pasar una línea horizontal desde los puntos en las verticales. Prácticamente tenemos la mitad del hexágono
The result will be as follows, after passing a horizontal line from the points on the verticals. We practically have half of the hexagon.
- Desde el extremo derecho, medimos 15cm en la horizontal y marcamos (1)
- Ahora desde el punto inferior derecho al punto del centro, notaremos que hay 15 cm y si estamos usando una regala, podemos seguir la recta hasta llegar a 30cm y marcaremos ese punto superior(2)
- Repetiremos el procedimiento con el punto del lado izquierdo y marcando en la parte superior nos quedaría (3)
- From the extreme right, we measure 15cm on the horizontal and mark (1)
- Now from the lower right point to the center point, we will notice that there are 15cm and if we are using a ruler, we can follow the line until we reach 30cm and we will mark that upper point (2)
- Repeat the procedure with the point on the left side and marking on the top we would have (3)
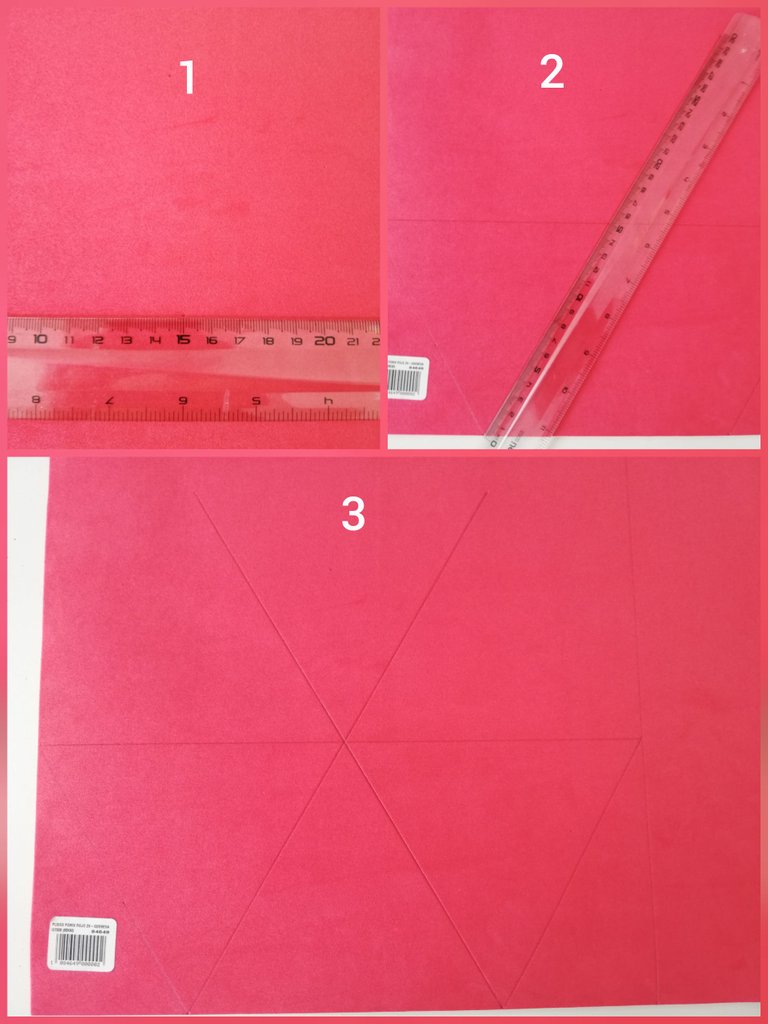
Ahora trazamos los lados restantes (los cuales medirán 15cm) y estaría listo nuestro hexágono
Now we trace the remaining sides (which will measure 15cm) and our hexagon is ready
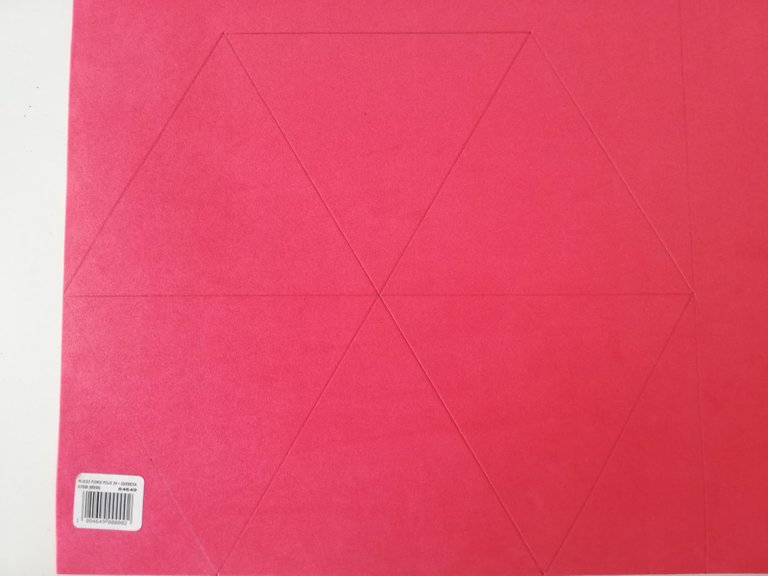
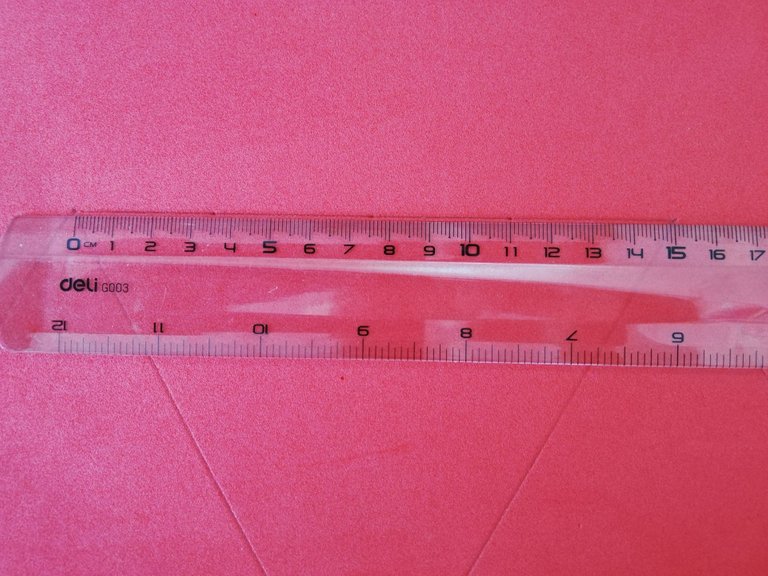
- Ahora en el lado superior lo dividiremos en 4 partes en dos pares iguales, marcaremos el primer punto en en 3.5cm, luego coincidirá en 7.5cm, seguido marcaremos en 11 cm y el último punto debe quedar a los 15cm.
- Now on the upper side we will divide it in 4 parts in two equal pairs, we will mark the first point at 3.5cm, then it will coincide at 7.5cm, then we will mark at 11 cm and the last point should be at 15cm.
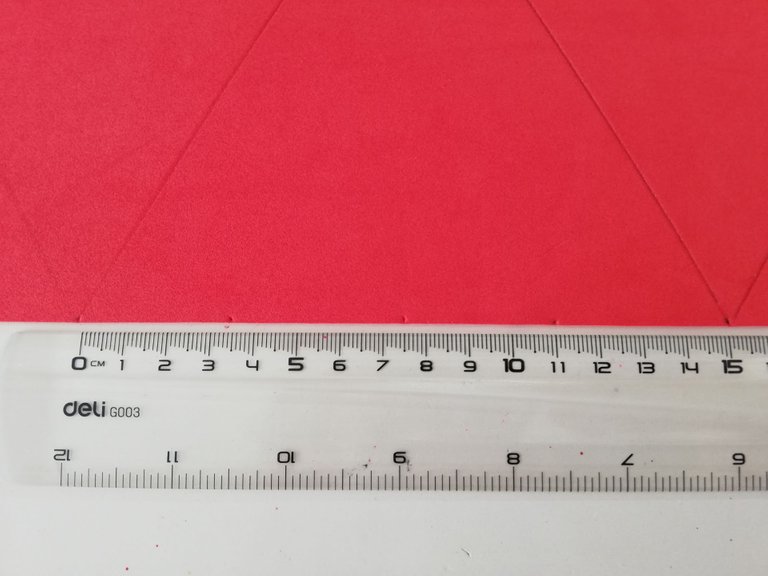
- Ahora repetiremos lo mismo en el lado inferior
- Now we will repeat the same on the lower side
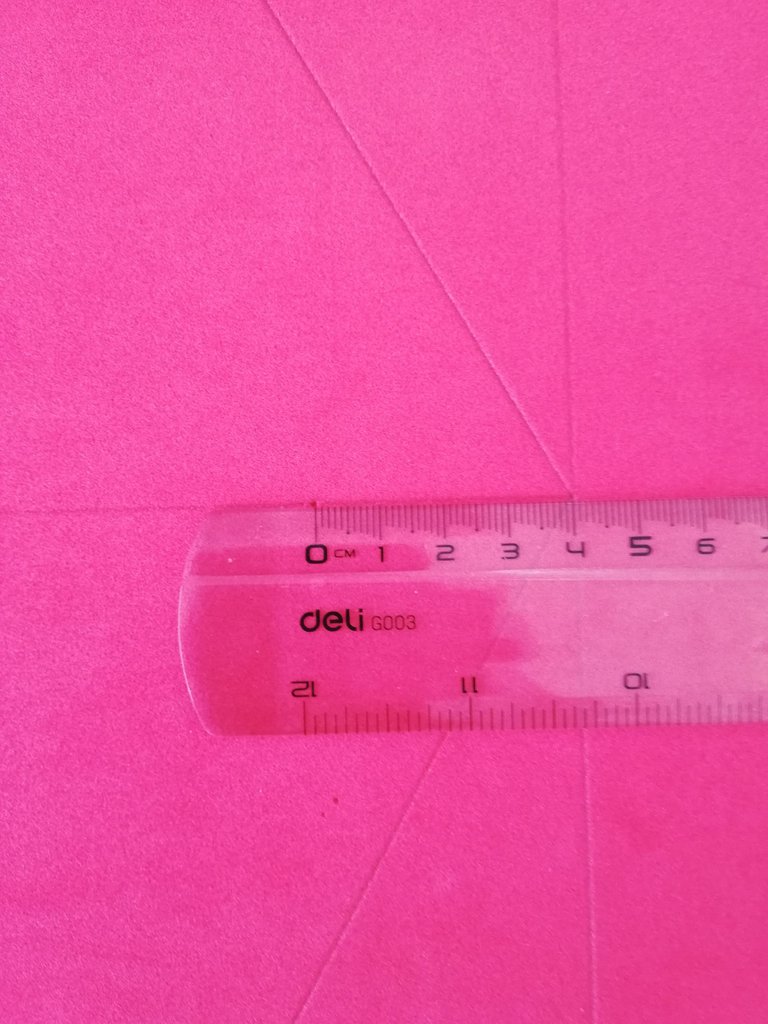
- En la línea horizontal del centro, mediremos 4cm desde el lado izquirdo
- On the horizontal line in the center, we will measure 4cm from the left side
- Y trazaremos las líneas desde ese punto central hacia el lado superior e inferior en donde están nuestros otros puntos marcados
- And we will draw the lines from that central point to the upper and lower side where our other marked points are located
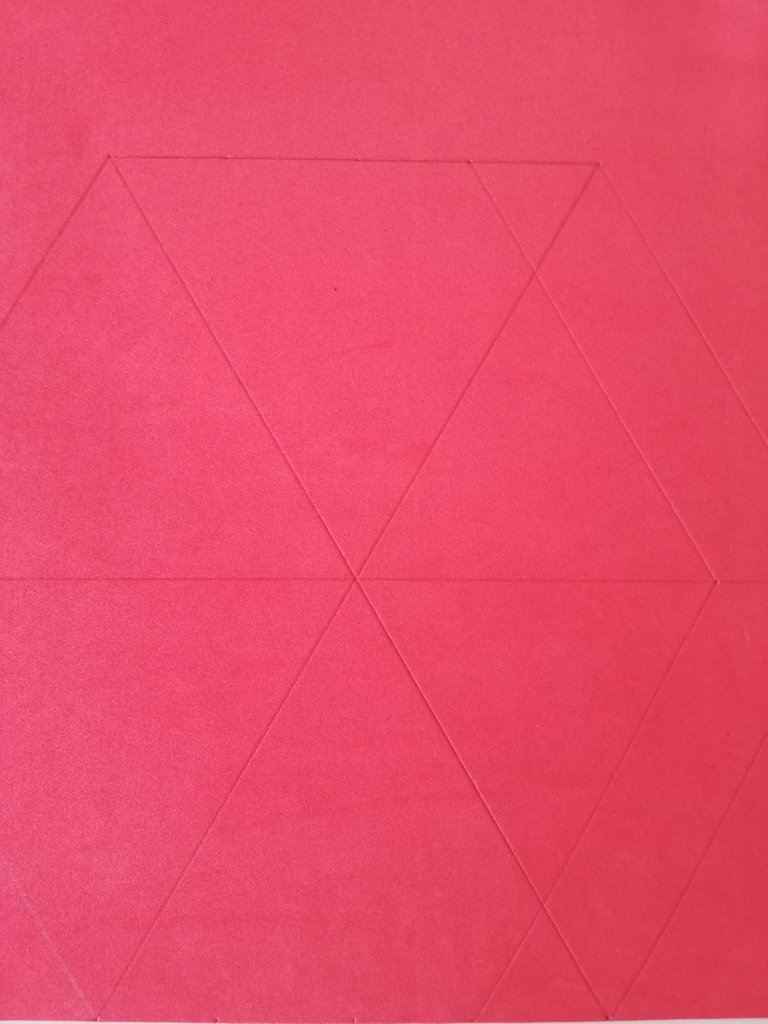
- Ahora trazamos una vertical en el centro del hexágono
- Now we draw a vertical line in the center of the hexagon
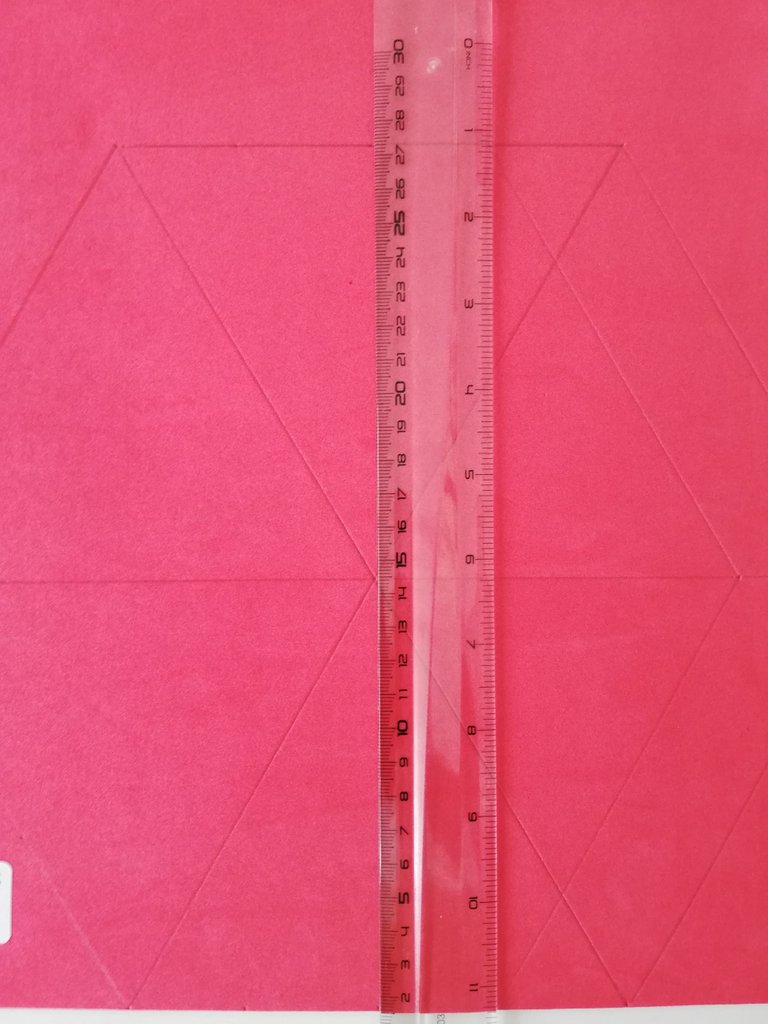
- Justo en el centro de esa vertical, mediremos 2cm hacia arriba y hacia abajo y marcamos los puntos
- Right in the center of that vertical, we will measure 2cm up and down and mark the points
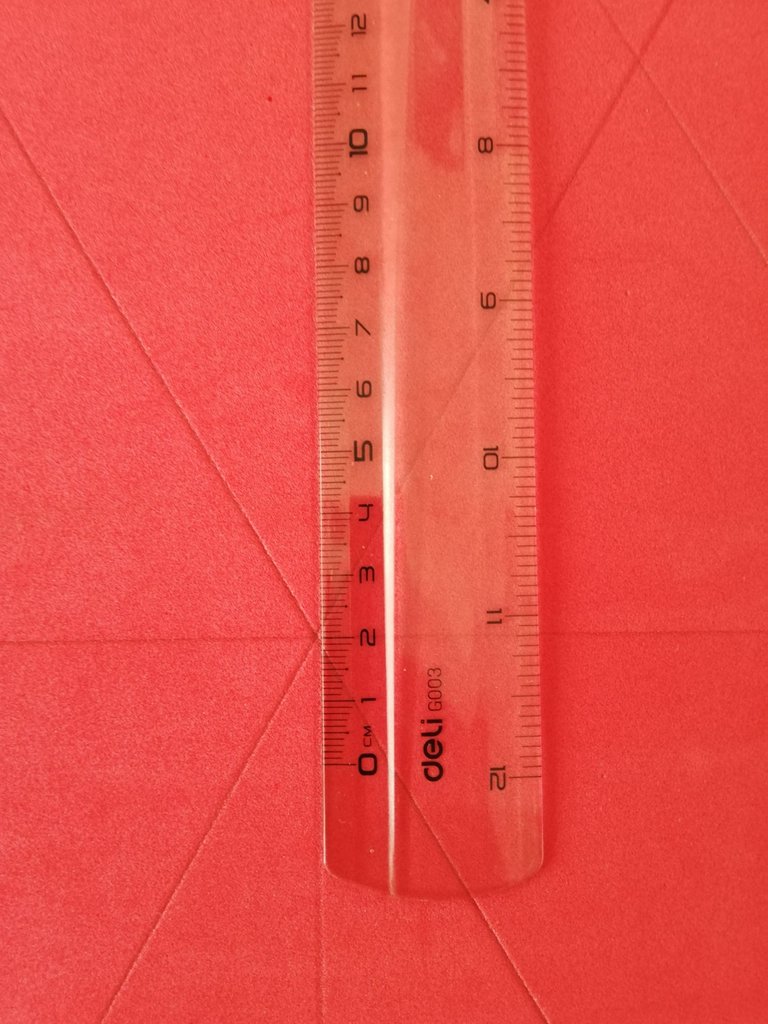
-Ahora marcamos los mismo en la vertical del lado derecho
-Now we mark the same on the vertical on the right side
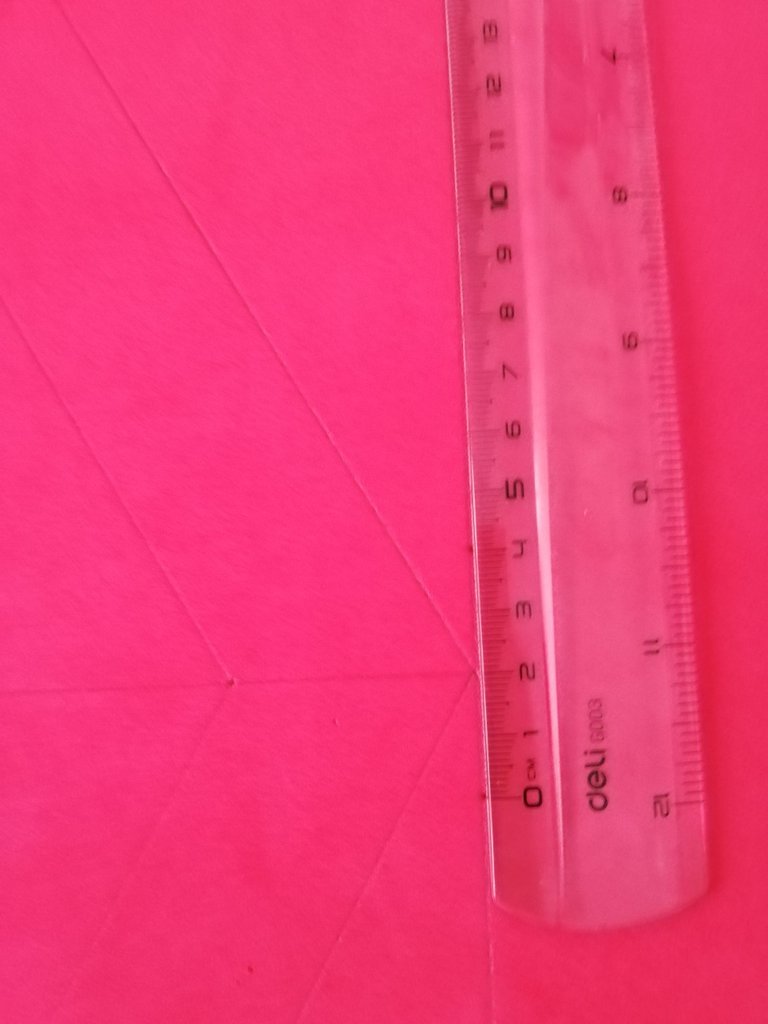
- Con esos puntos marcados, trazaremos líneas horizontales
- With these marked points, we will draw horizontal lines
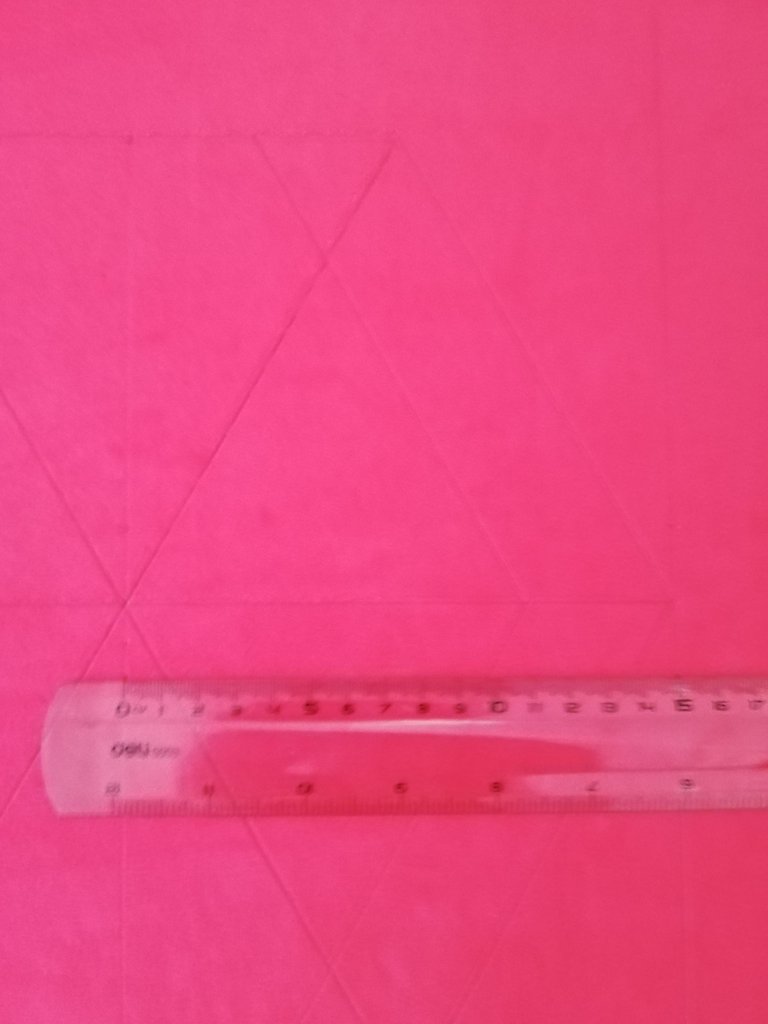
- Nos quedaría los siguiente
- We would be left with the following
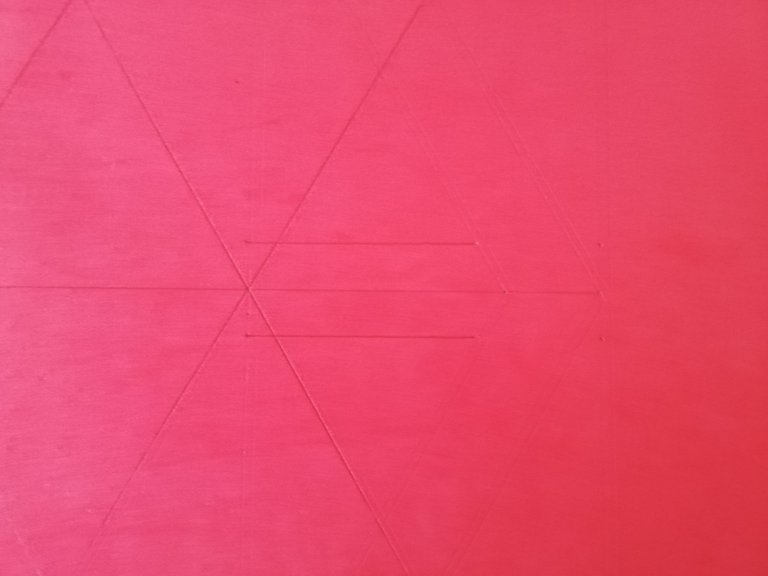
- Ahora mediremos 3.5 en esas horizontales hacia la izquierda
- Now we will measure 3.5 in these horizontals to the left
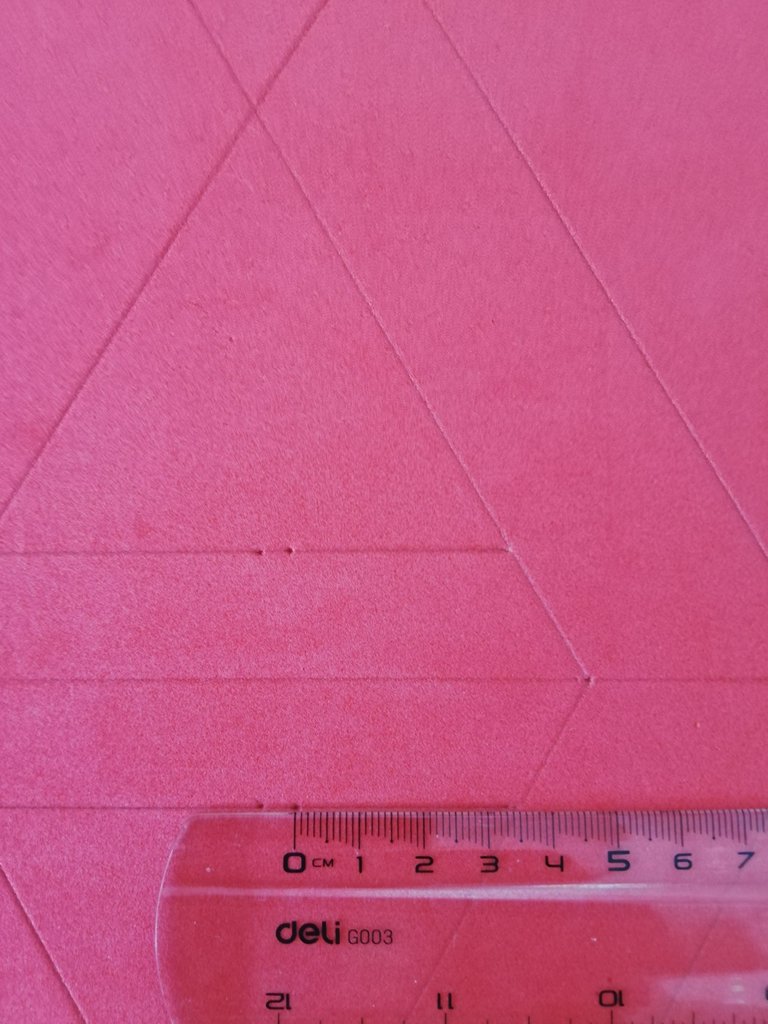
-Ahora trazaremos las líneas diagonales con la ayuda de las marcas superiores e inferiores
-Now we will draw the diagonal lines with the help of the upper and lower marks.
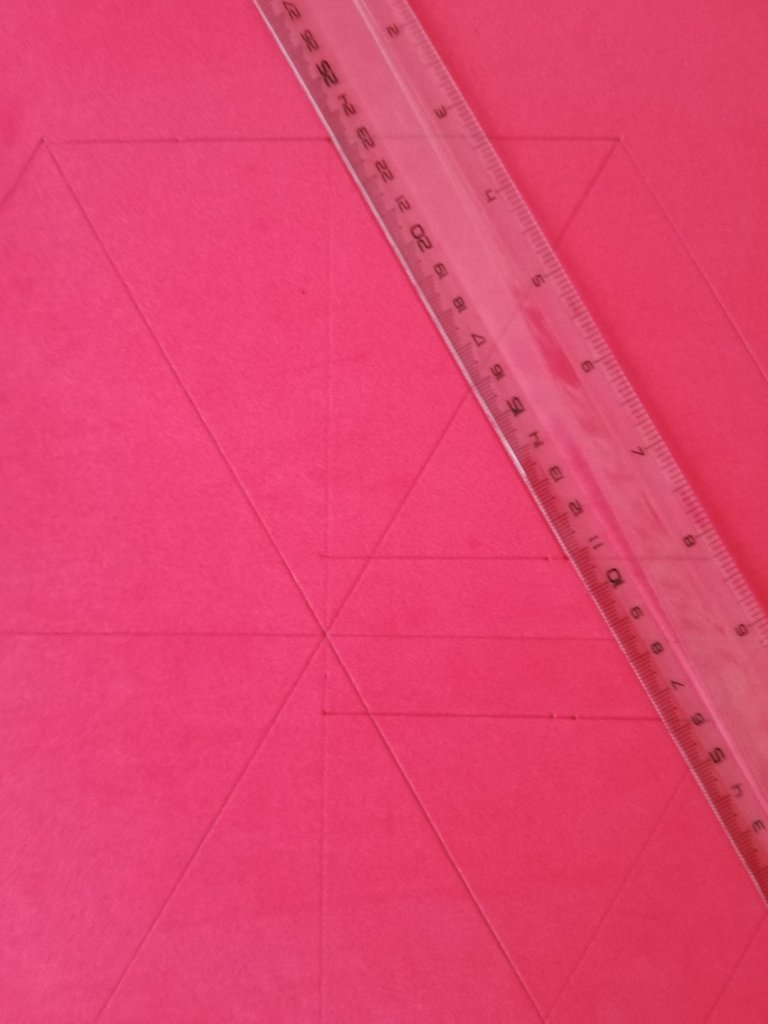
- Una vez realizadas, medimos 4cm hacia la izquierda en las líneas horizontales, desde las marcas anteriores y trazamos las diagonales
- Once done, we measure 4cm to the left on the horizontal lines, from the previous marks and trace the diagonals
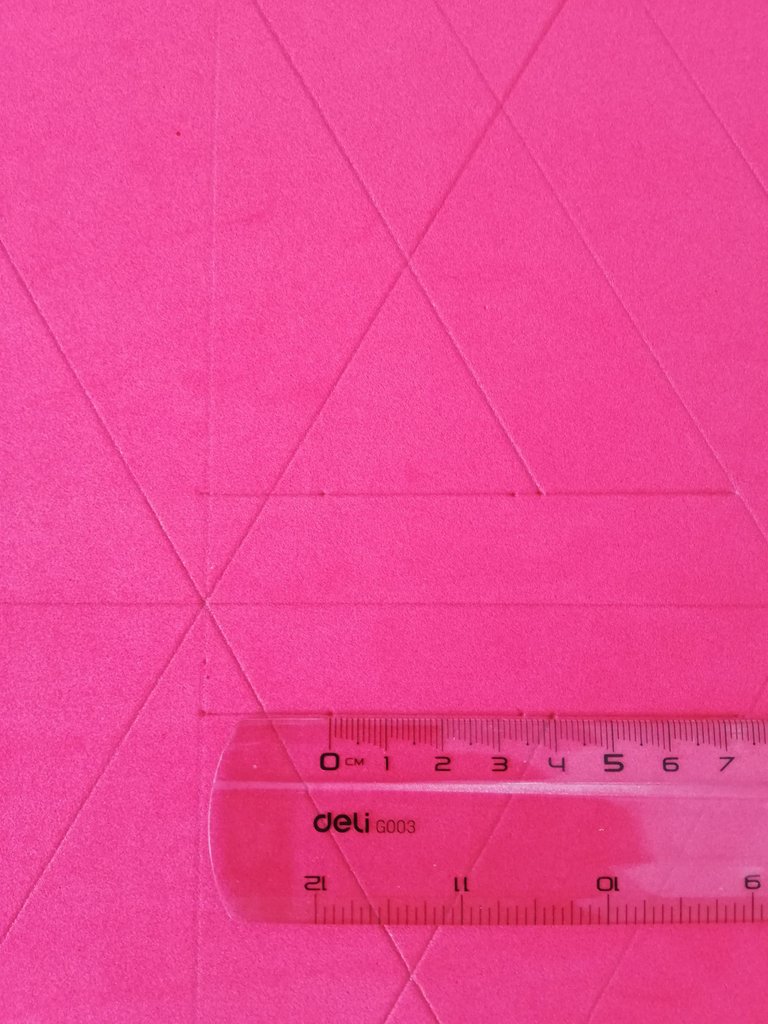
Con eso finalizamos todas las líneas necesarias
This completes all the necessary lines
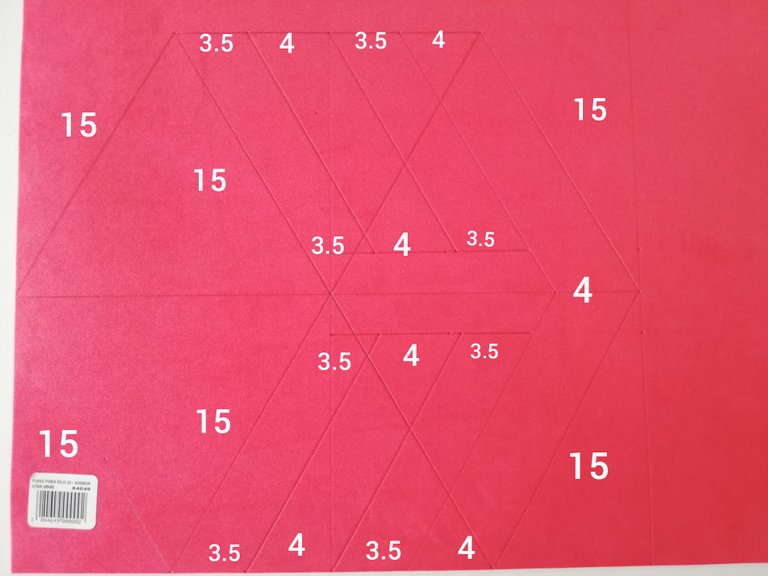
- Ahora sólo hay que recortar el hexágono con tijera o un estilete (exacto)
- Now just cut out the hexagon with scissors or a stiletto (exact)
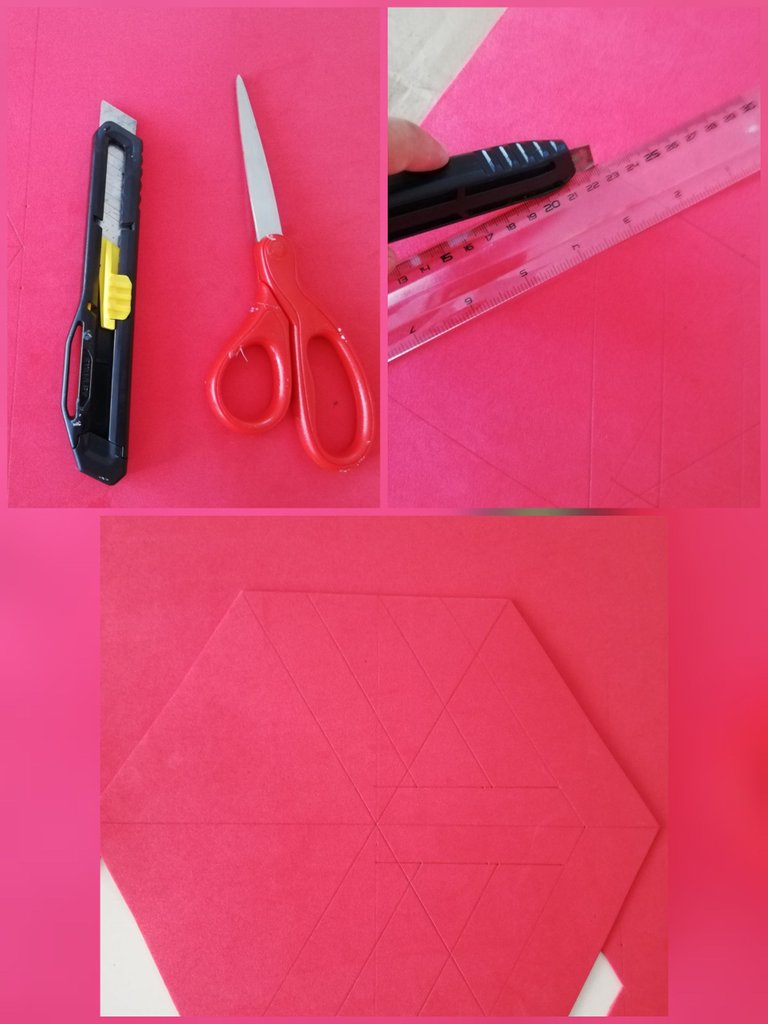
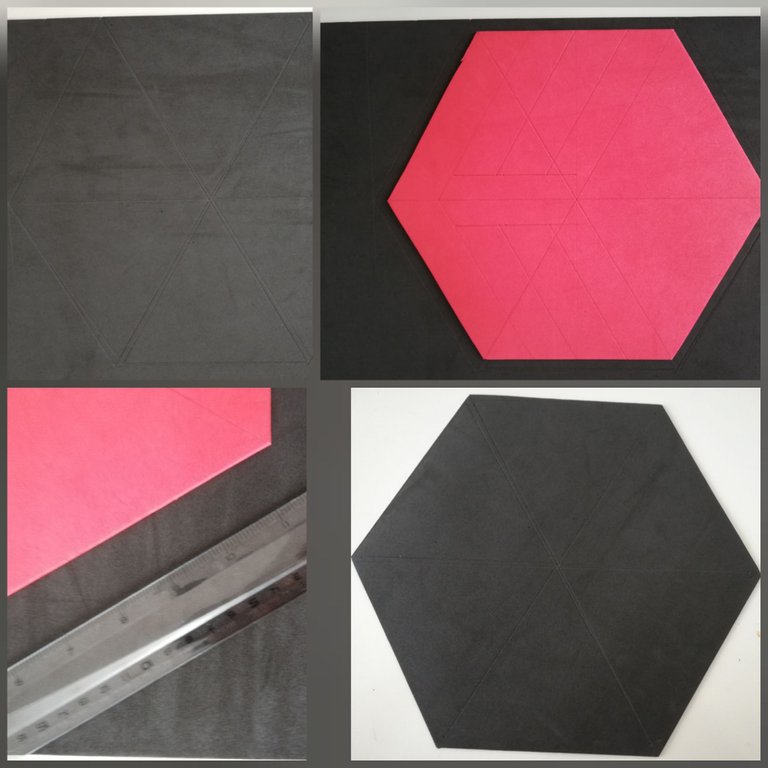
En mi caso elegí usar un fondo negro y repetí el procedimiento para realizar el hexágono pero con lados de 16 cm, pero también pueden colocar el rojo y marcar el borde a 1cm más o la diferencia que desean, como puede ser de la misma medida.
In my case I chose to use a black background and repeated the procedure to make the hexagon but with sides of 16 cm, but you can also place the red and mark the edge at 1 cm more or the difference you want, as it can be the same size.
- Ahora si procedemos a cortar las partes internas del hexágono para obtener nuestro logo, lo acomodamos sobre el fondo y procedemos a pegar.
- Now we proceed to cut the internal parts of the hexagon to obtain our logo, place it on the background and proceed to glue.
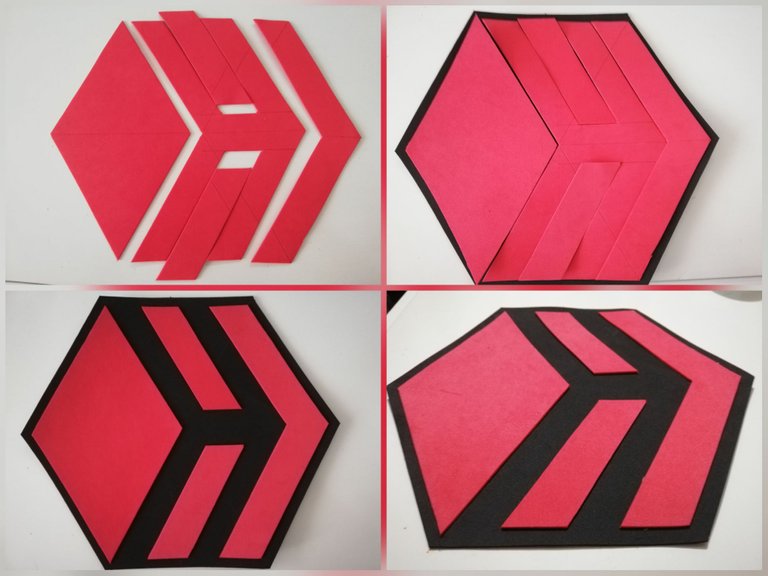
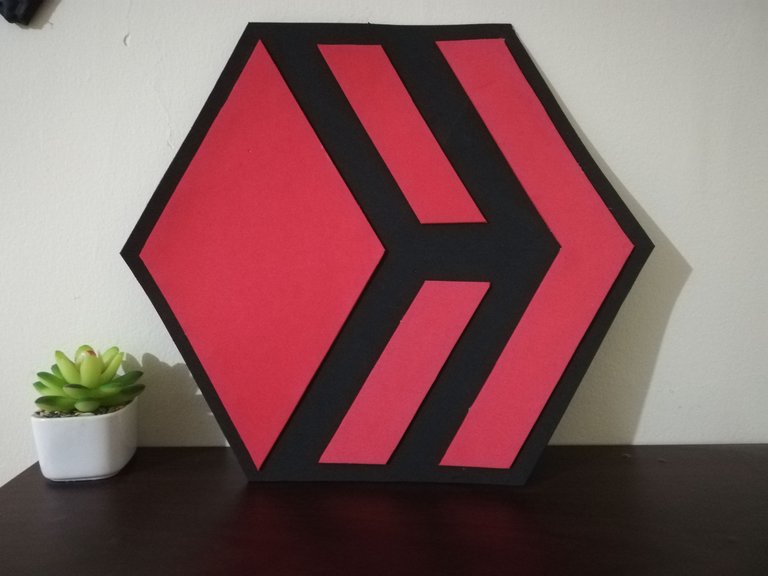
El resultado final, un gran logo hive
The end result, a great hive logo

Con esto me despido hasta una próxima publicación. Si tienen alguna duda o recomendación, no duden en dejarme dicho en los comentarios.
With this I say goodbye until a future publication. If you have any questions or recommendations, don't hesitate to let me know in the comments.

Your post has been curated by us! Received 20.00% upvote from @opb. Do consider delegate to us to help support our project.
Do join our discord channel to give us feedback, https://discord.gg/bwb2ENt
* This bot is upvoting based on the criteria : 1. Not plagiarised, 2. Persistent previous quality posts, 3. Active engagement with other usersDo upvote this commment if you 💚 our service :)
thank you for your support and appreciation of my work.
Hola Suzaku! Dude me gusto muchísimo esta publicación, se nota que tienes un pulso delicado por lo pulcro de esas líneas y cortes, me encantó; me cae del cielo tu tutorial porque justo estos dias estaba pensando en que me gustaría experimentar haciendo un logo de Hive para un intento de mini clips :/ pero no quiero mandar a imprimir un pendón ~
Espero te voten mucho! Y quiero darte una sugerencia con mucho cariño para que más personas puedan encontrar tu contenido: Etiquetas como "how-to, diy, build-it, manualidades y creative" son súper recomendables para ti; las etiquetas en Hive son predeterminadas, no son como en Instagram o Twittah o//x//o exito!
Saludos! Me alegra que te sirva. Gracias por las recomendaciones. Es primera vez que incursionó por estos lados y no estaba tan seguro de las etiquetas jeje
Congratulations, your post has been upvoted by @dsc-r2cornell, which is the curating account for @R2cornell's Discord Community.
Enhorabuena, su "post" ha sido "up-voted" por @dsc-r2cornell, que es la "cuenta curating" de la Comunidad de la Discordia de @R2cornell.
Thanks for the support.
Buen trabajo te quedo excelente el logo!
Gracias por tu apreciación y tomarte el tiempo para comentar
Congratulations @suzaku8! You have completed the following achievement on the Hive blockchain and have been rewarded with new badge(s) :
Your next target is to reach 600 upvotes.
You can view your badges on your board and compare yourself to others in the Ranking
If you no longer want to receive notifications, reply to this comment with the word
STOPCheck out the last post from @hivebuzz:
Support the HiveBuzz project. Vote for our proposal!