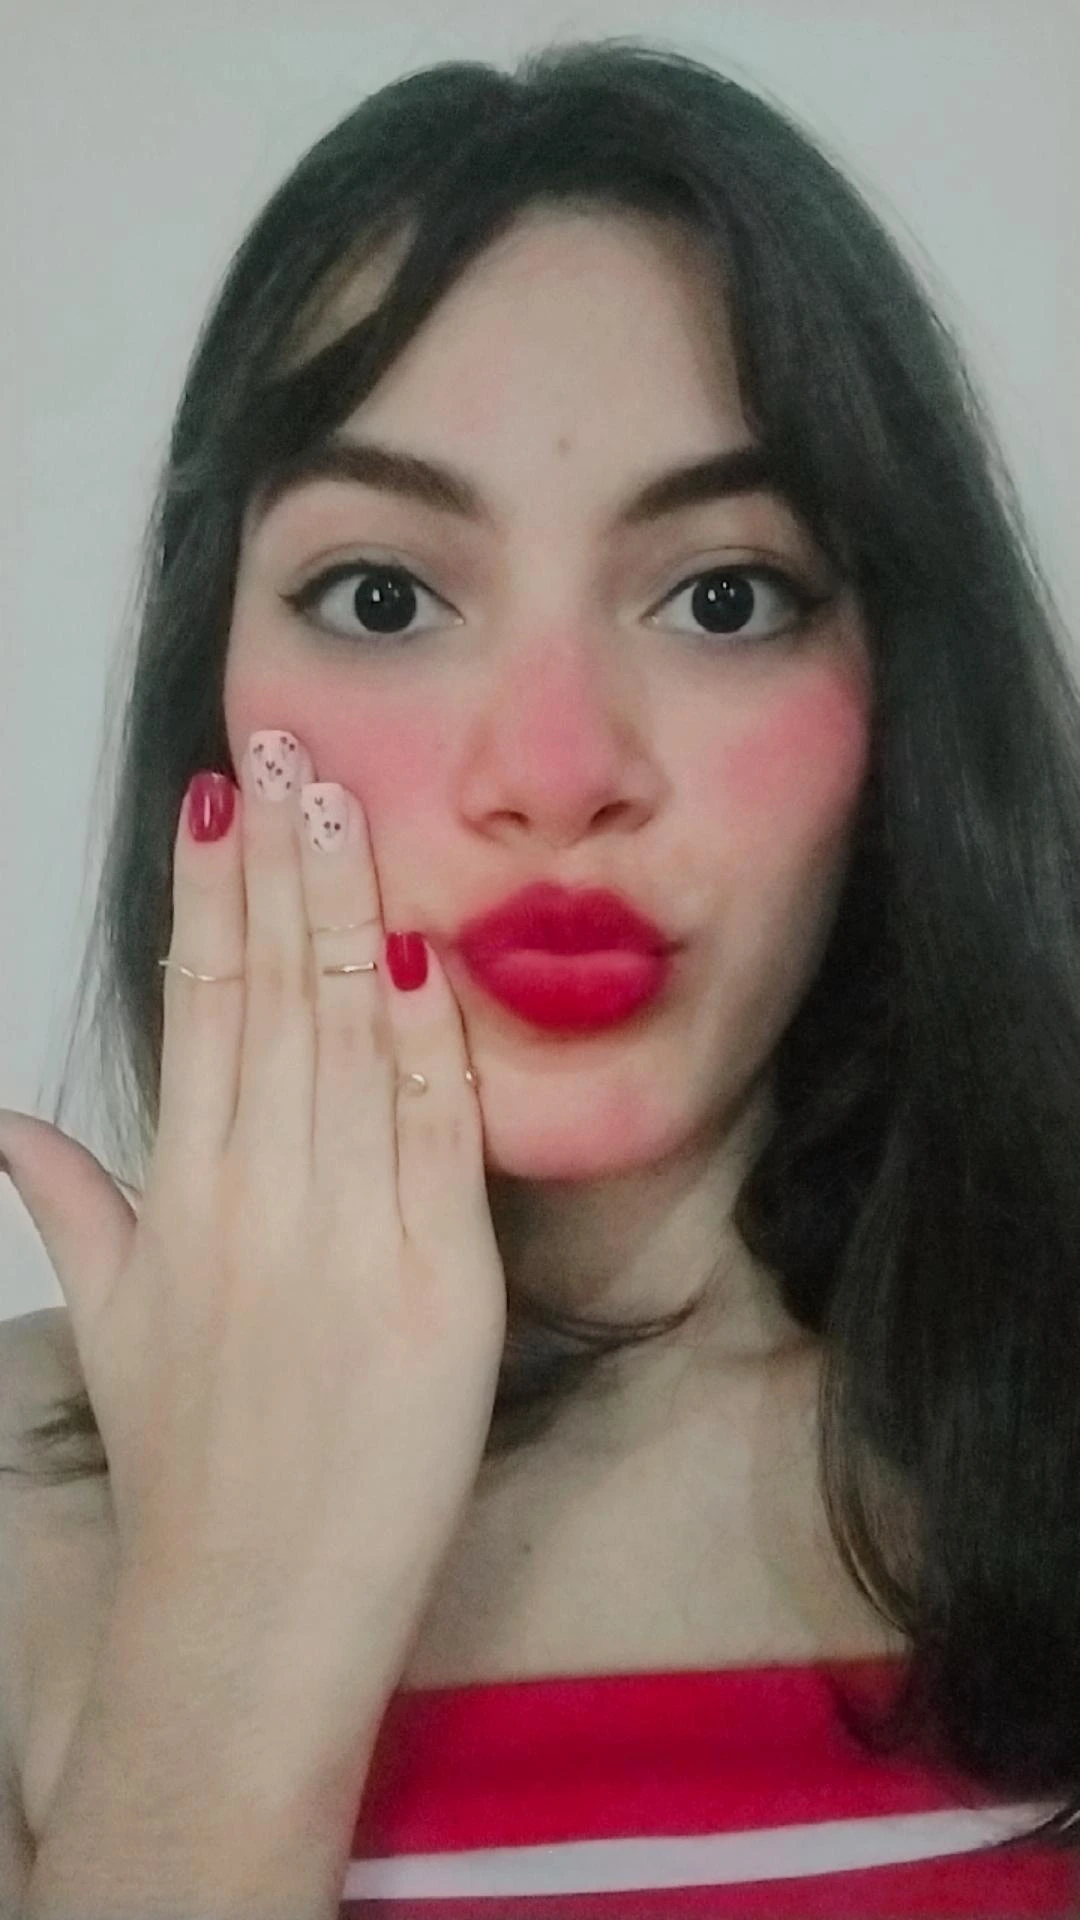
Hola amigos de Hive, espero se encuentren muy bien, yo estoy muy feliz de compartirles hoy un hermoso diseño de uñas en color rojos, inspirado en cerezas, así que quédense para que aprendan a hacerlo y se animen también.
¡Comencemos!
Hello Hive friends, I hope you are feeling great, I am very happy to share with you today a beautiful red nail design, inspired by cherries, so stick around to learn how to do it and be encouraged too.
Let's get started!
Comenzaremos limando nuestras uñas para darle la forma y el tamaño que deseamos,seguido de este aplicaremos una capa de esmalte transparente (preferiblemente endurecedor) para de esta forma evitar que se manche nuestra una con los esmaltes de colores y ademas fortalecerla.
We will begin by filing our nails to give them the shape and size we want, followed by applying a coat of clear nail polish (preferably hardener) to avoid staining our nails with colored polish and also to strengthen them.

Elaboracion | Prepared by
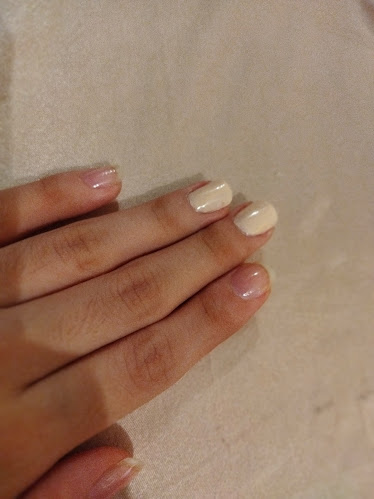
Aplicaremos un esmalte claro en nuestros dedos anular y medio, yo elije este rosa pastel.
We will apply a light nail polish on our ring and middle fingers, I choose this pastel pink.
Ahora con un esmalte color rojo intenso pintaremos nuestras uñas de los dedos meñique,indice y pulgar.
Now with an intense red nail polish we will paint our nails of the little finger, index finger and thumb.
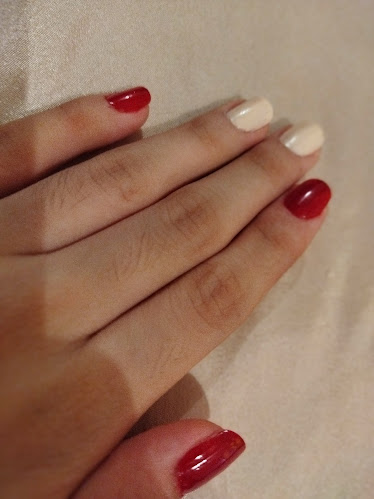
Dejamos secar bien y aplicamos una segunda capa para que quede un acabado perfecto.
Let it dry well and apply a second coat for a perfect finish.Tomamos un palito de punta finita y con el esmalte rojo haremos algunos puntos en nuestra uñas.
We take a fine-tipped stick and with the red nail polish we will make some dots on our nails.

Ahora con un pincel de punta finita tomaremos el esmalte color verde y hacemos unos pequeños trazos en la parte superior de los puntos rojos.
Now with a fine tip brush we will take the green enamel and make small strokes on the upper part of the red dots.
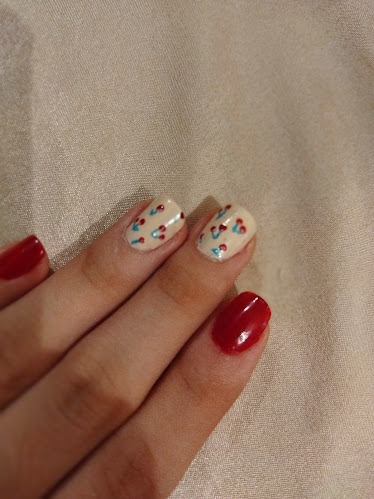
Para finalizar aplicamos un brillo Top Coat para sellar nuestro diseño y así dure mucho más.
Finally, we apply a Top Coat gloss to seal our design and make it last much longer.
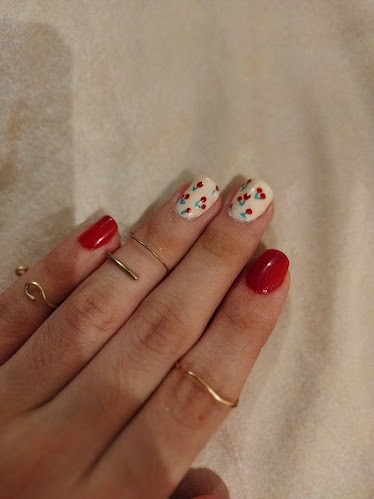
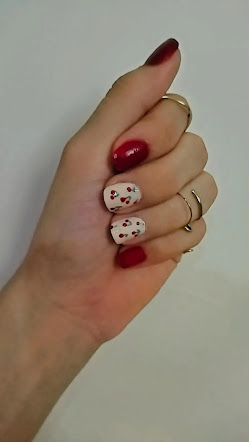
¡Listo!
Así queda nuestro lindo diseño de uñas, la verdad es que me encantan este tipo de diseños con dibujos y espero les haya gustado tanto como a mi.
That's it!
I really love this kind of designs with drawings and I hope you liked it as much as I did.
𝐓𝐨𝐝𝐚𝐬 𝐥𝐚𝐬 𝐟𝐨𝐭𝐨𝐬 𝐬𝐨𝐧 𝐝𝐞 𝐦𝐢 𝐩𝐫𝐨𝐩𝐢𝐞𝐝𝐚𝐝
━━━━━━ ◦ ❖ ◦ ━━━━━━
𝐀𝐥𝐥 𝐩𝐡𝐨𝐭𝐨𝐬 𝐚𝐫𝐞 𝐦𝐲 𝐩𝐫𝐨𝐩𝐞𝐫𝐭𝐲

Congratulations @soymary! You have completed the following achievement on the Hive blockchain and have been rewarded with new badge(s) :
Your next target is to reach 20 posts.
You can view your badges on your board and compare yourself to others in the Ranking
If you no longer want to receive notifications, reply to this comment with the word
STOPTo support your work, I also upvoted your post!
Check out the last post from @hivebuzz: