COJINES DRAPEADOS// DRAPED CUSHIONS
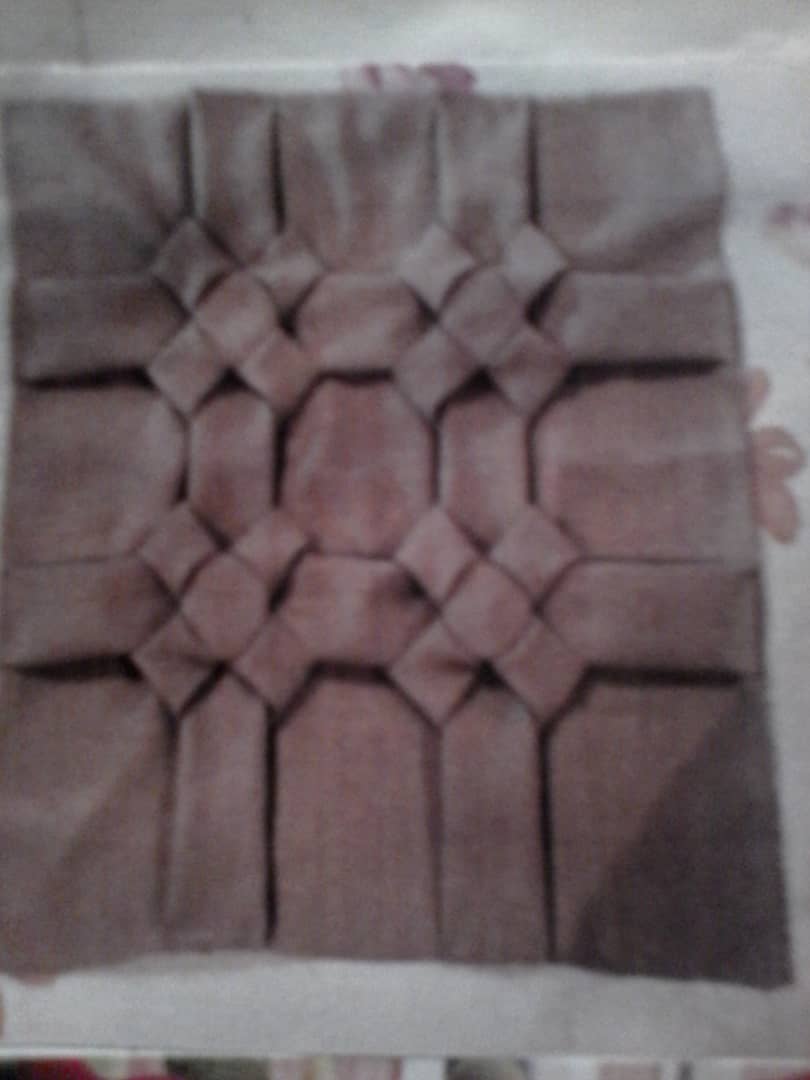
Son muchas veces en la que optamos por decorar o realizar nuestros propios cojines, o almohadones. En esta ocasión te quiero mostrar lo estupendos que son para dar un toque femenino a la habitación o algún otro espacio en el lugar. Bien sea en el sofá, el cuarto del bebé, adornos en miniatura para el carro, entre otros muchos otros lugares. Los cojines hay variedades de modelo, el modelo drapeado punto capitoné, con efecto de bola.
They are many times in which we choose to decorate or make our own cushions, or cushions. This time I want to show you how great they are to give a feminine touch to the room or some other space in the place. Be it on the sofa, the baby’s room, miniature decorations for the car, among many other places. The cushions there are varieties of model, the model draped point capitonné, with ball effect.
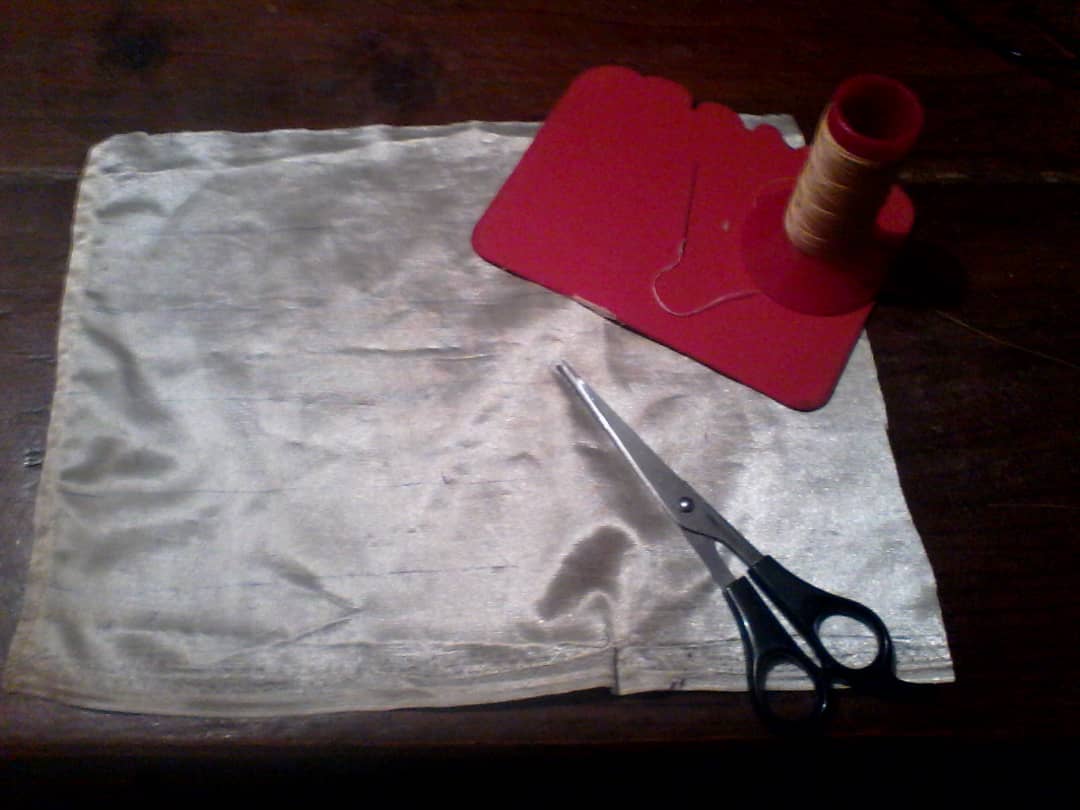
La tela a utilizar puede ser de satén, terciopelo o lino. Para este proceso debes disponer de la tela, aguja, hilo (al tono de la tela). Luego armar la funda o forro.
The fabric to be used can be satin, velvet or linen. For this process you must have the fabric, needle, thread (to the tone of the fabric). Then assemble the sheath or lining.
En esta oportunidad solo te voy a enseñar el tejido, que es fácil y claro, además de tener el material, debes tener las ganas, verás que es divertido y capaz cuando comiences no vas a querer parar.
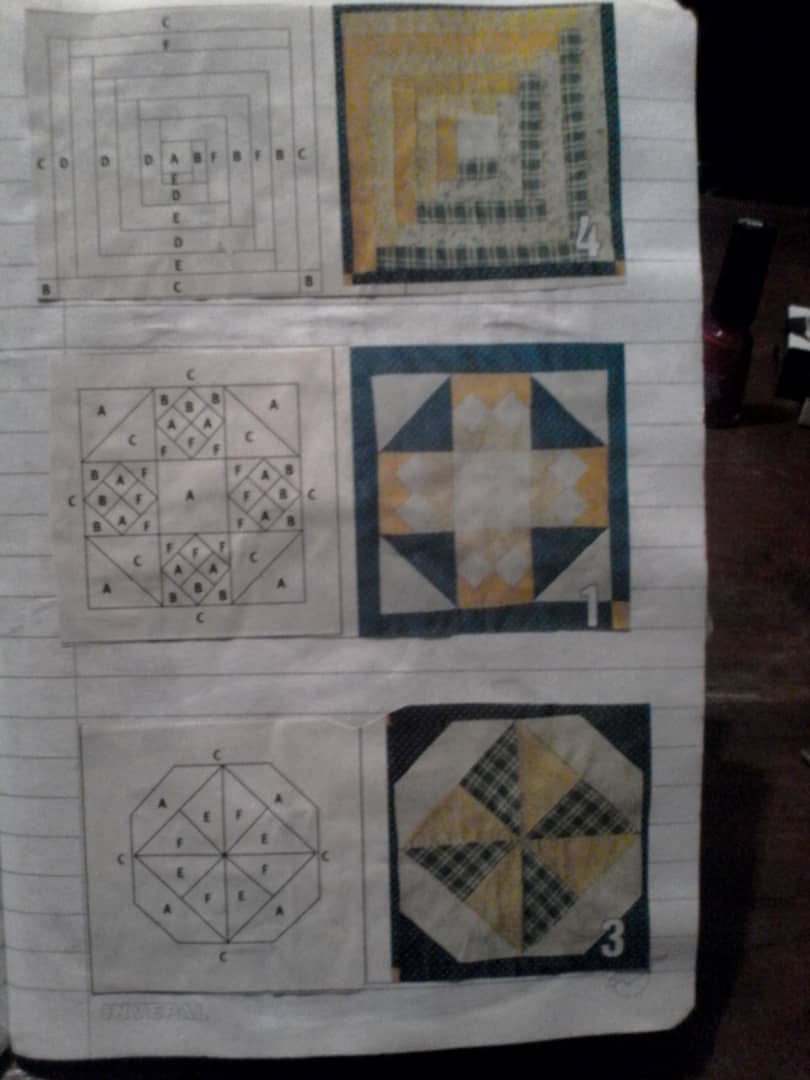
This time I’m just going to show you the fabric, which is easy and clear, in addition to having the material, you must have the desire, you will see that it is fun and capable when you start you will not want to stop.
Vamos a trabajar:
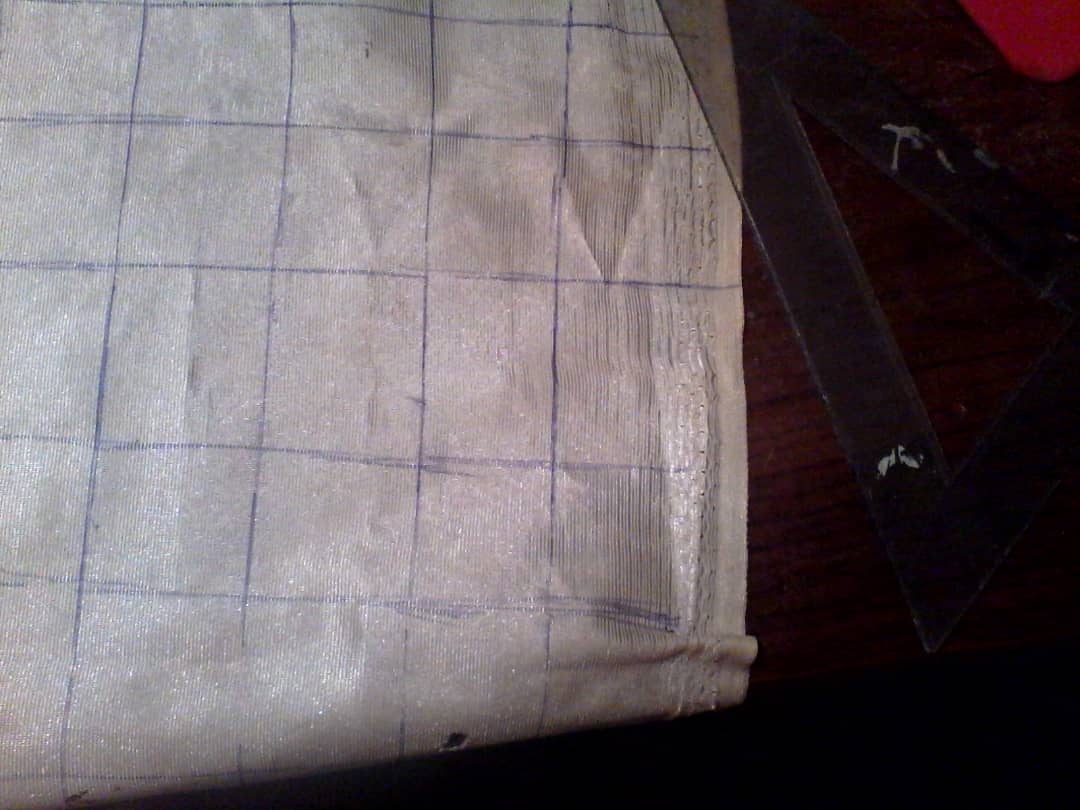
Con una tela a la medida de 35 x 25cm,( solo para enseñarte el tejido). Debemos marcar la tela con cuadros de 5cm. Esto puede ser desde 3cm en adelante. El de 5 es más grande y se ve más bonito el tejido, es tu preferencia las medidas.
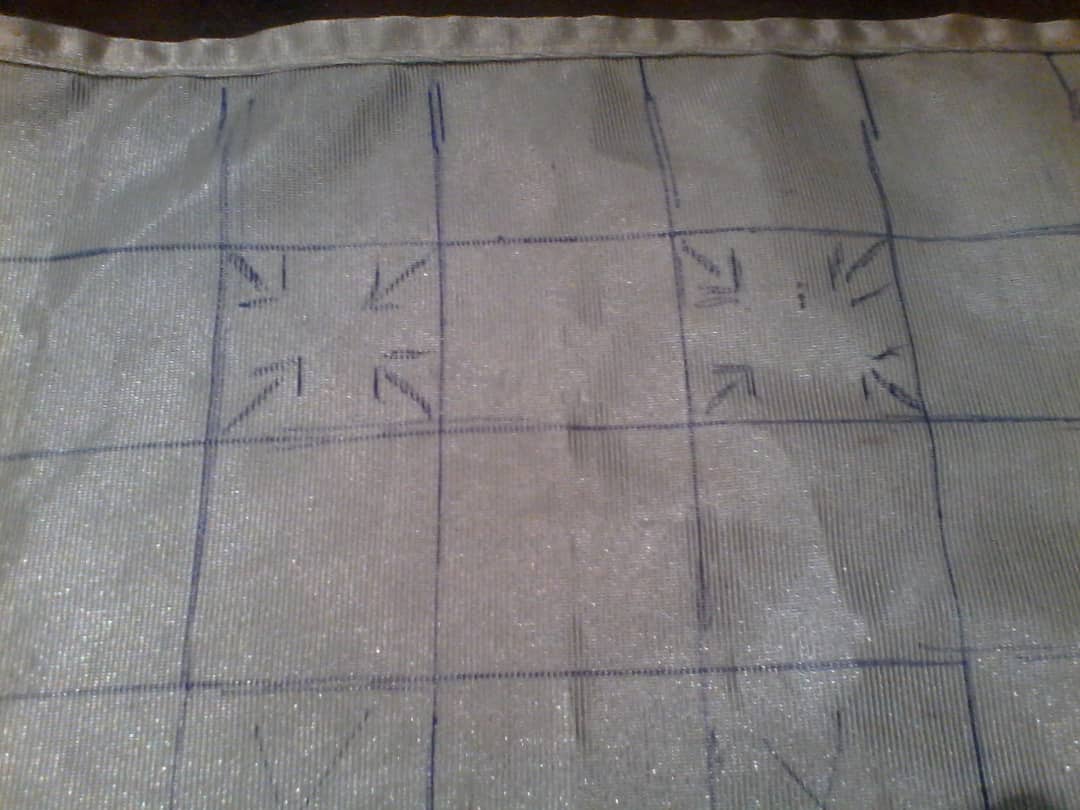
Let's work:
With a 35 x 25cm custom made fabric (just to show you the fabric). We must mark the fabric with 5cm squares. This can be from 3cm onwards. The 5 is larger and the fabric looks more beautiful, the measurements are your preference.
Debemos tomar en cuenta después de marcar, antes de empezar el tejido dejar un espacio que me servirá para la costura. El proceso es trabajar un cuadro y dejo uno por el medio, es decir si, no, si, no. empezamos con demarcación y terminamos con demarcación.
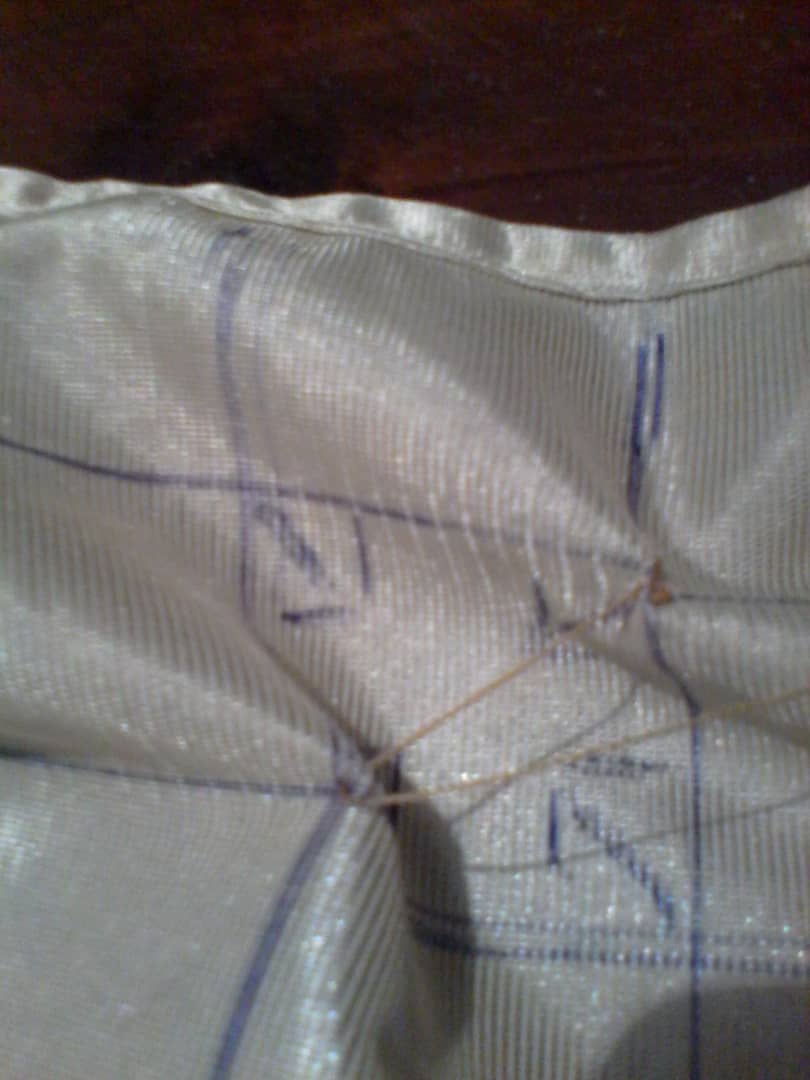
We must take into account after marking, before starting the fabric to leave a space that will serve me for sewing. the process is to work a painting and I leave one in the middle, that is, yes, no, yes, no. We start with demarcation and end with demarcation.
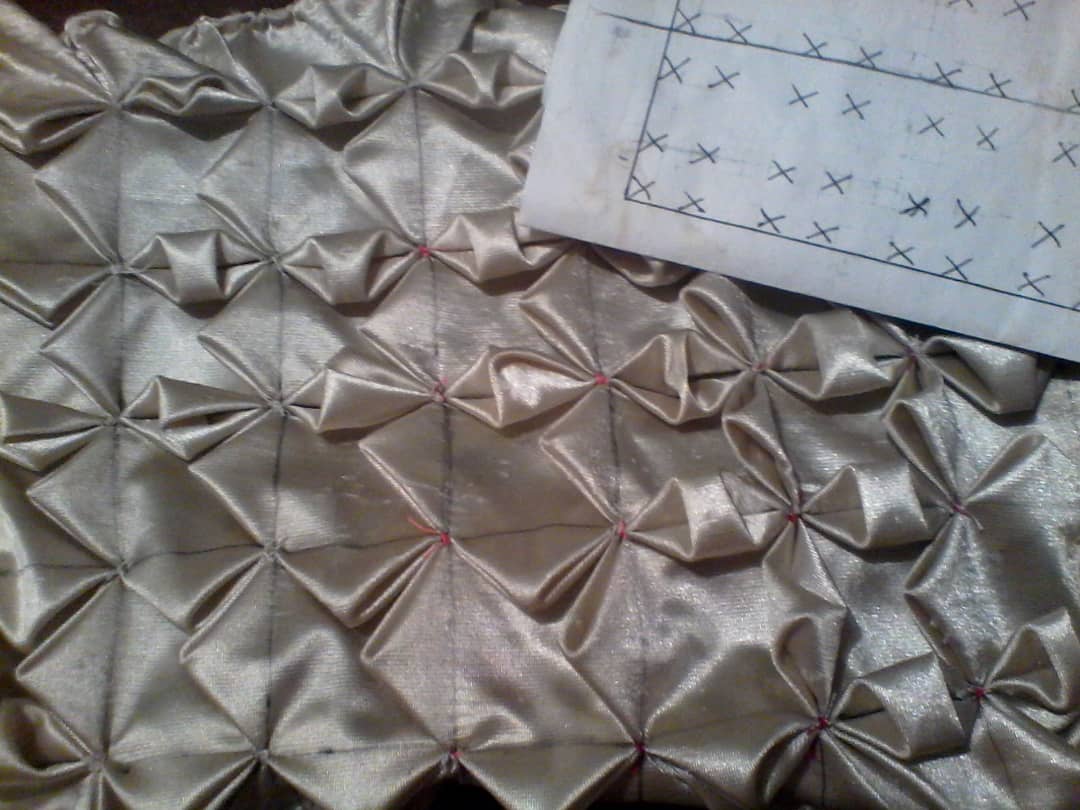
Marcamos con una X, cada cuadro. Las puntadas van de punta a punta, es decir uniendo la punta de arriba del lado izquierdo con el derecho de abajo. Y luego el lado derecho de arriba con el izquierdo de abajo. Atando con tres vueltas para que no se suelten, acuérdate que ellos serán manipulados y pueden soltarse. Una vez trabajado volteamos la tela y aseguramos los cuadros y rellenamos con algodón, por esto es el tejido de bola. Al finalizar haces la funda y rellenas con tu cojín o la almohada, (en el paso a paso de la foto veras que es fácil).
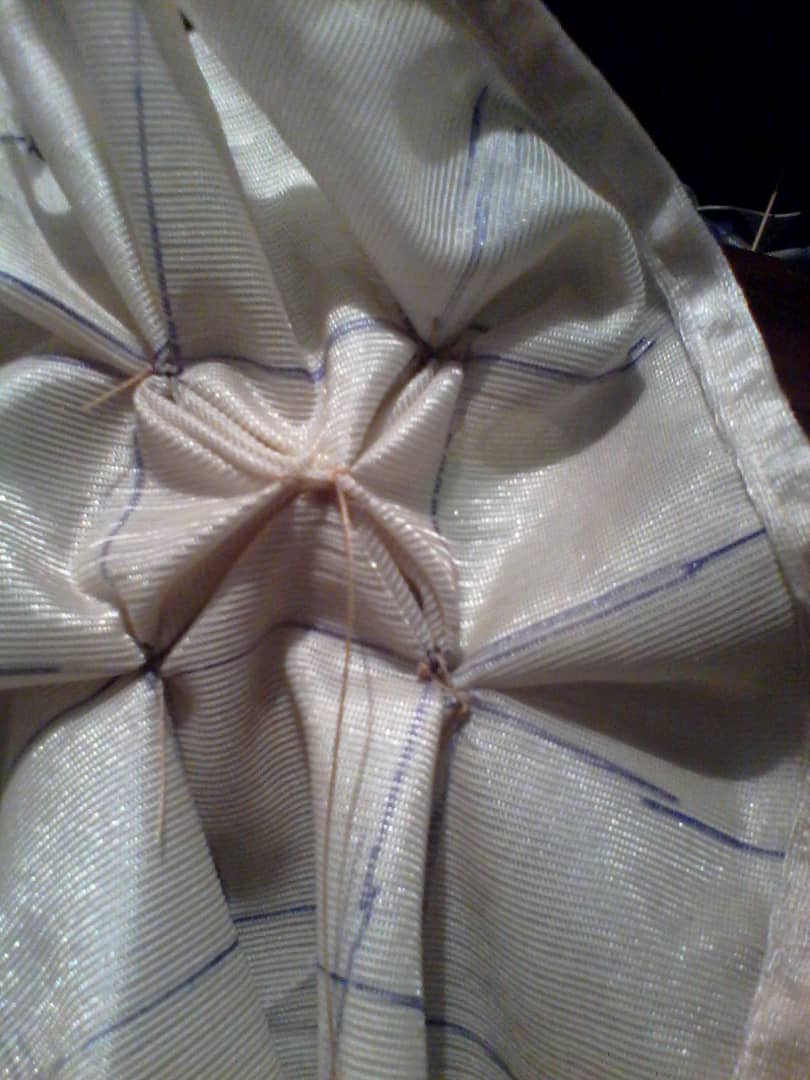

We mark with an X, each square. the stitches go from end to end, that is to say joining the upper point of the left side with the right one below. And then the right side from above with the left from below. Tying with three turns so that they are not lucky, remember that they will be manipulated and can be released. Once worked, we turn the fabric over and secure the squares and fill with cotton, this is why it is the ball weave. At the end you make the cover and fill it with your cushion or pillow, in the step by step of the photo you will see that it is easy.


Congratulations @rosasalgado! You have completed the following achievement on the Hive blockchain and have been rewarded with new badge(s) :
Your next target is to reach 20 posts.
You can view your badges on your board and compare yourself to others in the Ranking
If you no longer want to receive notifications, reply to this comment with the word
STOP