Hi! Today I want to show you step by step how to make a small paper butterfly. This option is perfect to make a gift to someone special made with our own hands or to decorate some corner of our home or workplace.
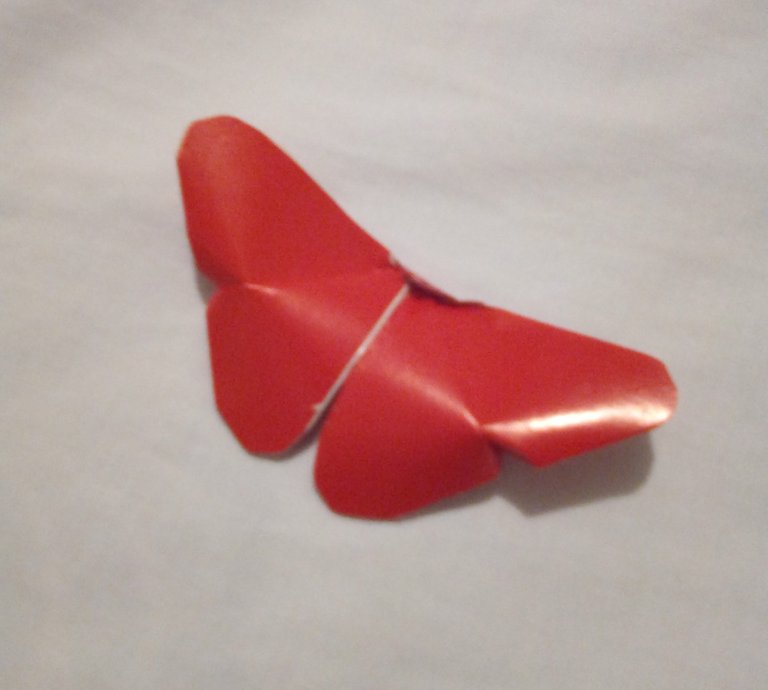
Este sería mi intento #3. Así es, para poder preparar este post tuve que hacer la forma de mariposa TRES veces. La primera la hice con papel lustrillo. Todo iba bien hasta el último paso, cuando al hacer el último doblez, se rompió. Quizás no se note en la foto pero este fue el resultado:
This would be my #3 attempt. That's right, in order to prepare this post I had to make the butterfly shape THREE times. The first time I made it with glossy paper. Everything was going well until the last step when the last fold was broken. Maybe you won't notice it in the picture but this was the result:
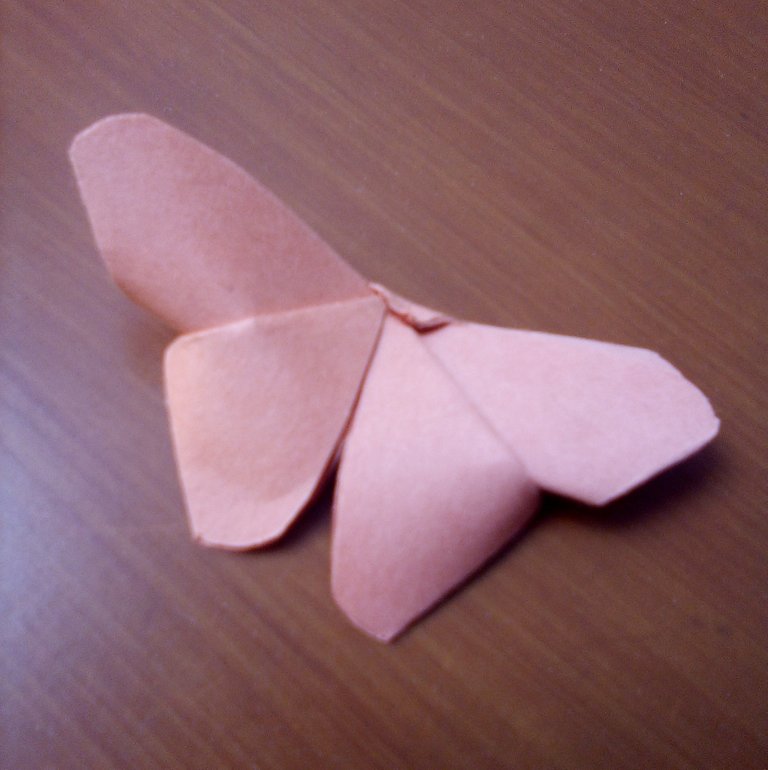
Luego, probé hacerlo con cartulina de construcción. Fue un poco más complicado de doblar porque este papel es más grueso pero todo iba saliendo bien hasta que tocó recortar las alas, cuando corté de más y no me gustó el resultado.
Then I tried to do it with construction paper. It was a little more complicated to fold because this paper is thicker but everything was going well until I had to cut the wings, when I cut too much and I didn't like the result.
Dirán que quizás soy demasiado perfeccionista y, puede ser, pero quería mostrarles algo con lo que me sintiera satisfecha, así que al final opté por el camino seguro y usé papel. Además, les comento mis desaciertos para que consideren mi experiencia antes de intentar hacer esto con los materiales mencionados. Para realizar esta figura se necesita una hoja de papel, tijeras, regla y un lápiz.
You'll say that maybe I'm too much of a perfectionist and, maybe, but I wanted to show them something I was satisfied with, so in the end I chose the safe path and used paper. Also, I'm telling you about my mistakes so that you can consider my experience before trying to do this with the materials mentioned. To make this figure you need a sheet of paper, scissors, a ruler and a pencil.
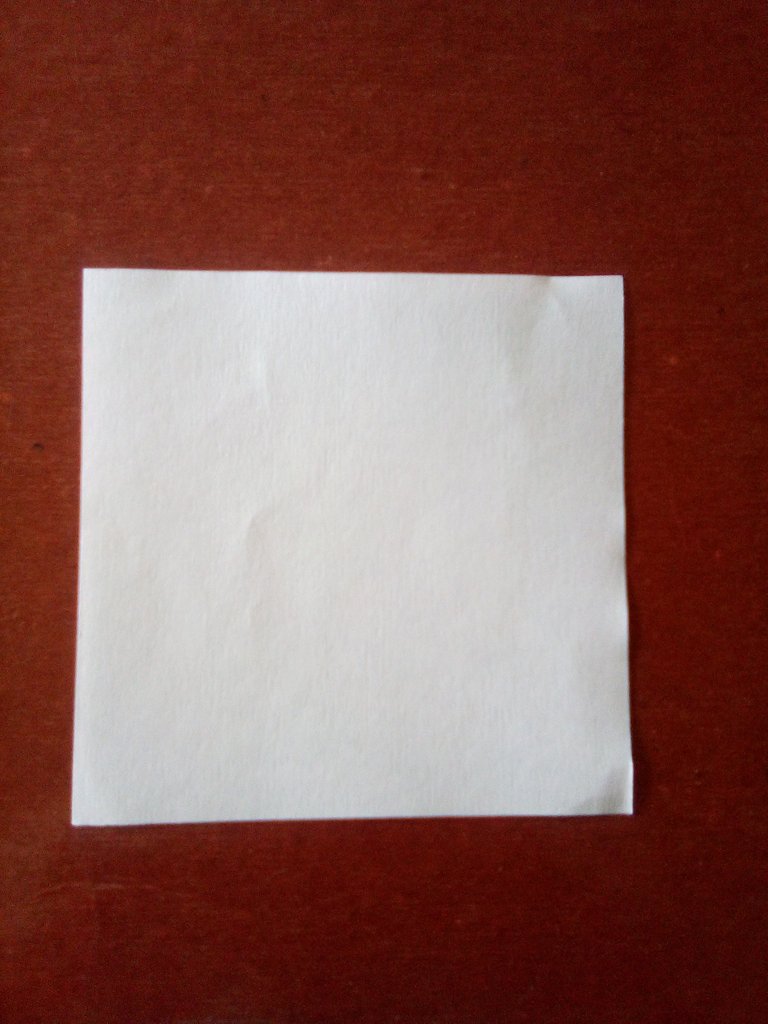
Paso 1: Cortar la hoja en tamaños iguales. Yo utilicé 10 cm de cada lado.
Step 1: Cut the sheet in equal sizes. I used 10 cm from each side.
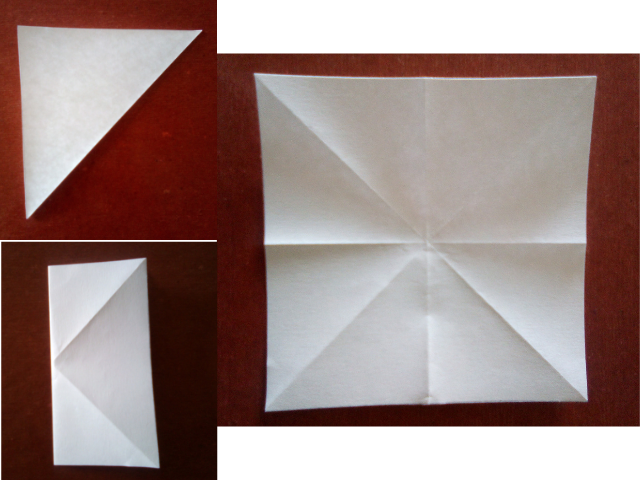
Paso 2: Unir cada extremo diagonal (lo que formaría 4 triángulos opuestos entre sí) y luego doblar la hoja por la mitad (formando cuatro cuadrados). Debería resultar en 8 triángulos como se ven en la foto.
Step 2: Join each diagonal end (which would form 4 opposite triangles) and then fold the sheet in half (forming four squares). It should result in 8 triangles as seen in the photo.
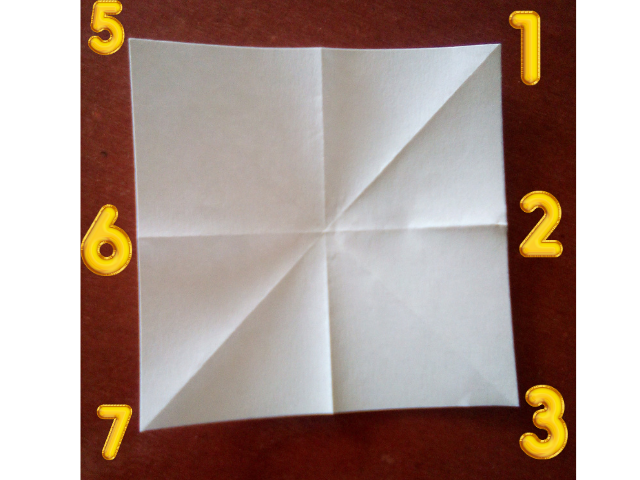
Paso 3: Unir las puntas 1 y 3 e introducir en el medio la punta 2. Repetir este paso con las puntas 5 y 7 e introducir la punta 6 en medio.
Step 3: Join tips 1 and 3 and insert tip 2 in the middle. Repeat this step with tips 5 and 7 and insert tip 6 in the middle.
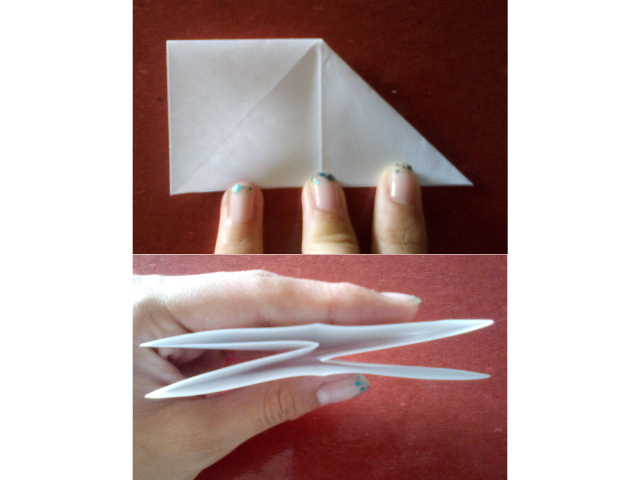
Paso 4: Unir las 4 puntas, formando un triángulo más pequeño
Step 4: Join the 4 points, forming a smaller triangle
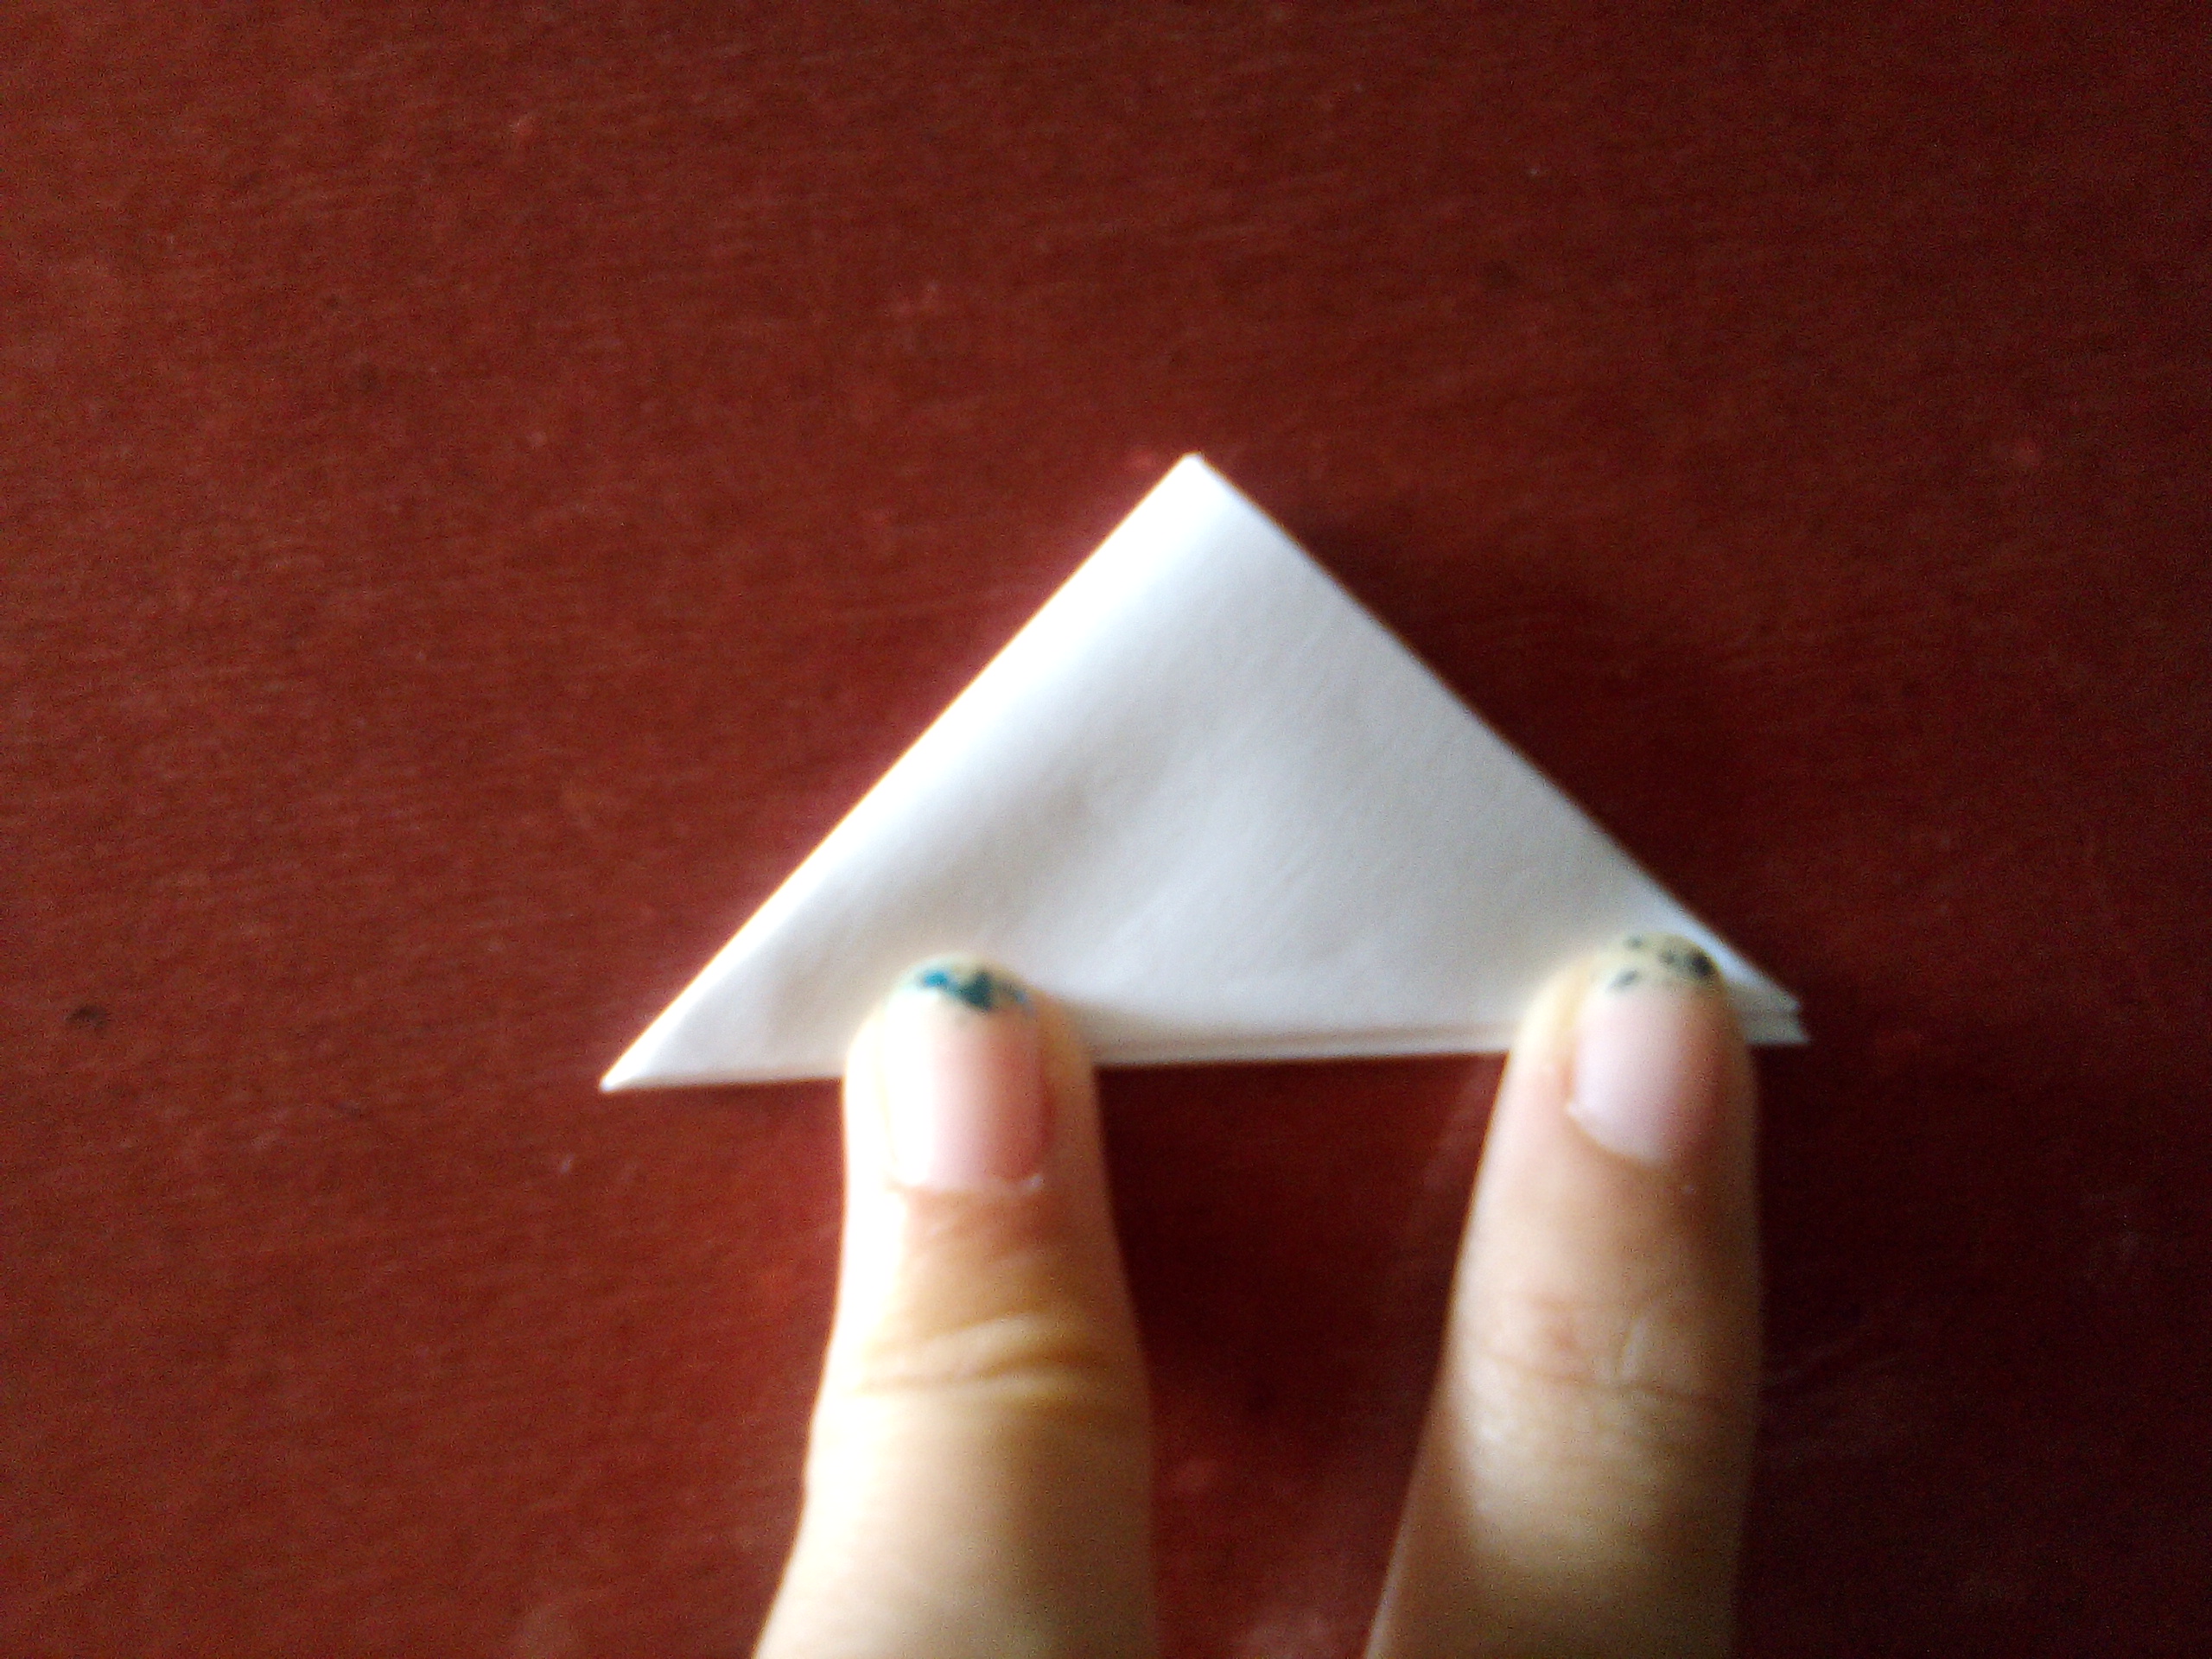
Paso 5: Este paso es opcional pero si quieres darle un toque más delicado a tu mariposa puedes recortar las 4 puntas de forma circular.
Step 5: This step is optional but if you want to give a more delicate touch to your butterfly you can cut the 4 points in a circular shape.
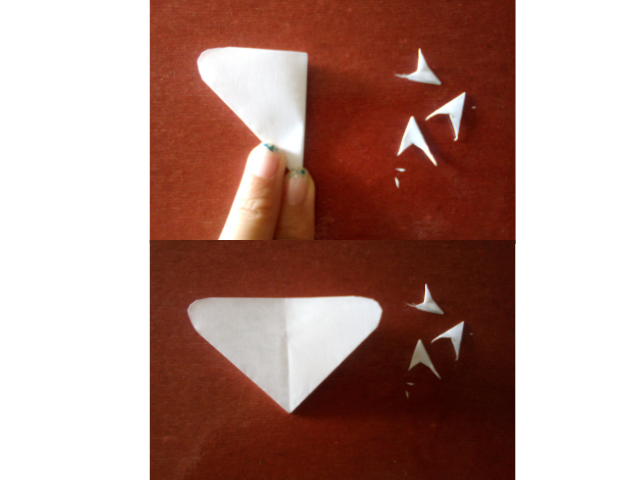
Paso 6: Unir las dos puntas circulares delanteras en el centro.
Step 6: Join the two front circular tips in the middle.
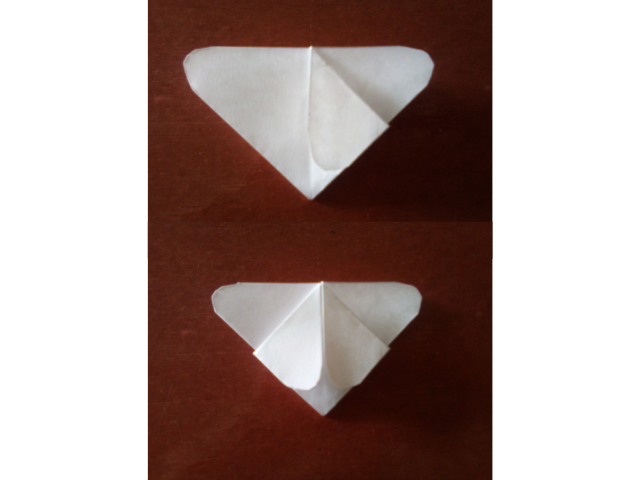
Paso 7: Por la parte de atrás, levantar la punta y hacer un doblez en la parte delantera.
Step 7: From the back, lift the tip and make a fold in the front.
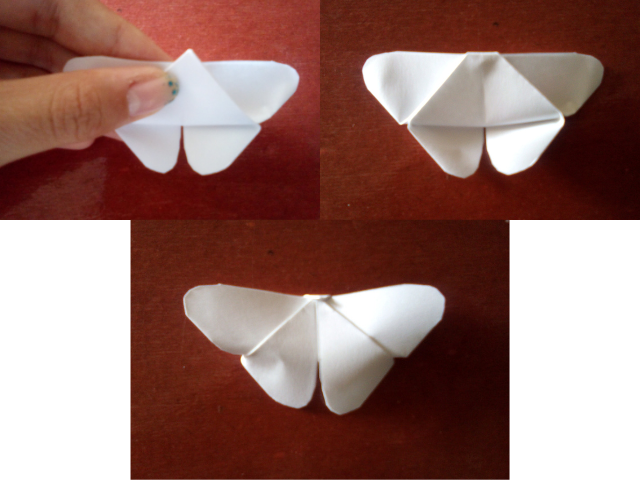
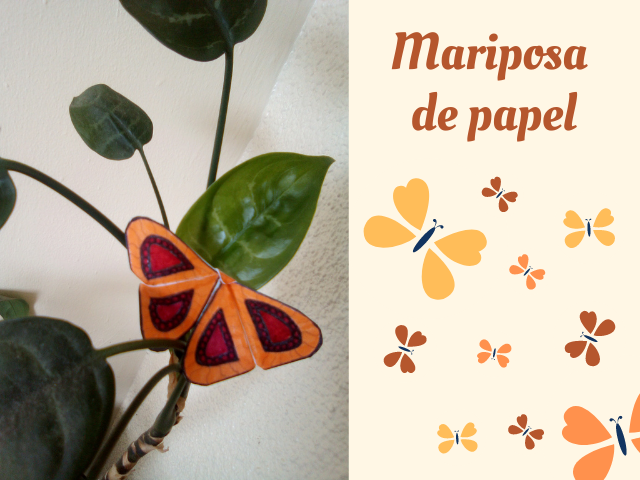
Como se veía muy simple hecho con papel, decidí colorearlo. Este fue el resultado:
As it looked very simple made with paper, I decided to color it. This was the result:
.gif)
Te quedo super hermosa, felicitaciones..
Muchas gracias 😊
Congratulations @readmymind! You have completed the following achievement on the Hive blockchain and have been rewarded with new badge(s) :
You can view your badges on your board and compare yourself to others in the Ranking
If you no longer want to receive notifications, reply to this comment with the word
STOPDo not miss the last post from @hivebuzz:
Ayy pero en la primera foto pensaba que era real hahahahahah, te quedó estupenda.
Jajajaja, ¡imagínate! Qué bien. Gracias por tu comentario :)
Me encanto, quedo muy cuchi y es muy fácil de hacer! Queda hermoso para decorar
¡Gracias! Es ideal para decorar cualquier rinconcito. Gracias por comentar 😘
Ese tipo de mariposas siempre quise aprender a hacerlas, se ve muy simple están geniales para decorar. Gracias por compartir.
¡Inténtalo! Gracias a ti por comentar.
Te ha quedado realmente hermosa! Yo he intentado hacer esta mariposa como tres o cuatro veces, y en ninguna he acertado, asi que sé como se siente que no te salga bien 😂. Saludos y gracias por compartir este post 💕.
Jajaja es cuestión de práctica. Hacerla es más fácil de lo que se cree. Gracias por comentar😊.
Te quedó muy linda, yo soy pésima con el origami, pero en tu publicación no se ve tan difícil! Saludos ♥
Es más sencillo de hacer de lo que uno piensa, créeme. Anímate a intentarlo. Un abrazo 🤗