💛Buenos días mi gente linda de Hive!💛
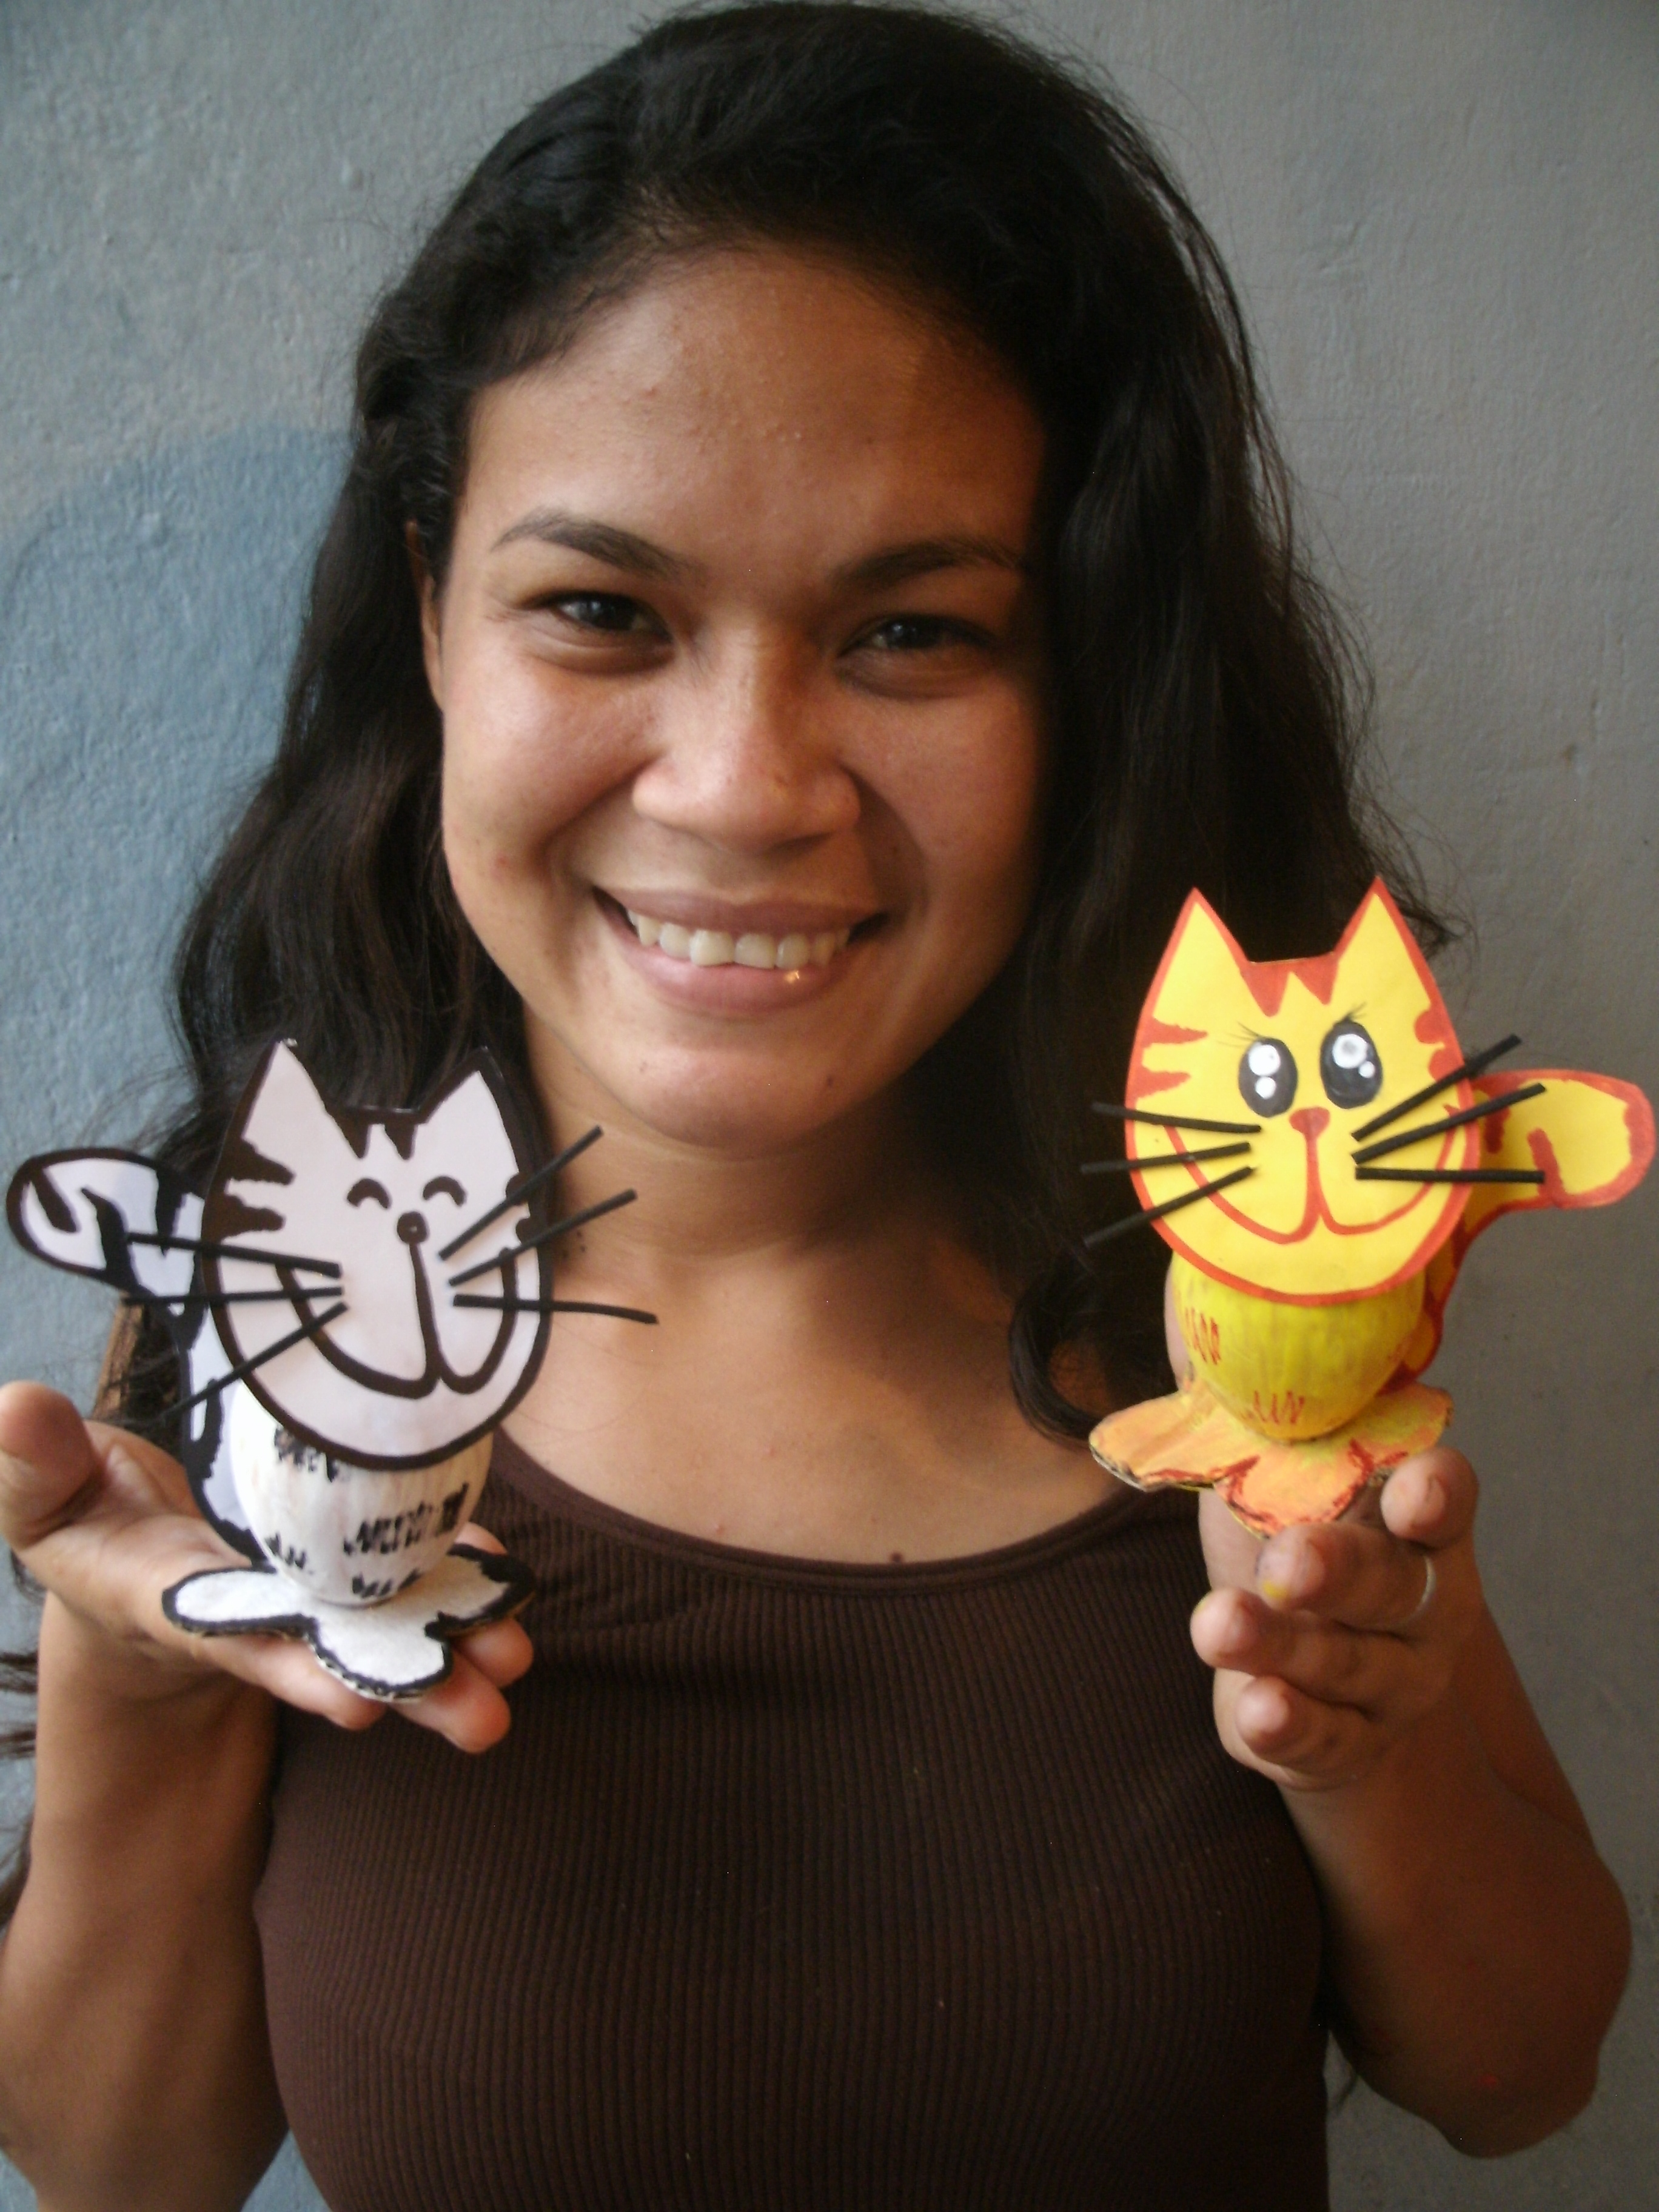
Bienvenidos a mi blog, hoy les mostrare como reciclar la cascara de huevos y convertirlas en unos lindos gatitos para decorar cualquier espacio de tu hogar, también puede resultar una manualidad muy entretenida y divertida para los niños en casa. Espero les guste...
Welcome to my blog, today I will show you how to recycle the eggshell and turn them into cute kittens to decorate any space in your home, it can also be a very entertaining and fun craft for children at home. I hope you like it...
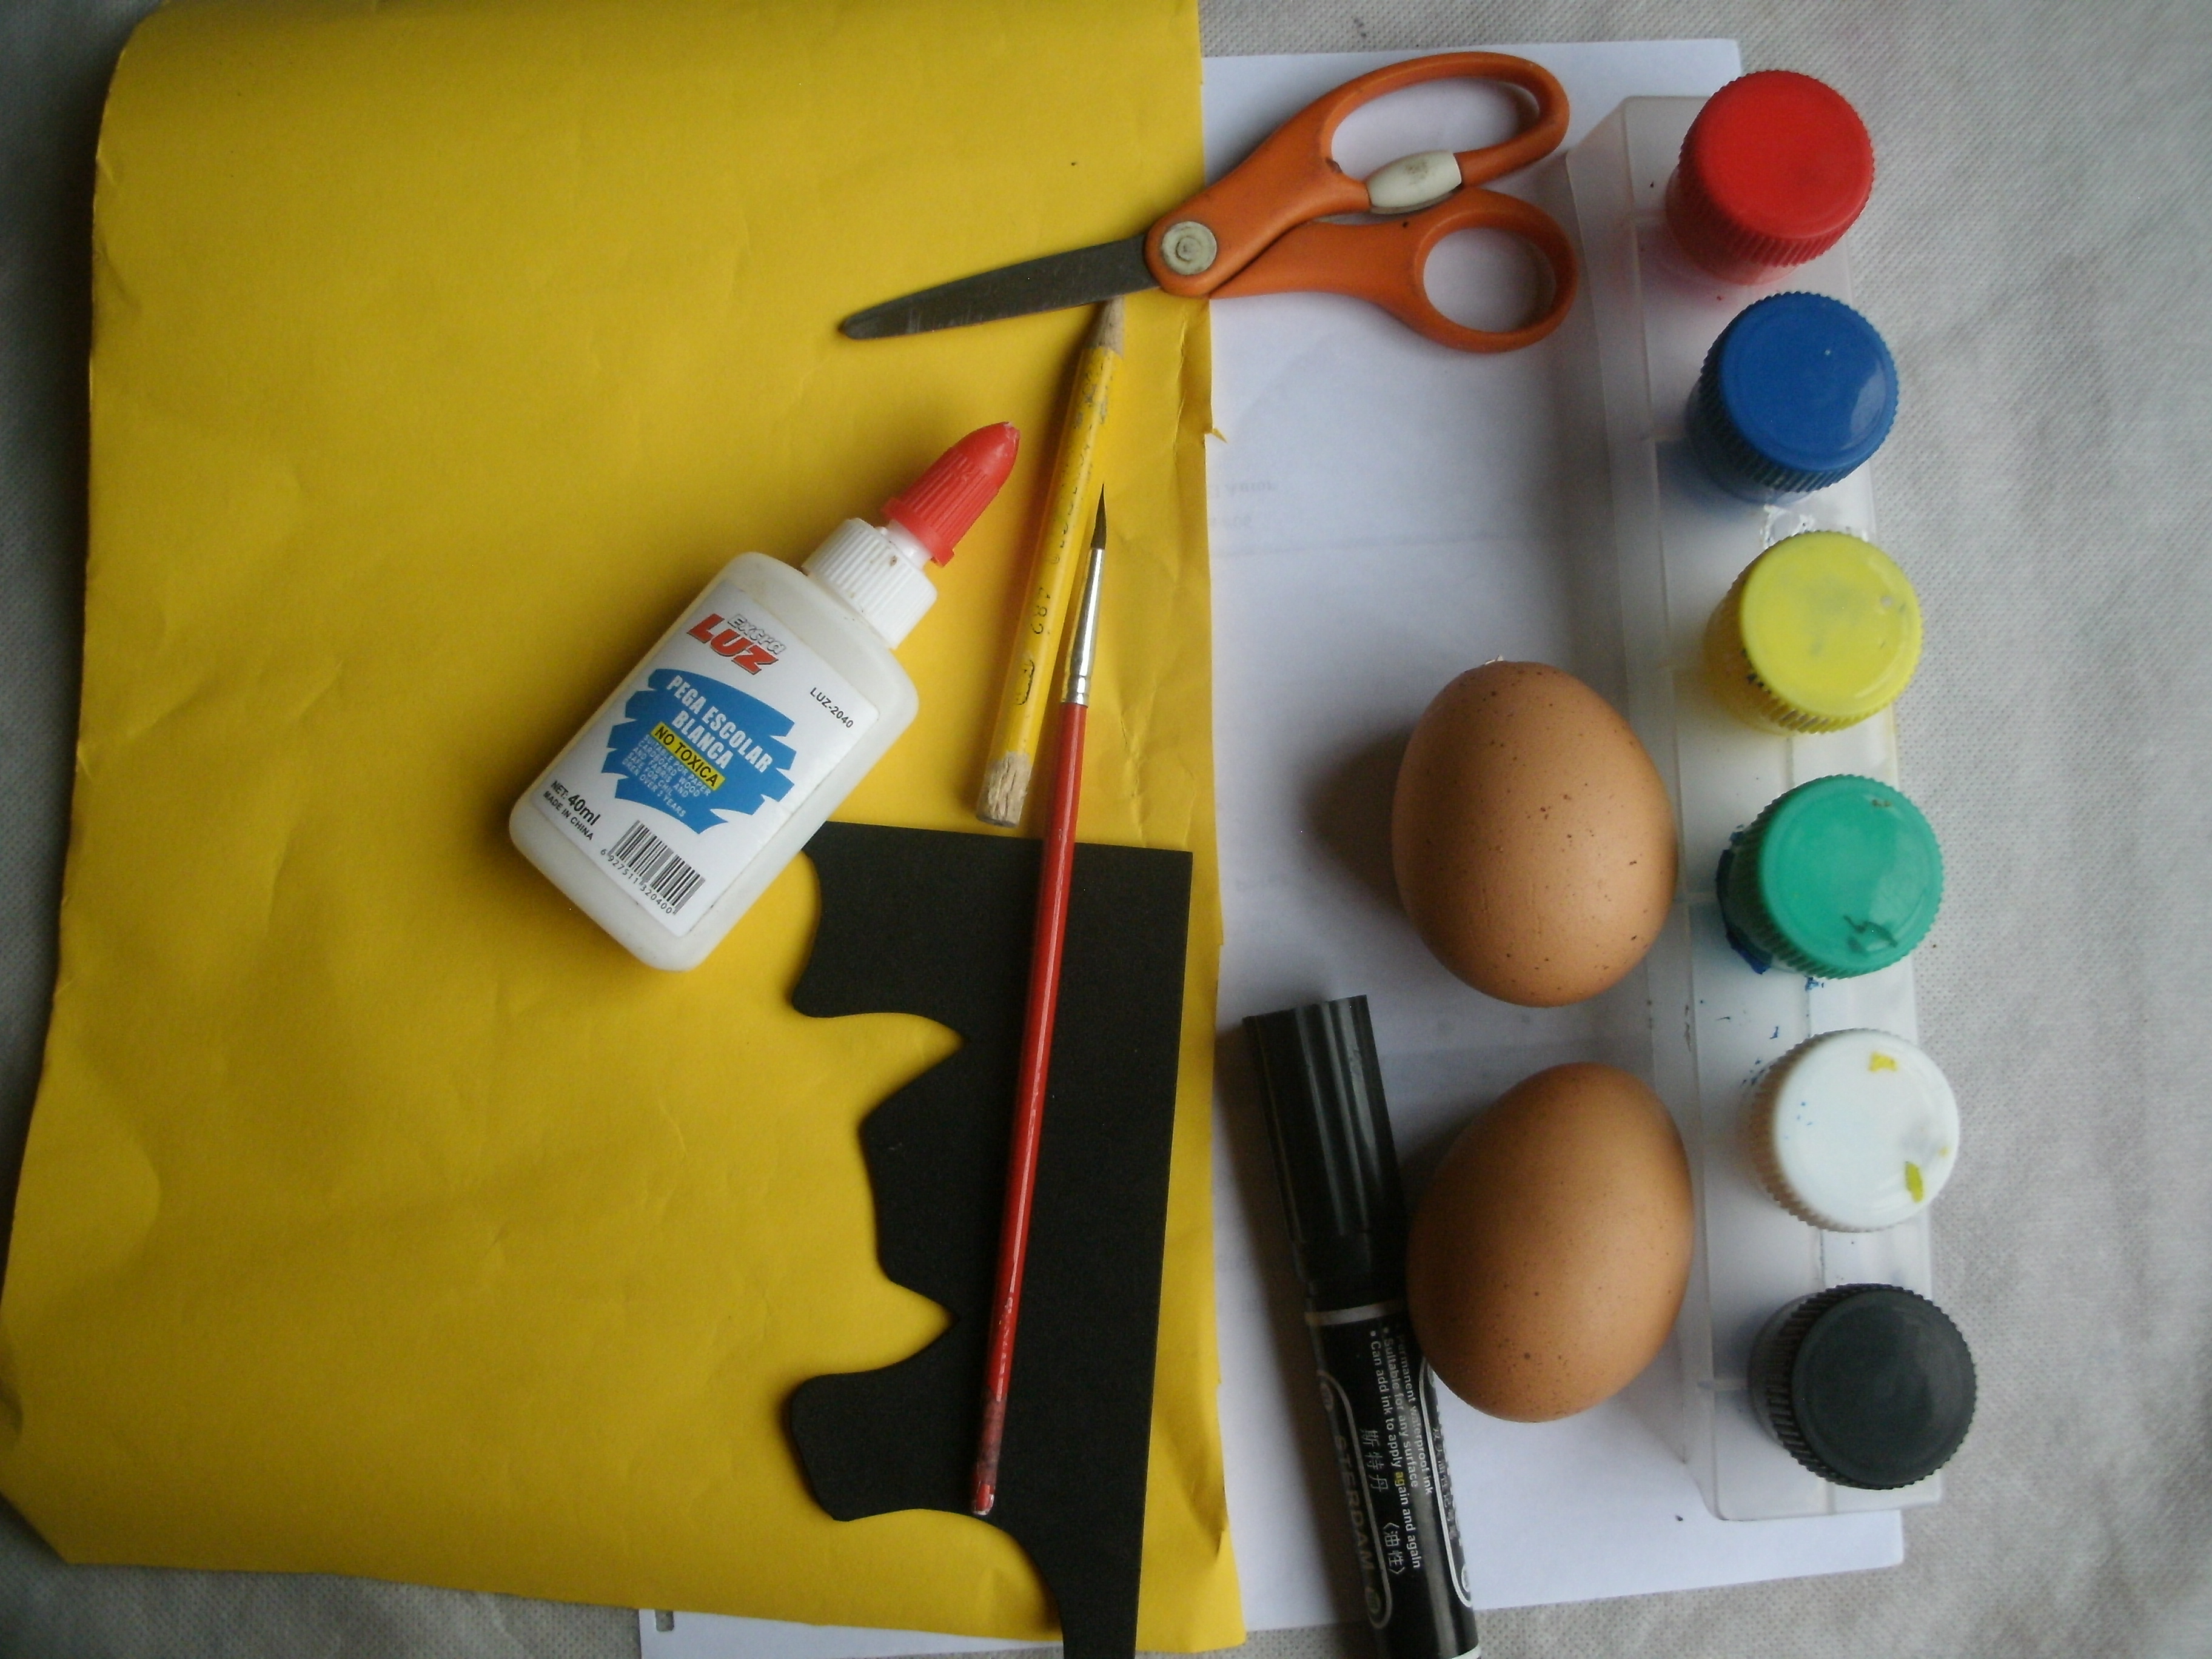
Los materiales que necesitaras son:
The materials you will need are:
- Cascara de huevos.
- Cartulina blanca.
- Pintura.
- Pincel.
- Cartón.
- Marcador negro.
- Tijeras.
- Pegamento.
- Foami negro.
- Eggshell.
- White cardboard.
- Paintings.
- Brush.
- Paperboard.
- Black marker.
- Pair of scissors.
- Glue.
- Black foam.
Pasos:
Steps:
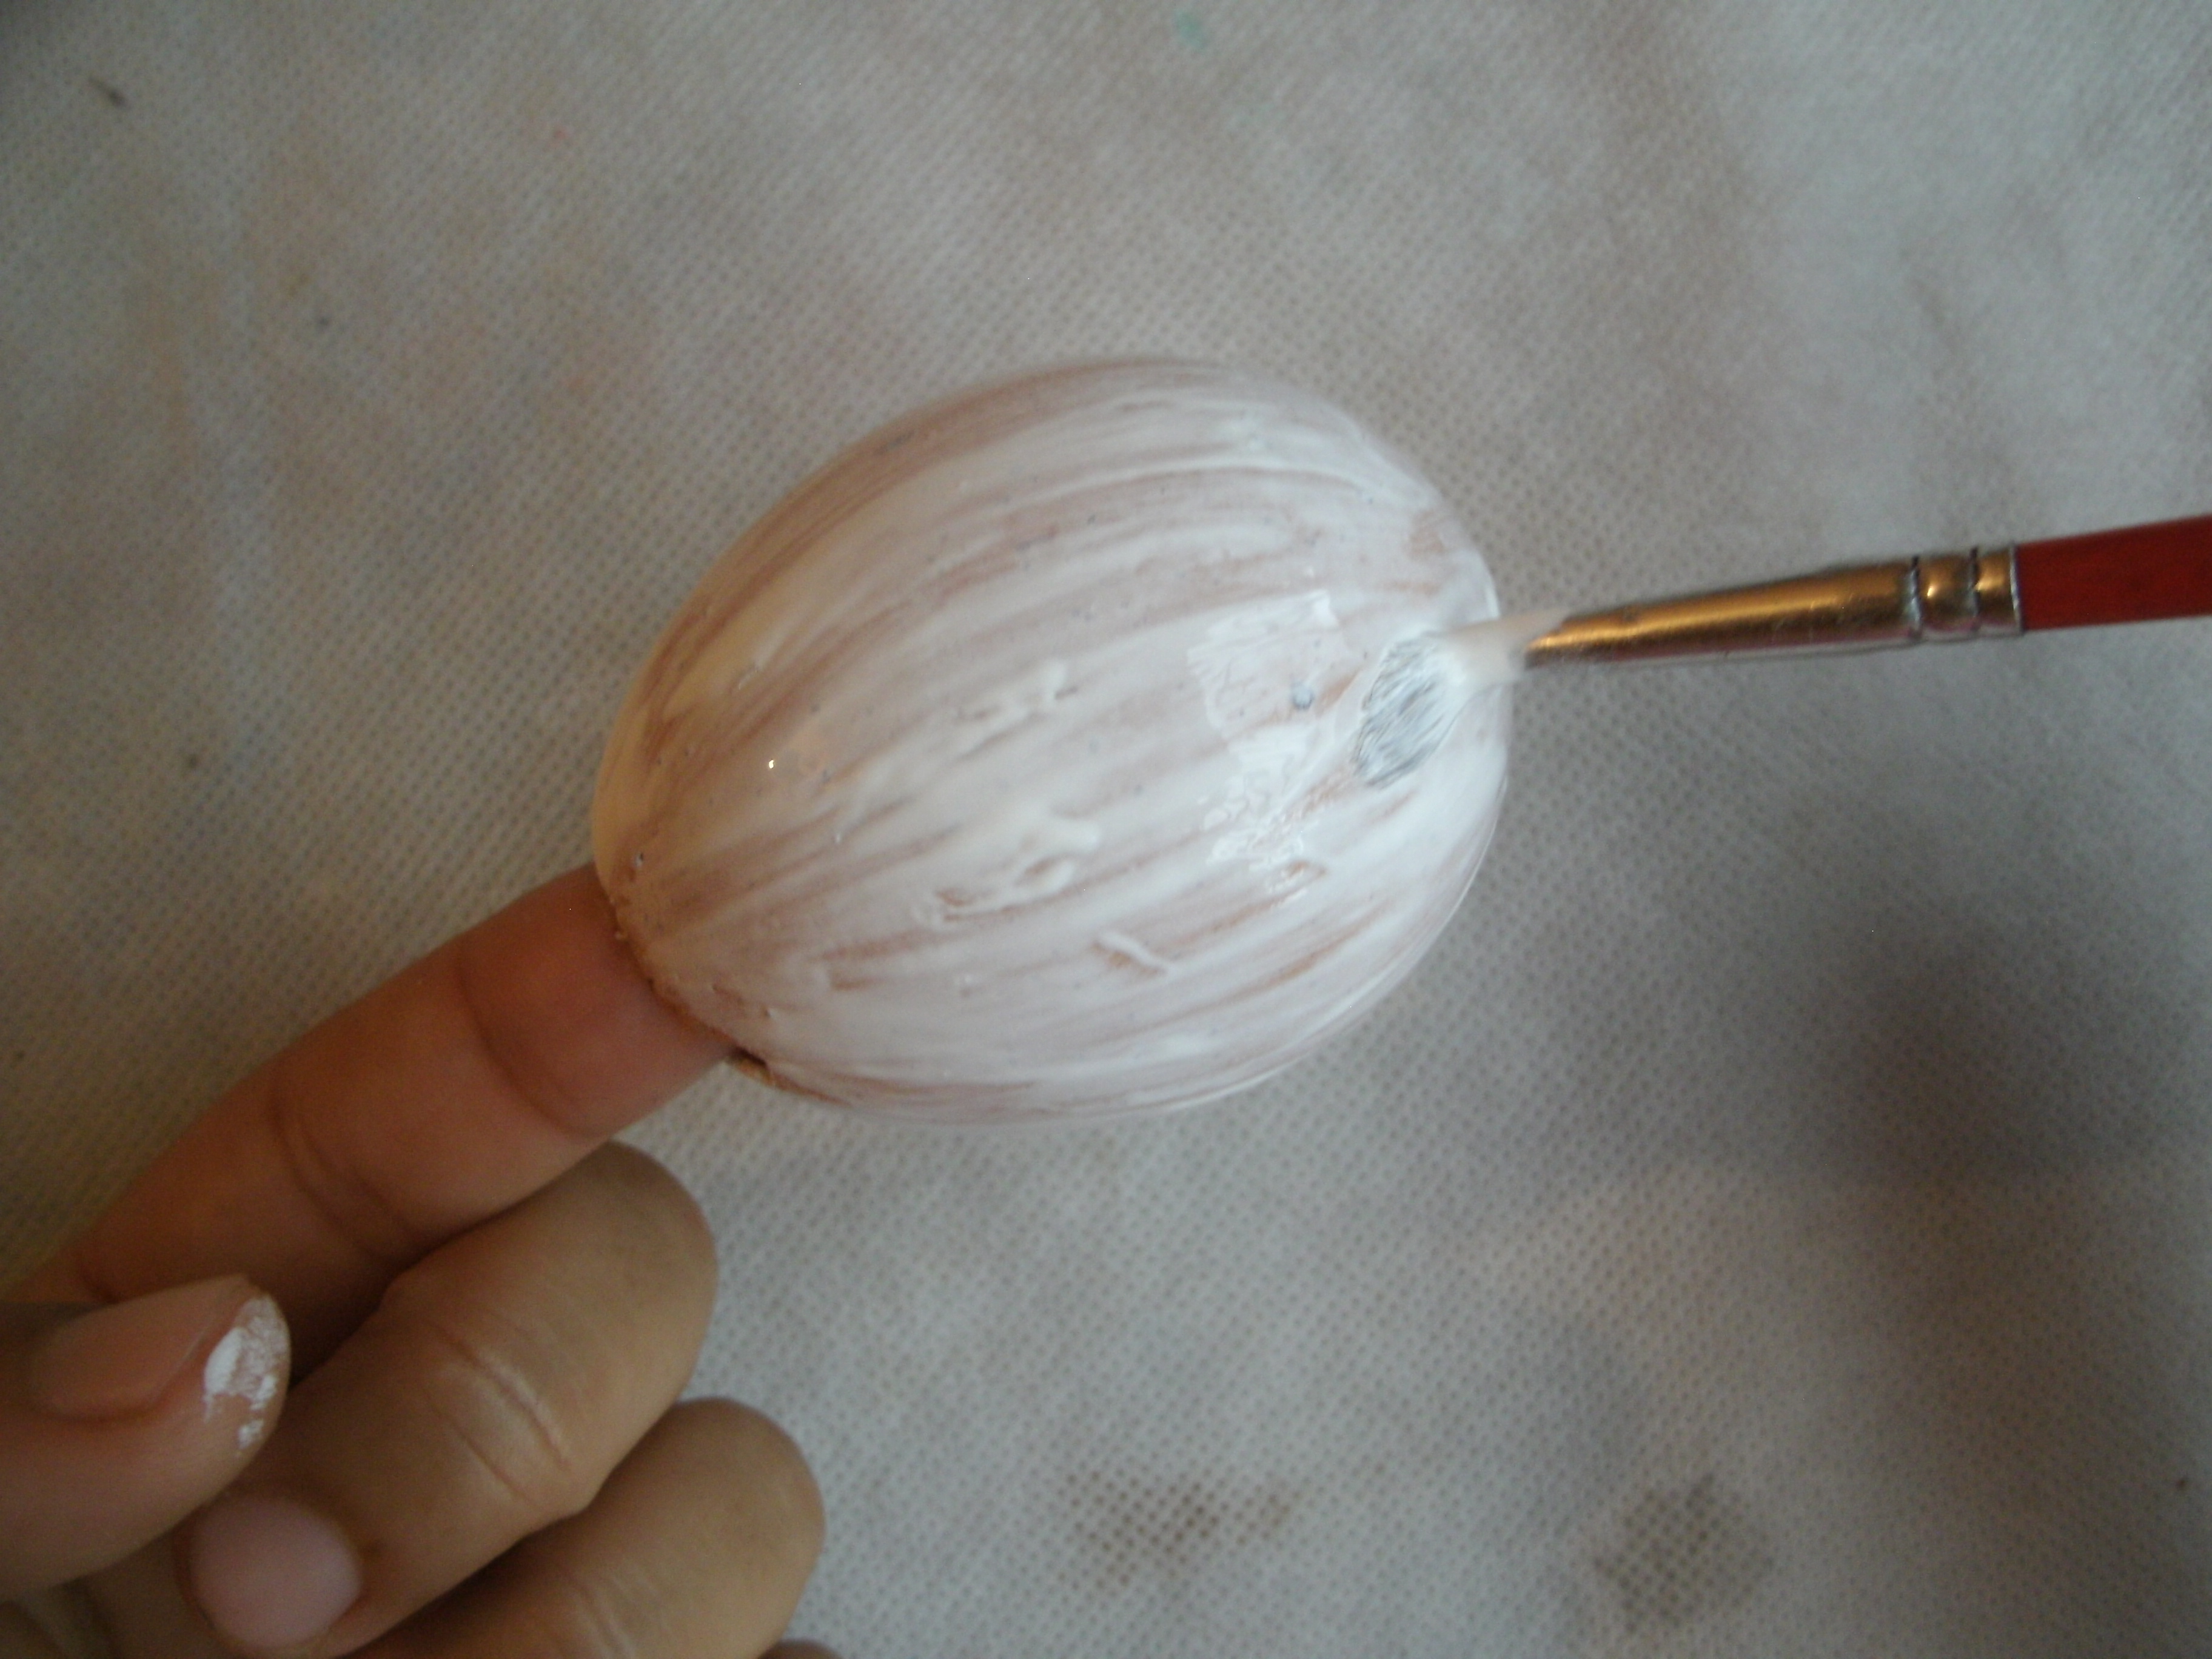
Lo primero que haremos sera limpiar muy bien la cáscara y la pintaremos con pintura blanca. Luego dejamos secar, esto pieza sera el cuerpo de el animal.
The first thing we will do is clean the shell very well and paint it with white paint. Then we let it dry, this piece will be the body of the animal.
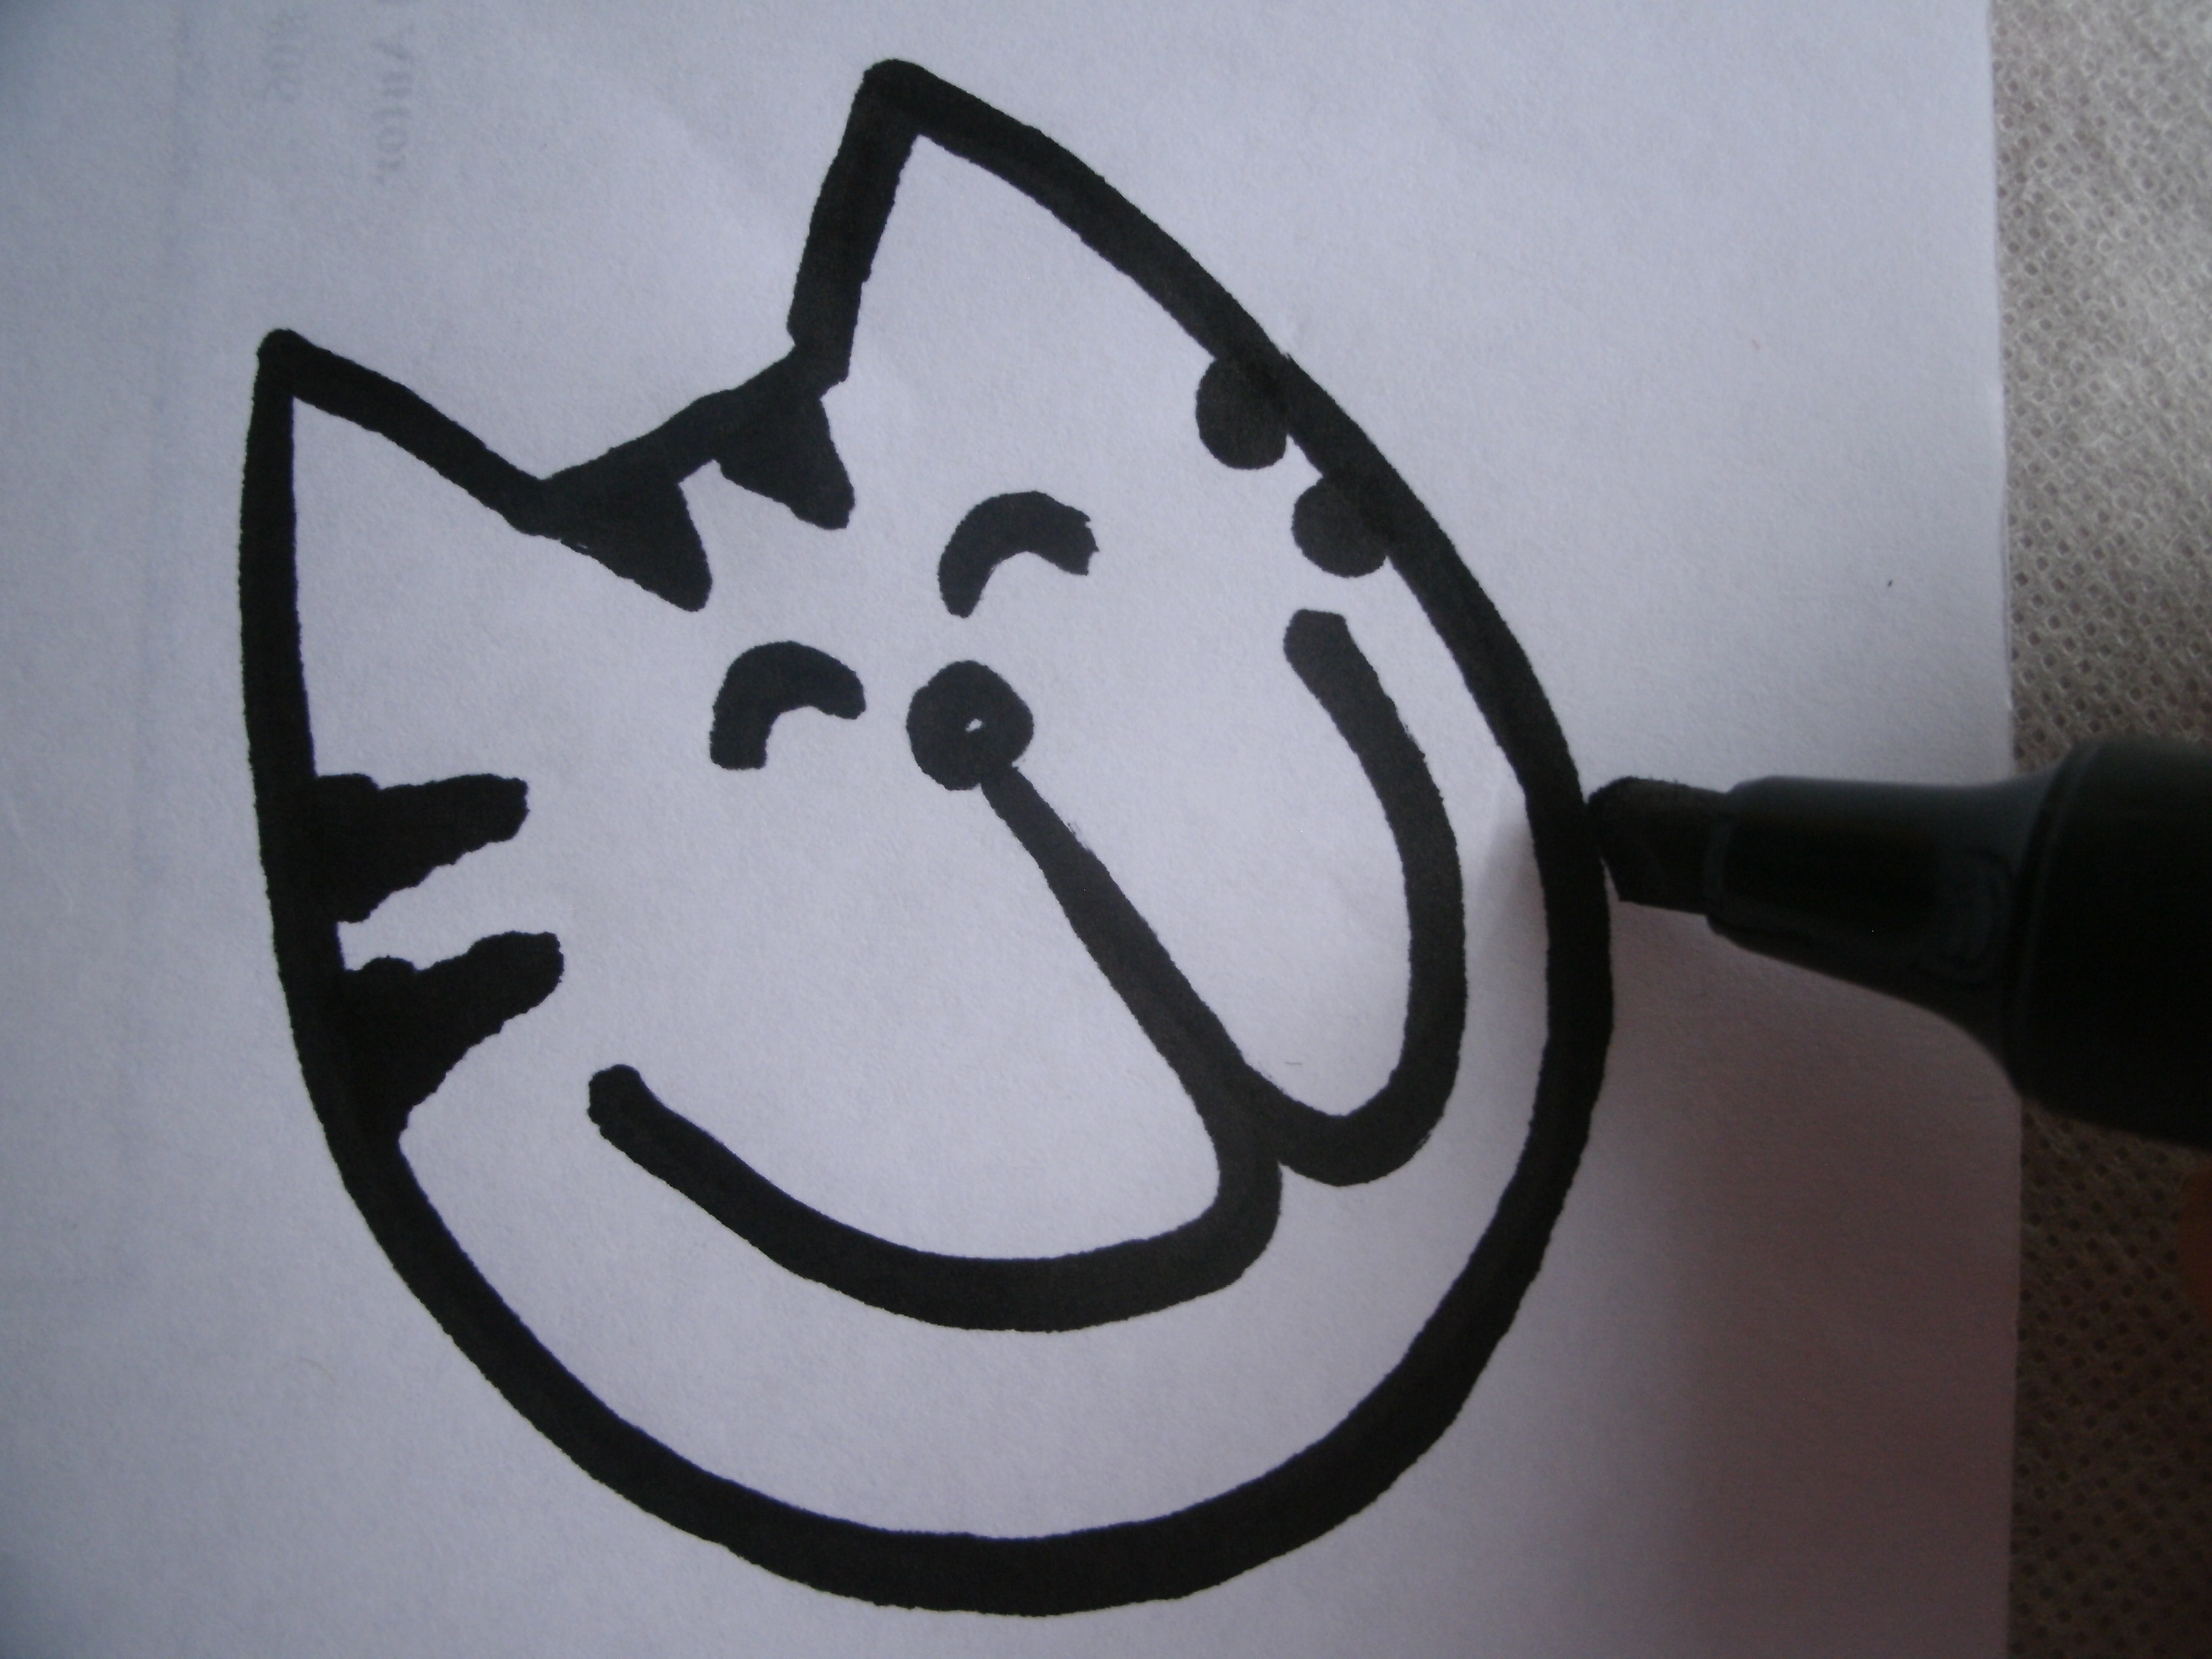
En el siguiente paso dibujamos la cara y la cola de el gato en la cartulina. Luego cortamos y separamos.
In the next step we draw the face and tail of the cat on the cardboard. Then we cut and separate.
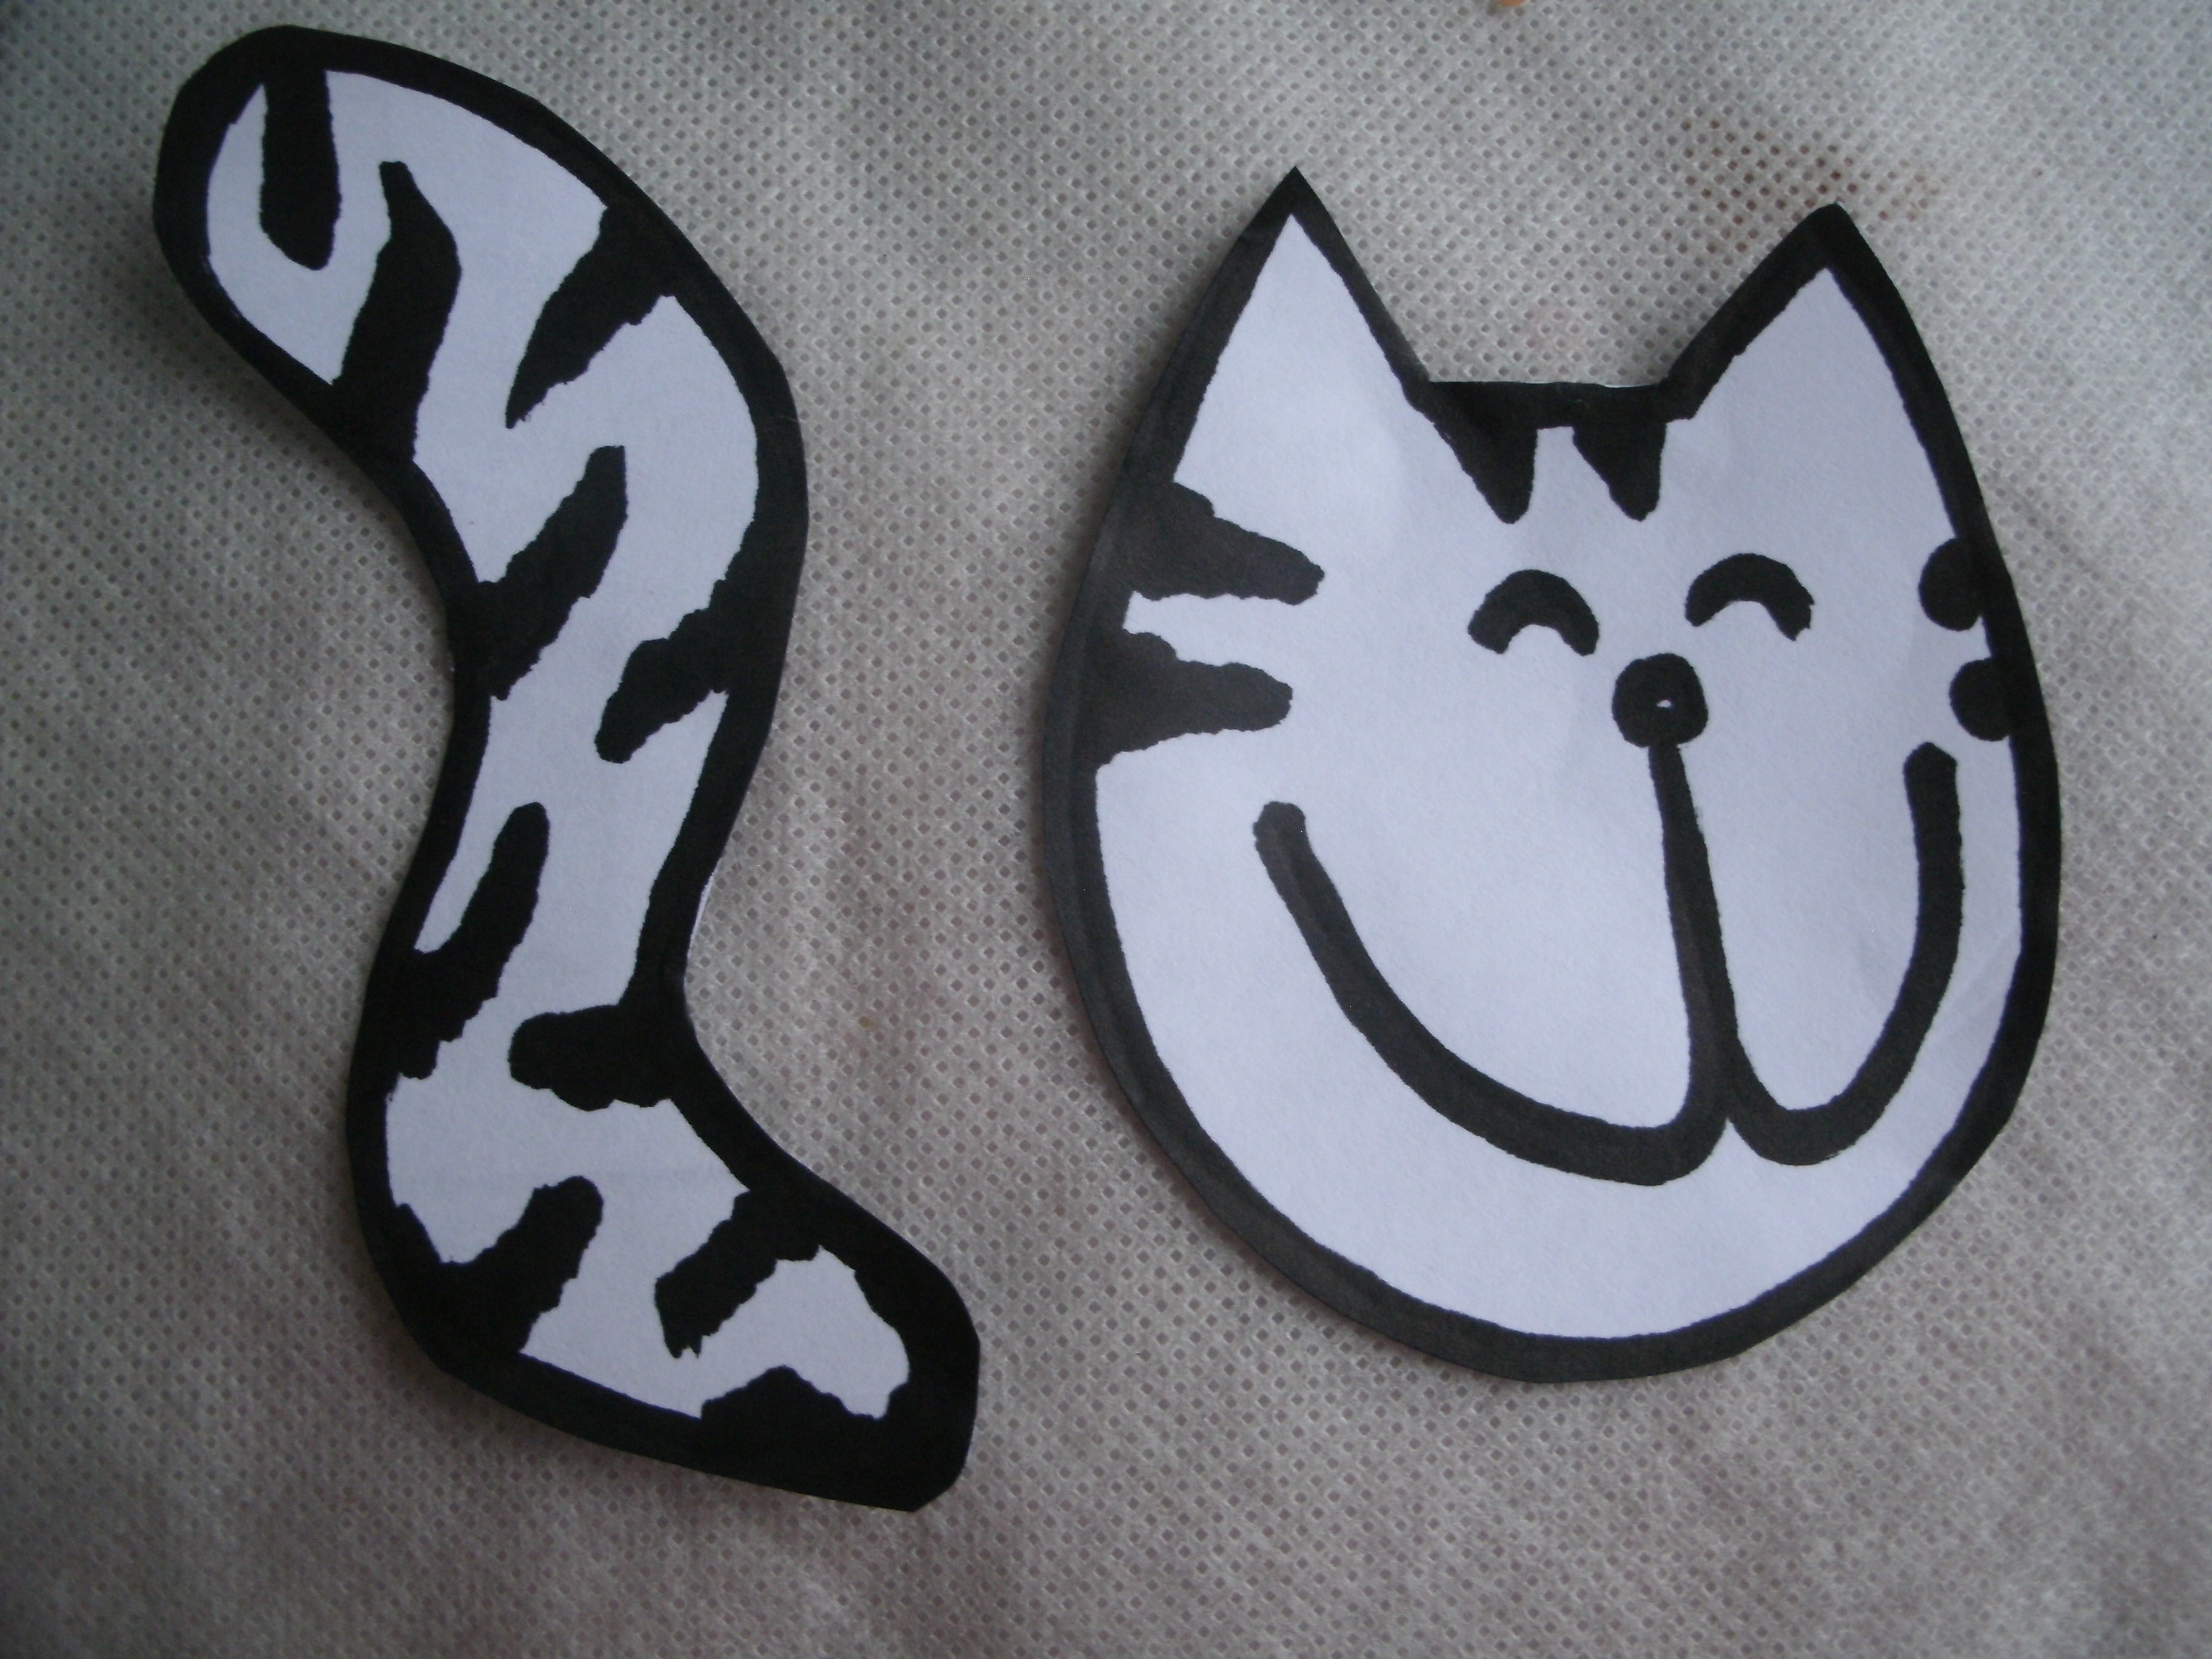
Luego dibujamos en el cartón las patas del gato y cortamos.
Then we draw the cat's paws on the paperboard and cut.
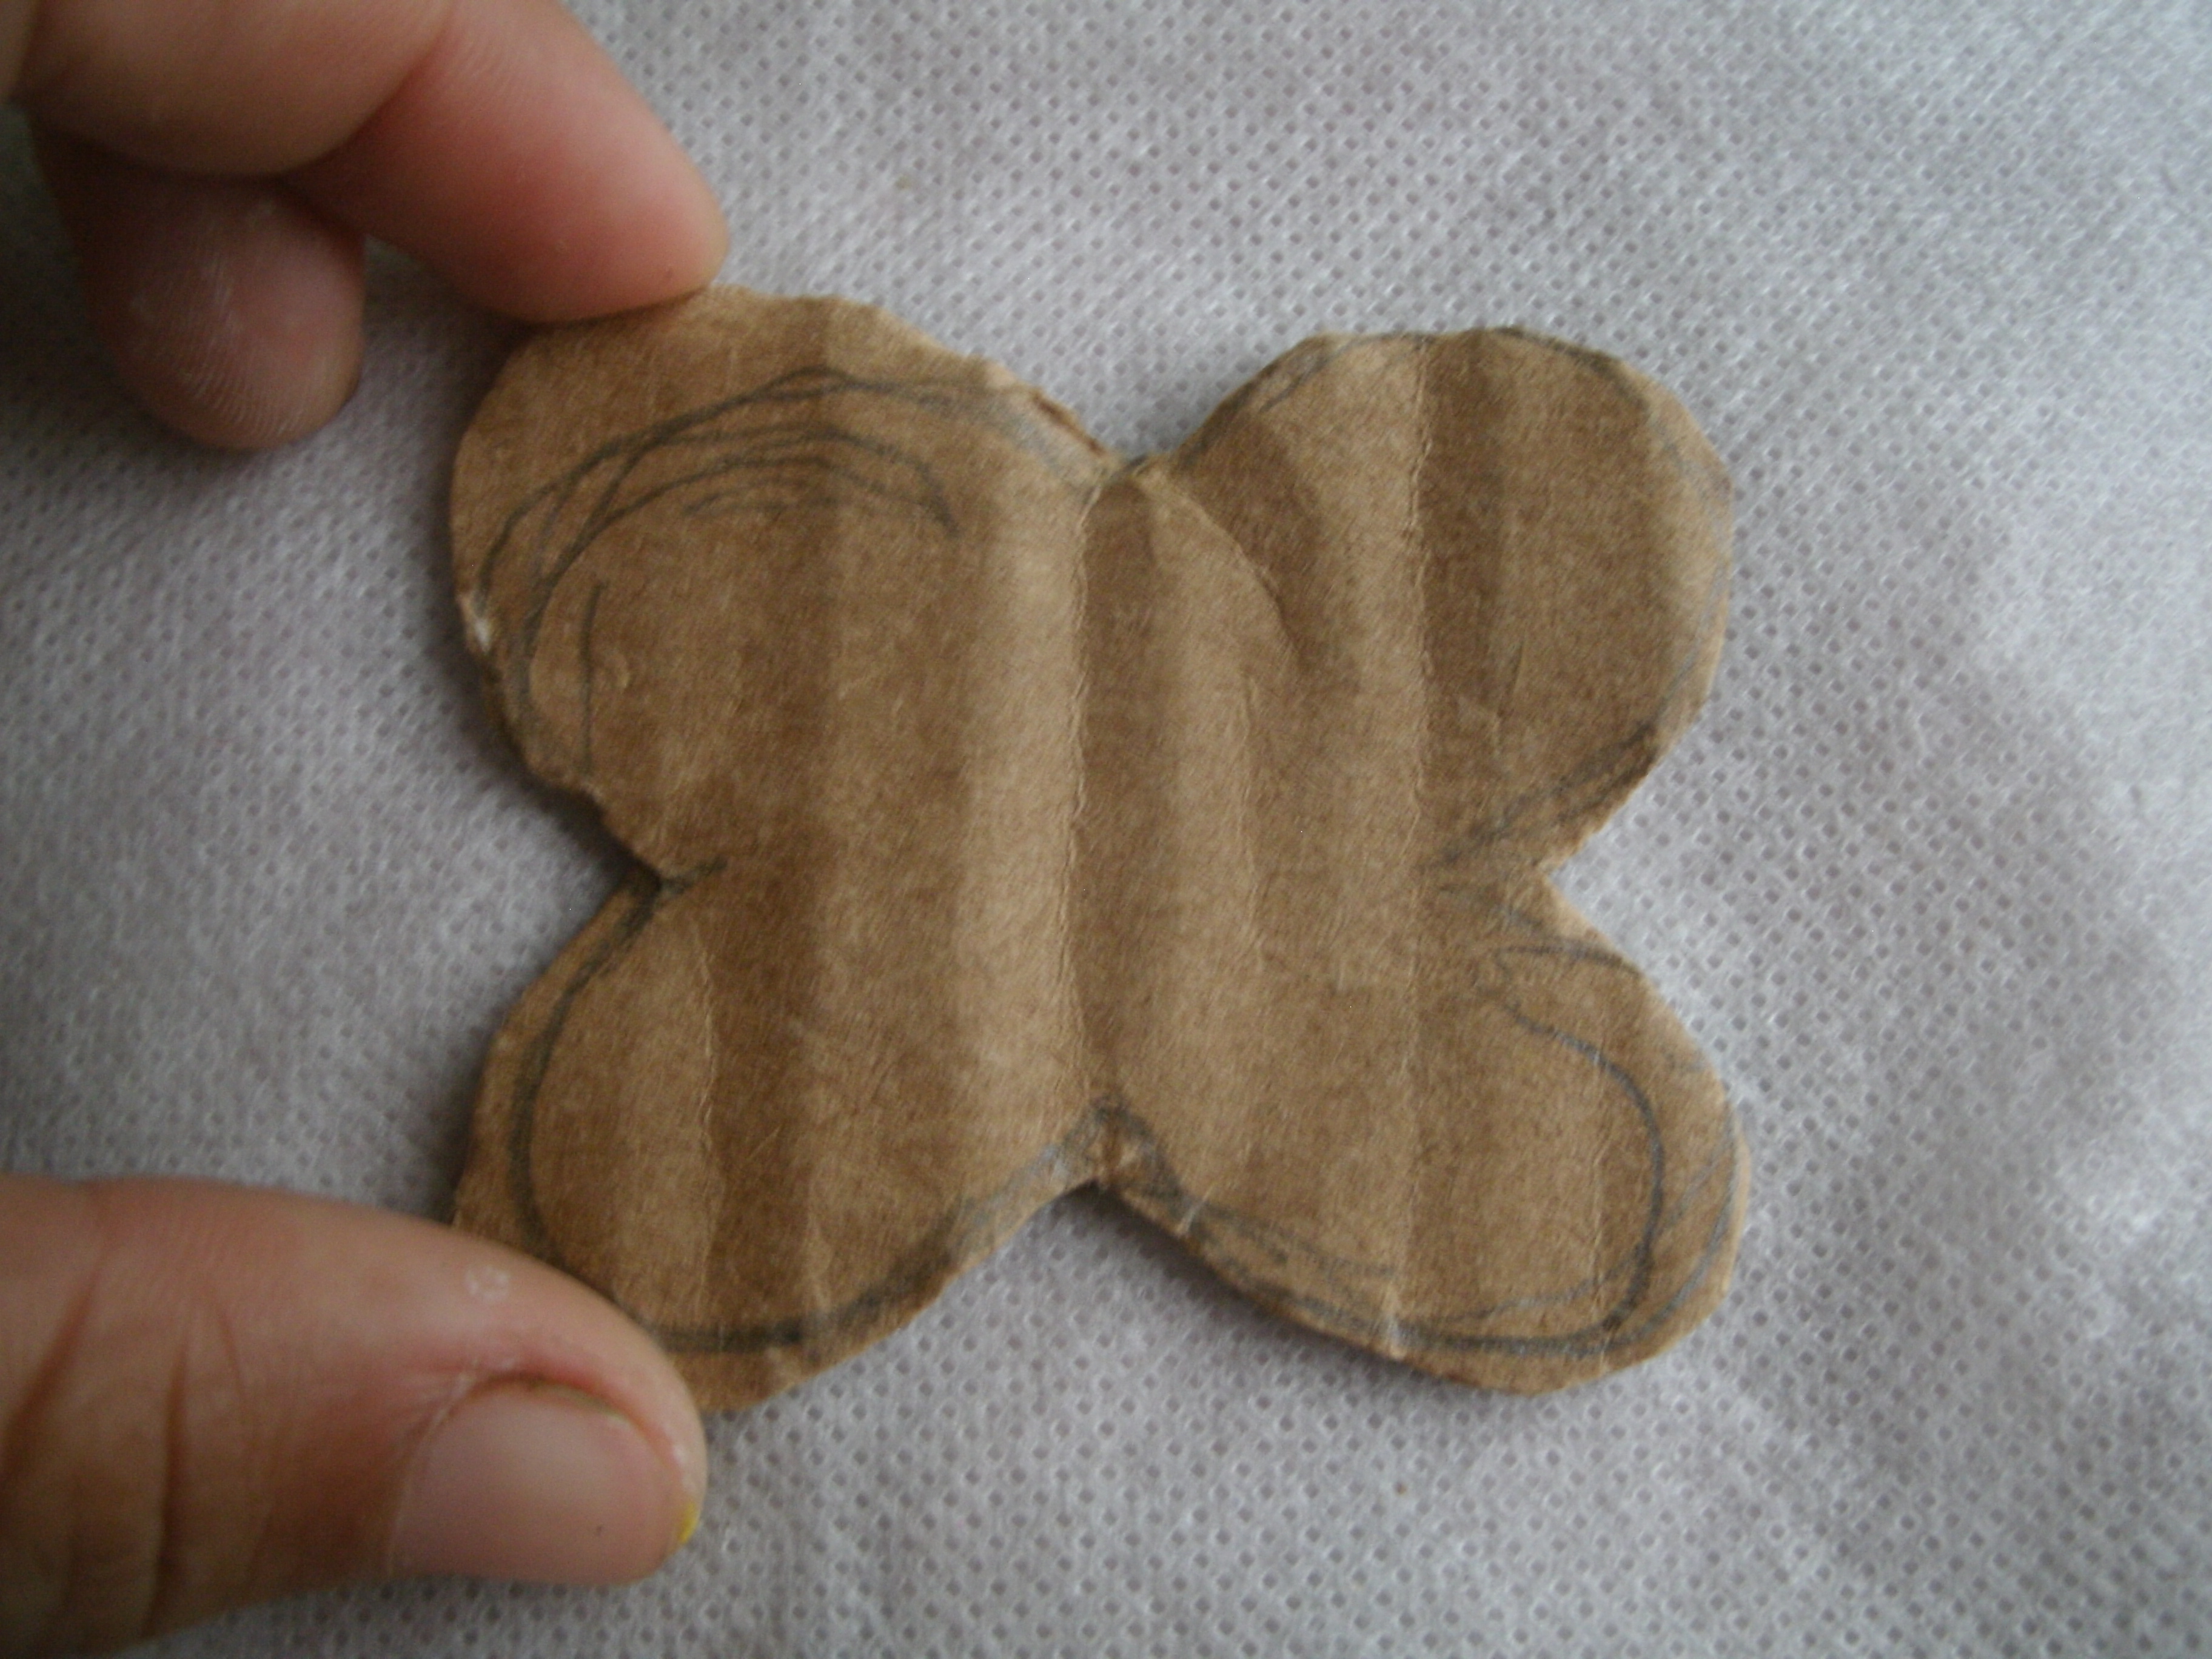
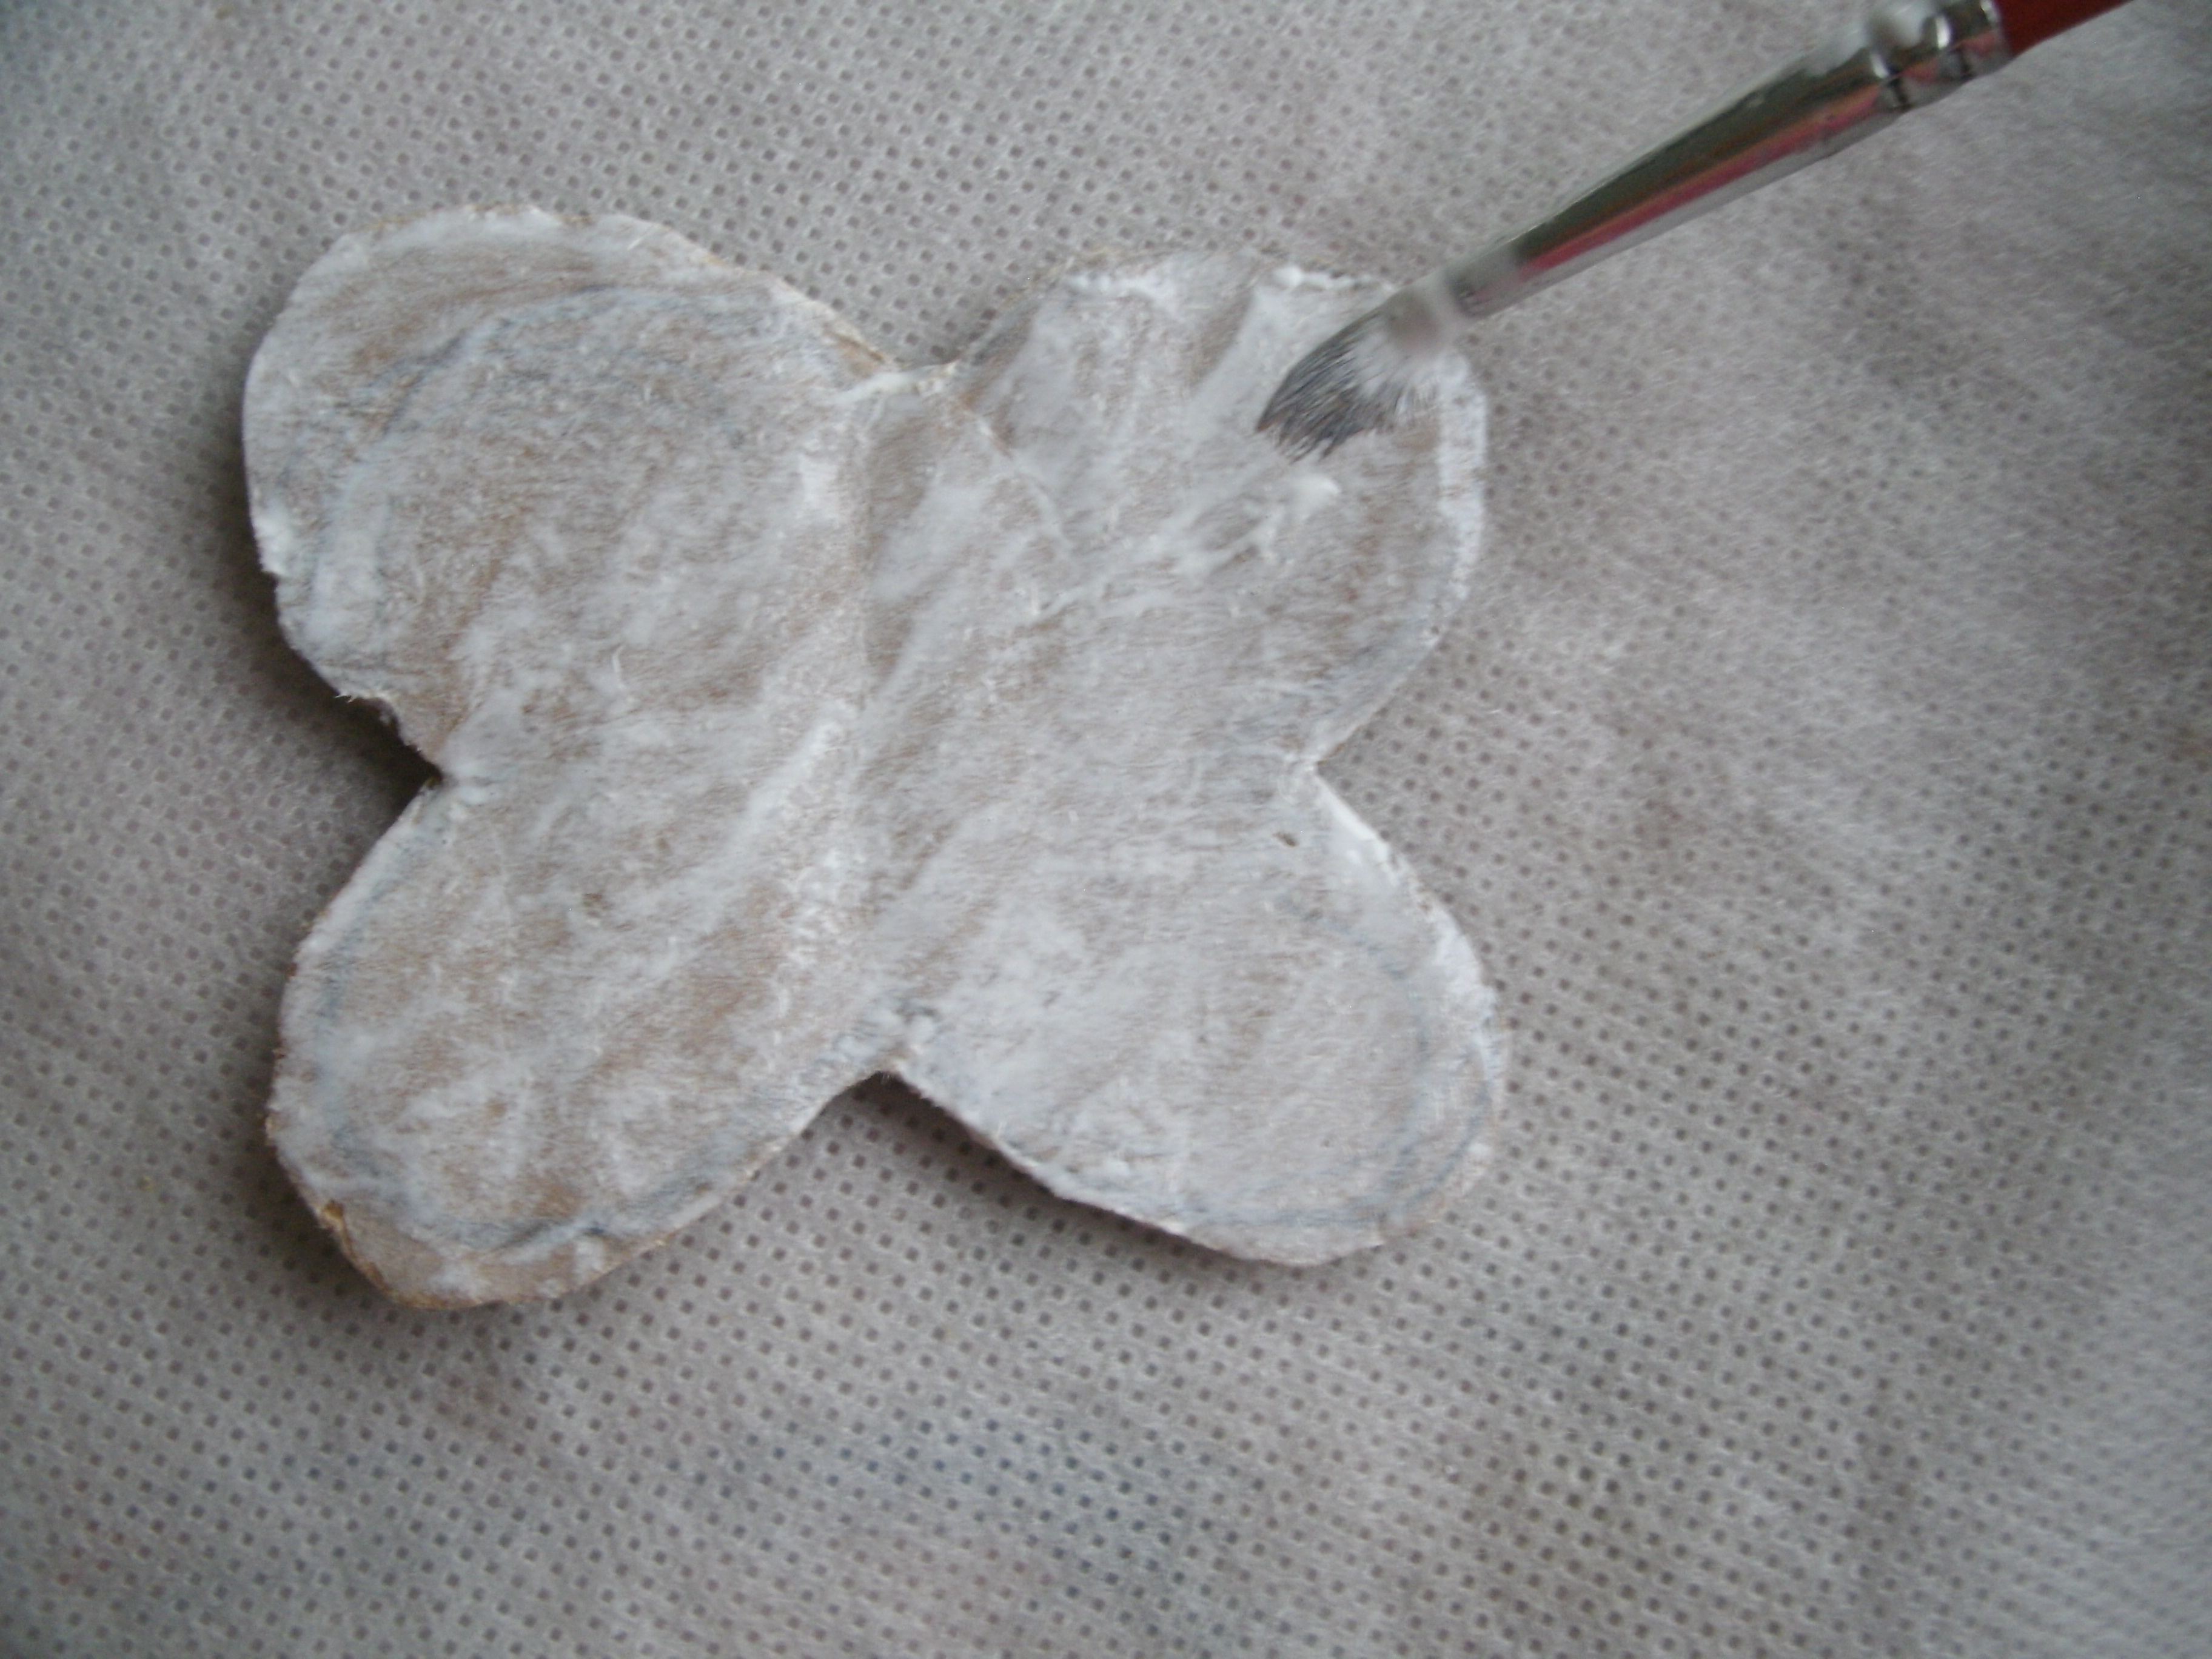
Pintamos una vez mas con pintura blanca y dejamos secar.
We paint one more time with white paint and let it dry.
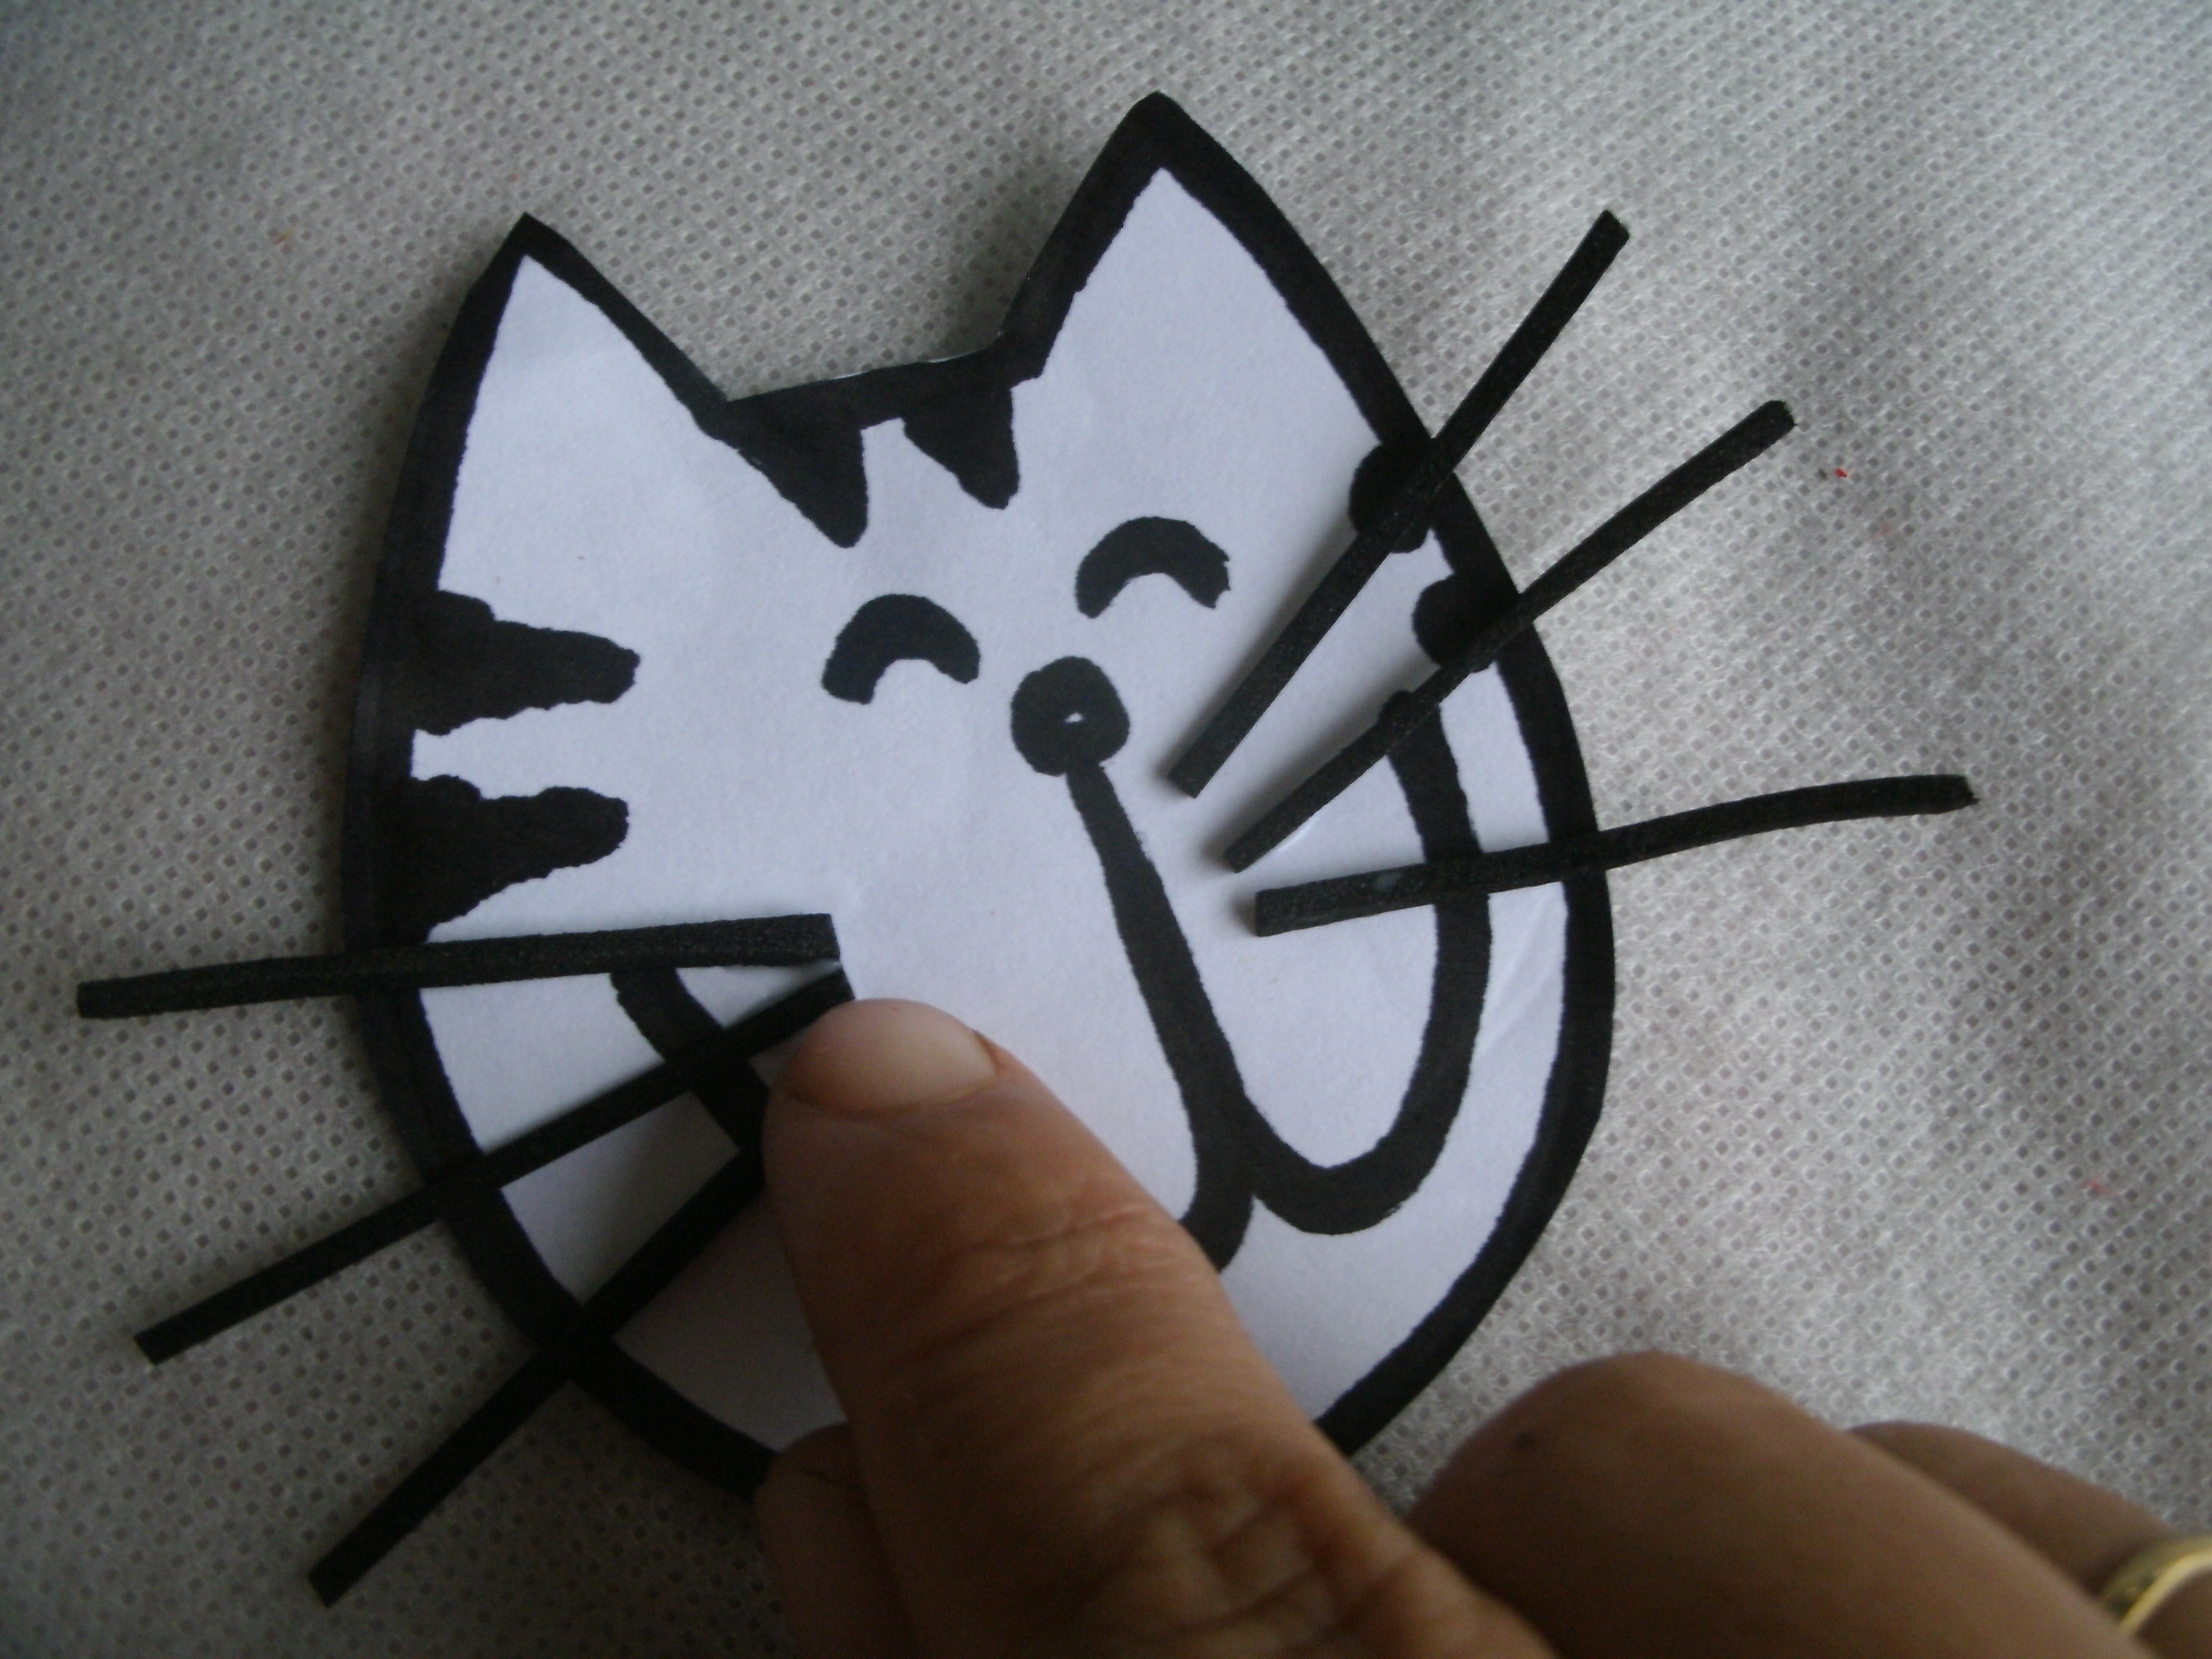
Seguidamente, cortamos seis finas tiras de foami negro para los bigotes de el gato y pegamos a la cara.
Next, we cut six thin strips of black foam for the cat's whiskers and glued to the face.
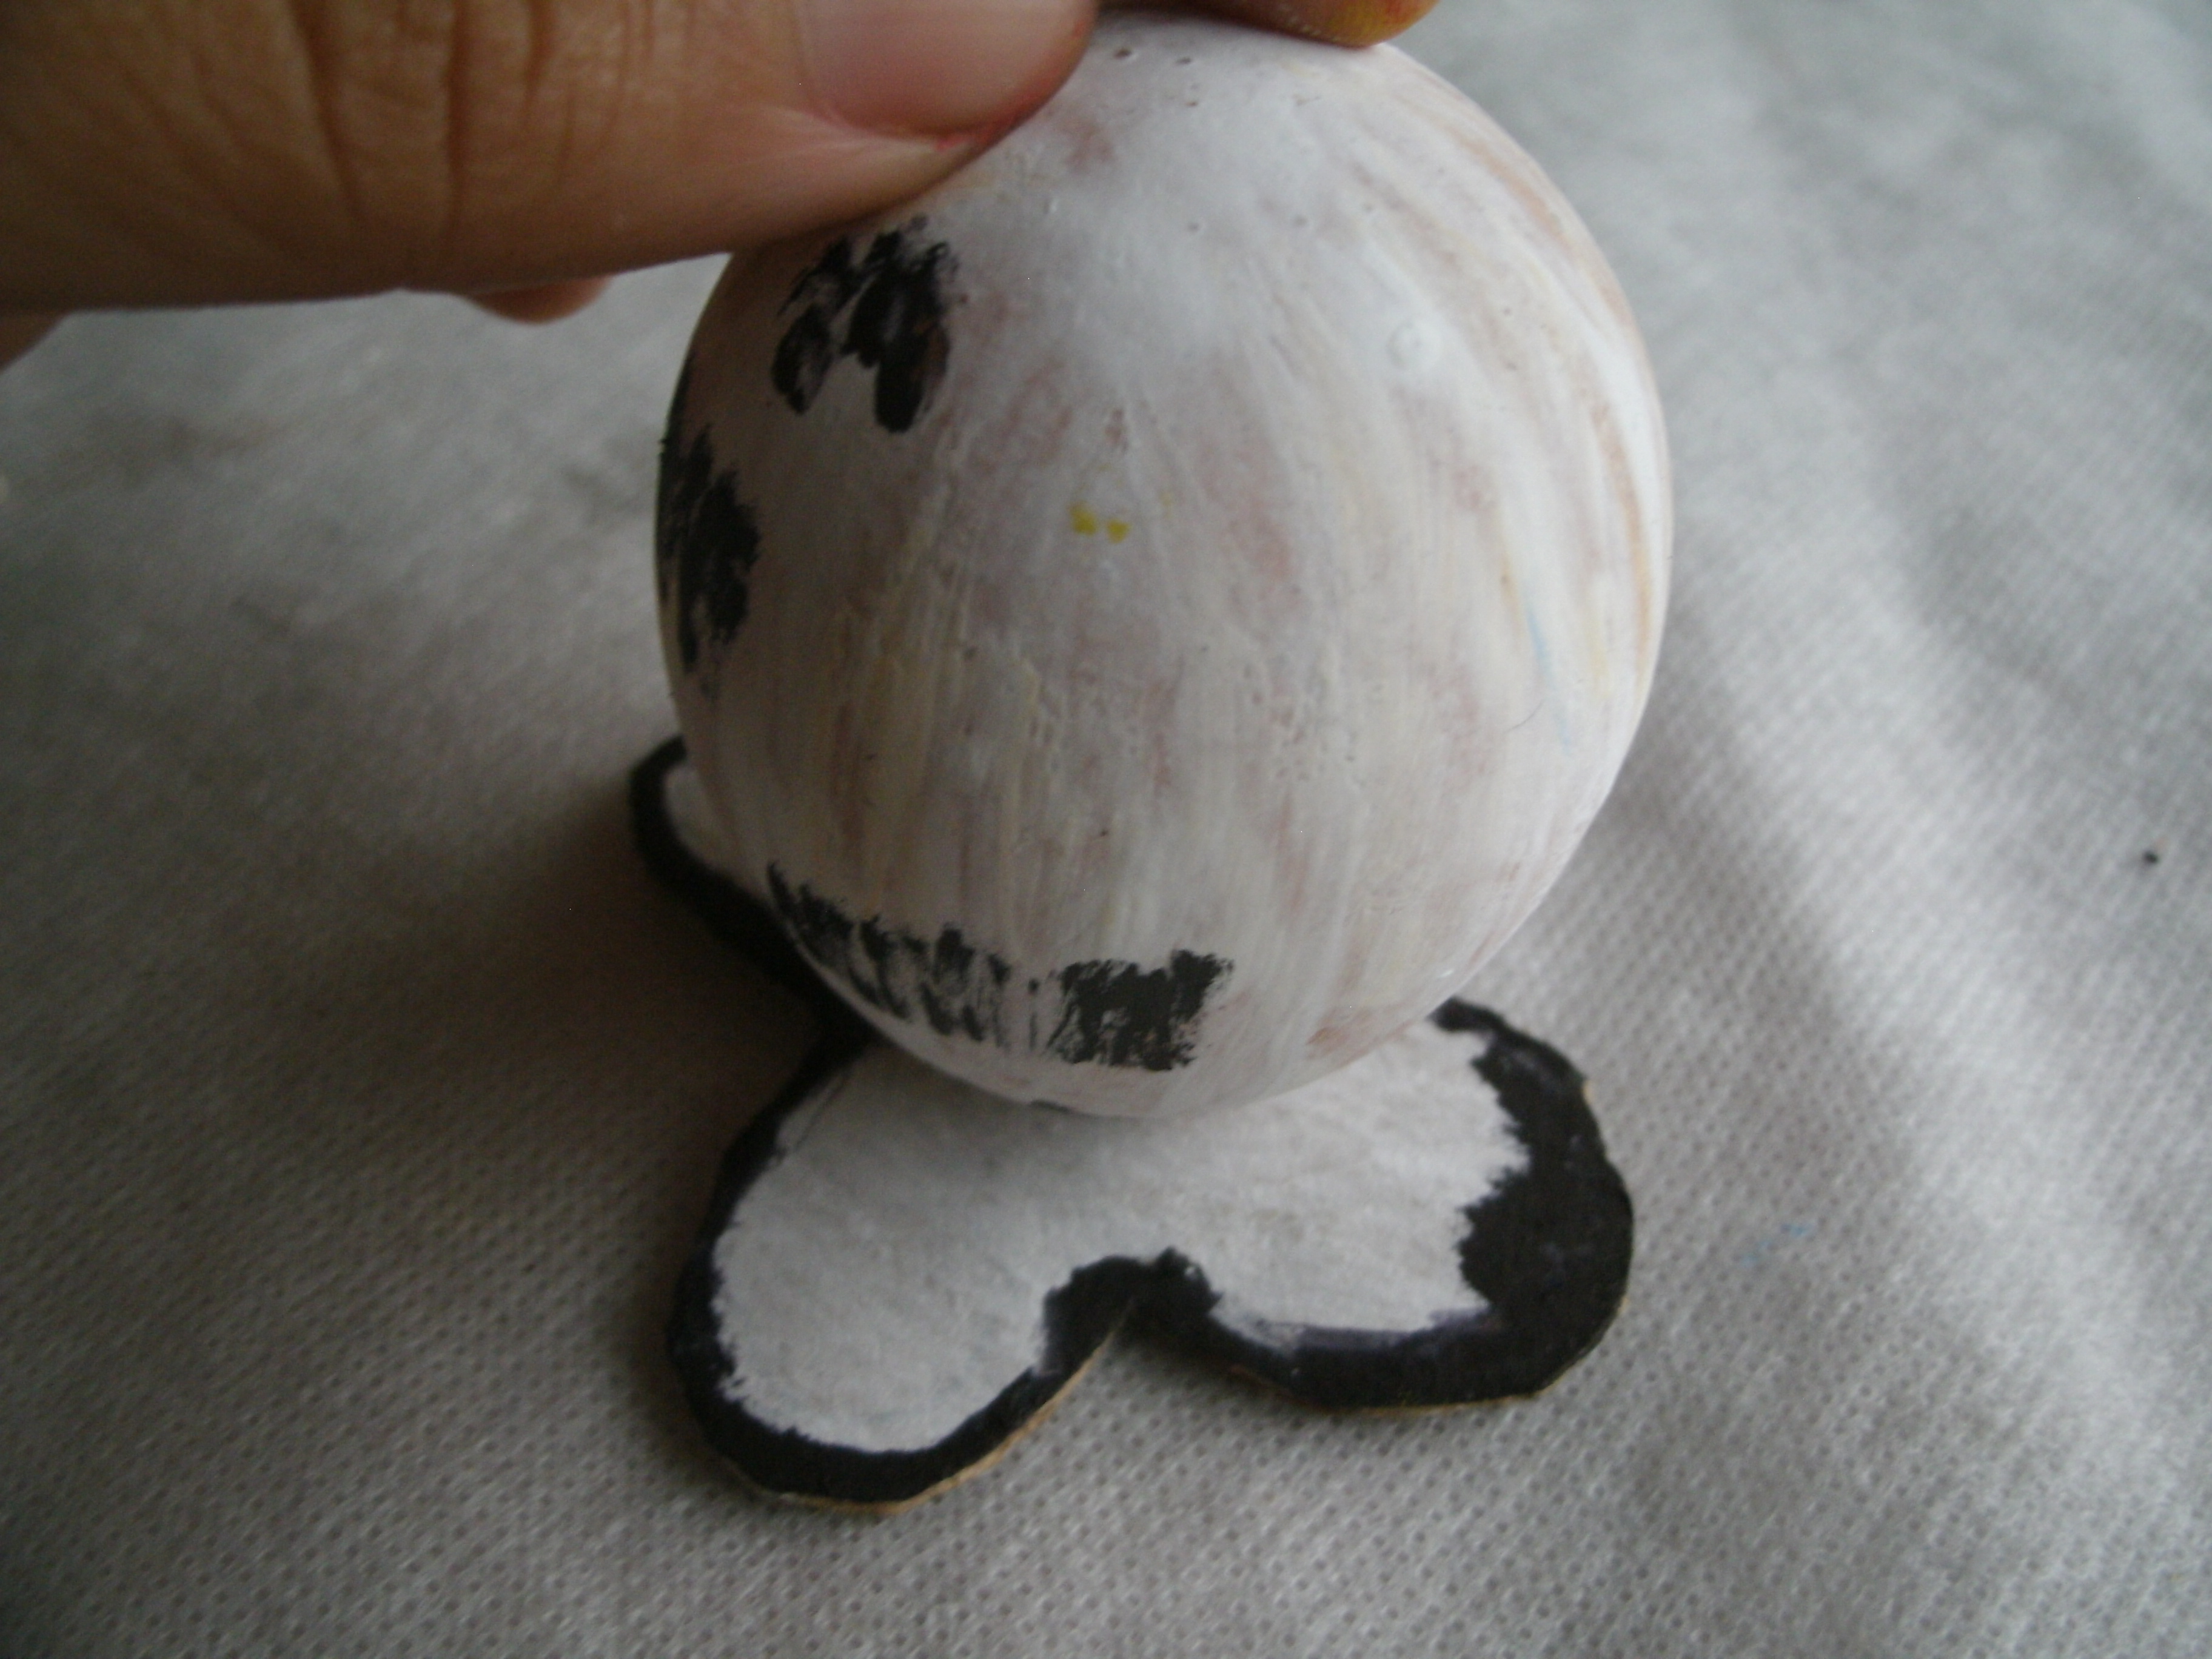
Una vez tengamos todas la partes, pegamos la cáscara por el agujero que hiciste para sacar el contenido del huevo, a las patas de cartón que hicimos anteriormente, esto ayudara a que el huevo se sostenga.
Once we have all the parts, we glue the shell through the hole you made to remove the contents of the egg, to the cardboard legs that we made, this will help the egg to hold.
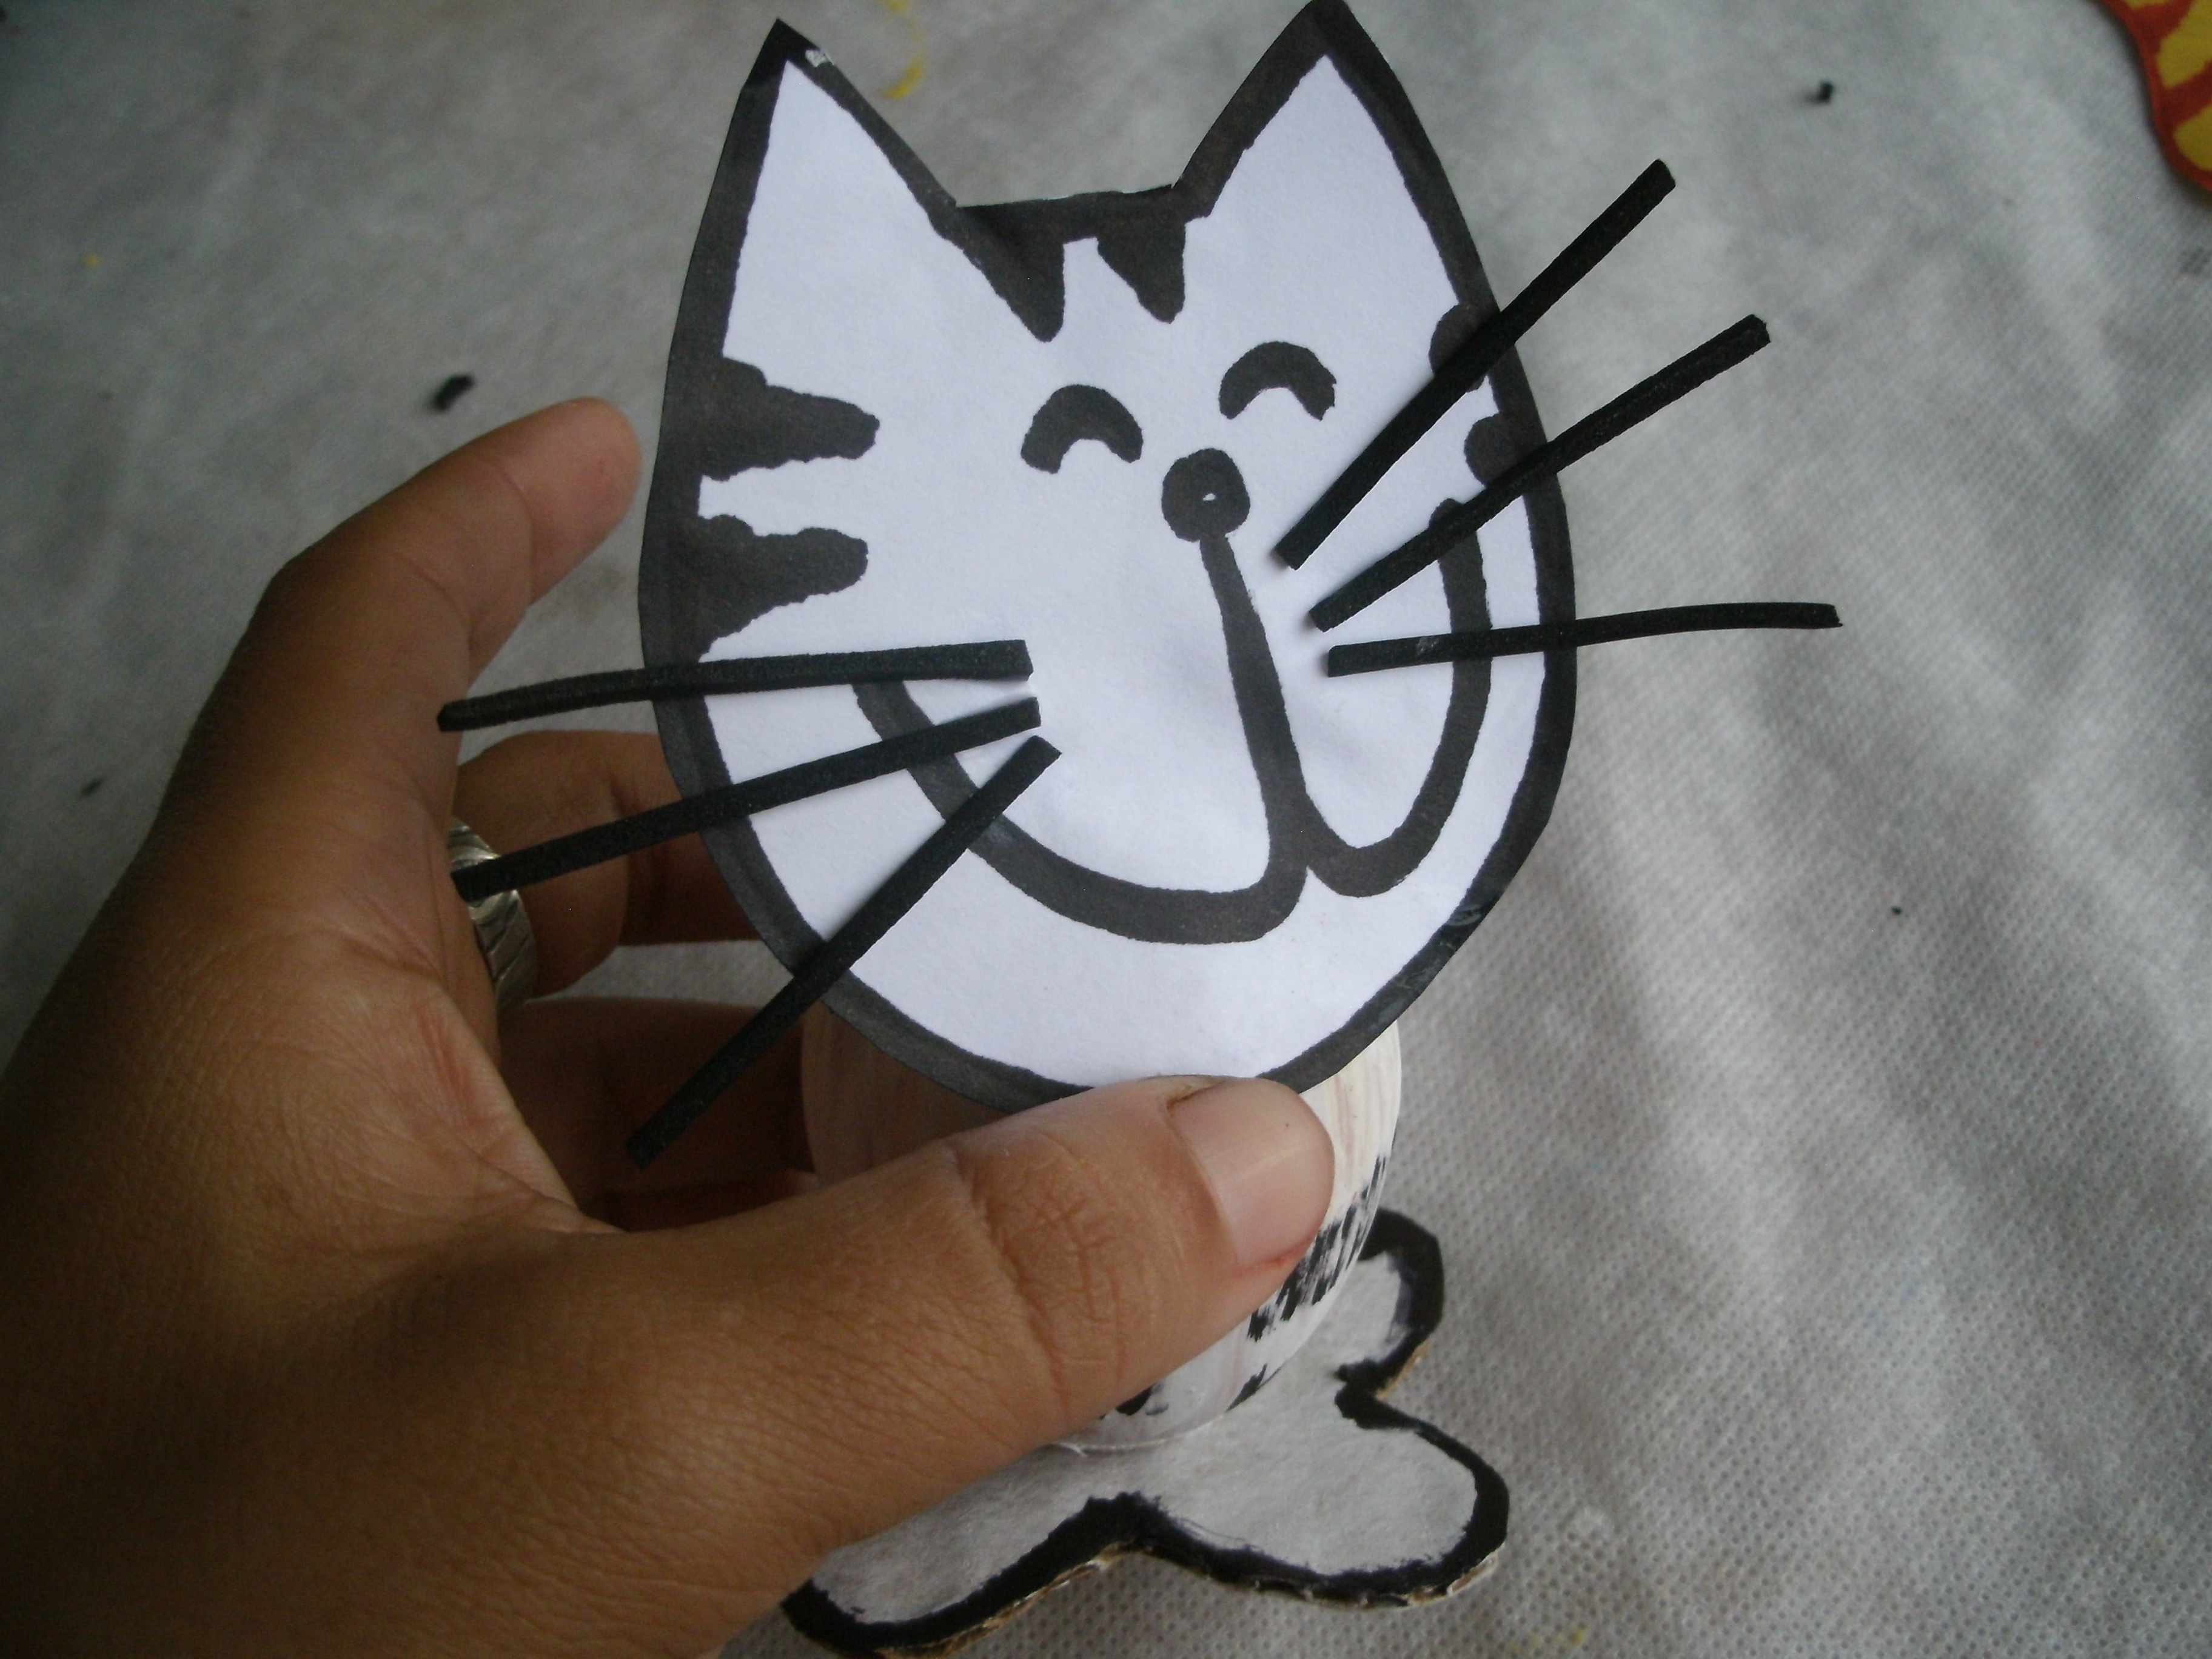
Y en el otro extremo pegamos la cara de el gato.
And on the other end we glue the face of the cat.
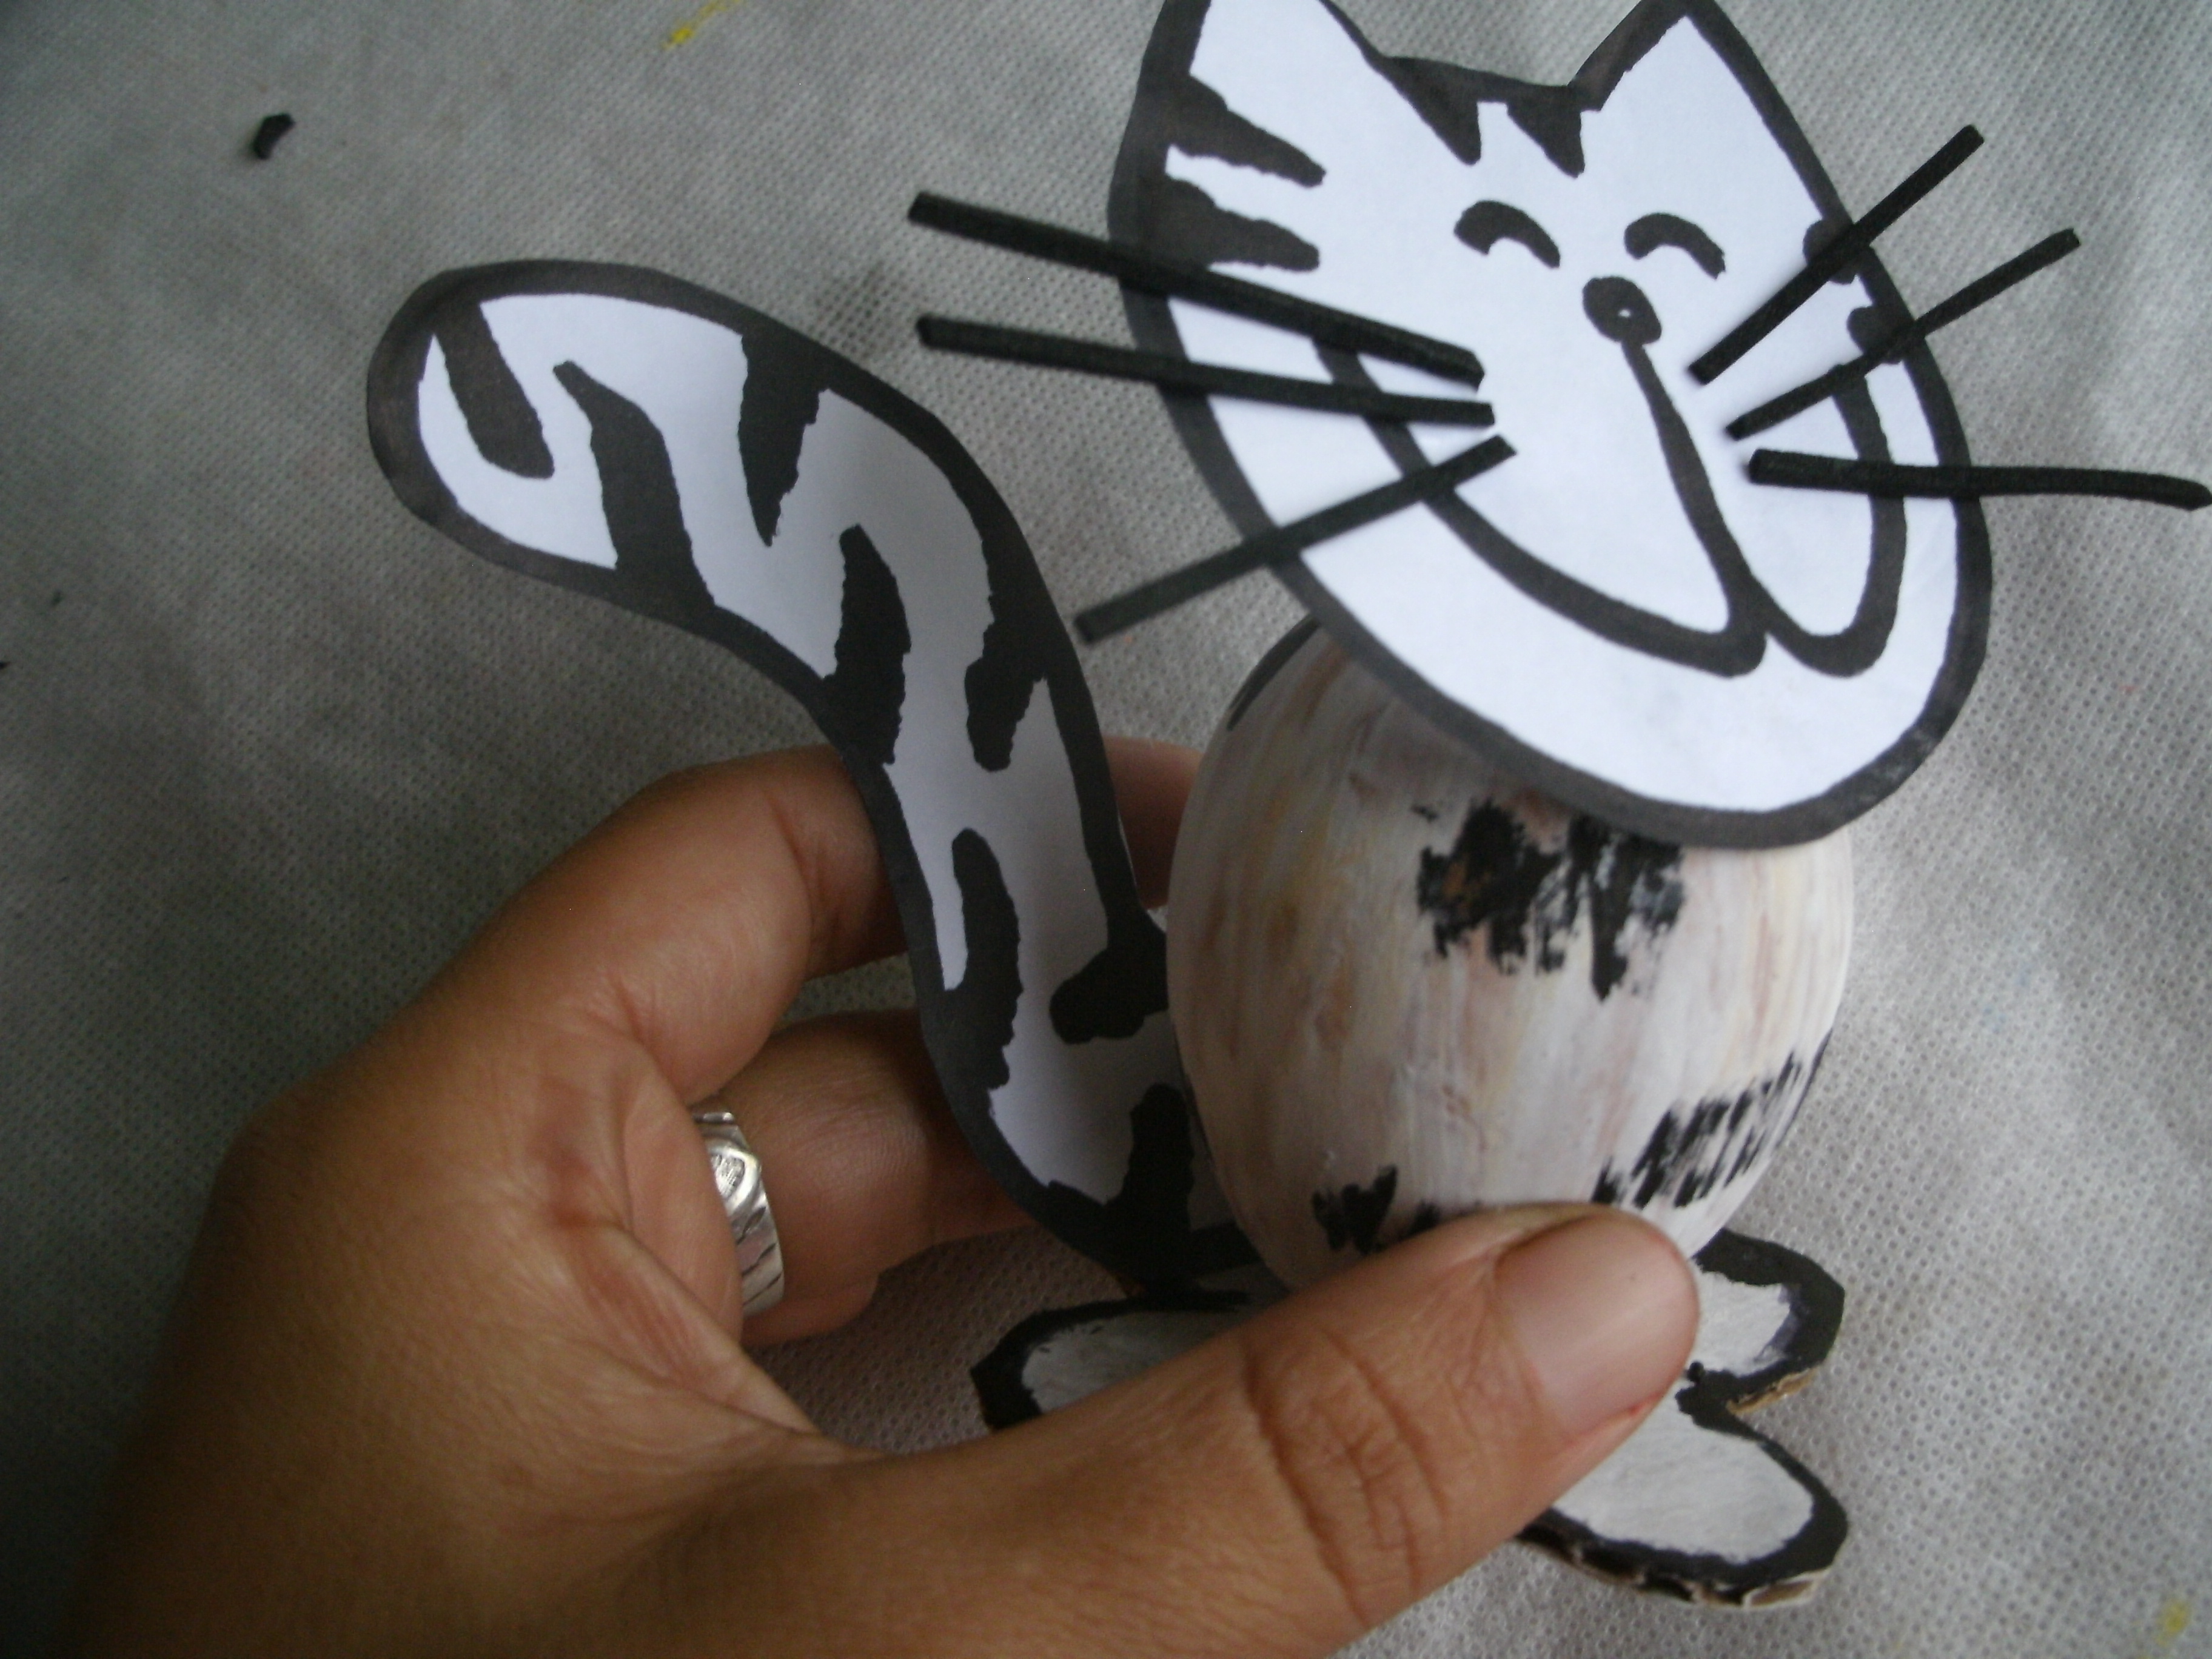
Finalmente pegamos la cola en la parte posterior de la cáscara.
Finally we glue the tail on the back of the shell.
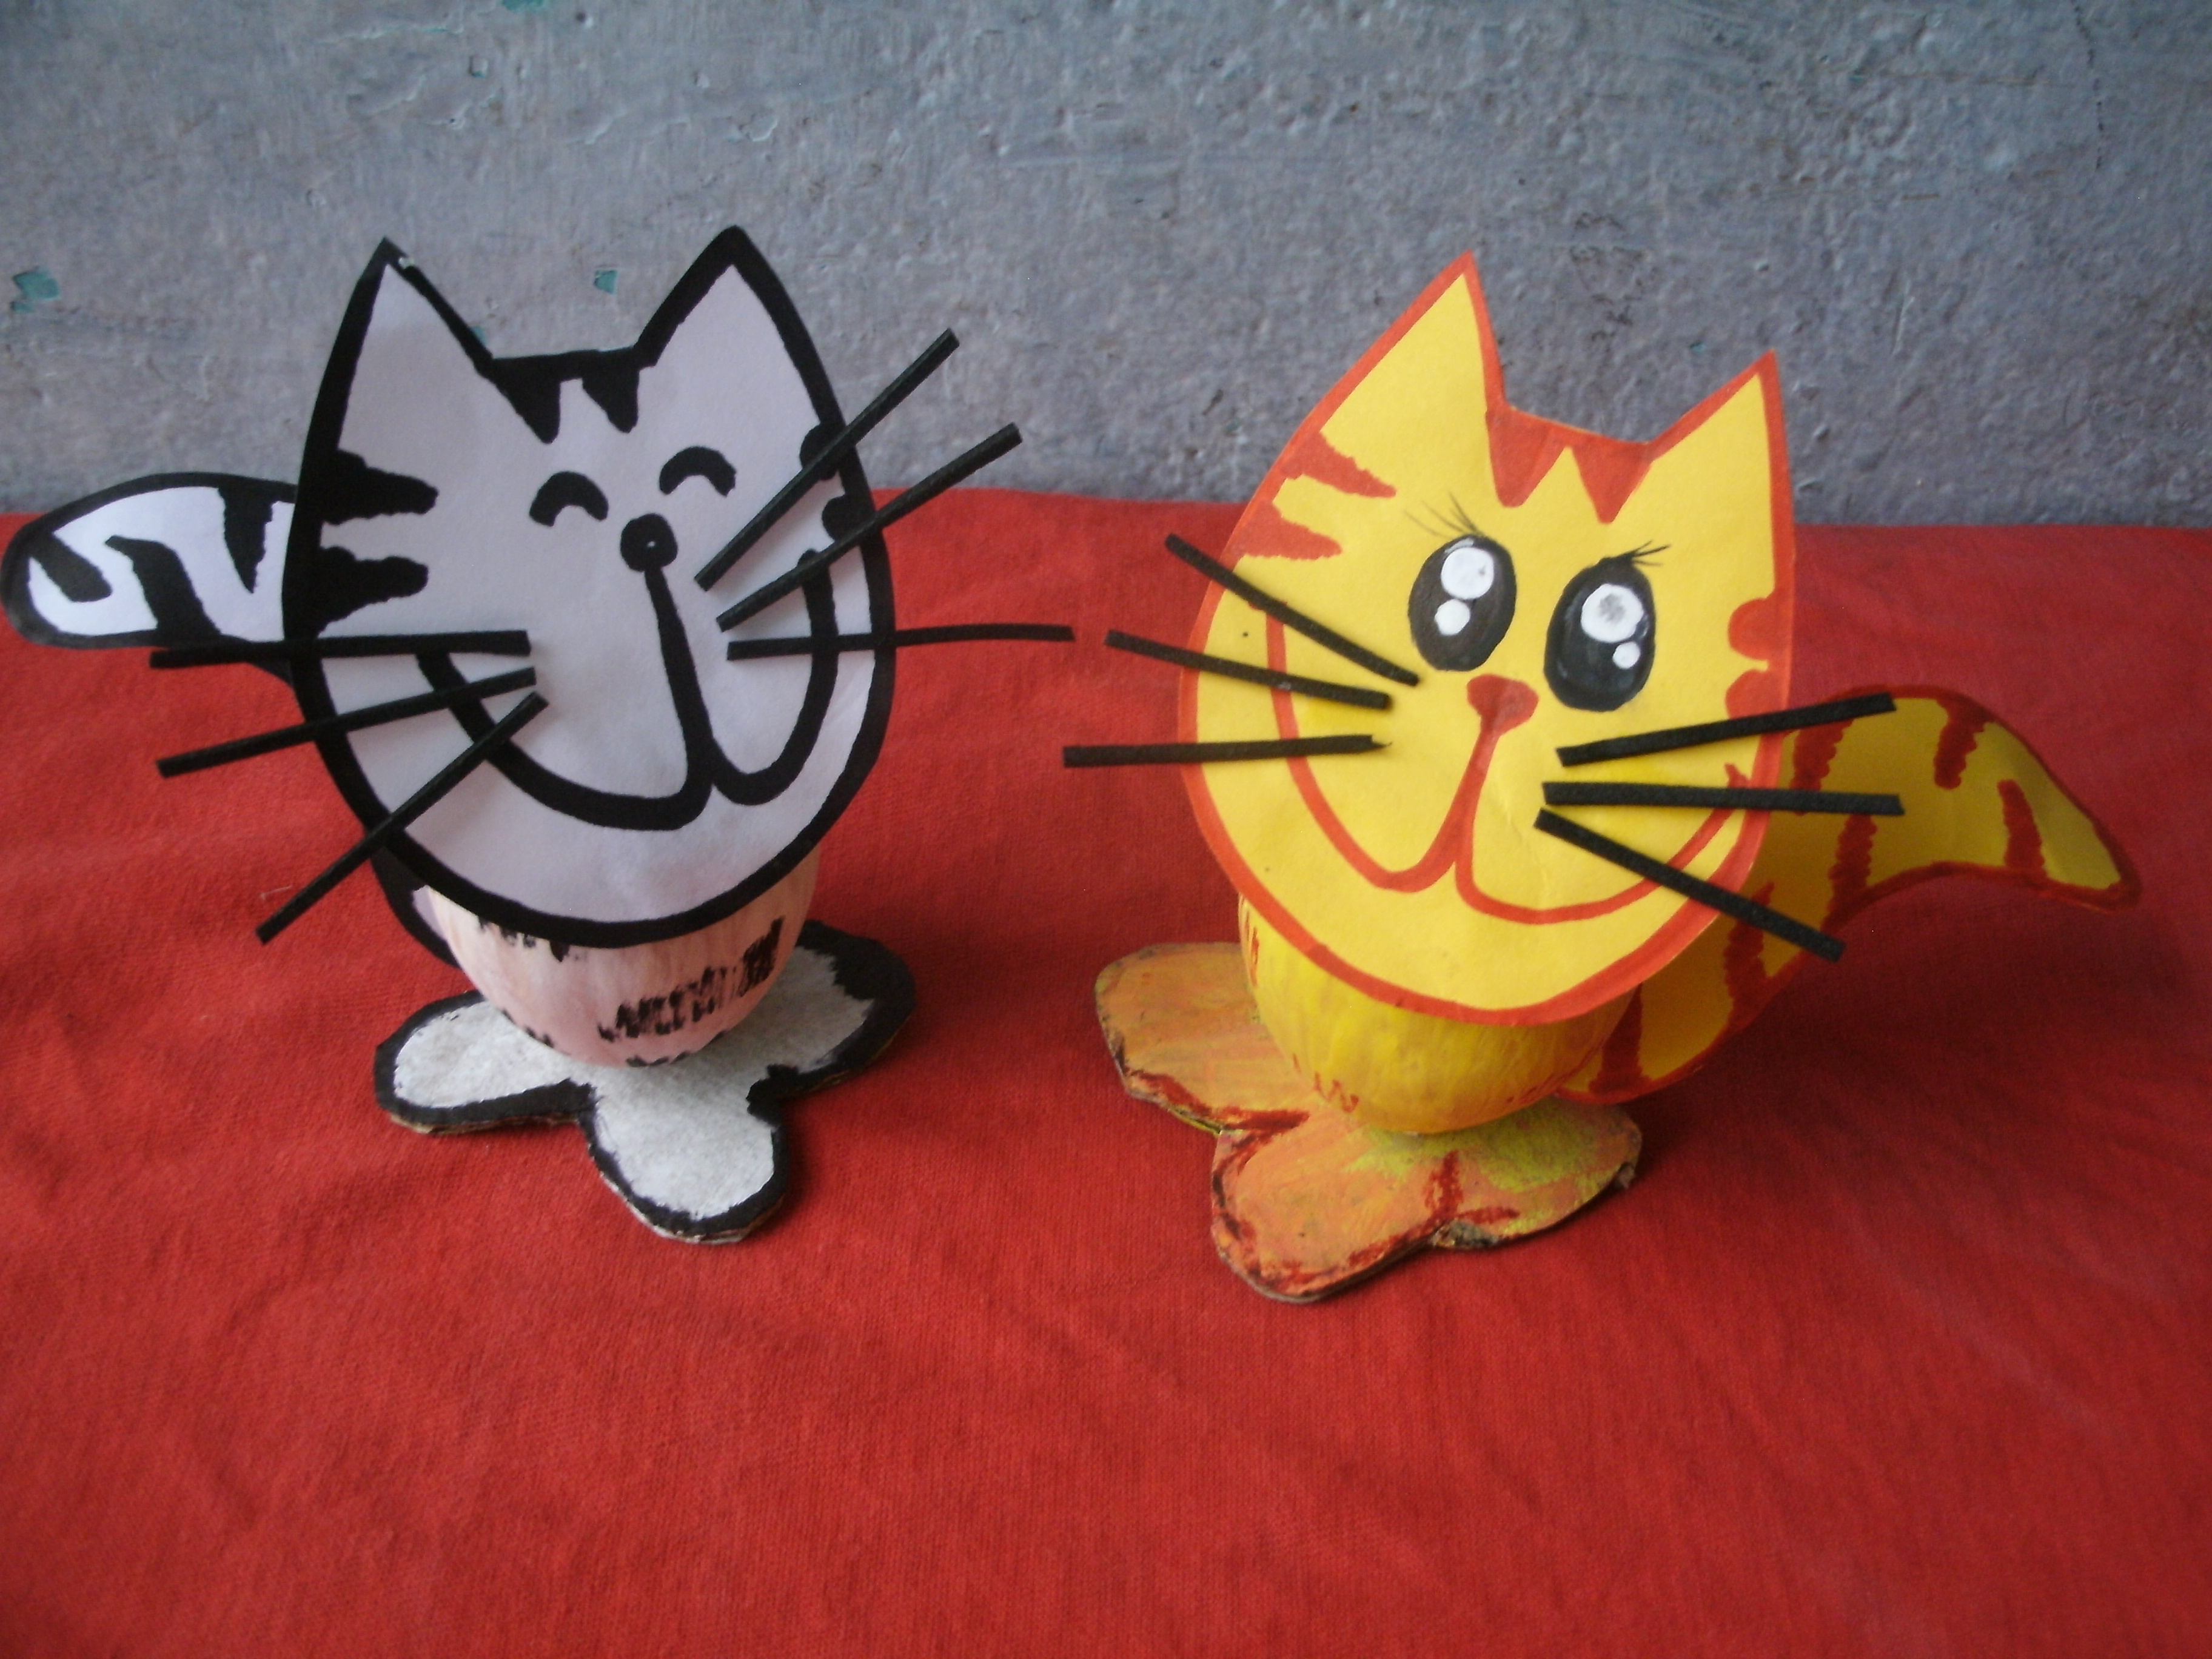
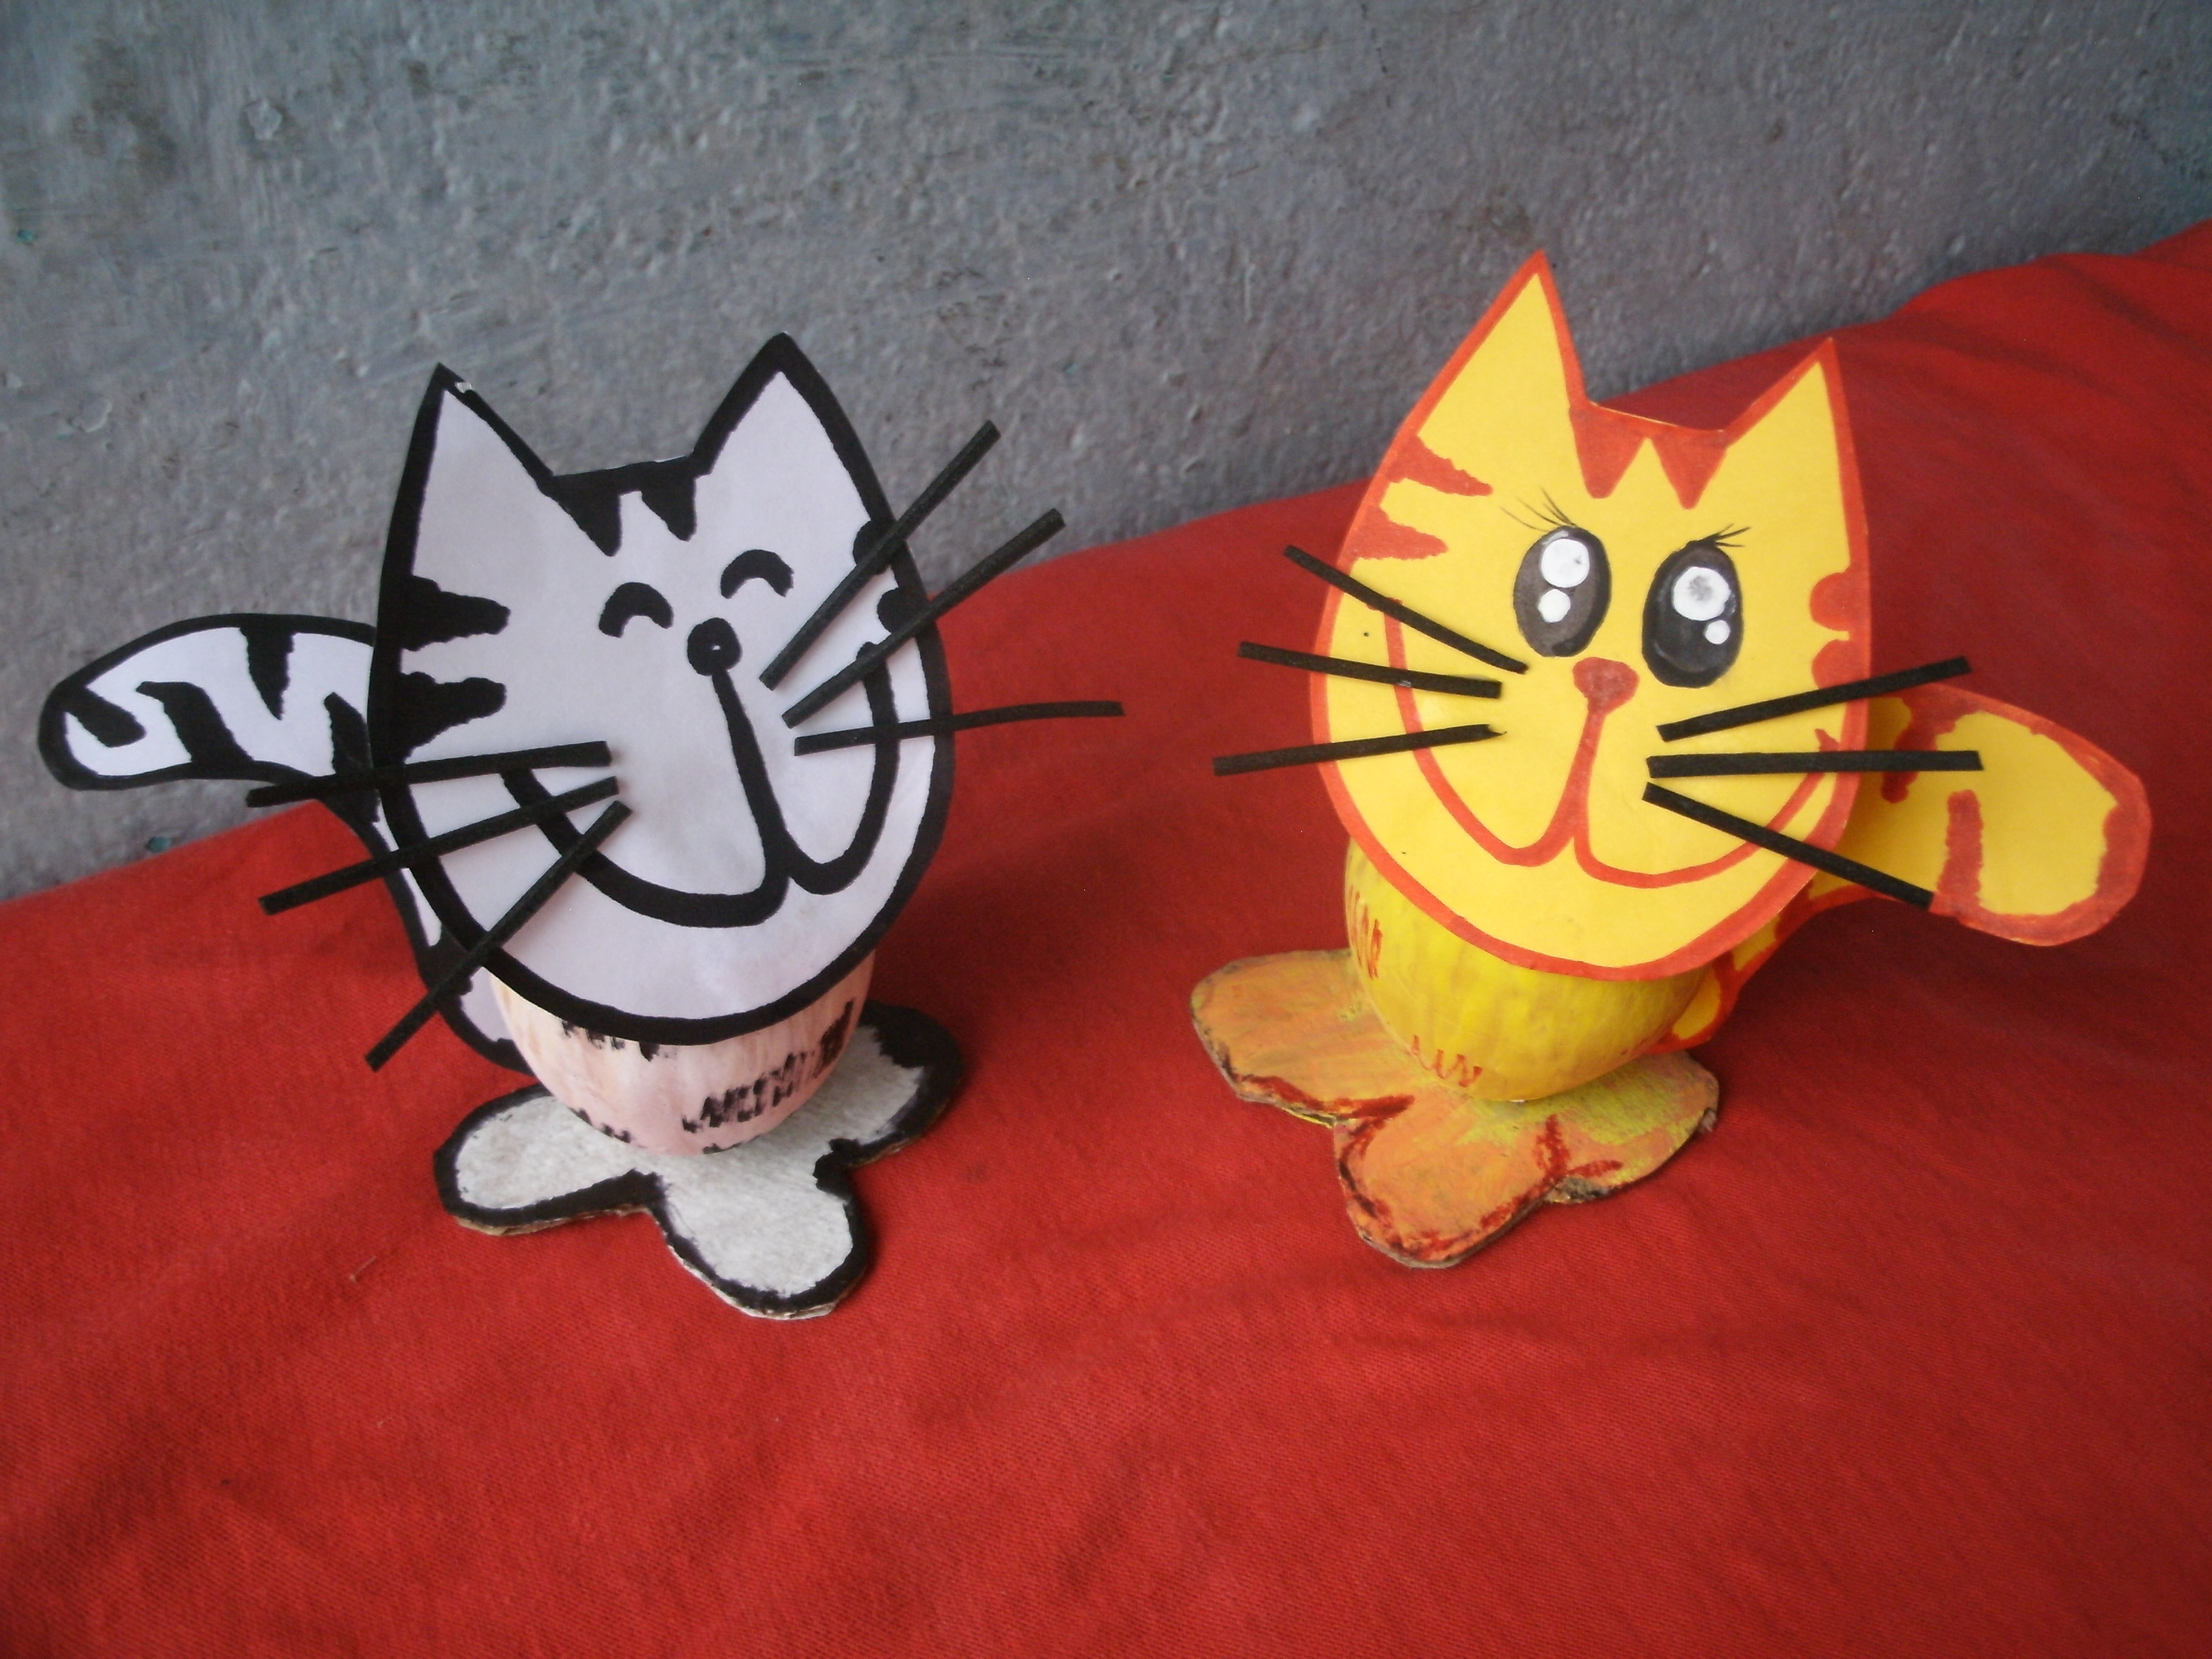
Así quedara esta manualidad, puedes poner tu propia creatividad y hacer gatitos de diferentes colores y expresiones, espero se sea de su agrado y se animen a hacerla.
This is how this craft will look, you can put your own creativity and make kittens of different colors and expressions, I hope you like it and are encouraged to do it.
Gracias por tomarse el tiempo de mirar hasta el final, si te gusto esta idea no olvides dejar tu comentario, tu apoyo es muy importante para mi, que tengas un excelente día lleno de bendiciones.
Hasta la próxima!
Thank you for taking the time to look to the end, if you liked this idea do not forget to leave your comment, your support is very important to me, have an excellent day full of blessings.
Until next time!
Hola @razielmorales muy original tu post. Paso a paso muy bien explicado. Se entiende con mucha facilidad todo lo que hay que hacer, me dieron ganas de intertar hacer uno. Gracias por el aporte. Muy lindo tus gatitos. Saludos.
Holaa lindaa.. Gracias por comentar.. Me alegra que te hayan gustado... Te divertirás mucho haciendo esta manualidad ademas queda muy tierno y llamativo...Saludos..