Hola mis queridos #Hivers espero se encuentren muy Muy saludos y bendiciones para todos
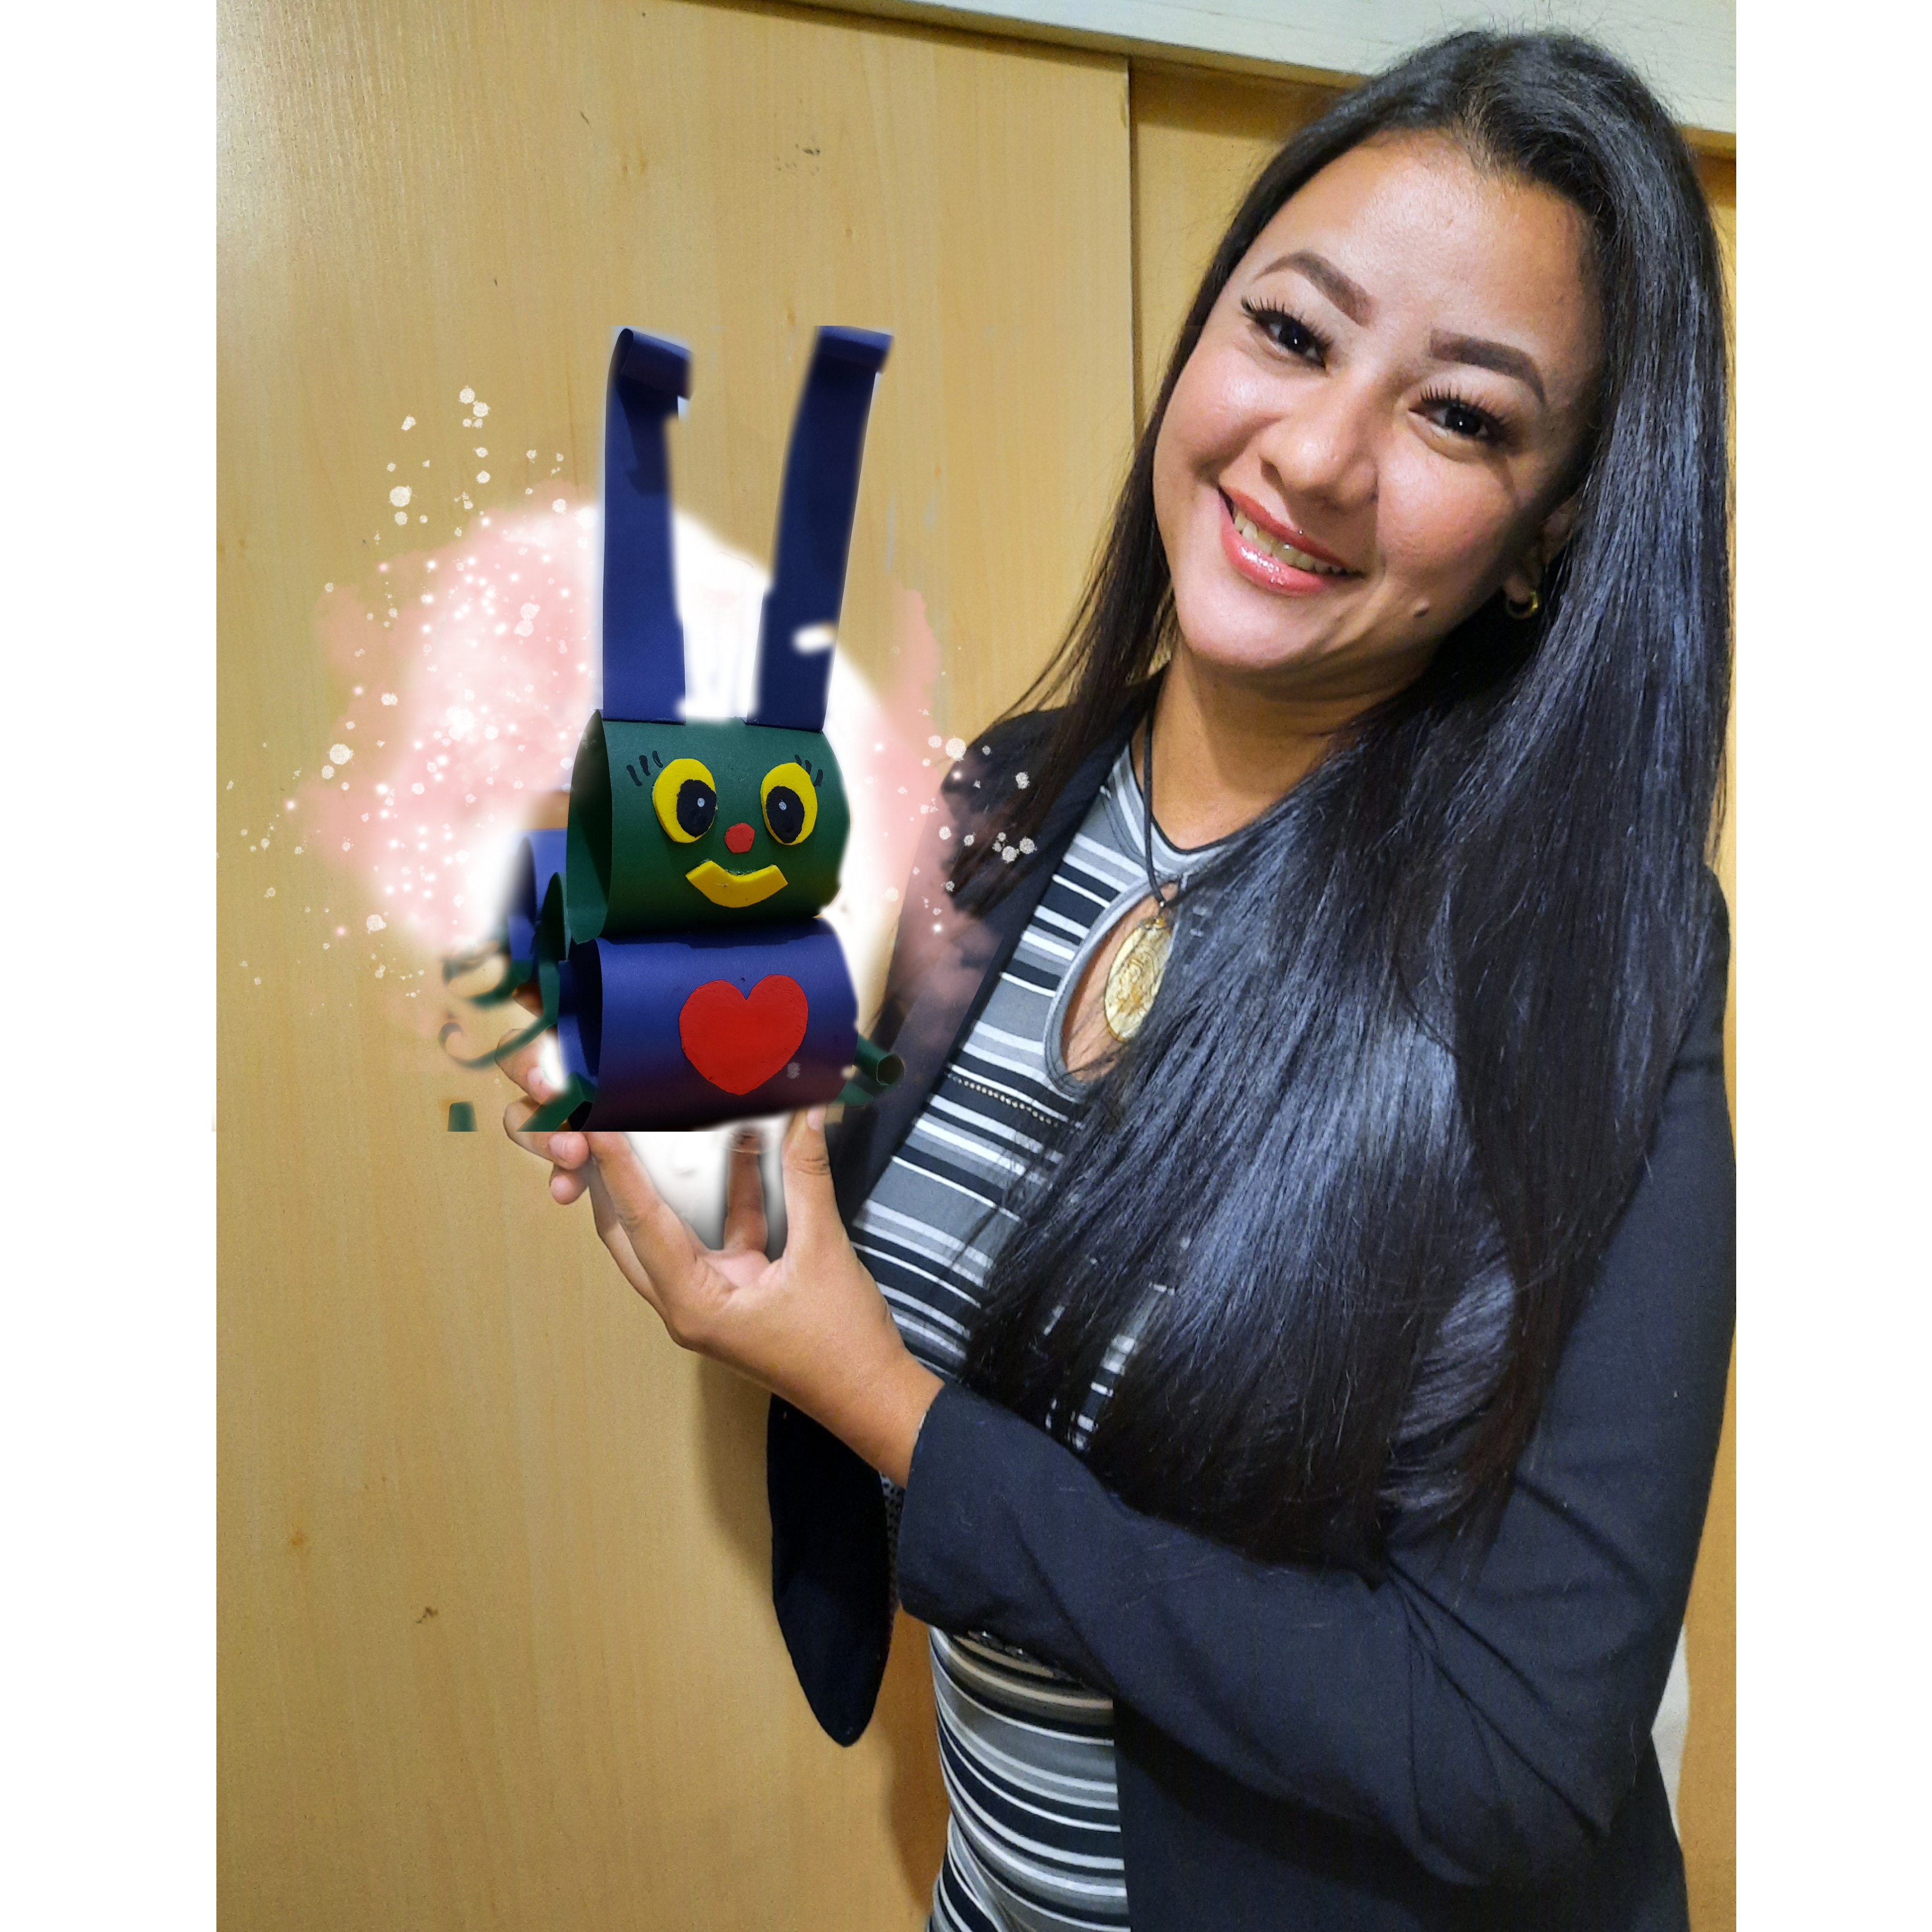
Bienvenido a una nueva página de mi blog, porque hoy les vengo a enseñar como realizar un Gusanito de Cartulina ideal para robarles una sonrisa a nuestros hijos, así que si te gusta te invito a leer mi publicación
Welcome to a new page of my blog, because today I come to teach you how to make an ideal Cardboard Worm to steal a smile from our children, so if you like it, I invite you to read my post
🐛❤️Gusanito de Cartulina/Cardboard Worm🐛❤️
🐛❤️Gusanito de Cartulina/Cardboard Worm🐛❤️
- Cartulina de Colores/Colour cardboard 🗂️
- Paga de Casabe/Casabe pay🍶
- Regla/Rule📏
- Foami/Foami
- Temperas/Tempera🎨
- Lápiz /Lápiz🖍
- Tijeras /Pair of scissors✂
Pasos Para la Elaboración/Steps for Preparation
Paso/Step 1🐛🎨❤️
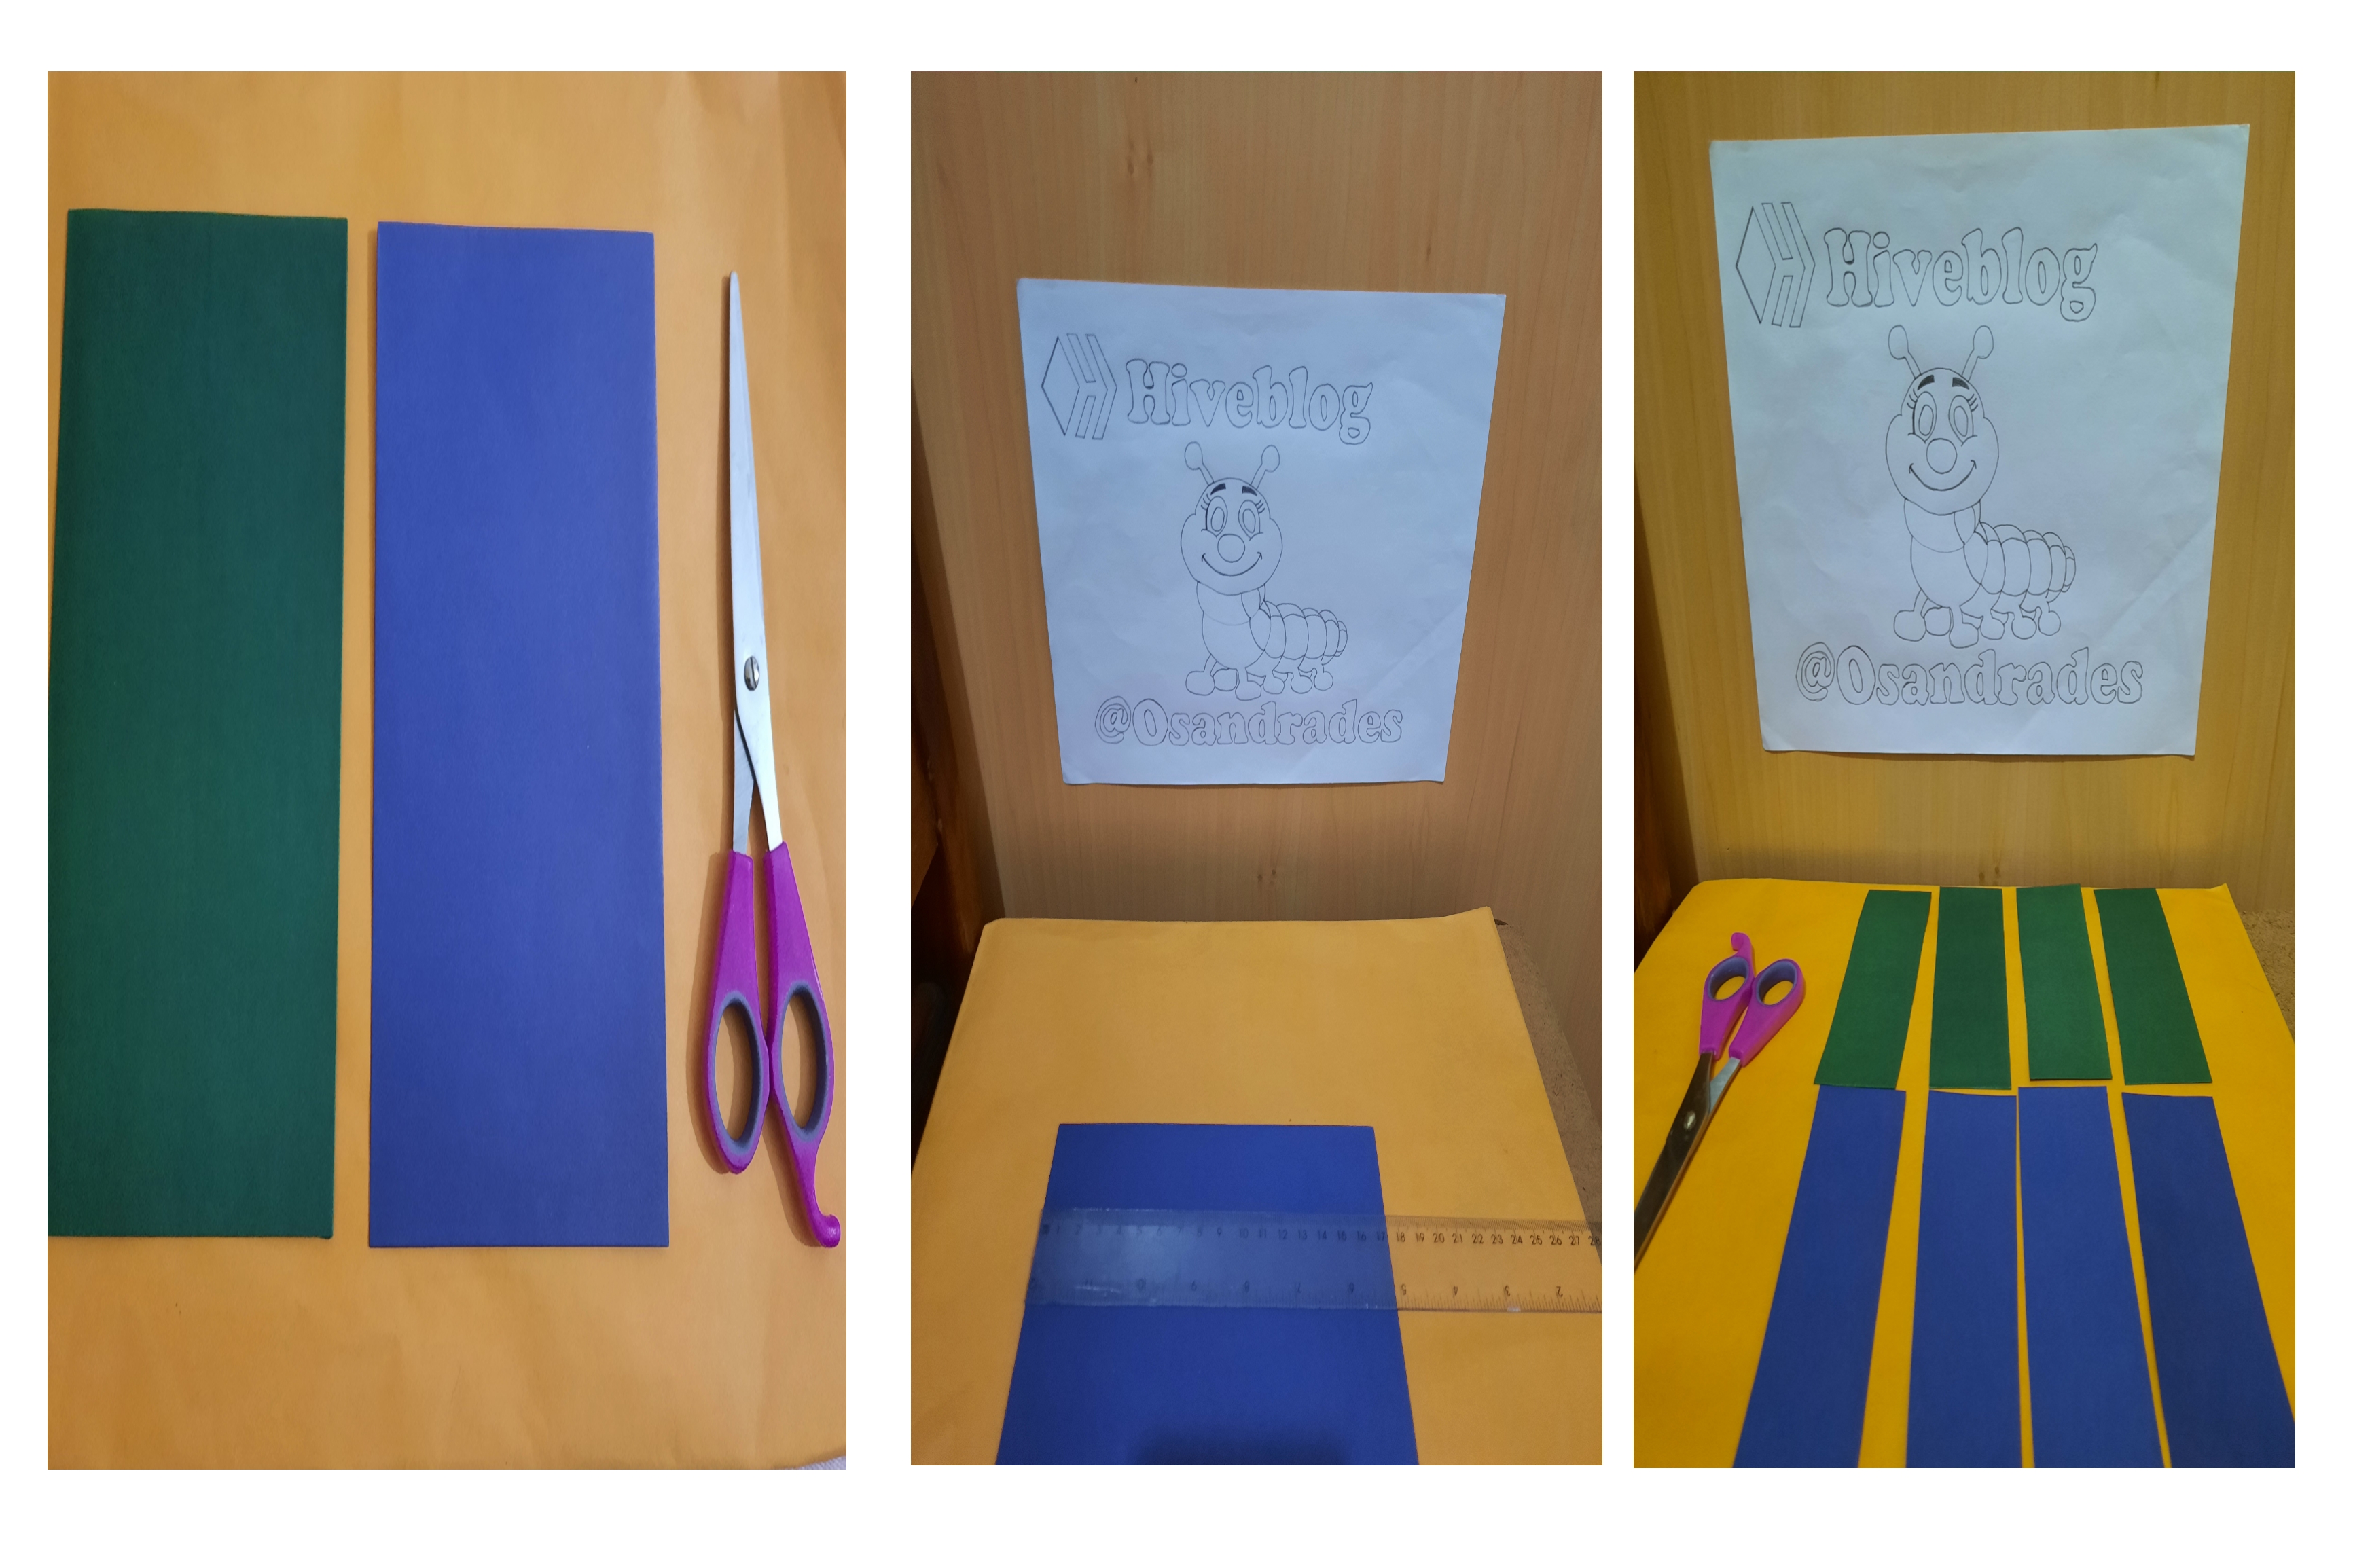
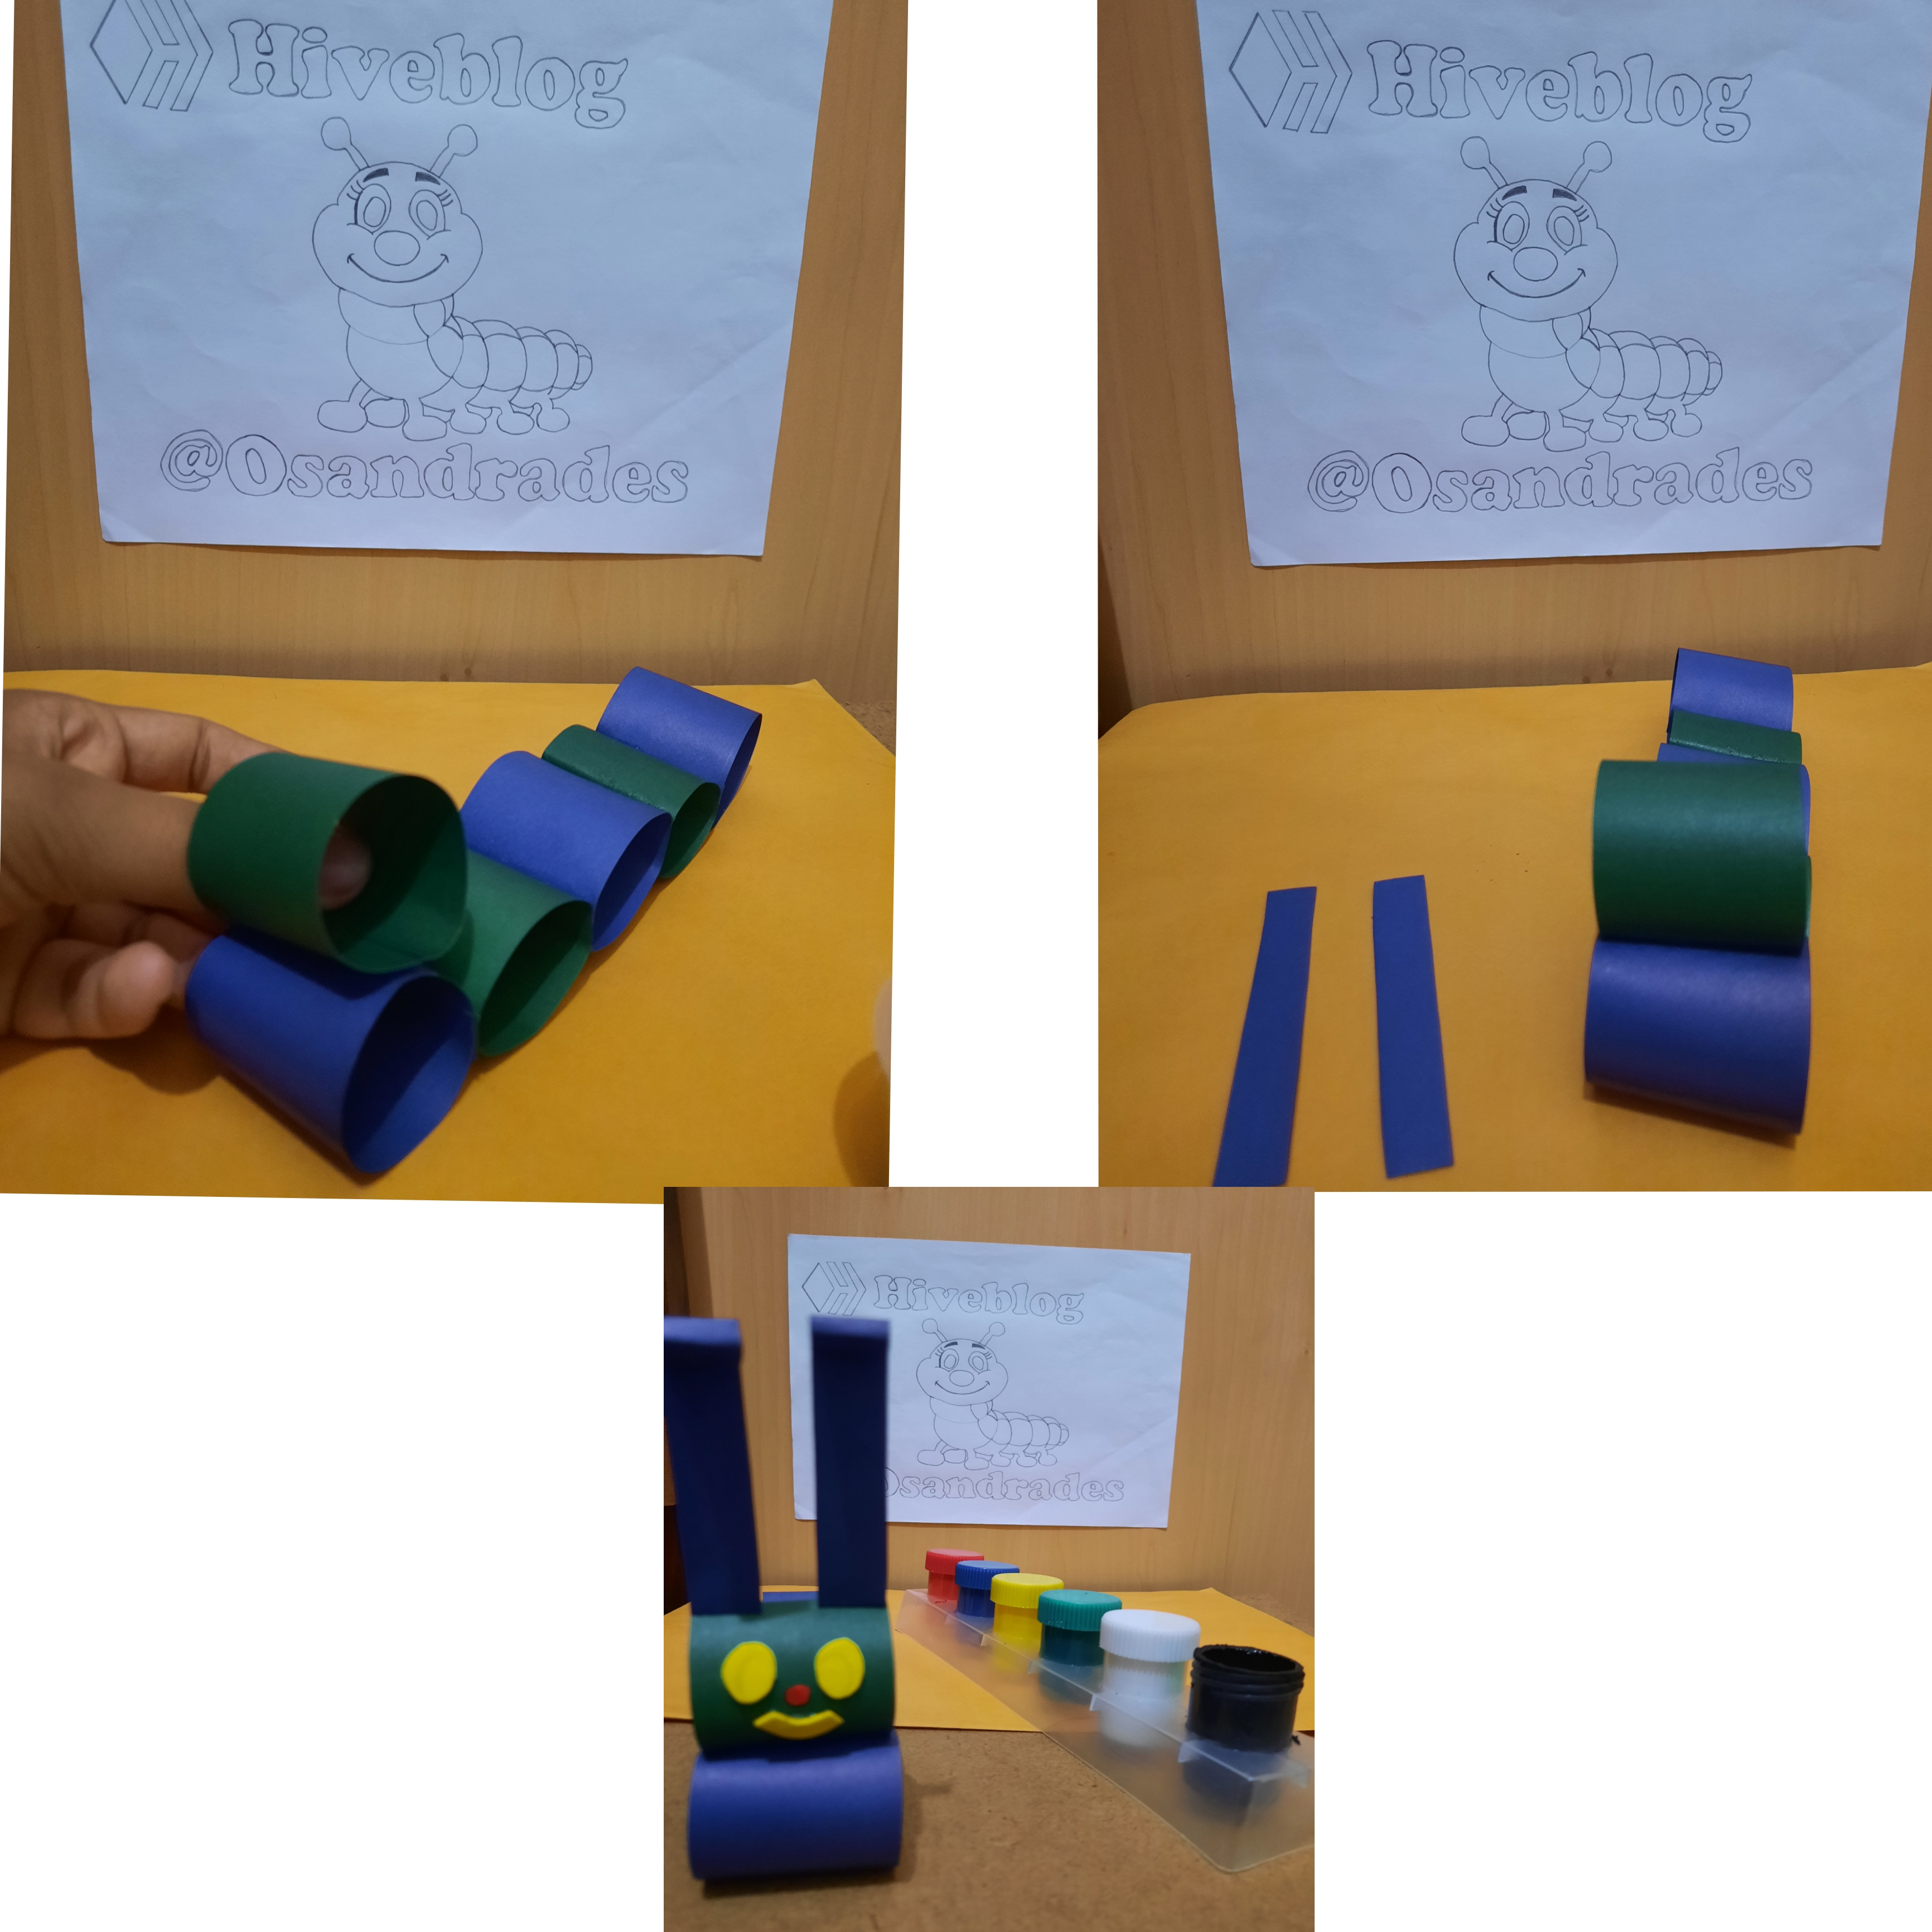
Con la regla medimos y picamos varios trozos de la cartulina de 4 cm de ancho por 10 cm de largo. Para ser exactos sacaremos 4 tiras color verde y 4 tiras color azul.
With the ruler we measure and chop several pieces of the cardboard 4 cm wide by 10 cm long. To be exact, we will take 4 green strips and 4 blue strips.
Paso/Step 2🐛🎨❤️
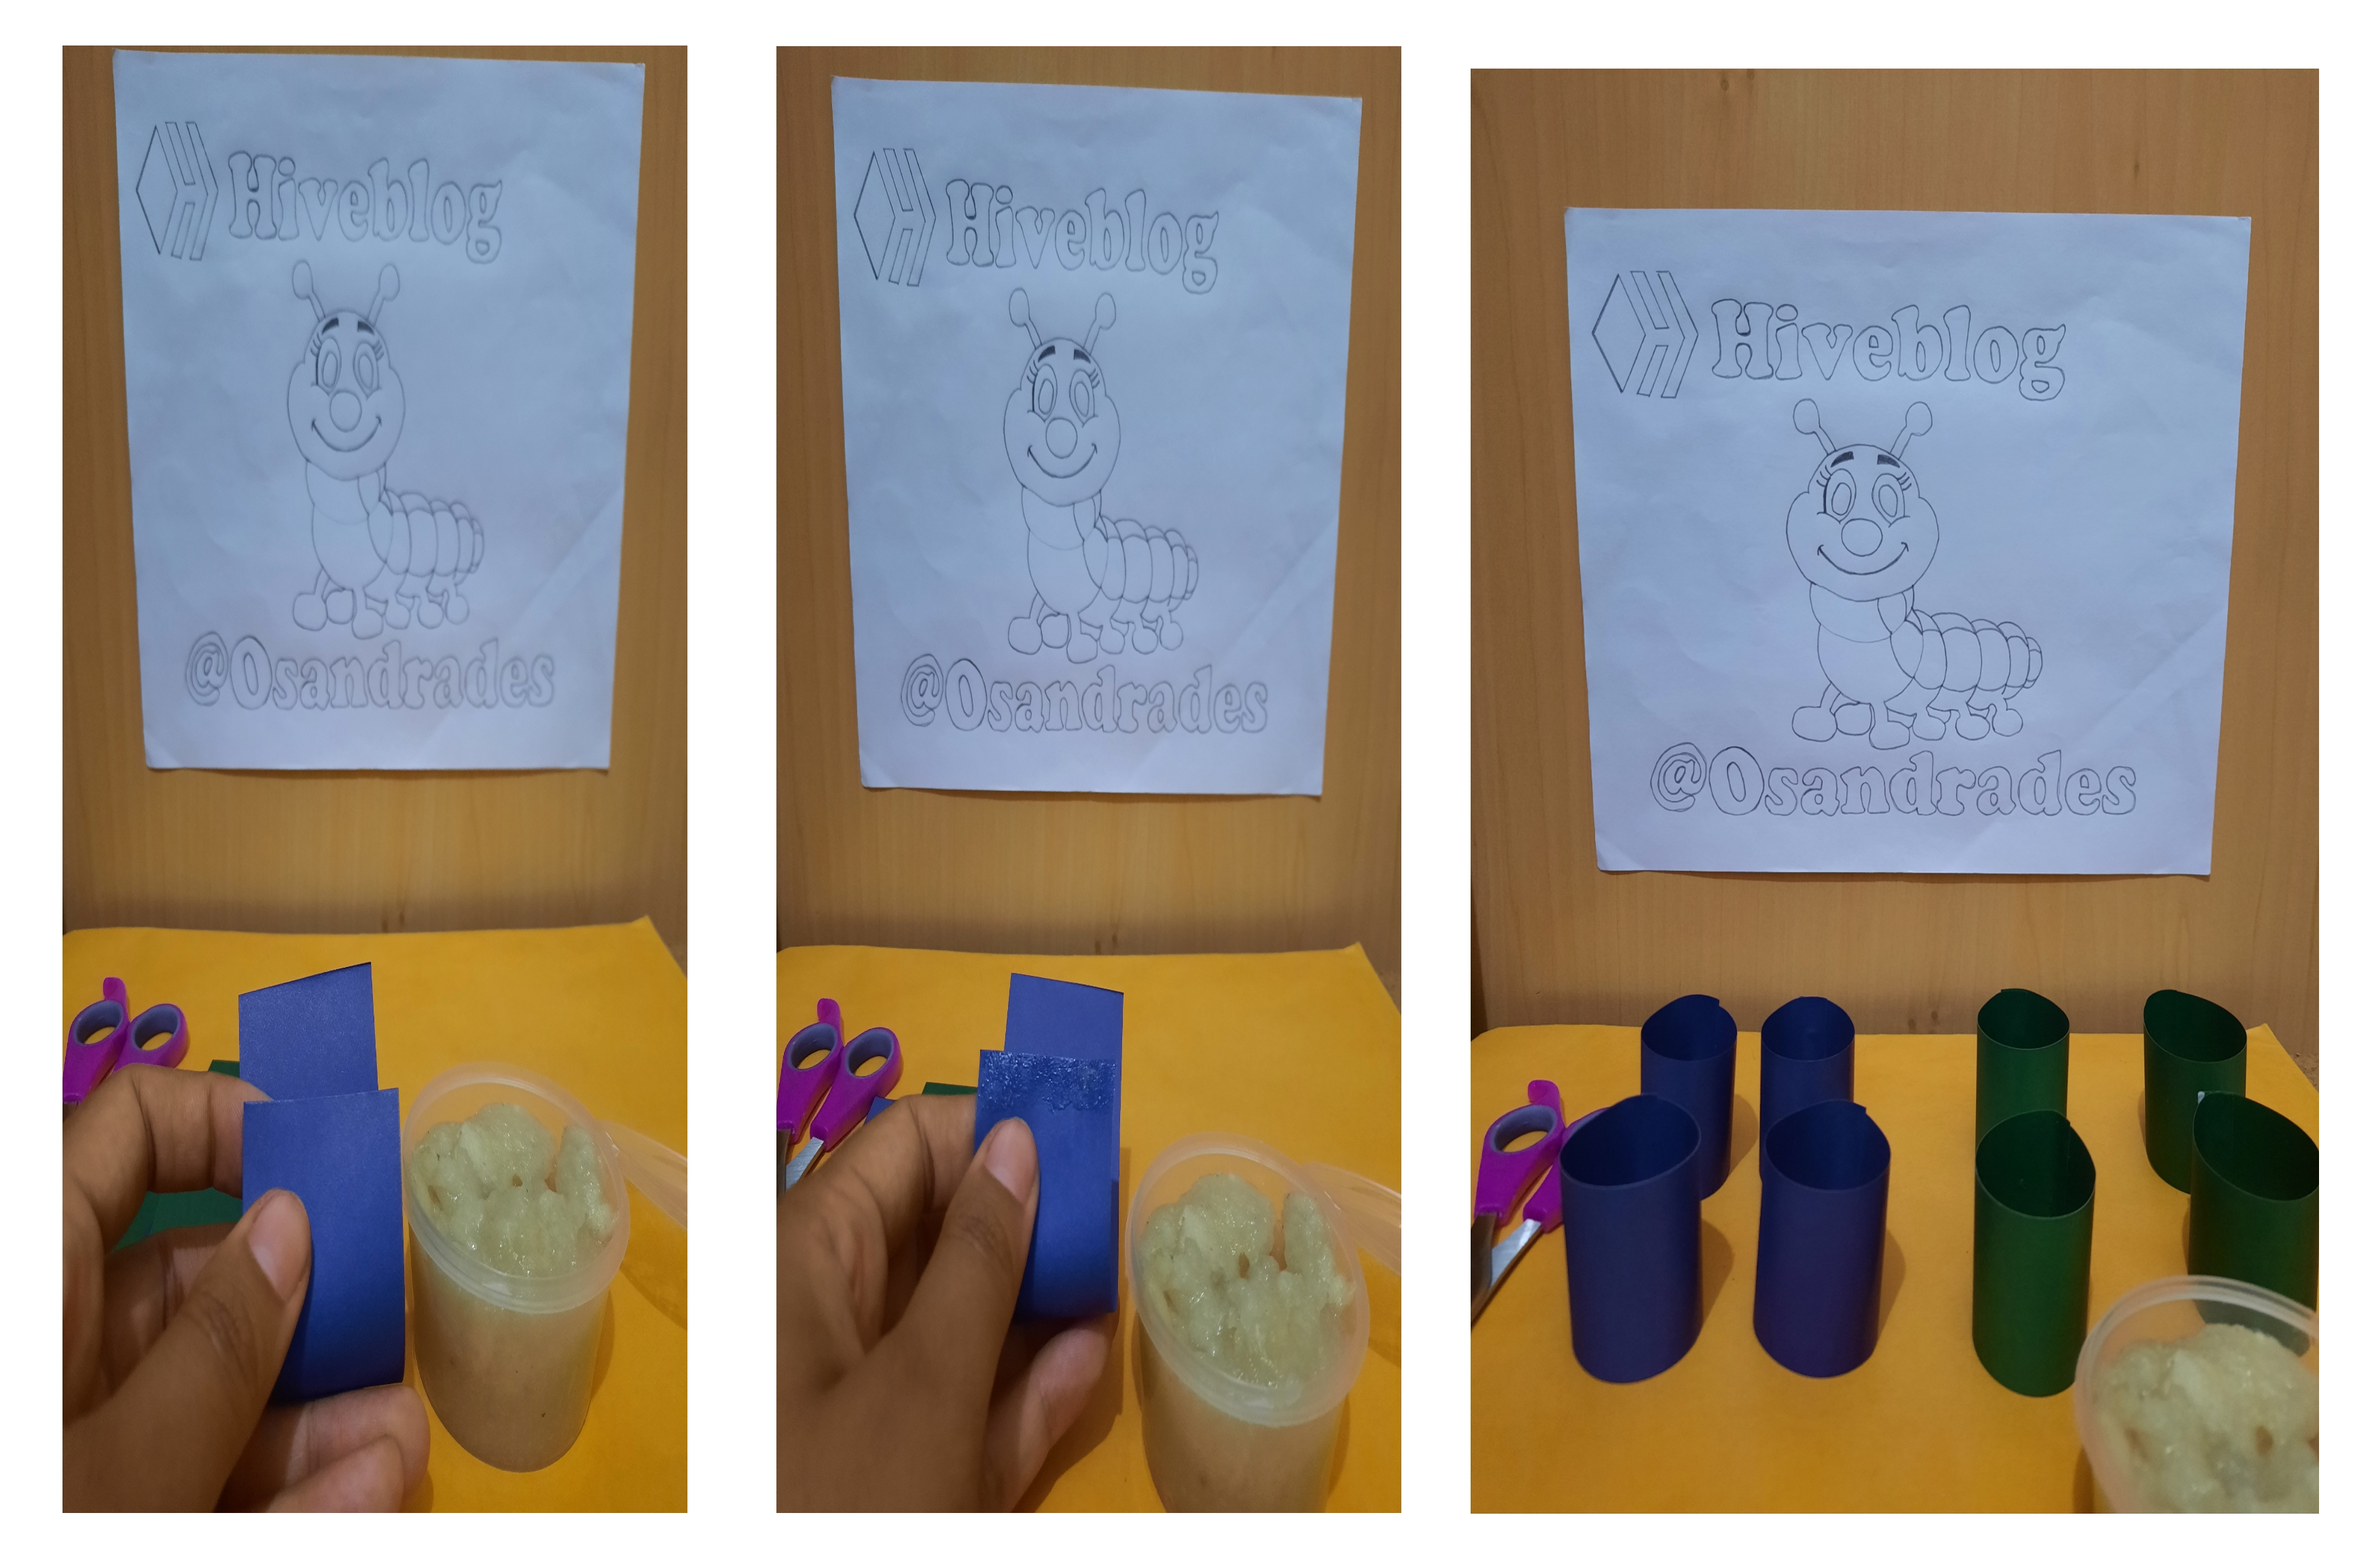
Una vez realizado el paso número uno, agarraremos los trozos de cartulina y en una de sus puntas untaremos un poco de pega y la uniremos con la otra punta formando un cilindro. Este paso lo haremos con todas los trozos. Quedándonos de esta forma.
Once step number one is done, we will grab the pieces of cardboard and on one of its ends we will spread a little glue and we will join it with the other end forming a cylinder. We will do this step with all the pieces. Staying this way.
Paso/ Step 3🐛🎨❤️
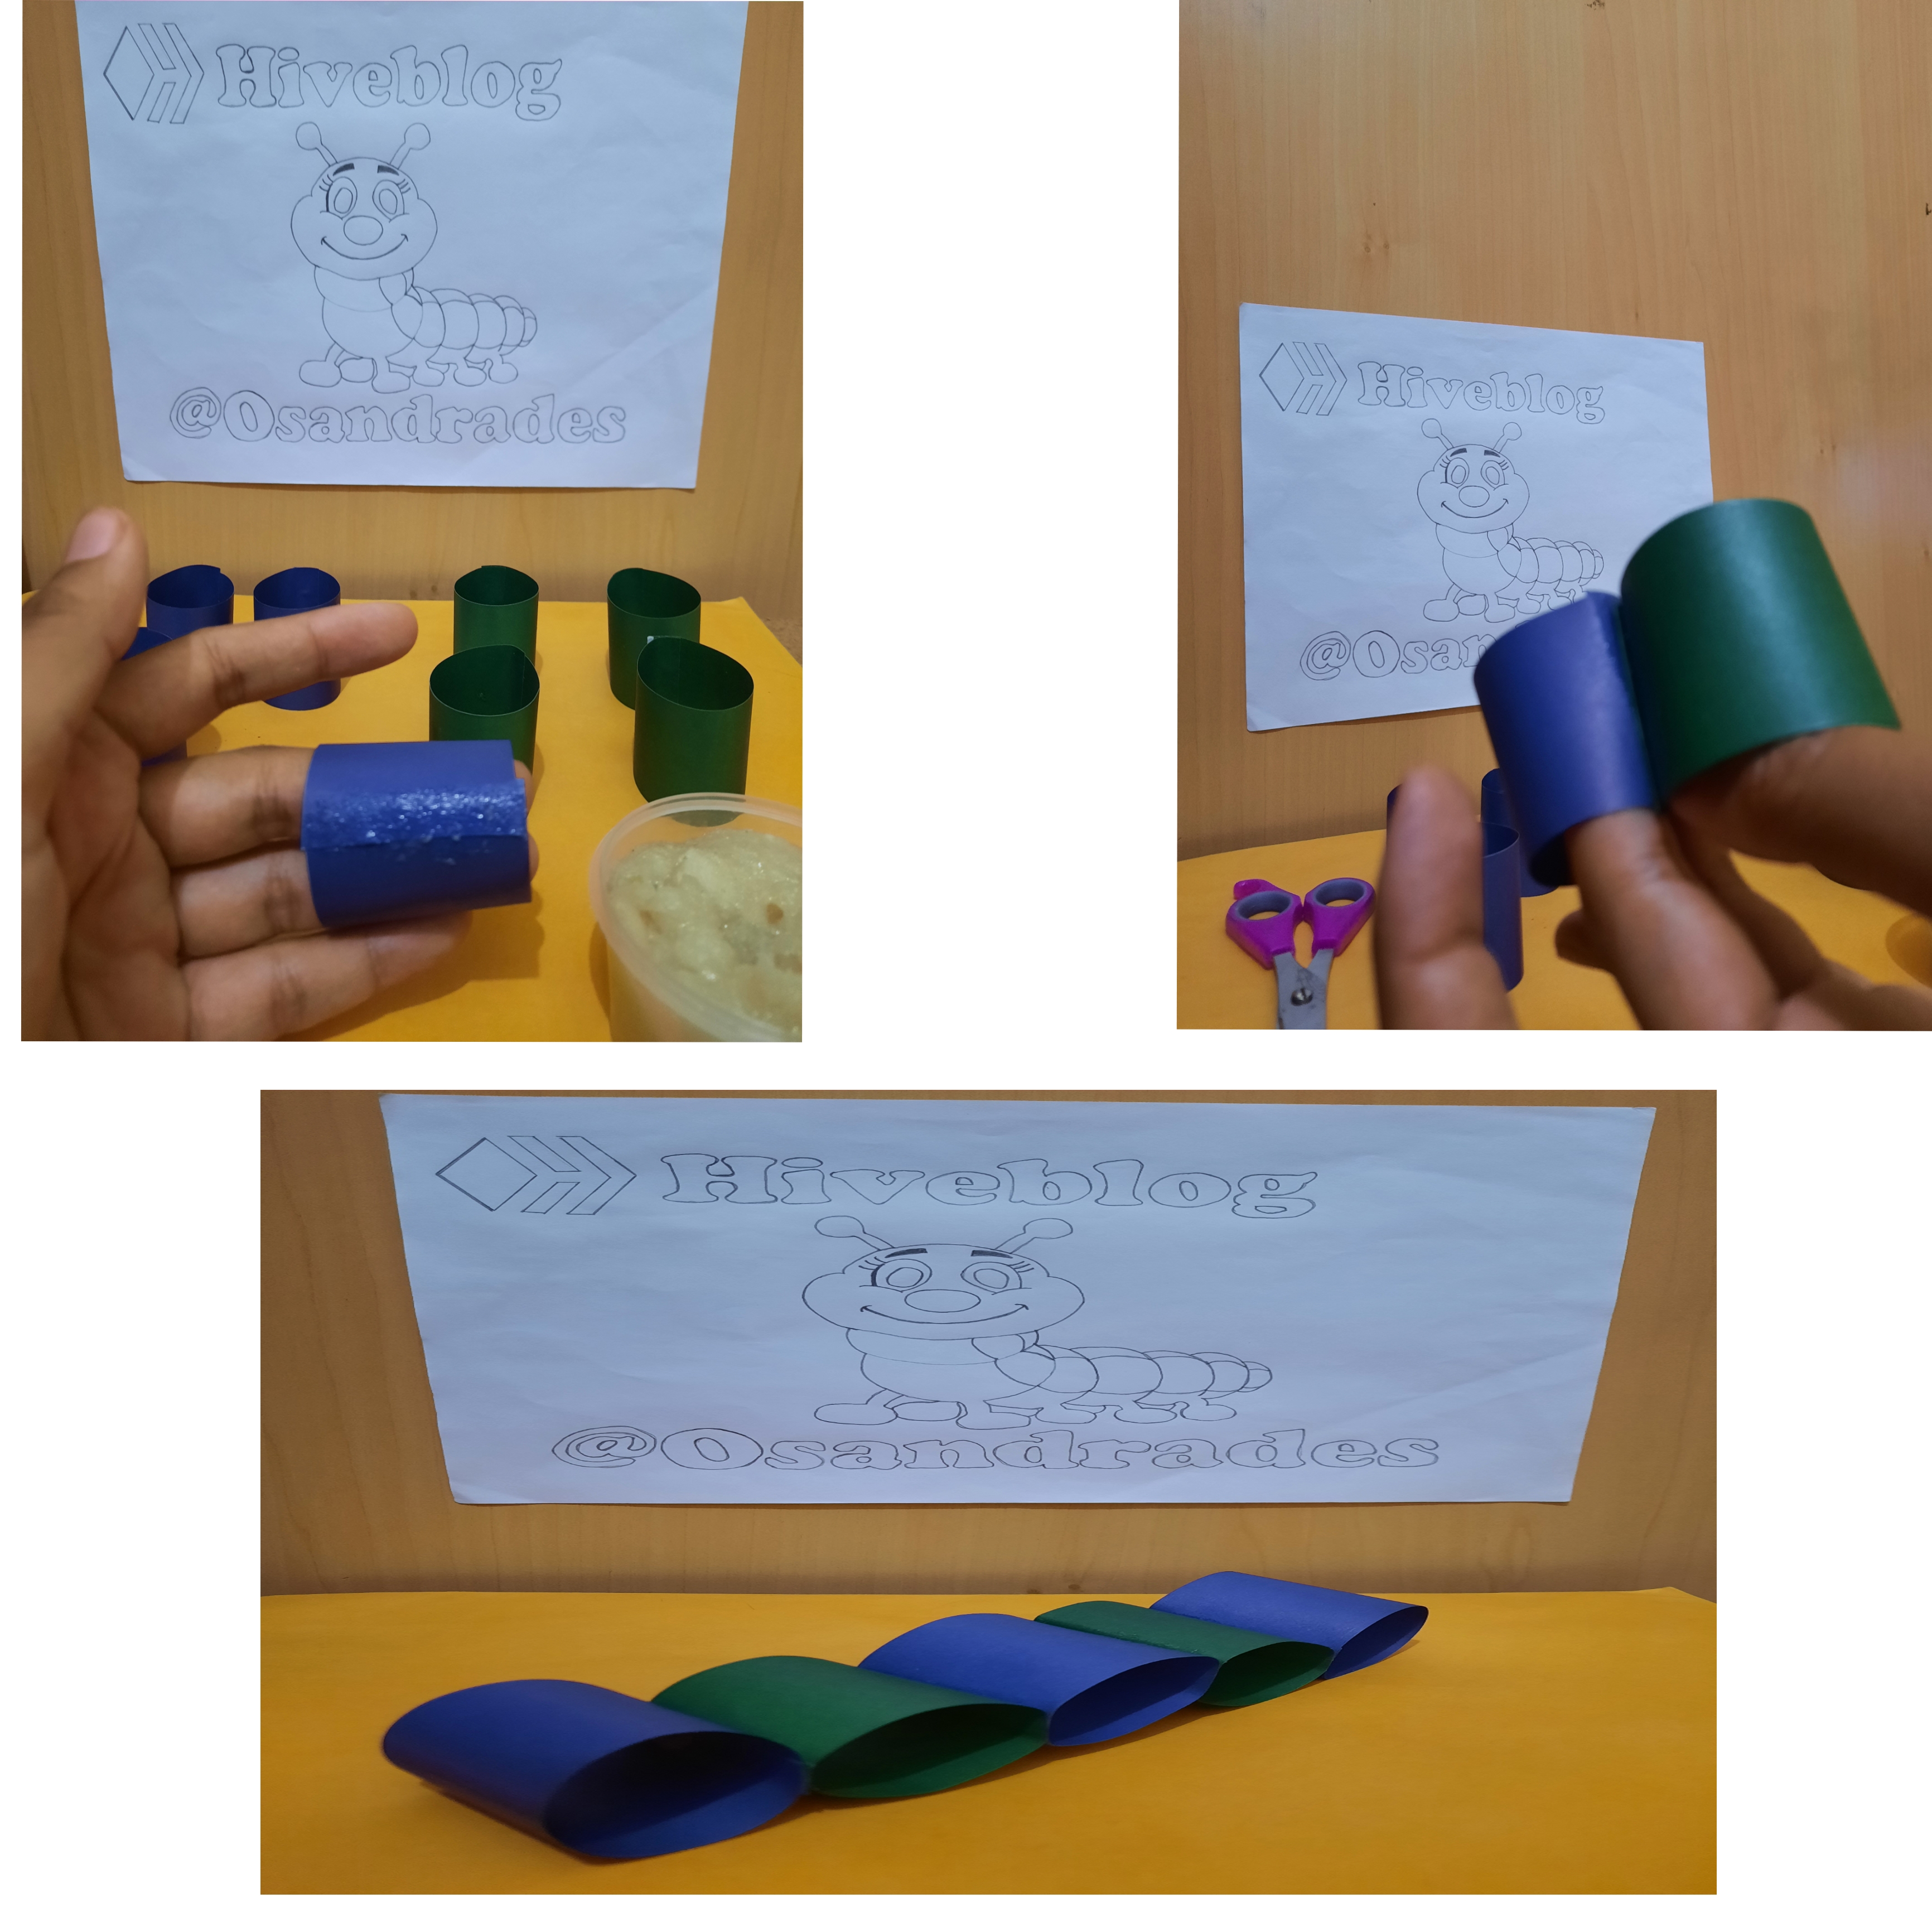
Ya teniendo todos los trozos de cartulina en forma de cilindro, comenzaremos a pegar uno al lado del otro para de esa manera darle forma a nuestro Gusanito.
Having all the pieces of cardboard in the shape of a cylinder, we will begin to glue one next to the other to give shape to our Worm.
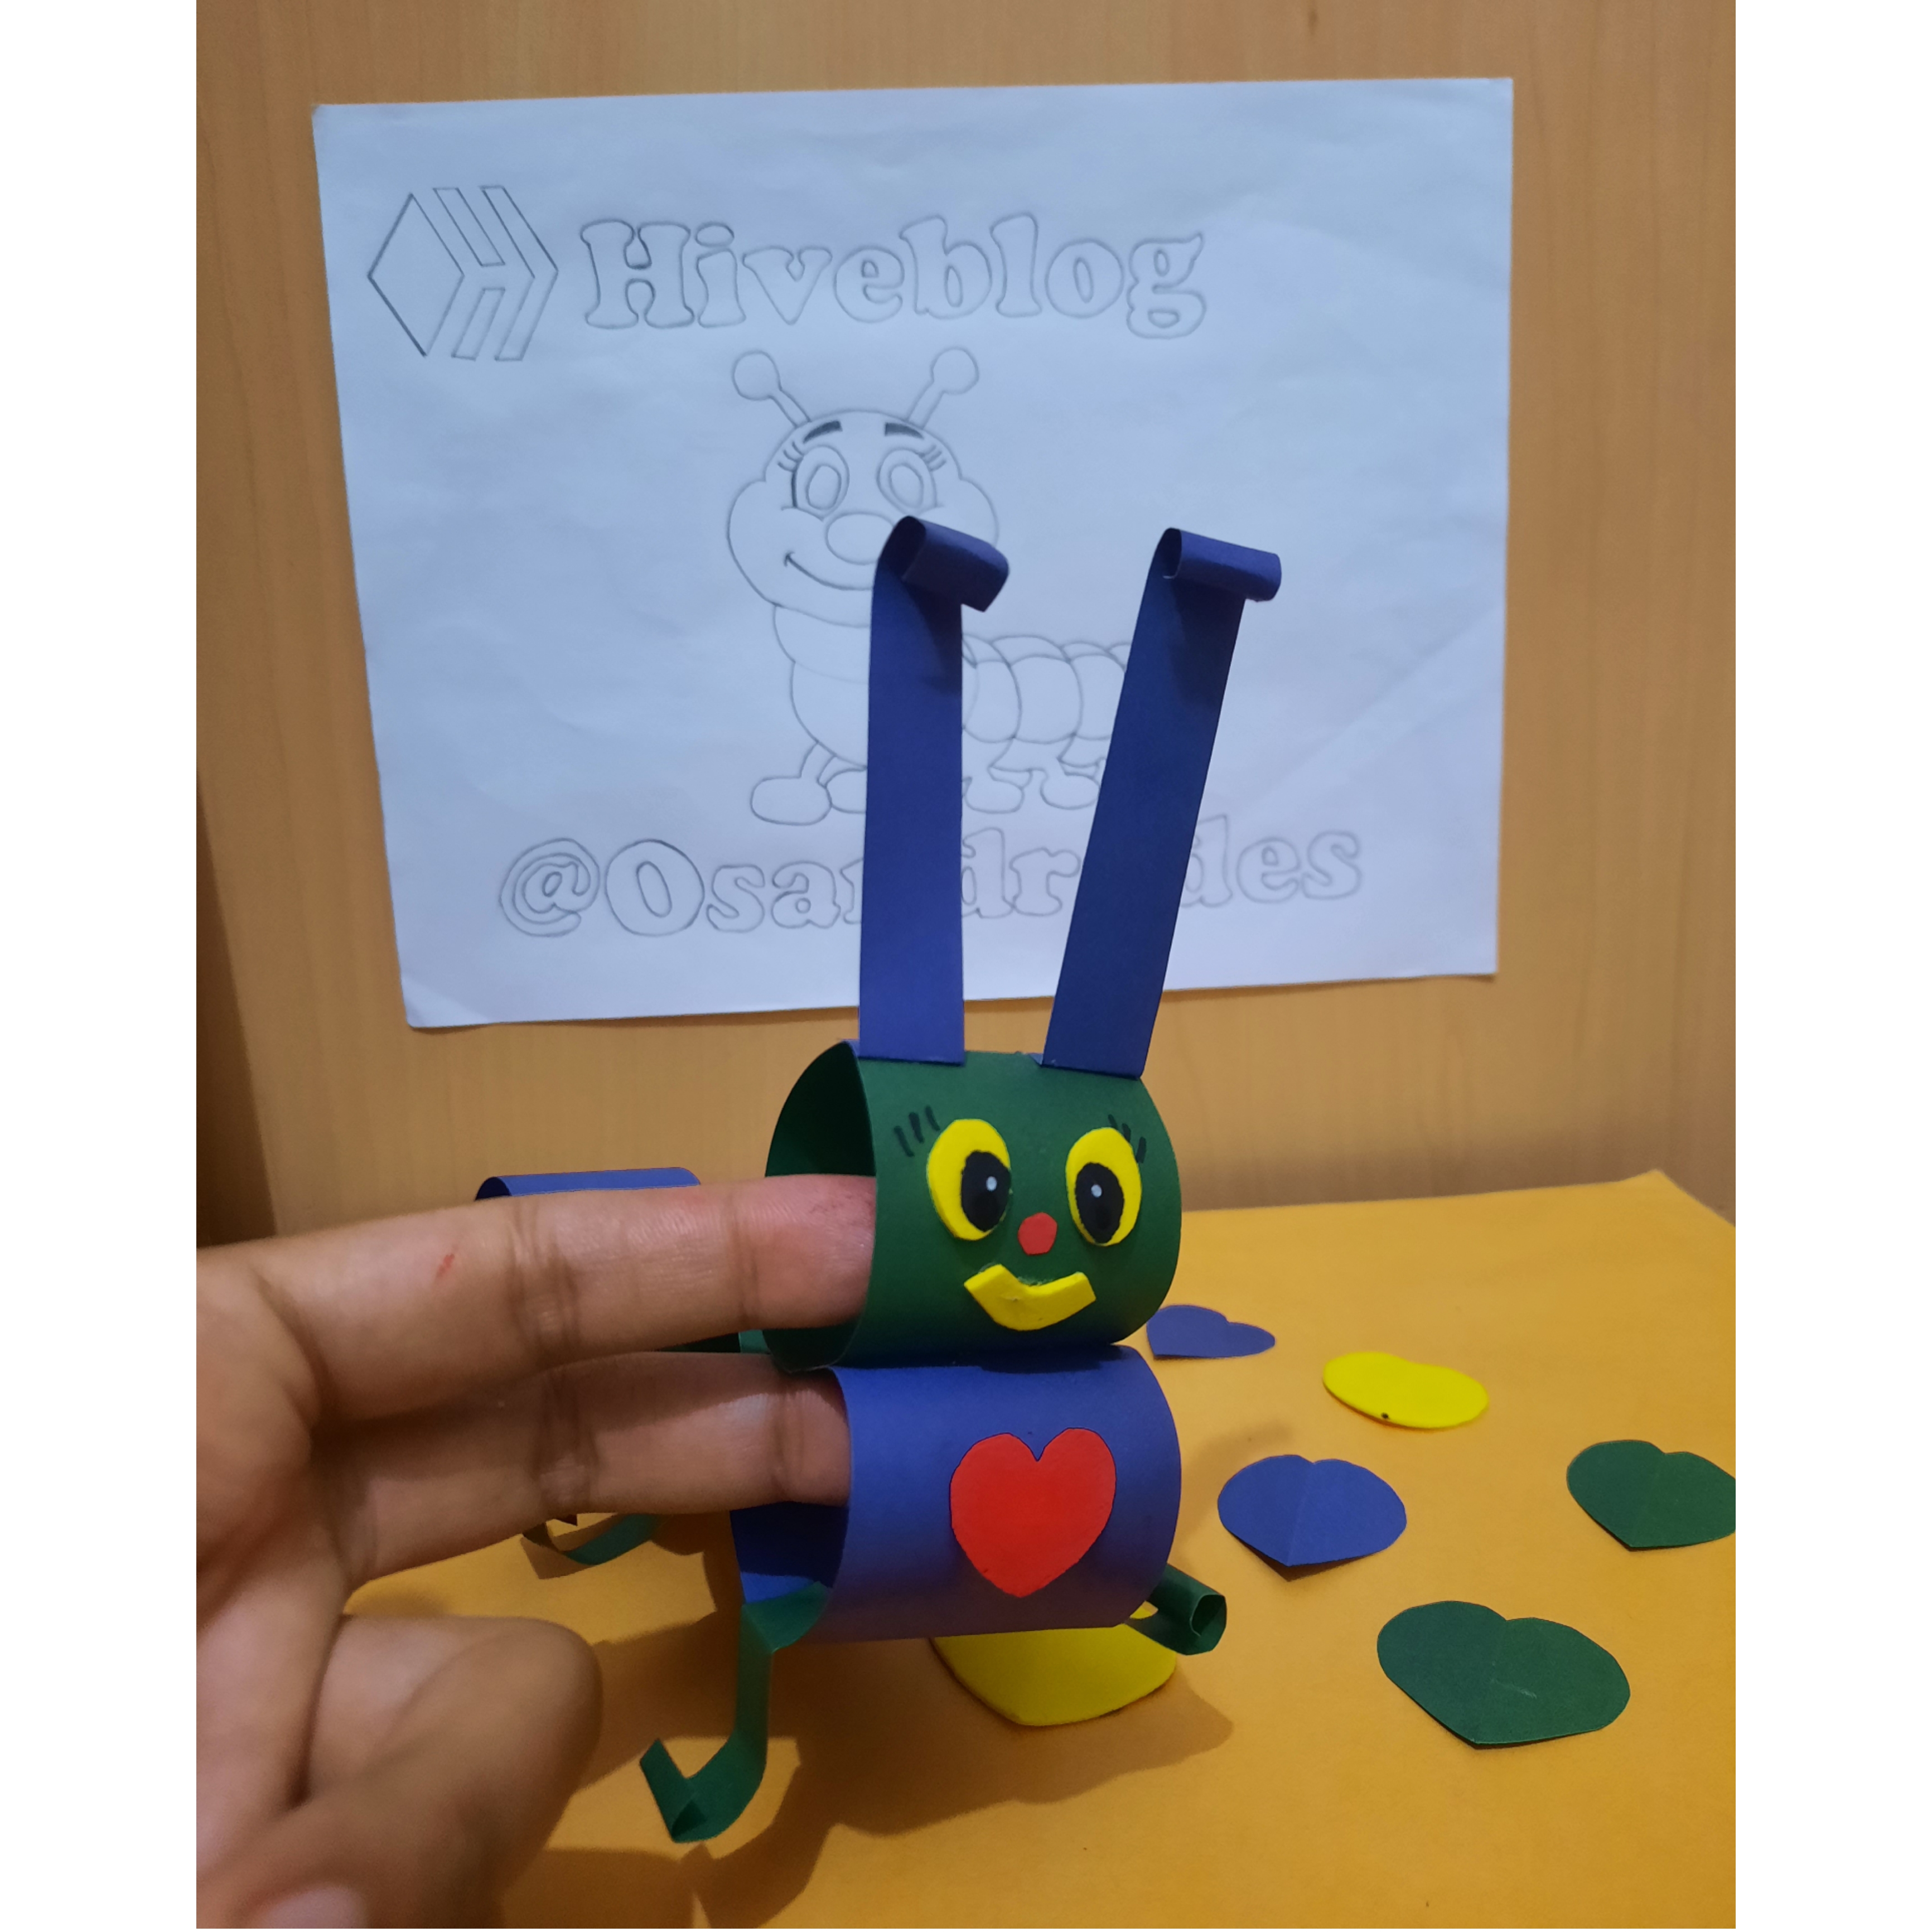
Ye teniendo el cuerpo de nuestro Gusanito, procederemos con otro cilindro pegarlo en una de las partes del cuerpo para crear lo que sería su cabeza, con la cartulina restante sacaremos dos tiras para hacer sus antenitas y luego con foami haremos lo que sería sus ojitos, su boca y su nariz. Con un poco de tempera negra marcamos sus ojitos y pestañas, y con la tempera color rojo marcaremos su nariz.
Having the body of our Gusanito, we will proceed with another cylinder, paste it in one of the parts of the body to create what would be its head, with the remaining cardboard we will take out two strips to make its antennas and then with foami we will make what would be its eyes, his mouth and his nose. With a little black tempera we mark his eyes and eyelashes, and with the red tempera we will mark his nose.
Paso/Step 5🐛🎨❤️
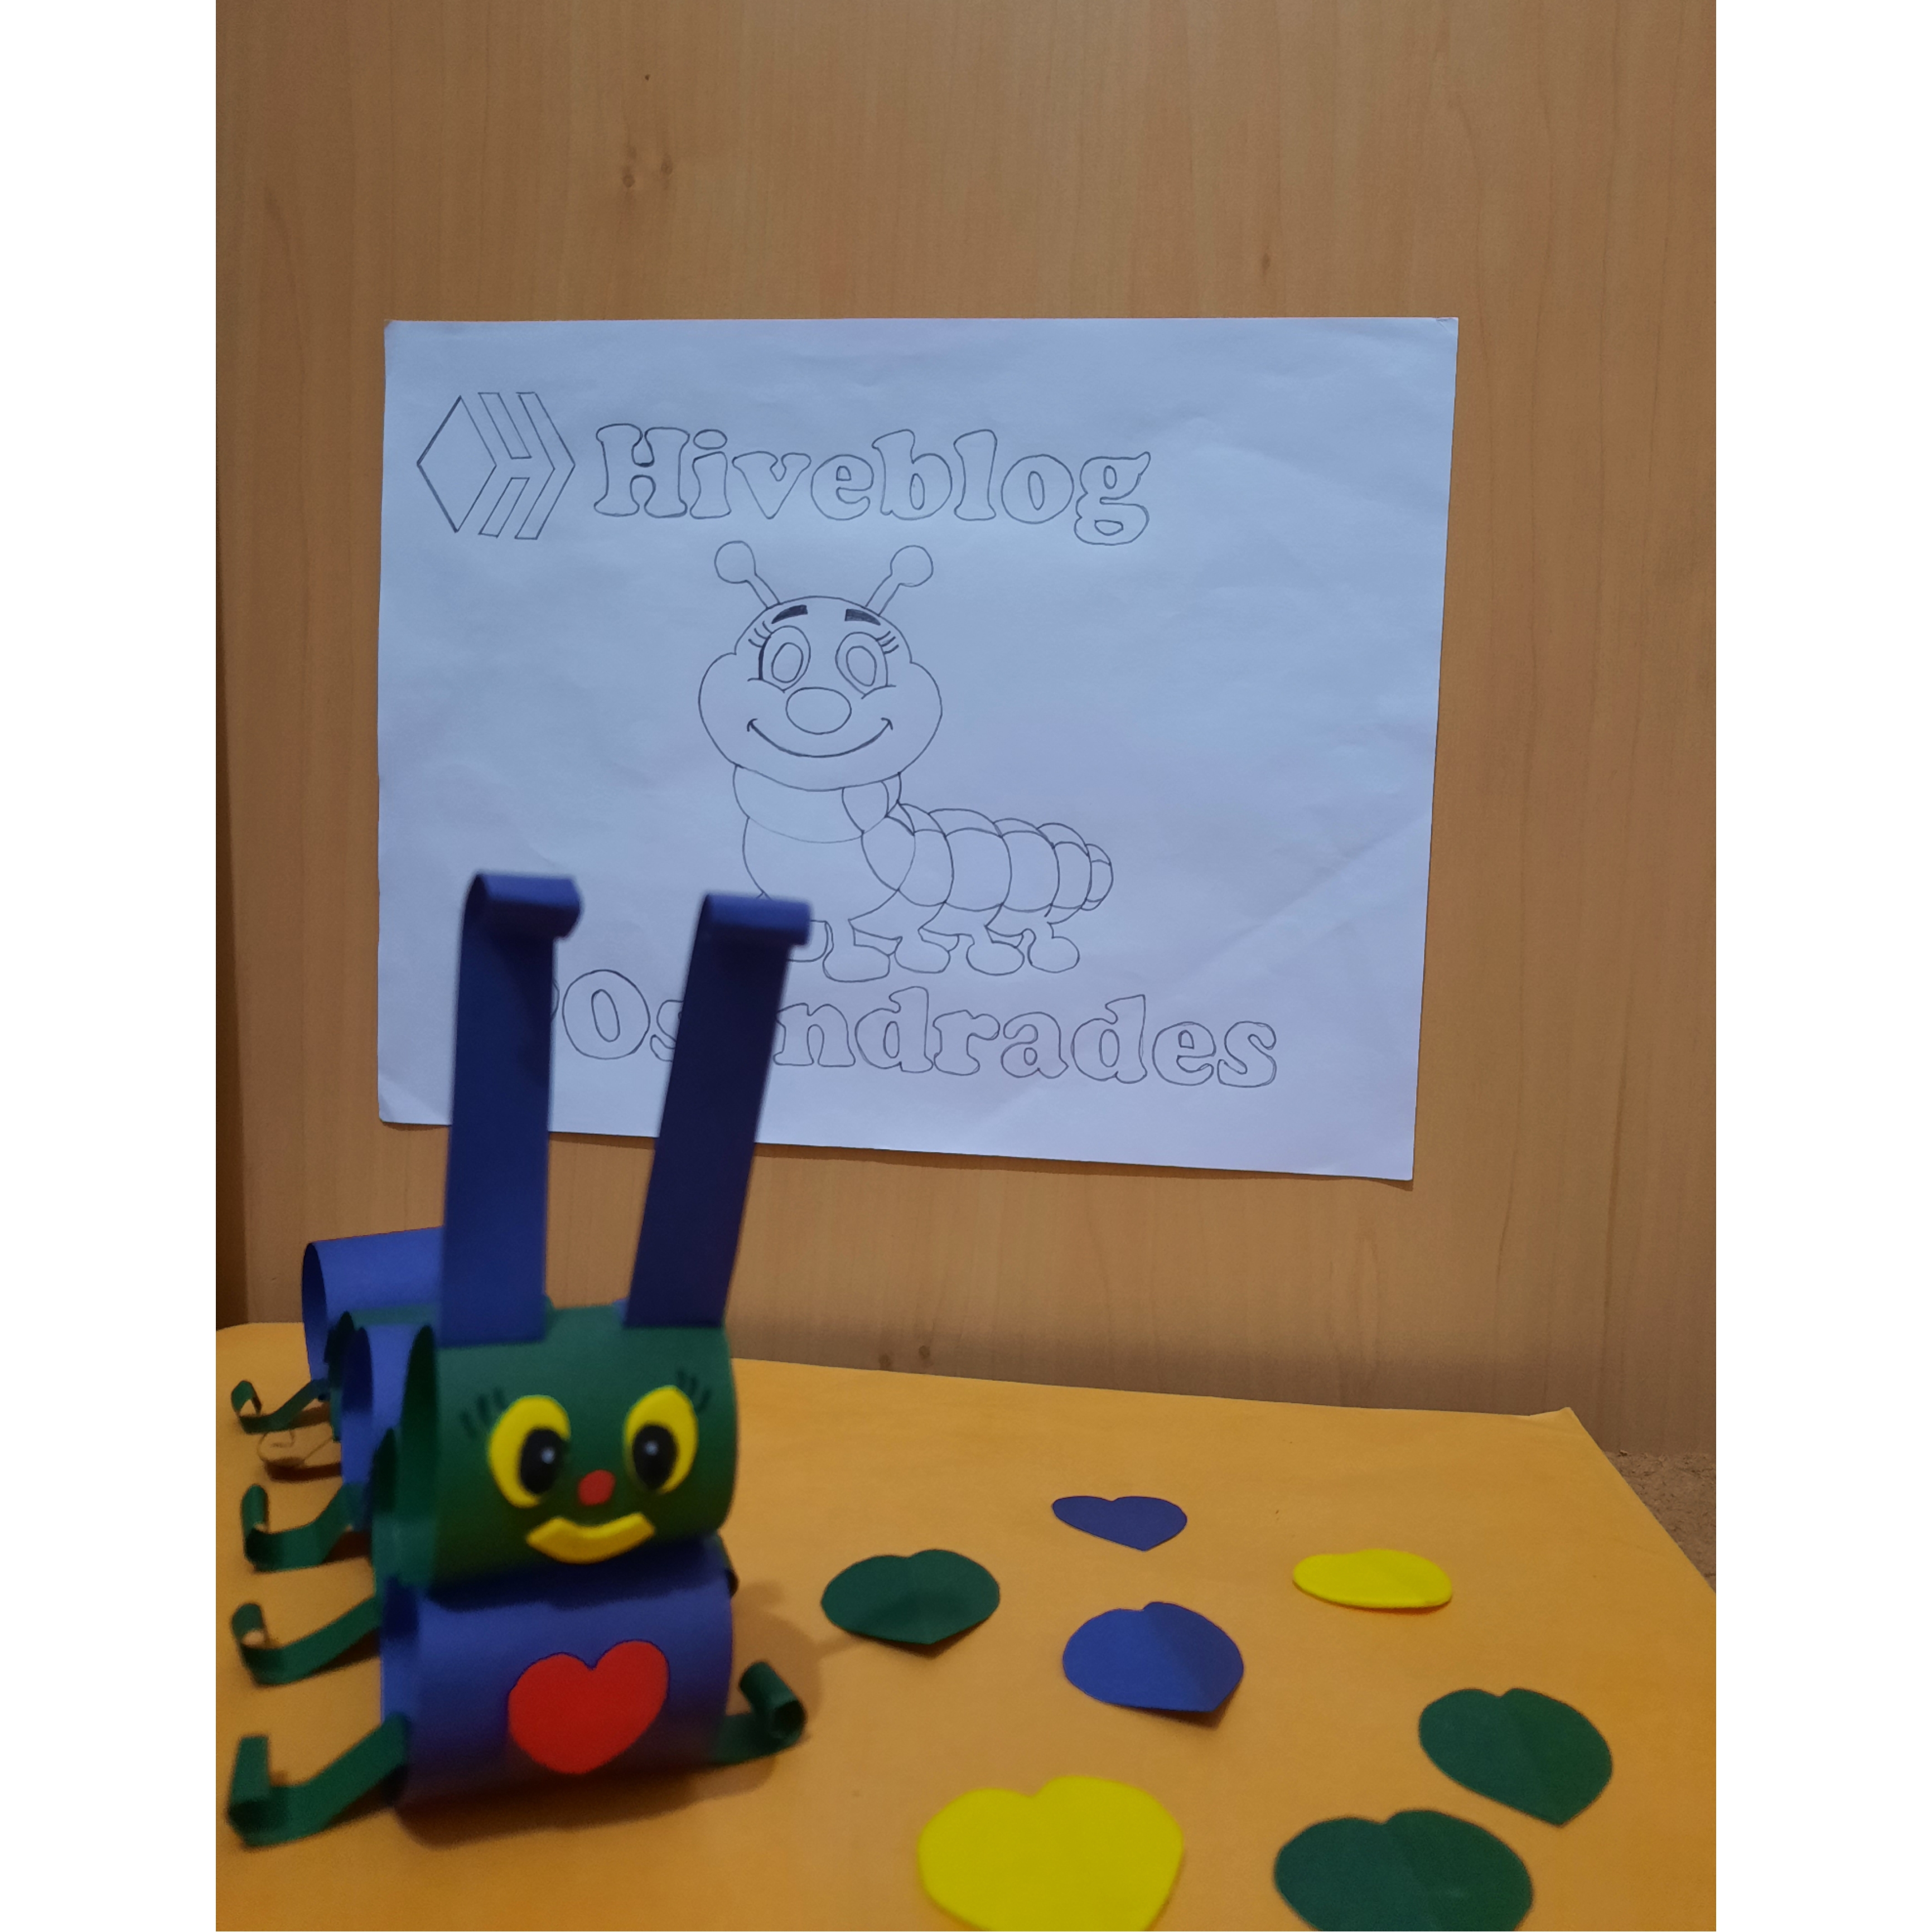
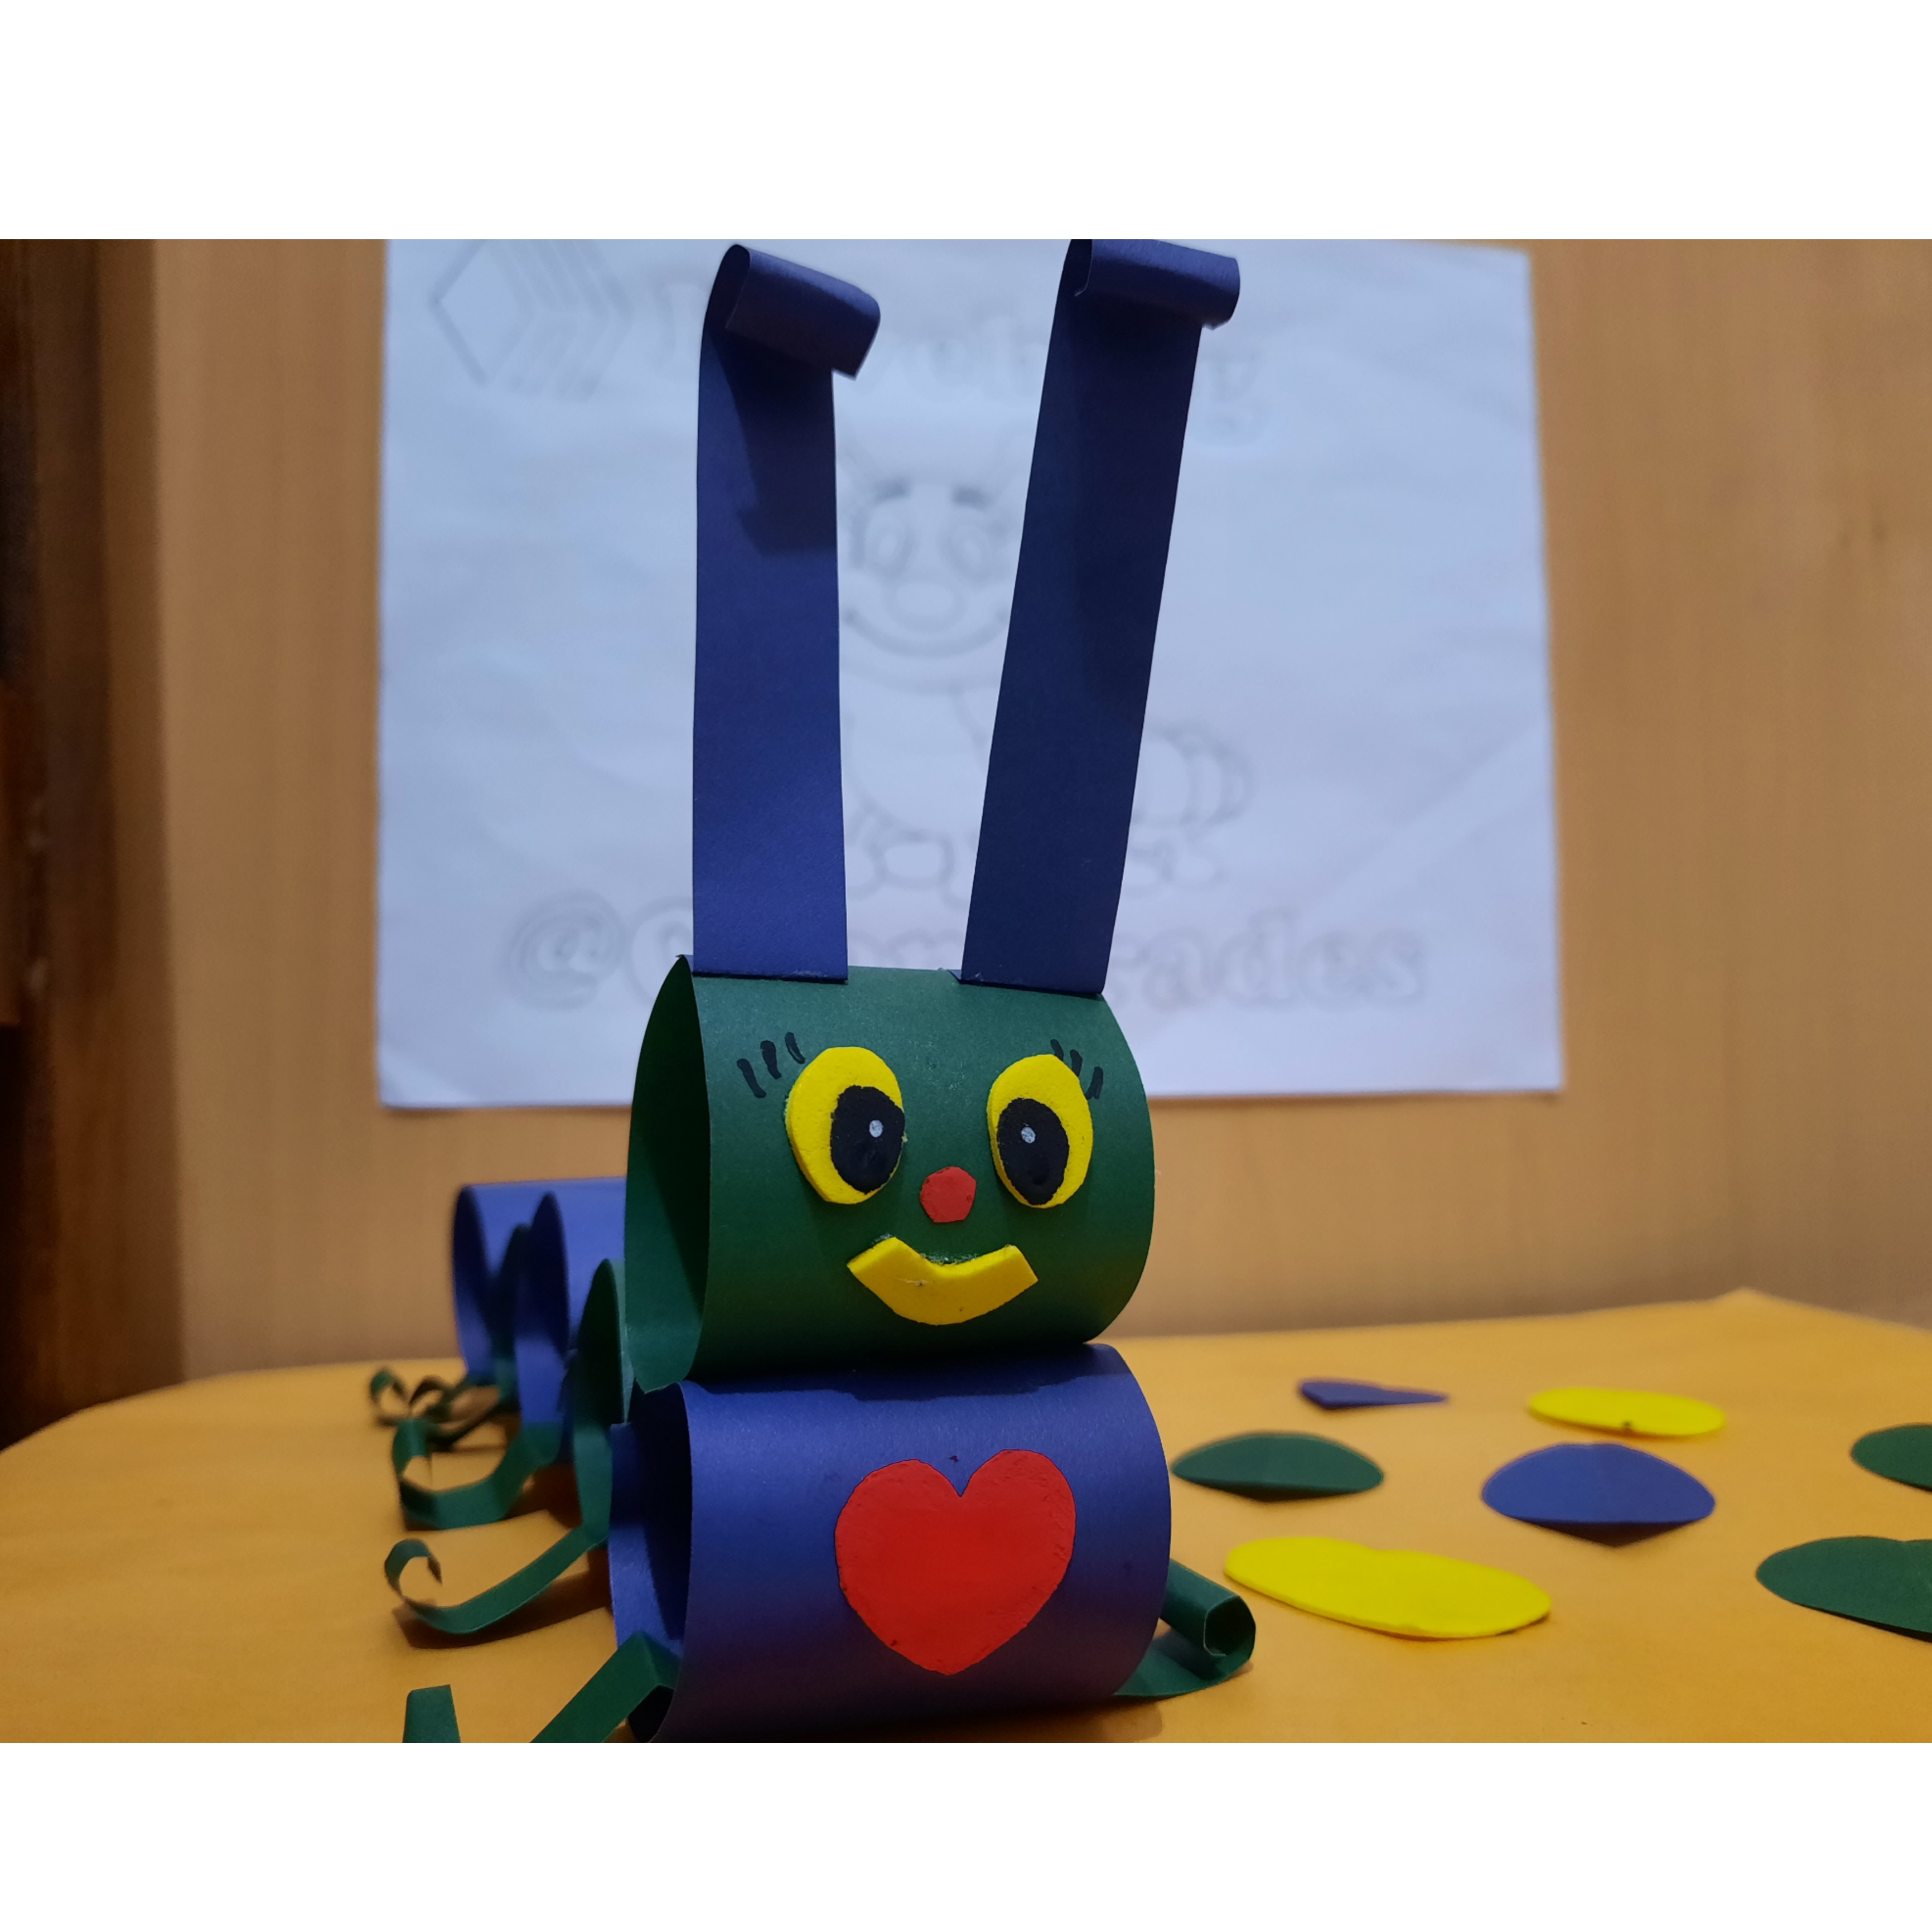
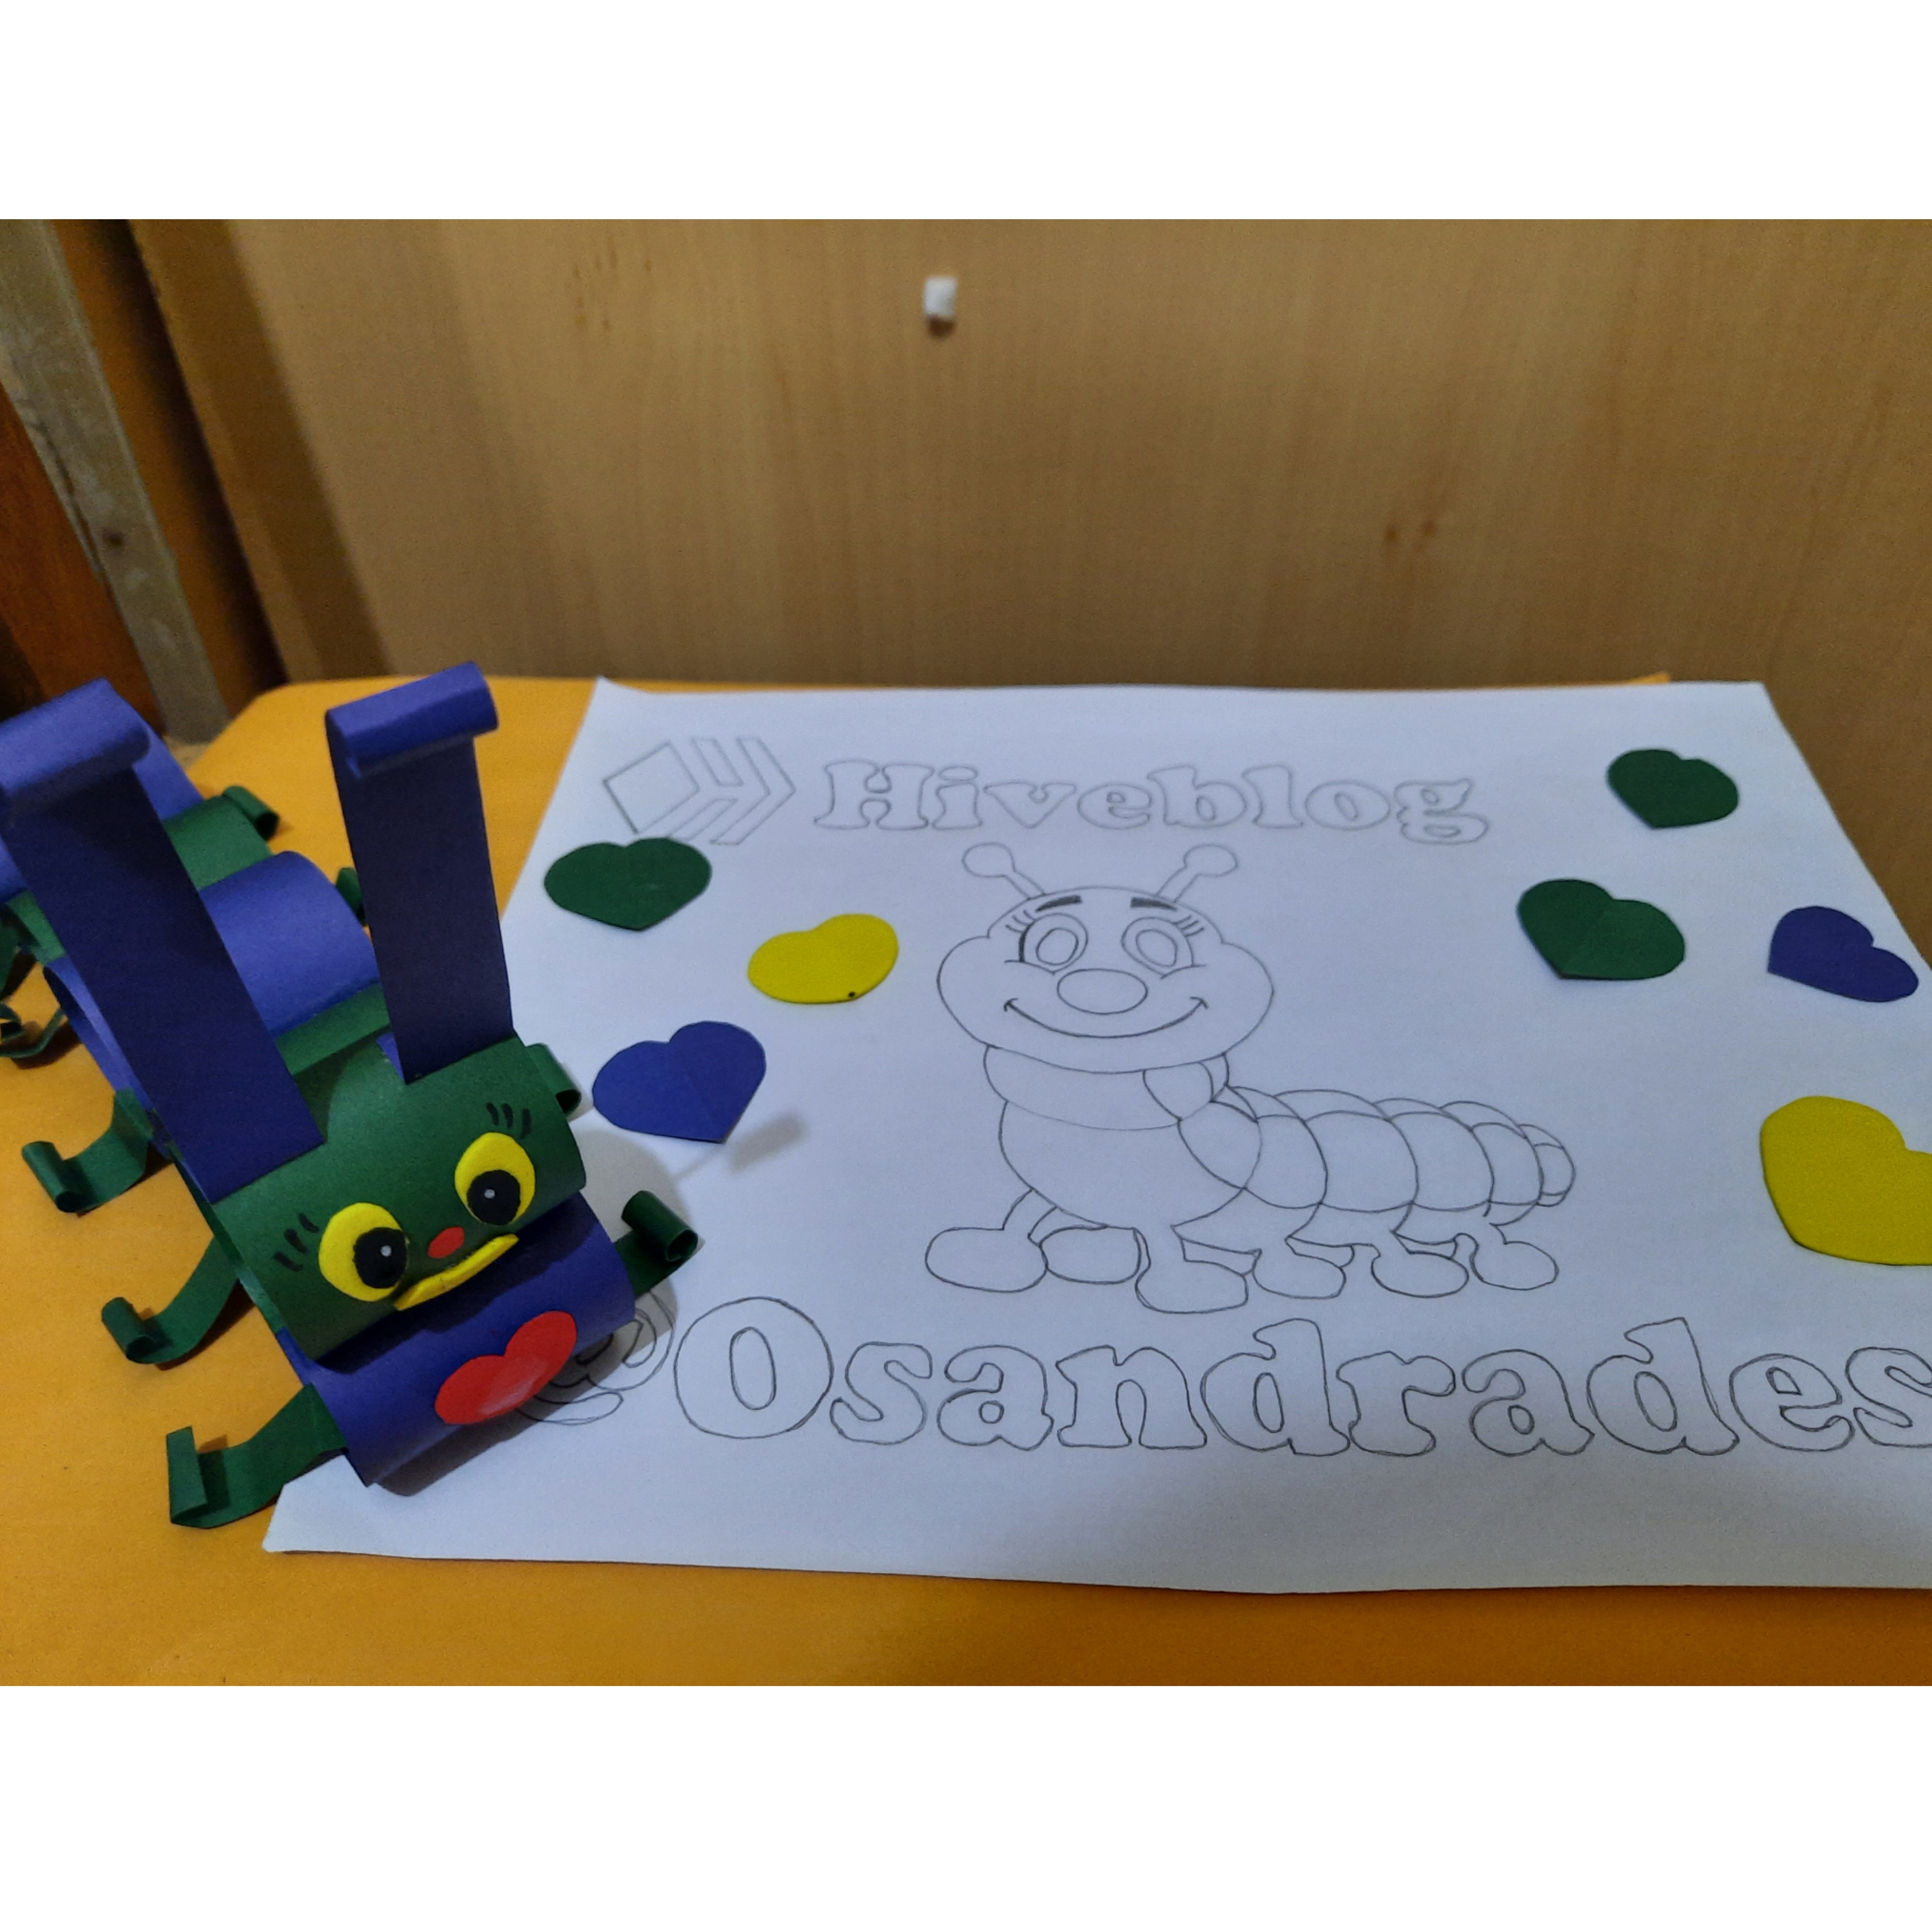
Para Finalizar con la cartulina color verde restante sacaremos ocho tiras para hacerle lo que serían sus patitas pegaremos en cada cilindro dándole a nuestro Gusanito una bella presentación.
To finish with the remaining green cardboard we will take out eight strips to make what would be its legs, we will stick on each cylinder giving our Little Worm a beautiful presentation.
RESULTADO FINAL/FINAL SCORE
All the photographs shown in this publication were taken by me from my mobile phone Samsung Galaxy A51 Exclusive for this publication Cumaná - Venezuela
Me agrada que uses tu propia pega, este es un excelente tutorial. Saludos!
muchas gracias amiga. siempre debemos tener un plan B