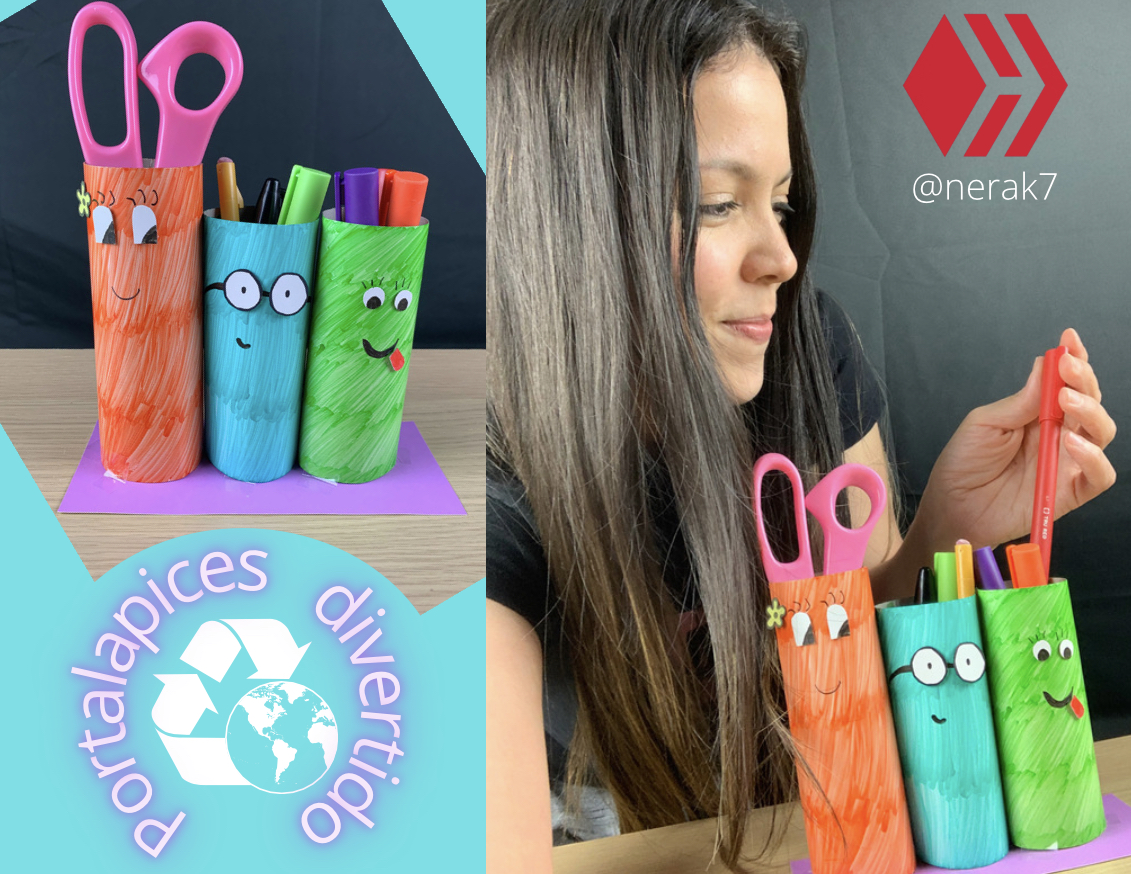
Good morning beautiful people, I find the things that we can create with our hands very impressive and beautiful, it gives it a special value
Today I made a tabletop pencil holder made with recycled materials, it is inspired to do it with children or for them. I hope you like it and enjoy doing it as much as I do.
Buenos días gente linda, me parece muy impresionante y bonitas las cosas que podemos crear con nuestras manos, le da un valor especial.
Hoy hice un portalapices de mesa hecho con materiales reciclados, está inspirado para hacerlo con niños o para ellos. Espero que les guste y disfruten hacerlo tanto como yo.
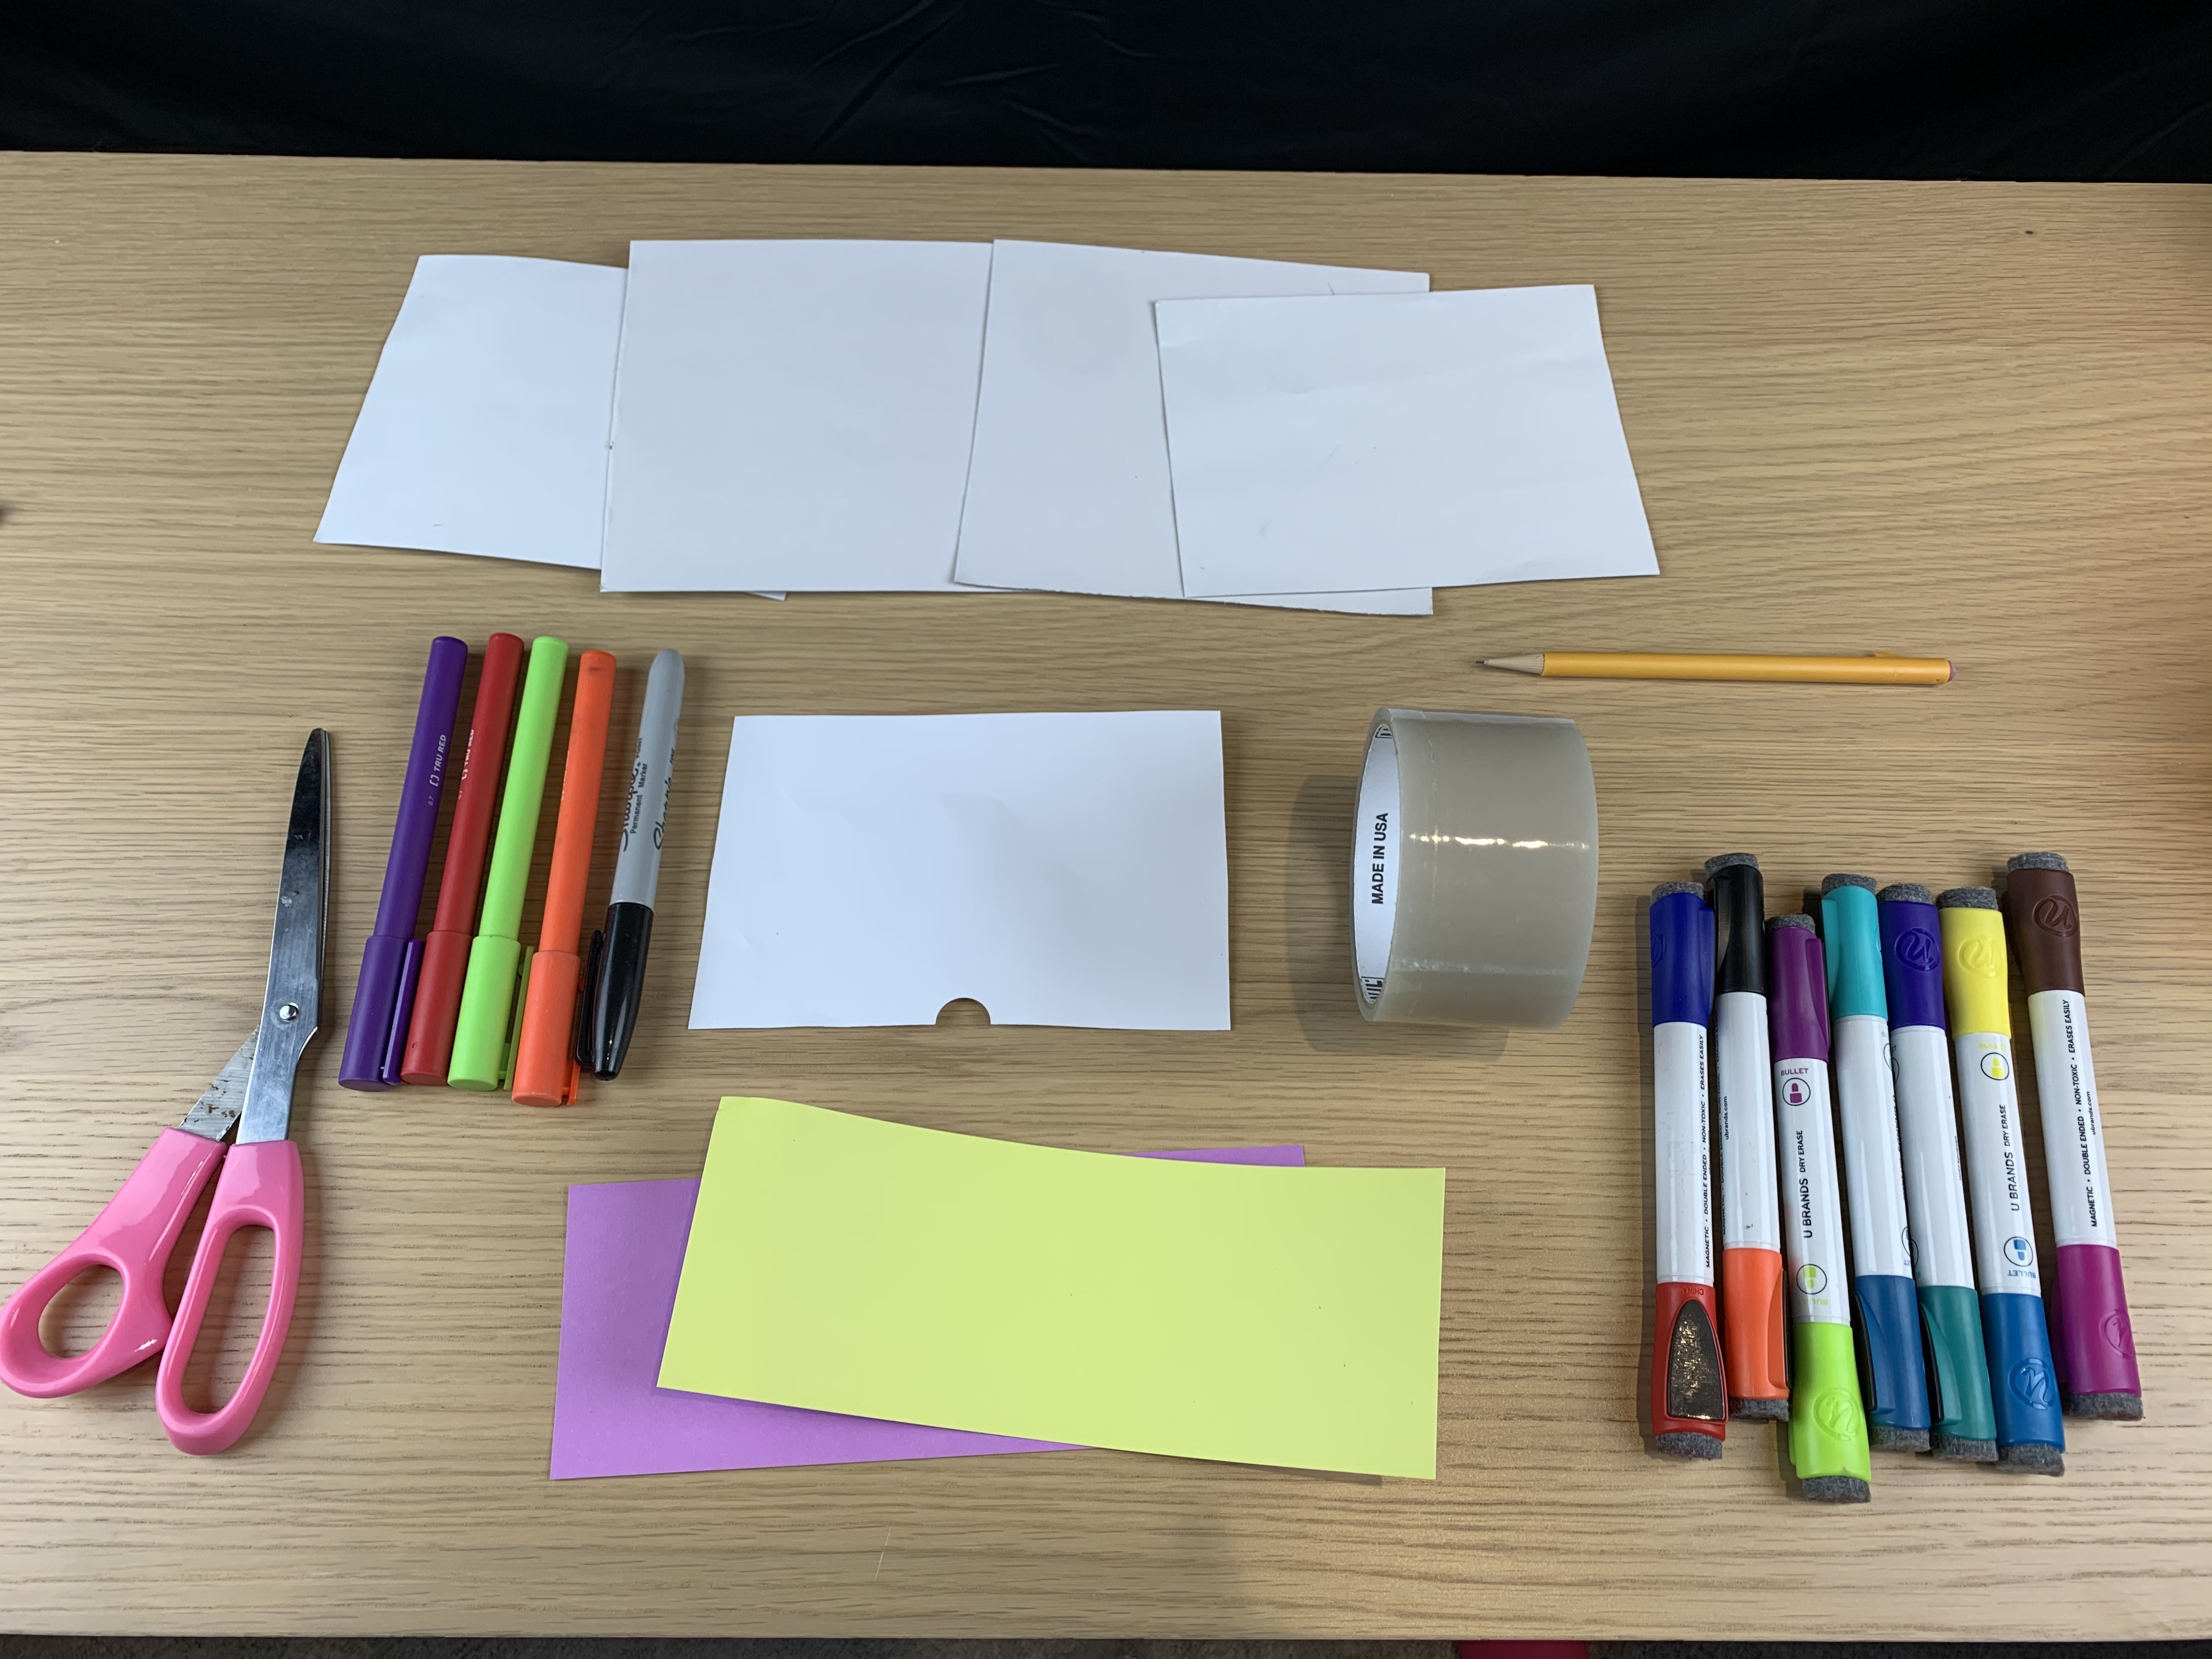
We will need few materials and we can customize it to our liking. Next I will give you the step by step.
Necesitaremos pocos materiales y lo podemos personalizar a nuestro gusto. A continuación les daré el paso a paso.
- Rectangular pieces of white and colored card stock
- Colored markers
- 1 Pencil
- 1 scissors
- Adhesive tape
Materiales:
- 1 Retazos de cartulina rectangular blanco y de colores
- Marcadores de colores
- 1 Lapiz
- 1 tijera
- Cinta adhesiva
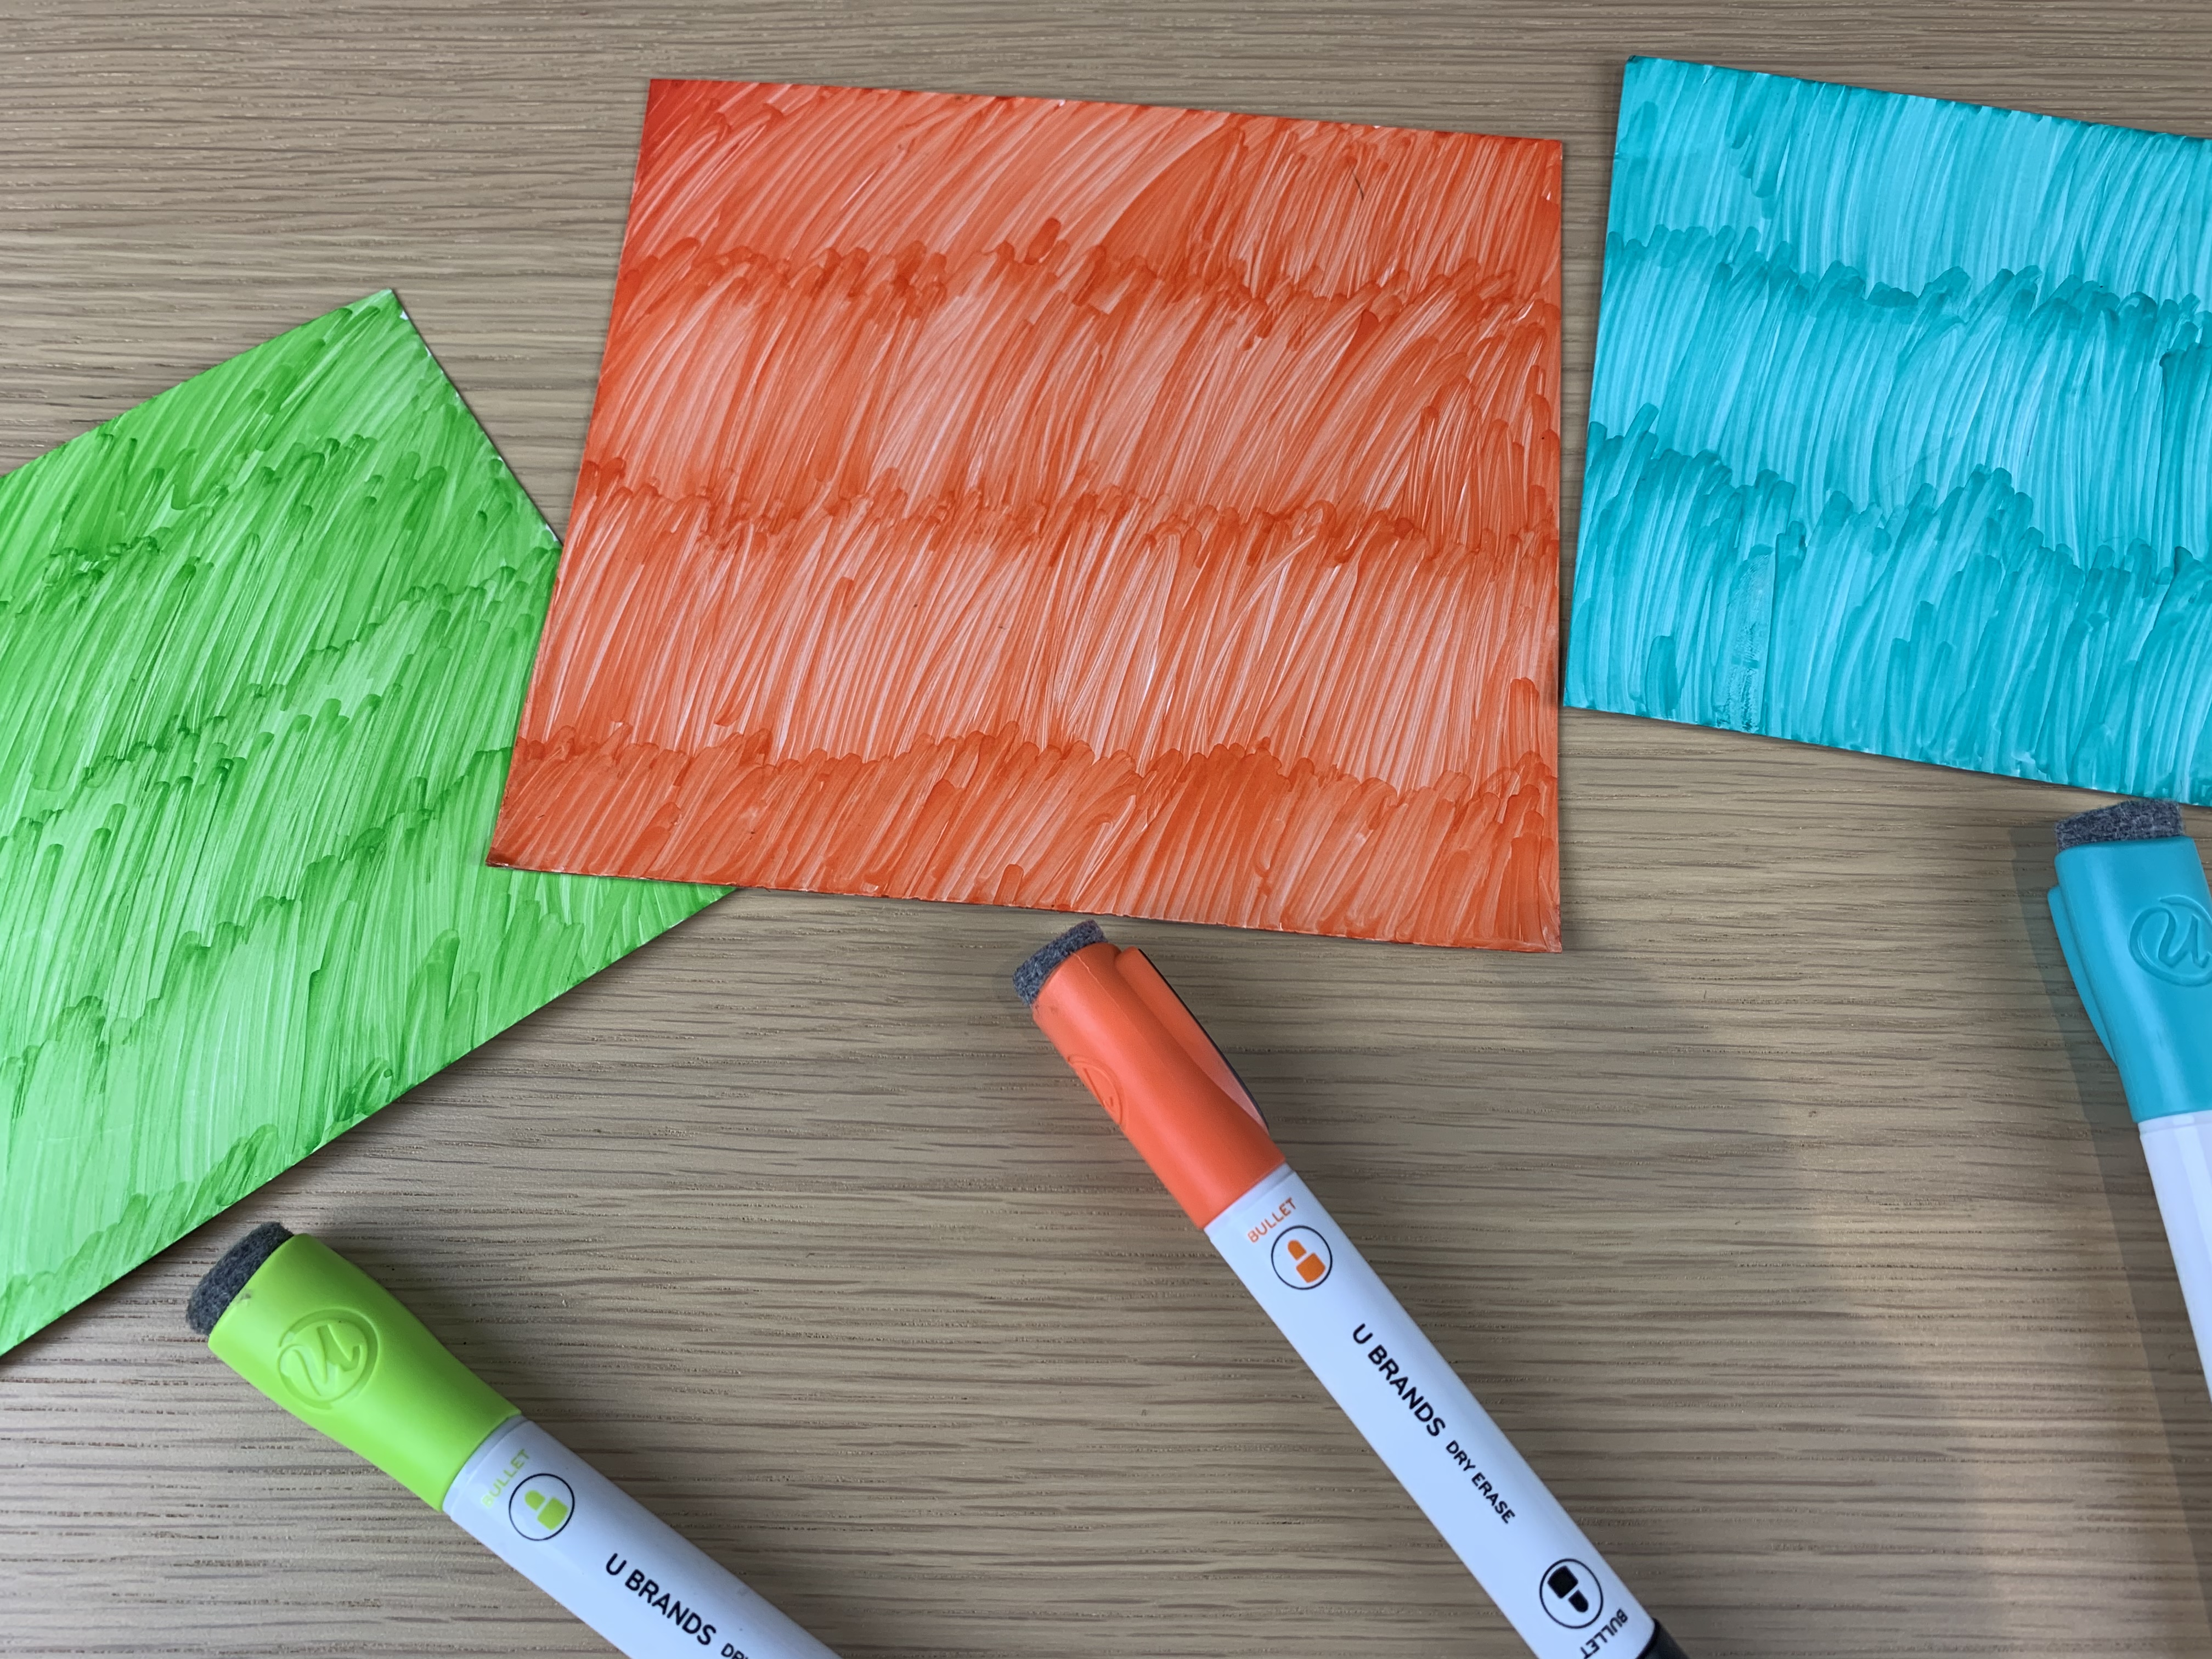
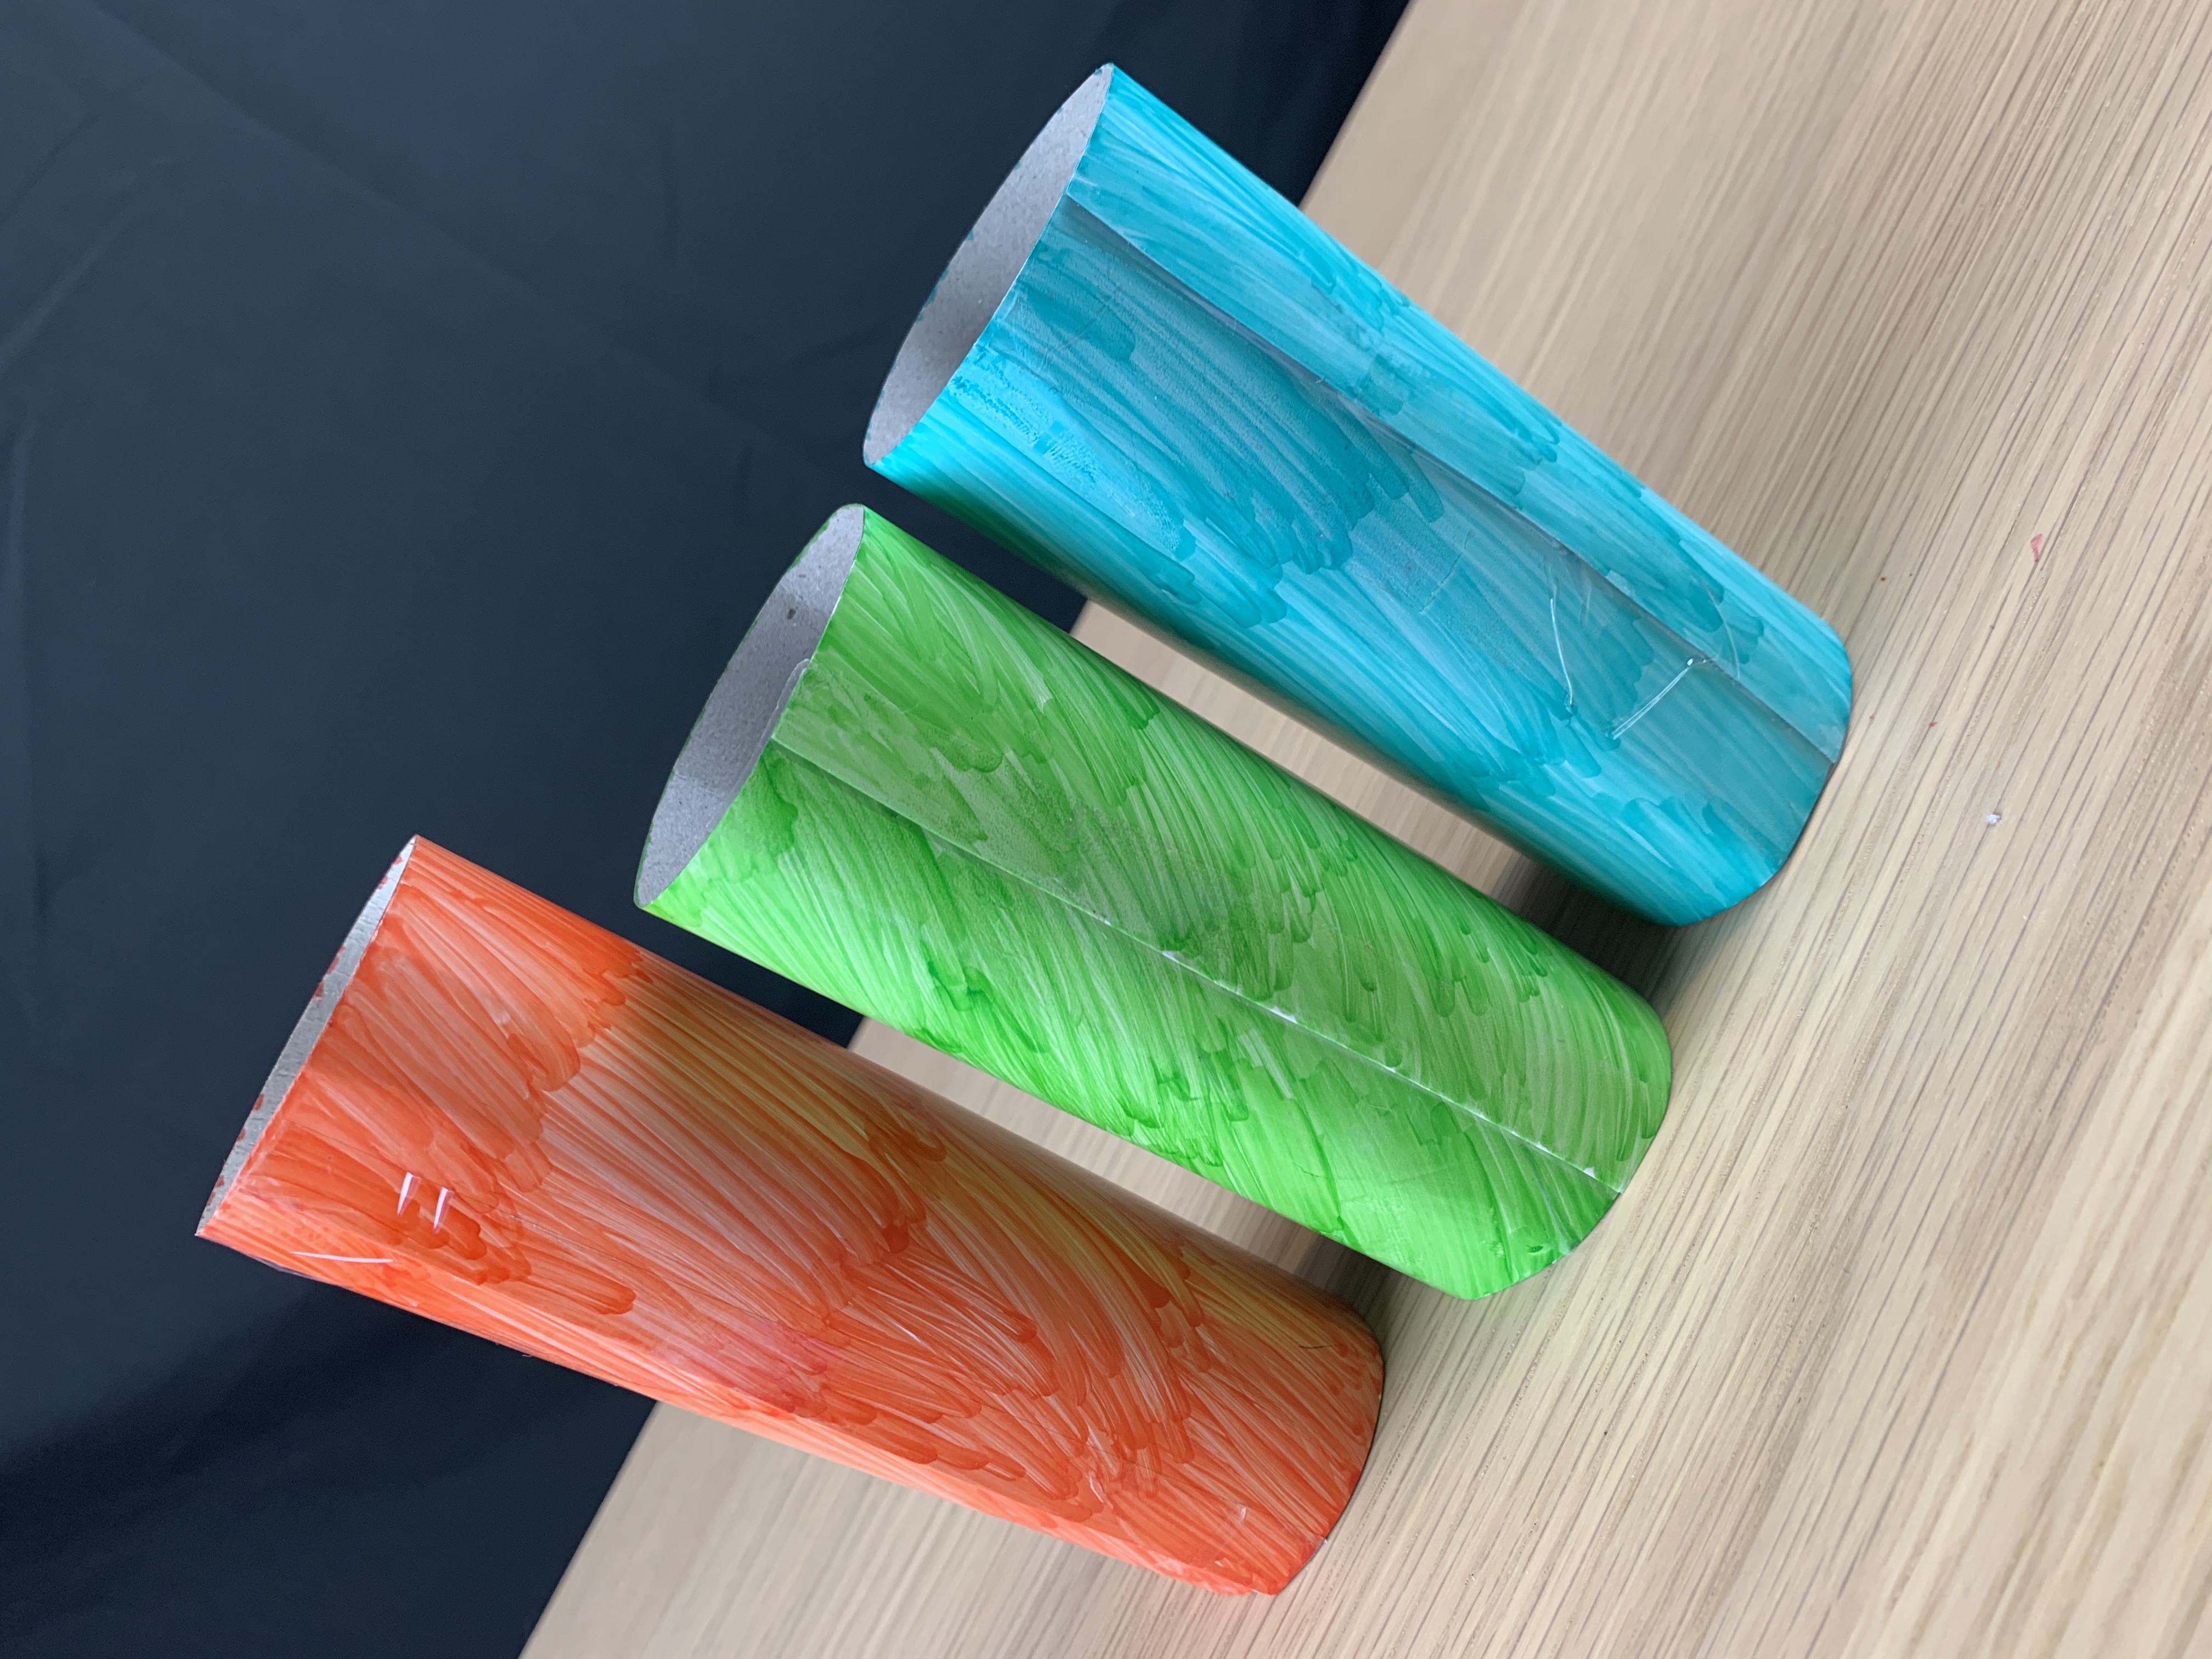
The first thing we will do is cut our bottle into 3 parts, leaving the middle part shorter.
el primer paso será pintar con los marcadores los rectángulos de cartulina. Yo lo pinté en ziczac y le di un efecto visual de tener mucho pelo.
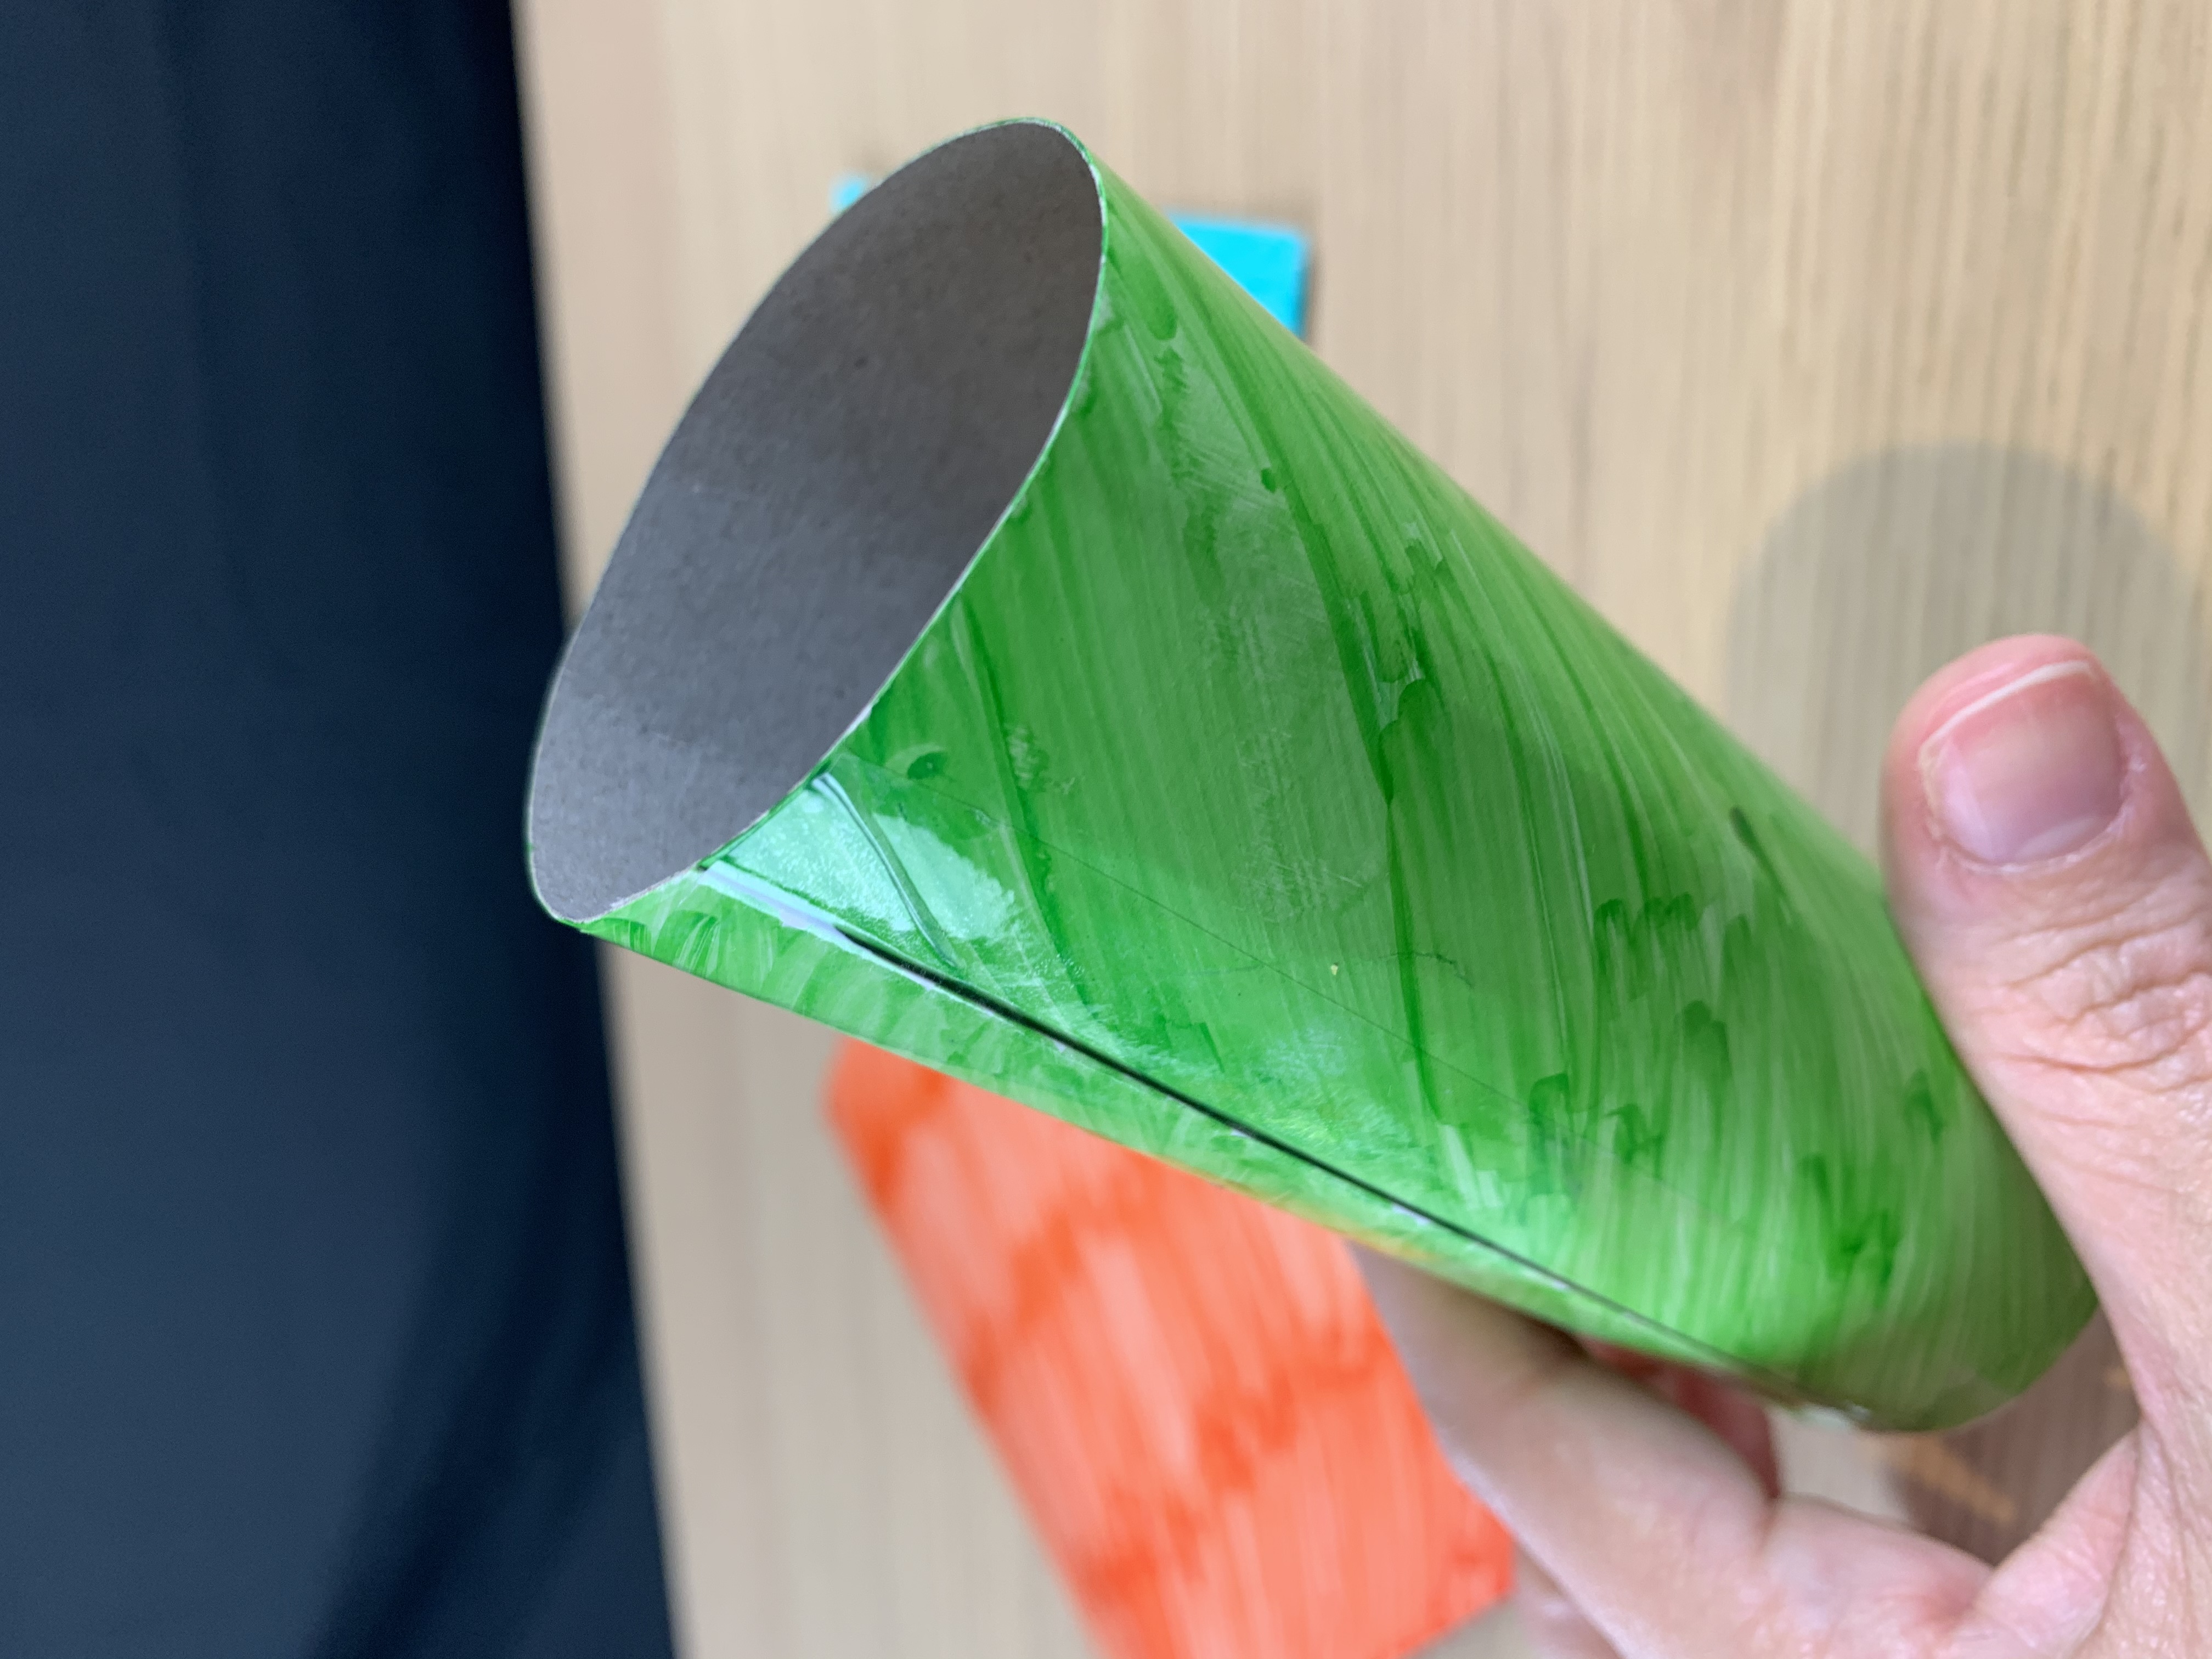
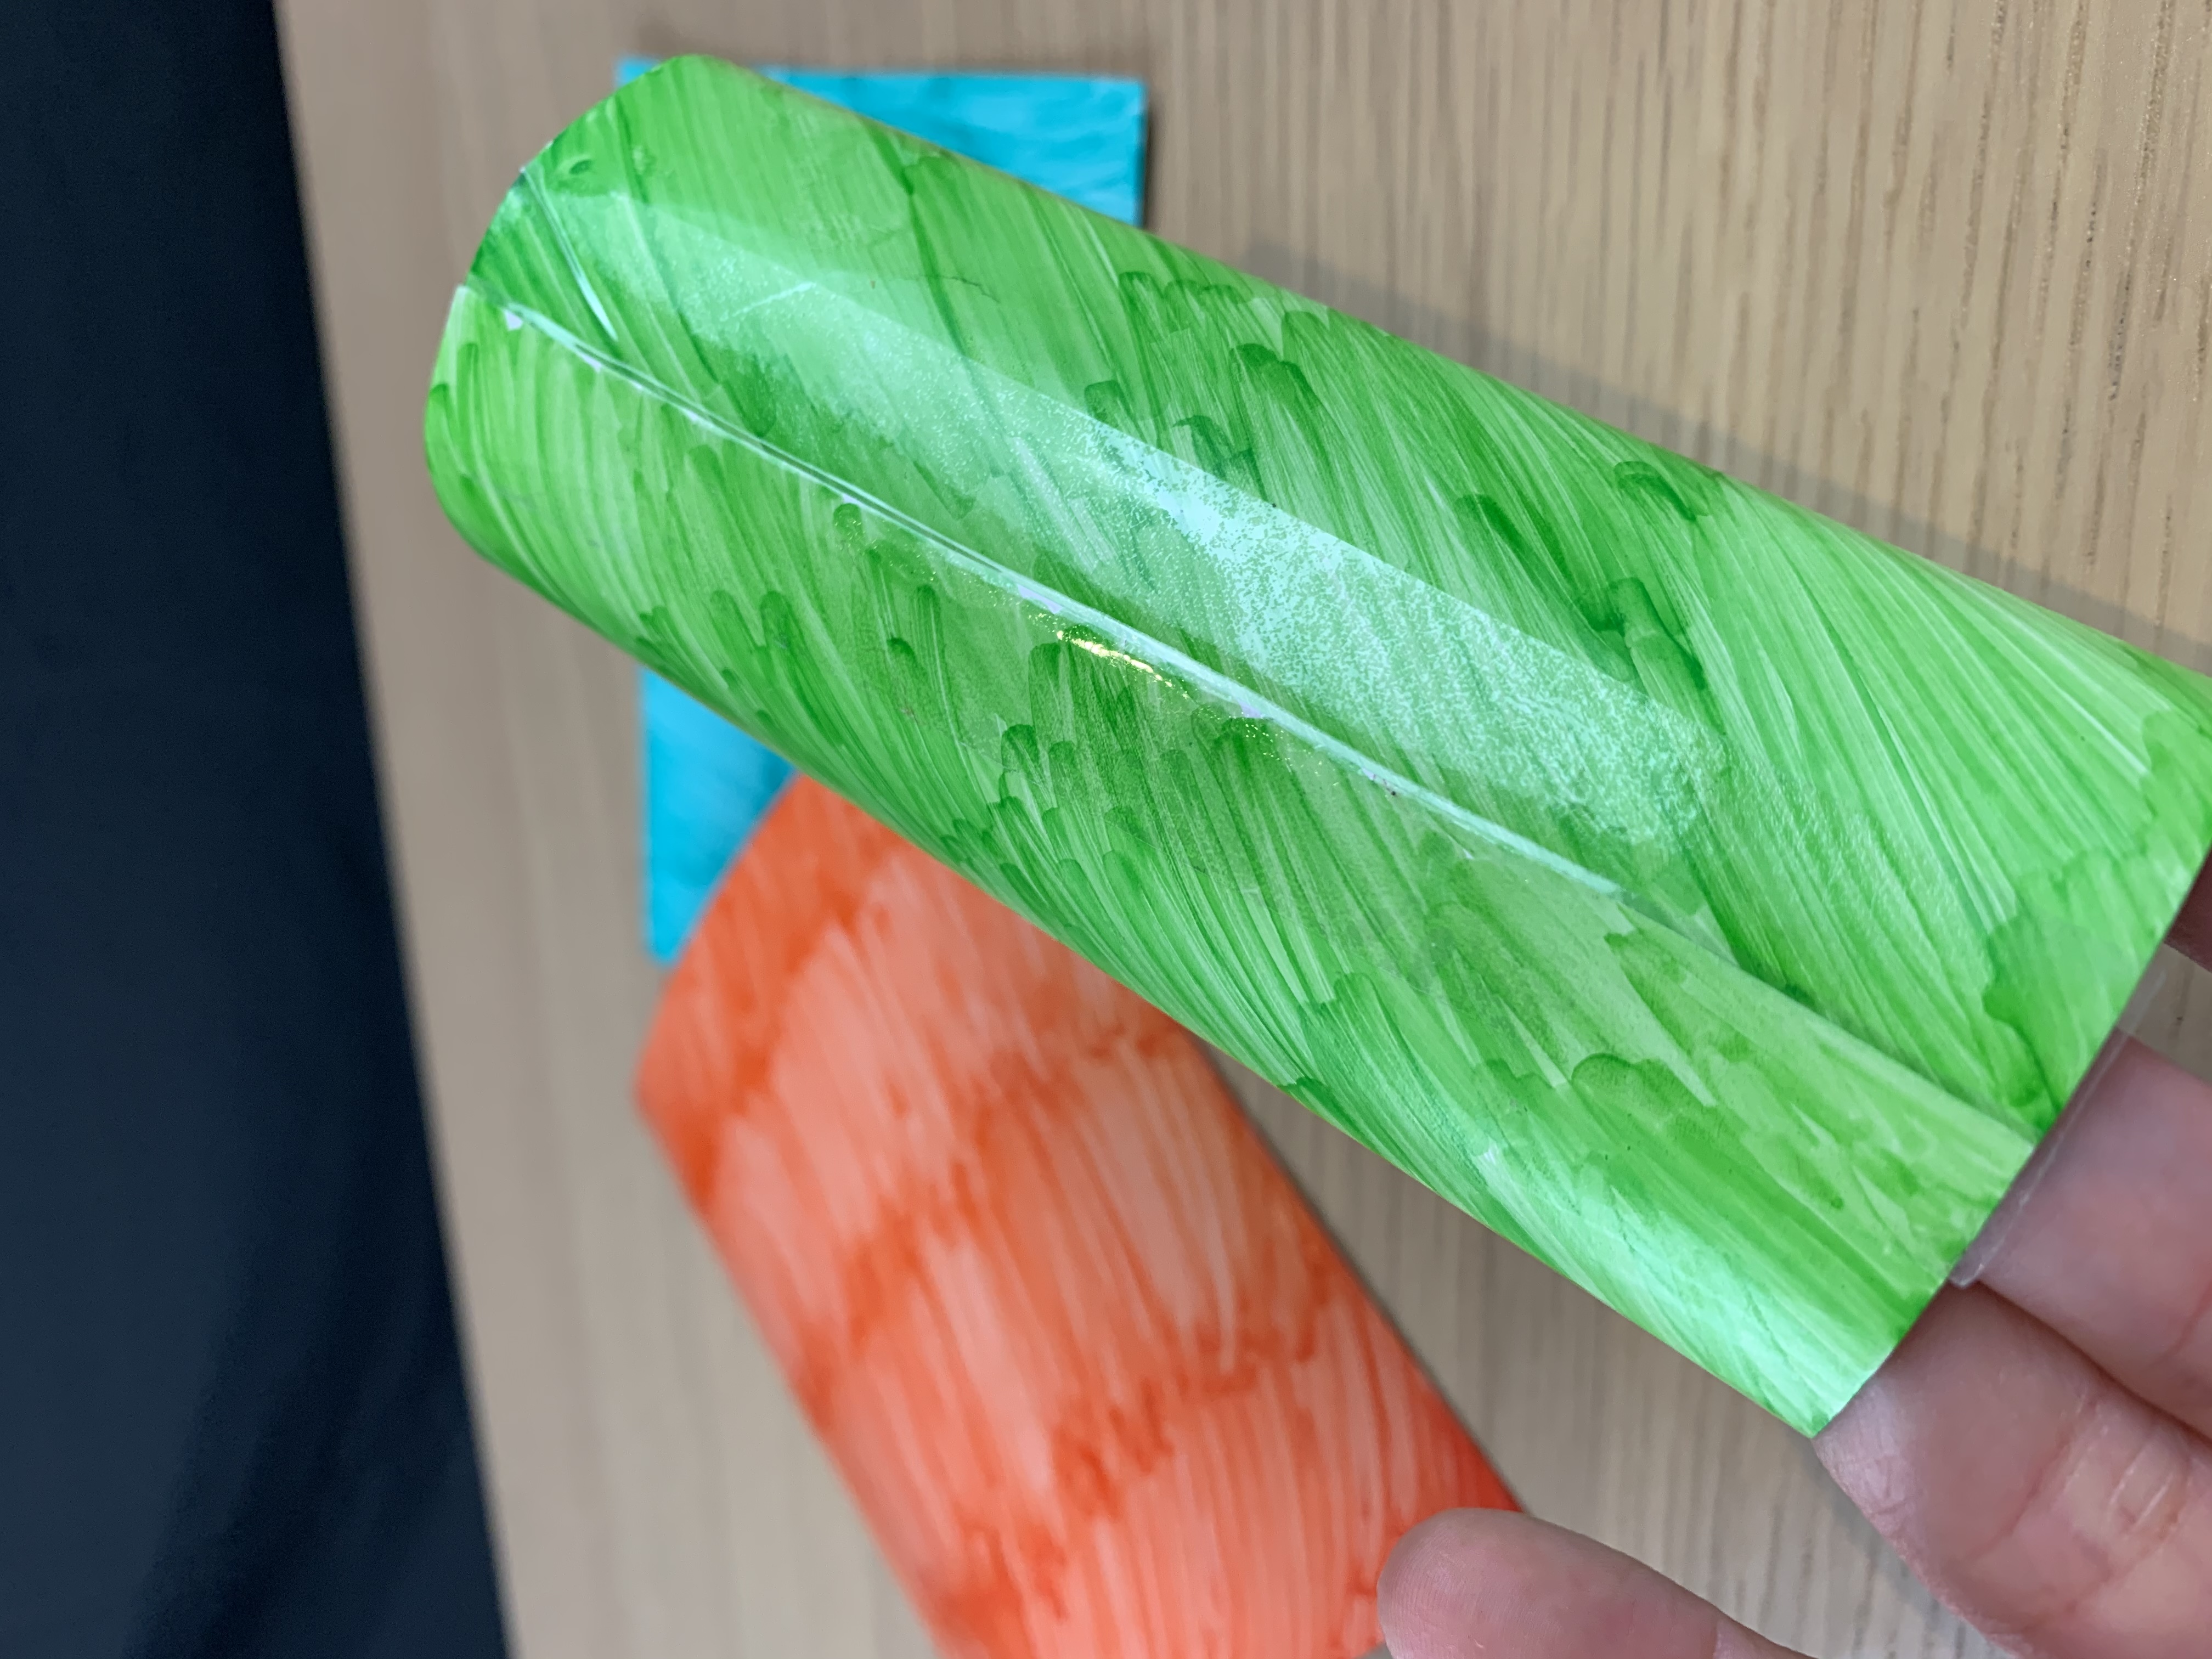
Then we tape both ends together to form a cylinder.
Luego fijamos con cinta adhesiva ambos extremos para formar un cilindro.
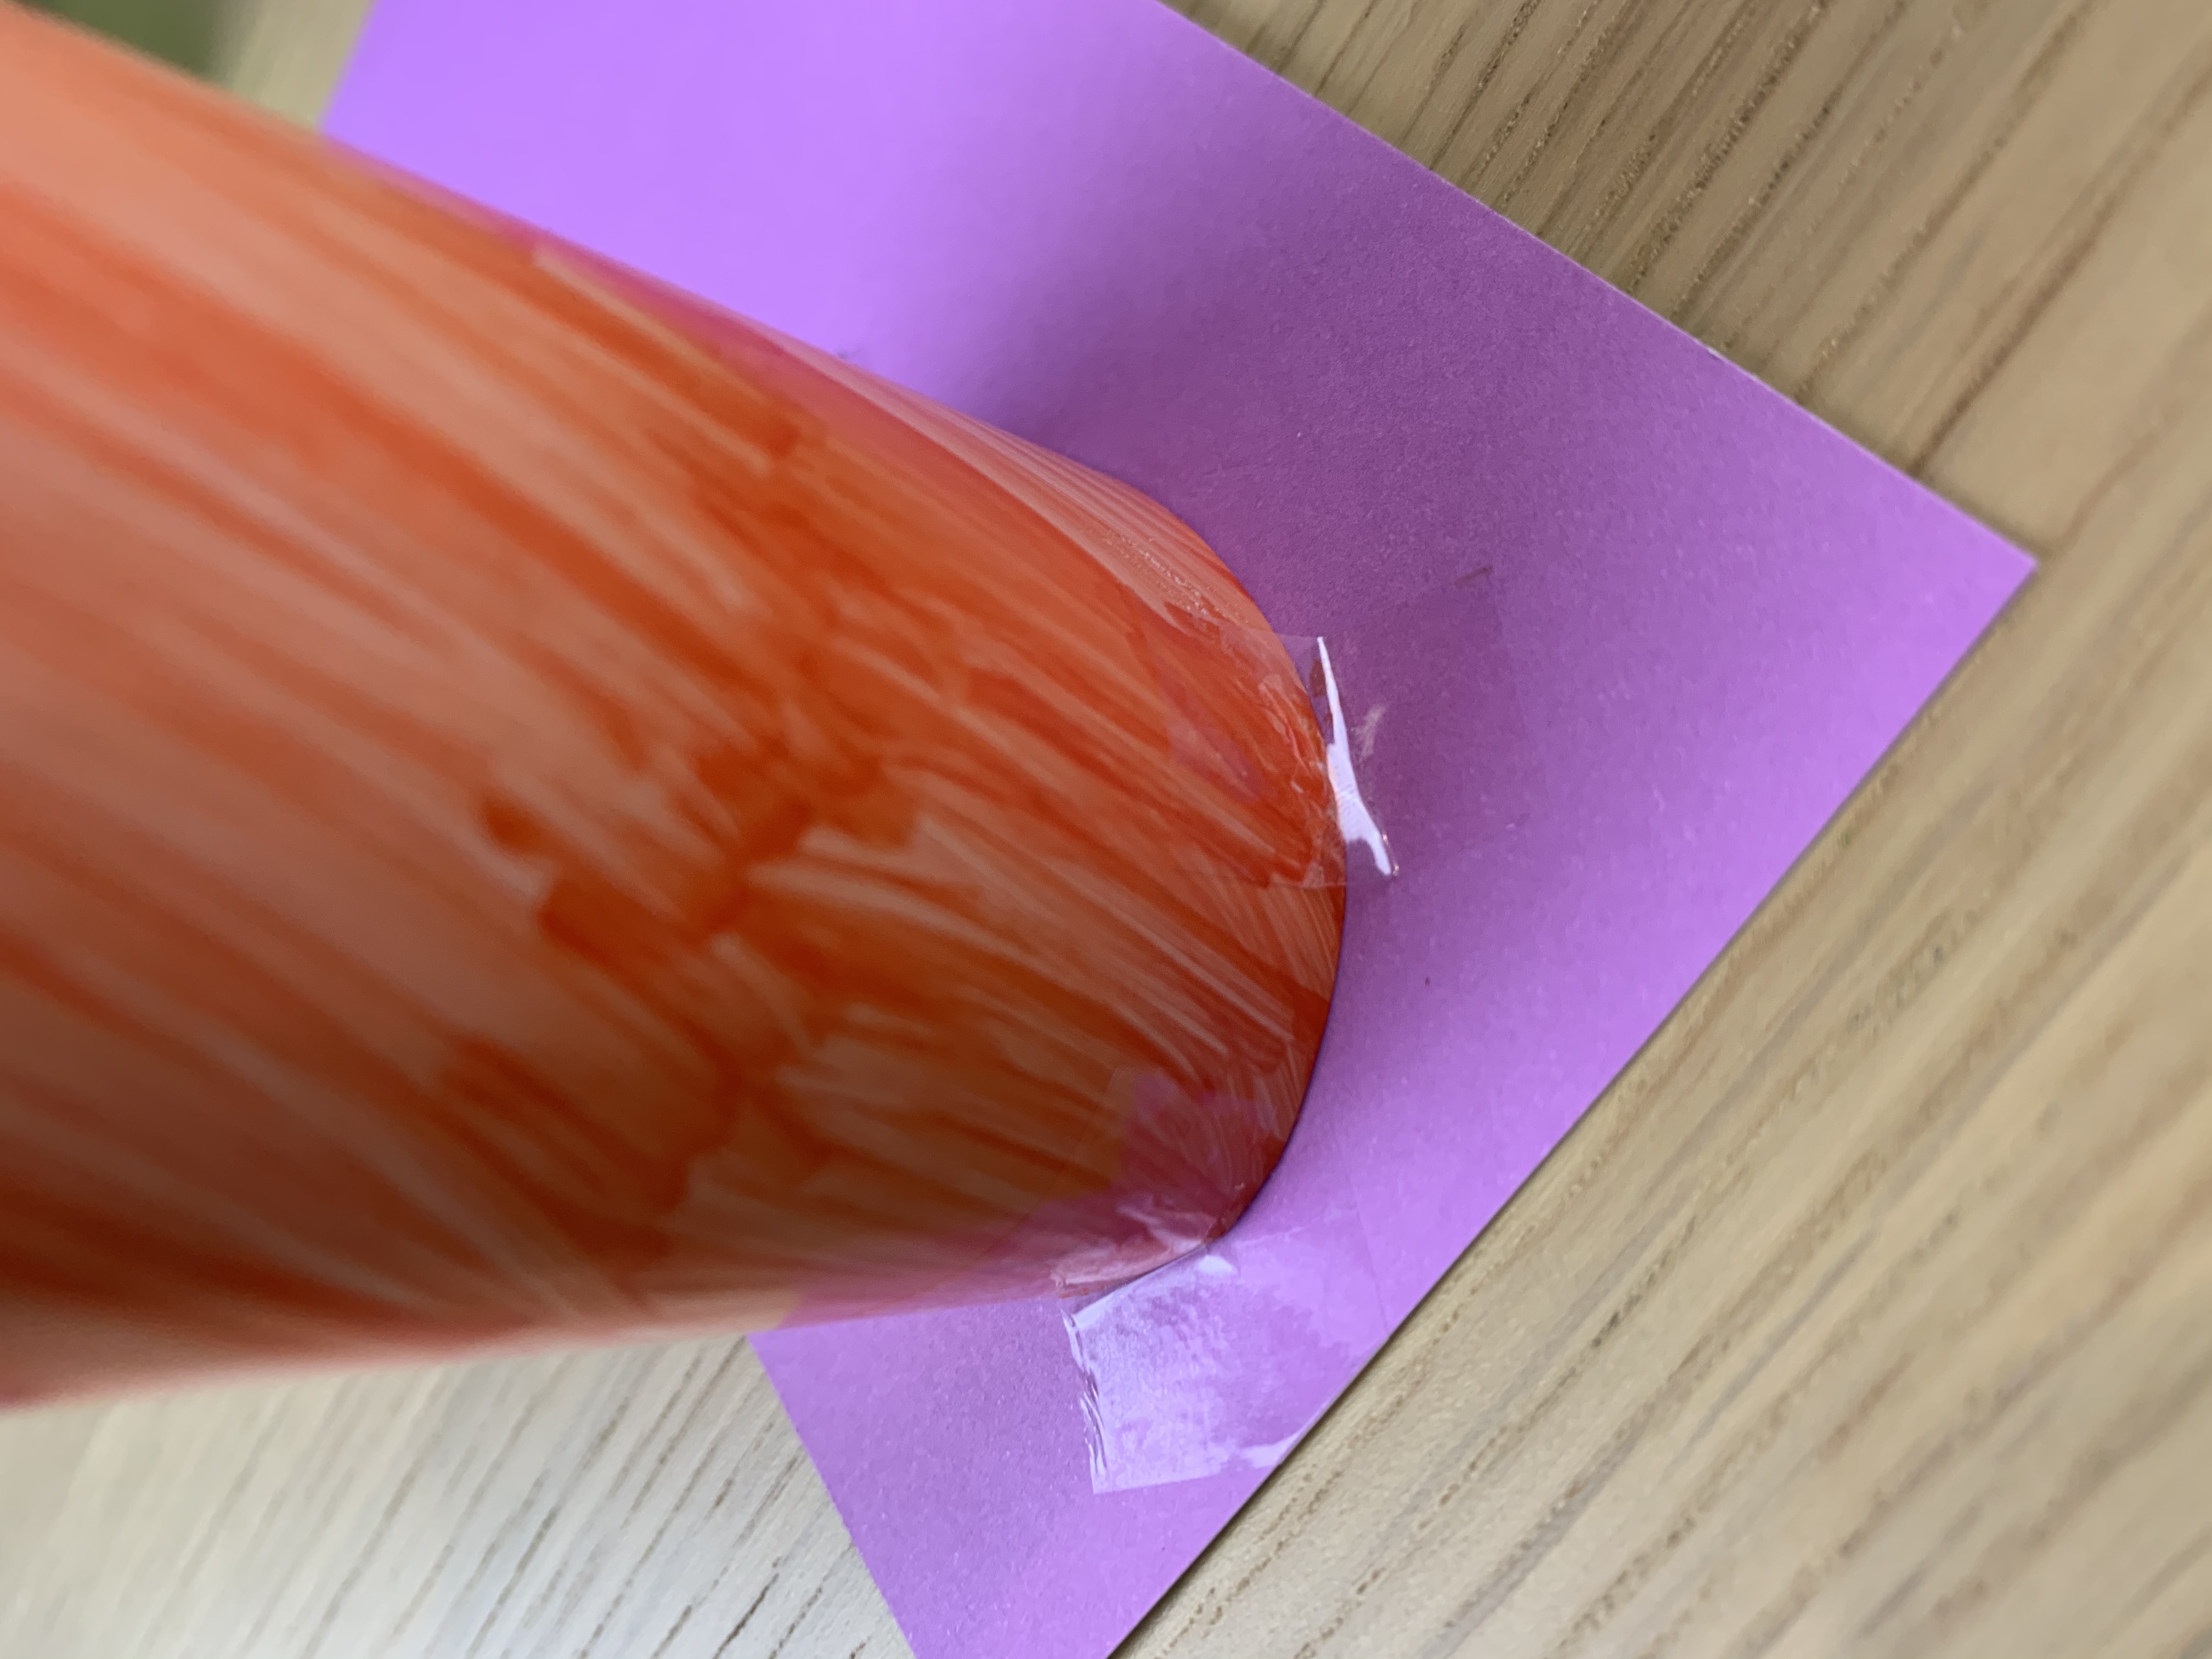
Once the cylinders are formed, we take one of the colored cards and we will use it down, with adhesive tape we will fix the cylinders to the base in this way.
Una vez formados los cilindros, tomamos una de las cartulinas de colores y la usaremos de baje, con cinta adhesiva fijaremos los cilindros a la base de esta manera.
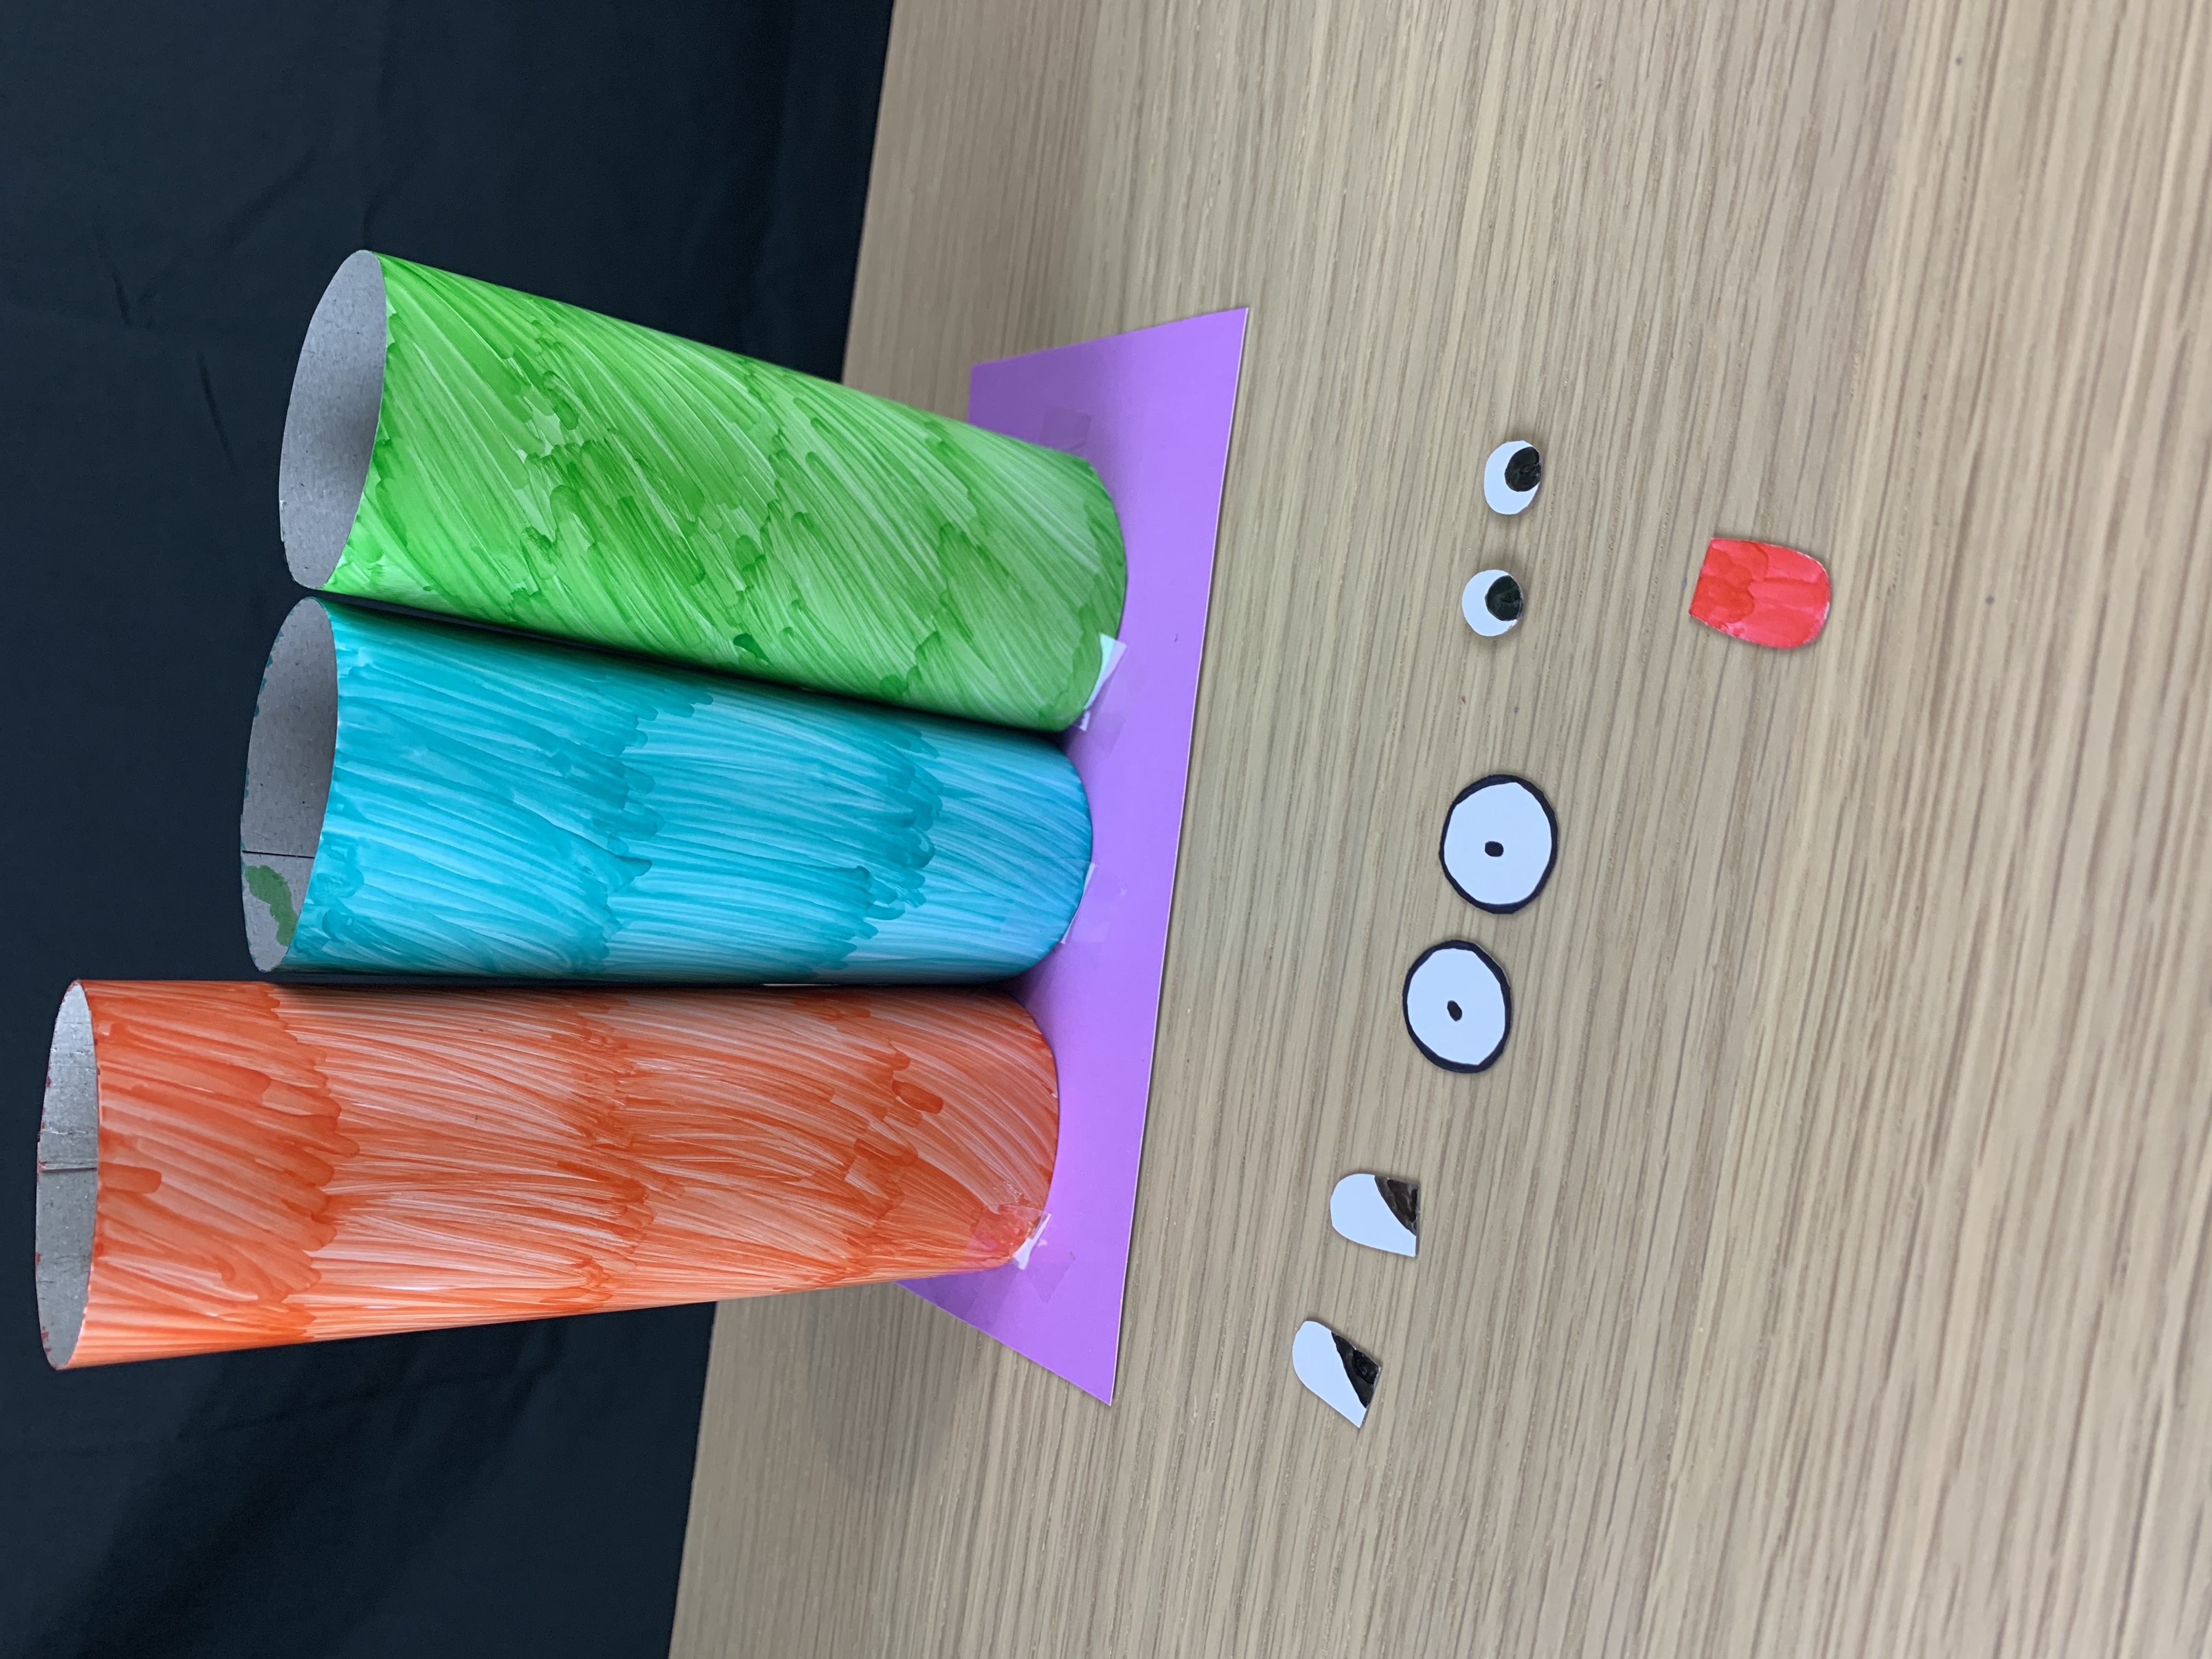
Now comes the funniest part, personalize them, you can let your imagination fly, here I leave you what I did to inspire you or do it the same. With the white cardboard we will draw the details, eyes, glasses, language, or whatever you prefer, we will go through and paste.
Ahora viene la parte más divertida, personalizarlos, puedes dejar volar tu imaginación, aquí te dejo lo que hice para que te inspires o lo hagas igual. Con la cartulina blanca dibujaremos los detalles, ojos, anteojos, lengua, o lo que prefieras, recorramos y pegamos.
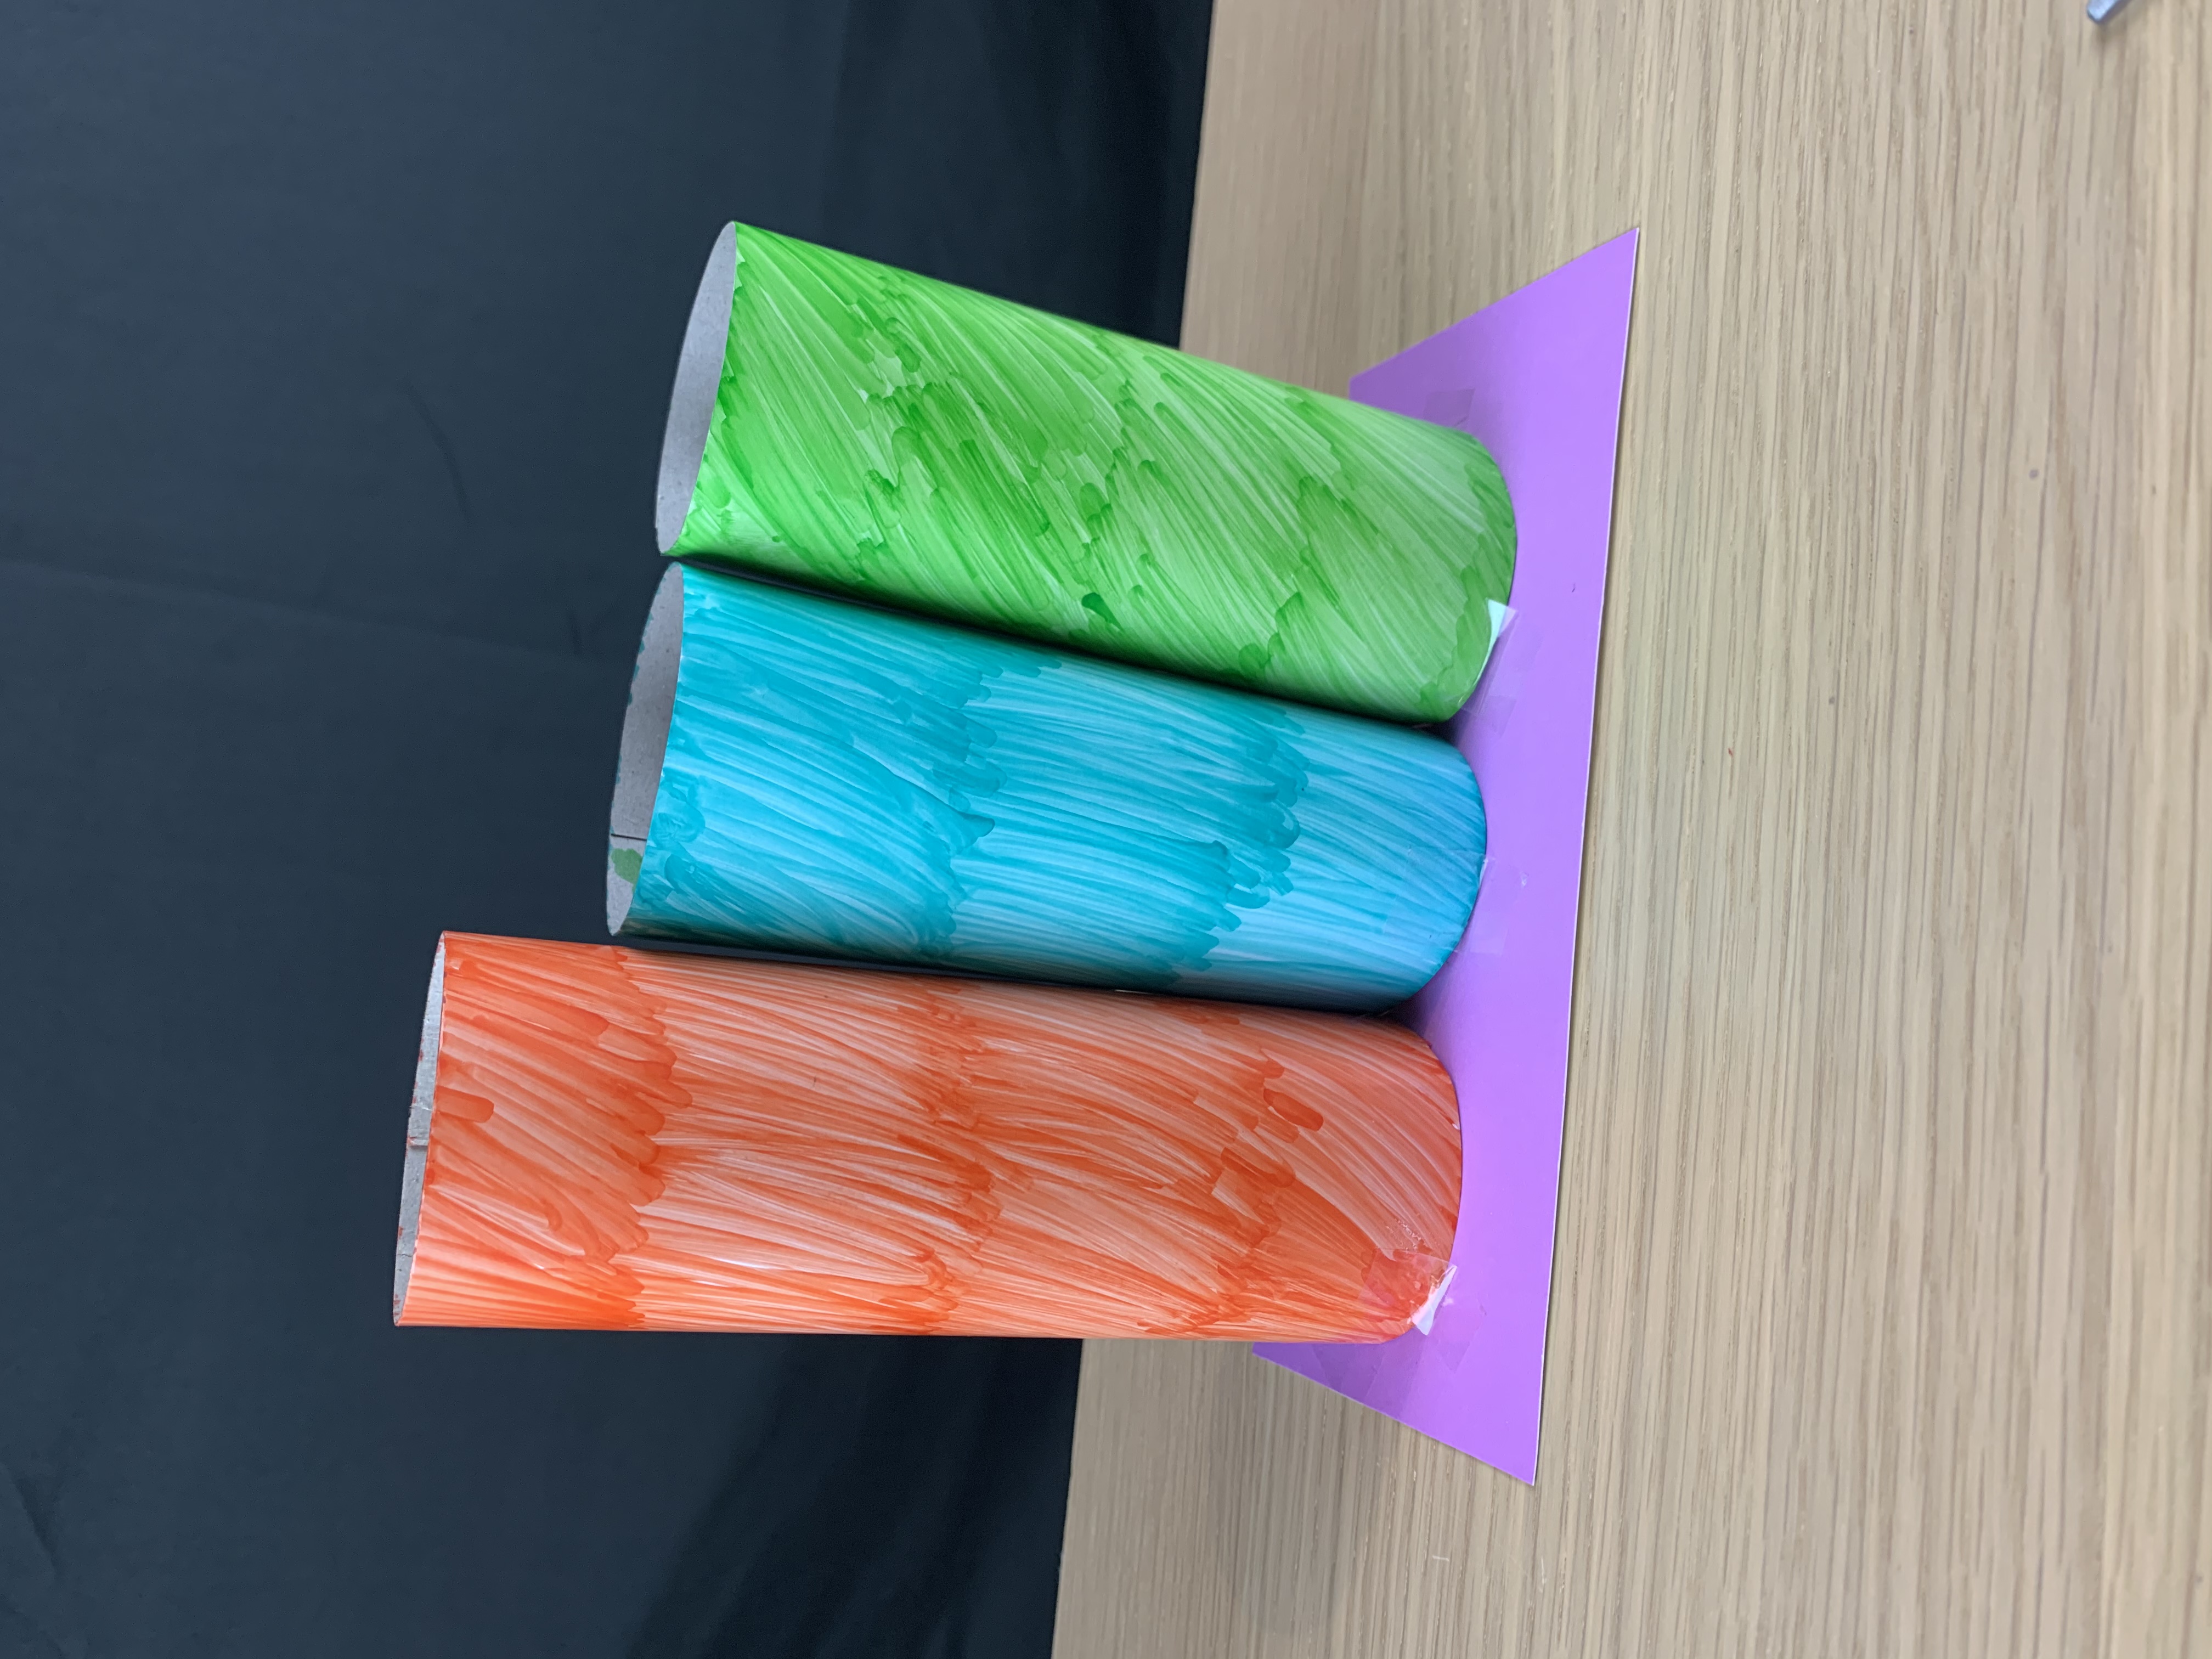
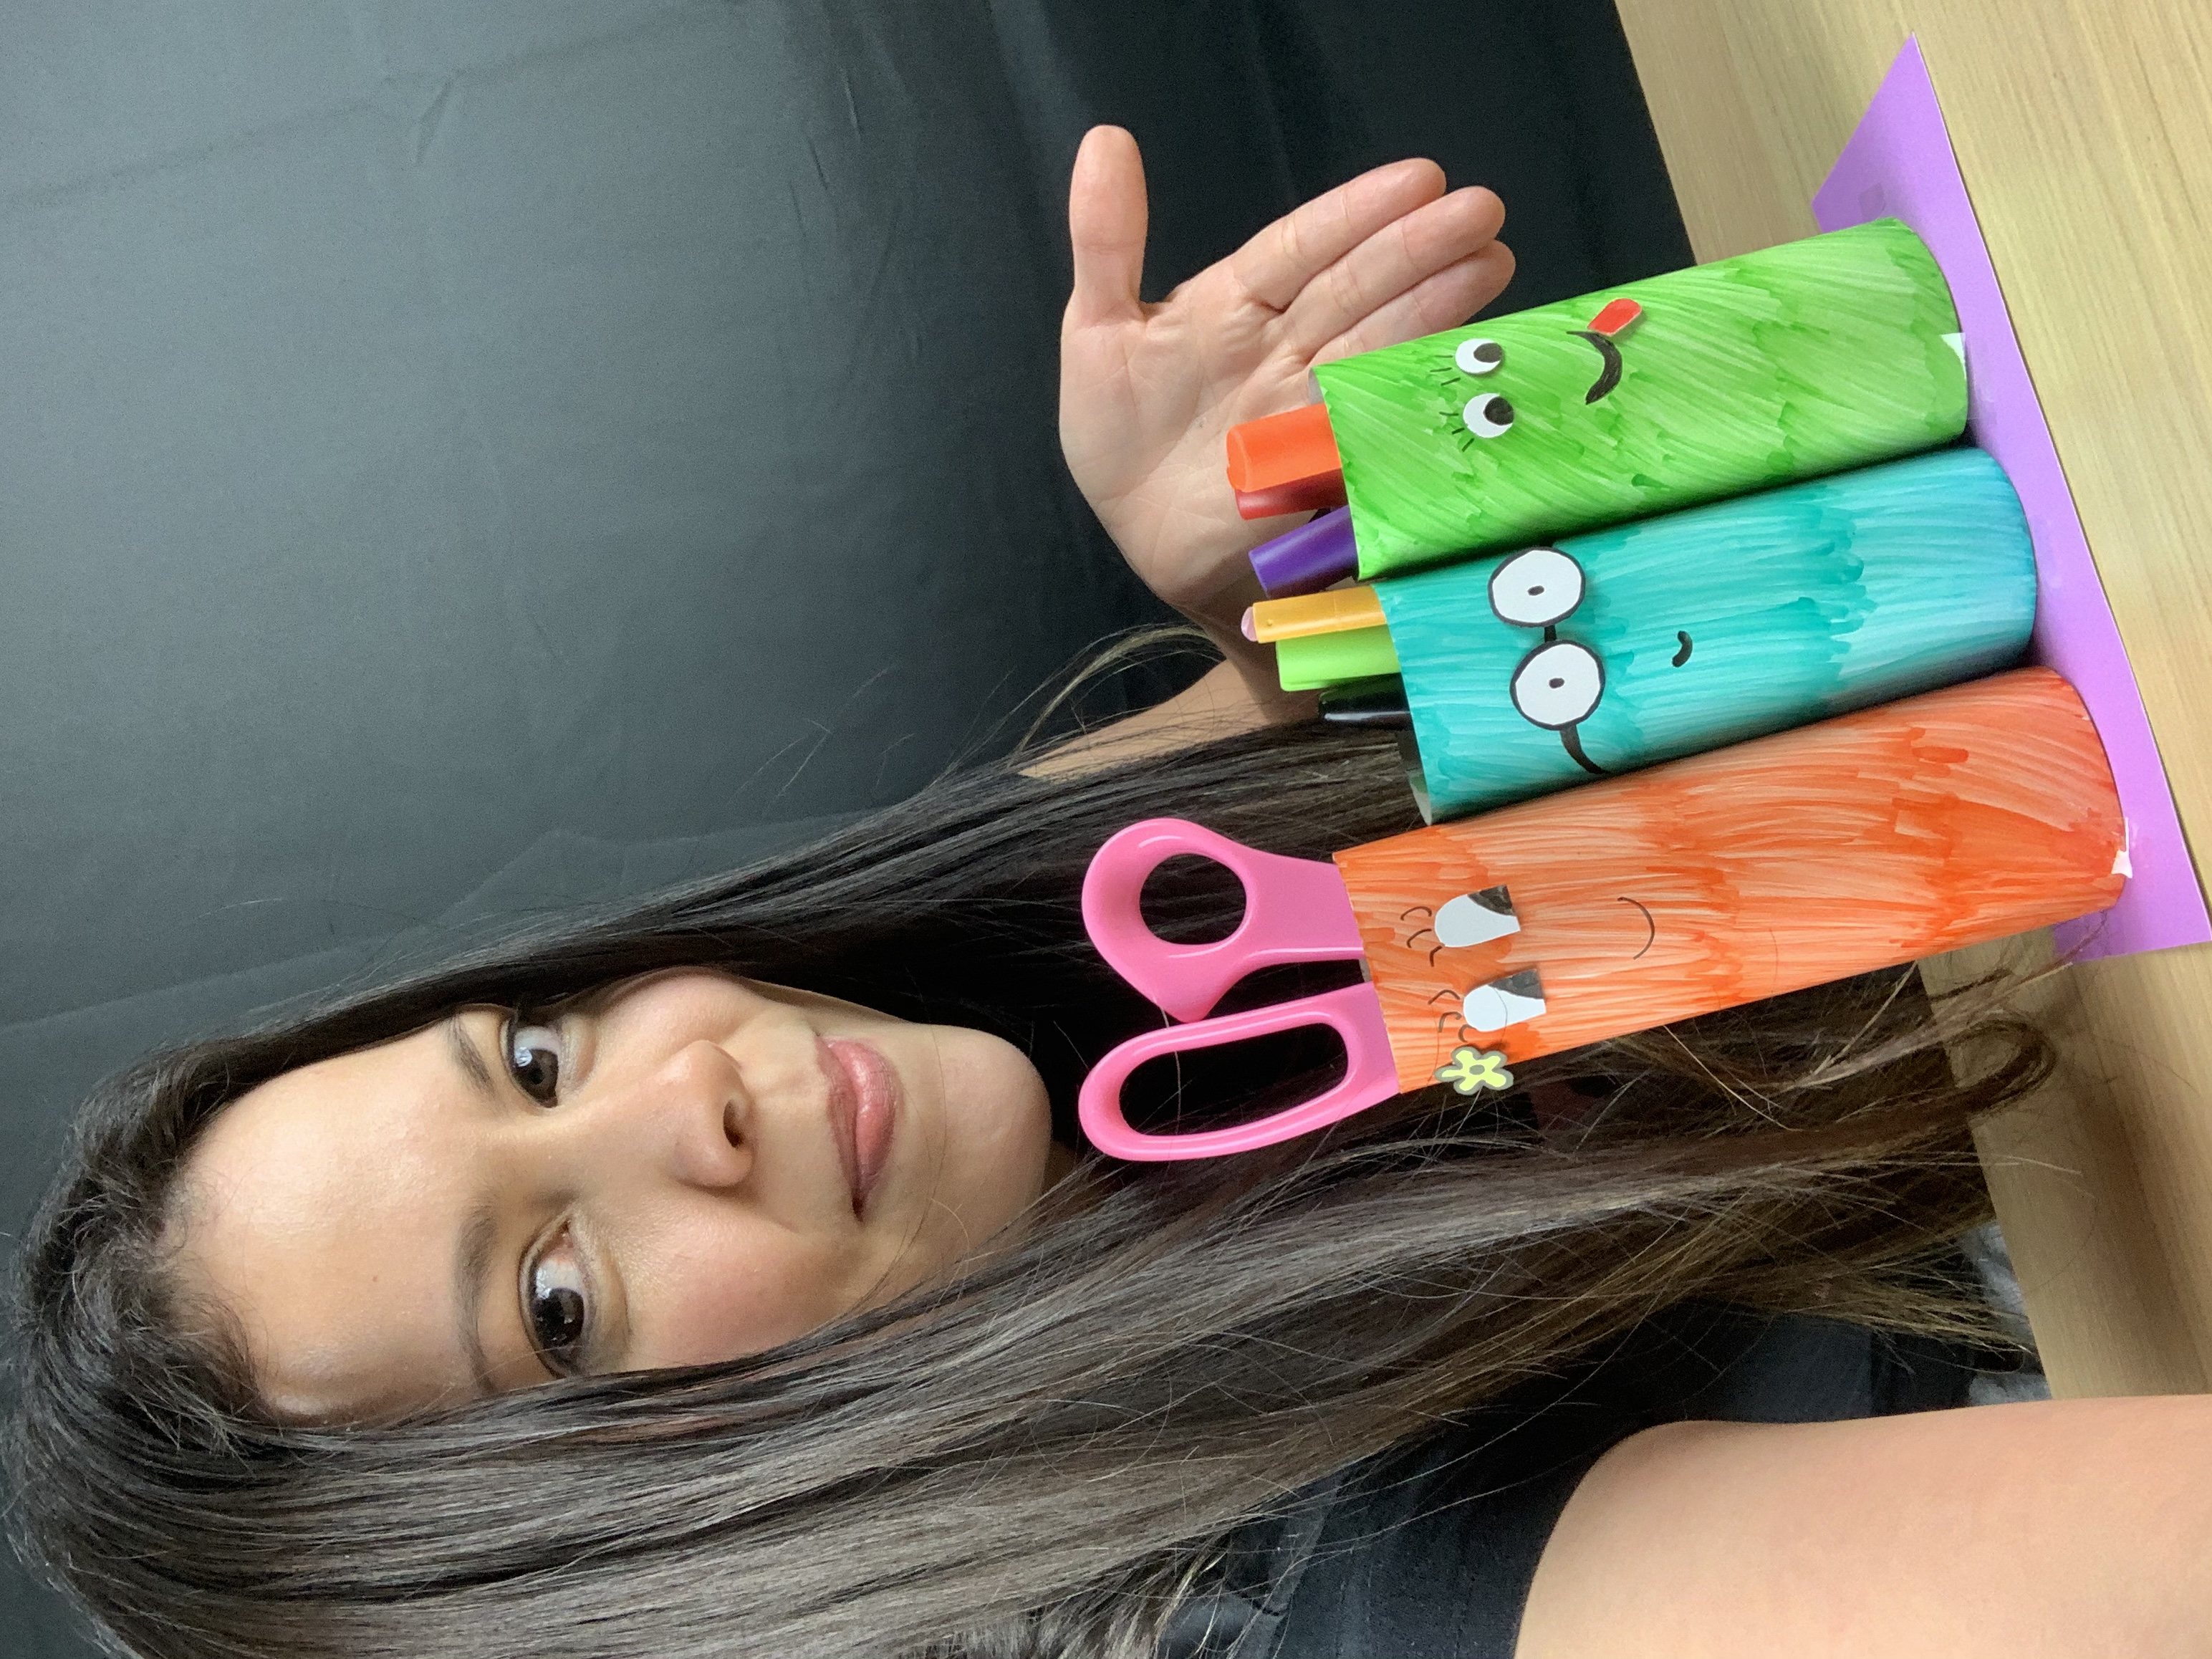
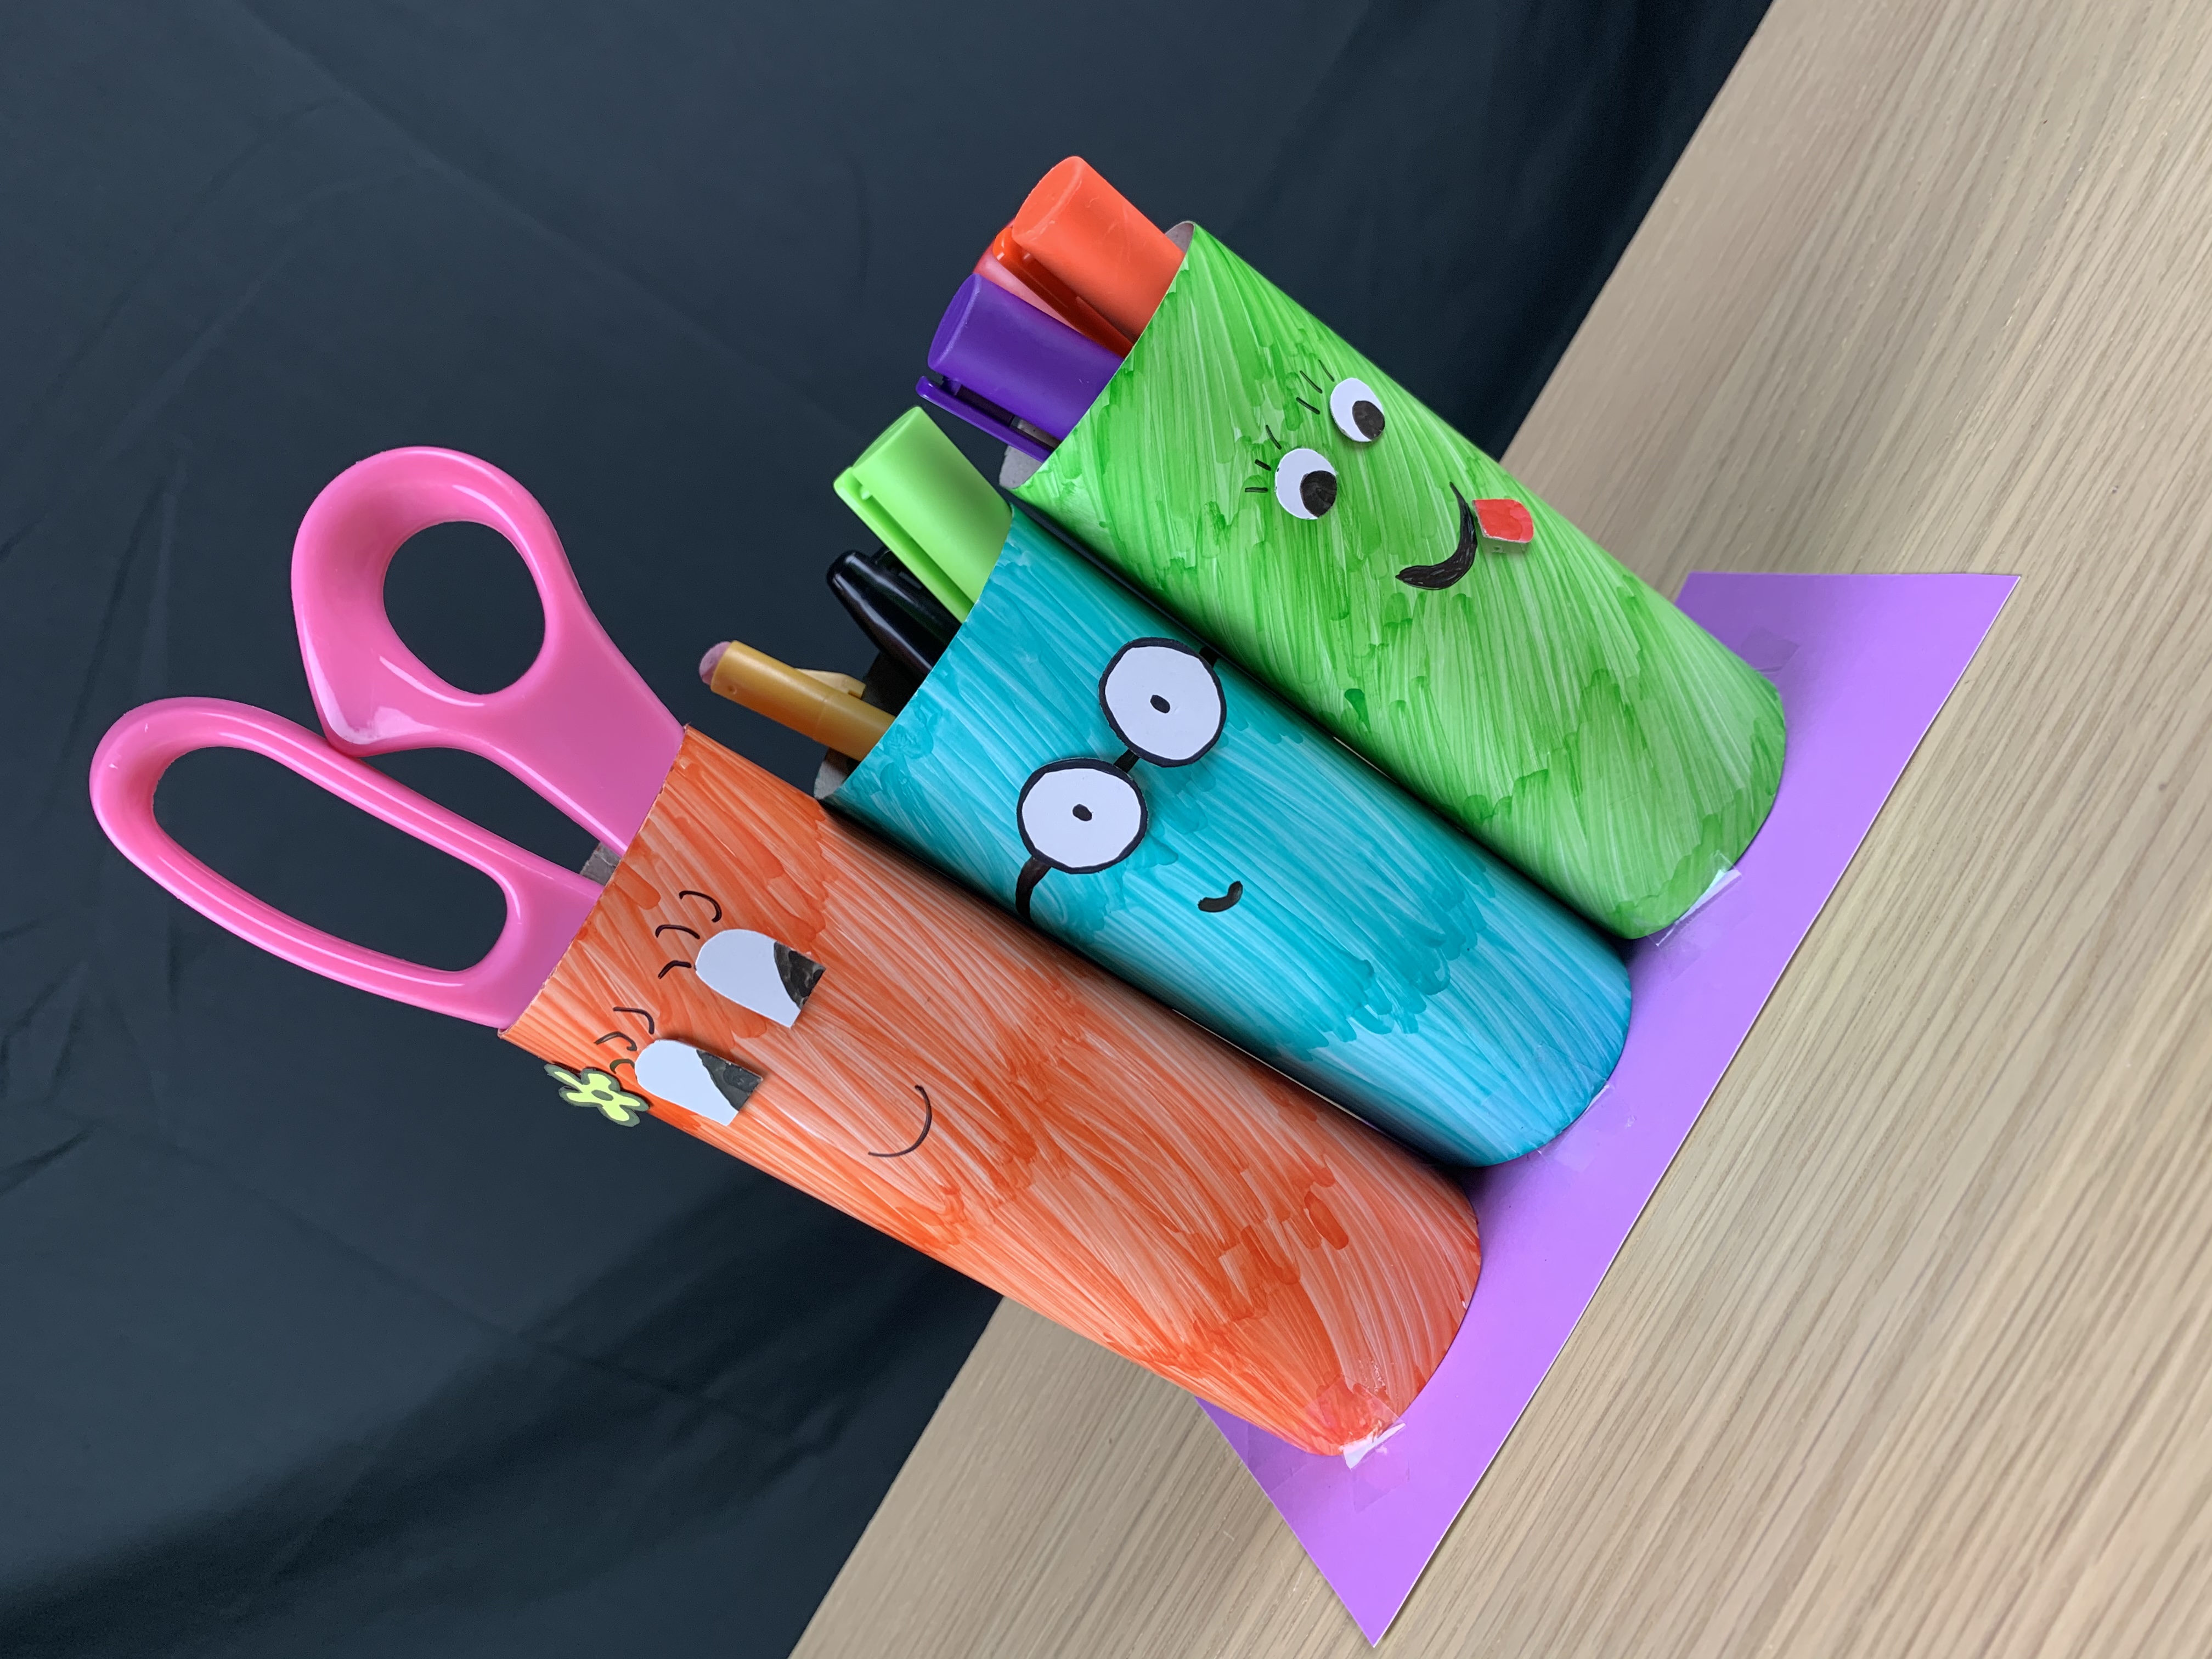
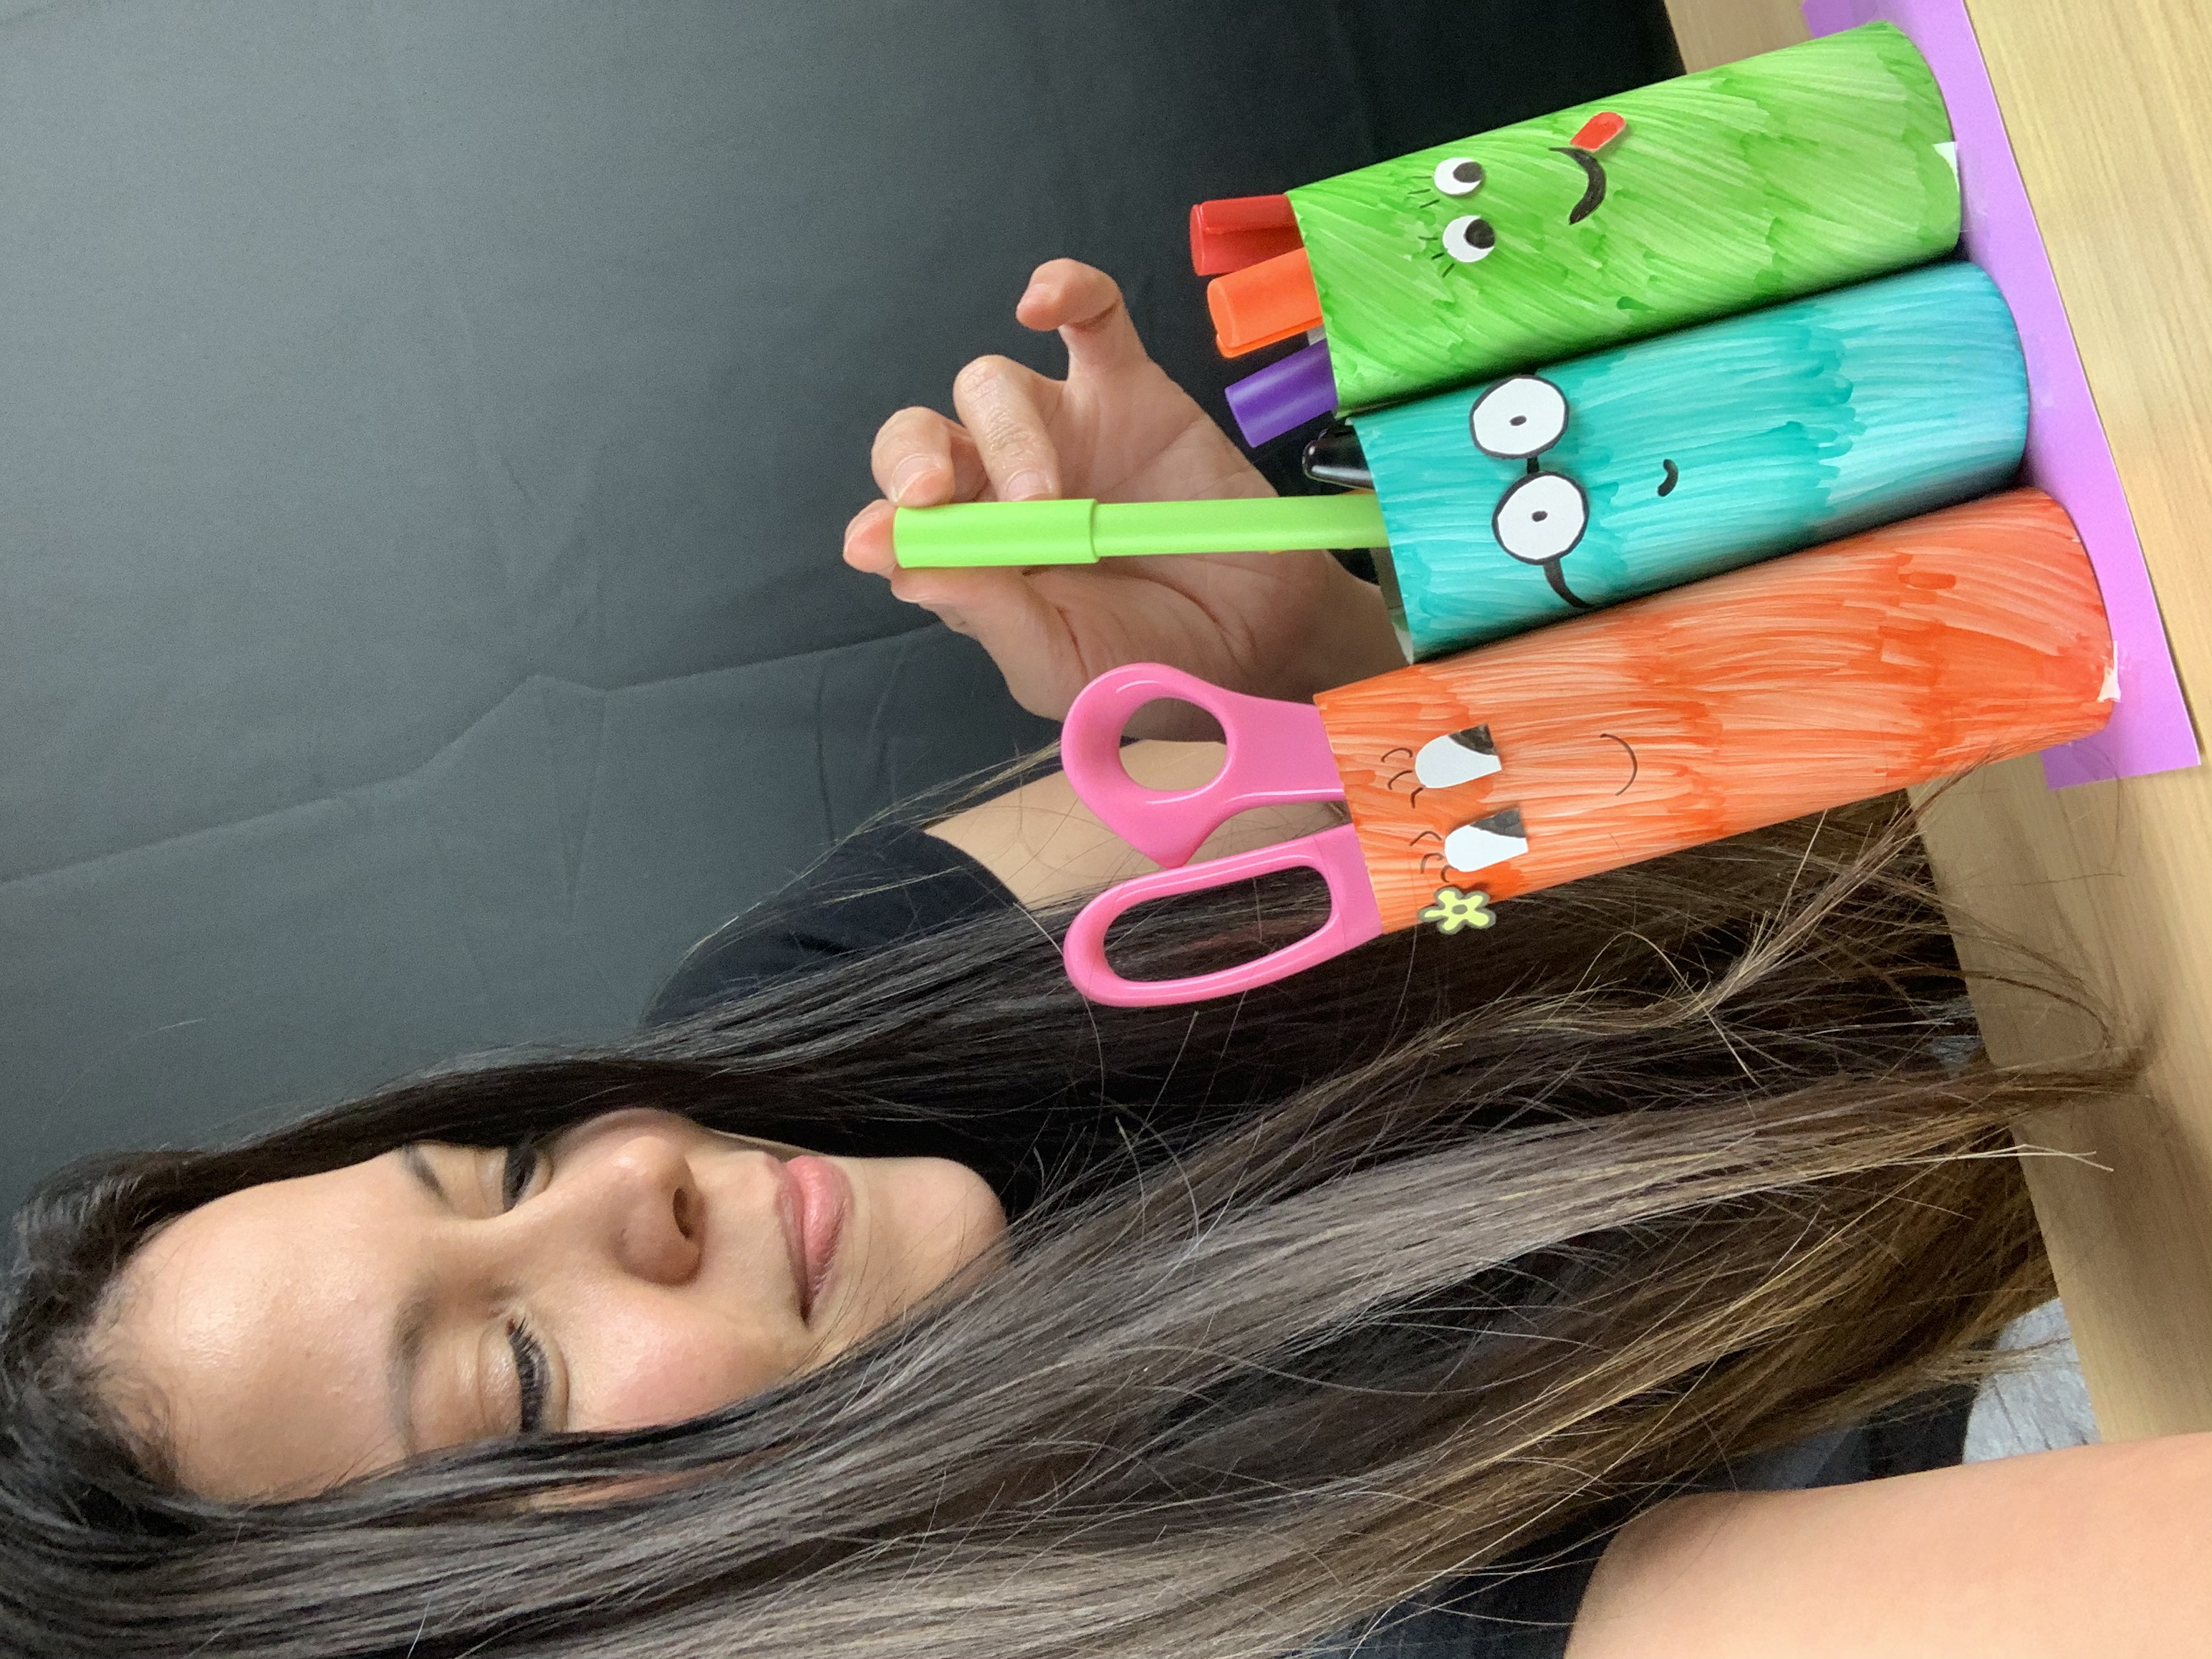
And so we have it, you can give it the height that you like the most, I made a longer one (which is the mother) to put the ruler, long scissors and any long object .
Y así nos queda, puedes darle la altura que más te guste, yo hice una más larga (que es la mamá) para poner la regla, tijeras largas y cualquier objeto largo.
KC
Todas más fotos fueron tomadas desde mi IPhone.
I used google translate to be able to write it in english. sorry if any mistake is made.
Thank you very much for taking the time to get here.
Muchísimas gracias por llegar hasta aquí.
¡Have a wonderful day!
¡Que tengan un día maravilloso!