¡Hola queridos amigos hivers!
¡Hello dear hivers friends!
Hoy me sumo a la iniciativa de
@jennyzer, quién nos invita a realizar un regalo para el día de las madres con materiales reciclados.
Today I join the initiative of @jennyzer, who invites us to make a gift for mothers day with recycled materials.
Les saludo con mucho cariño y les deseo que se encuentren bien, en un mundo lleno de bendiciones, paz,tranquilidad, amor y progreso.
I greet you with much affection and hoping that you are well, in a world full of blessings, peace, tranquility, love and progress.
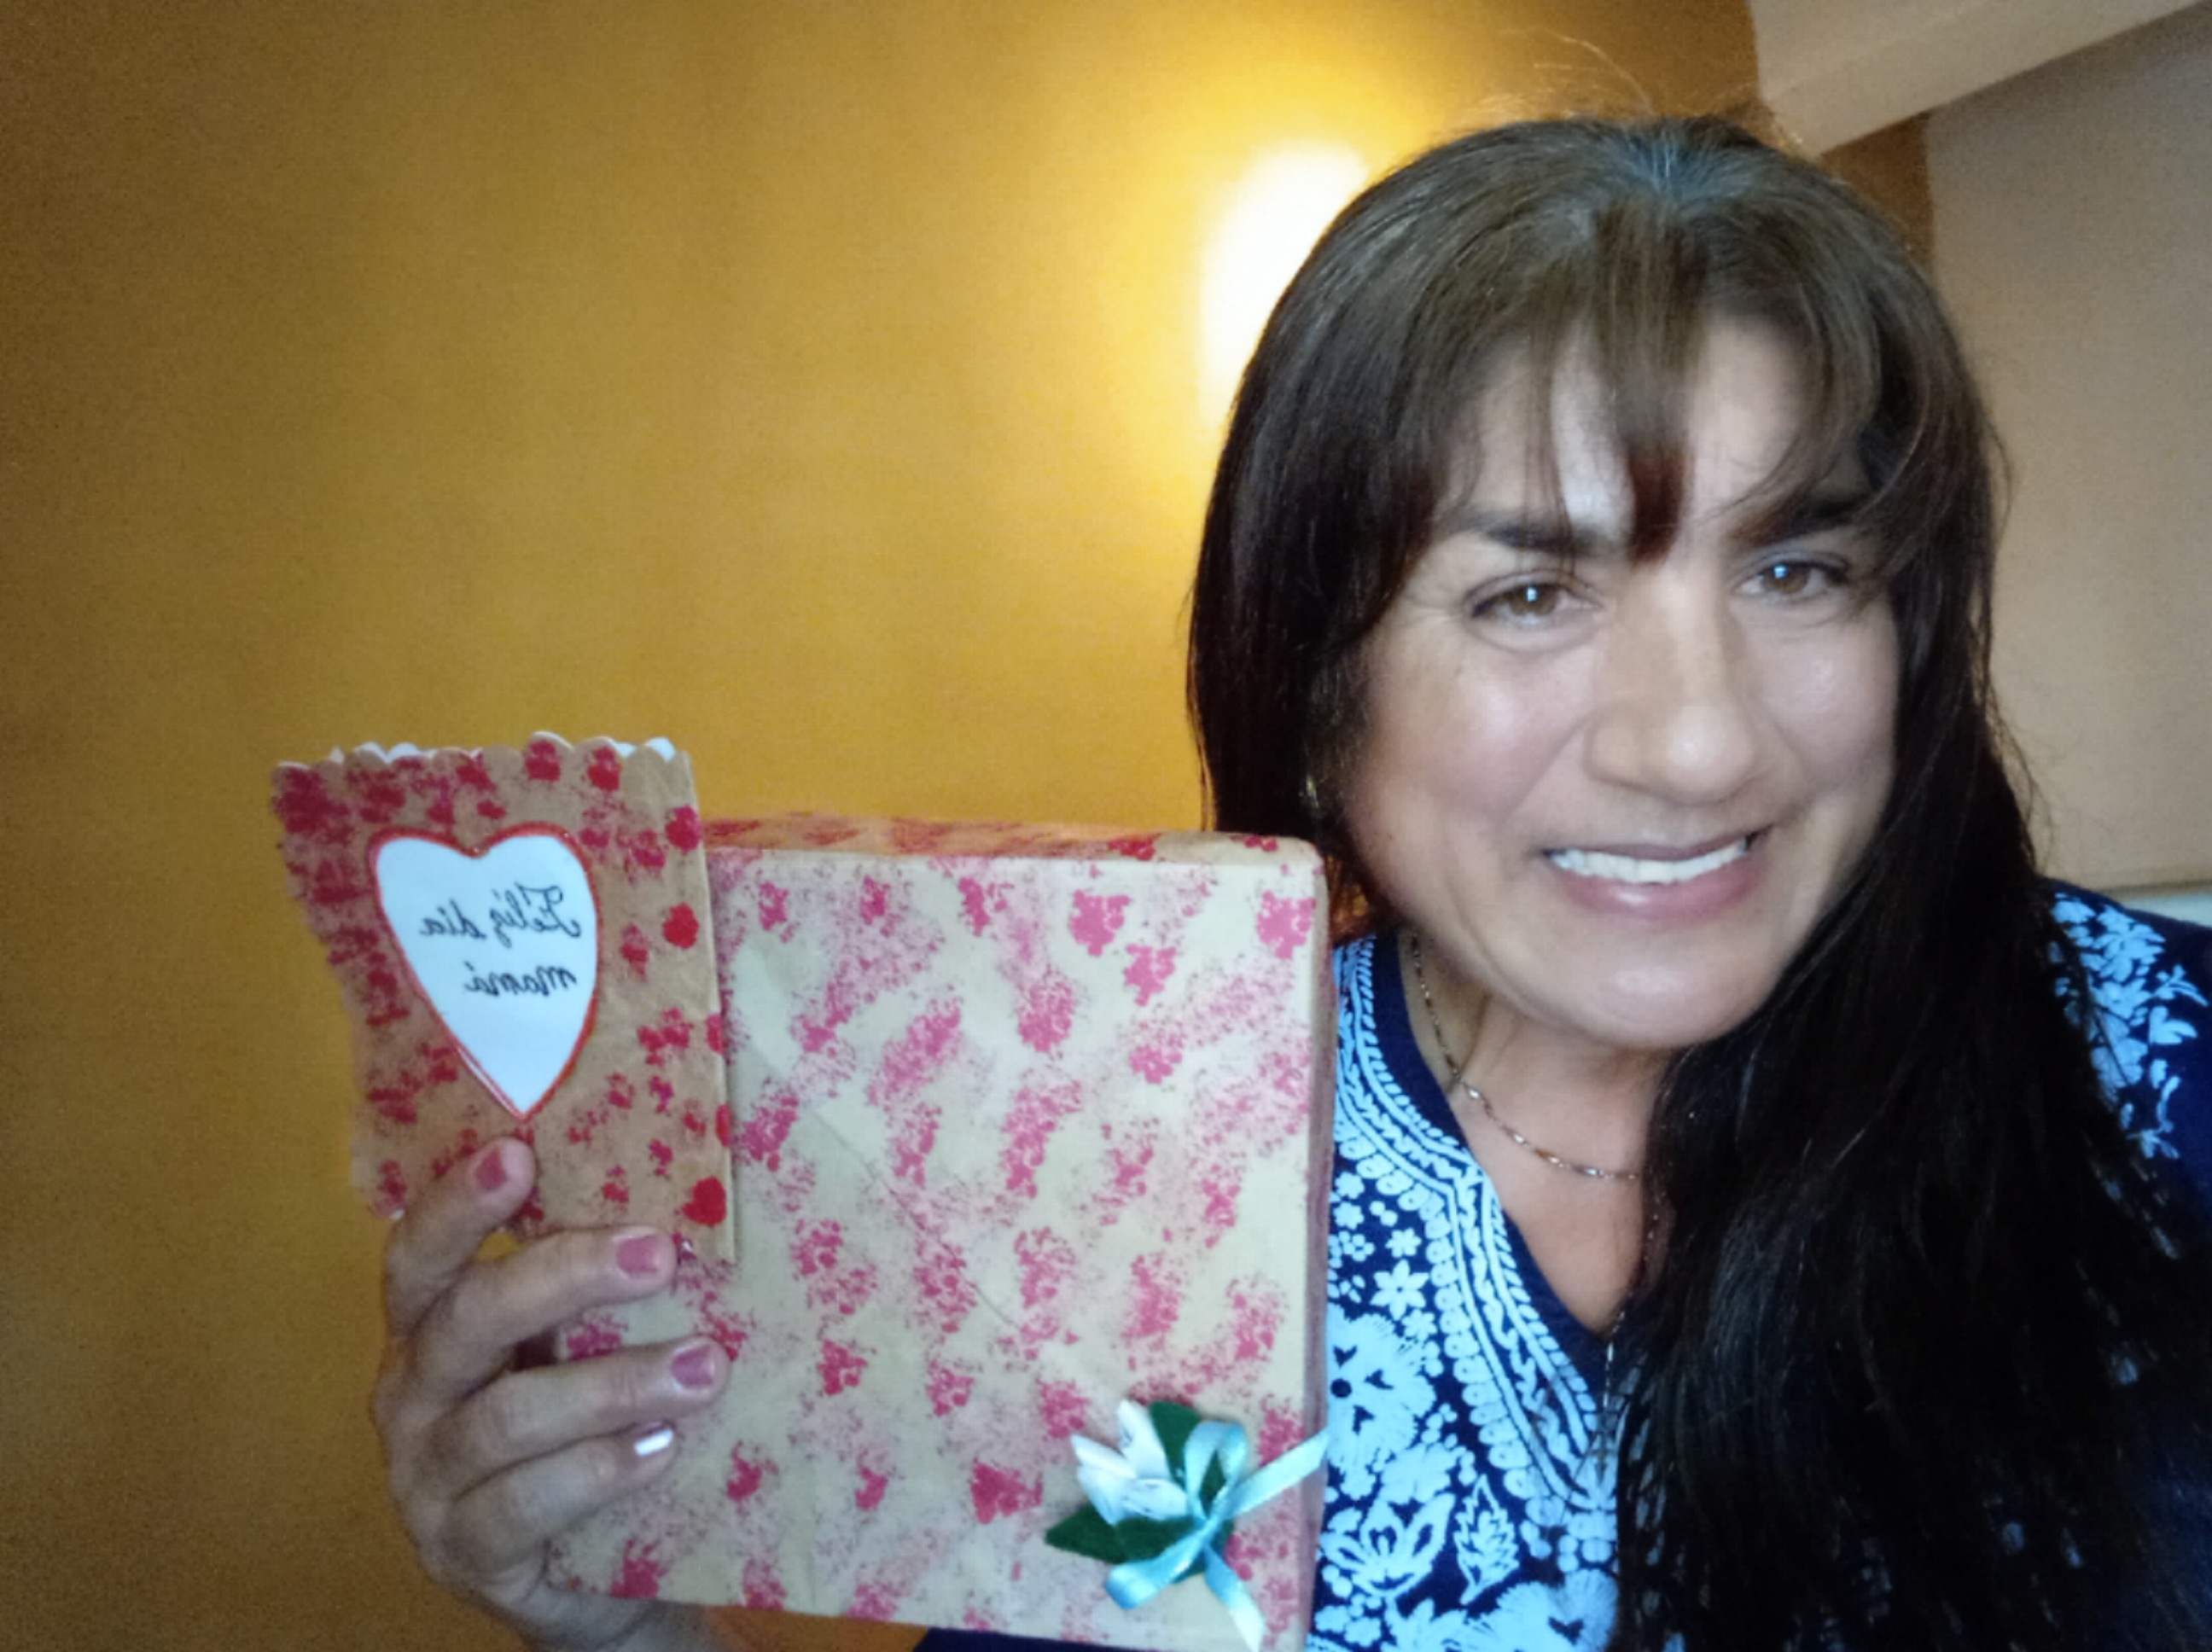
Continuando con las manualidades hoy les realicé un lindo estuche para meter y entregar el regalo del día de las madres, el porta agujas que publiqué en hive.
Una Madre es el ser más maravilloso del mundo, se merece lo mejor y el más bello regalo por sencillo que sea pero lleno de amor y buenos deseos.
A Mother is the most wonderful being in the world, she deserves the best and the most beautiful gift, however simple it may be, but full of love and good wishes.
¡Felíz día Madres de hive y del mundo!
Happy mothers day from hive and from the world!
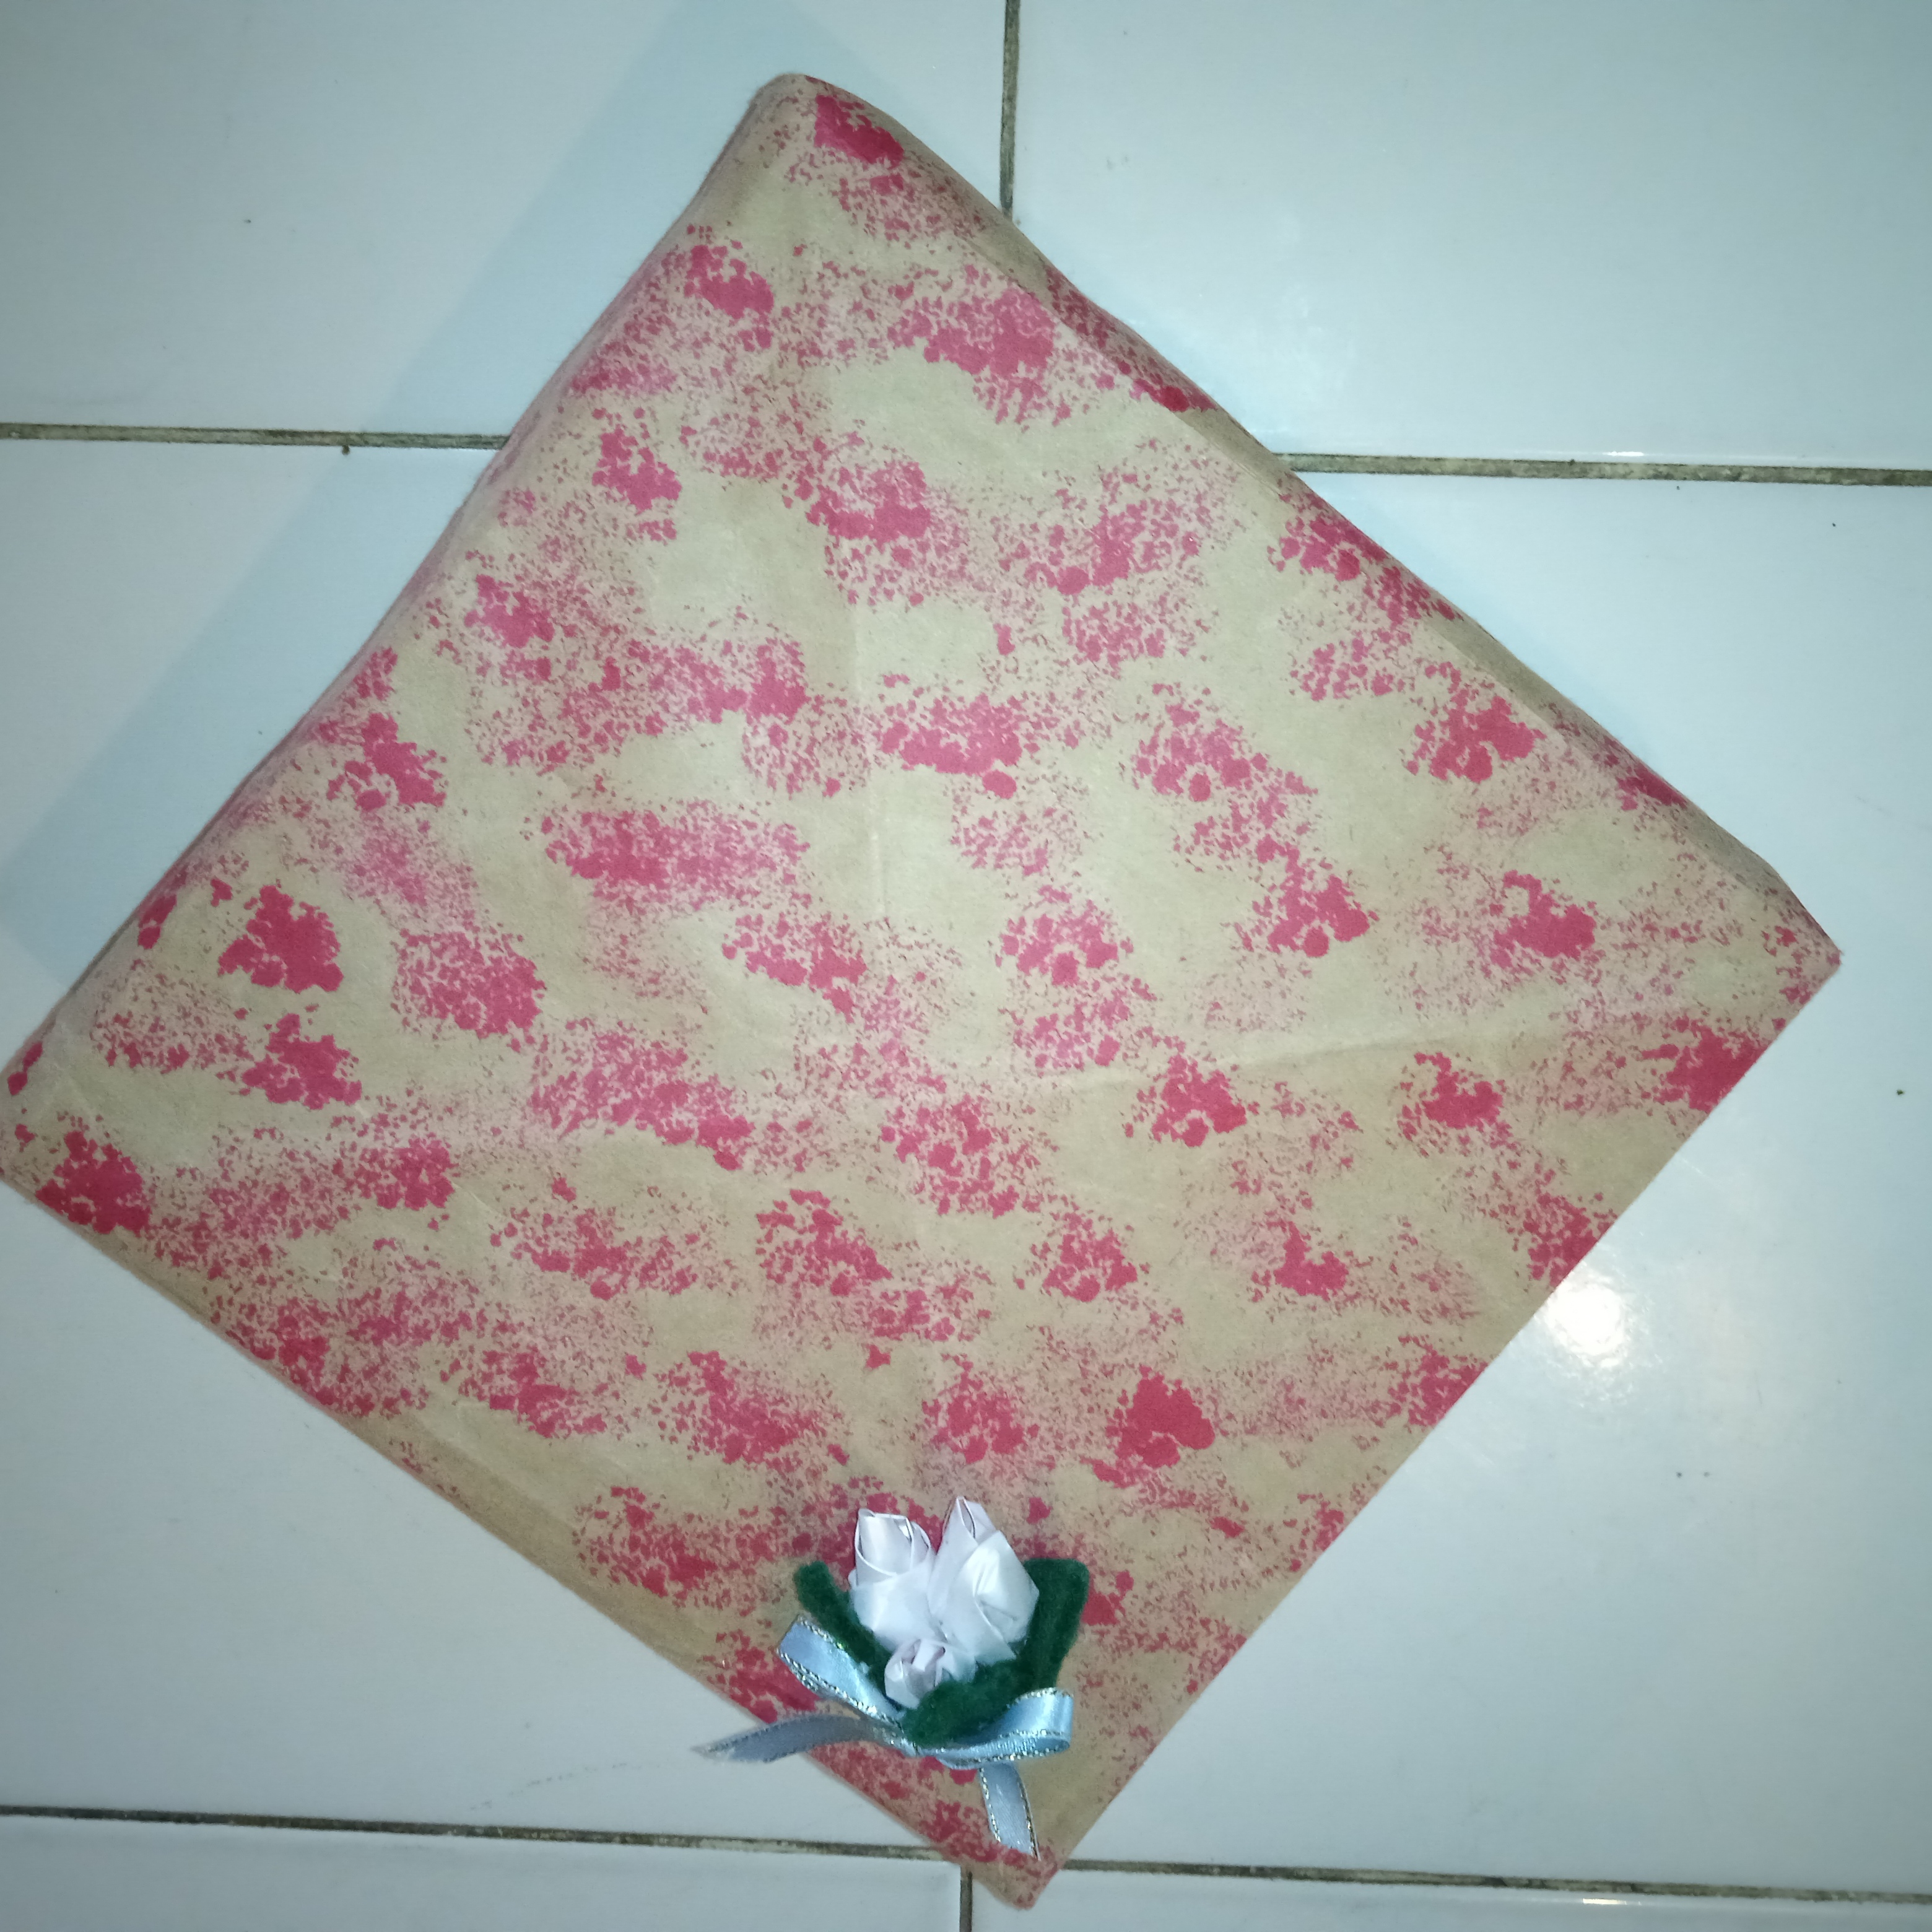
La creatividad es lo más importante que debemos tener todo el tiempo, presente para transformar cualquier material o ambiente en algo bello, hermoso y tranquilo un lugar de paz y llenarlos de cosas que podemos realizar nosotros mismo con poco dinero y con materiales que nos brinda la naturaleza y también los que son reusables.
Creativity is the most important thing that we must have all the time, present to transform any material or environment into something beautiful, beautiful and quiet, a place of peace and fill them with things that we can do ourselves with little money and with materials that the nature and also reusable ones.
Ahora con el paso a paso.
Now with the step by step.
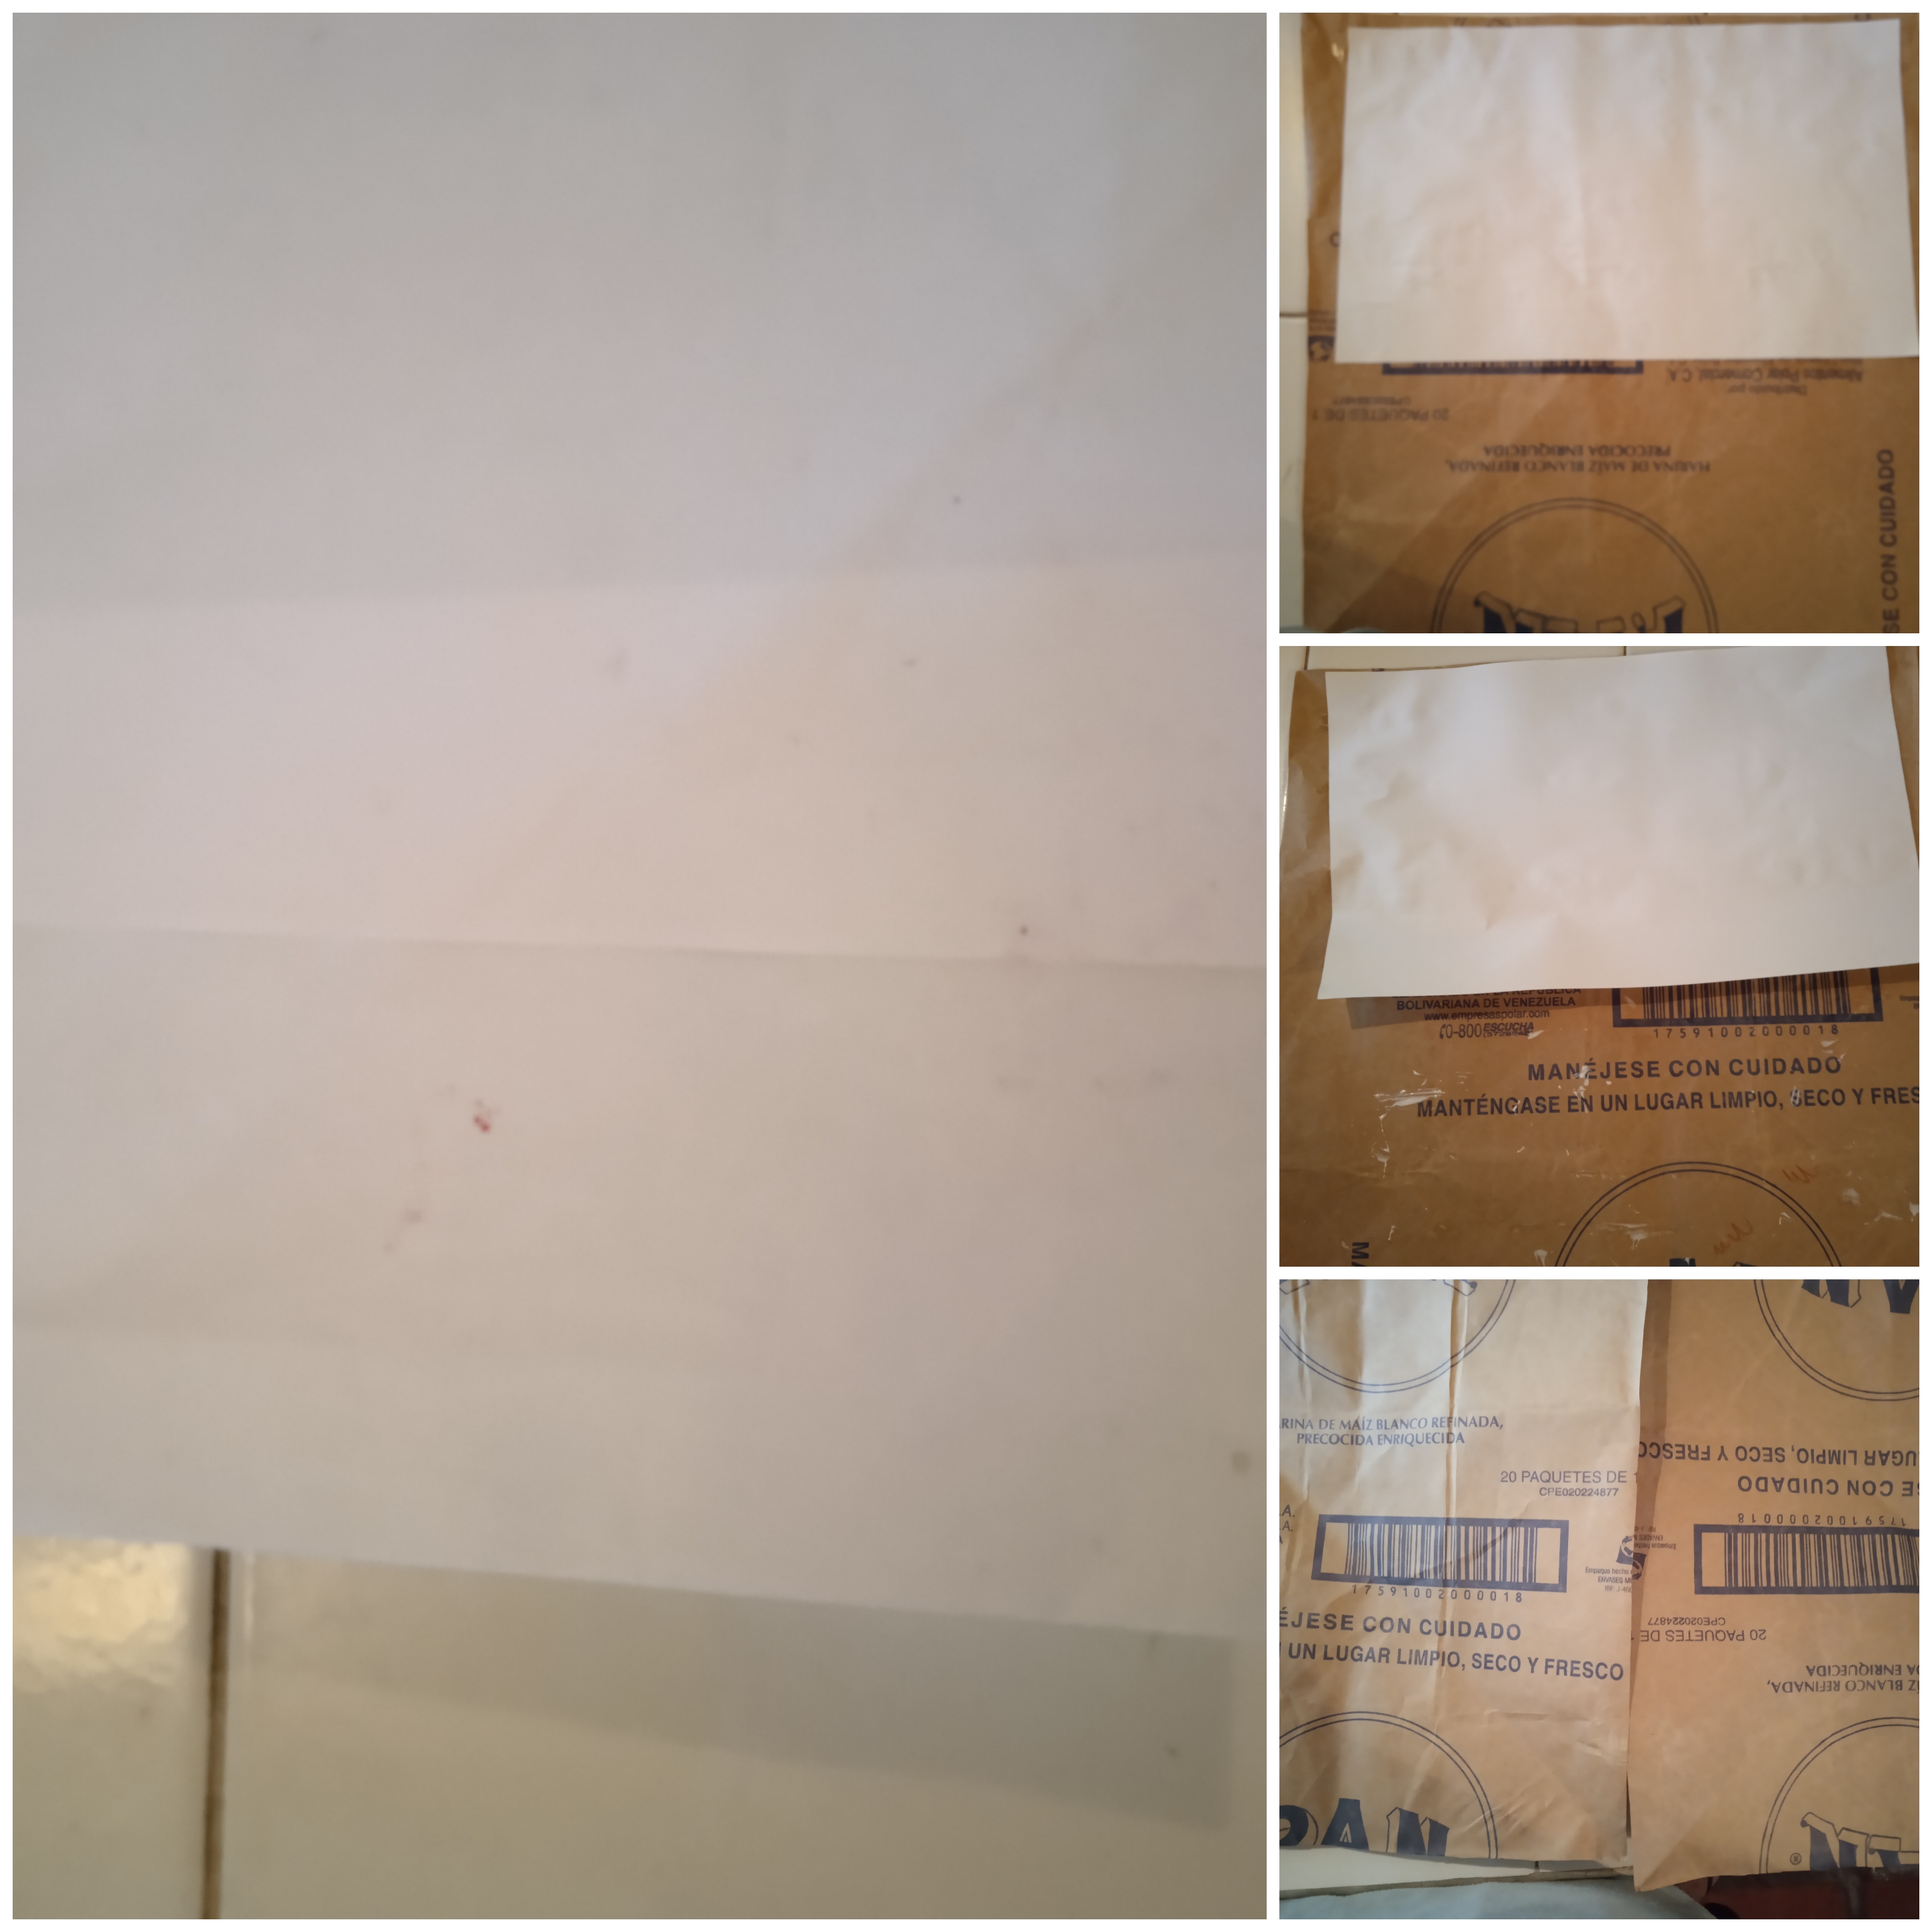
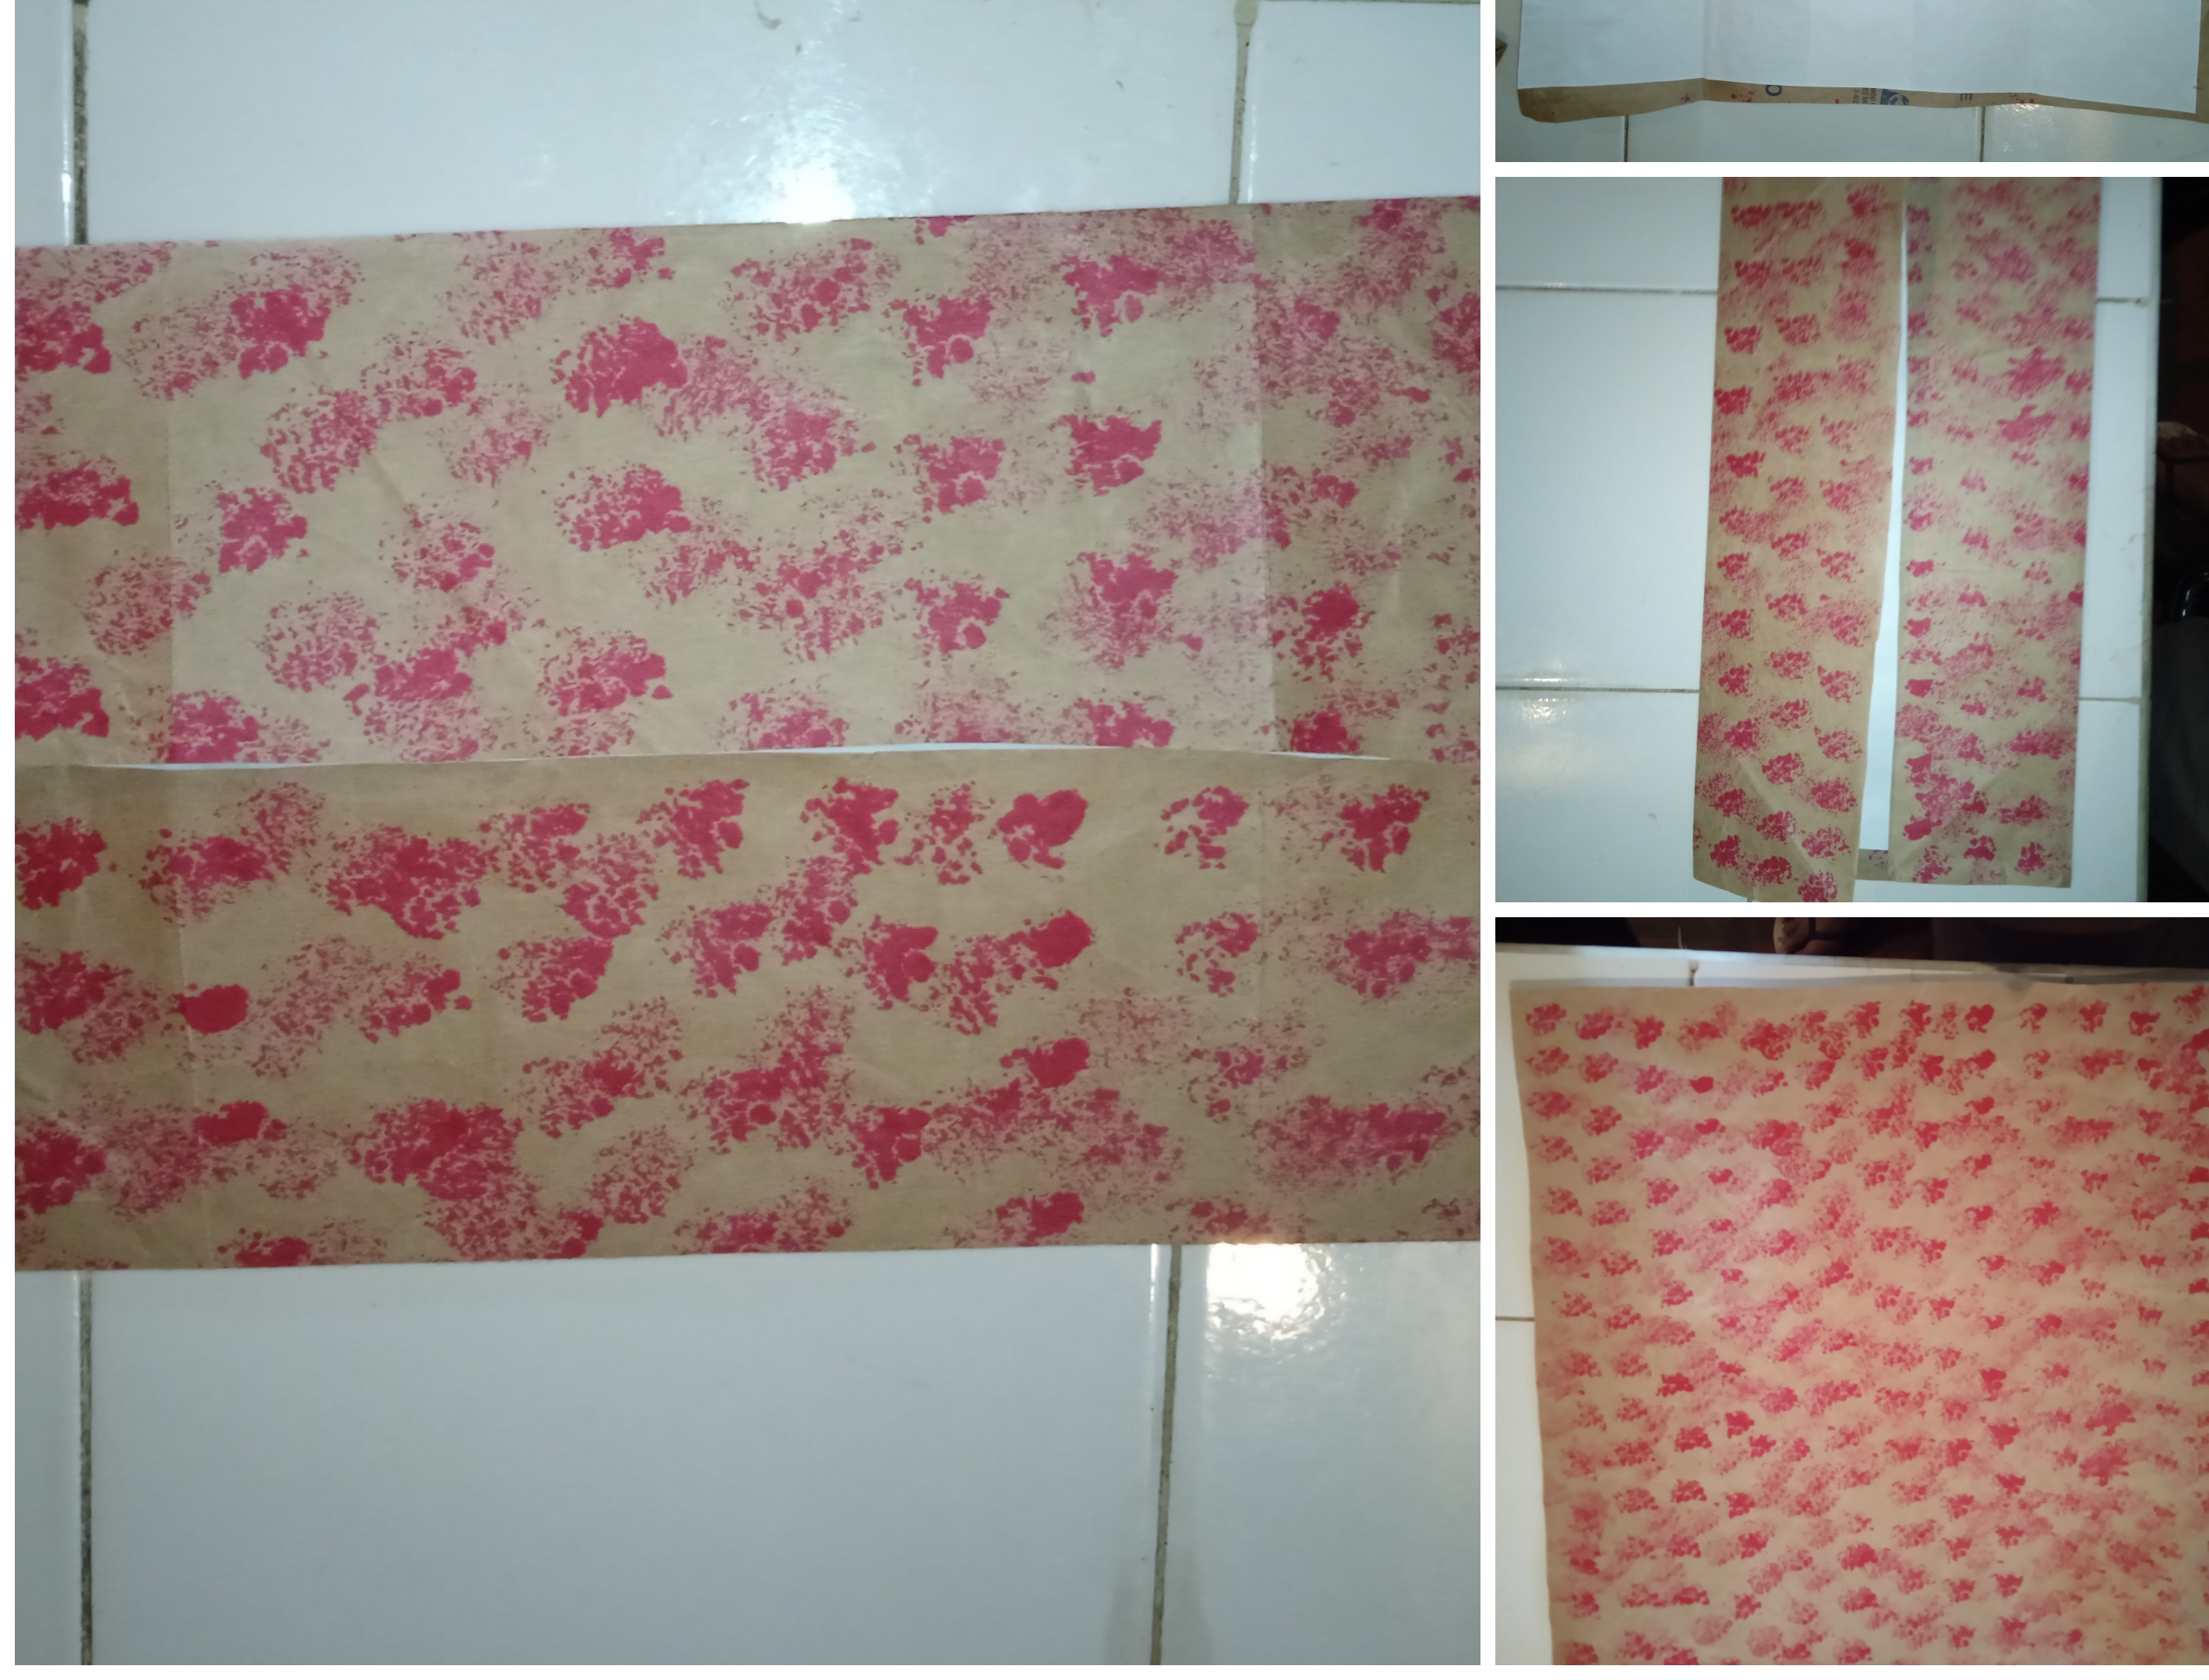
- Agarramos el papel del bulto dónde vienen las harinas de maíz, realizamos dos cuadrados de 40cm por 40cm para hacer éste, o si prefiere más grande o más pequeño hagan el cuadrado a su preferencia, calculando el tamaño del regalo, luego con cola le coloque hojas blancas, para que no se vea ningún detalle o las letras, después esperar que seque la pega para seguir trabajando.
- We take the paper from the package where the corn flour comes from, we make two 40cm by 40cm squares to make this one, or if you prefer larger or smaller, make the square to your preference, calculating the size of the gift, then place it with glue white sheets, so that no details or letters are visible, then wait for the paste to dry to continue working.
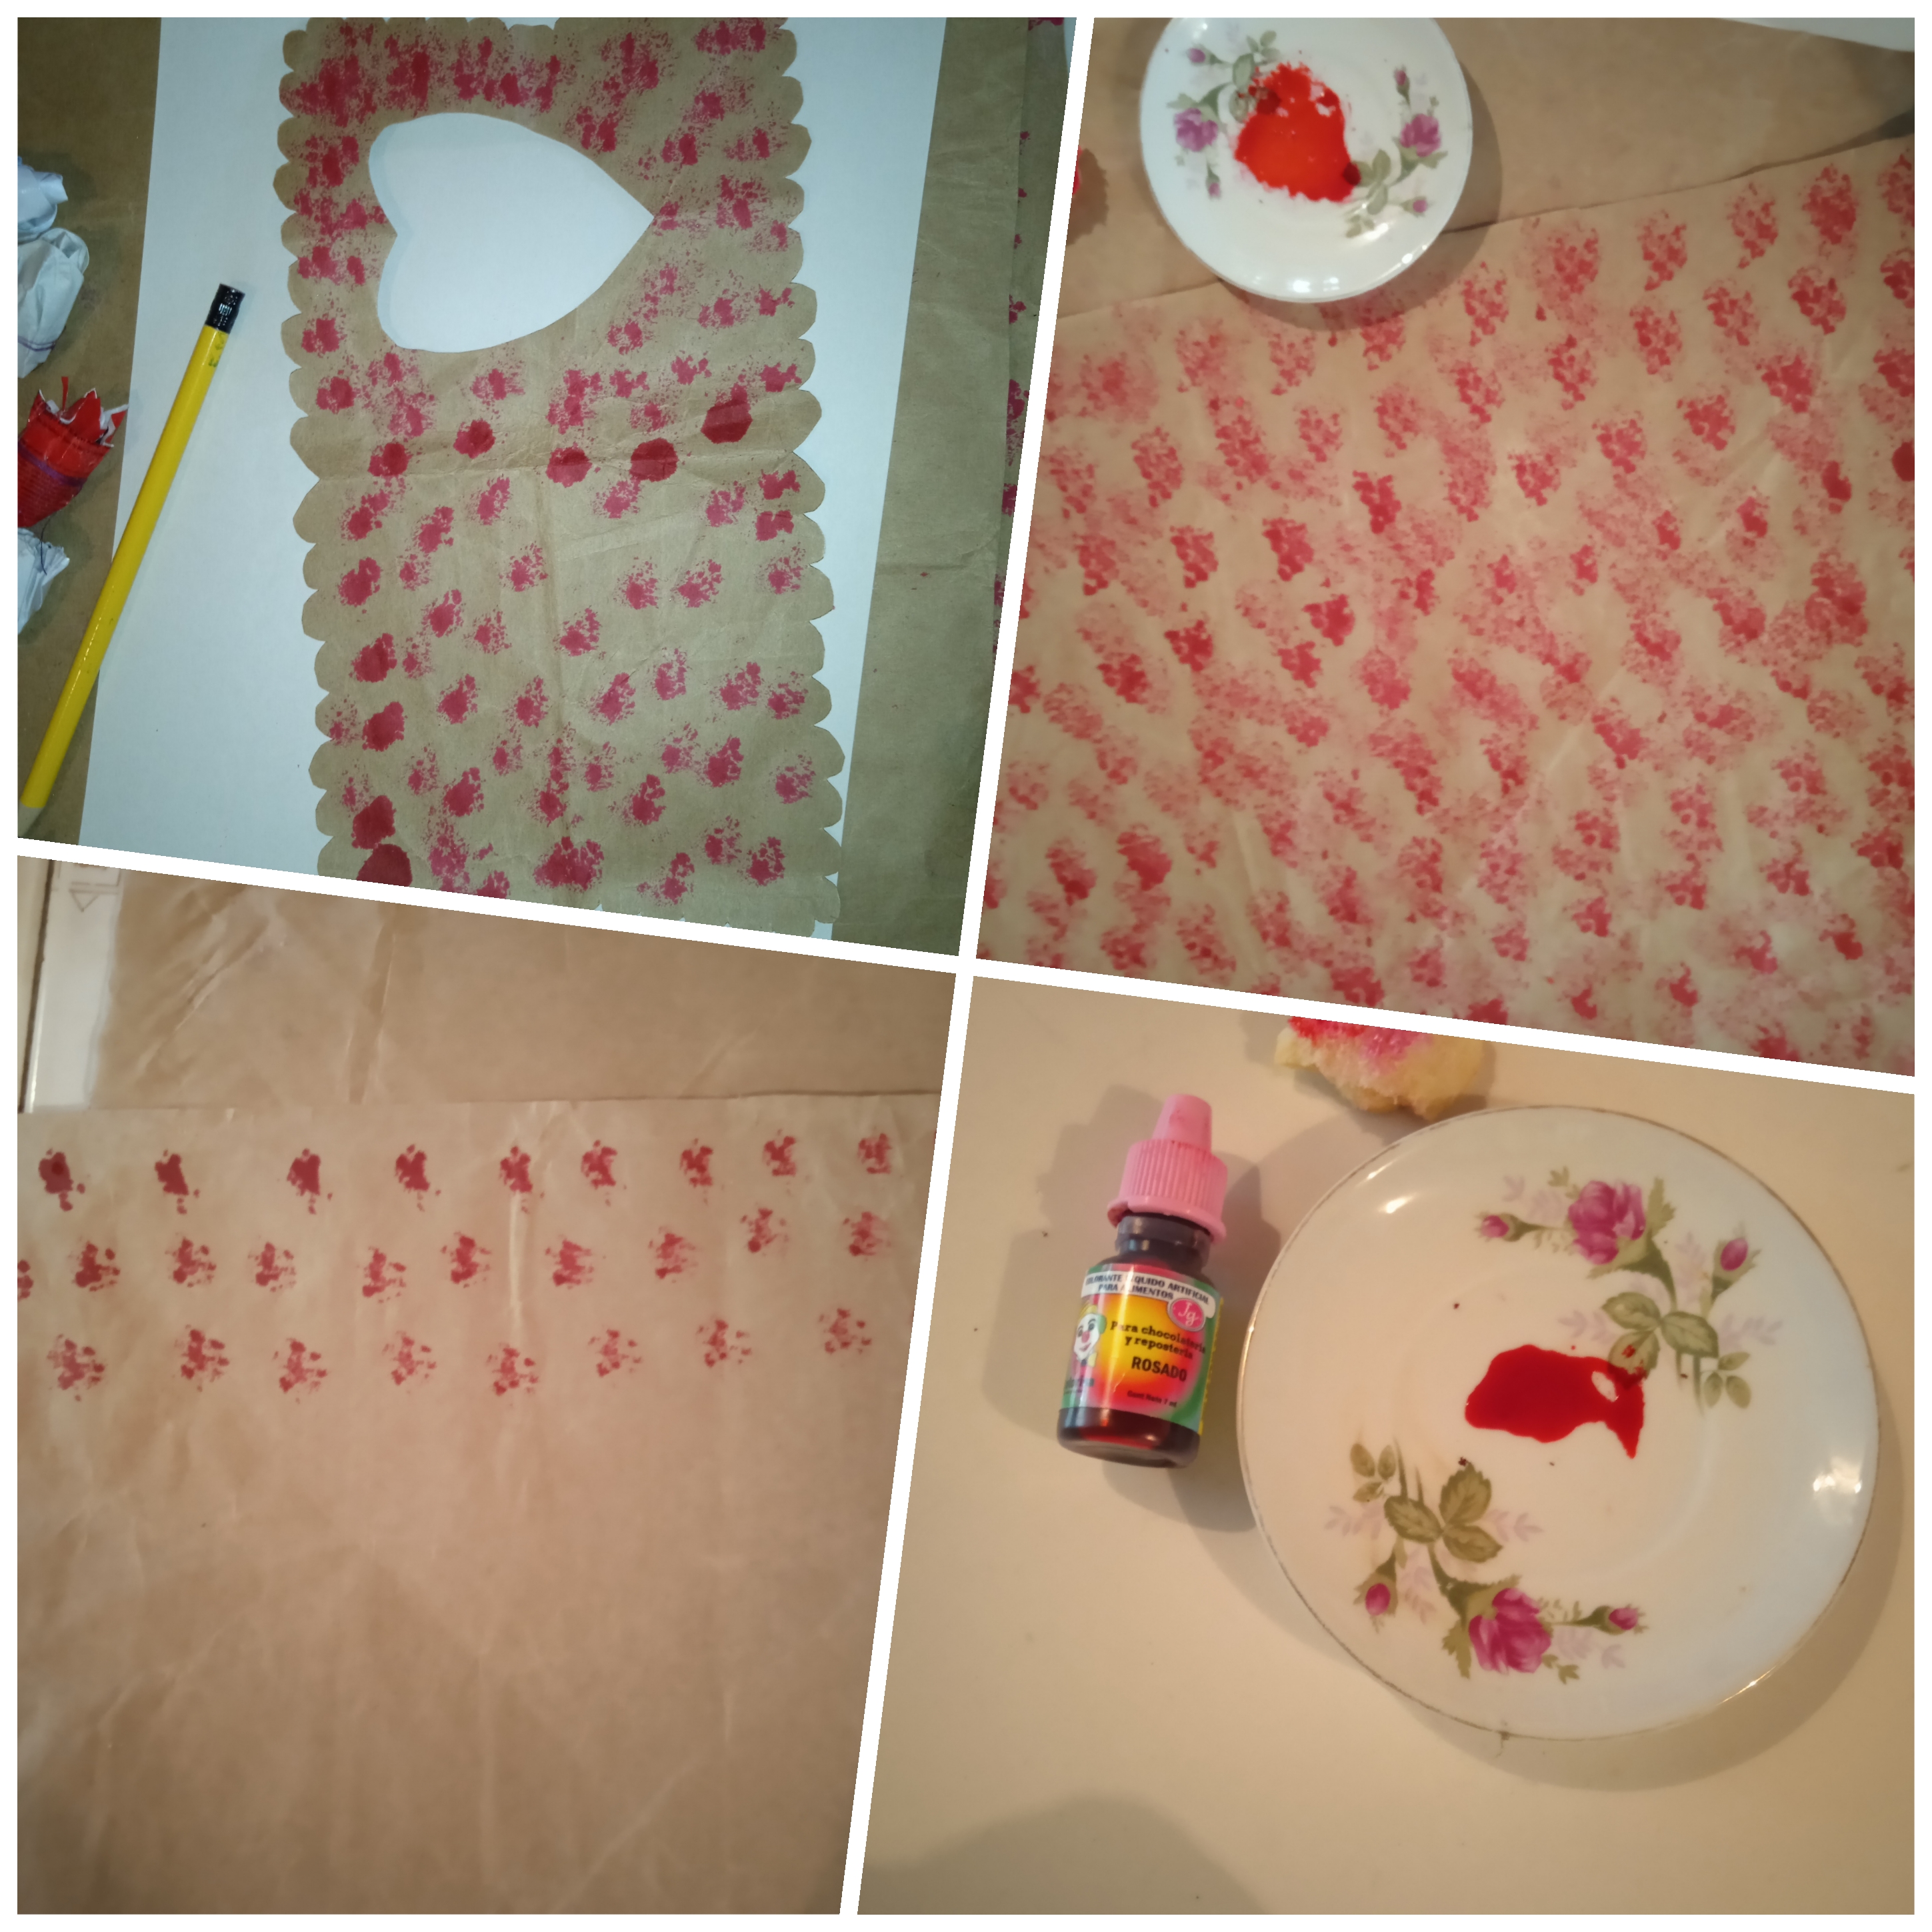
- Luego con una emponja y un poquito de color rojo vegetal lo motie para que quedara estampado y darle otra tonalidad diferente, que cada quien lo puede hacer a su agrado y del color de su preferencia o el que tenga a su alcance, también puede usar otros tipos de colores naturales.
- Then with a stick and a little vegetable red color, motive it so that it will be stamped and give it another different tone, which everyone can do to their liking and the color of their preference or the one they have at their fingertips, they can also use other kinds of natural colors.
- Continúamos con el doblez, el cuadrado tiene que estar exacto
se dobla por los cuatros lados realizando un cuadrado más pequeño.
- We continue with the doubles, the square has to be exact it is folded on all four sides making a smaller square.
- Aquí se abre el cuadro se levantan los dos laterales y por los otros lados se saca la punta del papel y se hacen un doblez dónde se le aplica la cola blanca.
- Here the painting will be opened, the two sides are raised and on the other sides the tip of the paper is removed and a fold is made where the white glue is applied
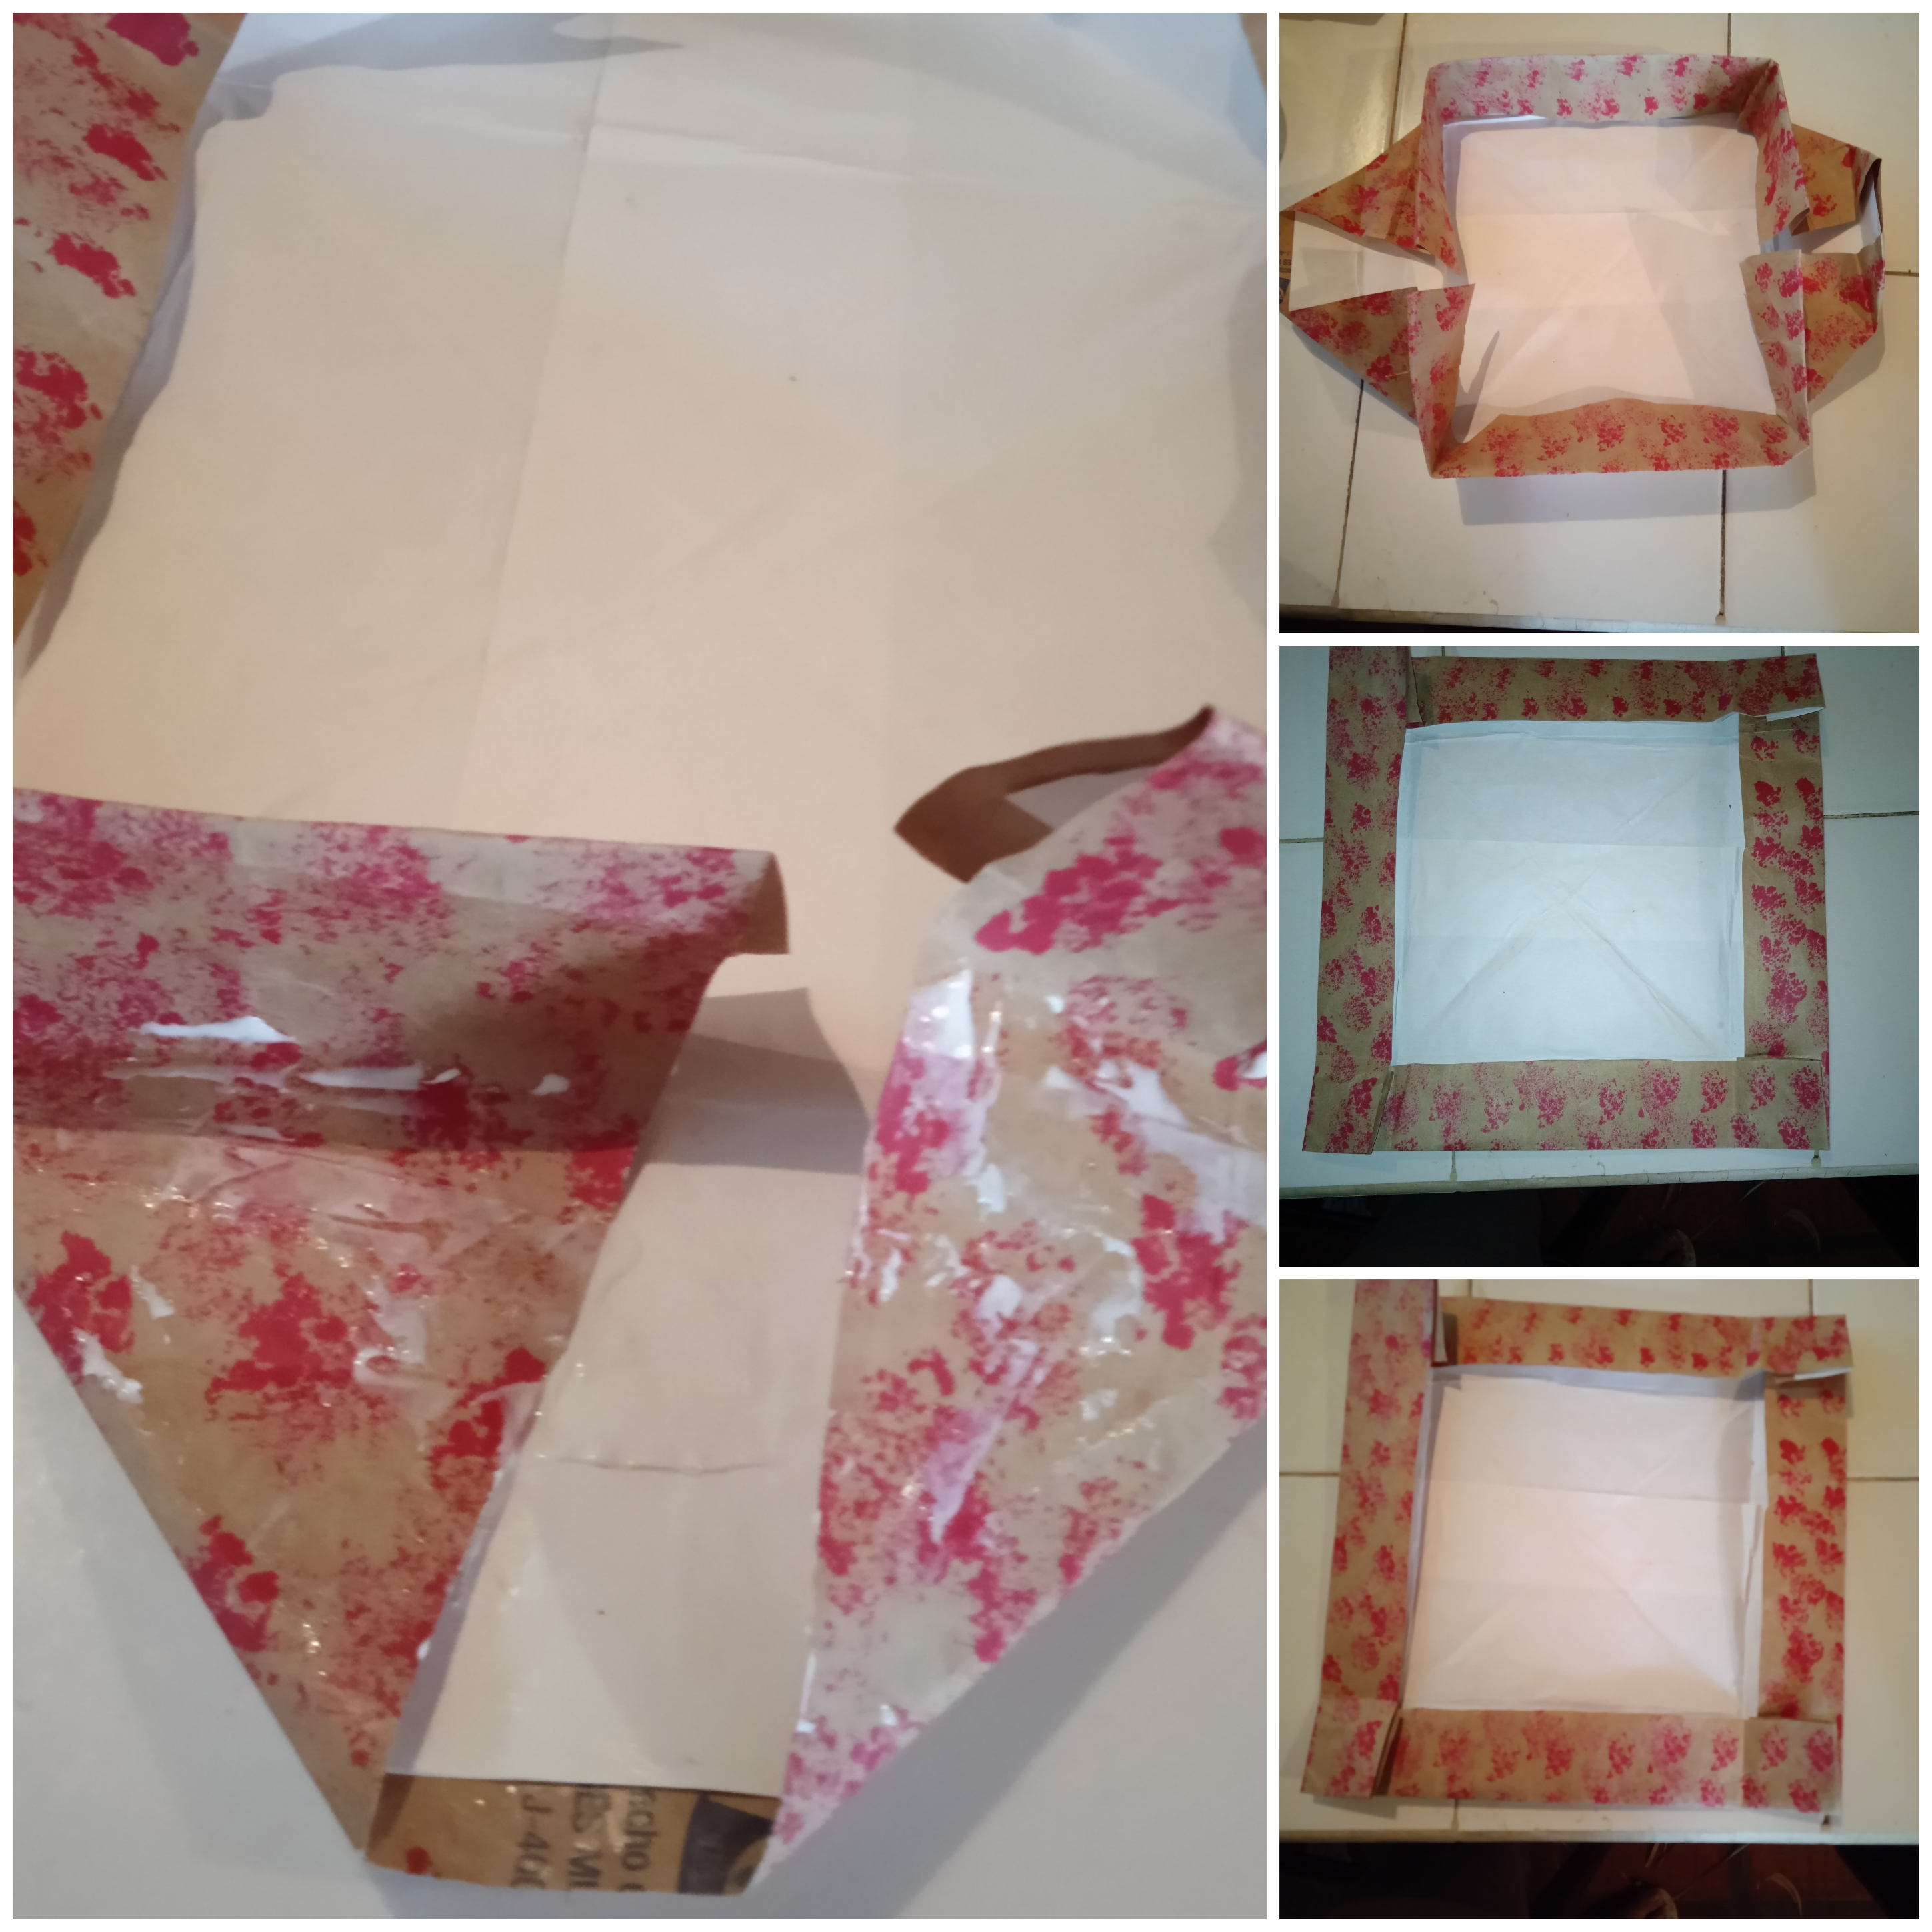
- Se continúa colocando pega se empieza armar el estuche, al aplicar el pegamento se sostiene un momento hasta que seque...si el pegamento es pegamento rápido es mejor, para armar el estuche.

- Luego se le sigue colocando más pegamento y se inicia a unir las partes, para que quede bien ajustadas, una de las dos partes del estuche debe ser un poco más grande para que entre en la otra parte.
- Then more glue is placed on it and the parts are joined together, so that it fits well, one of the two parts of the case must be a little larger so that it fits into the other part.
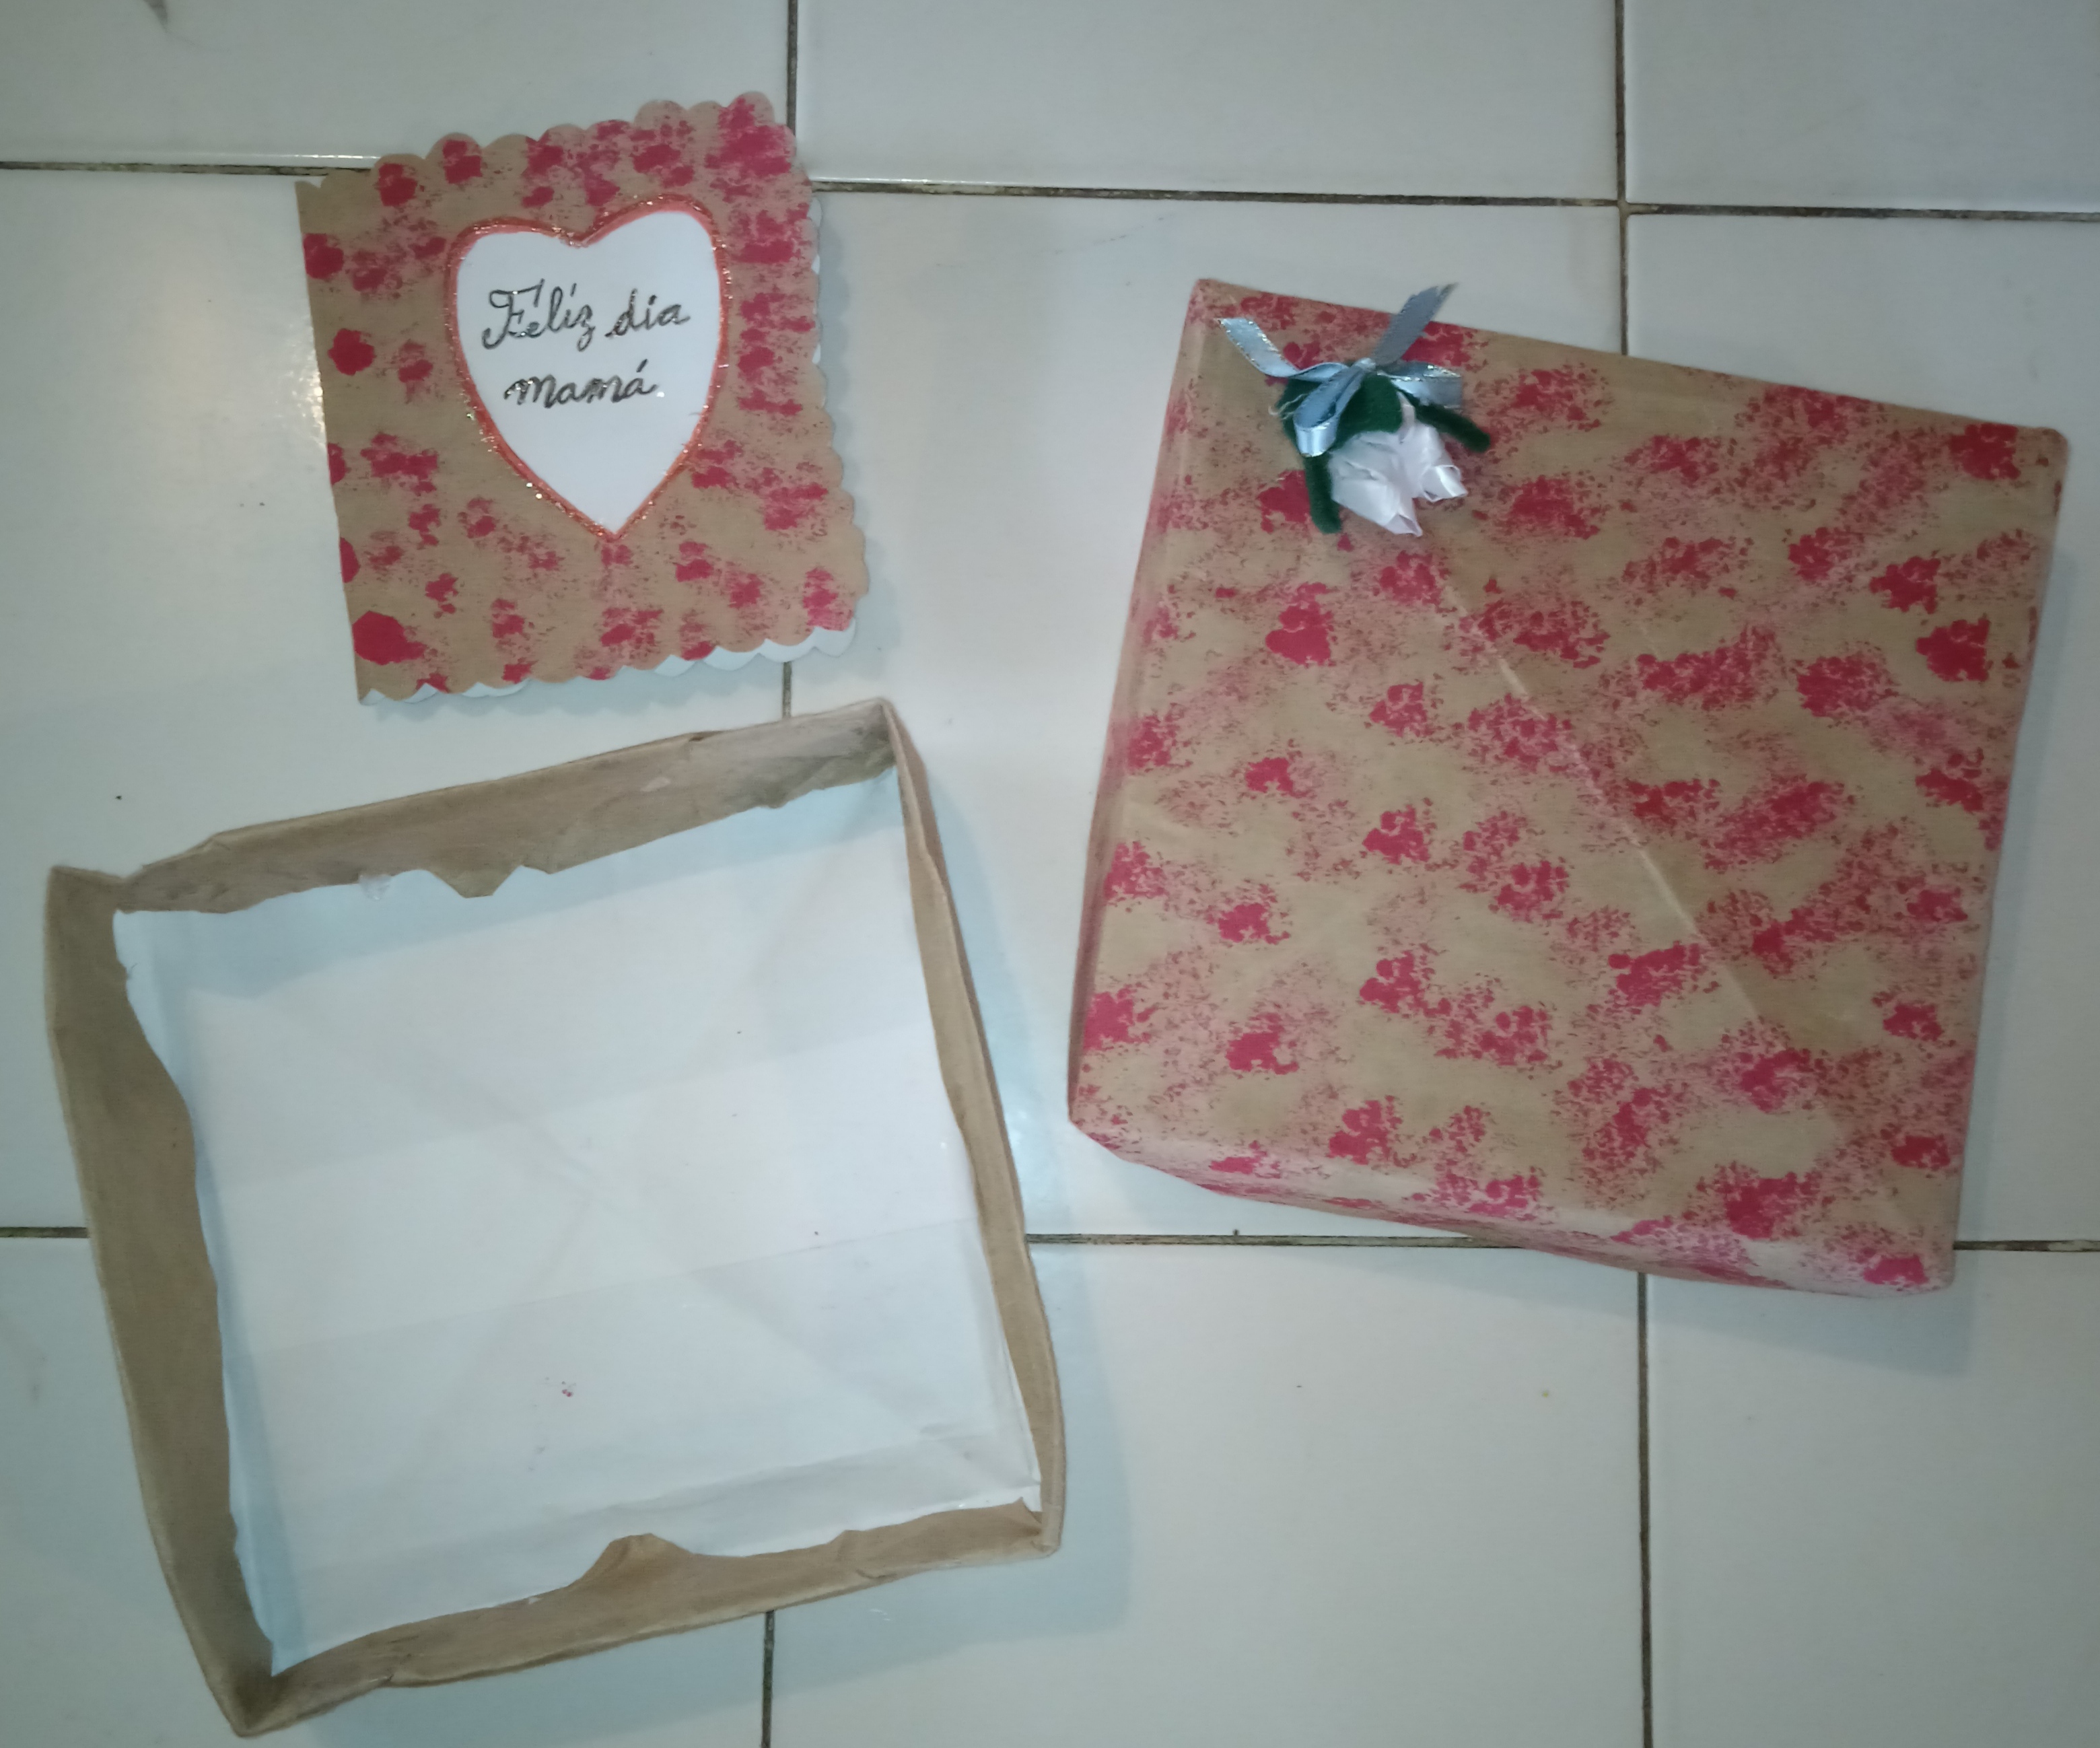
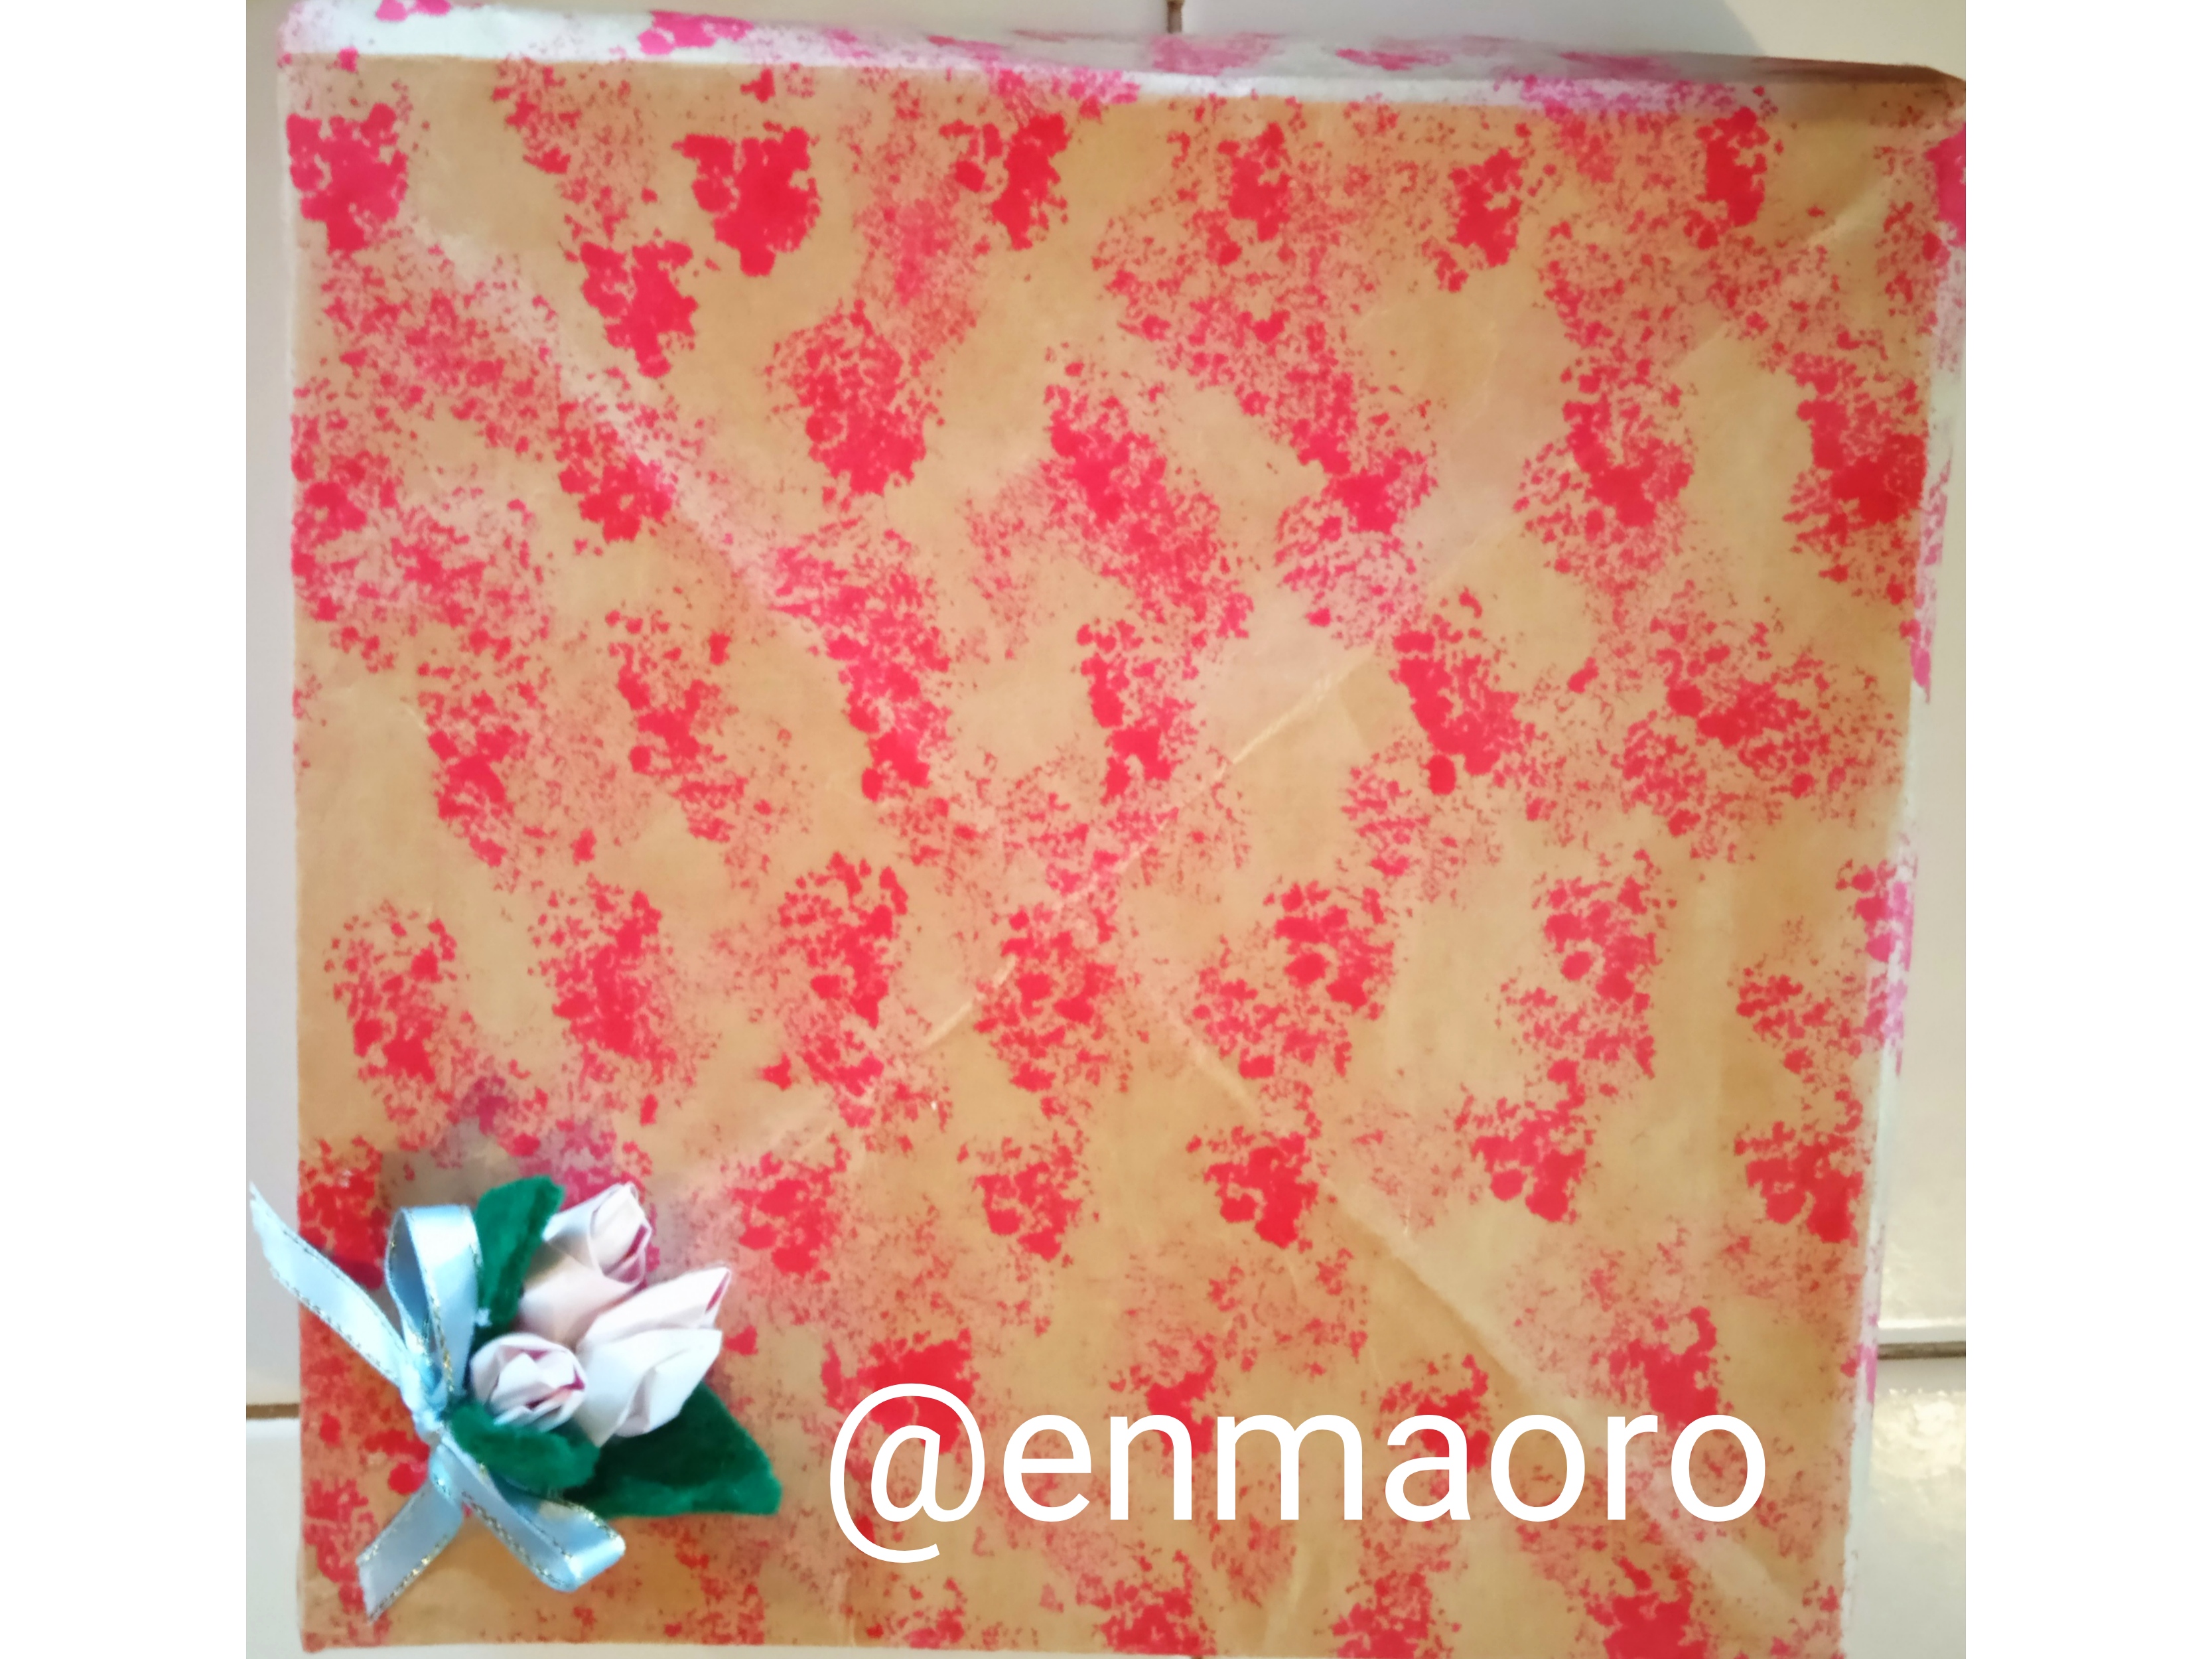
- Así quedó mi bello estuche, cómodo y fácil de realizar.
This is how my beautiful case was, comfortable and easy to make.
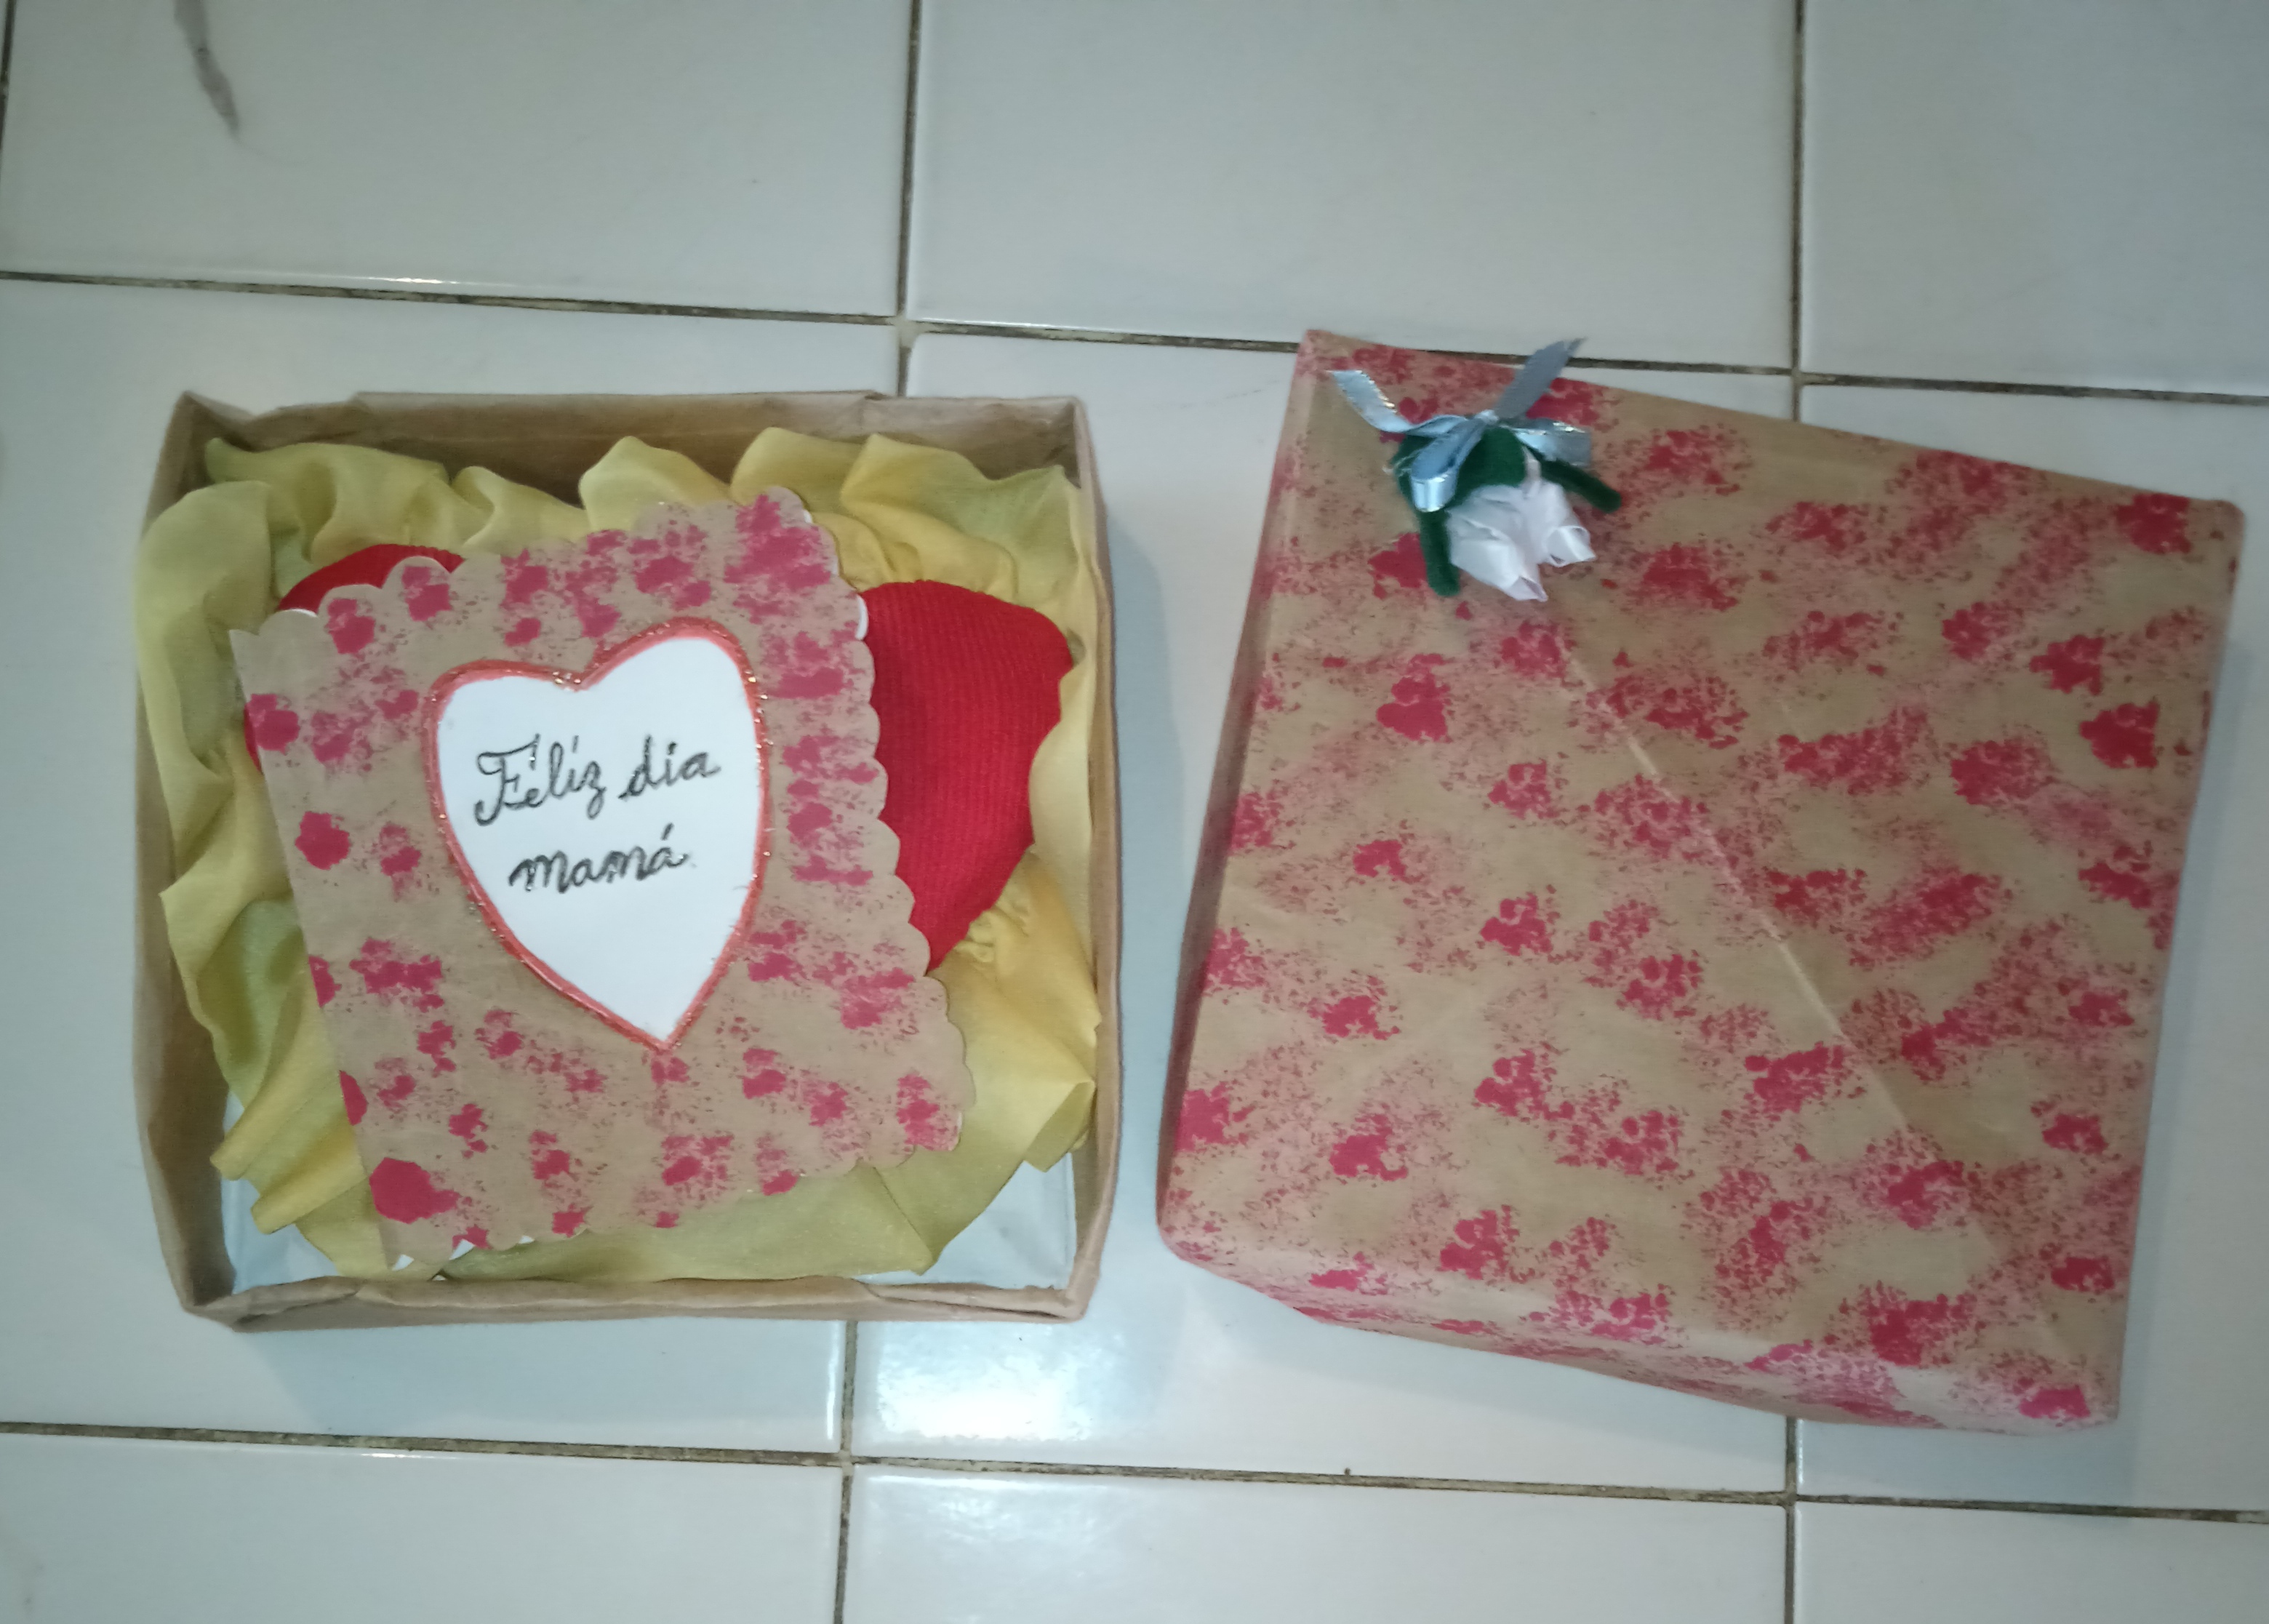
Espero que les guste mi cajita para meter regalos.
I hope you like my gift box.
Ahora invito a participar
@brendaa.
Now I invite you to participate @brendaa.
Gracias y bendiciones a todos los amigos y curadores por su apoyo, les estoy muy agradecida.
Thanks and blessings to all the friends and curators for their support, I am very grateful.
Seguiré creando para ustedes, con mucho amor y cariño.
I will continue creating for you, with a lot of love and affection.
@enmaoro
Gracias por leer.
Thank you for reading
Hasta el próximo post.
Until the next post.
Las fotos son de mi autoría, tomadas con mi teléfono Redmi9.
The photos are my own, taken with my Redmi 9 phone.