Hola familia de hive, que bien estar nuevamente con ustedes. Estuve ausente por algún tiempo, tuve algunos inconvenientes para poder mostrarles contenido, aquí estoy!! Dispuesta a trabajar para ustedes.
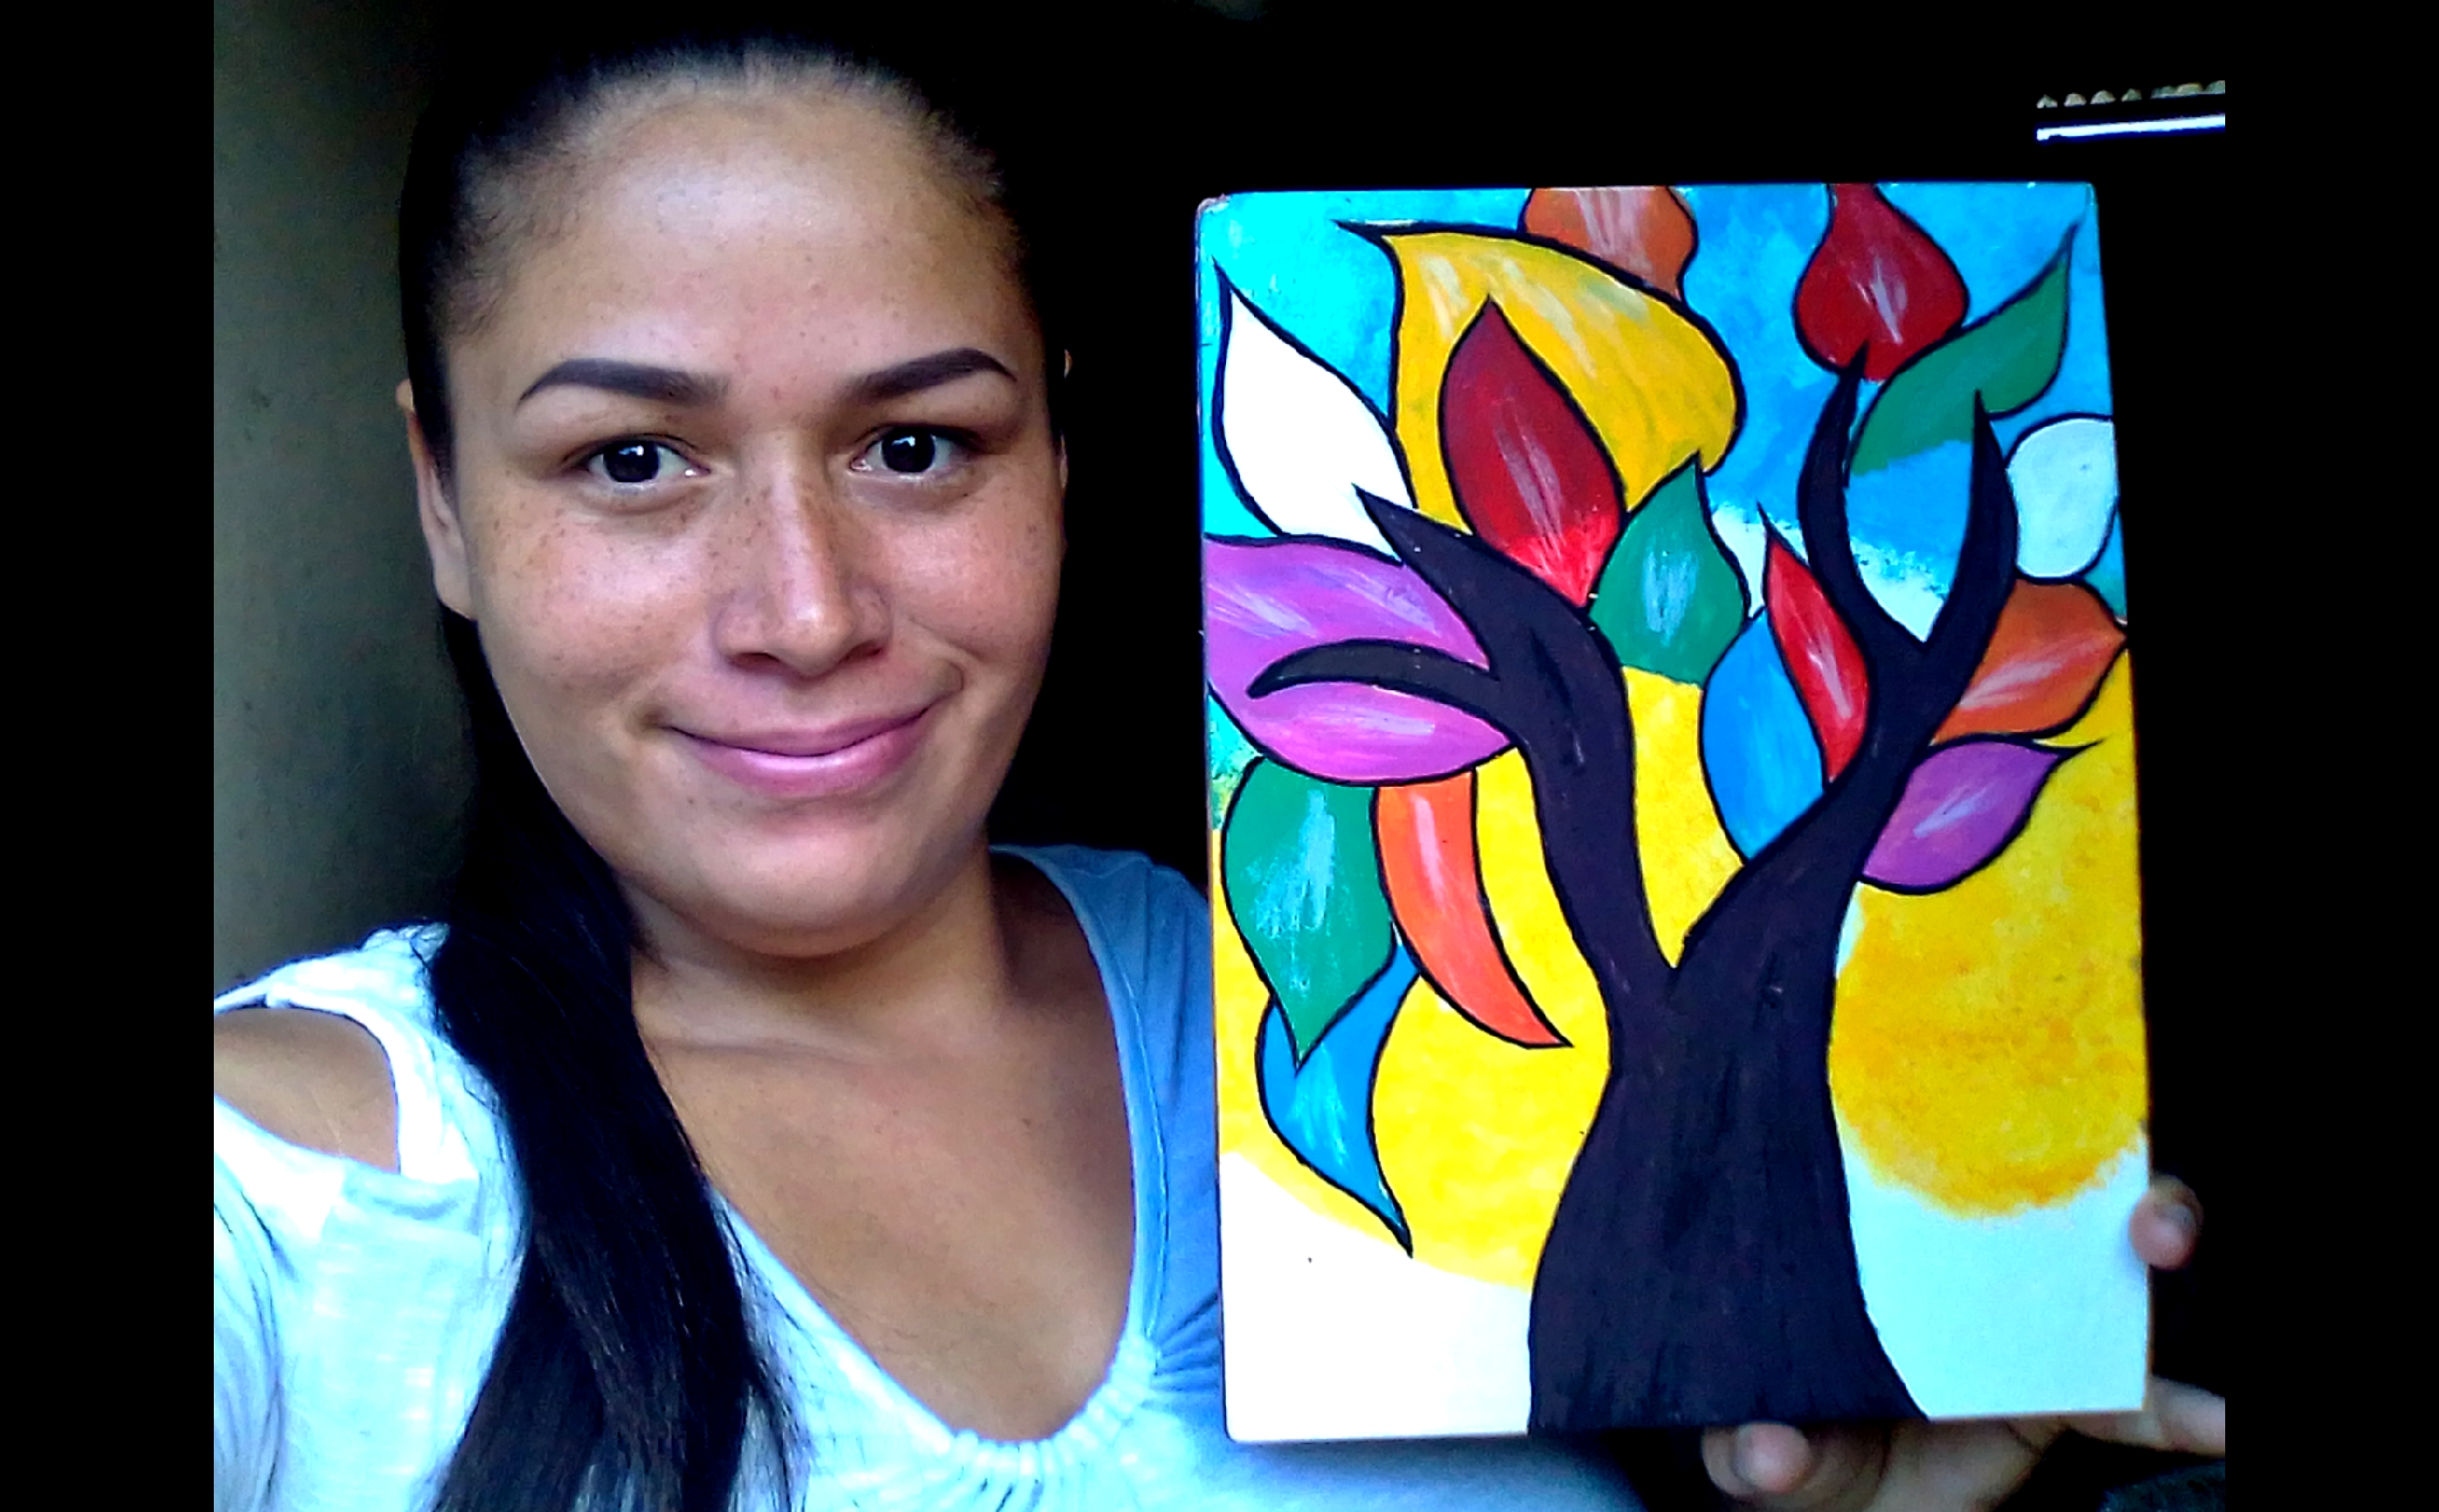
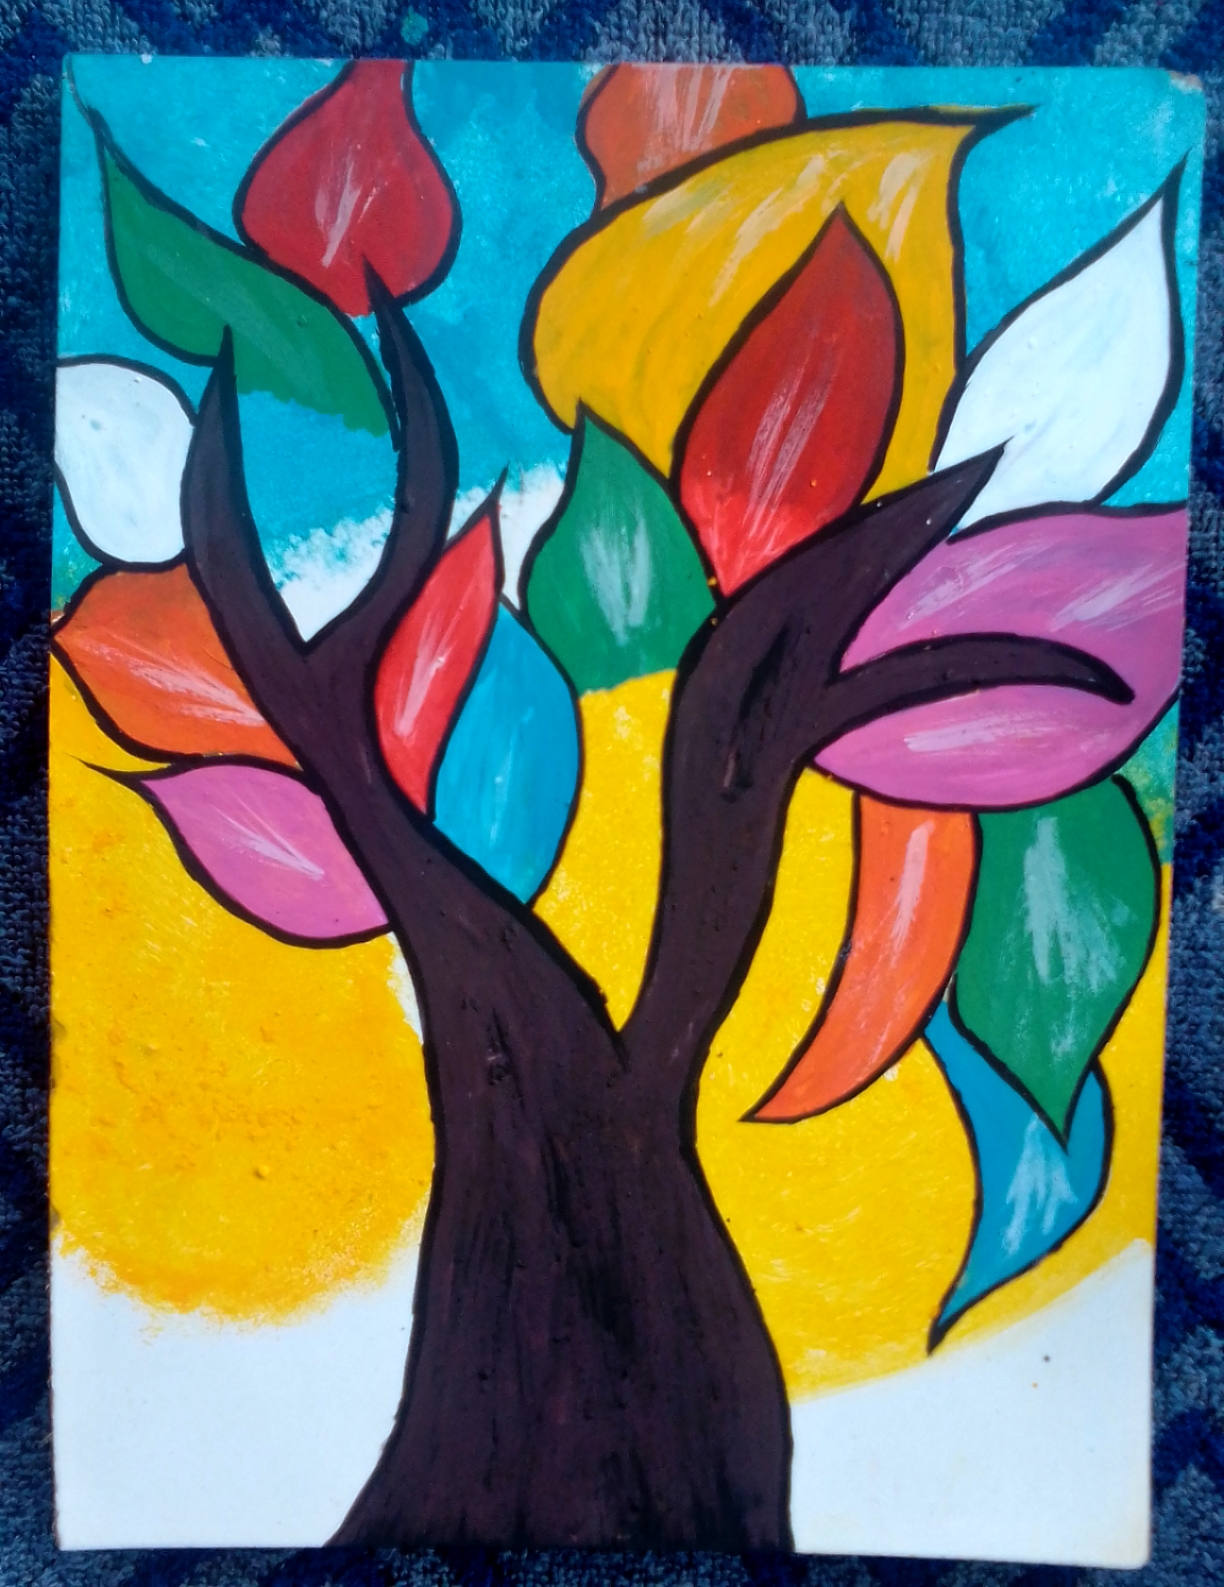
Realice una bella pintura, sobre un cuadro de madera, el cual te encantará. Sígueme hasta el final.
Hello hive family, nice to be with you again. I was absent for some time, I had some inconveniences to be able to show you content, here I am!! Willing to work for you. Make a beautiful painting on a wooden frame, which you will love. Follow me to the end.
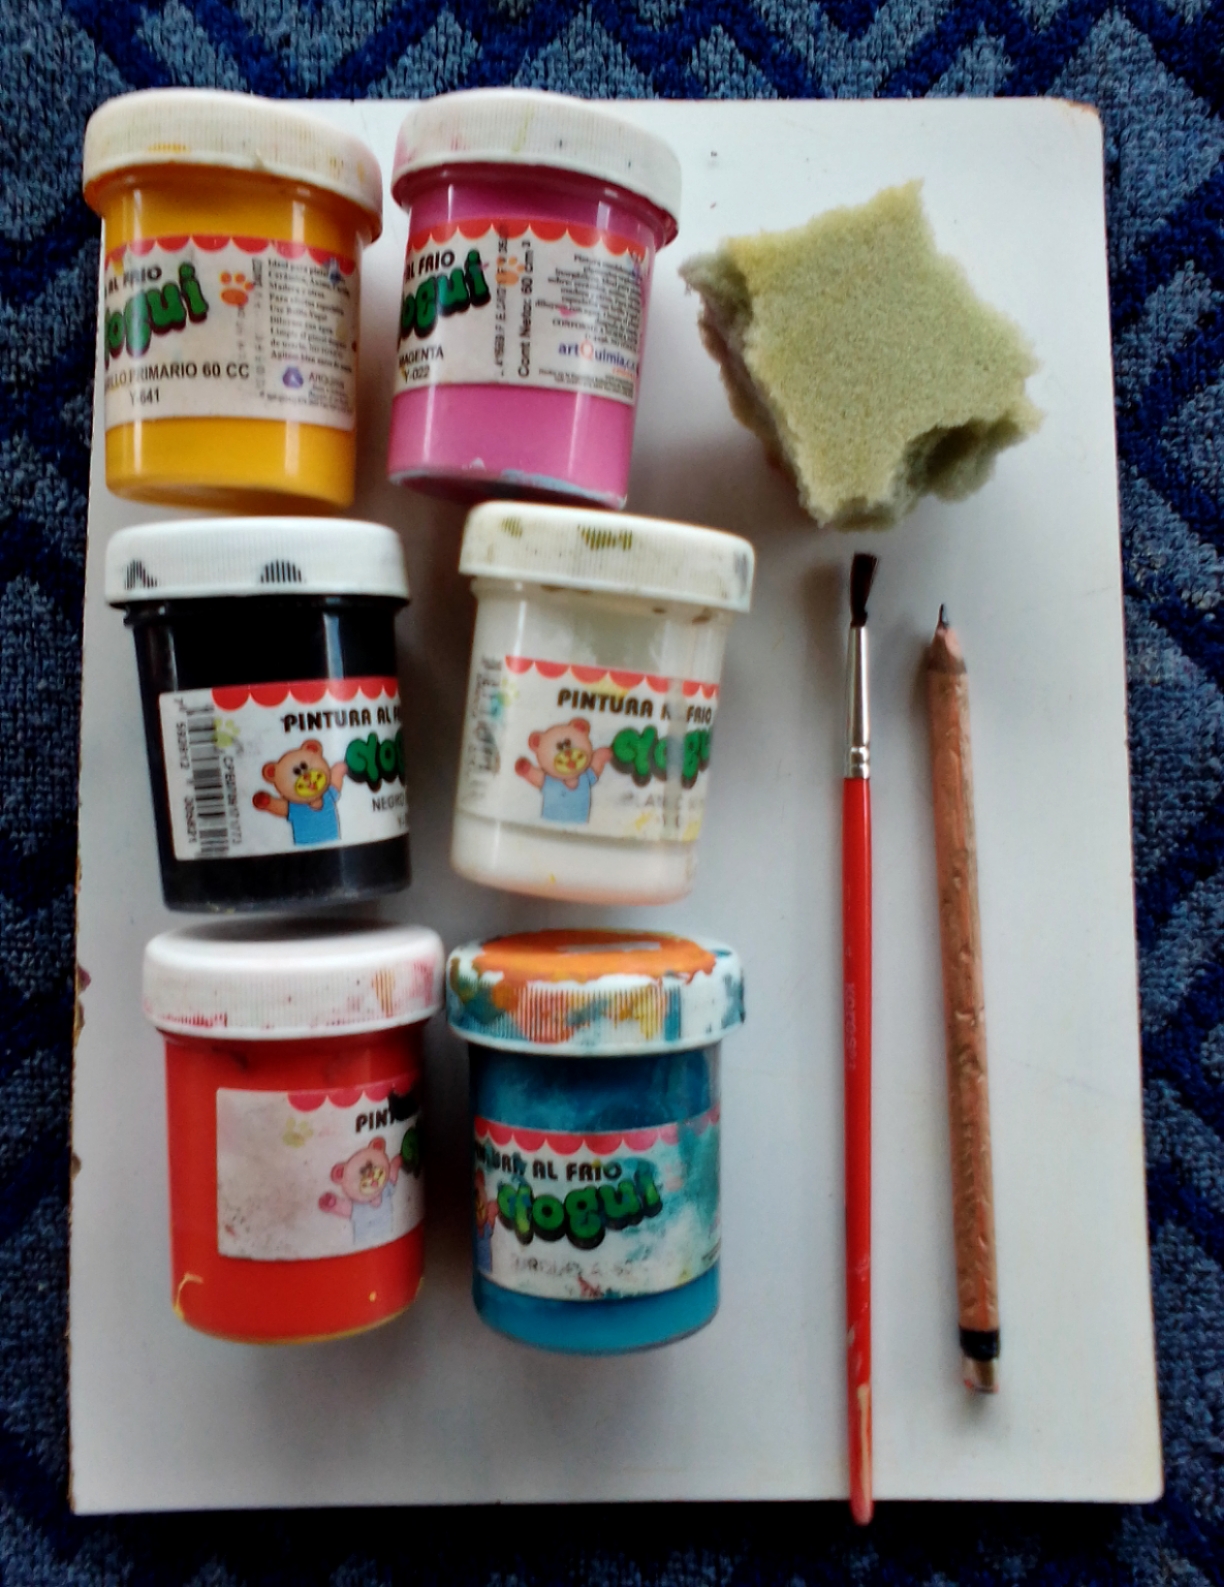
Materiales//Materials
- Cuadro de madera
- Pintura al frío: roja, amarilla,blanca,azul,negra.
- Lápiz
- Pincel
- Esponja
- wooden box
- Cold paint: red, yellow, white, blue, black.
- Pencil
- Brush
- sponge
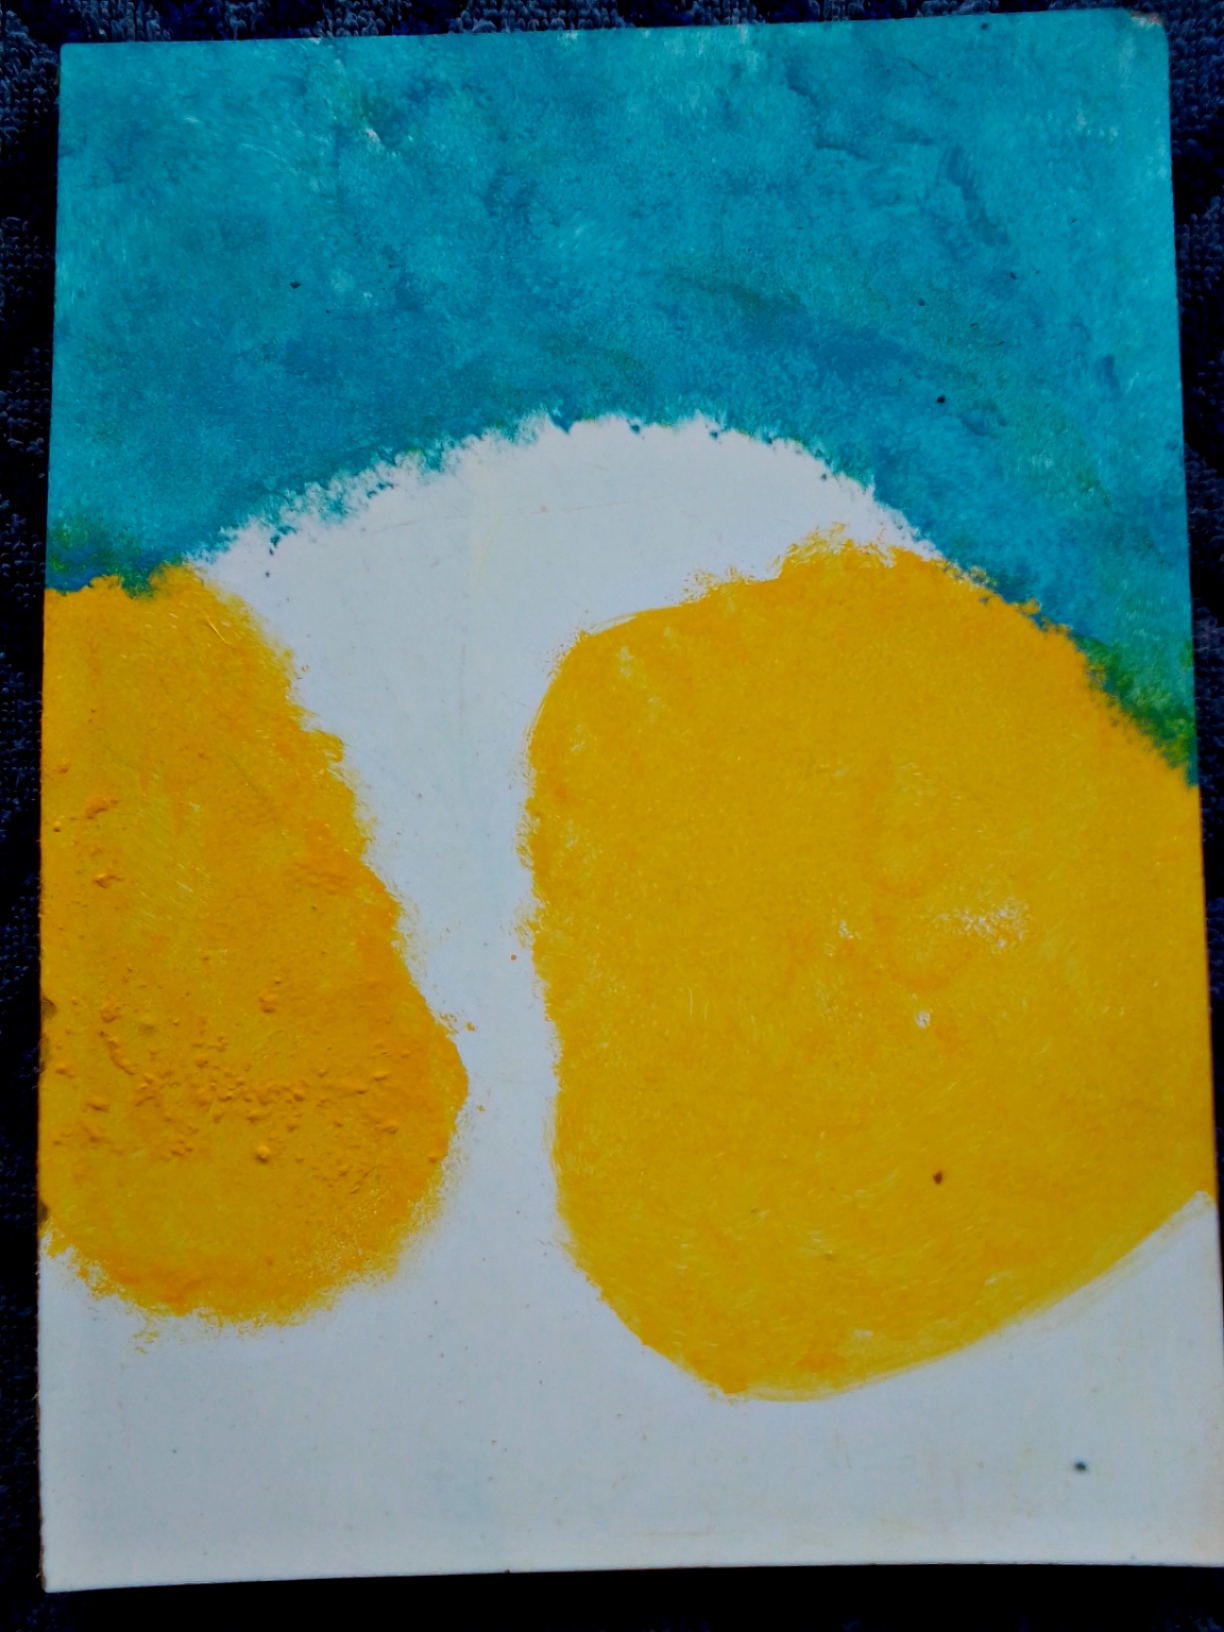
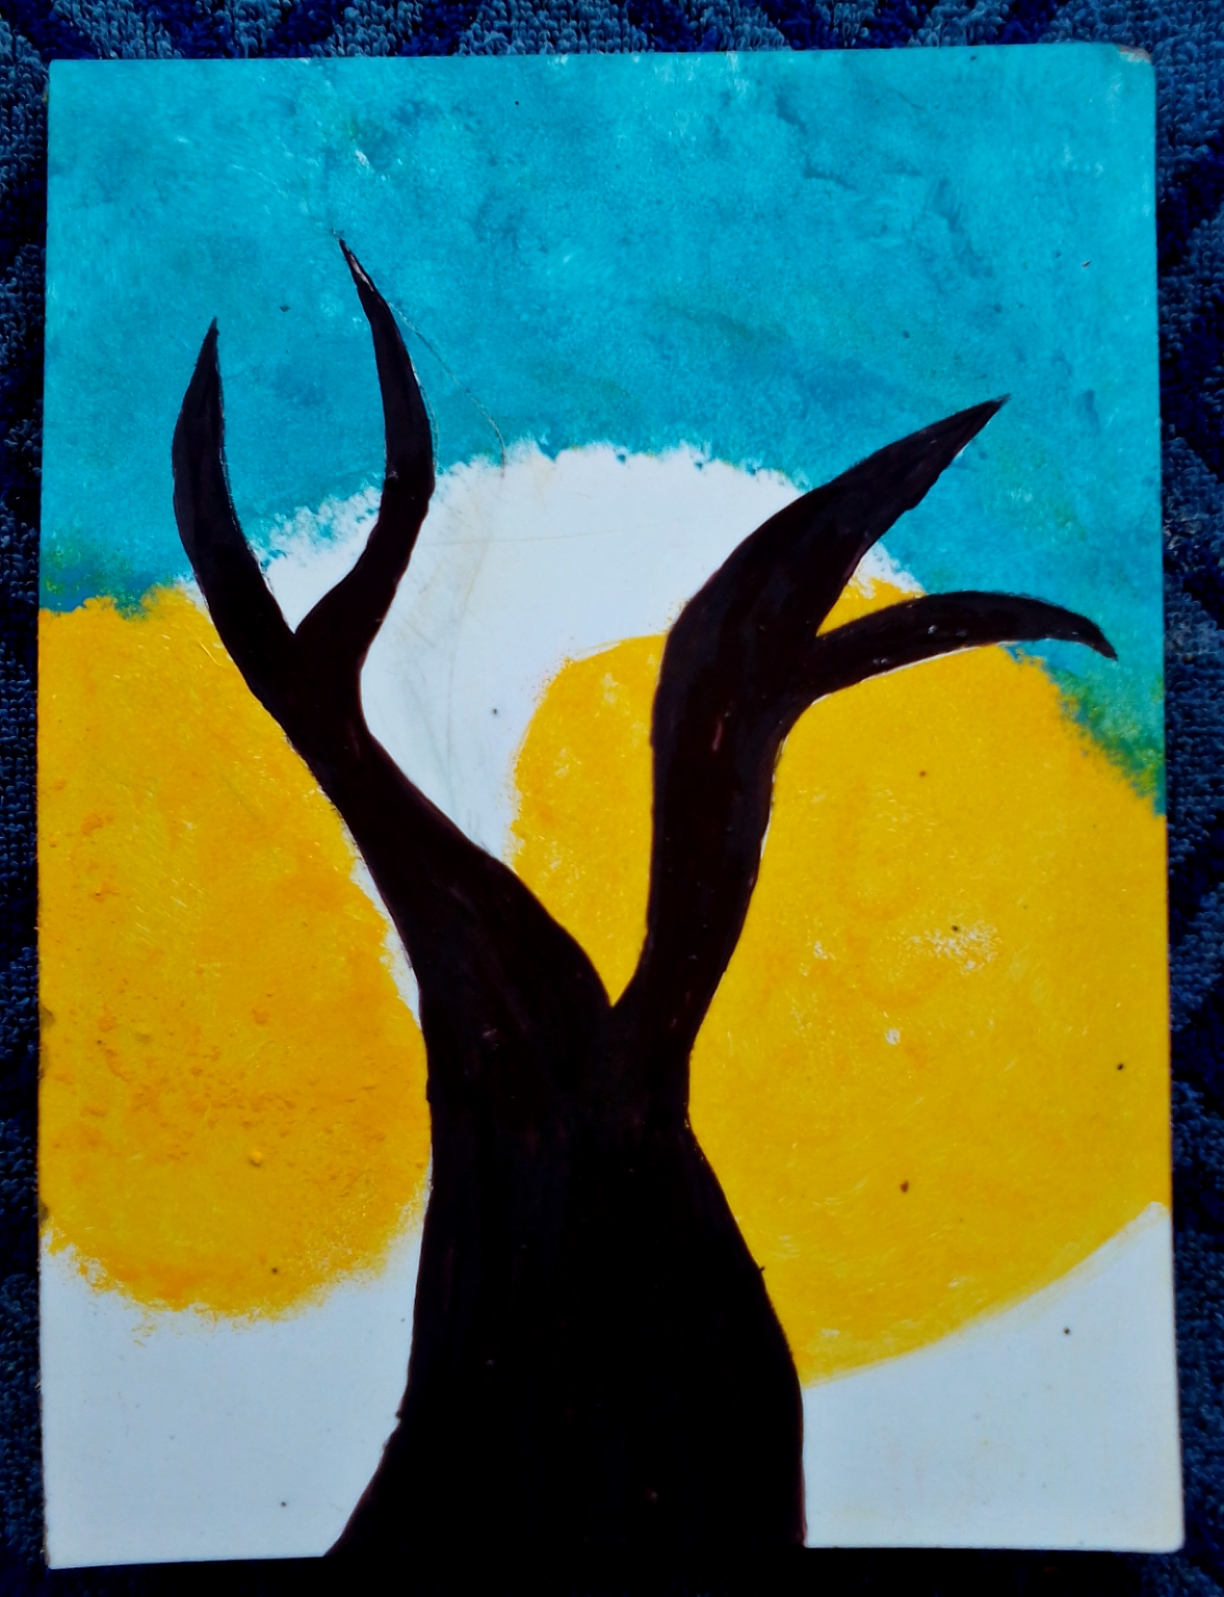
Paso 1
Cómo primer paso, utiliza la esponja humedecida con pintura al frío🎉🎉 Crea un diseño donde puedan resaltar los colores que escojiste.
Step 1
As a first step, use the sponge moistened with cold paint🎉🎉 Create a design where the colors you chose can stand out.
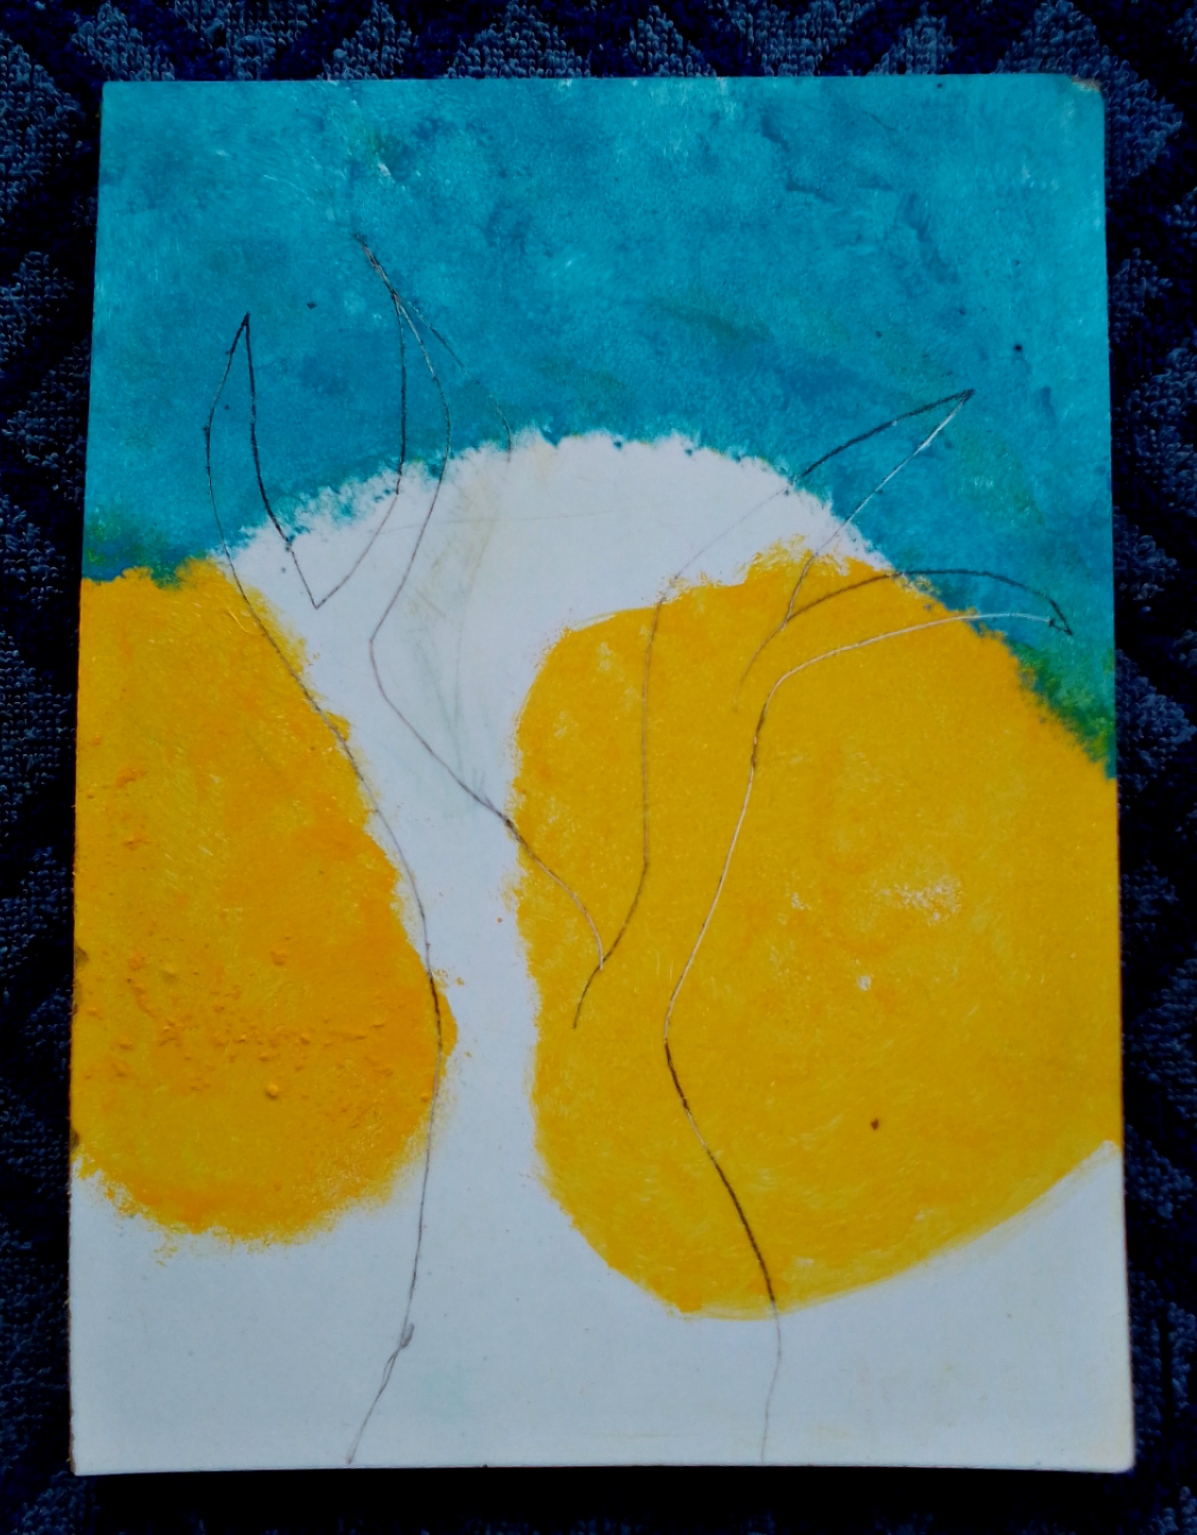
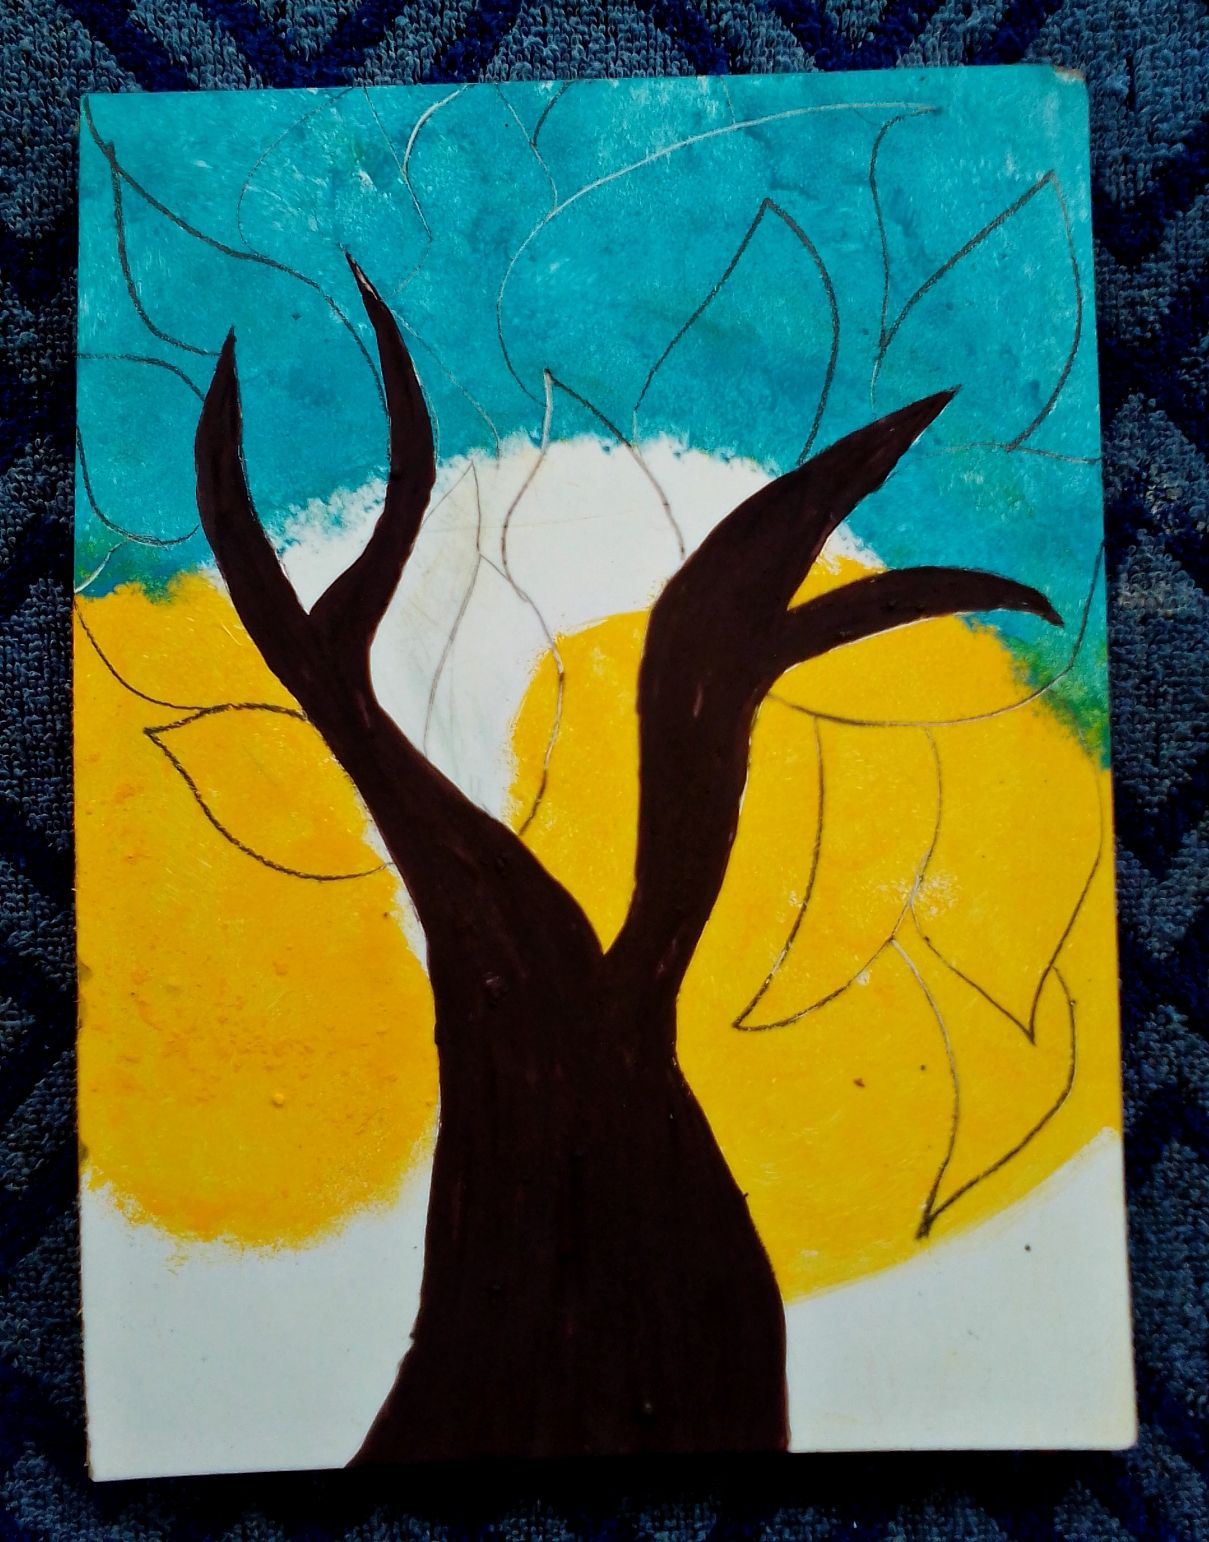
Paso 2
Utiliza el lápiz de creyon para trazar el boceto de un árbol. Este mismo deberás pintar con su respectivo color marrón😁
Step 2
Use the crayon to trace a sketch of a tree. You must paint this with its respective brown color😁
Paso 3
Luego de tener pintado el árbol, traza algunas hojas con el lápiz creyon.
Step 3
After you have painted the tree, trace some leaves with the crayon pencil.
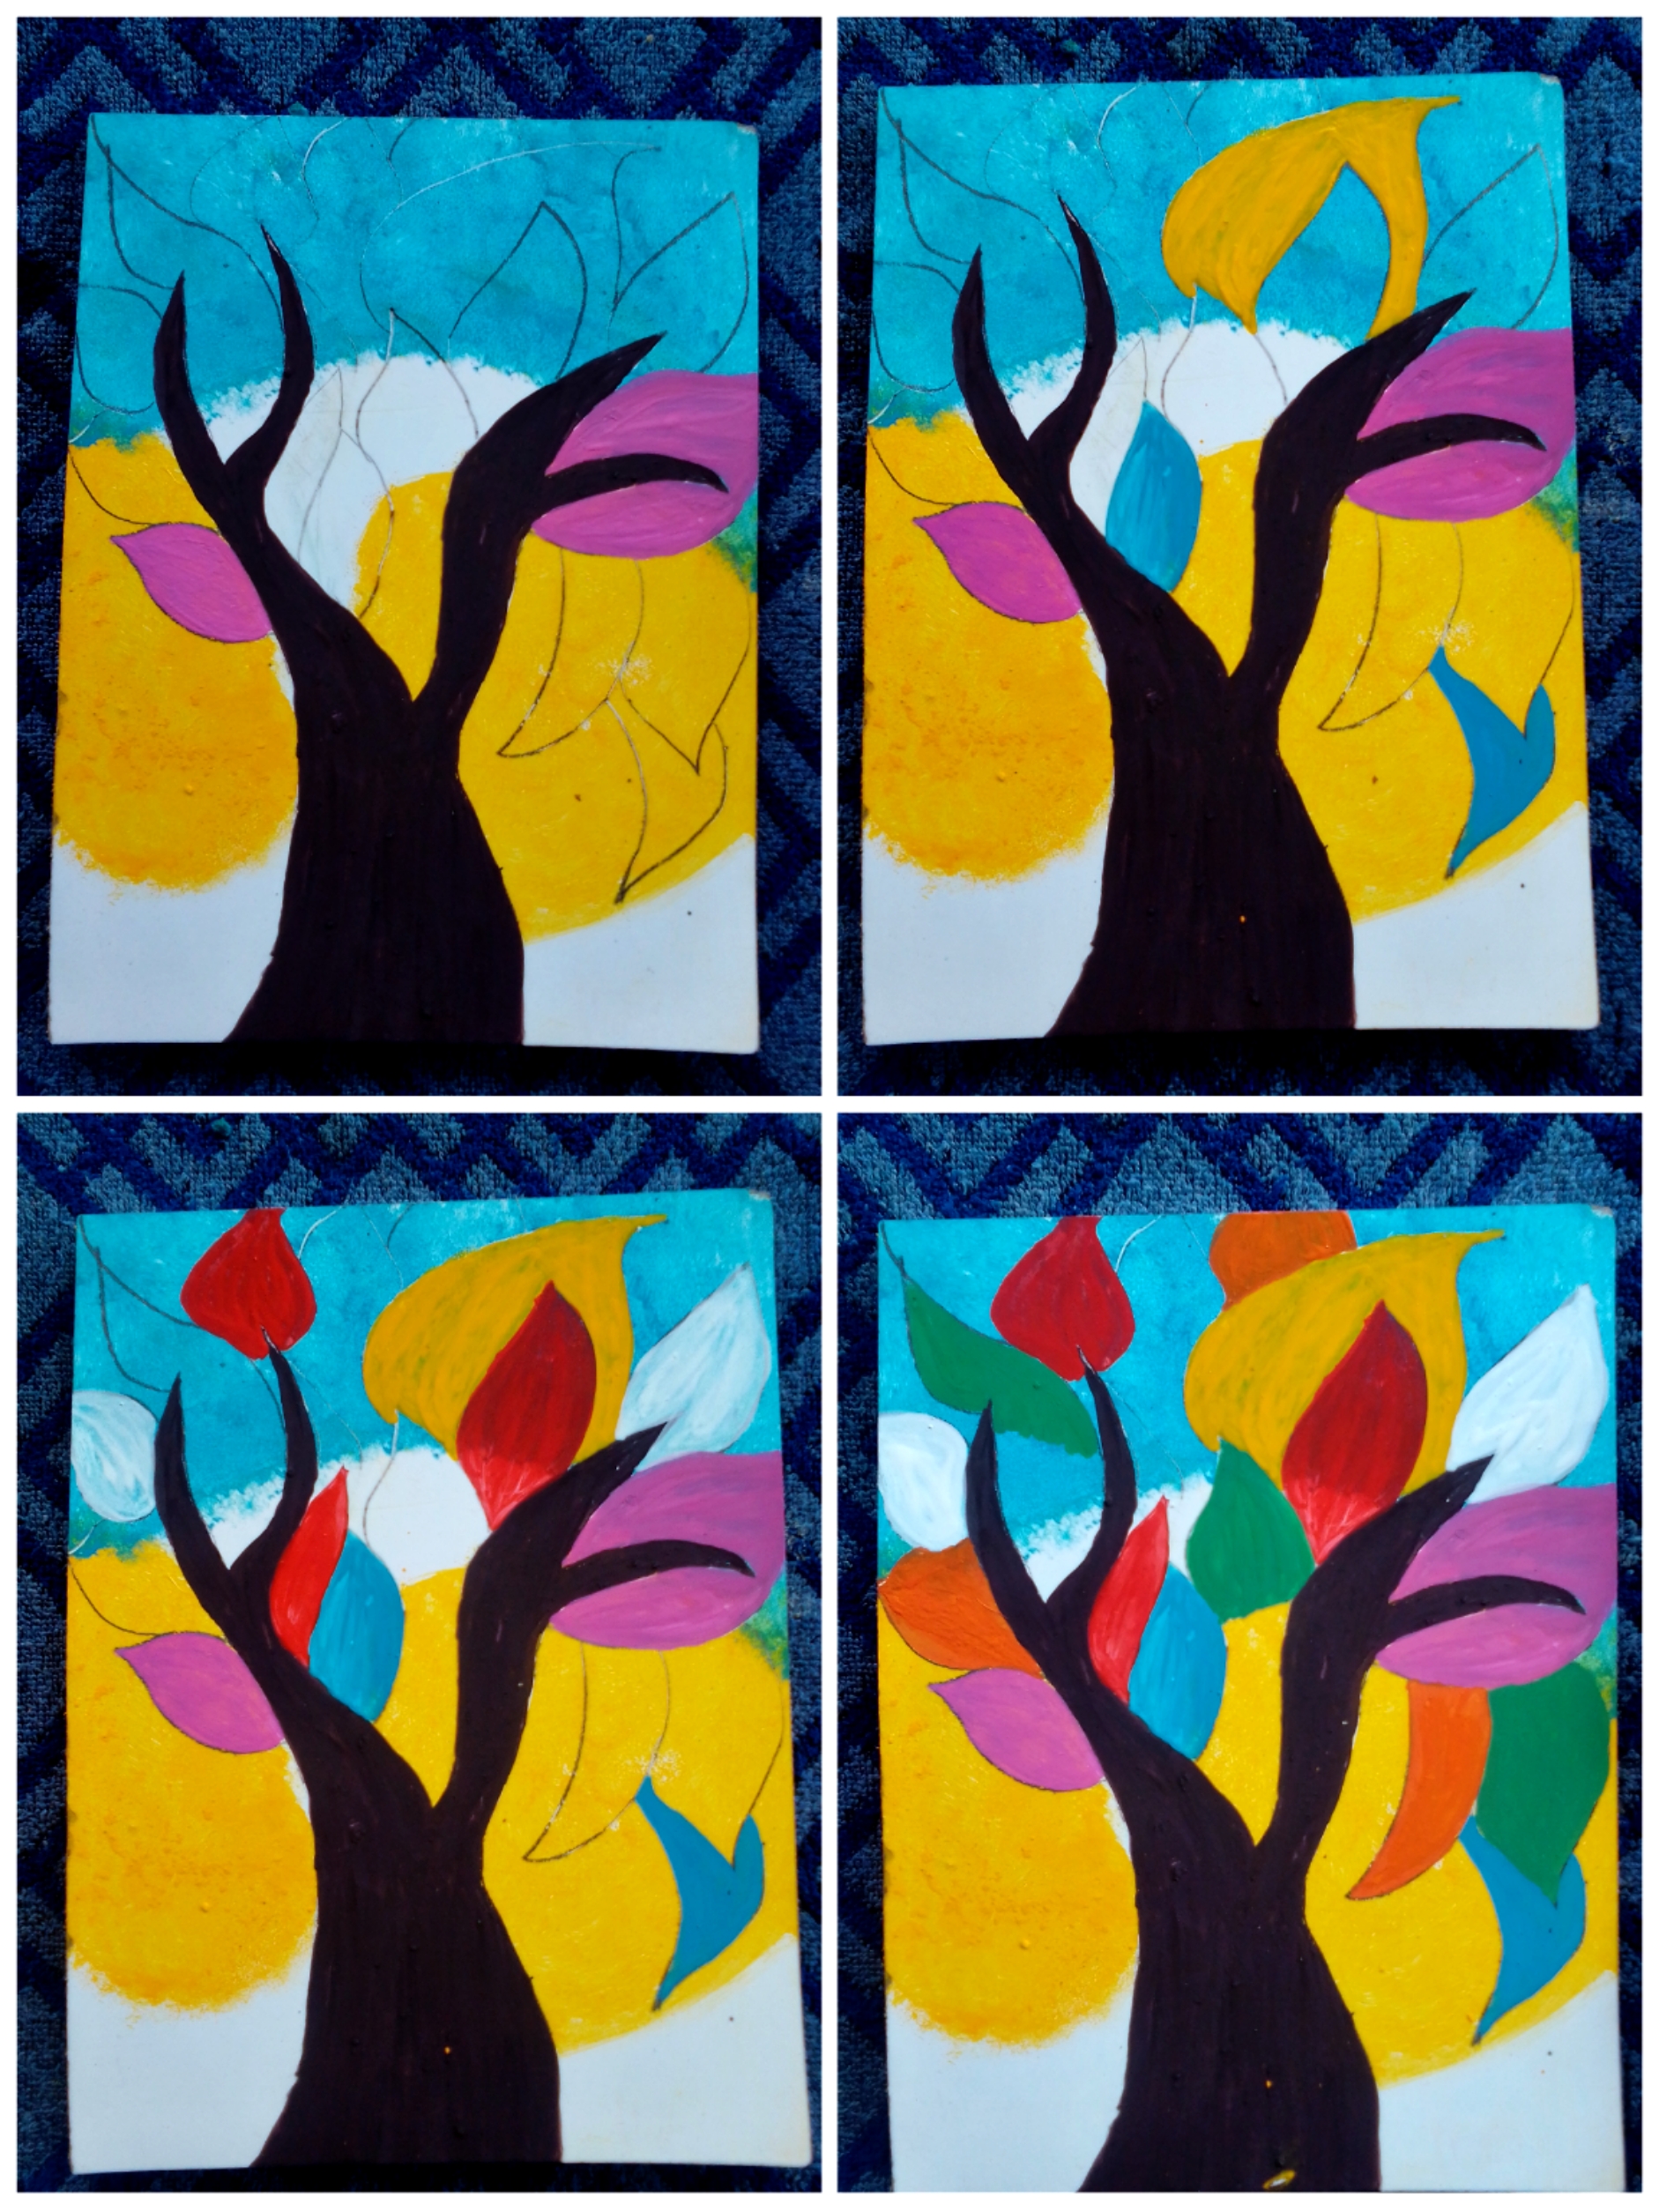
Paso 4
Añade distintos tipos de colores para cada hoja, y será muy atractivo y resaltante en el cuadro.
Step 4
Add different types of colors for each sheet, and it will be very attractive and stand out in the box.
Último paso
Delinea todo el diseño con el pincel delgado. Añade algunas pinceladas con pintura blanca, en las hoja, y listo! Aquí el resultado.
Last step
Outlines the entire design with the thin brush.Add some brush strokes on the leaves, and voila! here our result
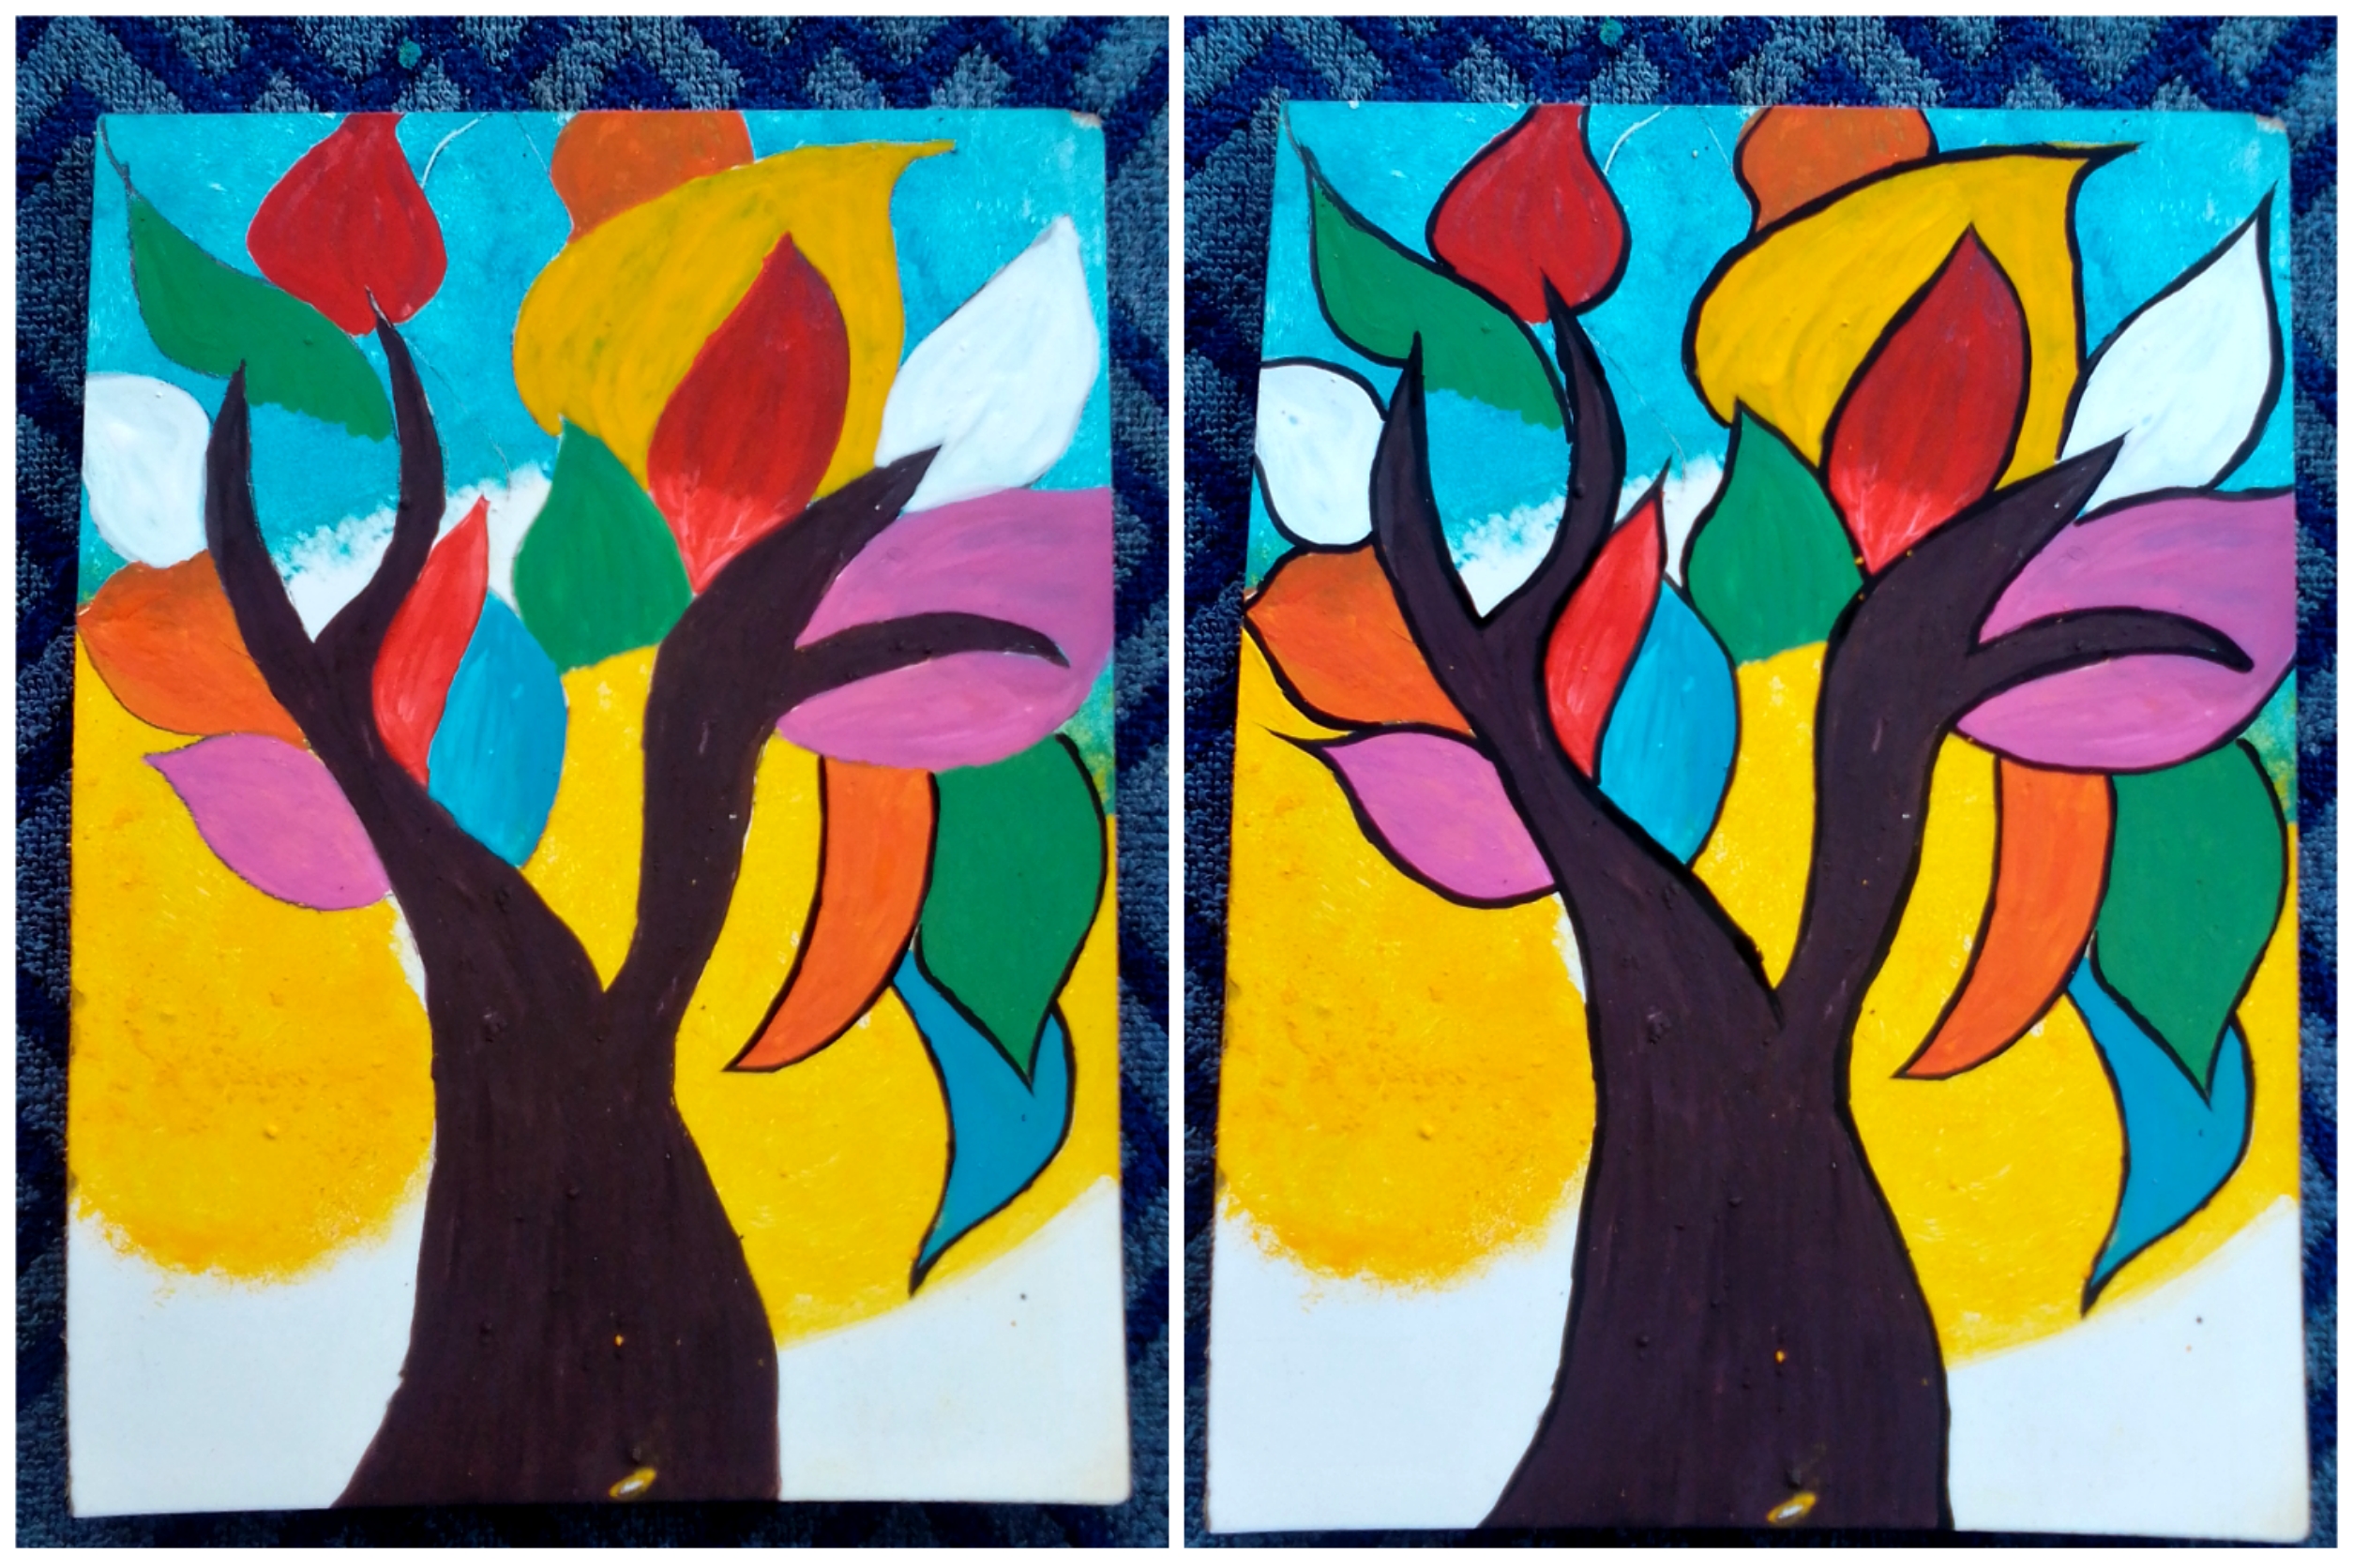
😍😍
Eso fue todo por hoy mis amores, espero les haya gustado y aprendido conmigo. Dios les bendiga mucho. Besoooos🥰🥰
That was all for today my loves, I hope you liked it and learned with me. God bless you very much. Kisses
Thank you for sharing this amazing post on HIVE!
Your content got selected by our fellow curator @rezoanulvibes & you just received a little thank you via an upvote from our non-profit curation initiative!
You will be featured in one of our recurring curation compilations and on our pinterest boards! Both are aiming to offer you a stage to widen your audience within and outside of the DIY scene of hive.
Join the official DIYHub community on HIVE and show us more of your amazing work and feel free to connect with us and other DIYers via our discord server: https://discord.gg/mY5uCfQ !
If you want to support our goal to motivate other DIY/art/music/homesteading/... creators just delegate to us and earn 100% of your curation rewards!
Stay creative & hive on!