Hola mis abejitas, bendiciones para todos. Espero se encuentren muy bien, les doy la bienvenida a mi blog.
Les cuento que tengo un hermoso hijo de 4 años y le hicieron una invitación para llevar los anillos en una boda.❤️❤️❤️
Por ello pensando cómo podía hacer que mi hijo se viera mucho más elegante decidí hacer una bella corbata de moño (pajarita), la verdad fué muy fácil de realizar porque no necesité de una máquina de coser pues todo lo realice a mano con la ayuda de un hilo y su respectiva aguja.
Acompáñame hasta el final.
Hello my little bees, blessings to all. I hope you are very well, I welcome you to my blog. I tell you that I have a beautiful 4-year-old son and they made him an invitation to wear the rings at a wedding.❤️❤️❤️ So thinking about how I could make my son look much more elegant, I decided to make a beautiful bow tie (bow tie), the truth was that it was very easy to do because I did not need a sewing machine because I did everything by hand with the help of a thread and its respective needle. Join me until the end.
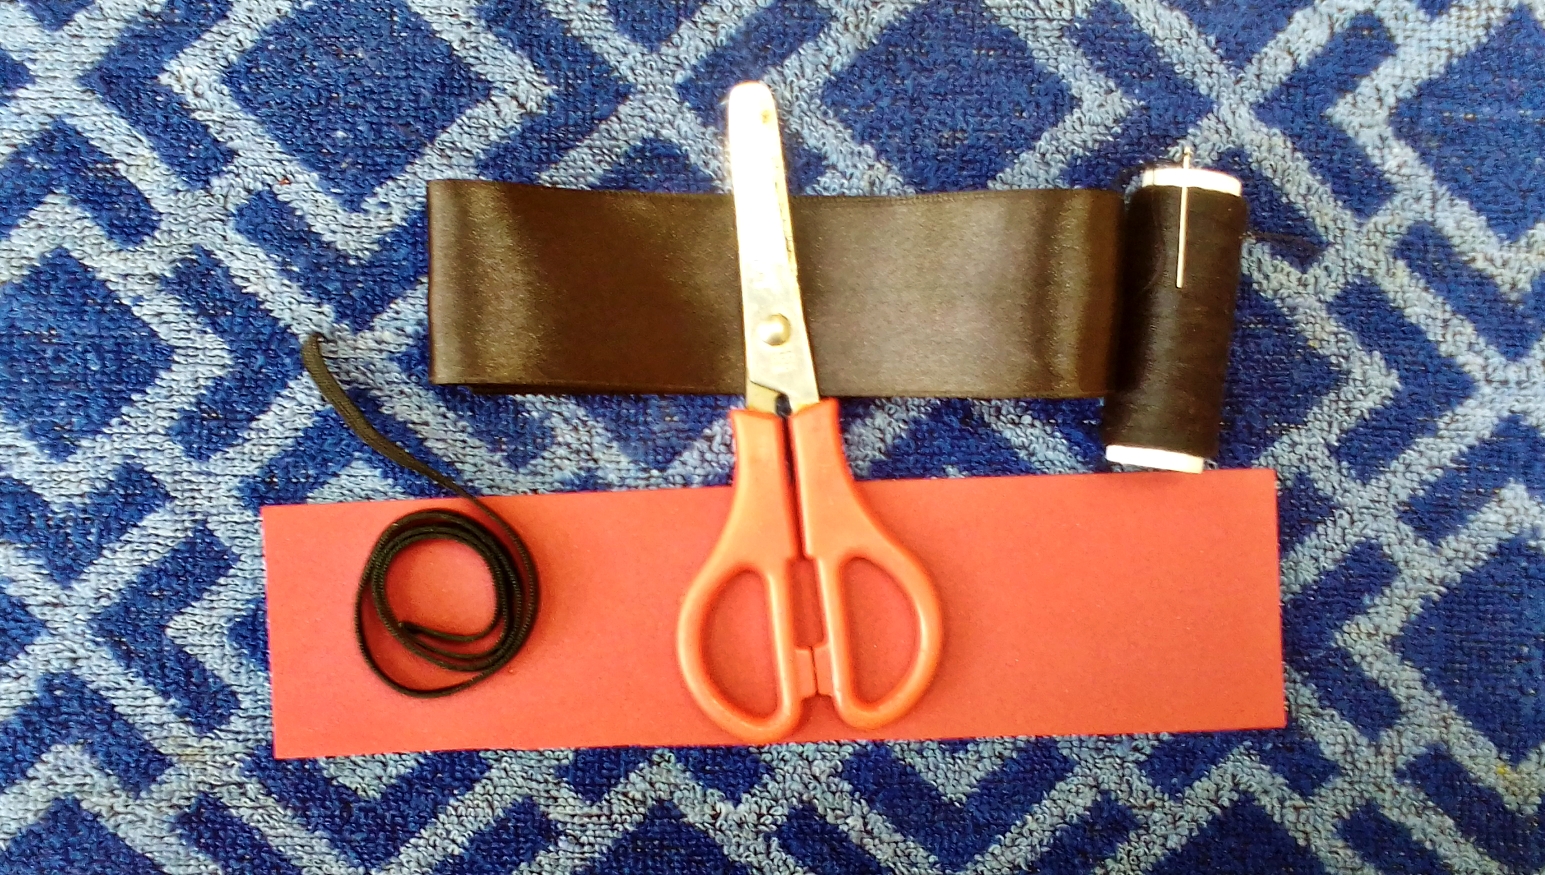
MATERIALES // MATERIALS
🔹Cinta de regalo
🔹Hilo de coser (color negro)
🔹Aguja
🔹 Elástica
🔹Tijera
🔹Foami
🔹Gift ribbon
🔹Sewing thread (black color)
🔹Needle
🔹 Elastic
🔹Scissor
🔹Foami
PROCEDIMIENTO // PROCESS
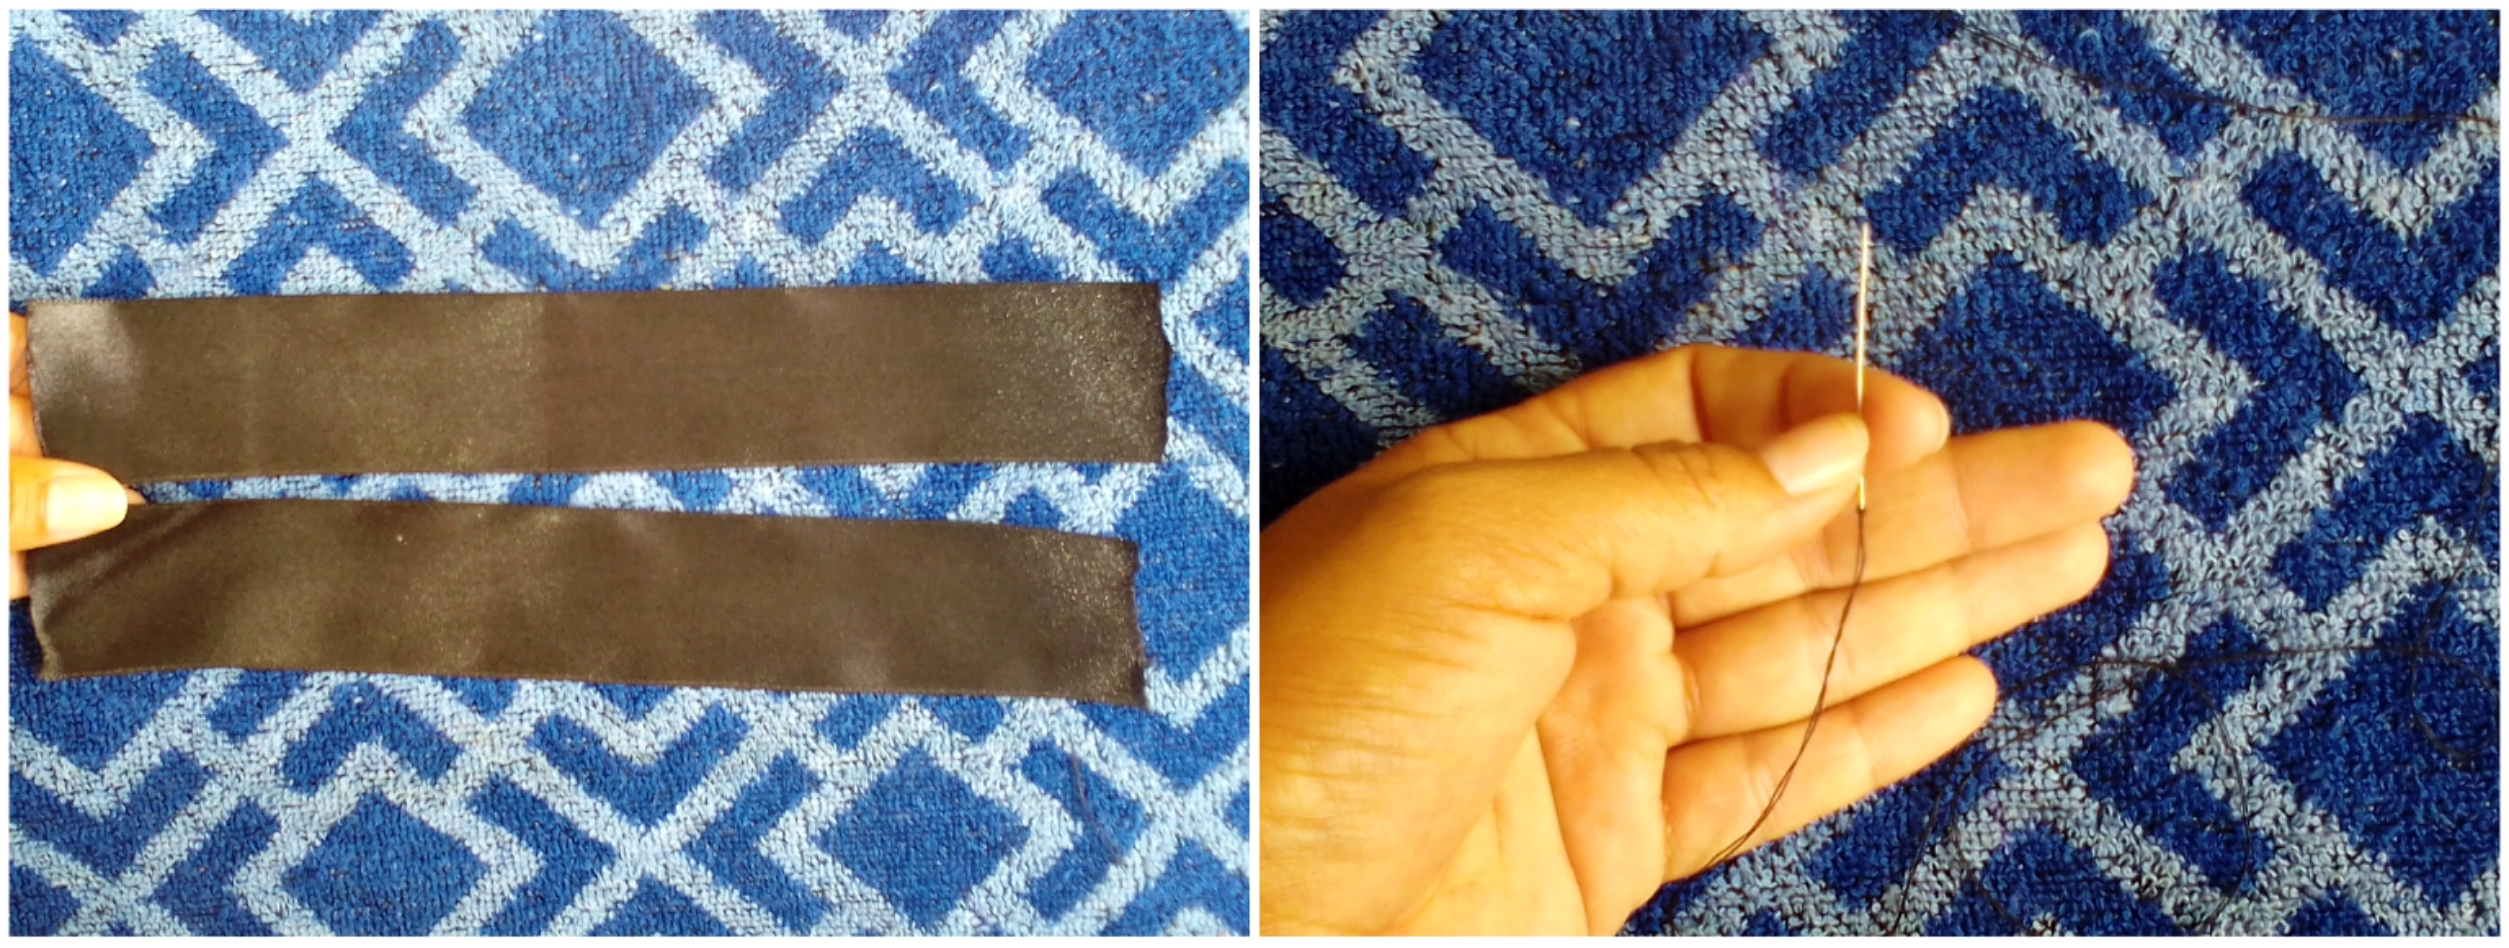
PRIMER PASO:
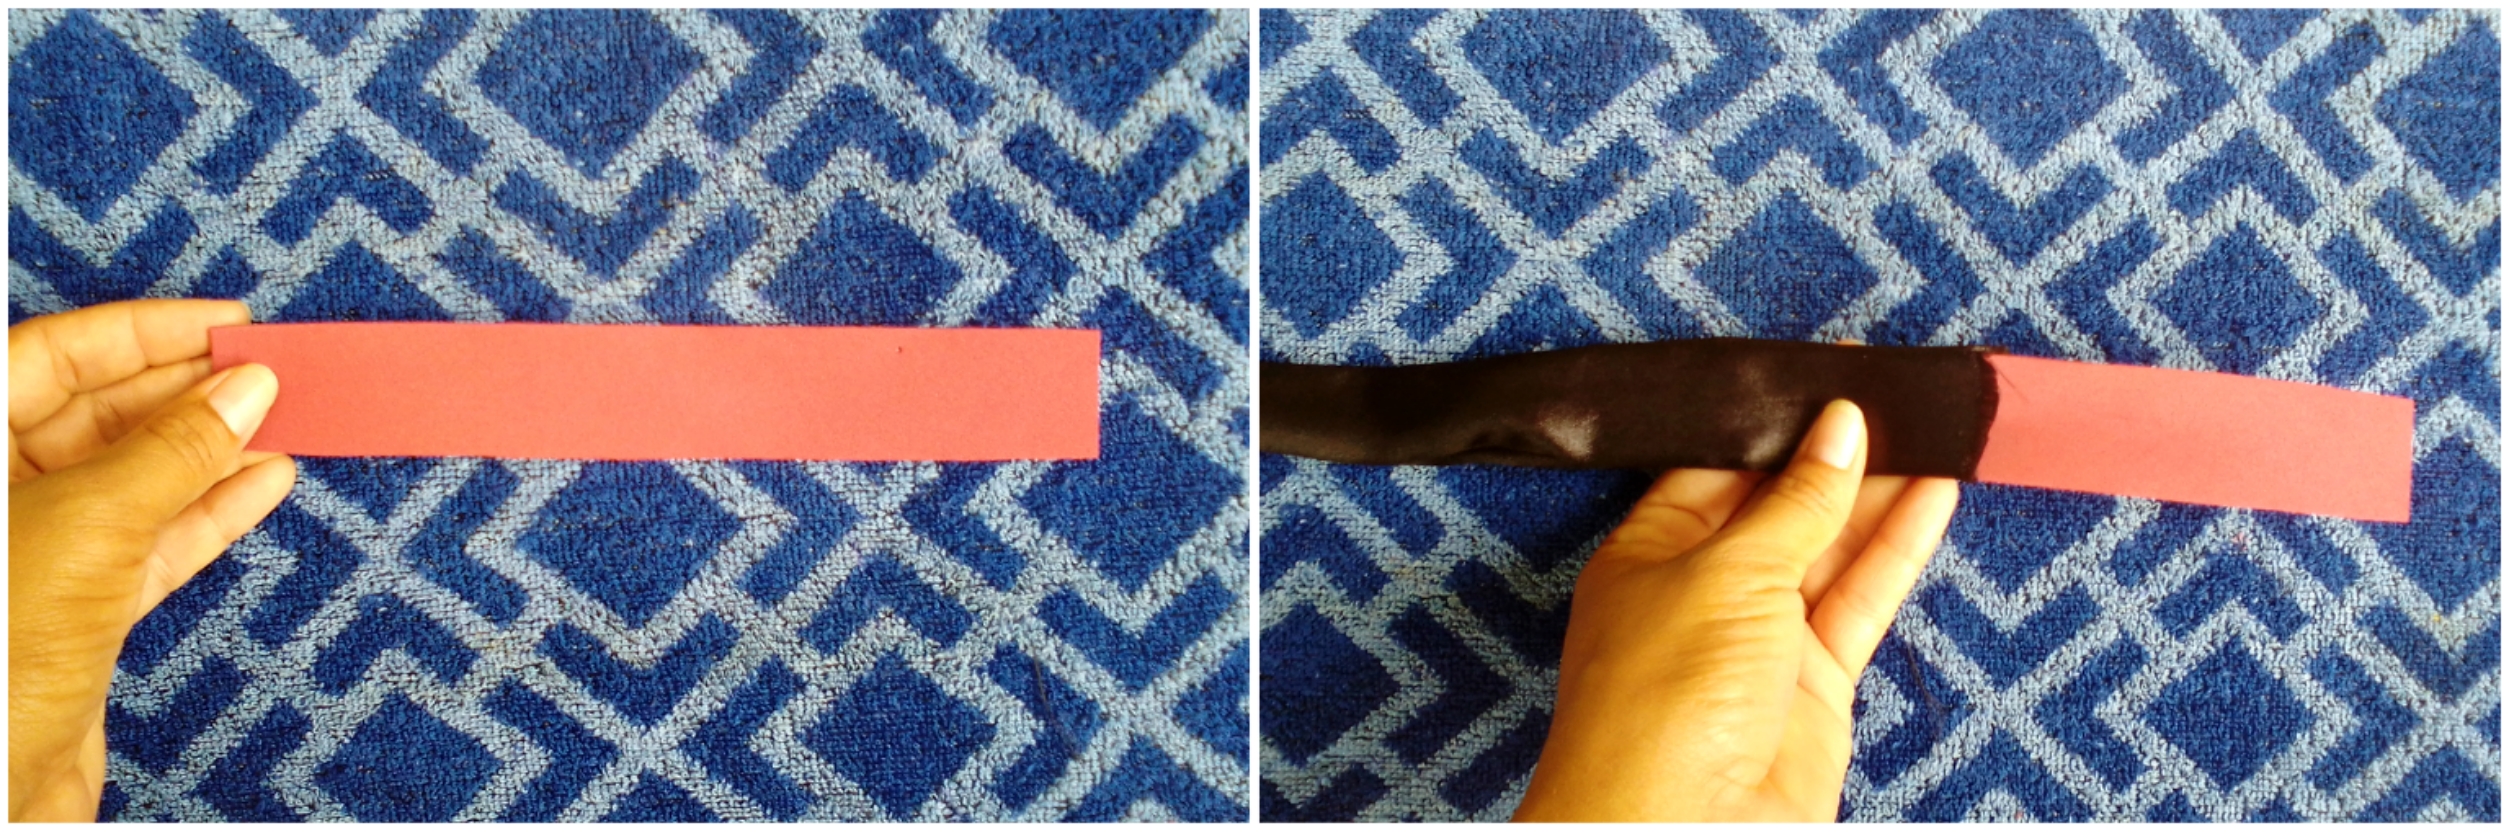
Comenzaremos éste hermoso trabajo tomando la cinta negra y cortaremos en dos partes iguales, luego con la ayuda de la aguja y del hilo de coser uniremos ambas piezas.
FIRST STEP:
We will begin this beautiful work by taking the black ribbon and we will cut into two equal parts, then with the help of the needle and the sewing thread we will join both pieces.
Daremos la vuelta y nos quedará así. // We will turn around and it will be like this.
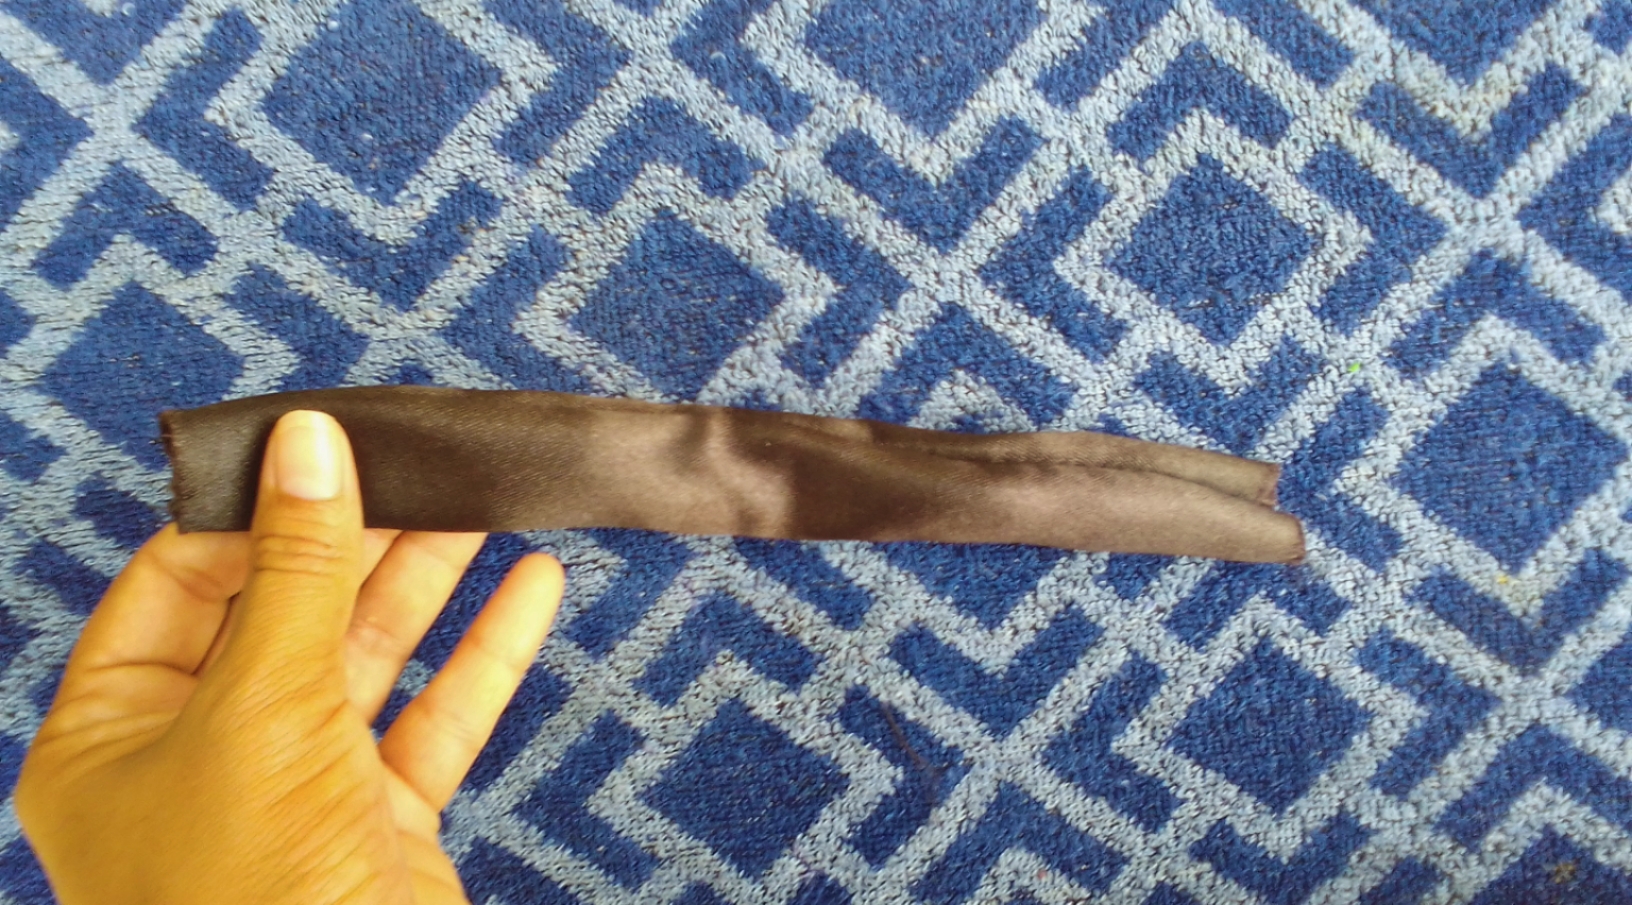
SEGUNDO PASO:
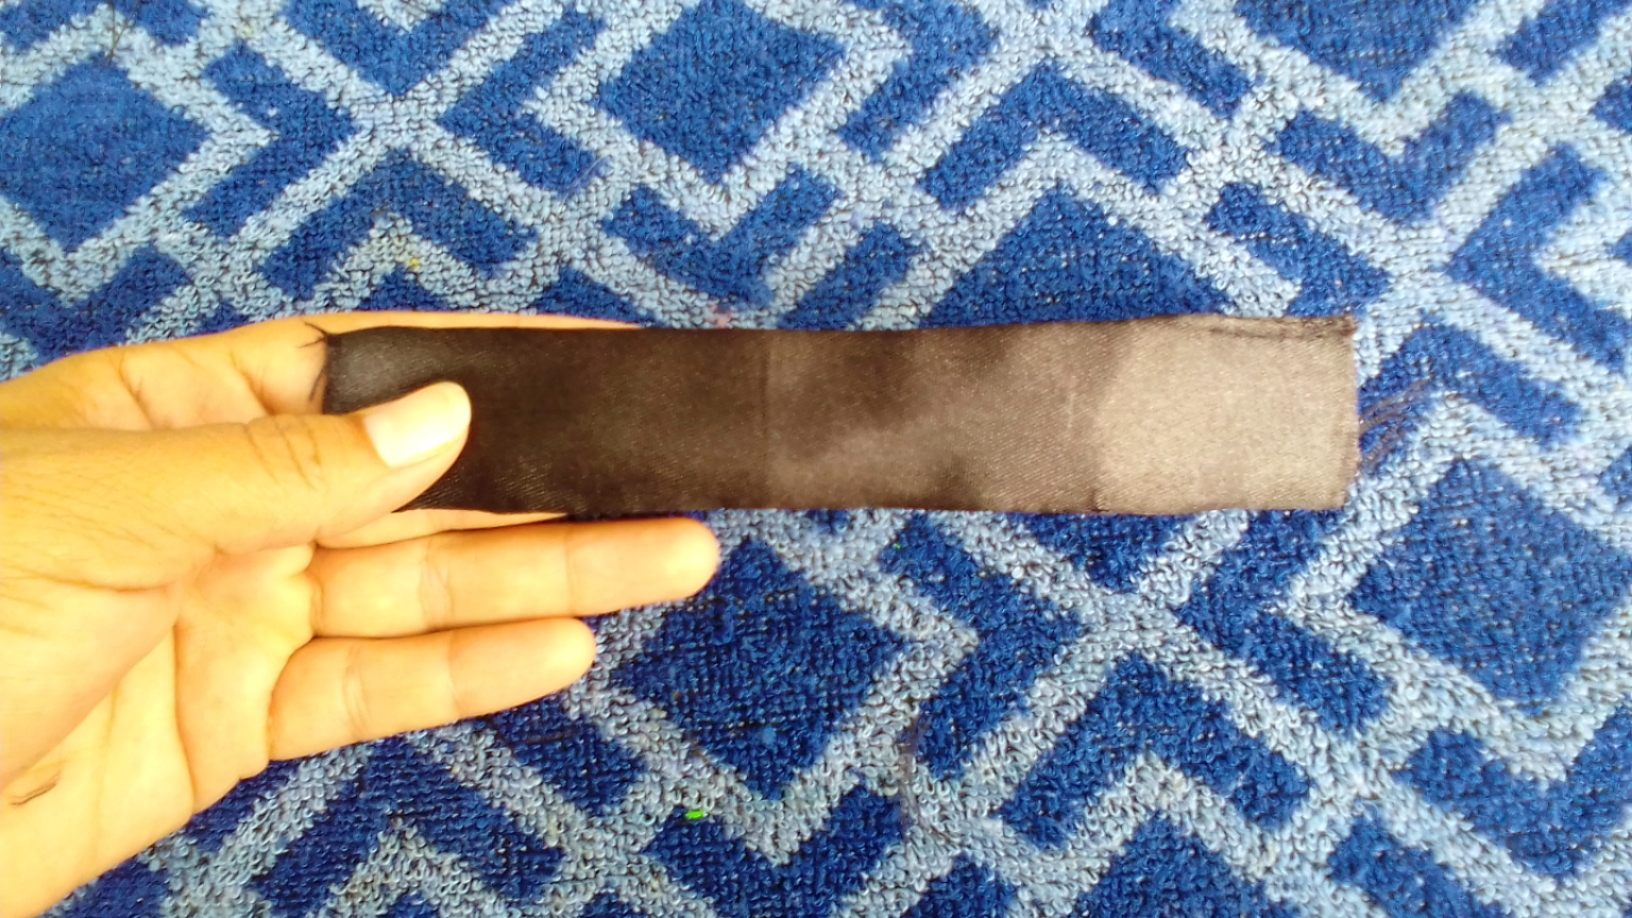
Luego cortaremos el foami o goma Eva en una tira larga e introduciremos dentro de la cinta que ya habíamos cocido.
SECOND STEP:
Then we will cut the foam or Eva rubber into a long strip and we will introduce inside the tape that we had already cooked.
De ésta forma nos quedará. // In this way we will have.
TERCER PASO:
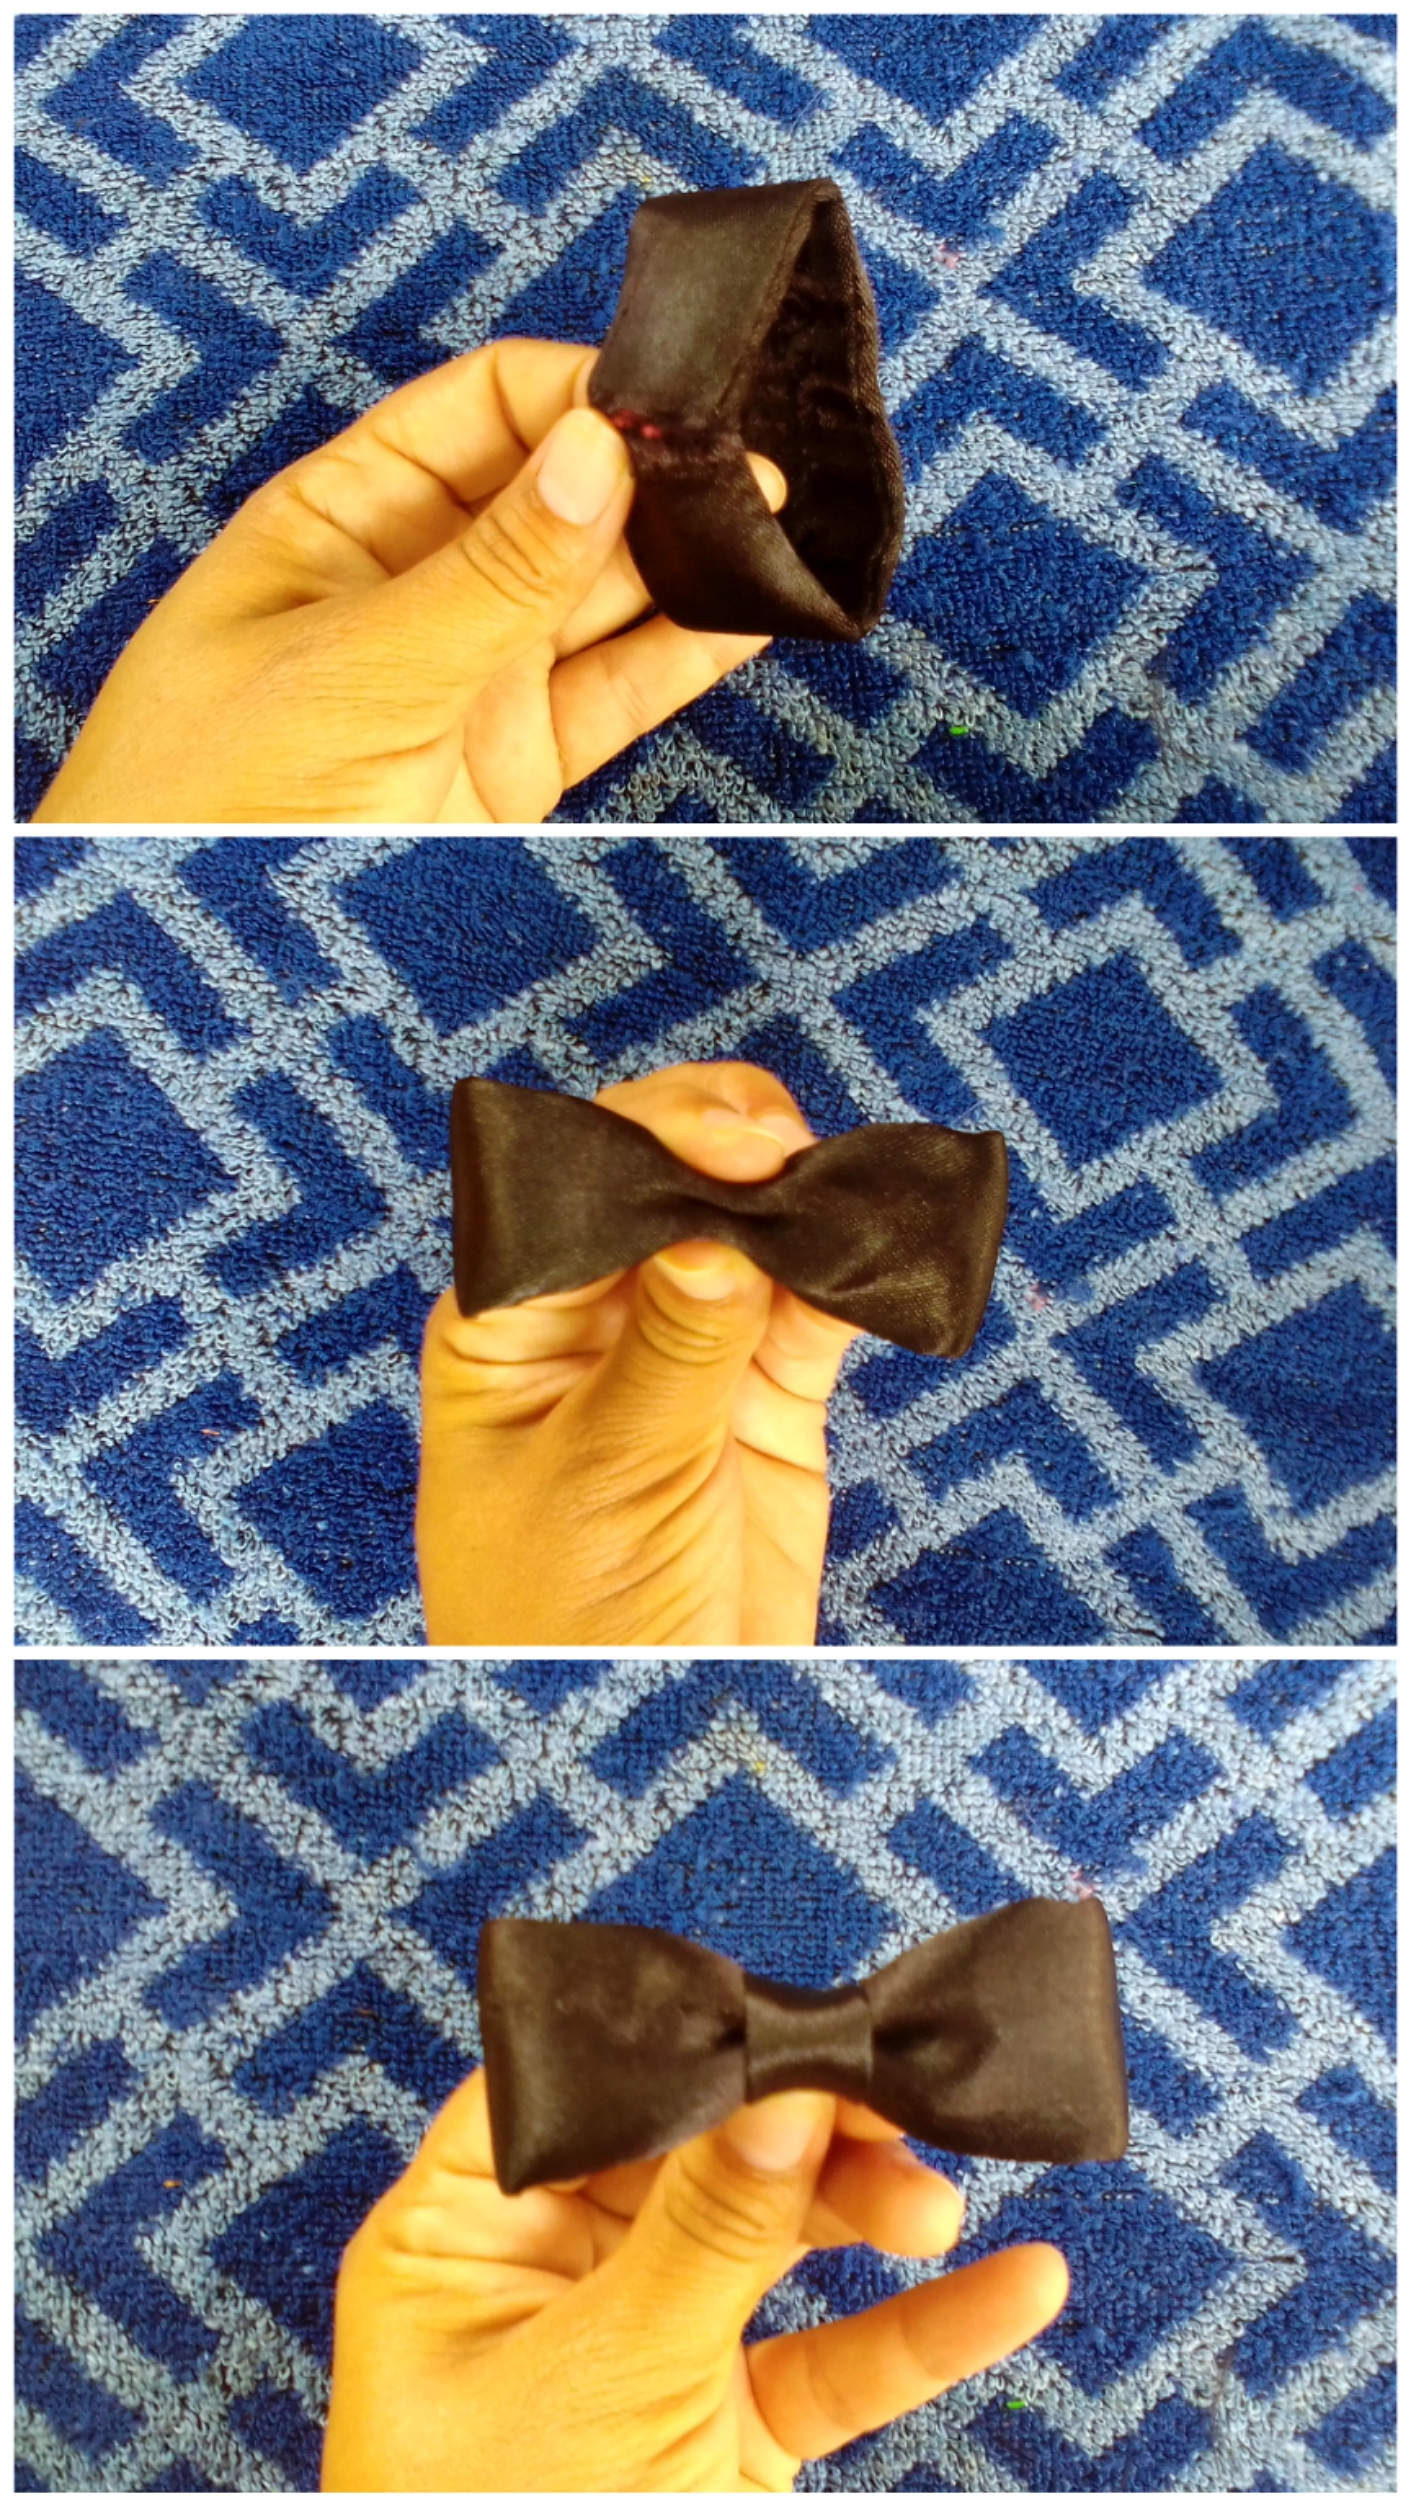
Lo siguiente que haremos será doblar la corbata de moño y coseremos ambas puntas, luego con la ayuda de los dedos presionaremos en el centro y pondremos en él la cinta.
THIRD STEP:
The next thing we will do is fold the bow tie and sew both ends, then with the help of our fingers we will press in the center and put the ribbon on it.
CUARTO PASO:
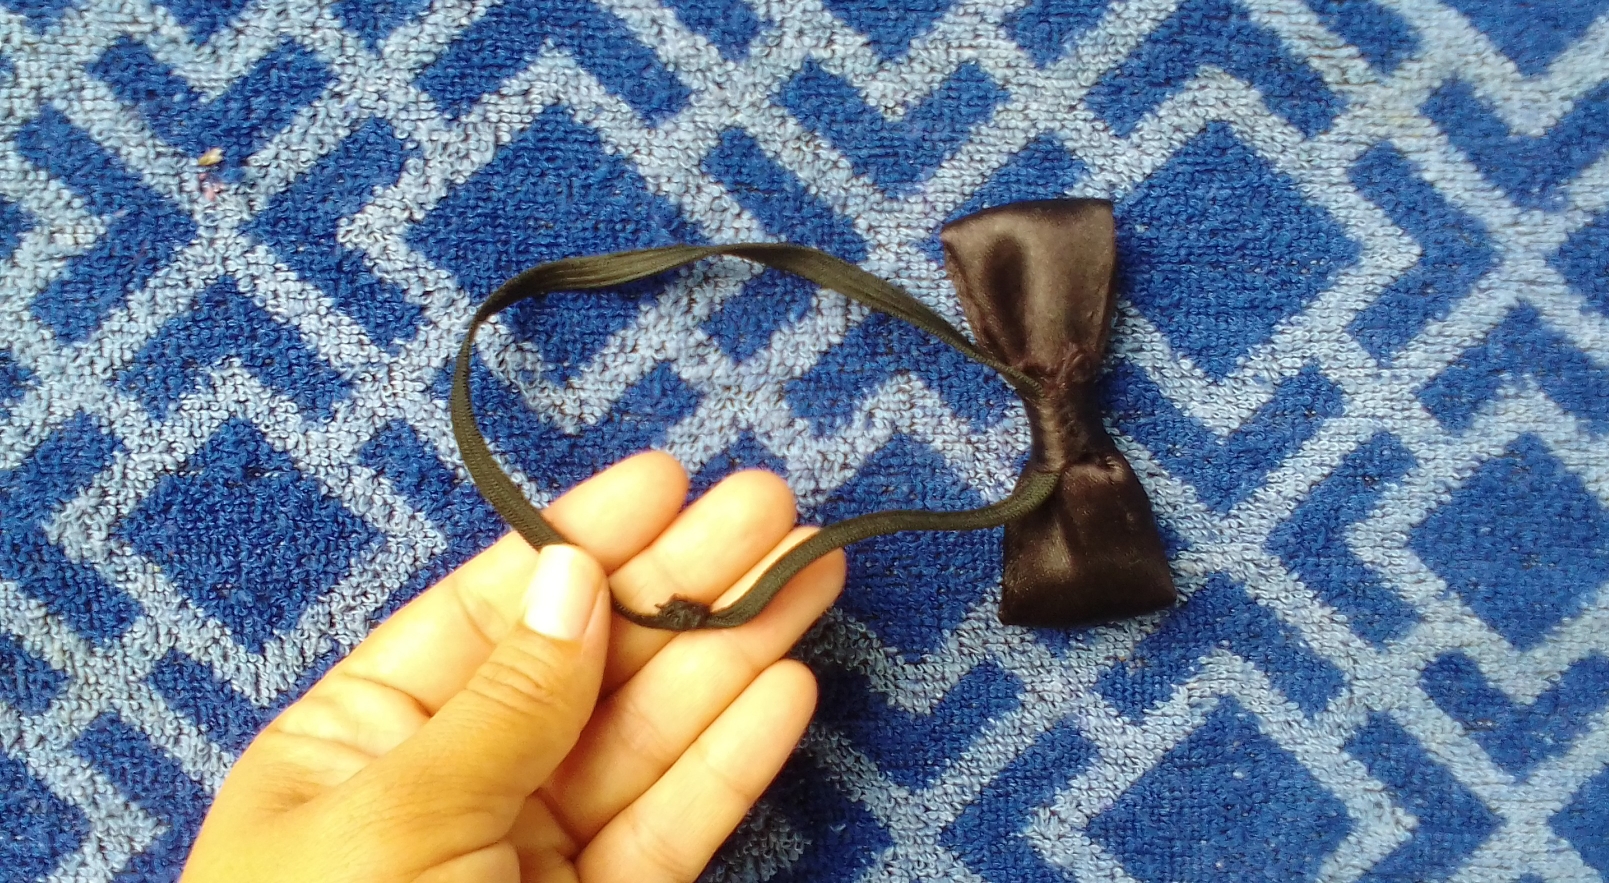
Antes de coser la cinta que colocamos en el centro debemos introducir la elástica en ella y luego cosemos.
Por último haremos un nudo en la elástica.
FOURTH STEP:
Before sewing the ribbon that we place in the center we must introduce the elastic in it and then we sew. Finally we will tie a knot in the elastic.
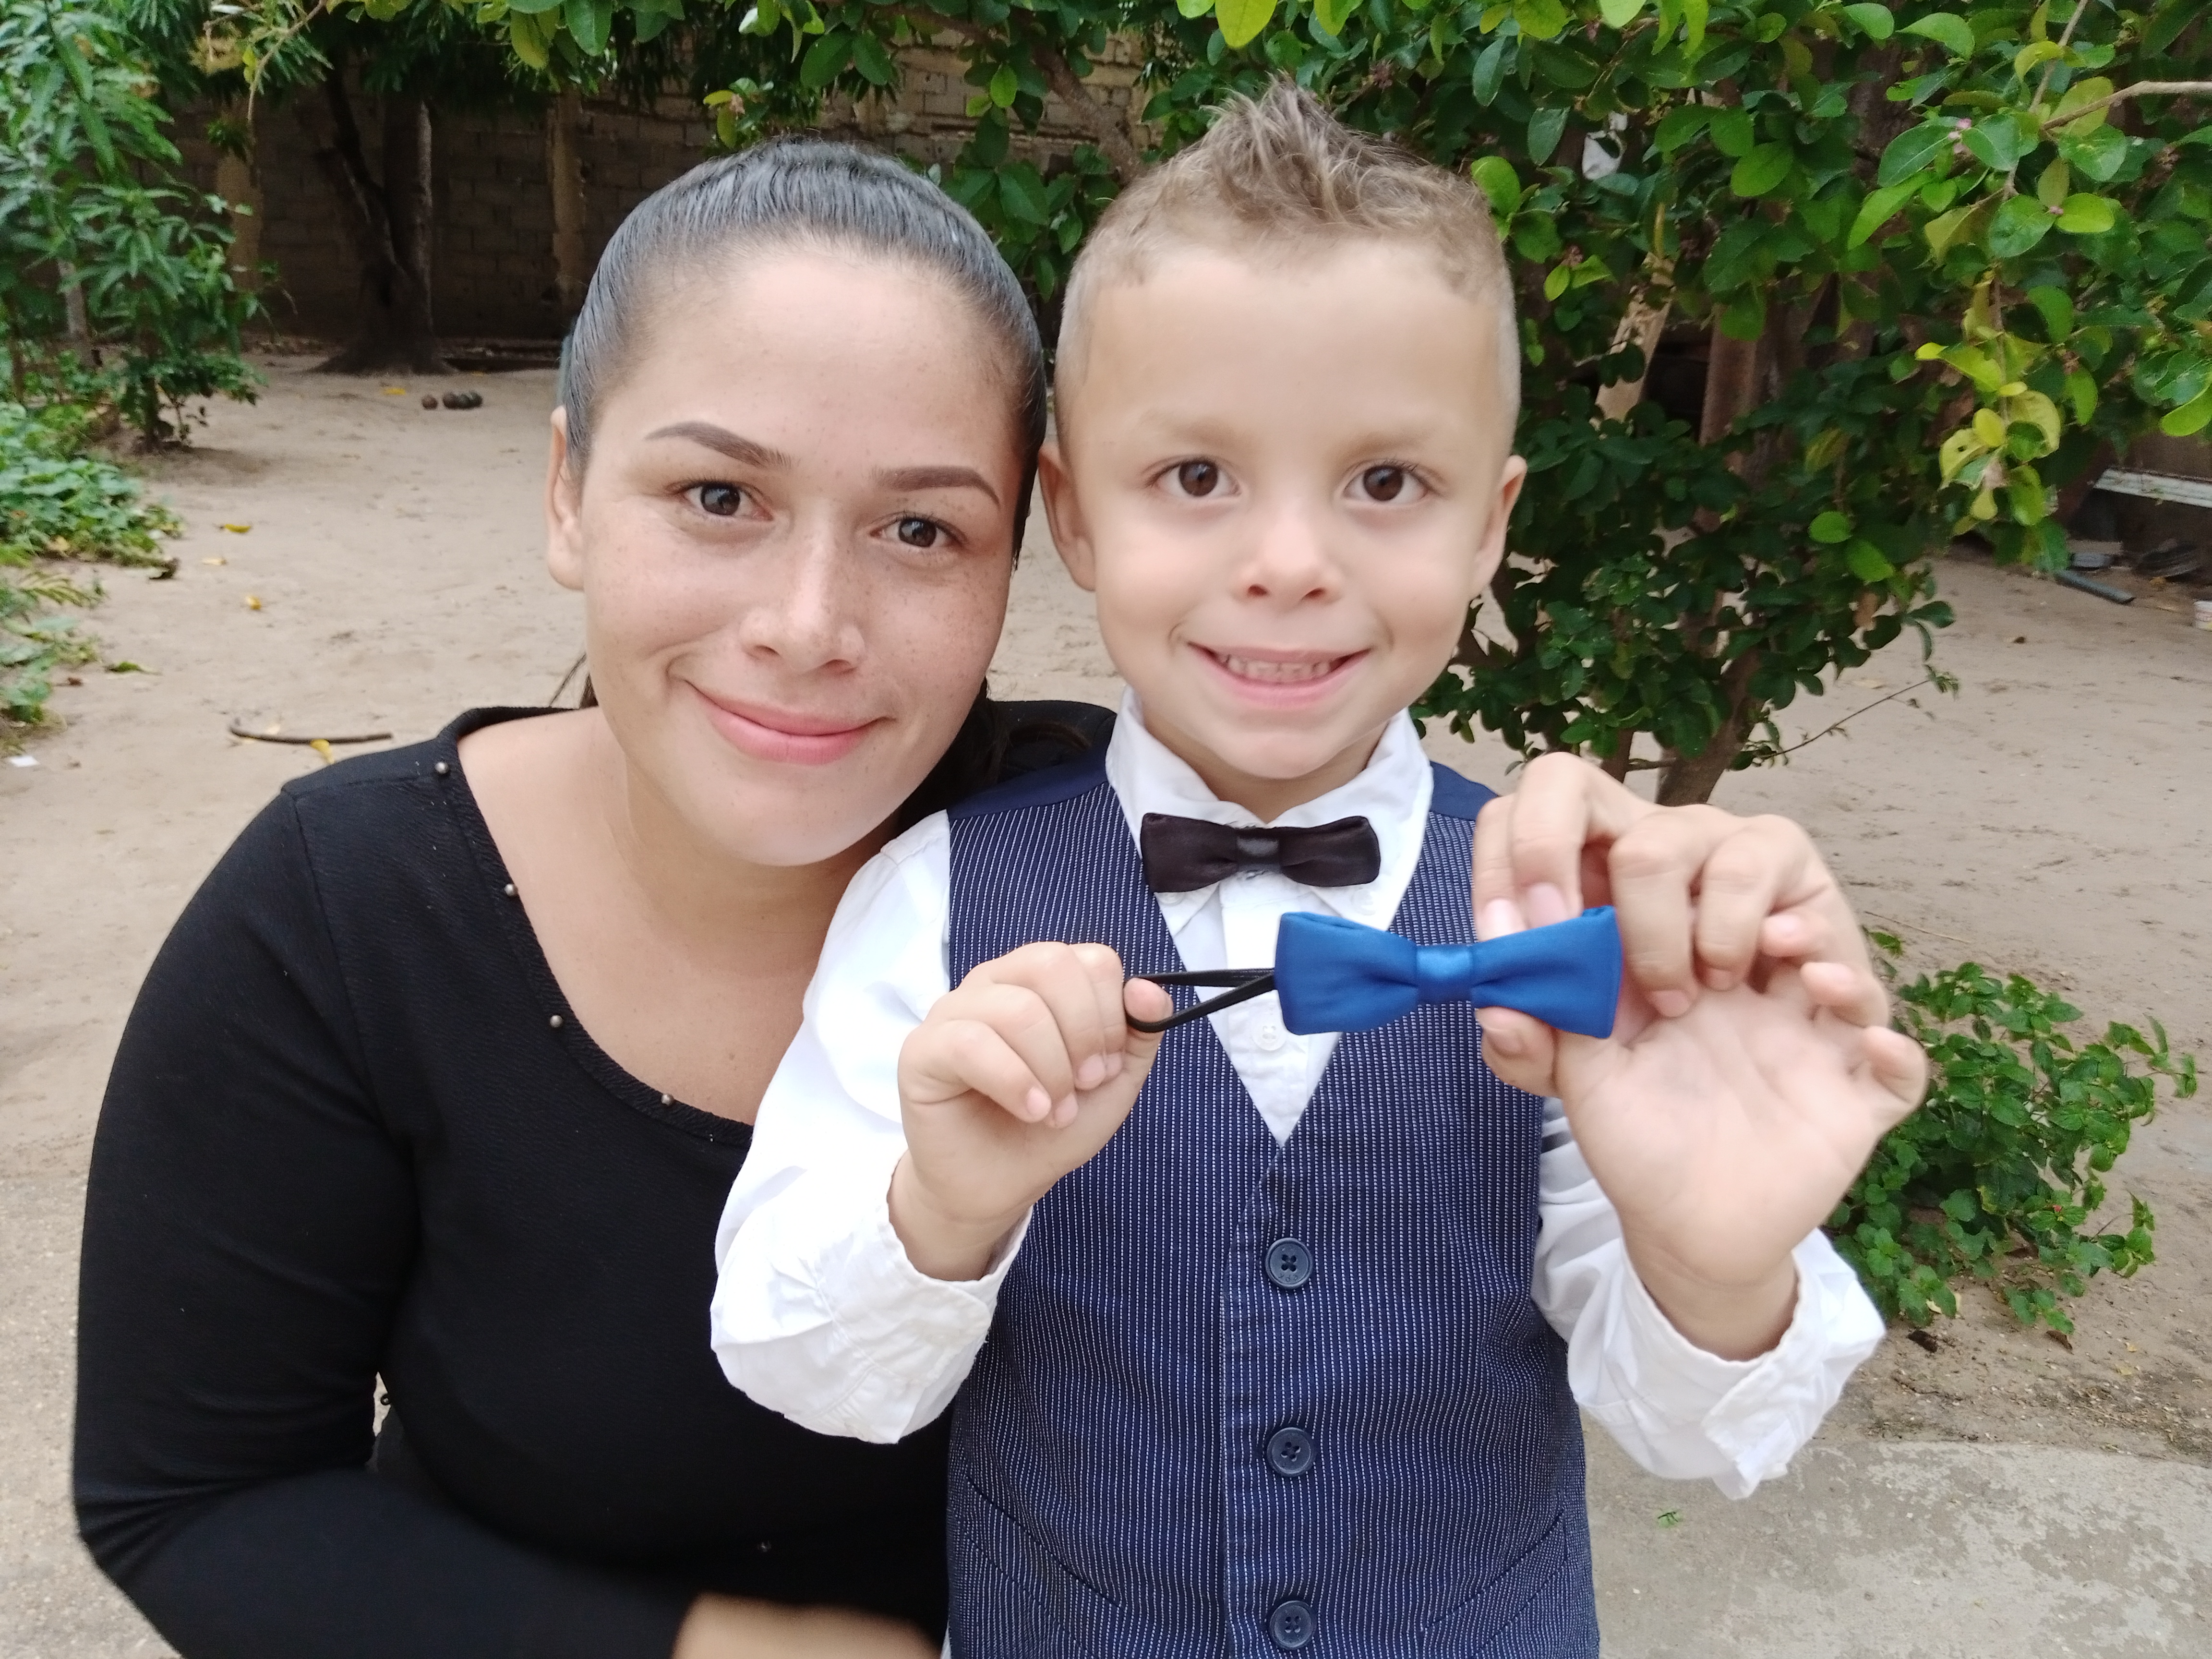
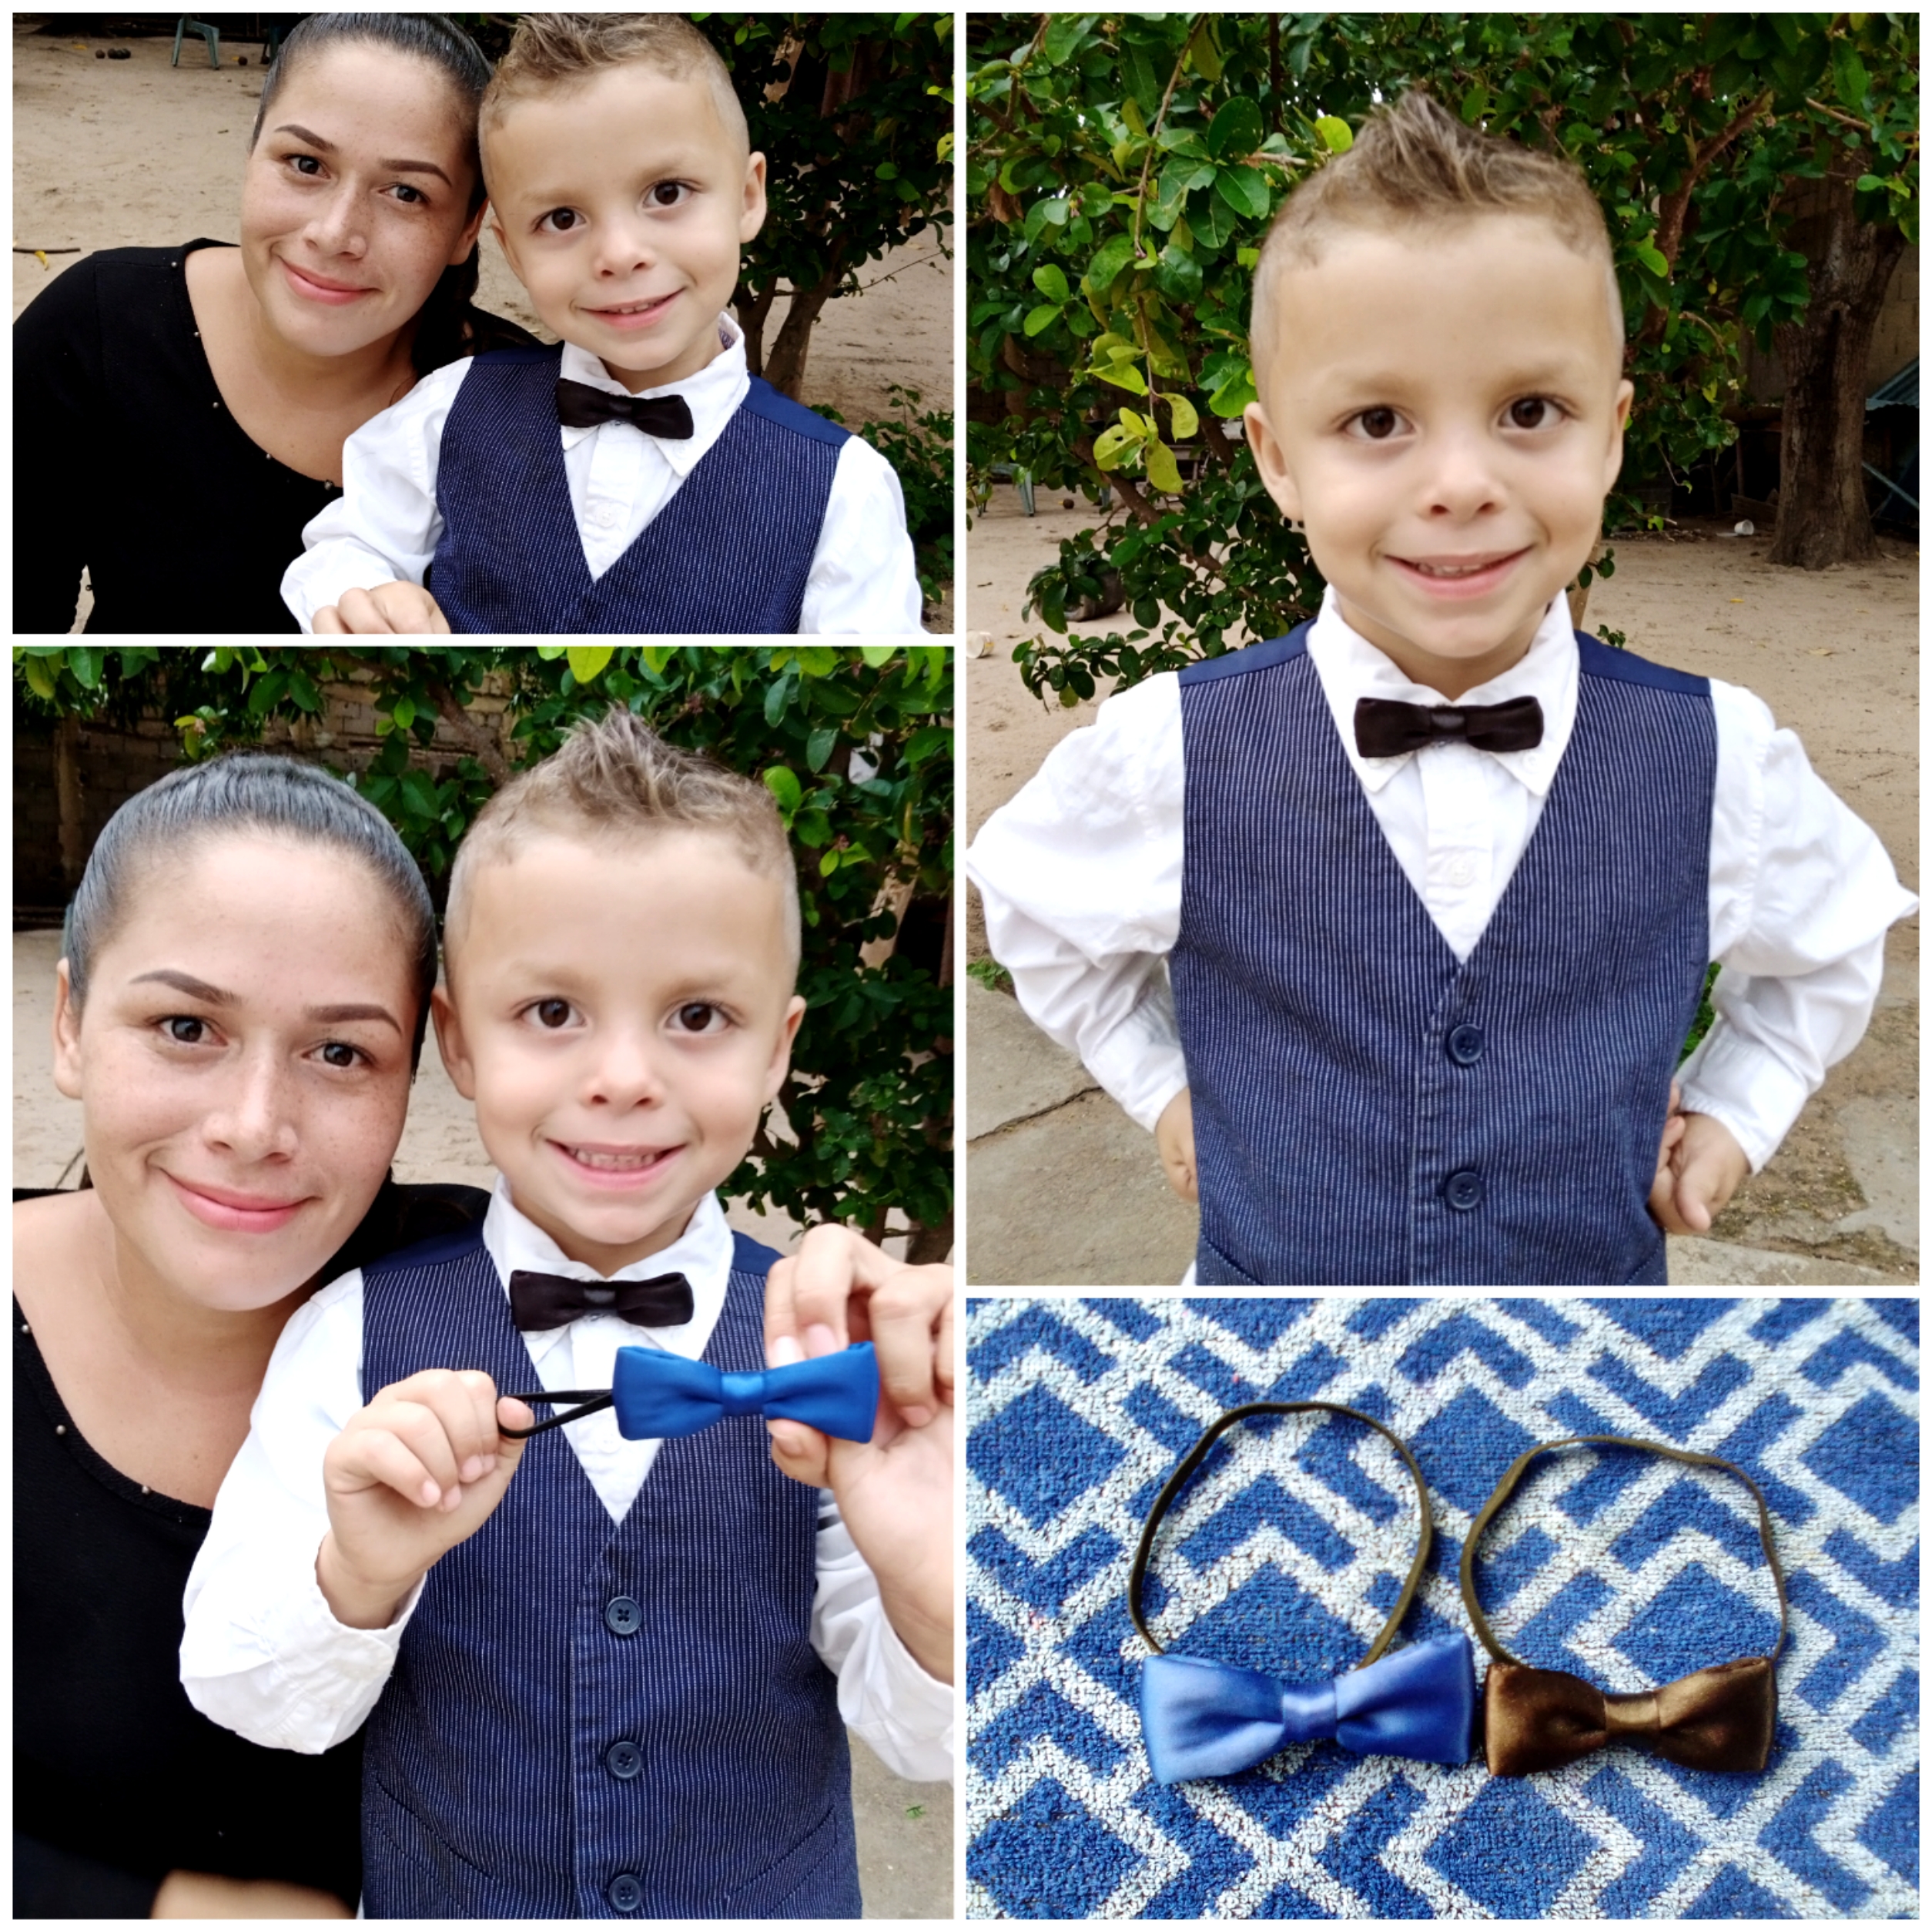
Listo amigos, éste es el resultado de la hermosa corbata de moño (pajarita) junto a mi bello modelo Santiago Mathías.
Espero te guste.👇
Ready friends, this is the result of the beautiful bow tie (bow tie) with my beautiful model Santiago Mathías. I hope you like it.👇
Gracias por haber visitado mi blog amada colmena, me agradó compartir contigo este lindo proyecto, te animo a realizarlo en casa y comienza un nuevo emprendimiento con ello.
Se les quiere mucho.😘😘😘
Hasta una nueva oportunidad mis amores.
Éxitos.❤️
Thank you for visiting my beloved beehive blog, I was pleased to share this beautiful project with you, I encourage you to do it at home and start a new venture with it. They are loved very much. Until a new opportunity my loves. Successes.❤️

Muy lindo lacito y lo mejor con poco materiales... Que elegancia! Felicidades.