Hola! saludos, primero que nada espero estén todos muy bien; hoy quiero mostrarles como hacer un porta lápiz animado.
Hello! Greetings, first of all I hope you are all very well; today I want to show you how to make an animated pencil holder.
Para empezar quiero comentarles que trabaje con material reciclable; Tales como:
To begin with, I want to tell you that I work with recyclable material; Such as:

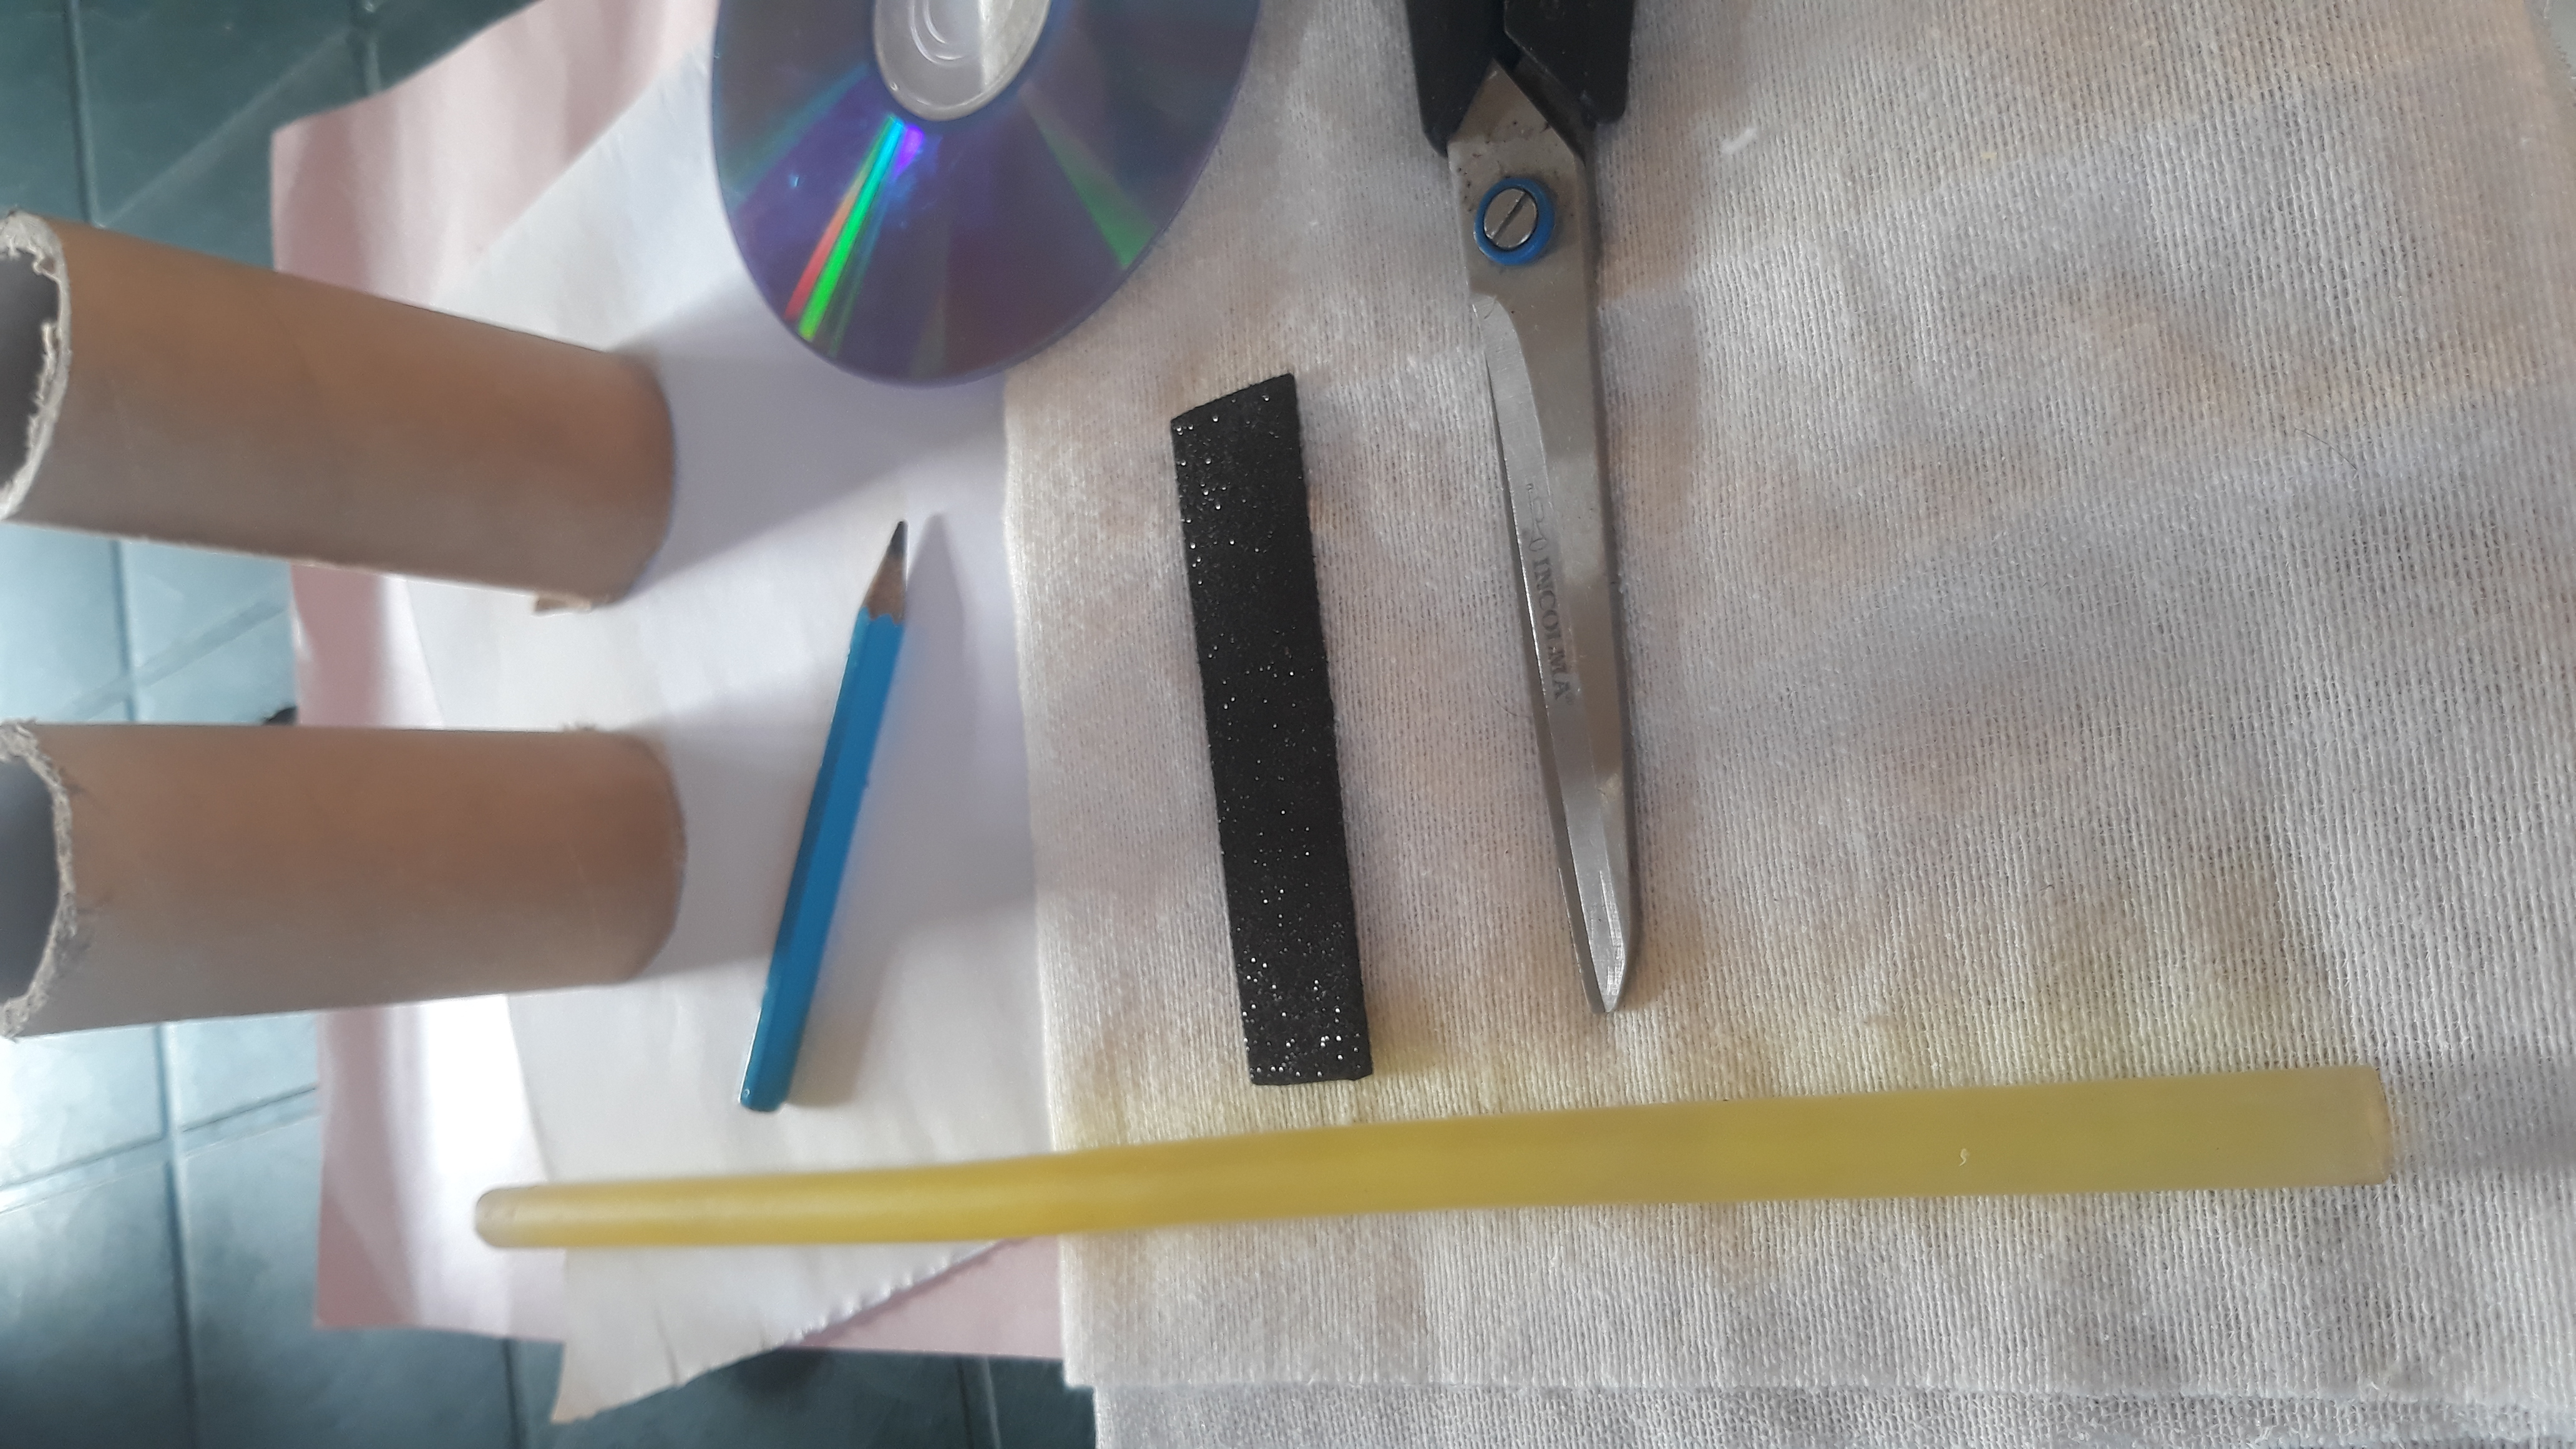
• Disco.
• Hoja de papel blanco.
• Cartulina rosada.
• Tijera.
• Silicon caliente.
• Goma eva negra y naranja.
• Recorte de tela blanca.
• Tubos de papel higiénico.
• Lápiz.
• Regla, en mi caso usé una escuadra.
- Disc.
- Sheet of white paper.
- Pink cardboard.
- Scissor.
- Hot silicon.
- Black and orange eva rubber.
- White cloth cutout.
- Toilet paper tubes.
- Pencil.
- Ruler, in my case I used a square.
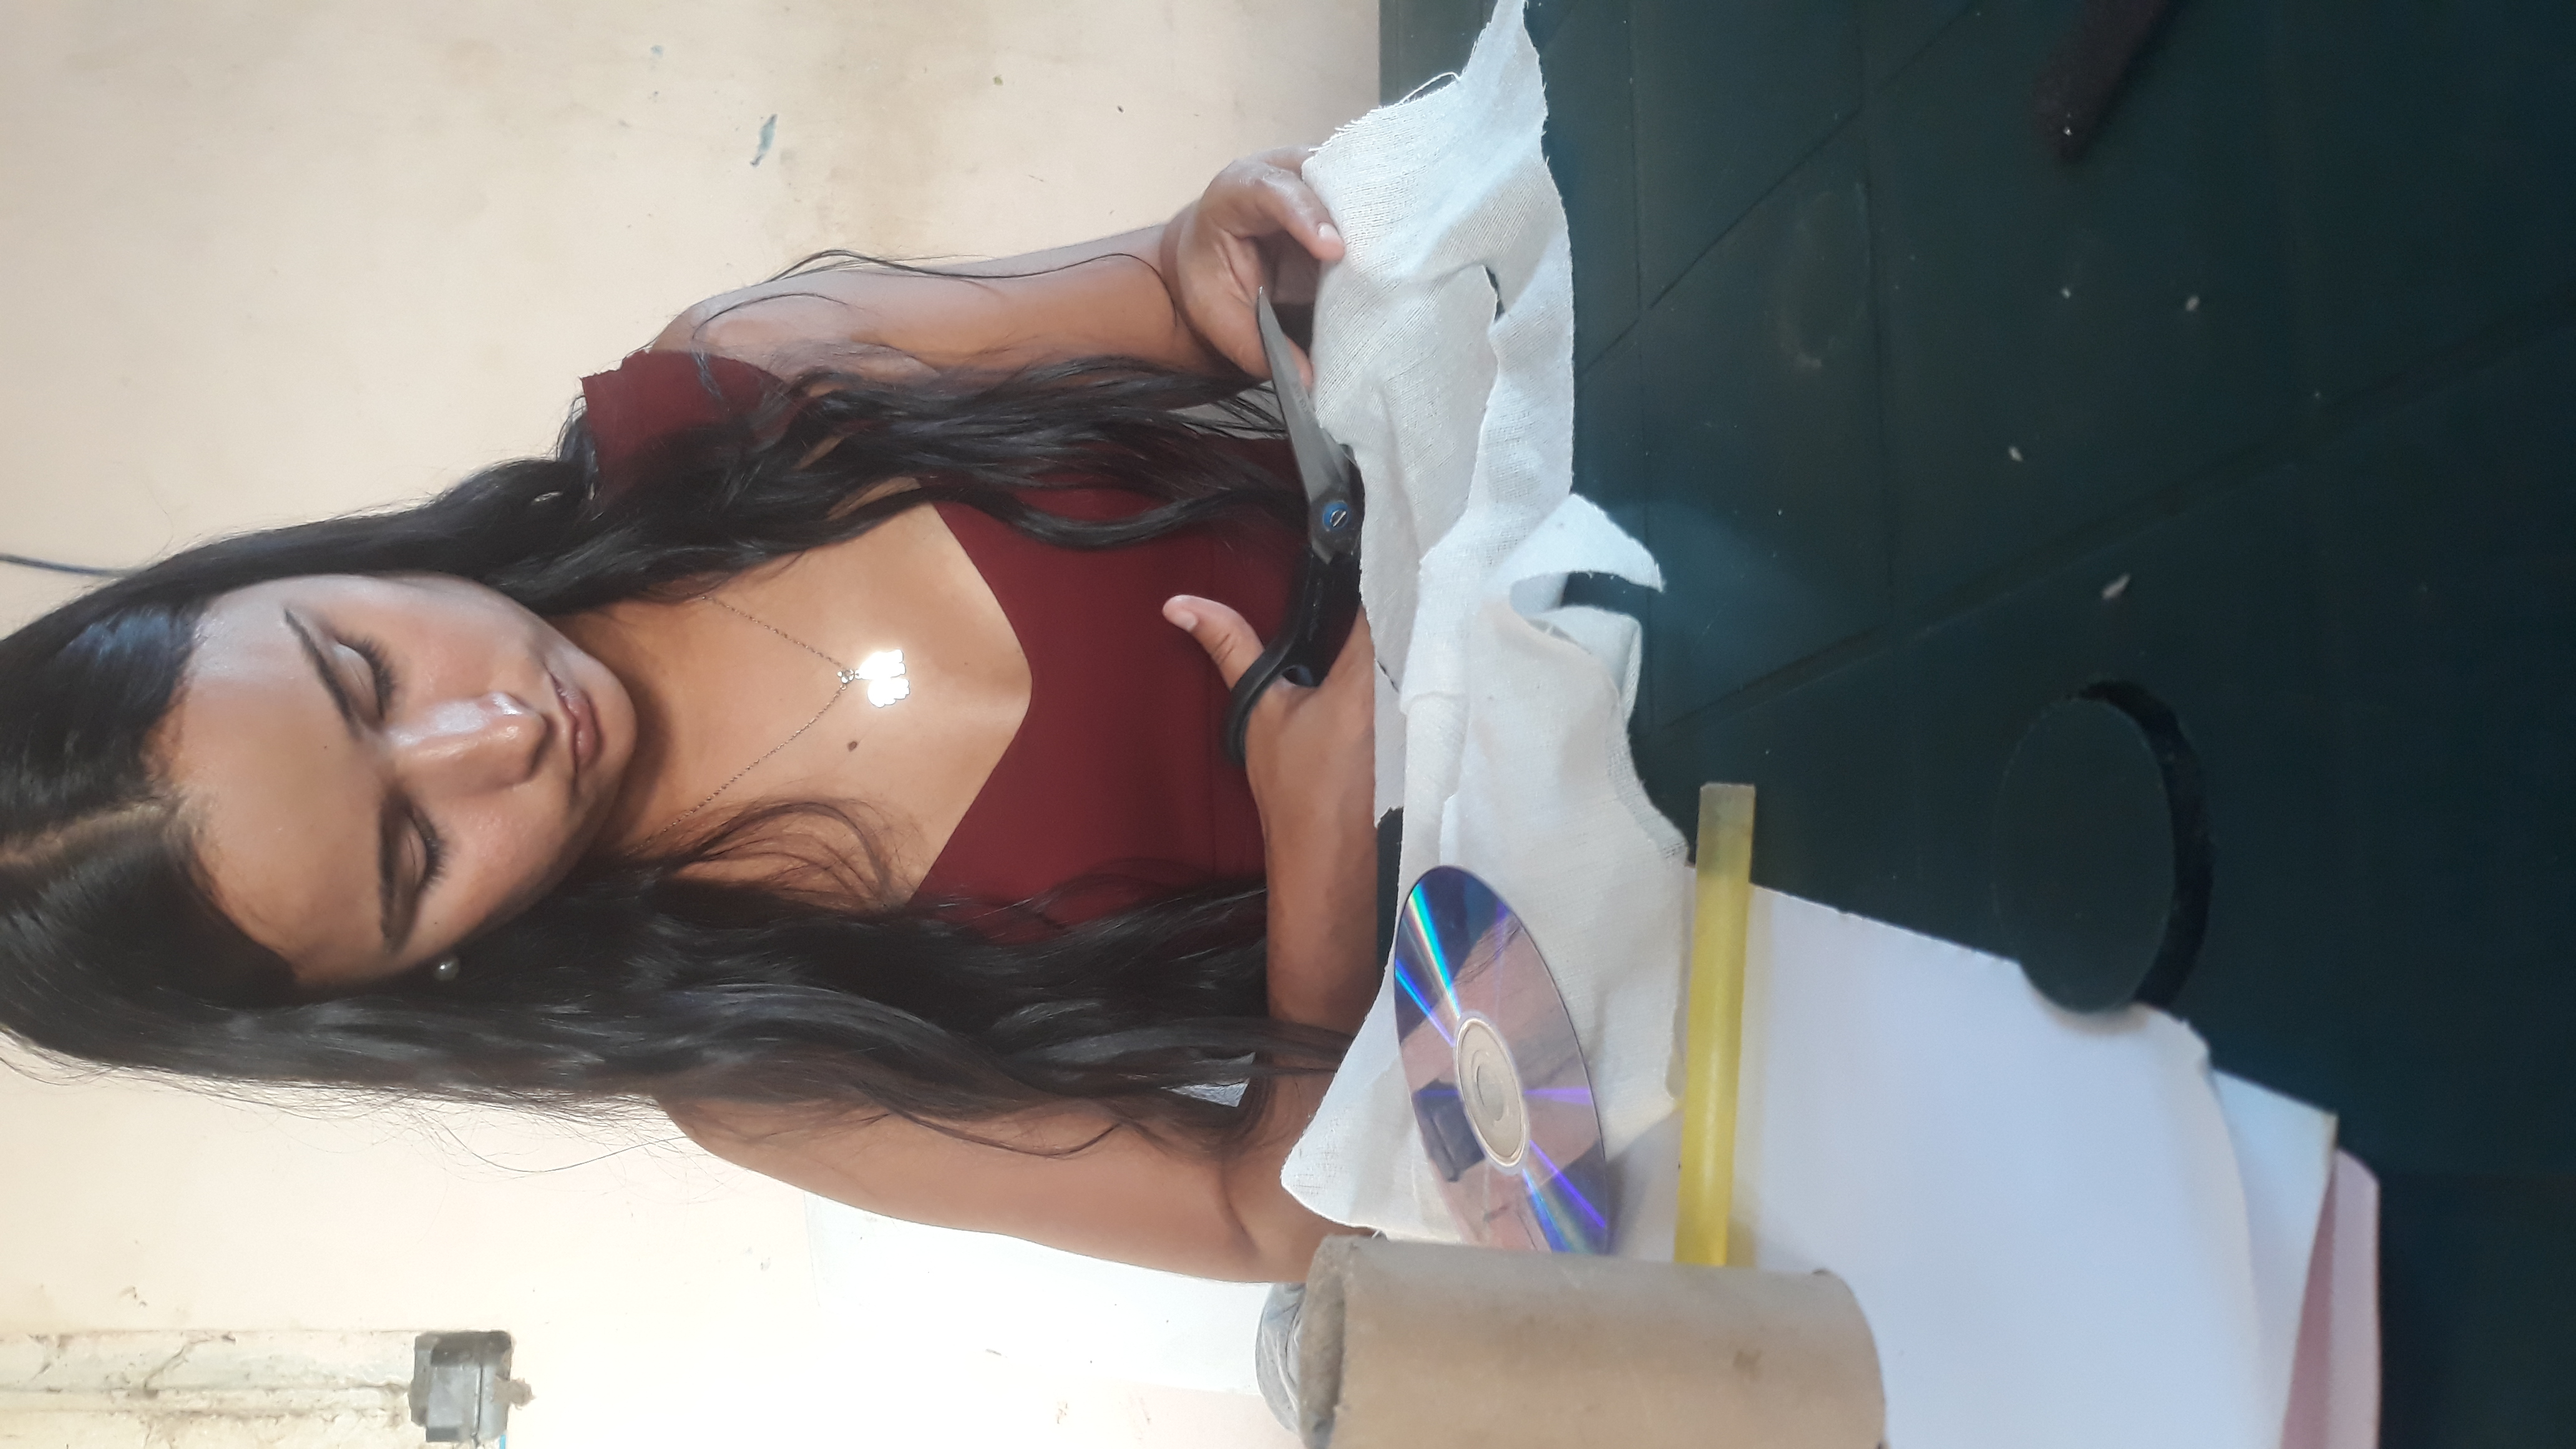
• Paso 1: Marqué con el lápiz y recorte la tela alrededor de el disco a distancia de 1cm.
• Step 1: Dial with the pencil and cut the cloth around the distance from 1cm.

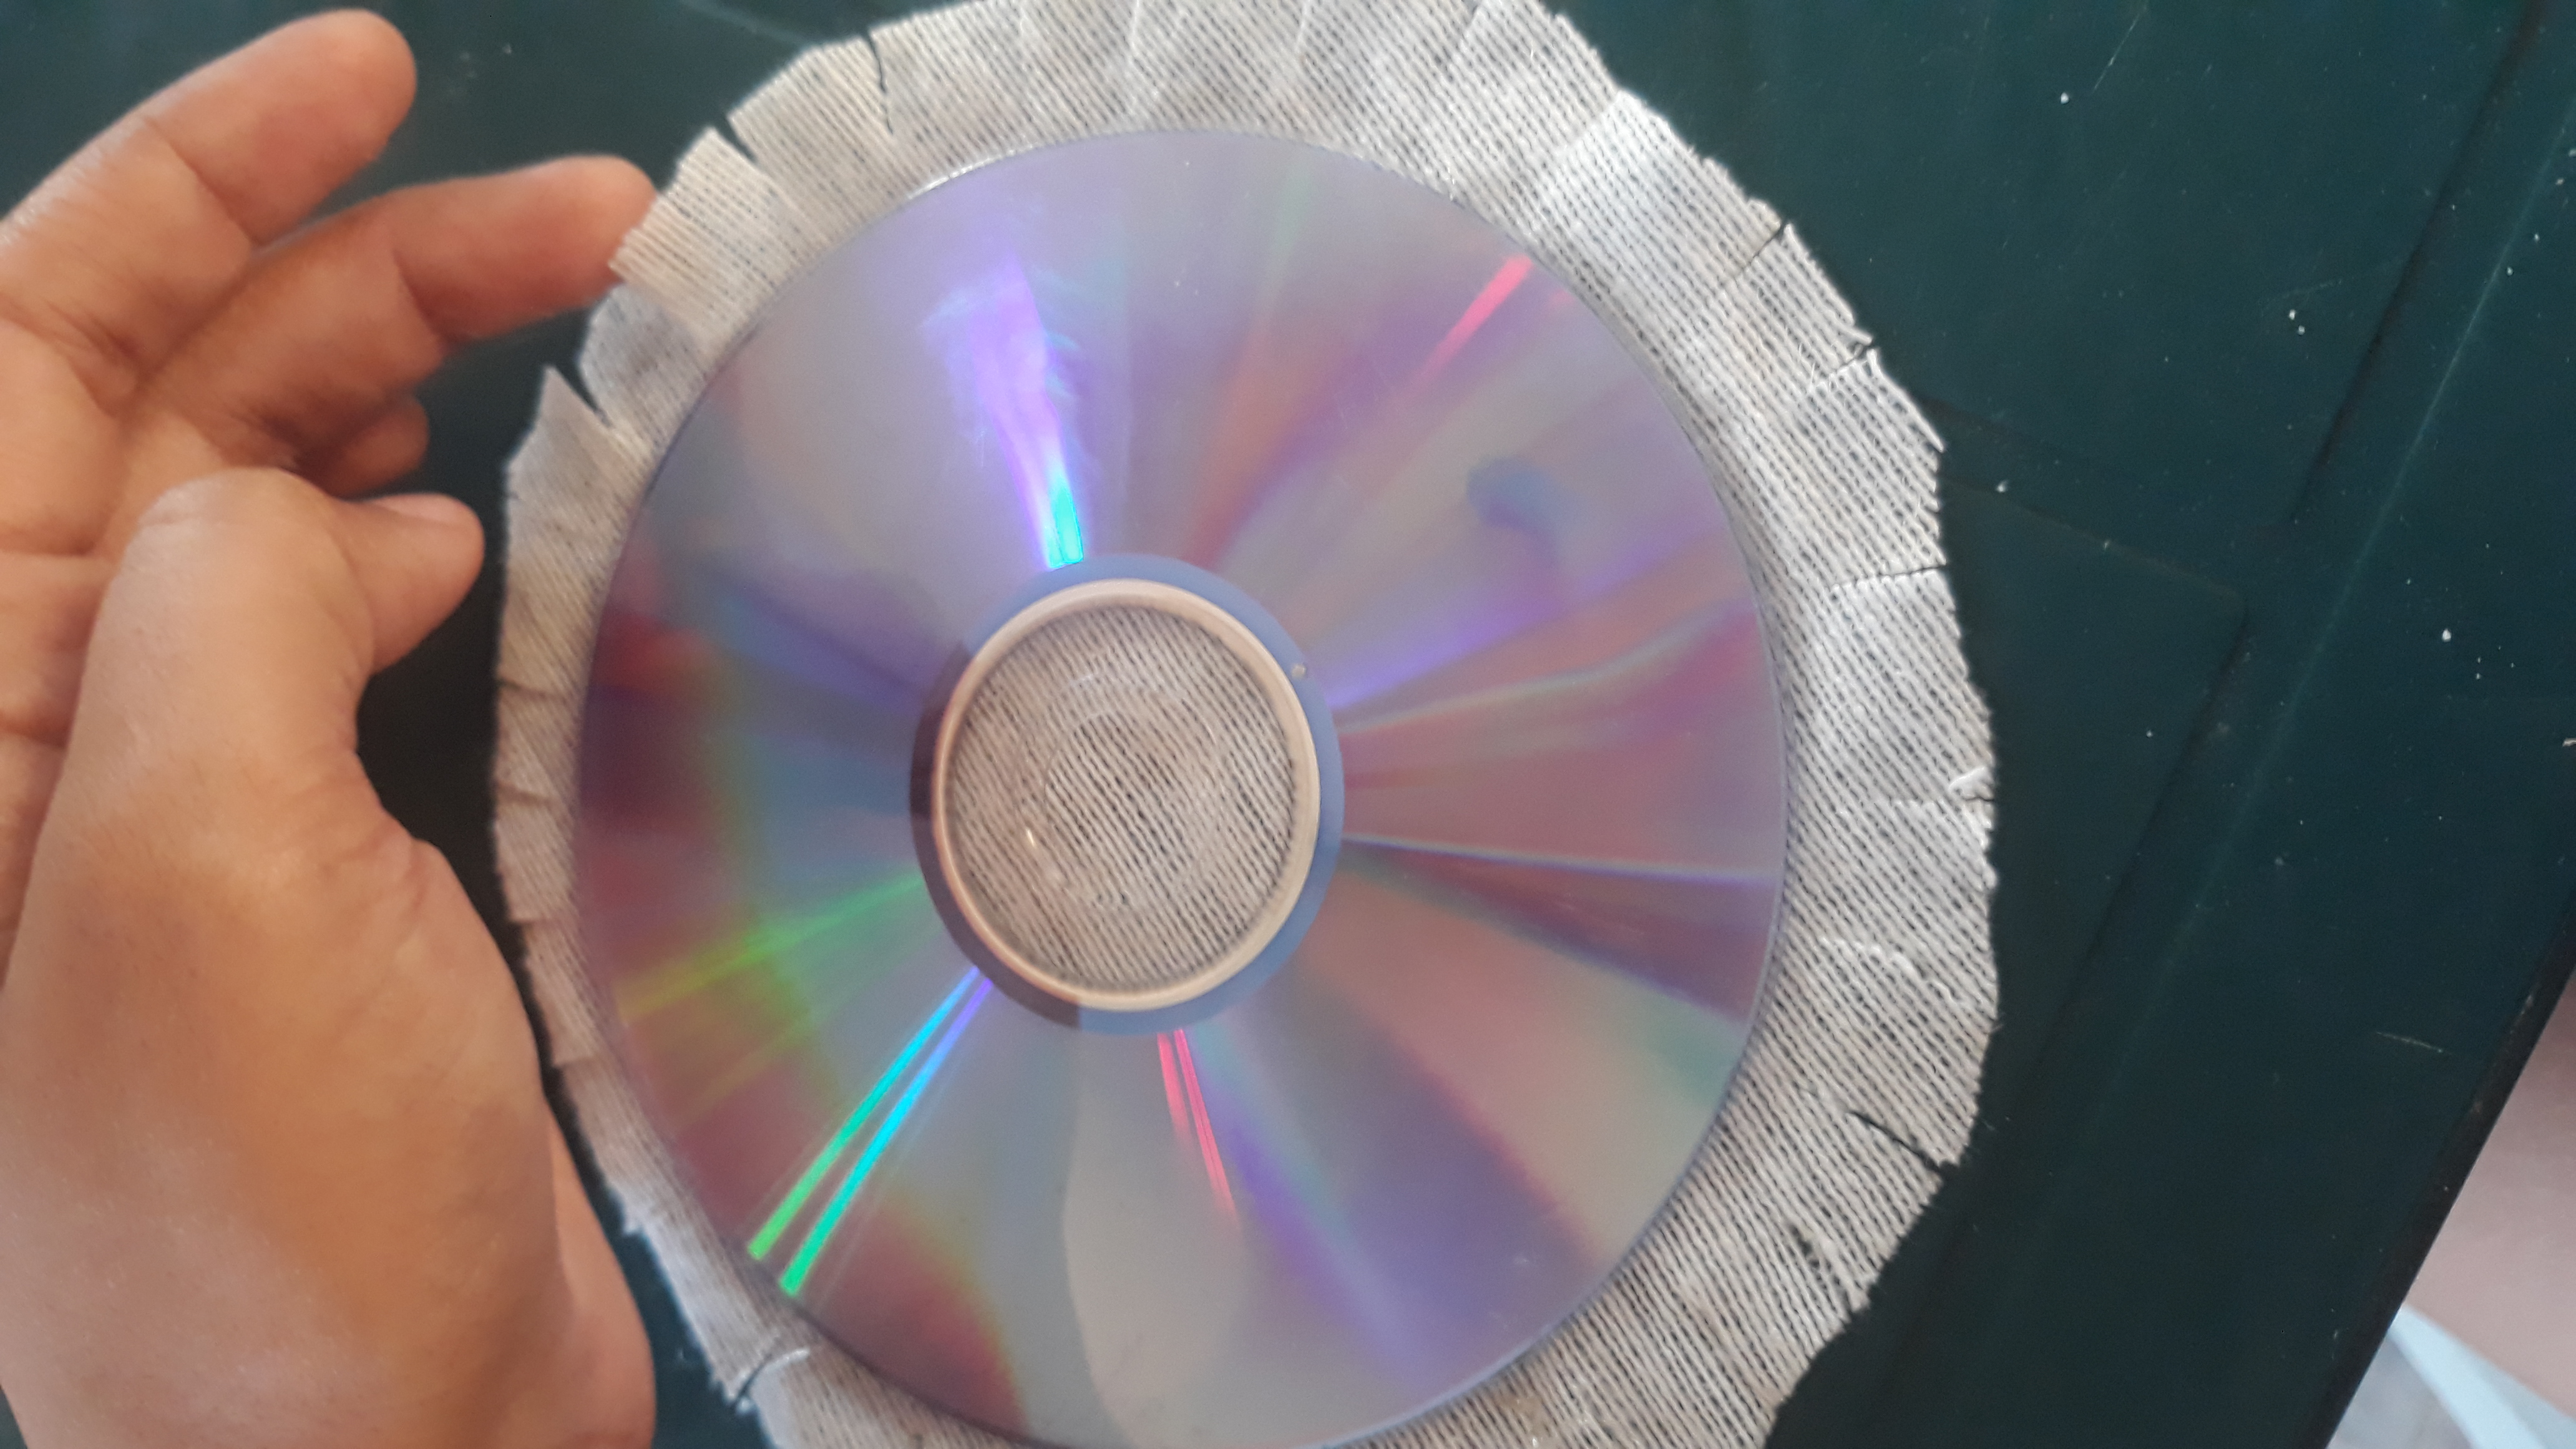
• Paso 2: Pegué la tela a un lado de el disco y con las orillas restantes hice cortes en lineas y las pegué en la otra cara de el disco para que así se sostenga la tela y tenga un mejor acabado.
• Step 2: I paste the fabric to one side of the disc and with the remaining edges I made cuts in line and I peeked them on the other side of the disc so that the fabric is held and have a better finish.
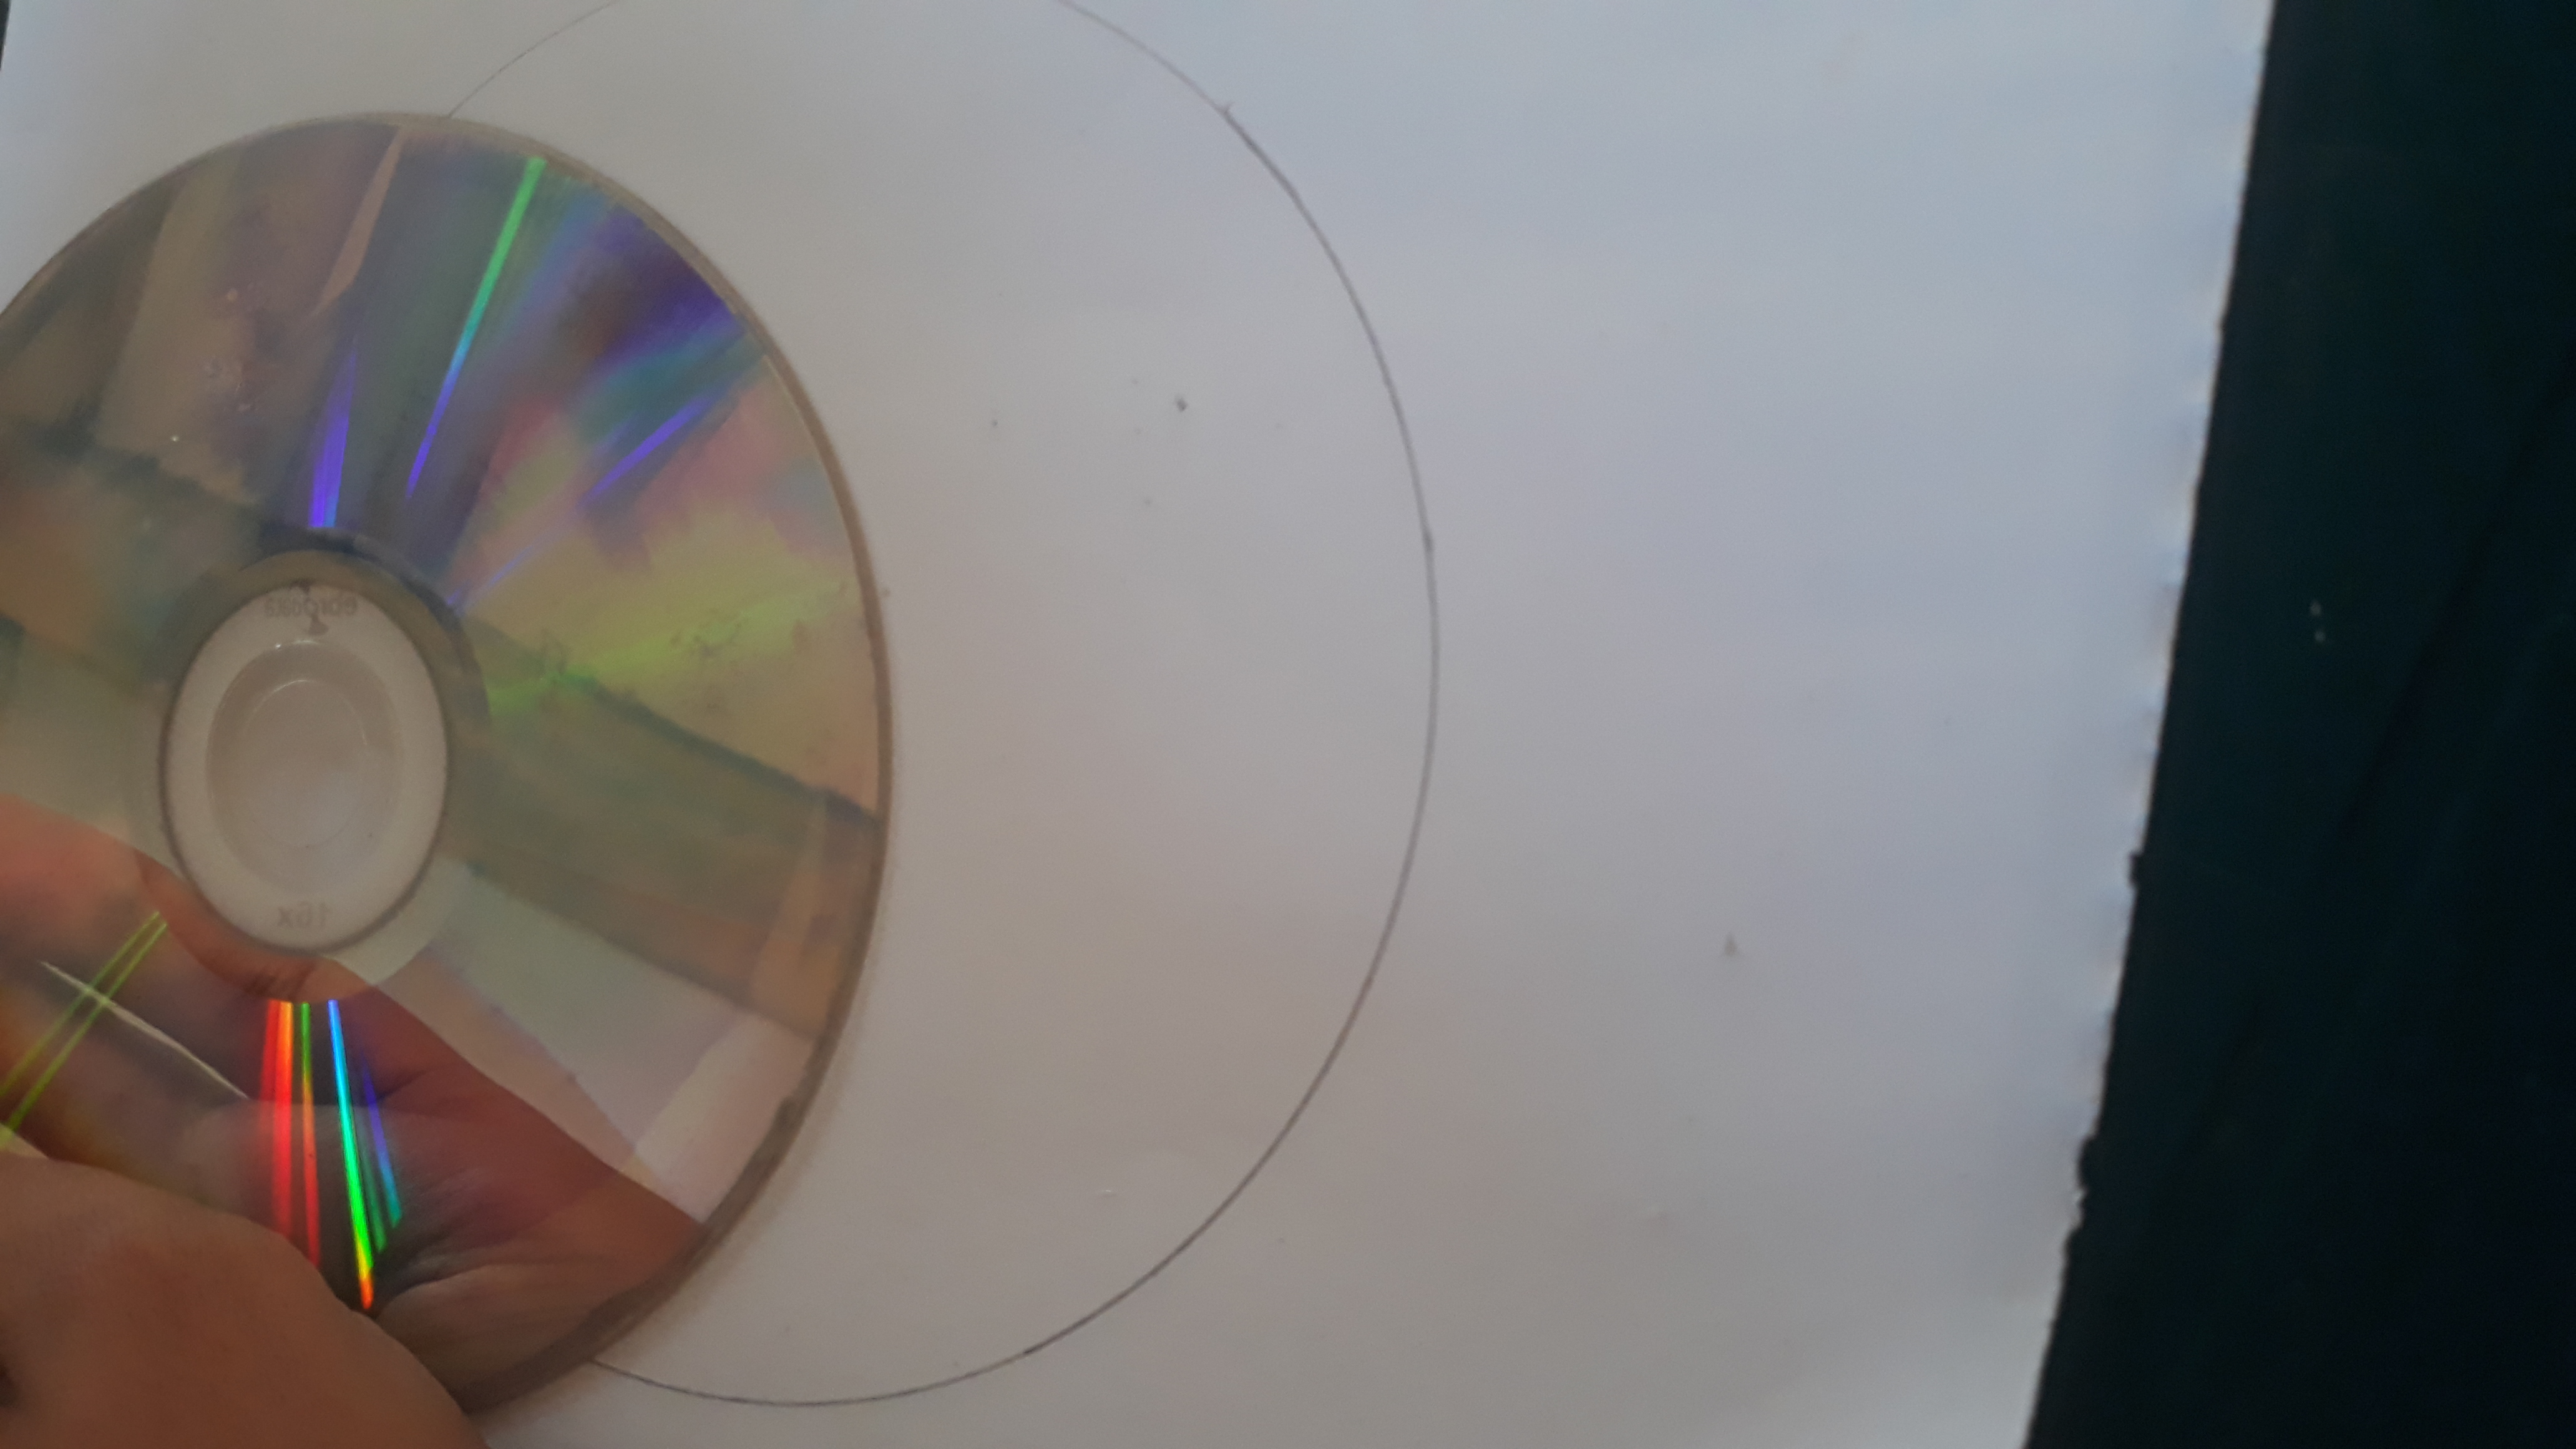
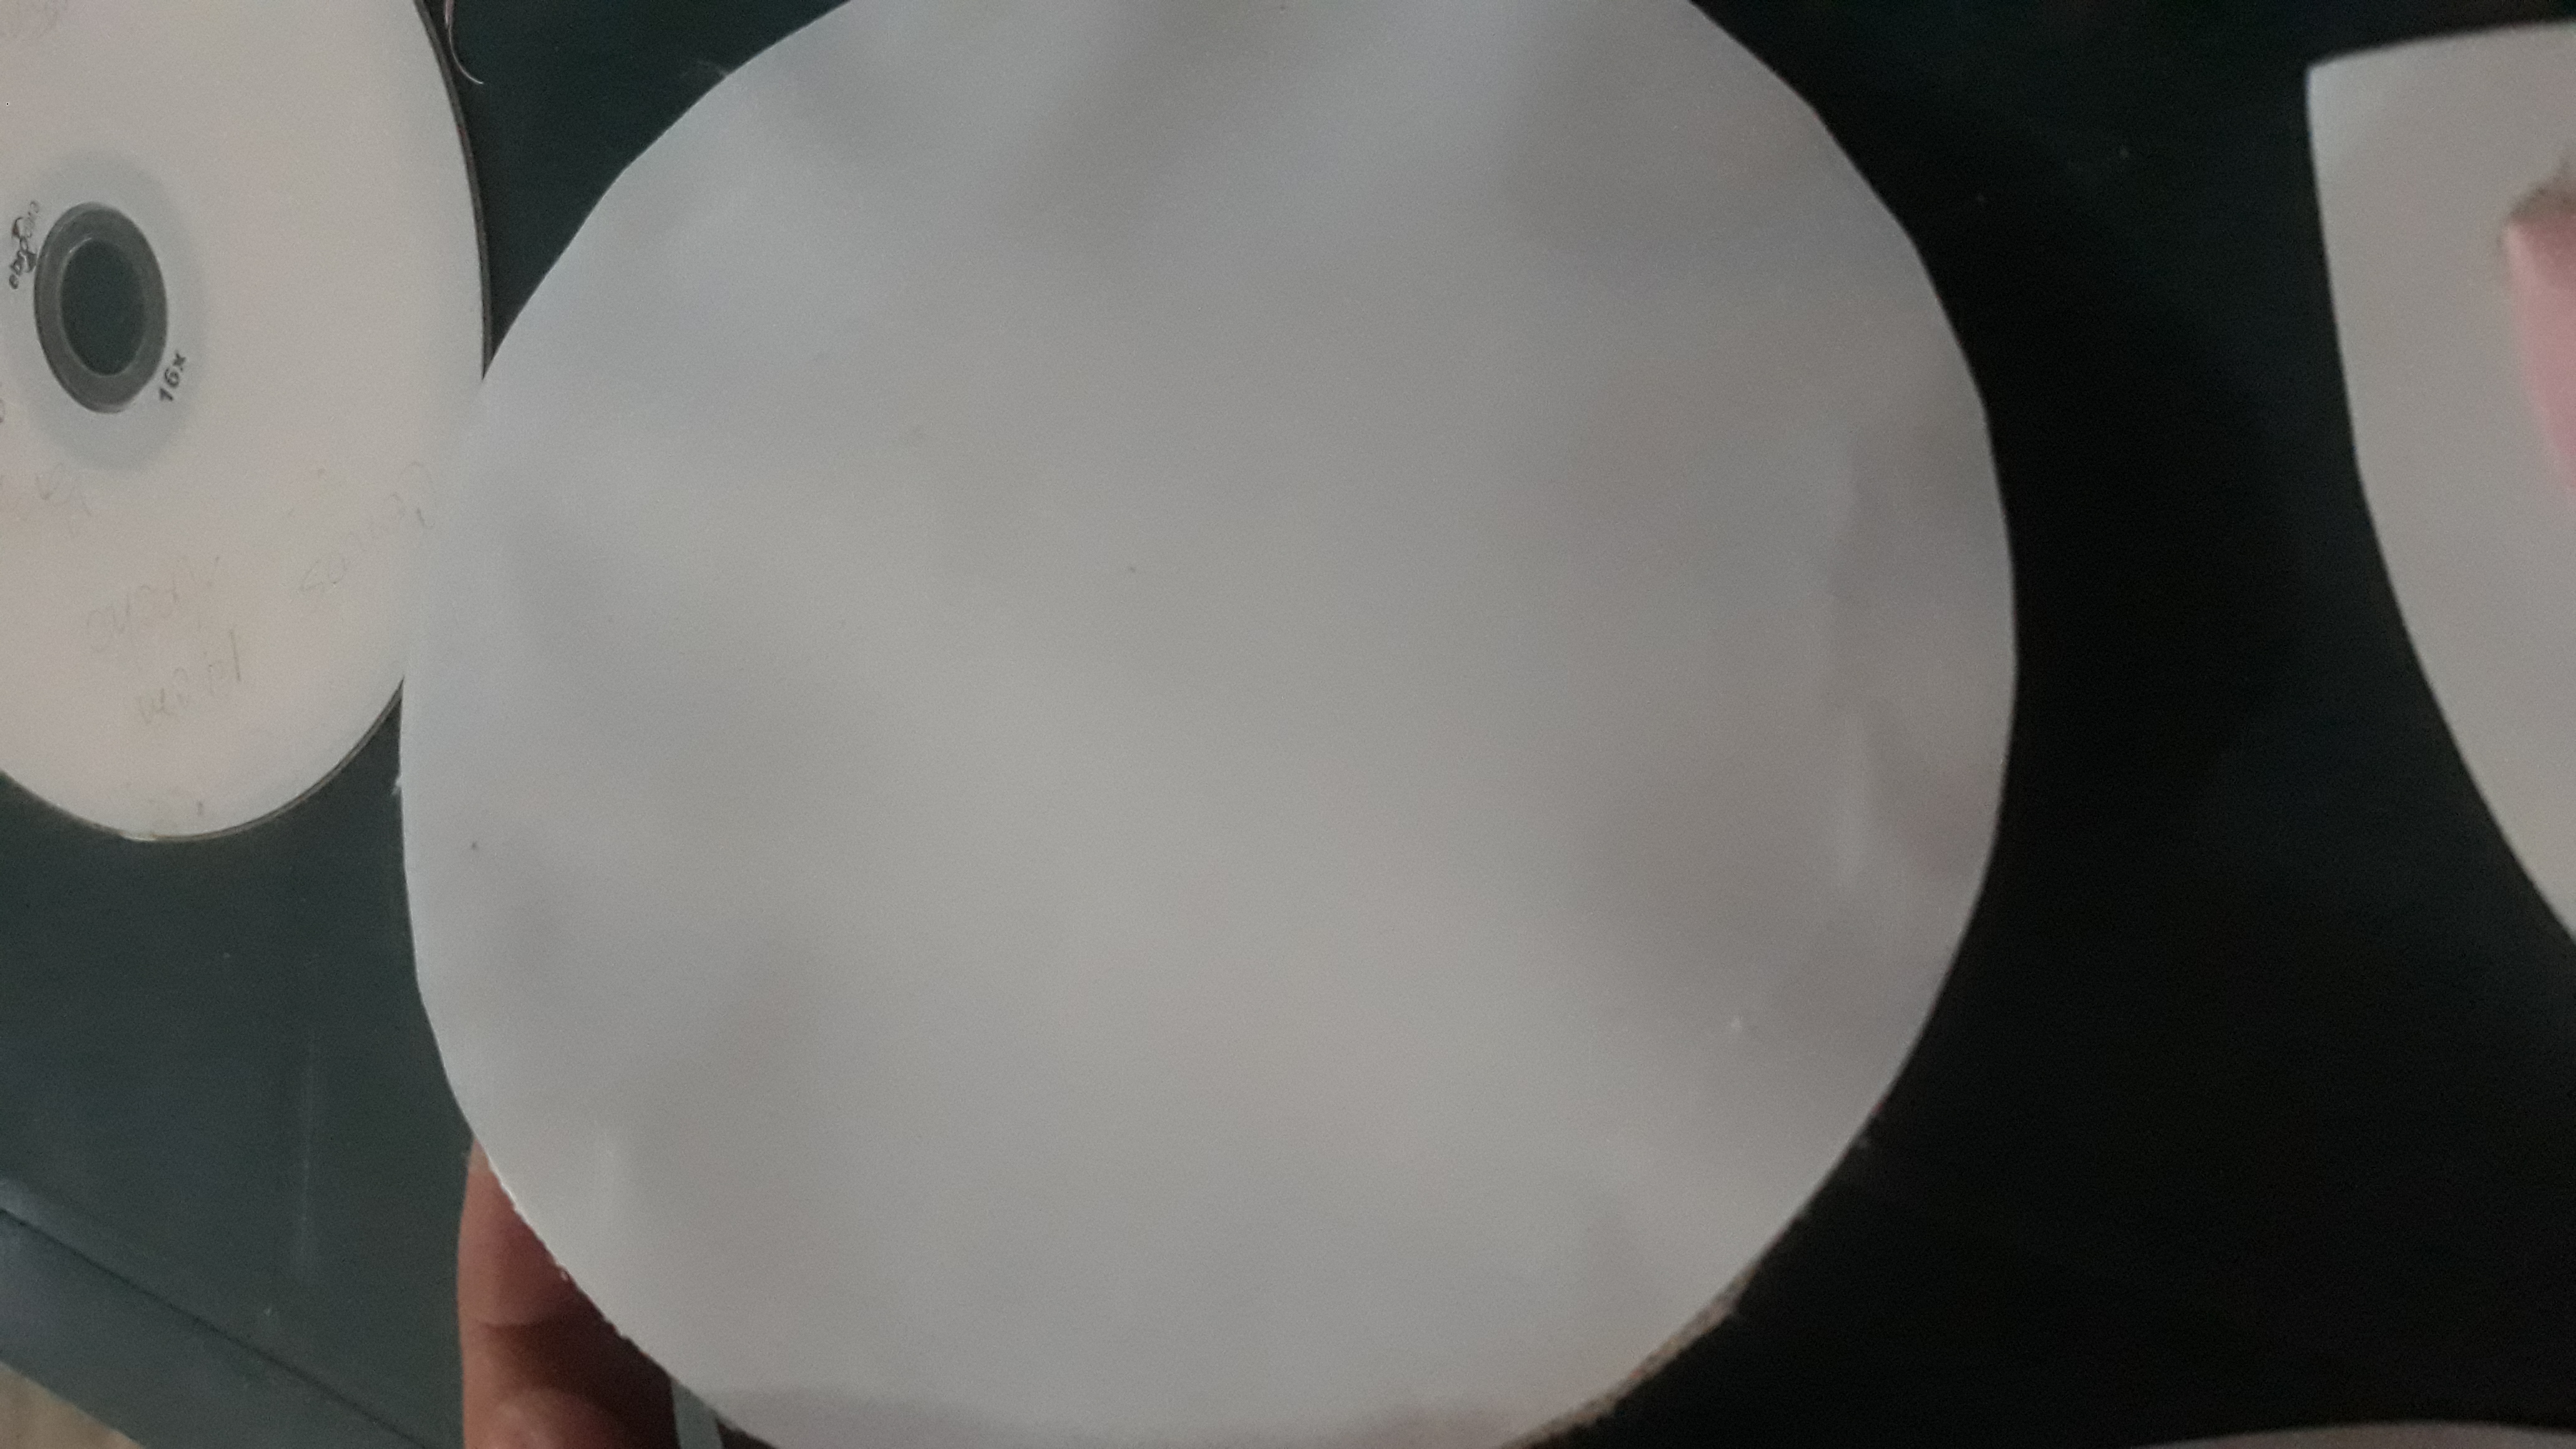
• Paso 3: Marqué en la hoja de papel la forma de el disco y así hasta sacar 2 circulos para cada cara de el disco.
• Step 3: Dry on the paper sheet The shape of the disc and thus until 2 circles for each side of the disc.
• Paso 4: Pegué de ambos lados de el disco los circulos que hice con la hoja de papel.
• Step 4: I peeked on both sides of the album the circles I did with the sheet of paper.
• Paso 5: De la cartulina saque dos retazos rectangulares, ambos de 10cm e hice la forma de las orejitas de un conejo.
• Step 5: From the cardboard take two rectangular pragts, both from 10cm and made the shape of a rabbit's orejitas.
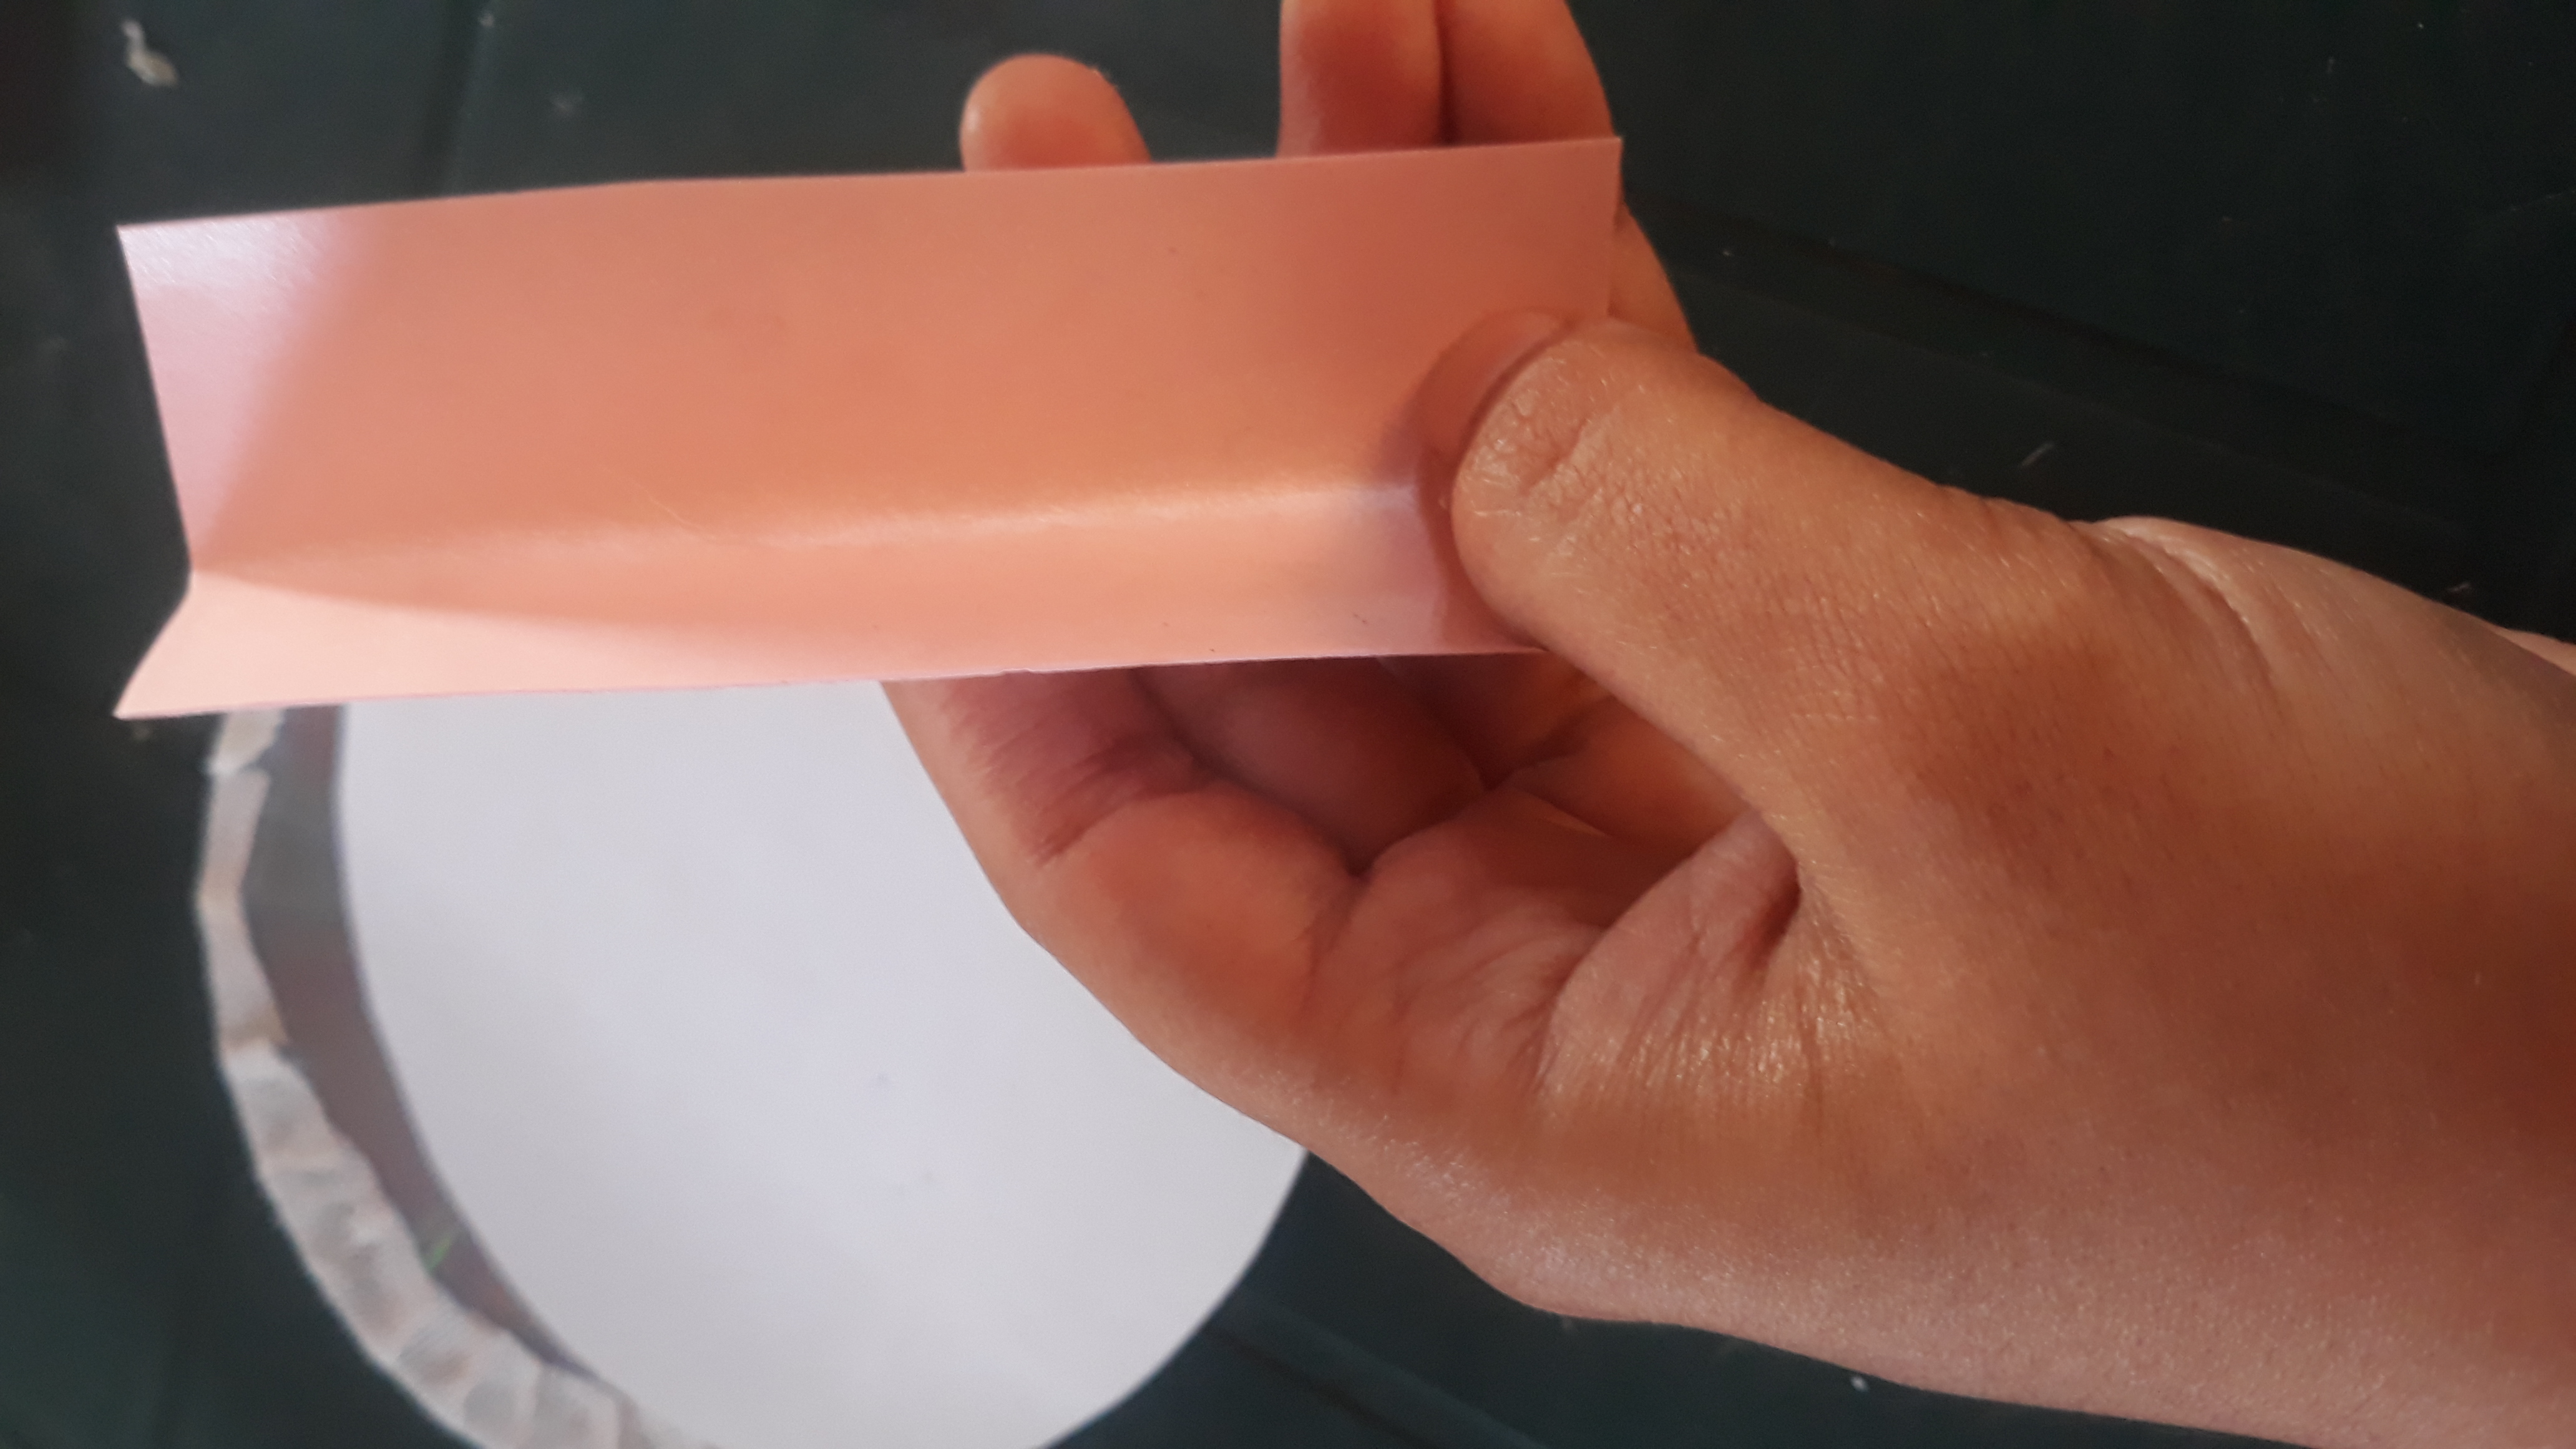
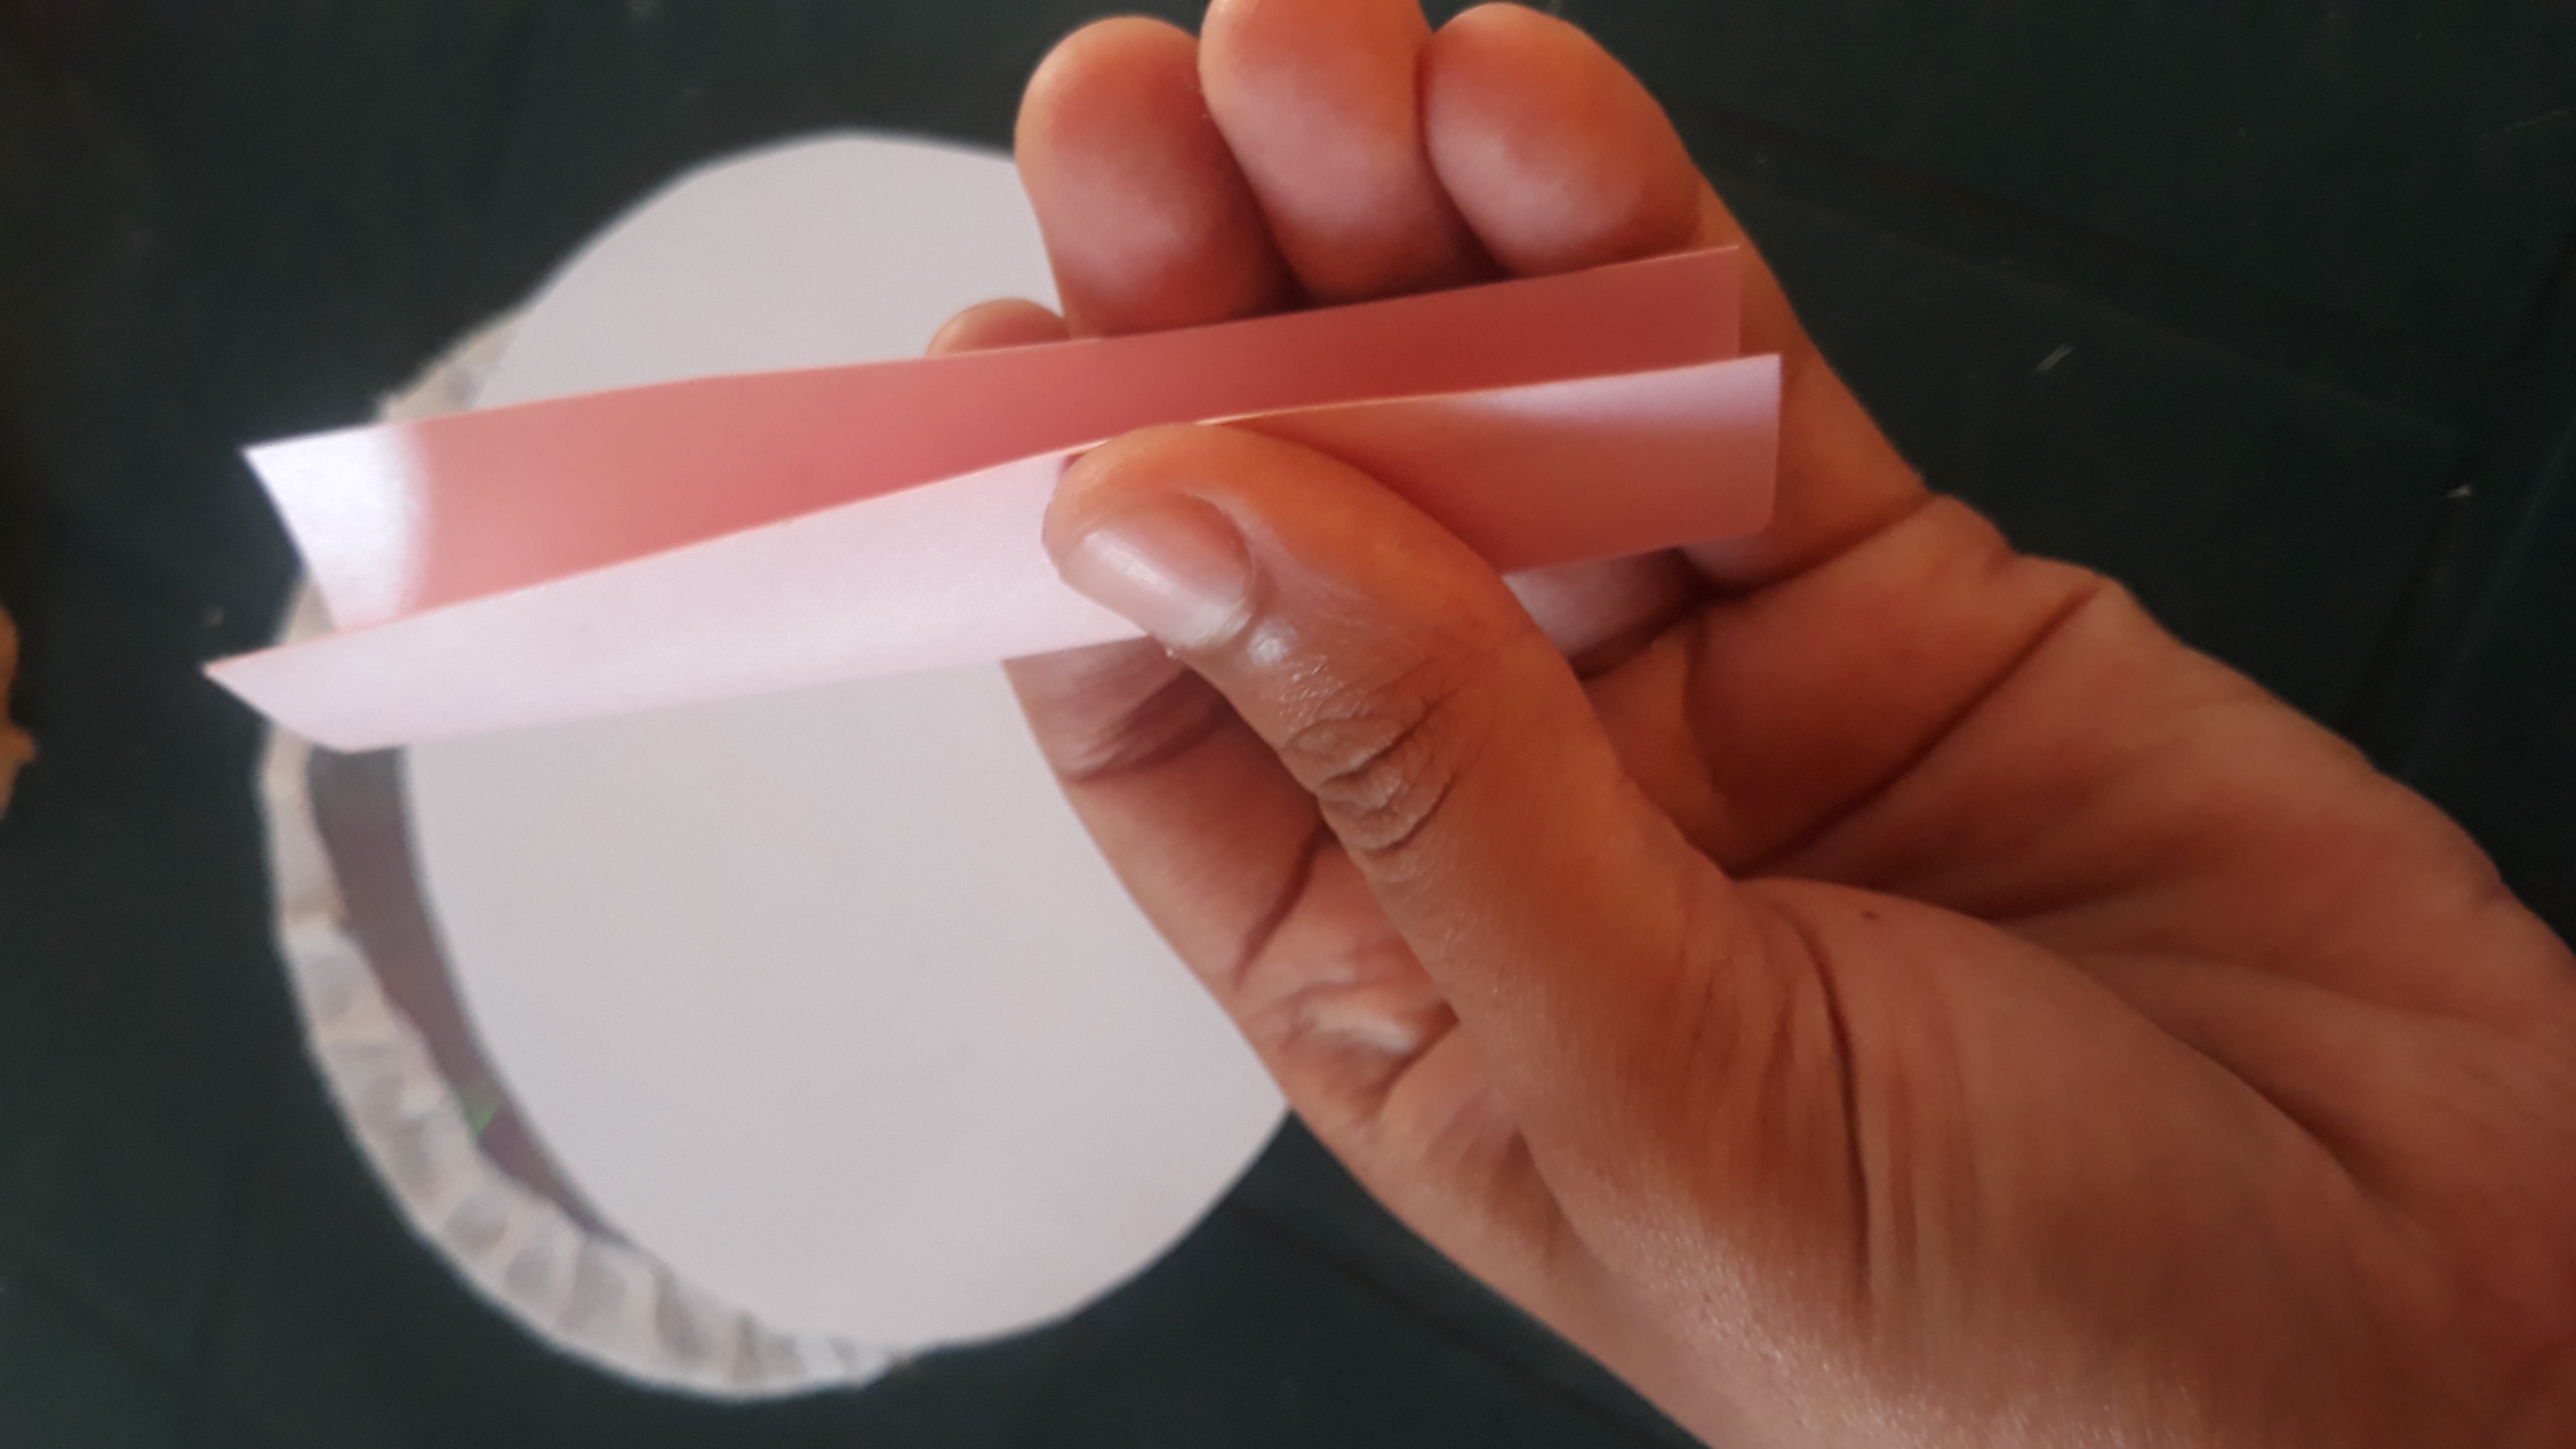
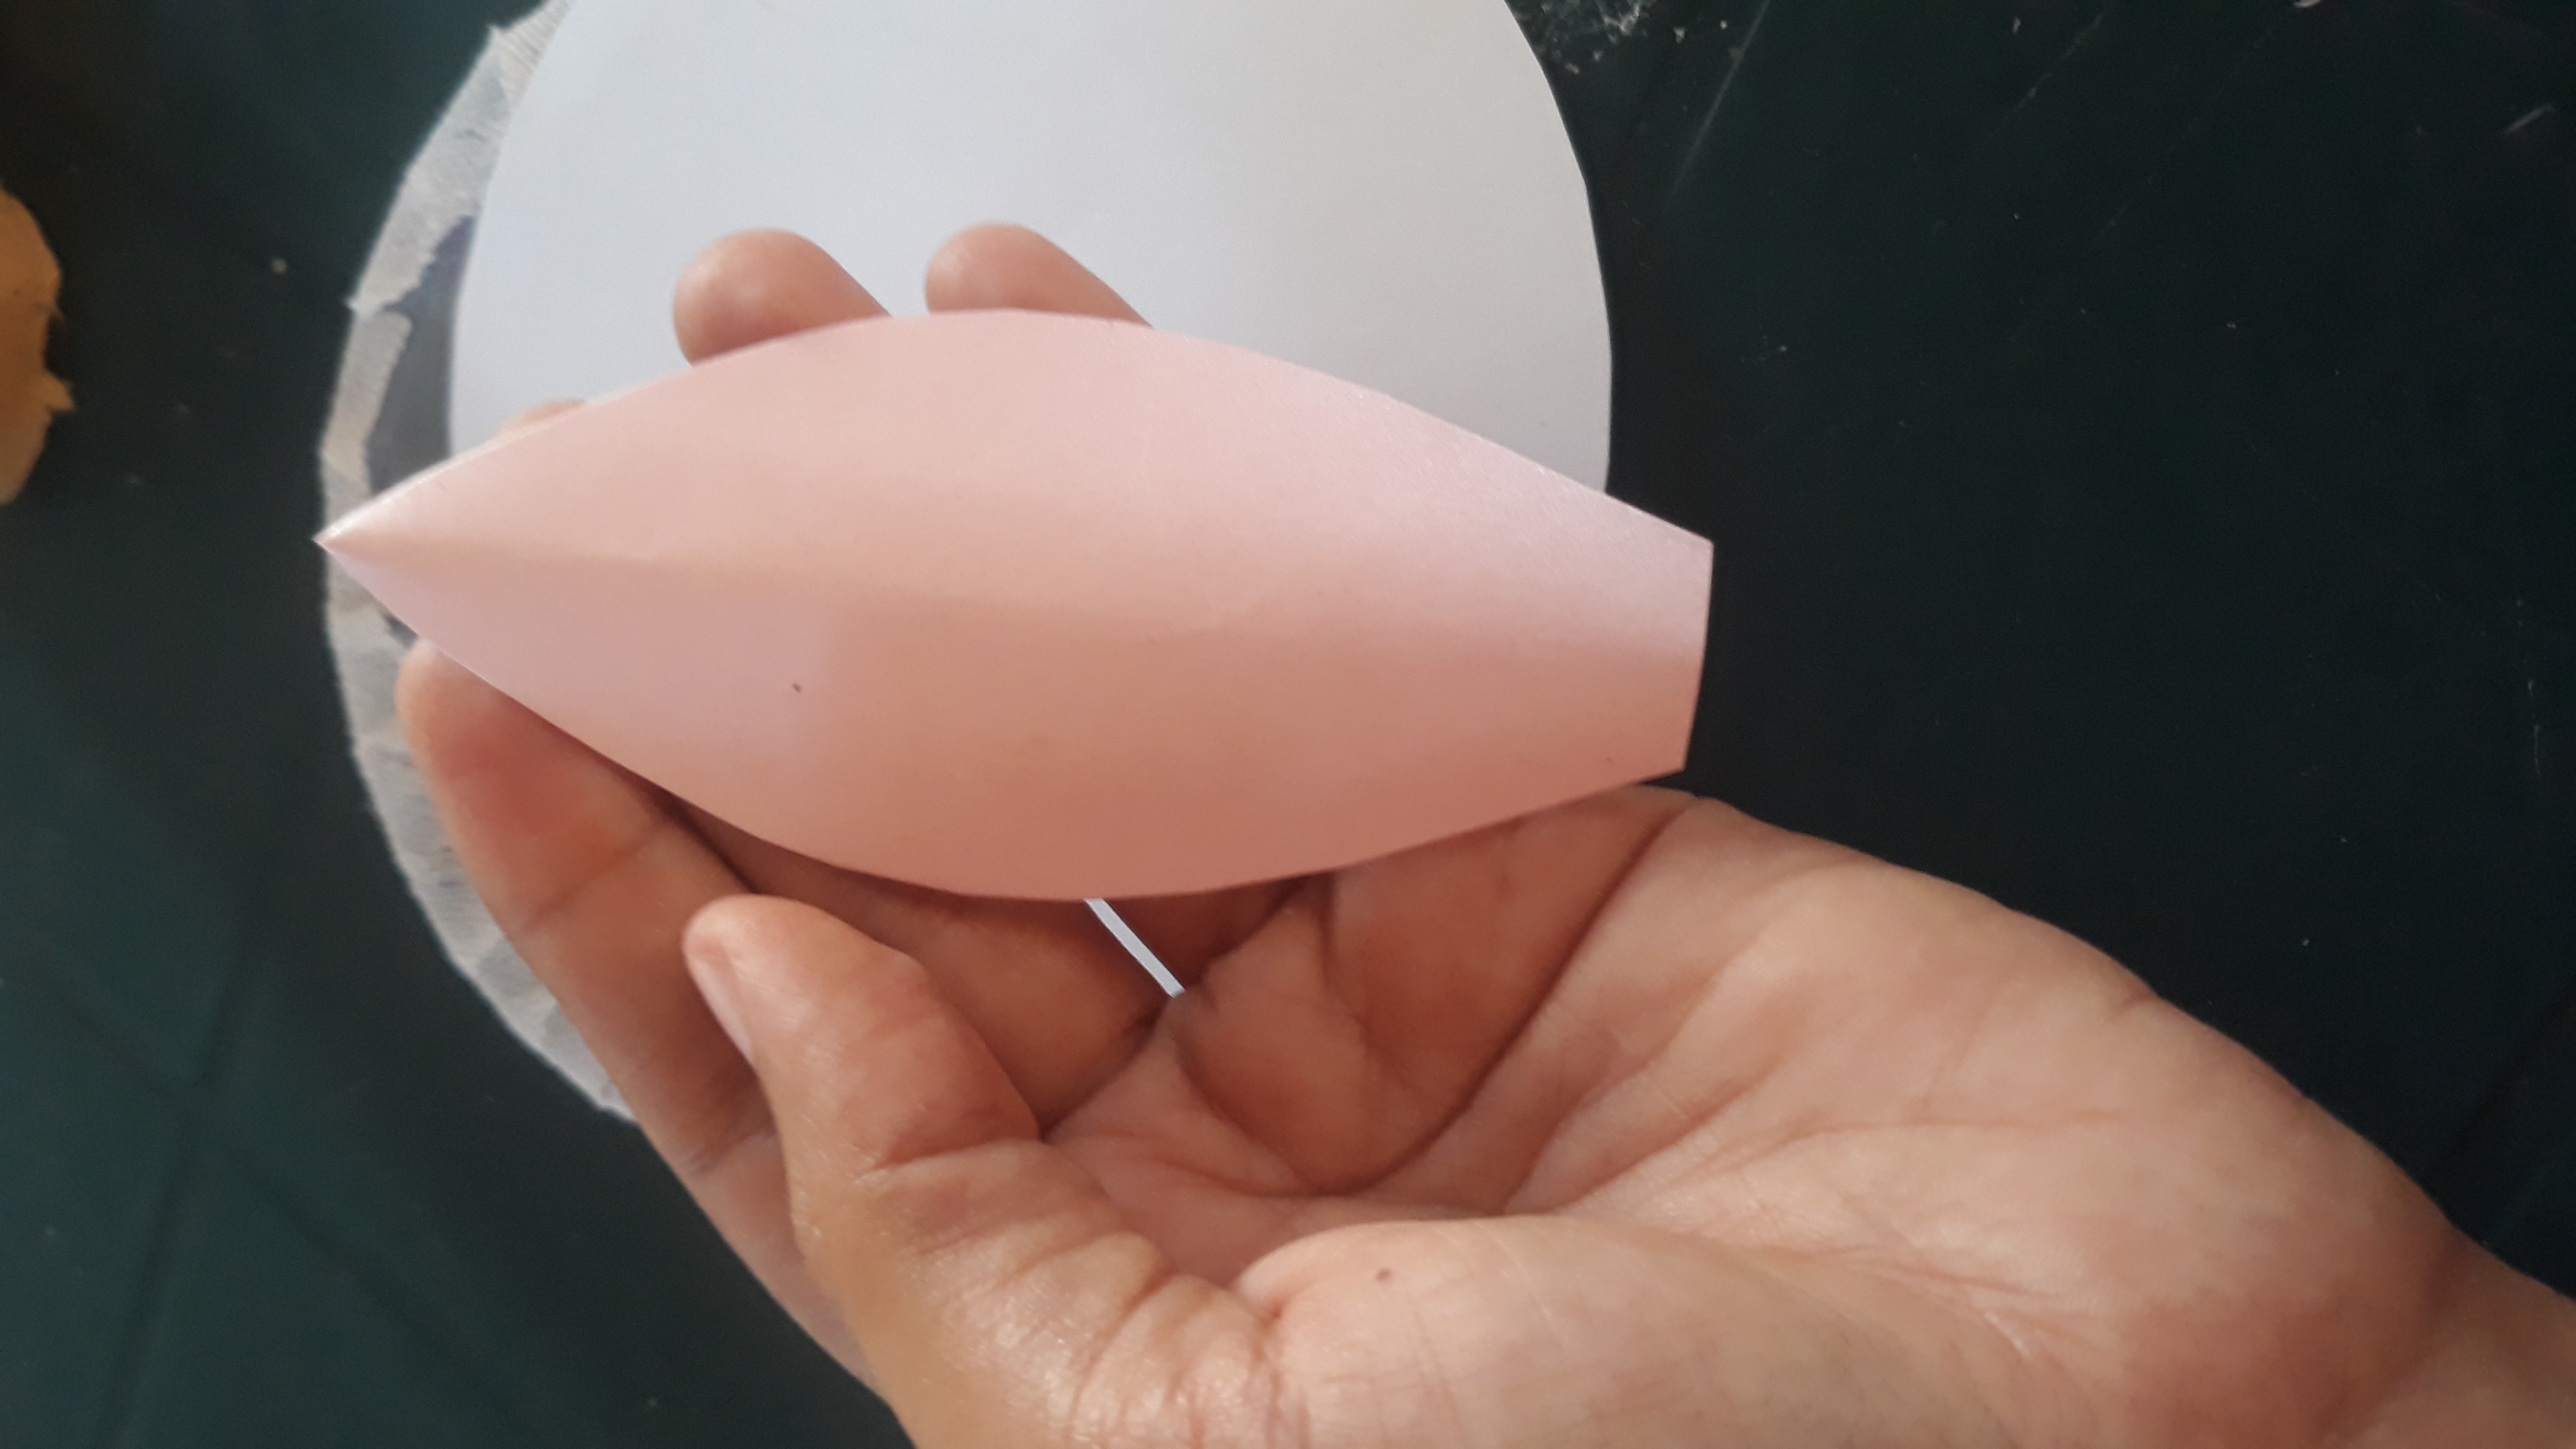
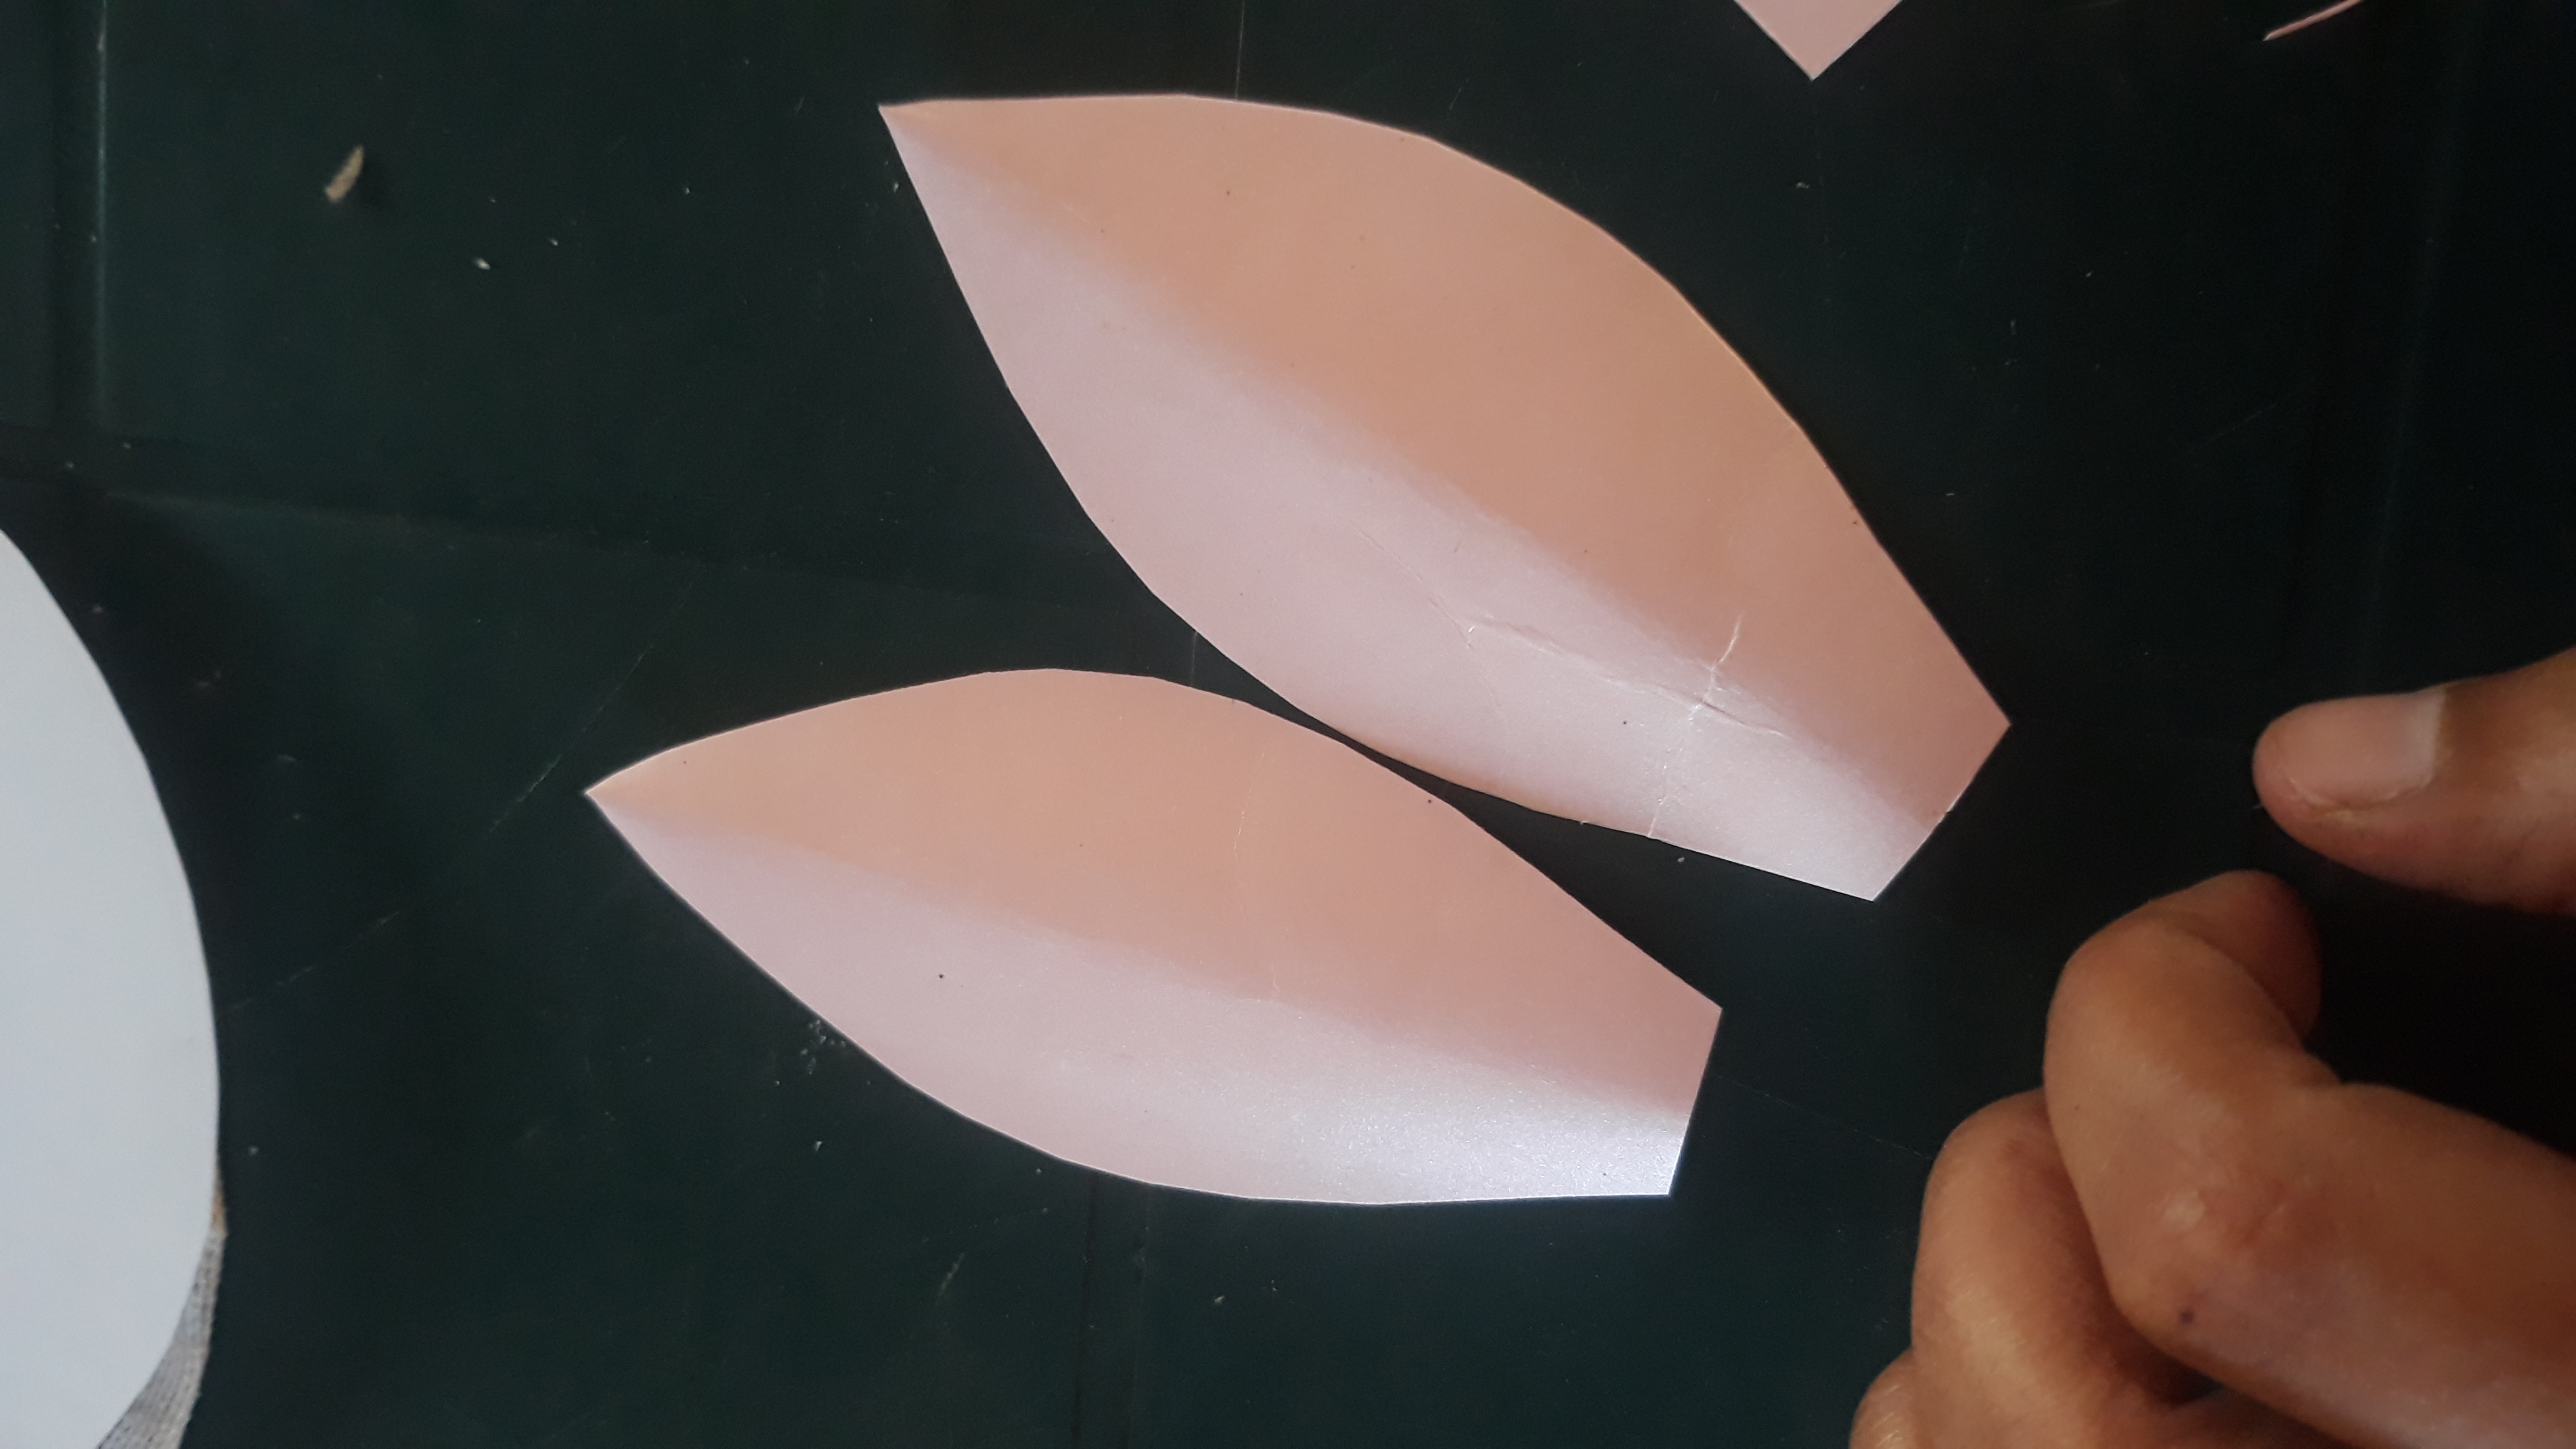
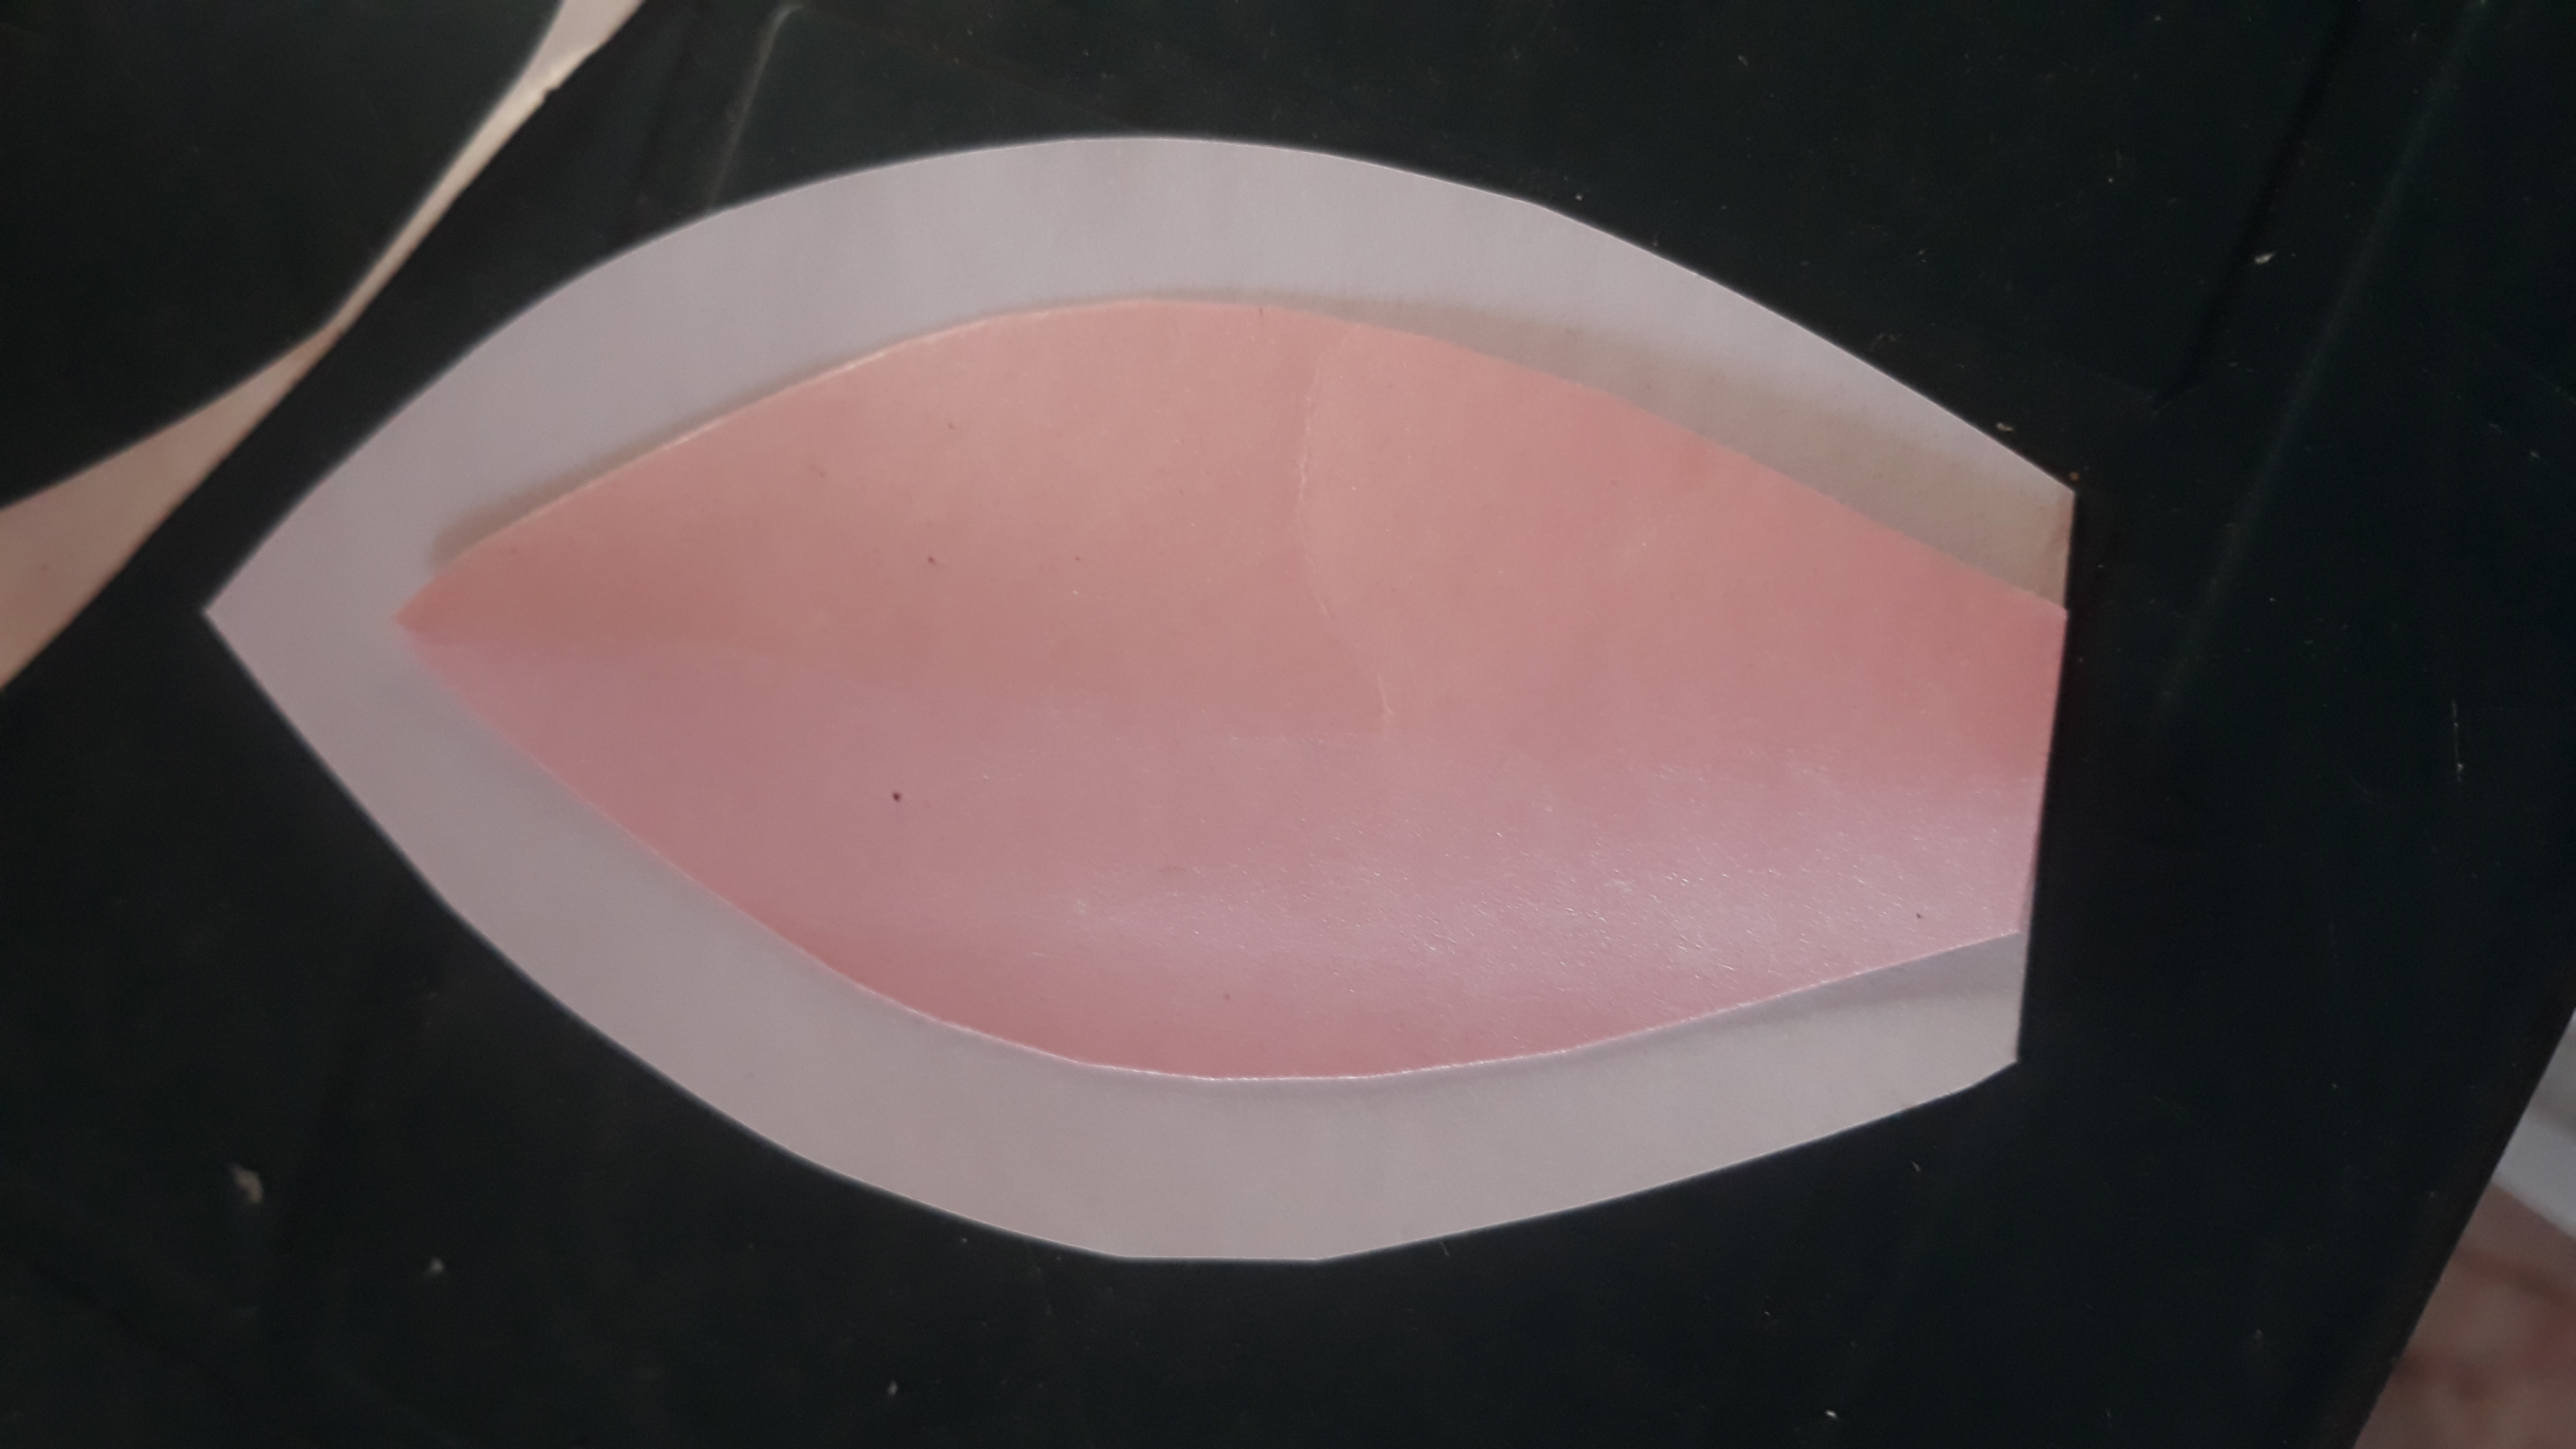
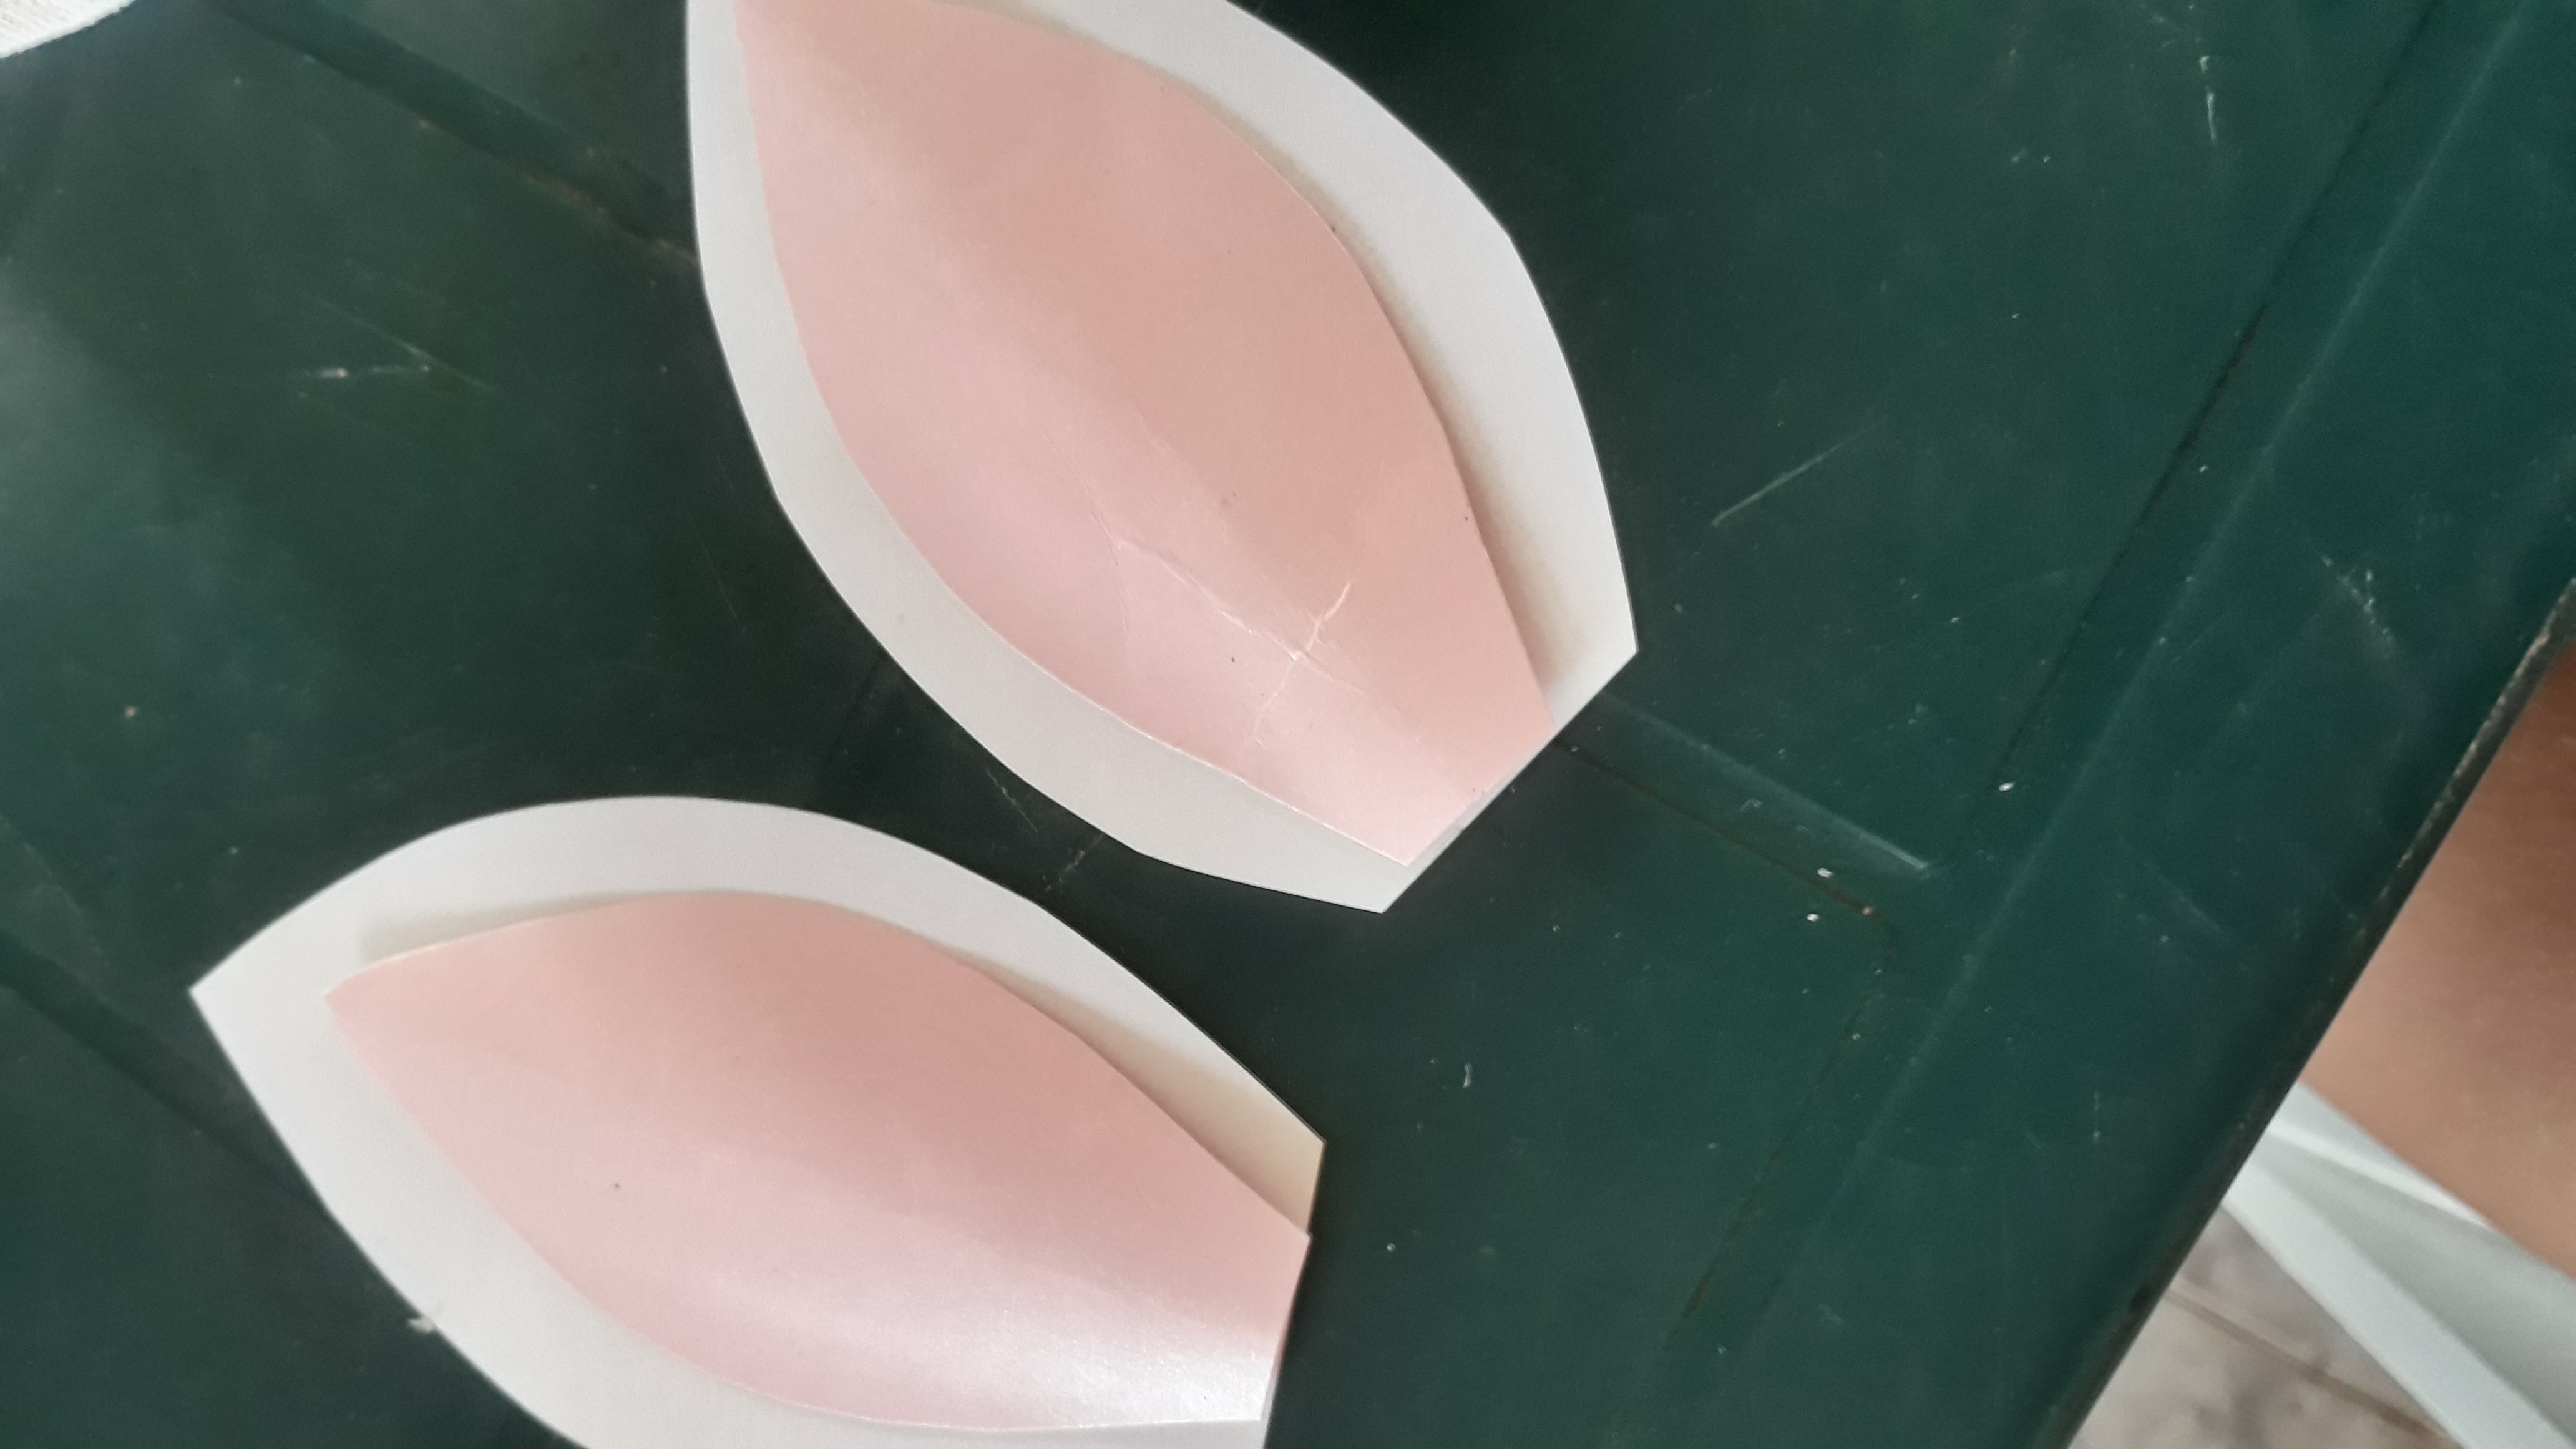
• Paso 6: Luego de cortar las orejitas en la cartulina, las coloque sobre los rectángulos de 12cm que hice en la hoja de papel y las recorte de la misma manera dejando 1cm de diferencia.
• Step 6: After cutting the orejitas into the cardboard, place them on the 12cm rectangles that I did on the sheet of paper and cut it in the same way leaving 1 cm apart.
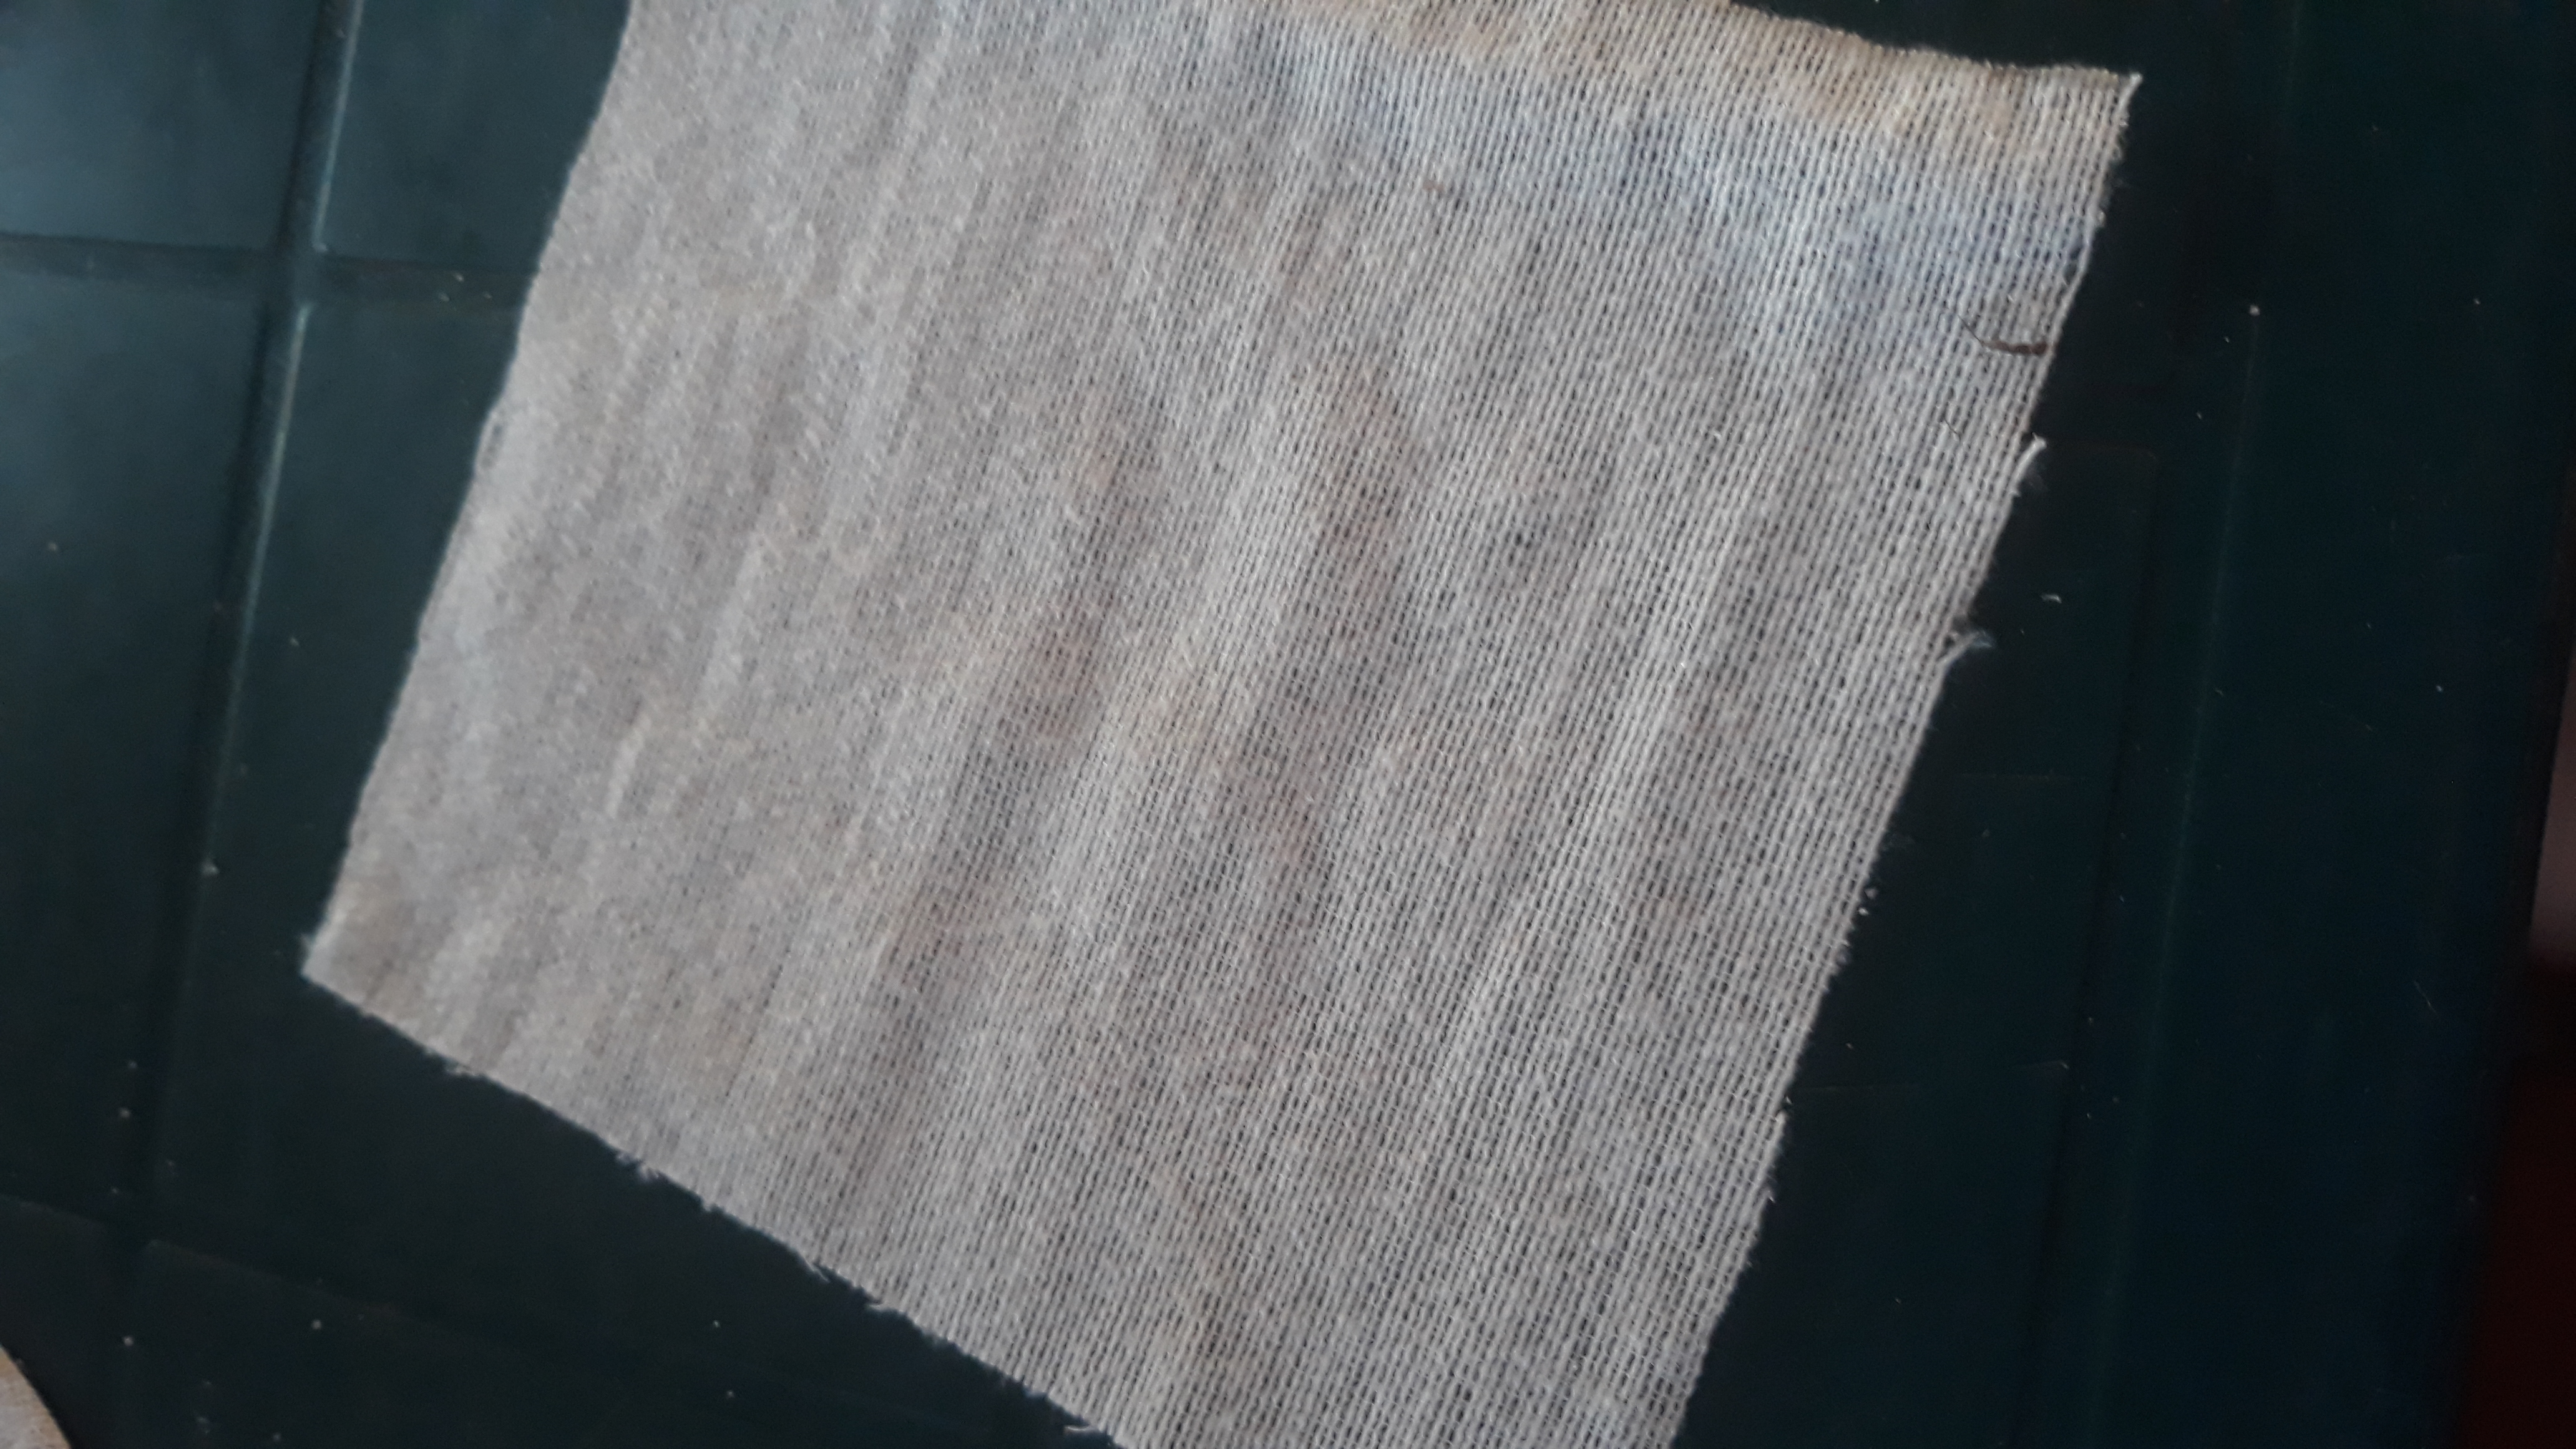
• Paso 7: Hice dos recortes en la tela de 15cm de largo por 14cm de ancho, para luego forrar los tubos de papel higiénico.
• Step 7: I made two cuts on the fabric of 15cm long by 14cm wide, then linking the toilet paper tubes.
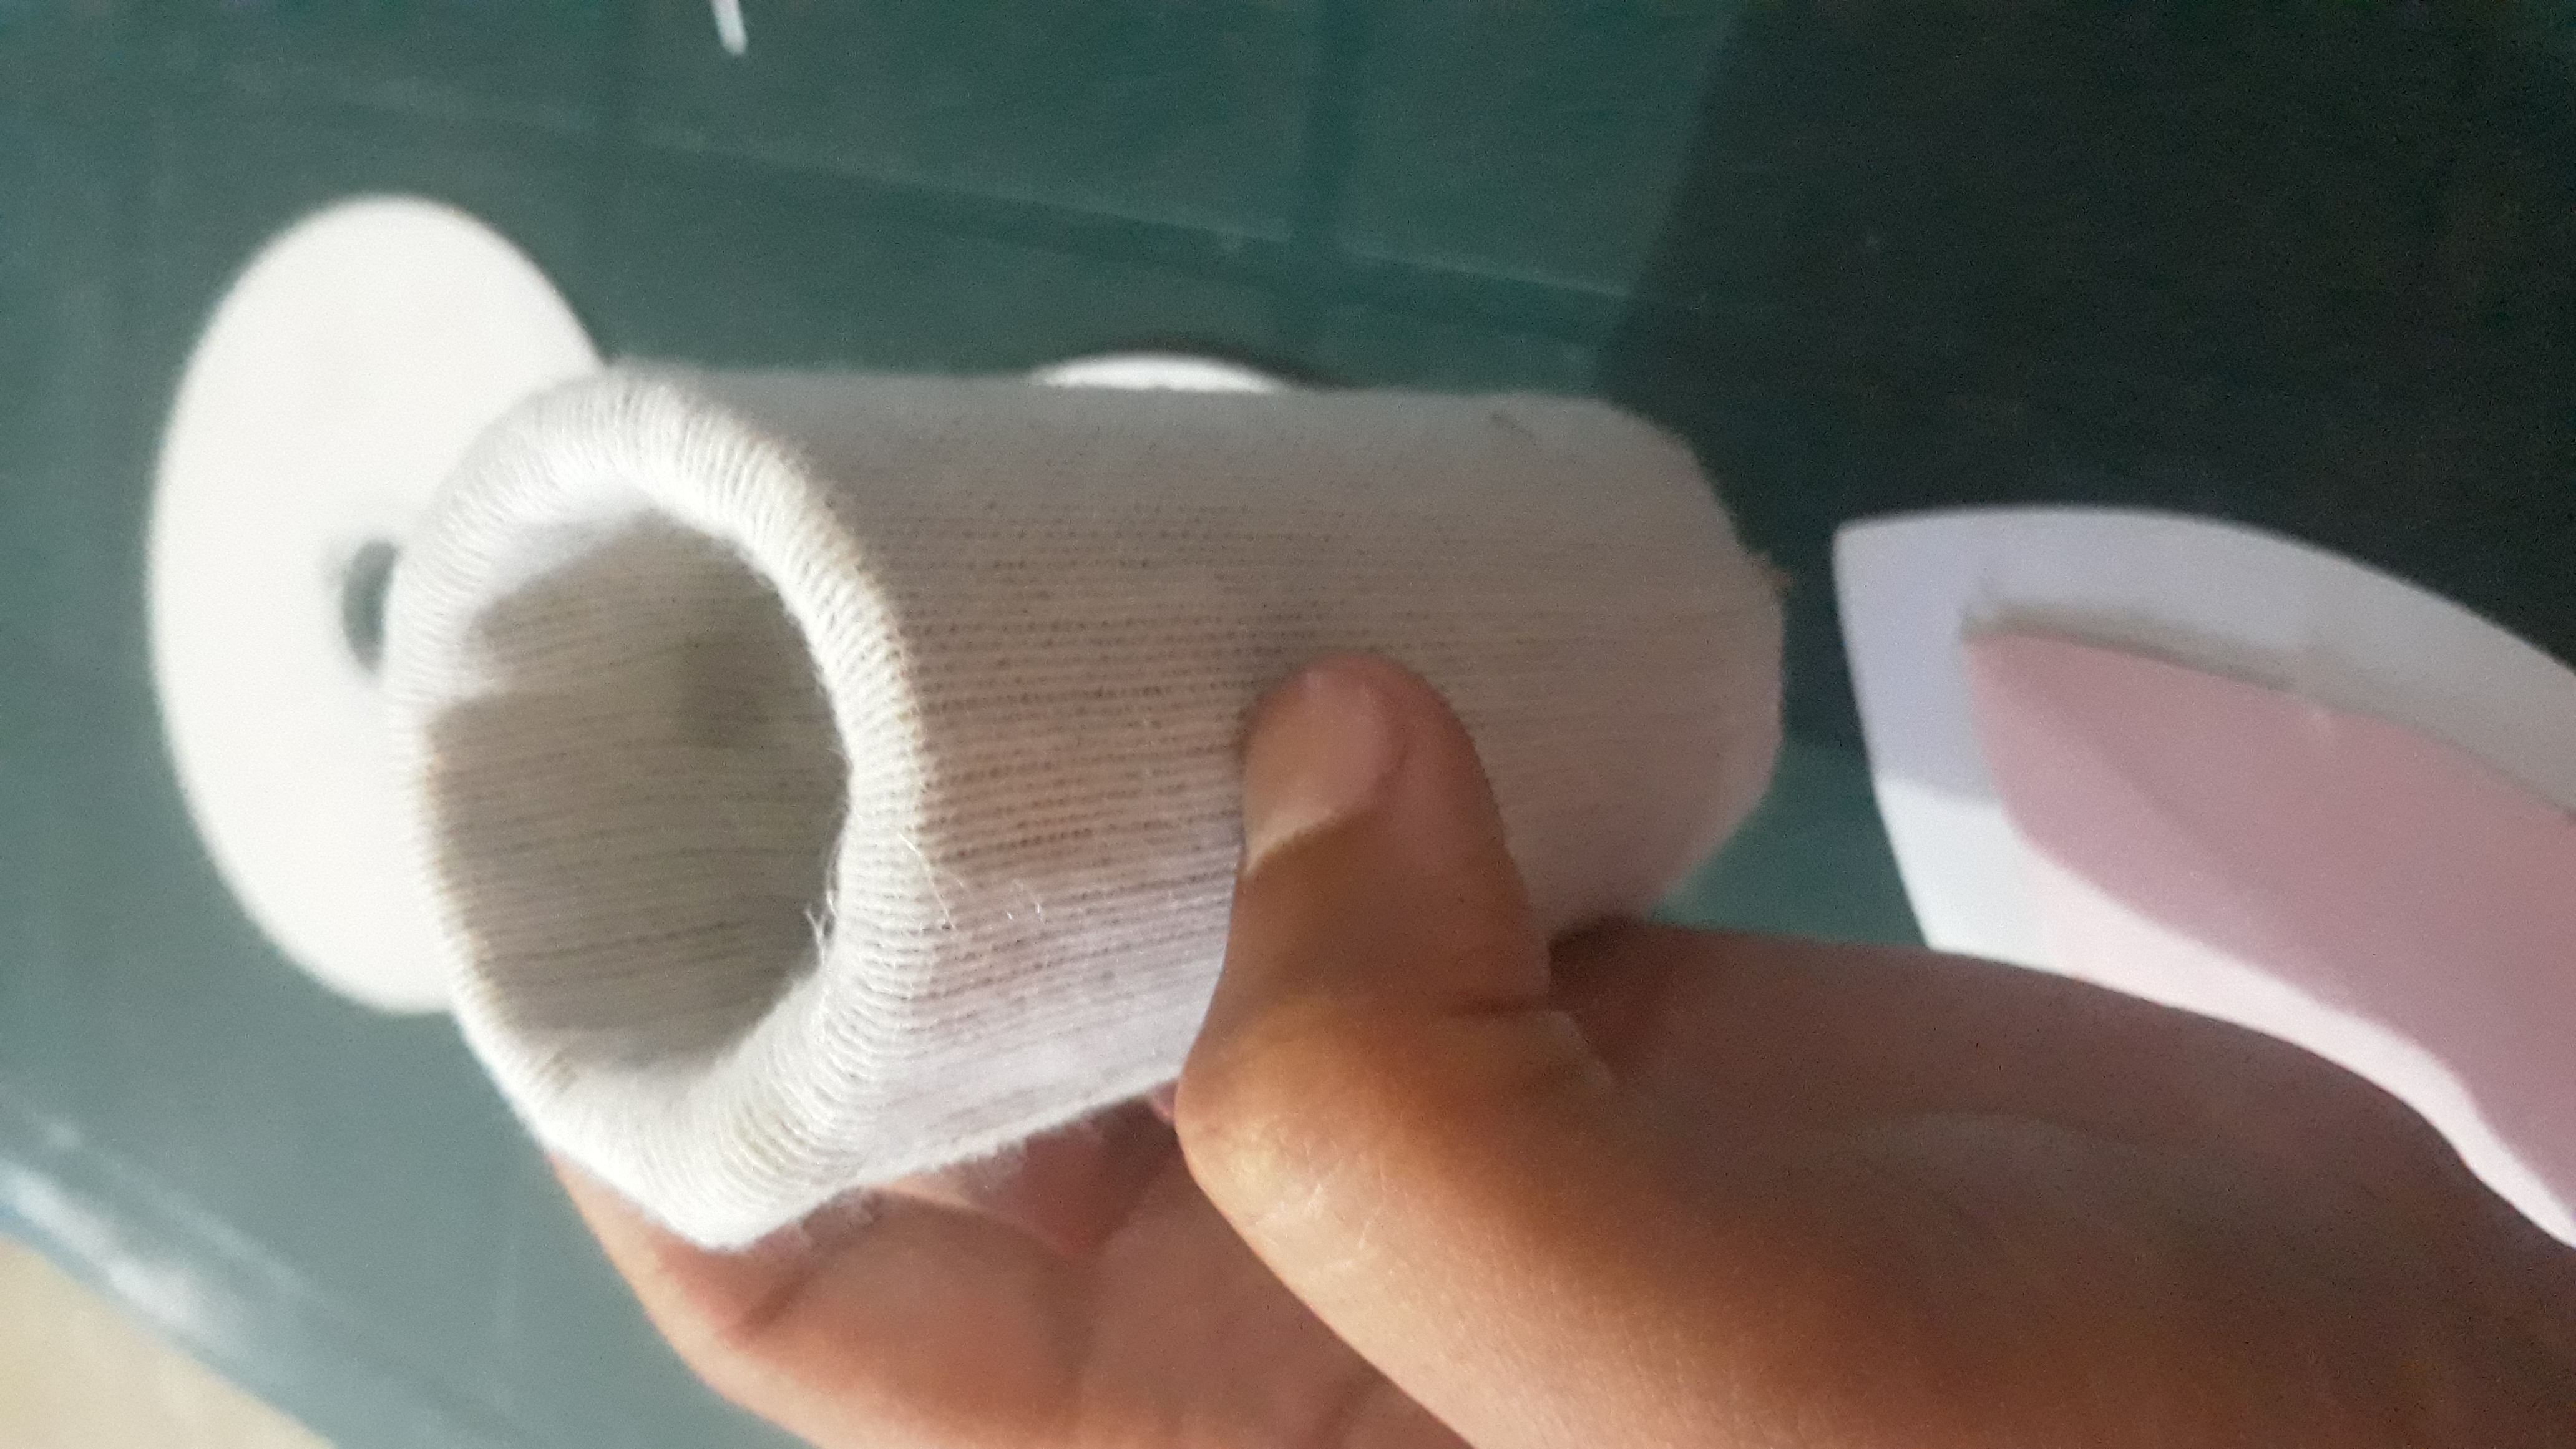
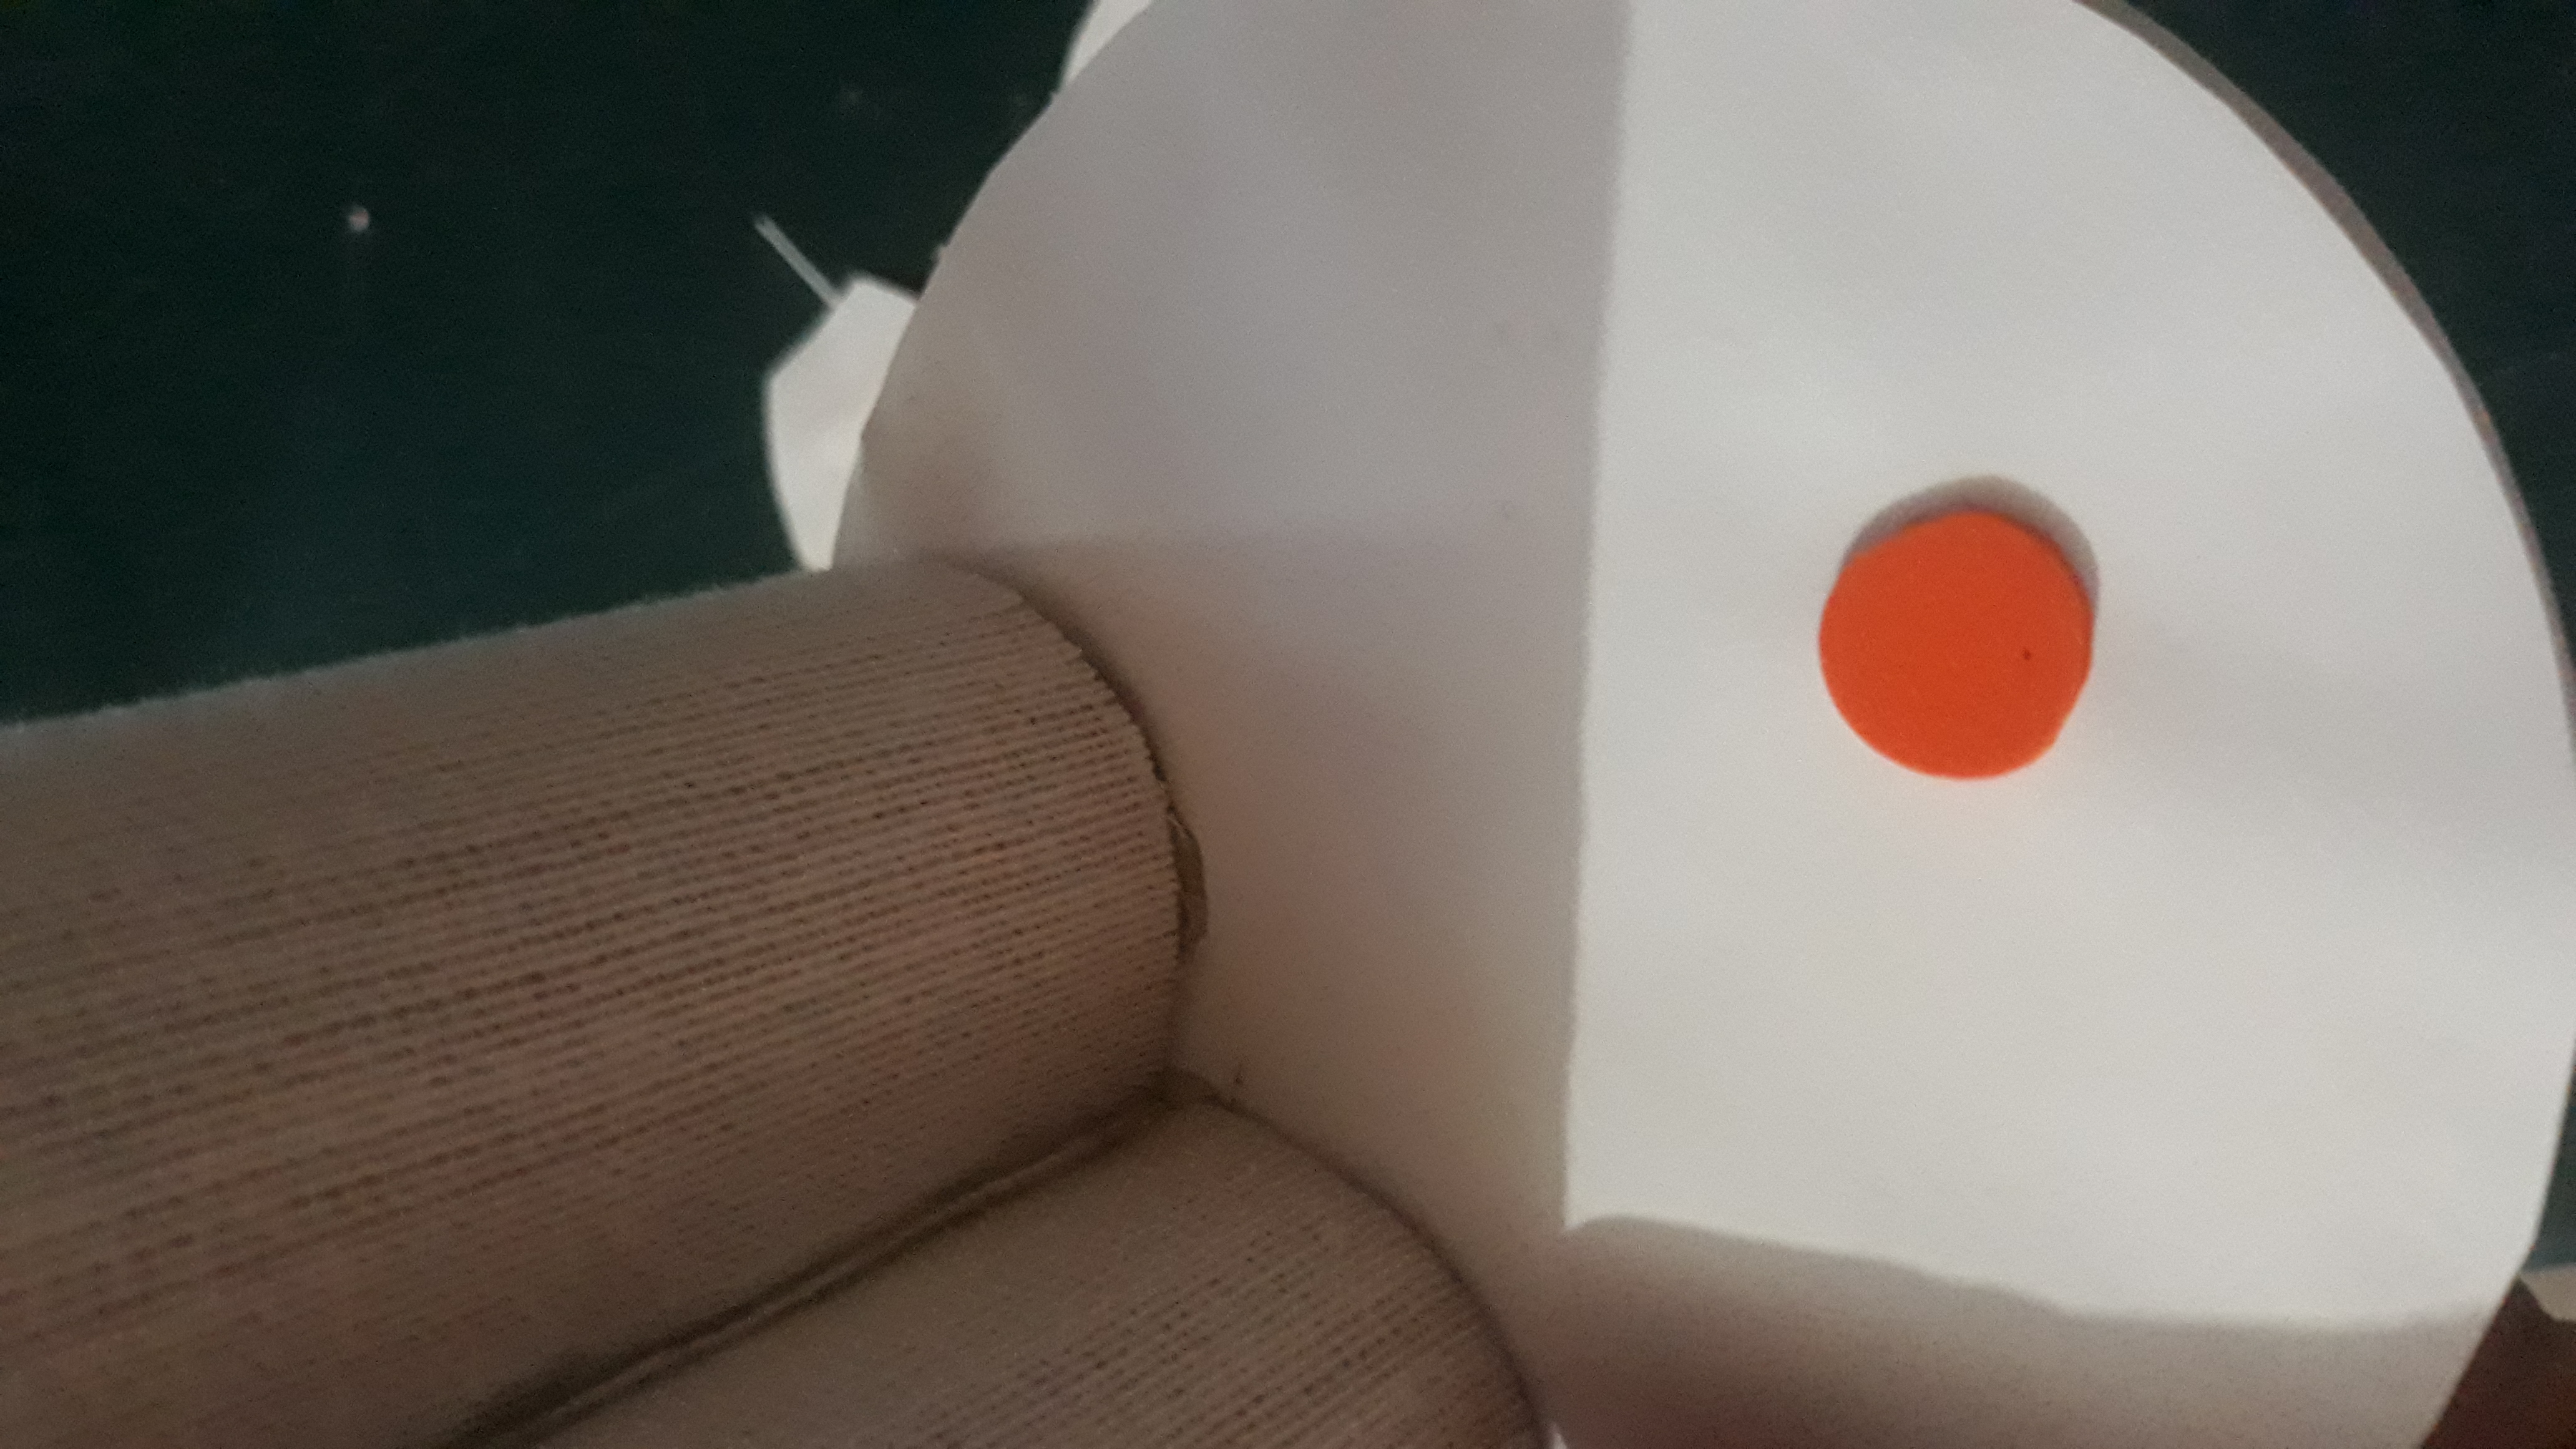
• Paso 8: Una vez forrados los tubos de papel higiénico, los pegue de la siguiente manera y luego los adheri al disco forrado ya antes mencionado.
• Step 8: Once the toilet paper tubes are lined, stick them as follows and then adhere them to the lined disk already mentioned above.
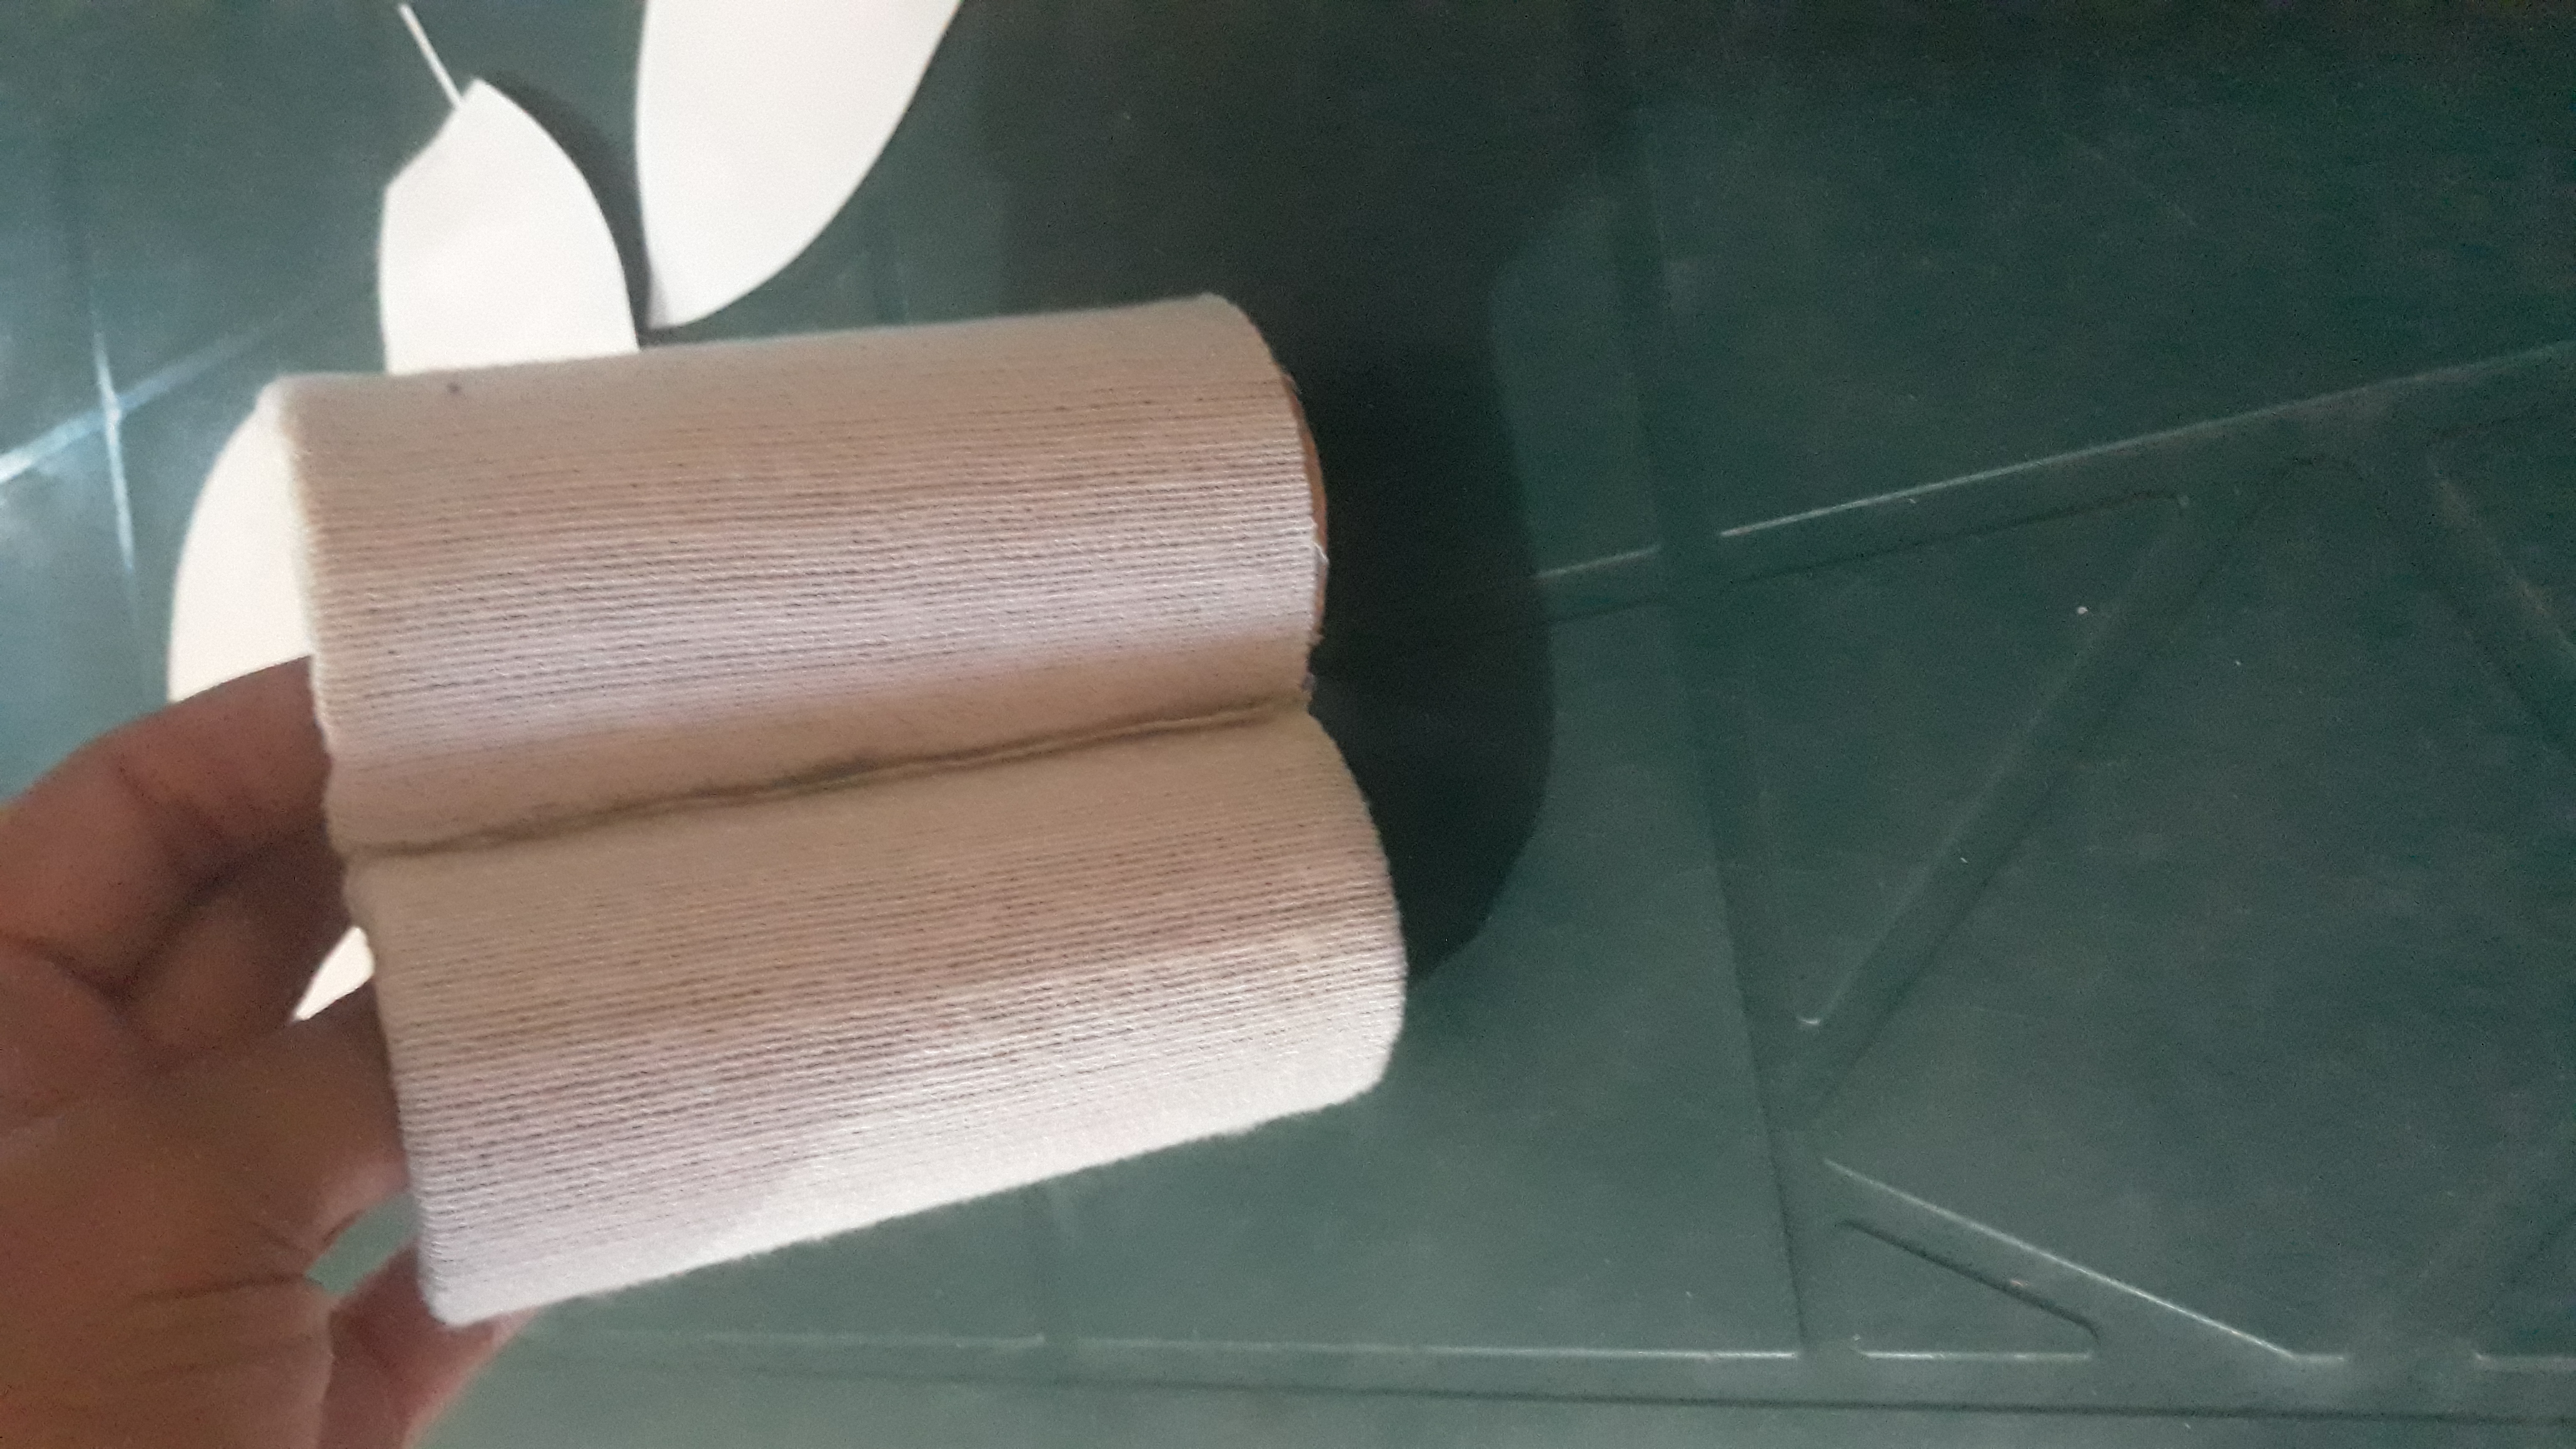
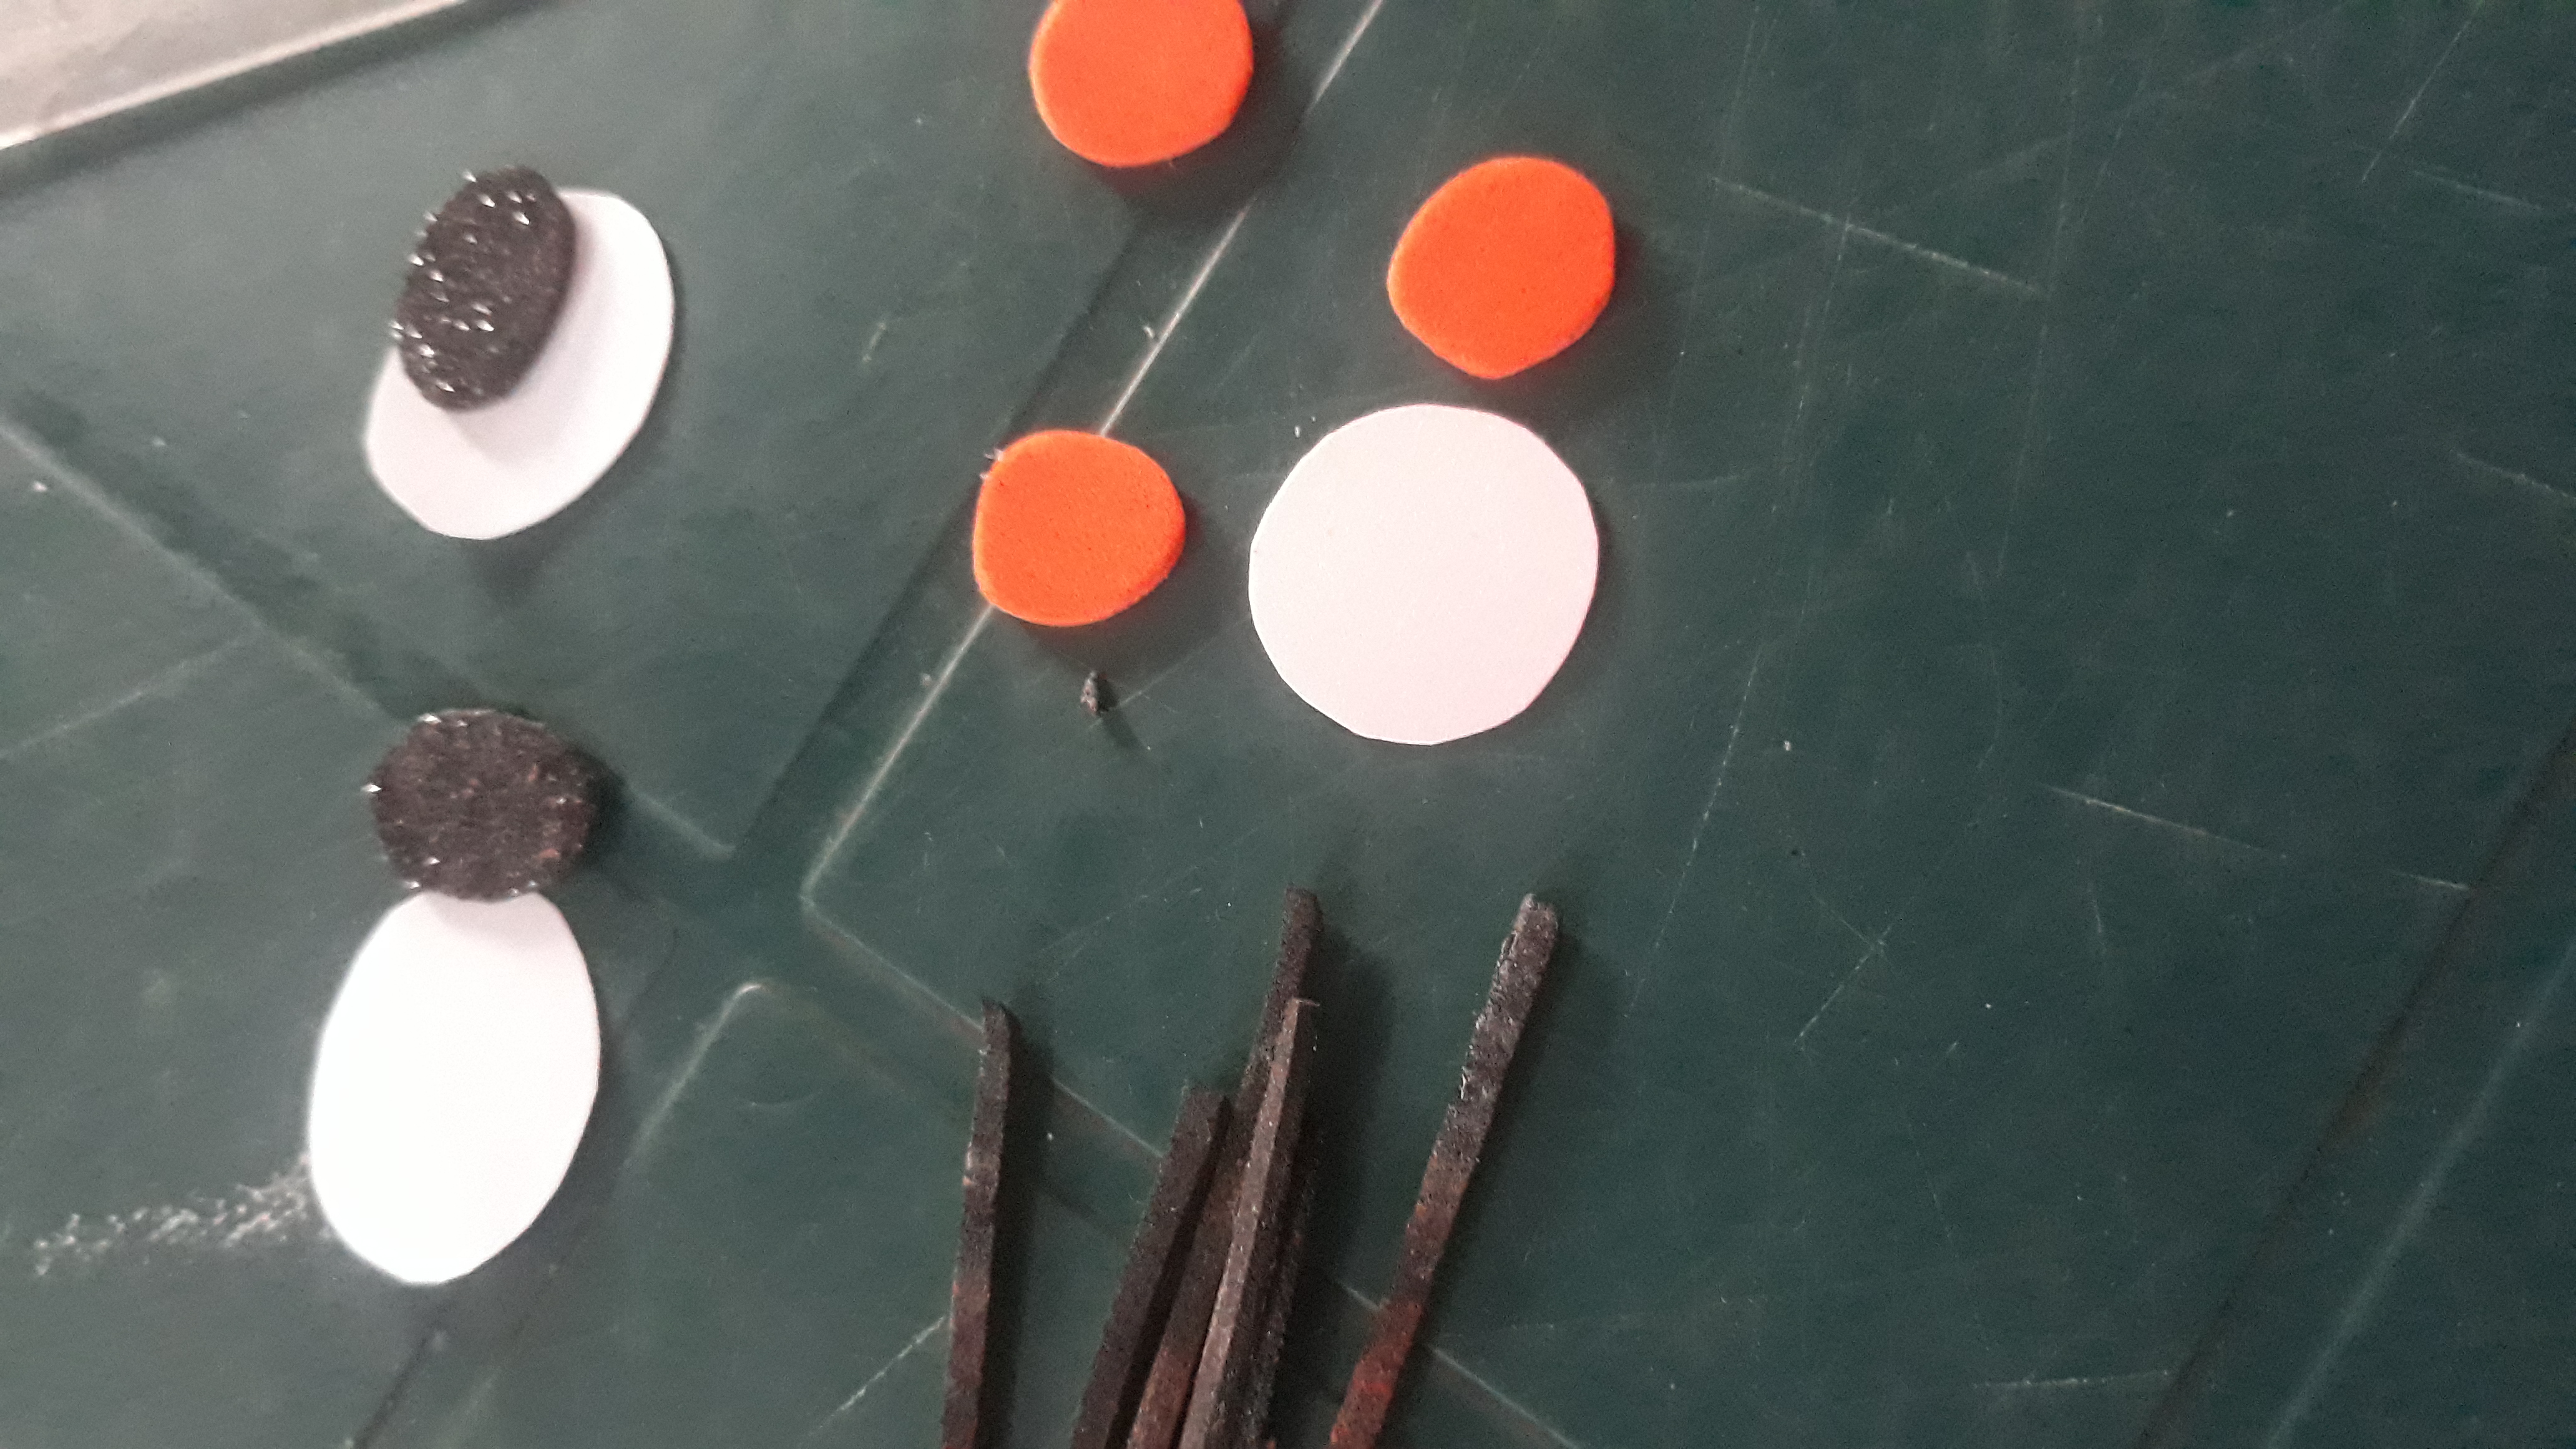
• Paso 9: Luego hice la forma de los ojos, nariz, bigotes y tres círculos en la goma eva naranja.
• Step 9: Then I did the shape of the eyes, nose, whiskers and three circles in the orange Eva gum.
• Paso 10: Coloque silicón a uno de los círculos naranjas de goma eva y lo peque sobre el disco y sobre este coloque la nariz de el conejito.
• Step 10: Place silicone on one of the orange eva rubber circles and paste it on the disk and on this place the nose of the bunny.
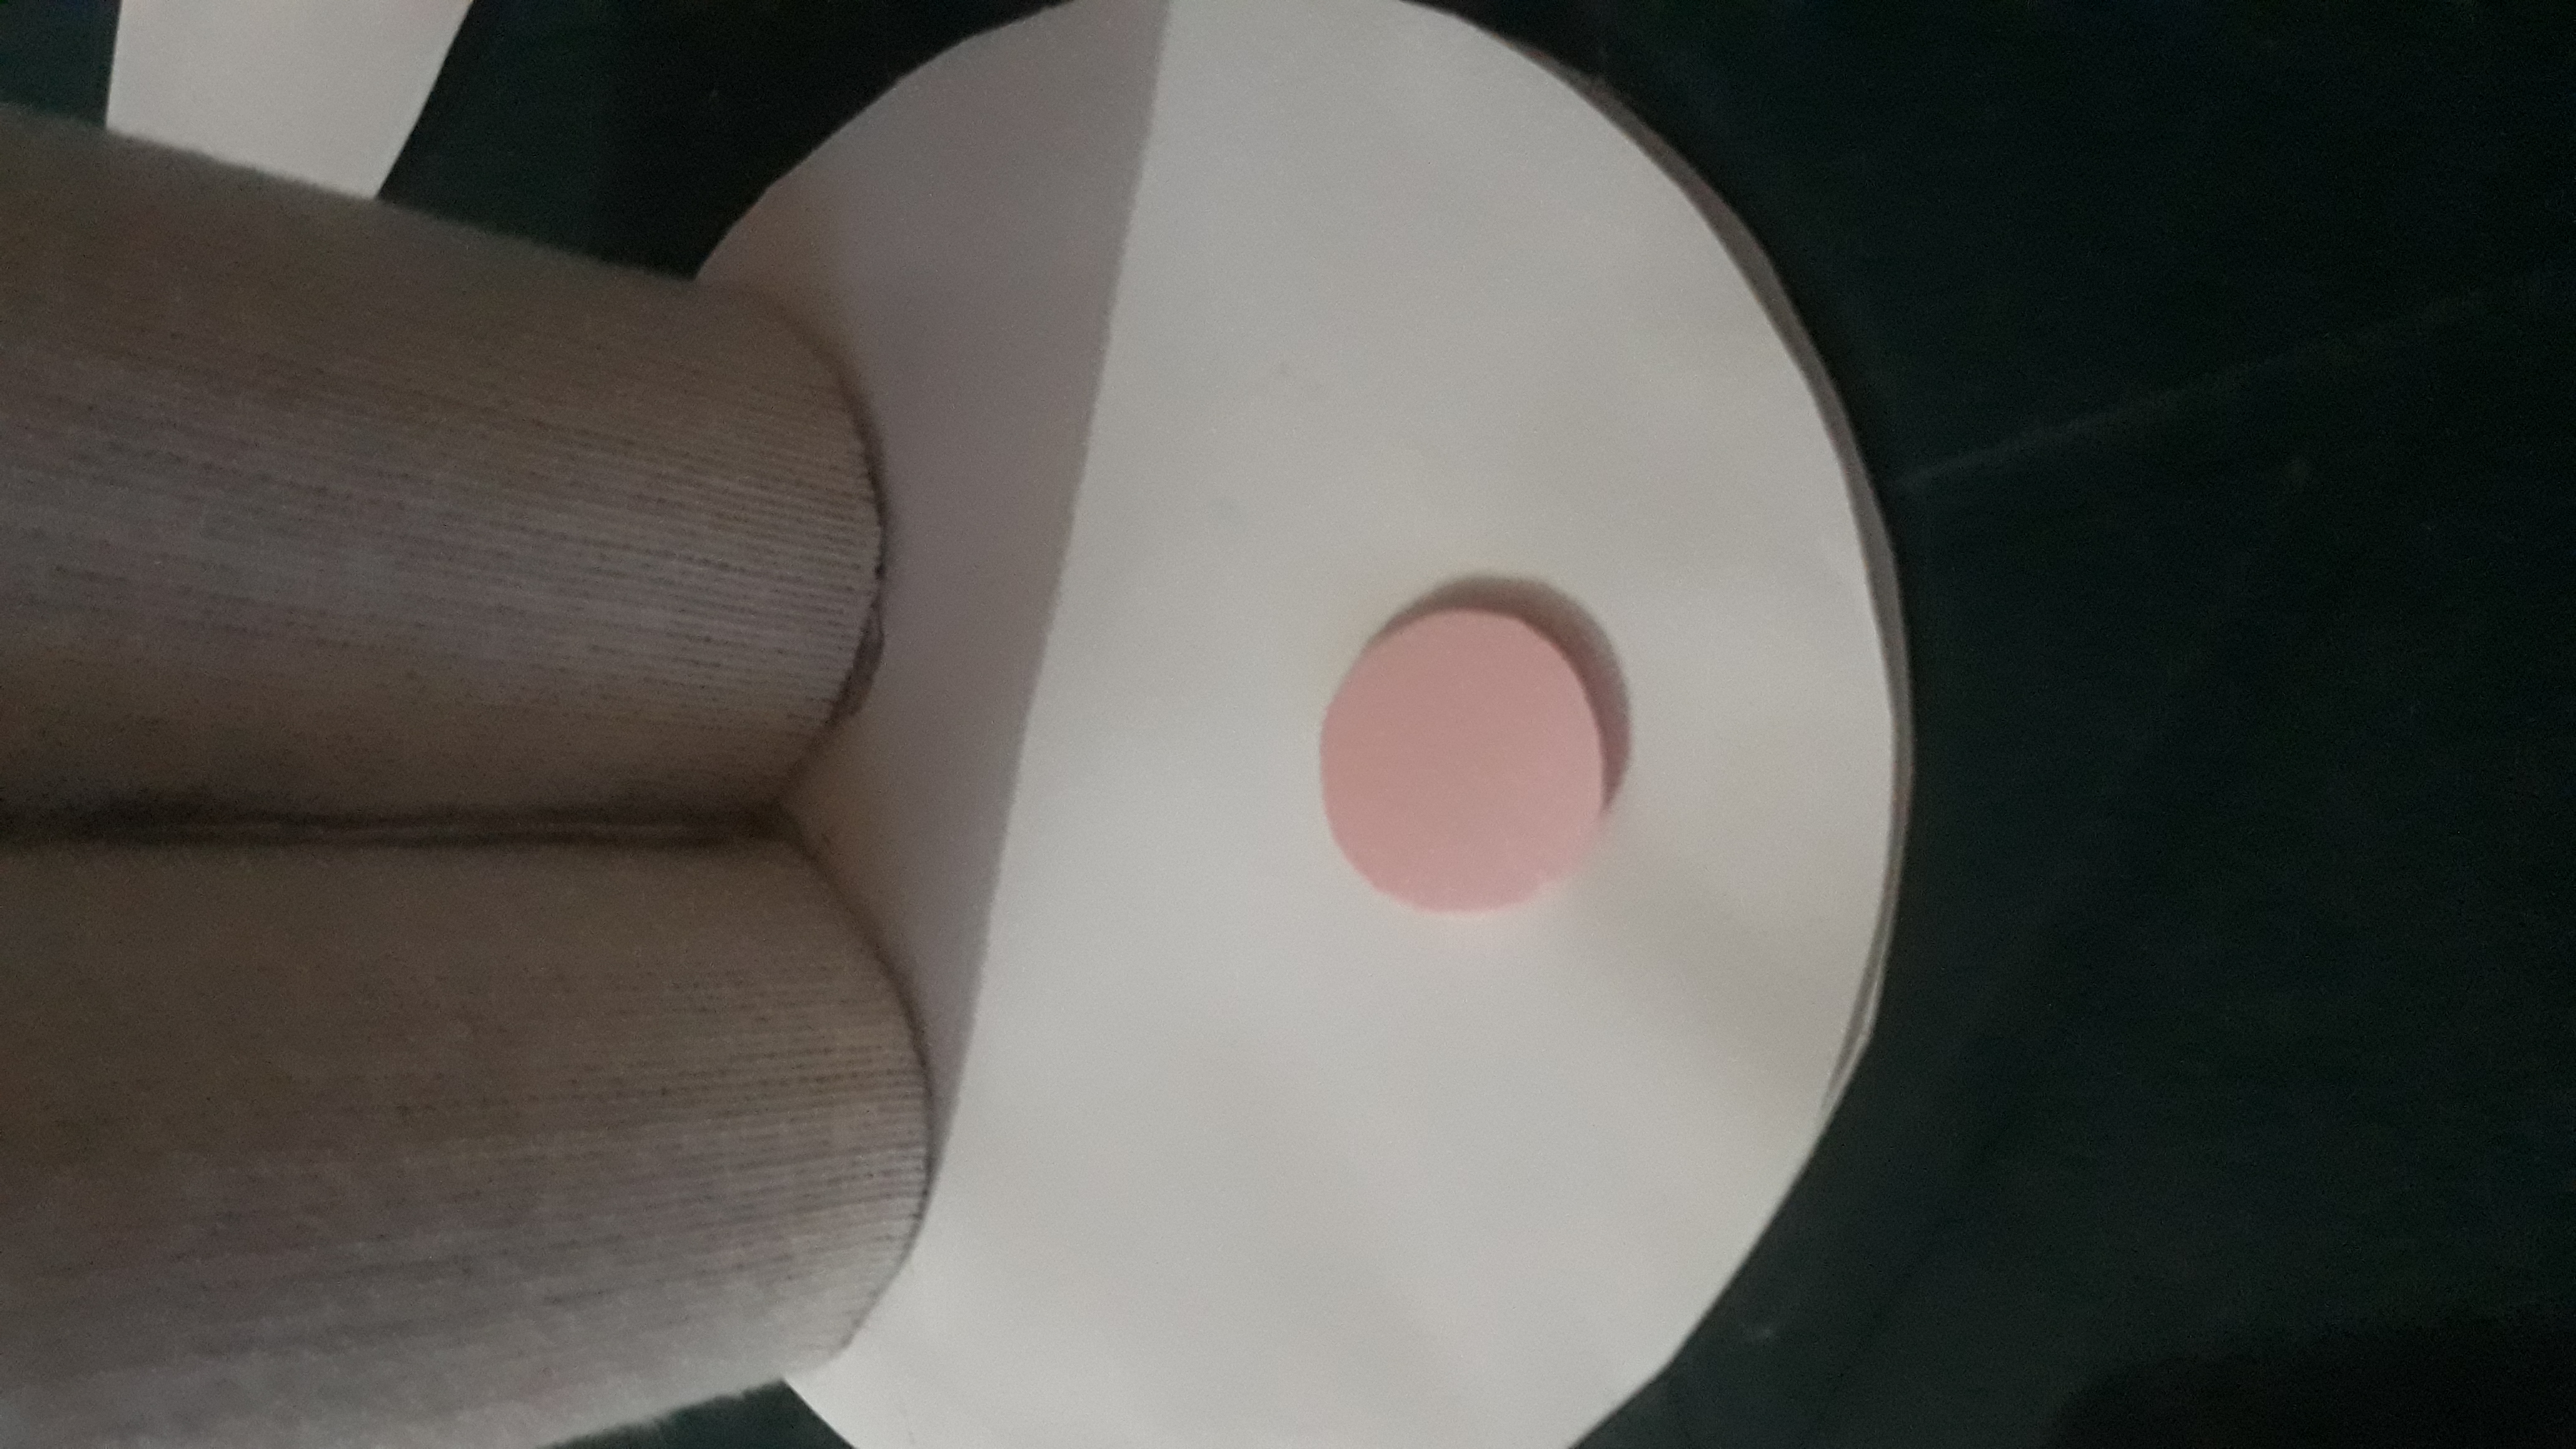
• Paso 11: Luego pegué cada ojo sobre los 2 círculos naranja restante y sobre estos las pupilas.
• Step 11: Then I glued each eye on the 2 remaining orange circles and on these the pupils.

• Paso 12: Para finalizar pegué las orejitas y bigotes e hice los dientitos de el conejo.
• Step 12: To finish, I glued the ears and whiskers and made the rabbit's teeth.

Y entre tanto pegar y pegar finalmente culmine mi divertido porta lápiz de conejo, lo hice con amor para ustedes; Gracias por su atención, que Dios los bendigas enormemente.😚
Rabbit pencil, I did it with love for you; Thank you for your attention, may God bless you enormously.😚


Nice work !
Thanks. If it is not much to ask you can help me share my post, because I am new to this.🤗
Congratulations @marlymlc94! You have completed the following achievement on the Hive blockchain and have been rewarded with new badge(s) :
Your next target is to reach 50 comments.
You can view your badges on your board and compare yourself to others in the Ranking
If you no longer want to receive notifications, reply to this comment with the word
STOPCheck out the last post from @hivebuzz:
Support the HiveBuzz project. Vote for our proposal!