
Hello, dear friends. Thank you for taking the time to visit me. I am delighted to host you. I've been away for a while due to illness. In this post I'll talk about kitchen shopping, a small renovation, motivation for cleaning and cooking something delicious.

Winter is over, and I think it's the perfect time to replenish the vitamins our bodies need. Our diet isn't always as healthy and balanced as it should be, and we only get a small amount of useful nutrients from the things we eat. I also noticed that I'm constantly tired and sleepy. That's why I thought I should help my body. I decided to take Omega-3 supplements.
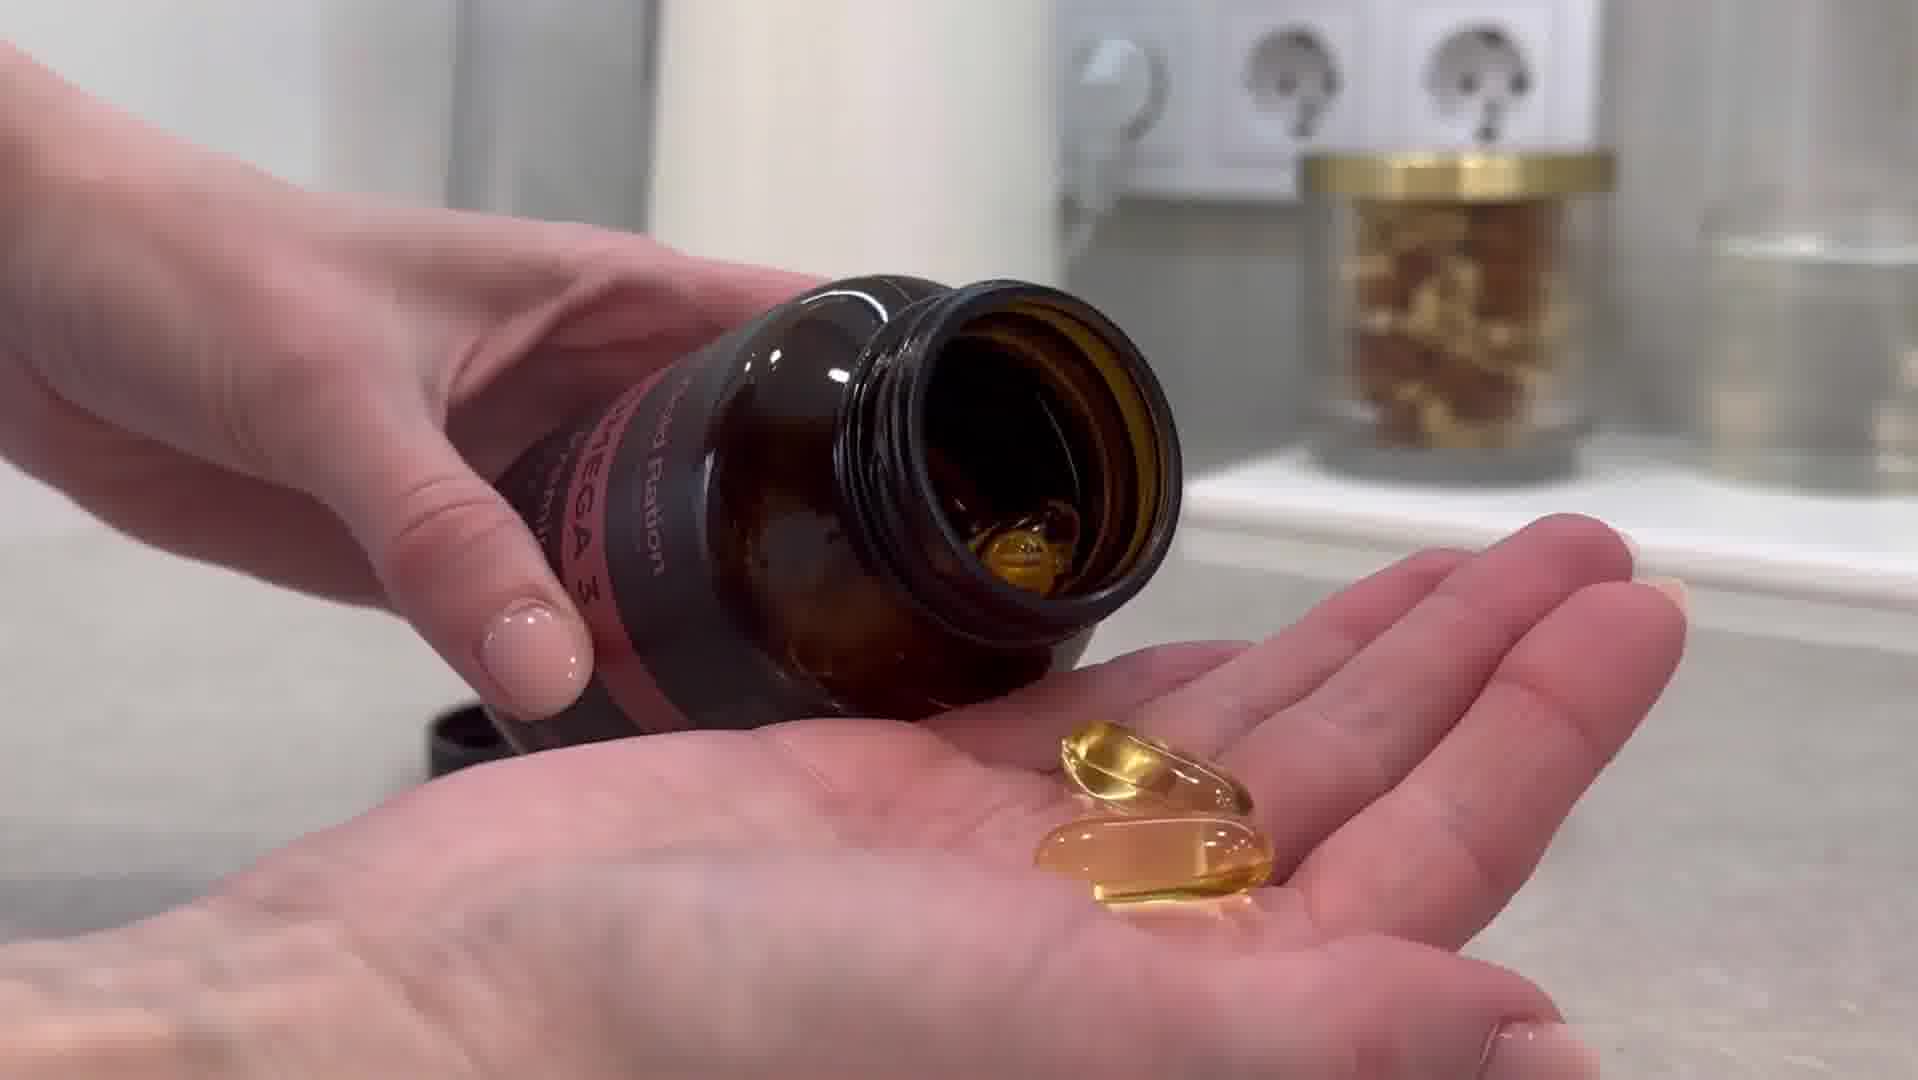
There are many different options for Omega-3 supplements, and sometimes you can encounter fake products. I use Omega-3 from Gold Ration. This product contains high-quality fish oil and provides full absorption thanks to its unique formula. It also comes in a glass bottle, ensuring proper storage. I recommend Omega-3 supplements to boost overall body health.
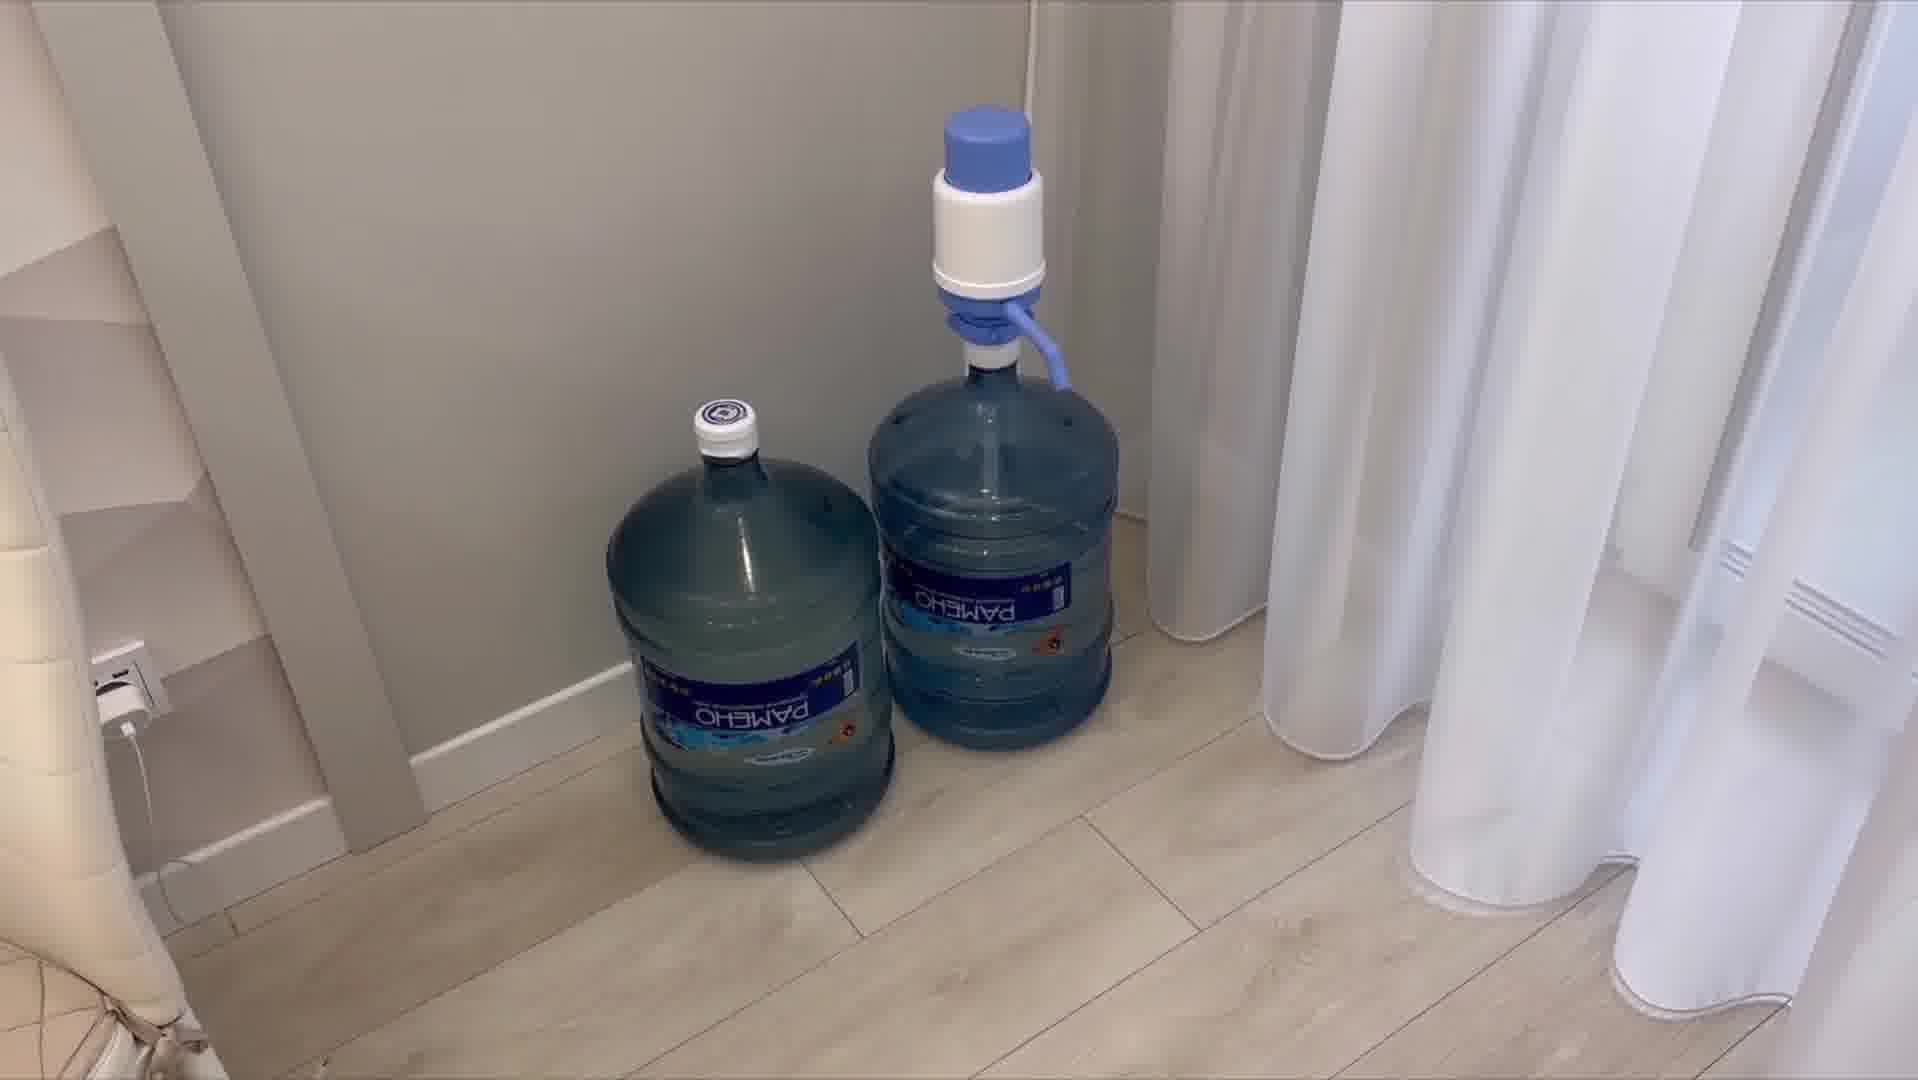
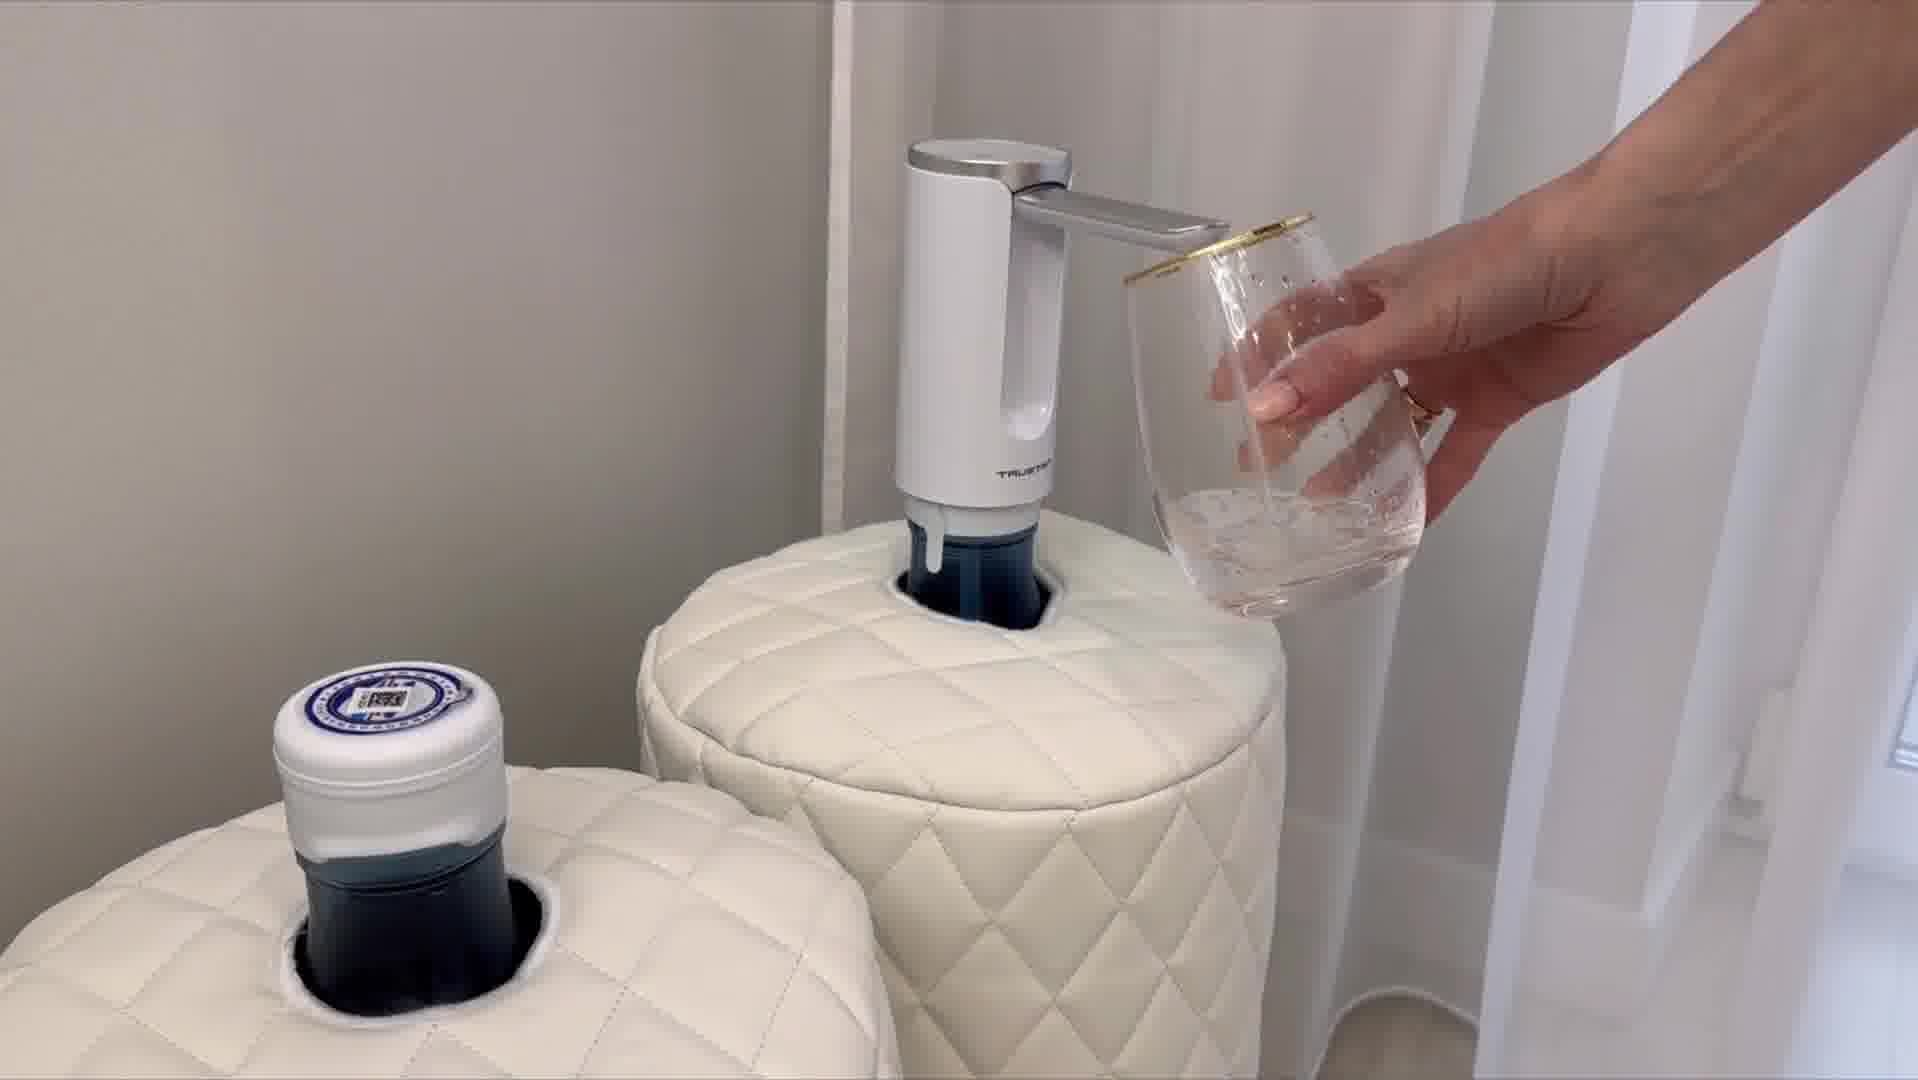
Our kitchen renovation is ongoing. There are two large water bottles in the kitchen, and we didn't know where to put them. They were ruining the look. Recently, our water pump broke, which we used with the provided plastic pump. However, I went on Wildberries and found an electric pump. This pump works with electricity, and you can get water just by pressing a button. It also comes with plastic bottle caps for these pumps. You can cover transparent plastic bottles to make them look nicer. I chose the leather-covered ones, which are a bit more expensive, but they provide an aesthetic look to the kitchen.


Now, water flows like this. It creates a beautiful image, and I think it's much better than before. These bottles no longer ruin the appearance. However, I want to put something under the bottles because there's some swelling under the laminated floor. It's probably because water spilled and wasn't cleaned in time. So, I'm thinking of putting something under the bottles. Maybe something like a tablecloth, or perhaps a round white coaster. This way, the bottles won't damage the floor. It might also be good to put a wider base under the bottles, providing more protection.
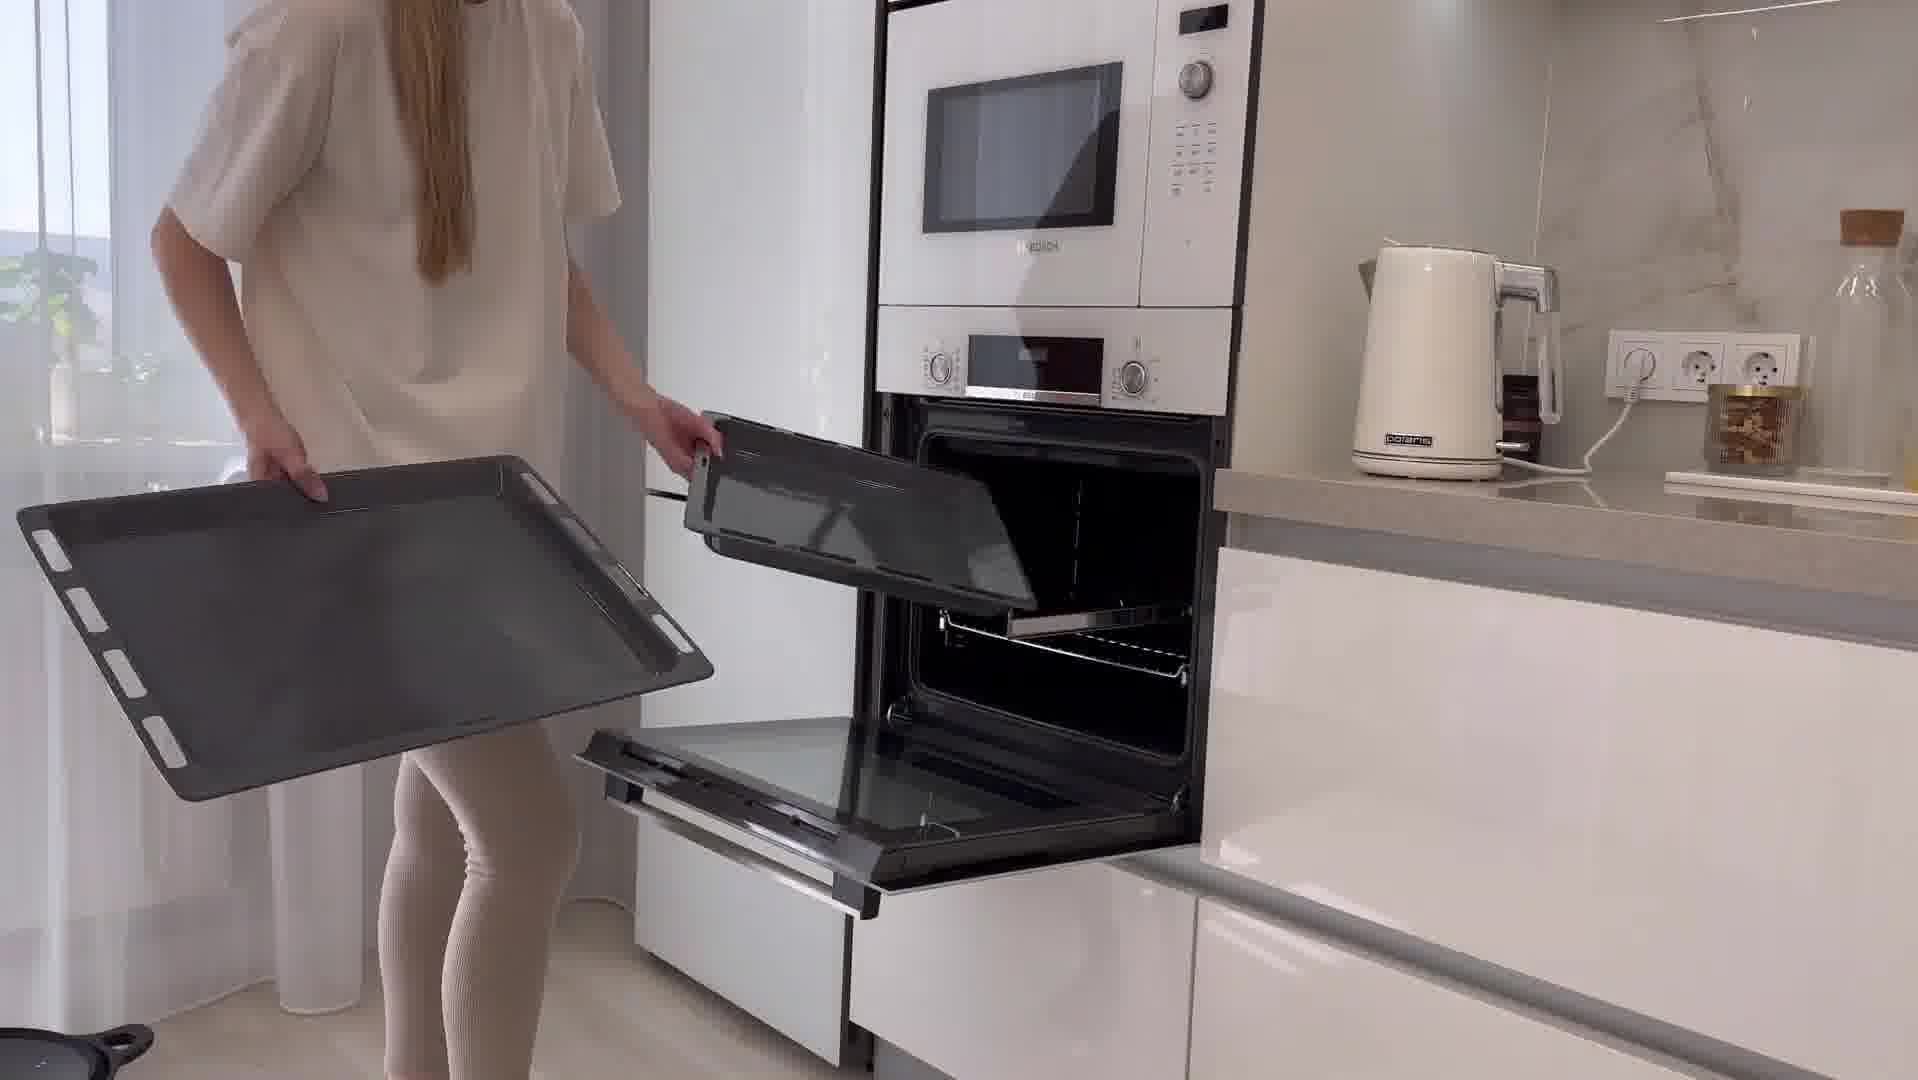
Today, I want to get some motivation for kitchen cleaning. I'm planning to clean the oven, as it's a bit dirty. I also want to clean the dishwasher and microwave. I bought a special cleaner for the dishwasher, but I haven't used it yet. Before I start cleaning, I want to thoroughly wash all the dirty spots. Then I'll start a 60° cycle and use the cleaner.

By the way, I've already cleaned the refrigerator, but there's still some work to be done to clean the grease stains inside the oven. Placing kitchen utensils in their proper places and cleaning kitchen surfaces are also on my to-do list.
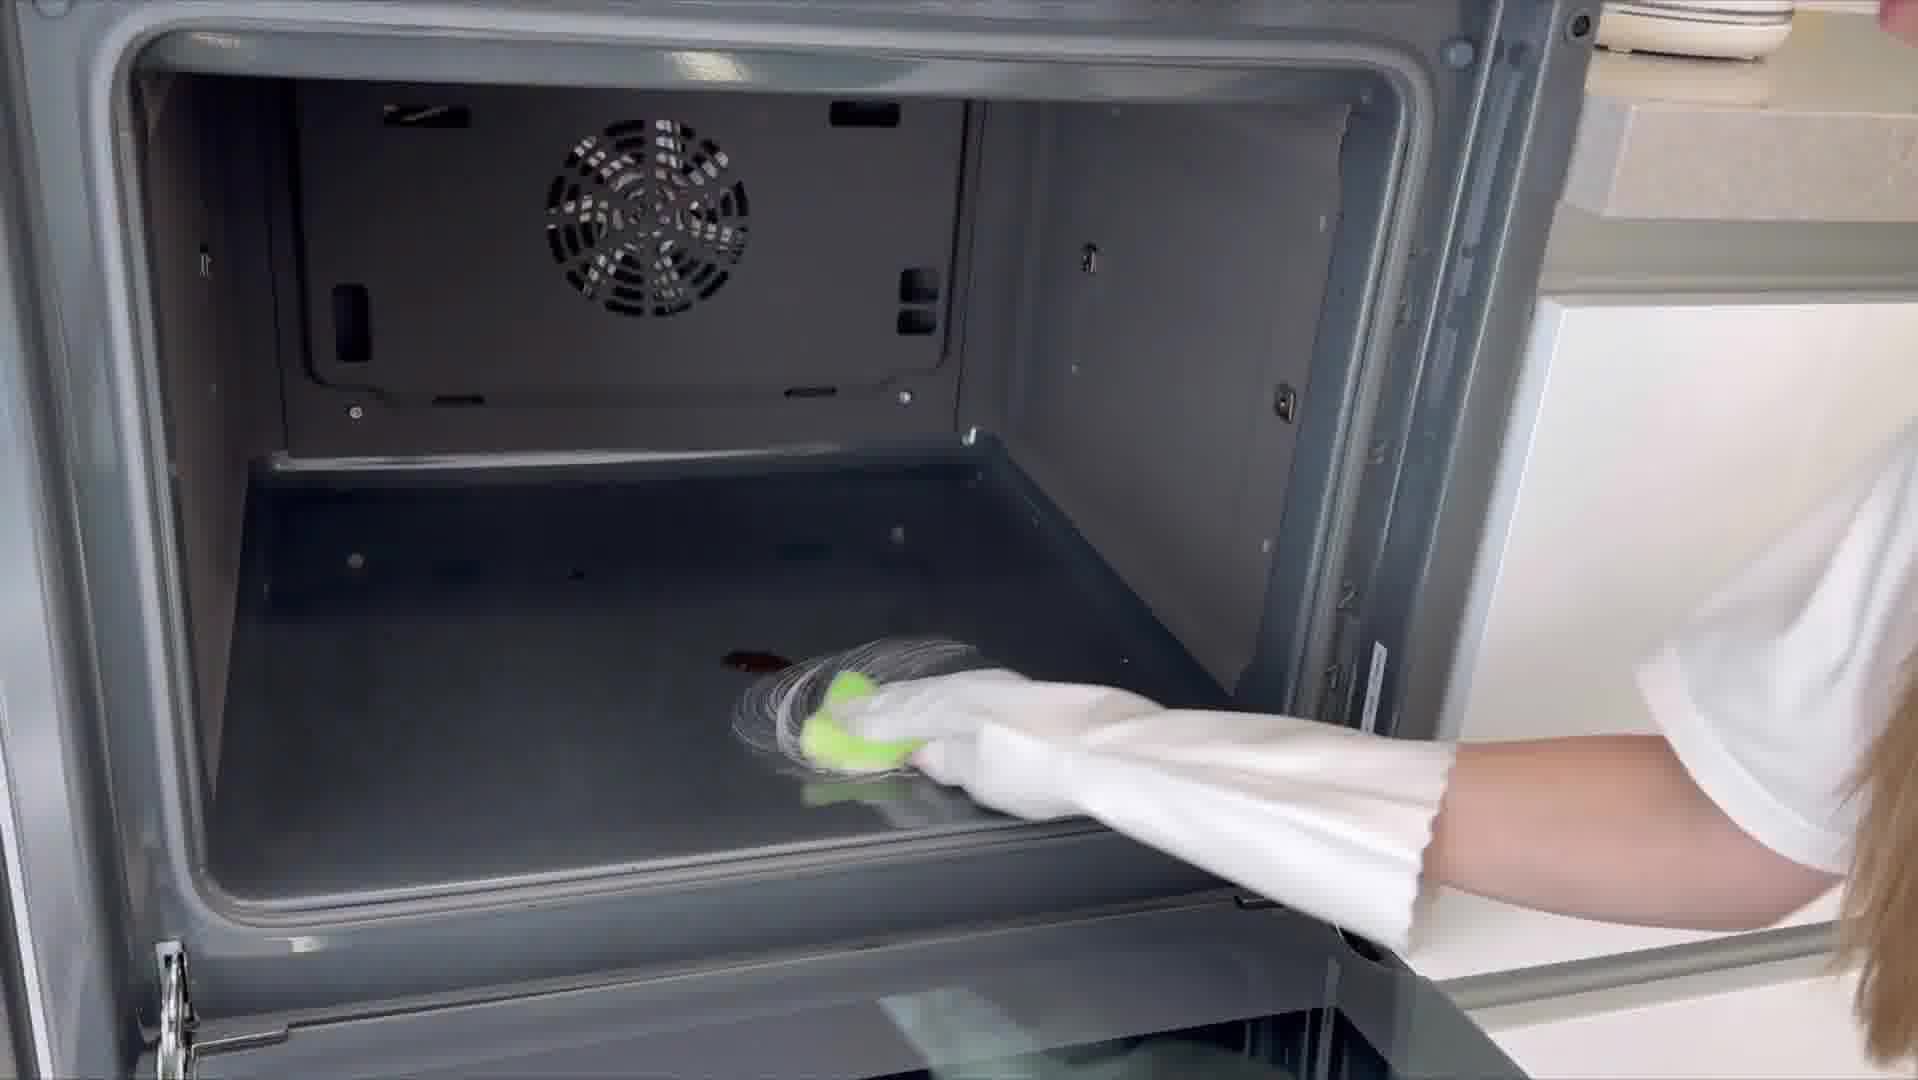
I hope I can make as much progress as I want in the kitchen today. Here I go! I don't want to use harsh chemicals to clean the oven because they come into contact with food. So I prefer to use a gentler cleaner. I decided to try the cleaner I used to clean the sink on the oven as well. After applying the cleaner and letting it sit for a while, I started to remove the dirt from the oven easily. This way, I can complete the cleaning without direct contact with harsh chemicals.
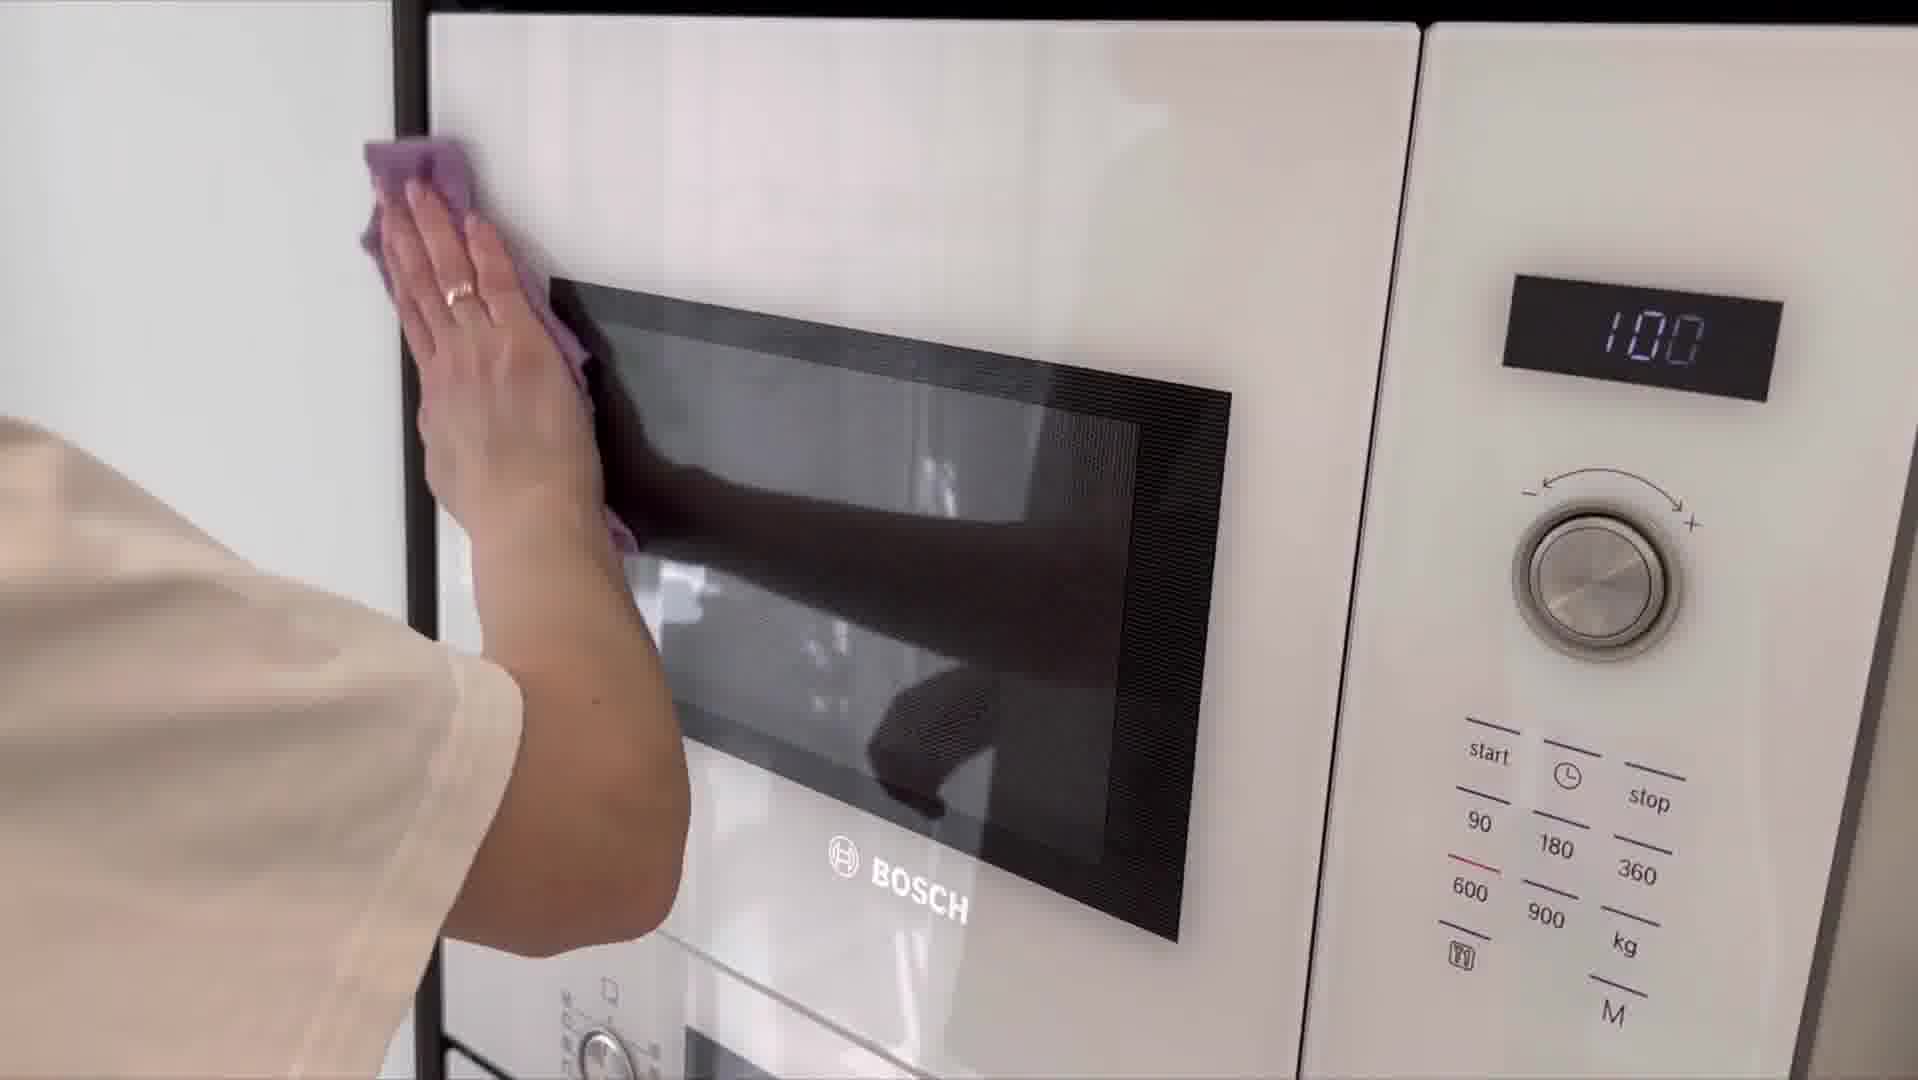
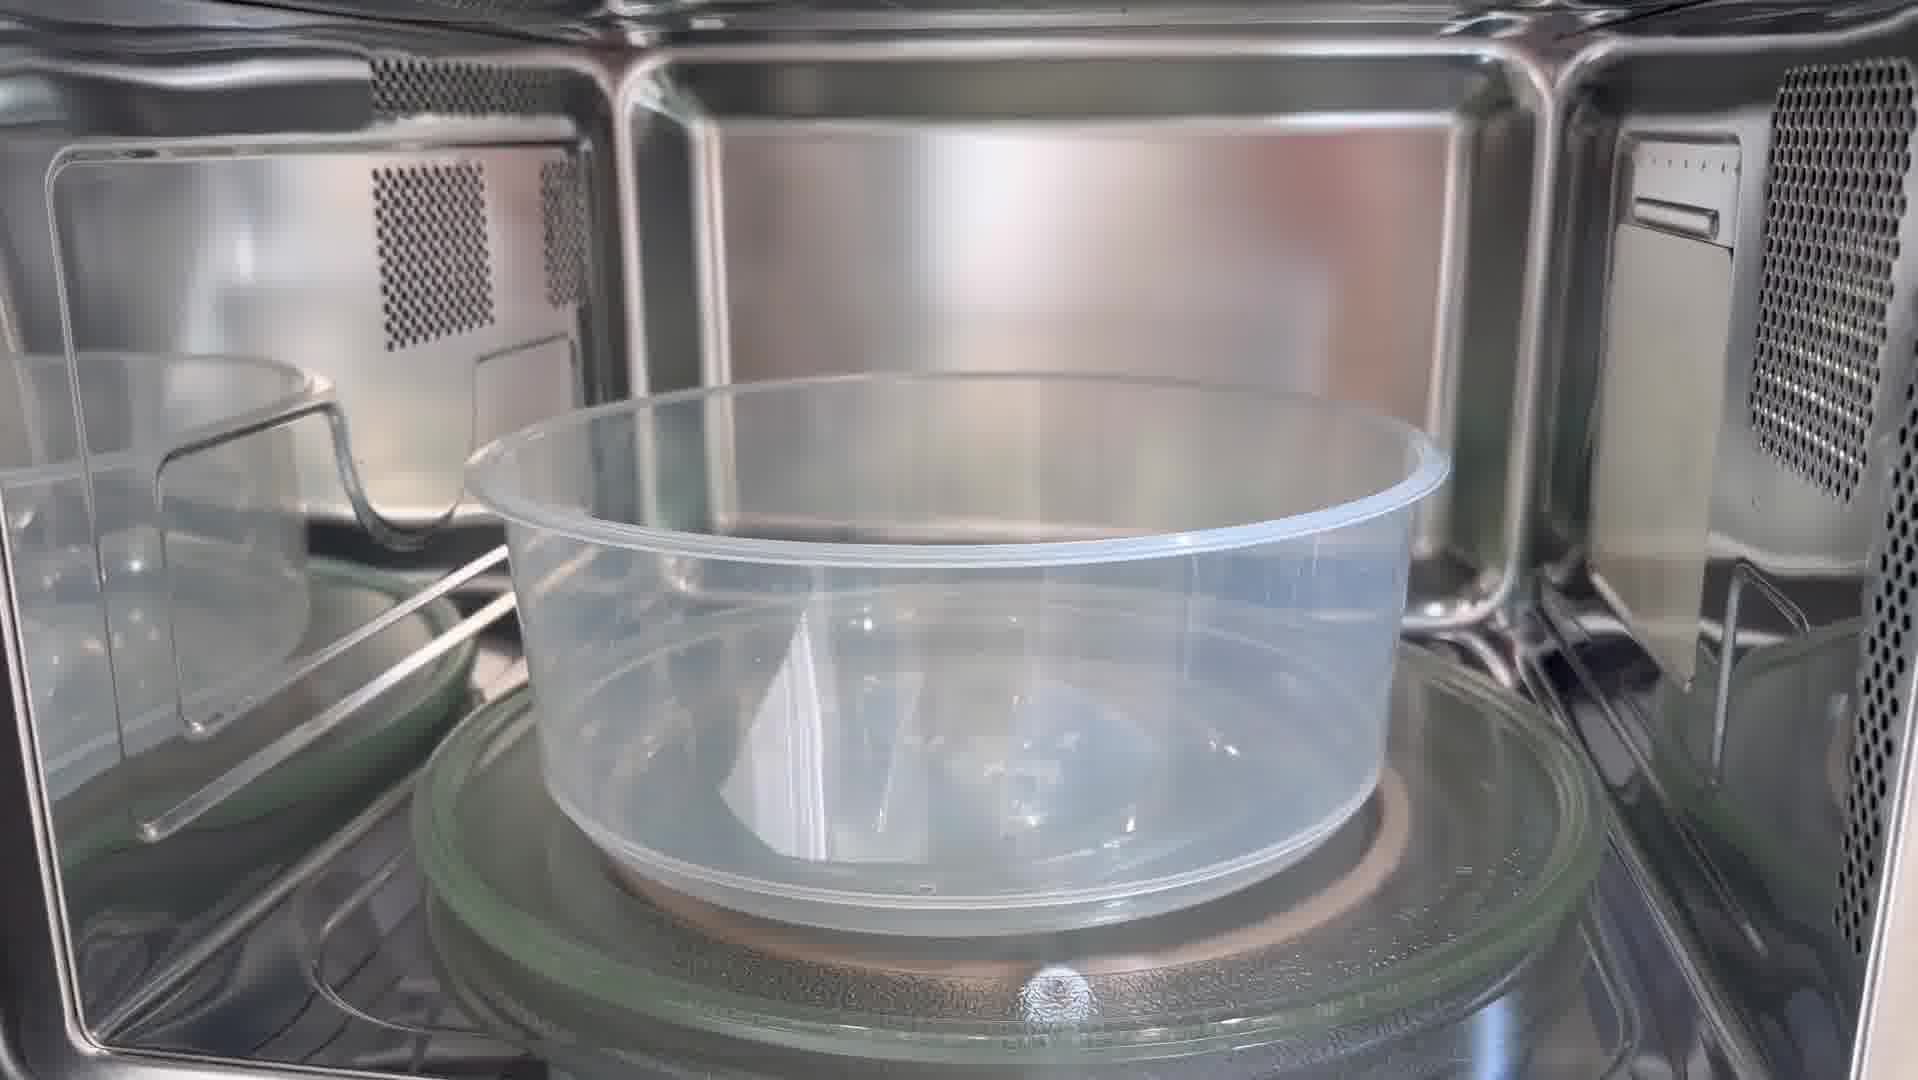
Our microwave oven is usually clean because we always cover the food with a lid. We've shared this habit with everyone at home, keeping the microwave clean. However, small stains can sometimes appear, so I don't neglect light cleaning. I wiped and dried the microwave with dish soap, and now it's completely clean.
While the oven cleaning continues, the noise from the dishwasher bothers me. Fortunately, I began to see the effects of the cleaner. I scrub the dirt with a brush and then rinse thoroughly. I also washed the oven door, and everything looks cleaner.
Using gentle cleaners instead of harsh chemicals for oven and microwave cleaning is always a good idea. It's especially important to minimize chemical residues in areas that come into contact with kitchen utensils and food.
By the way, using a microwave cover greatly simplifies microwave cleaning. There are microwave cleaning tips online, but if you use a cover, you won't have to deal with these issues. Although I don't remember the exact model information, you can guess which model we have from the photos and the brand (Bosch). We prefer Bosch products because they're high-quality and reliable.
Next, I'm planning to clean the oven's guide rails and other hard-to-reach places. I'm also going to start a cleaning cycle for the dishwasher. All these cleaning activities will make the kitchen look a bit fresher. Let's get to work!
The rapid heating feature of the oven to 180°C is really handy. When the oven reaches 180°C, it gives an audible signal, indicating that the process is complete. I find this feature very practical. The oven also has a self-cleaning feature, but I've never used it. When my spouse saw what I was doing, they asked, "Why don't you use this feature?" Maybe it's a good idea to check the documents to learn how to use it.
Speaking of electric stoves, our stove is from Electrolux. We were looking for Bosch, but couldn't find a white one, so we chose Electrolux. The stove has a triple ignition ring, which makes cooking in different sizes easier. It also has handy features like a timer and a child lock. The timer is very useful because the stove will automatically turn off after a certain time. The child lock is ideal for safety.
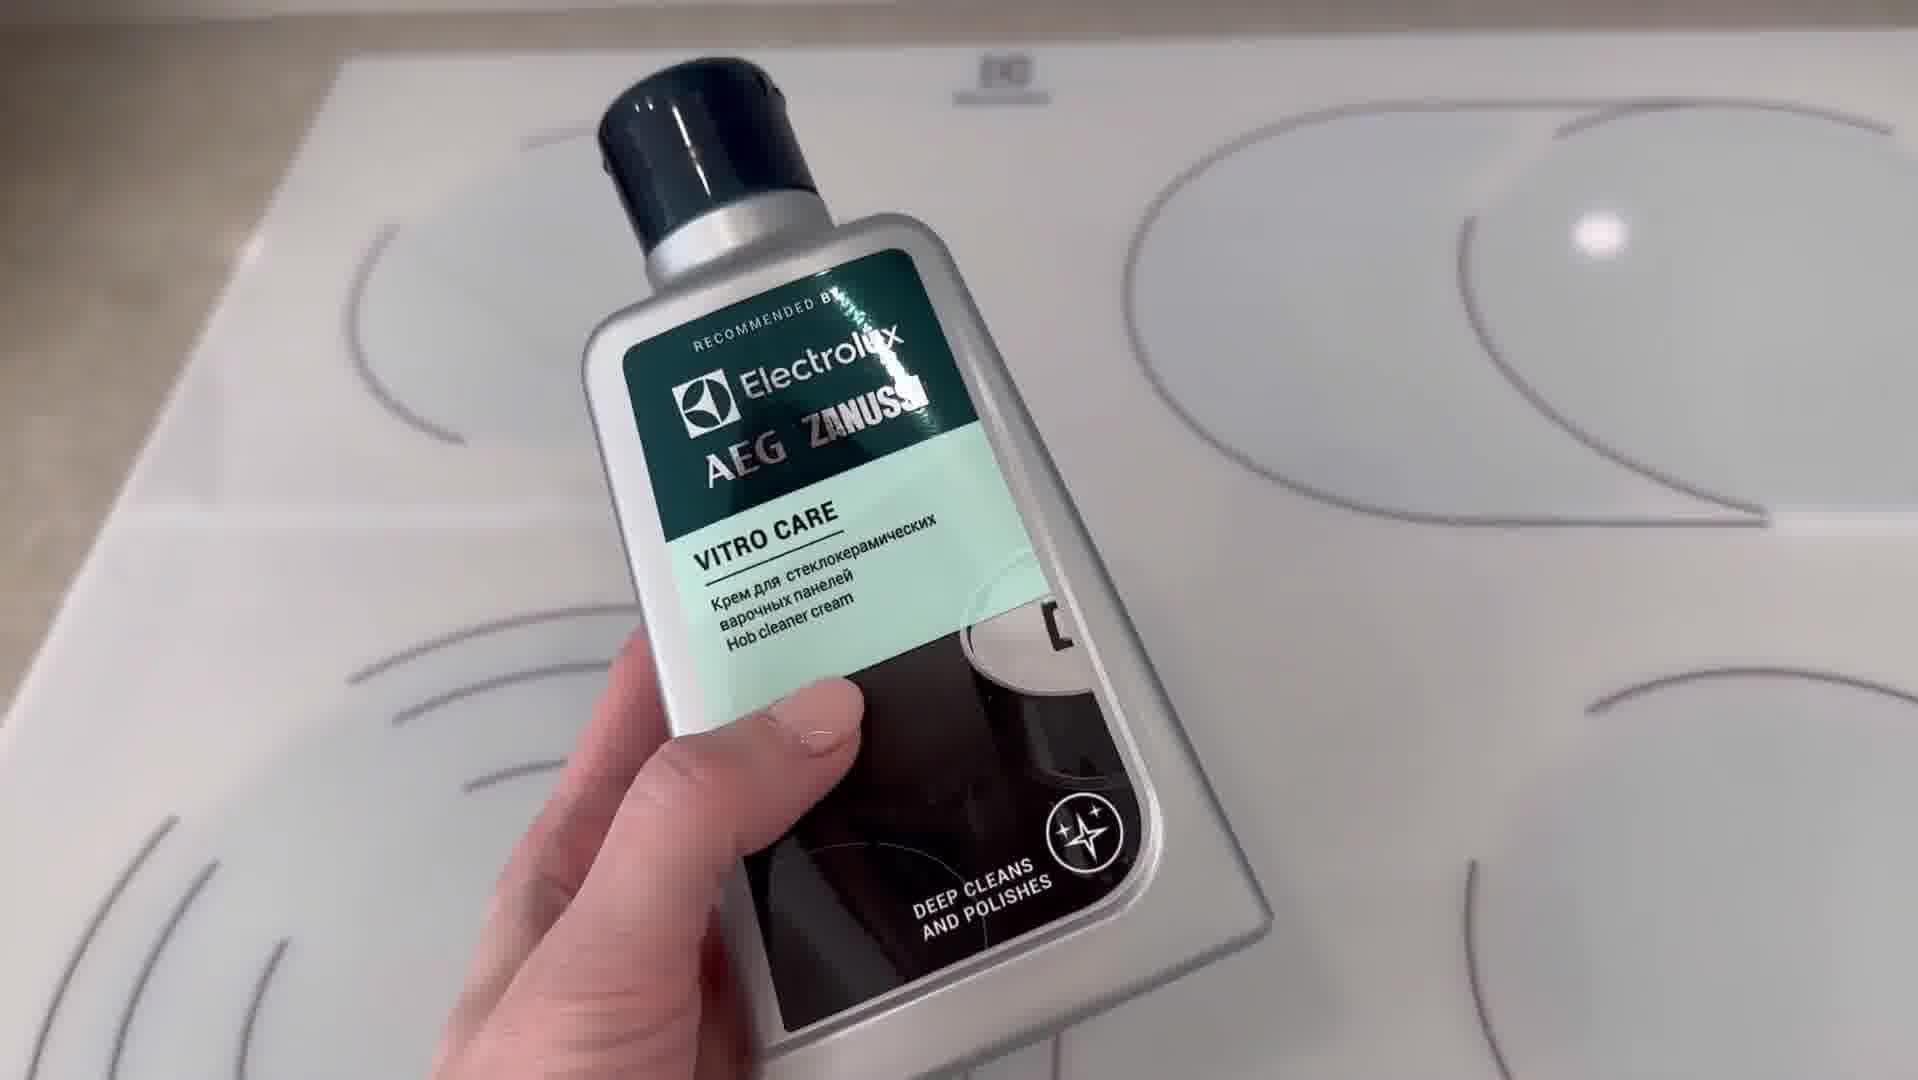
I prefer the stove to be white because it's much easier to clean. Cleaning black stoves is more challenging, and dirt marks are more noticeable. We've had a white stove for about two and a half years, and I'm very happy with it. I also use Electrolux's stove cleaner, and it's really effective. Once, there were dark stains on the stove, and I cleaned them easily with this cleaner.
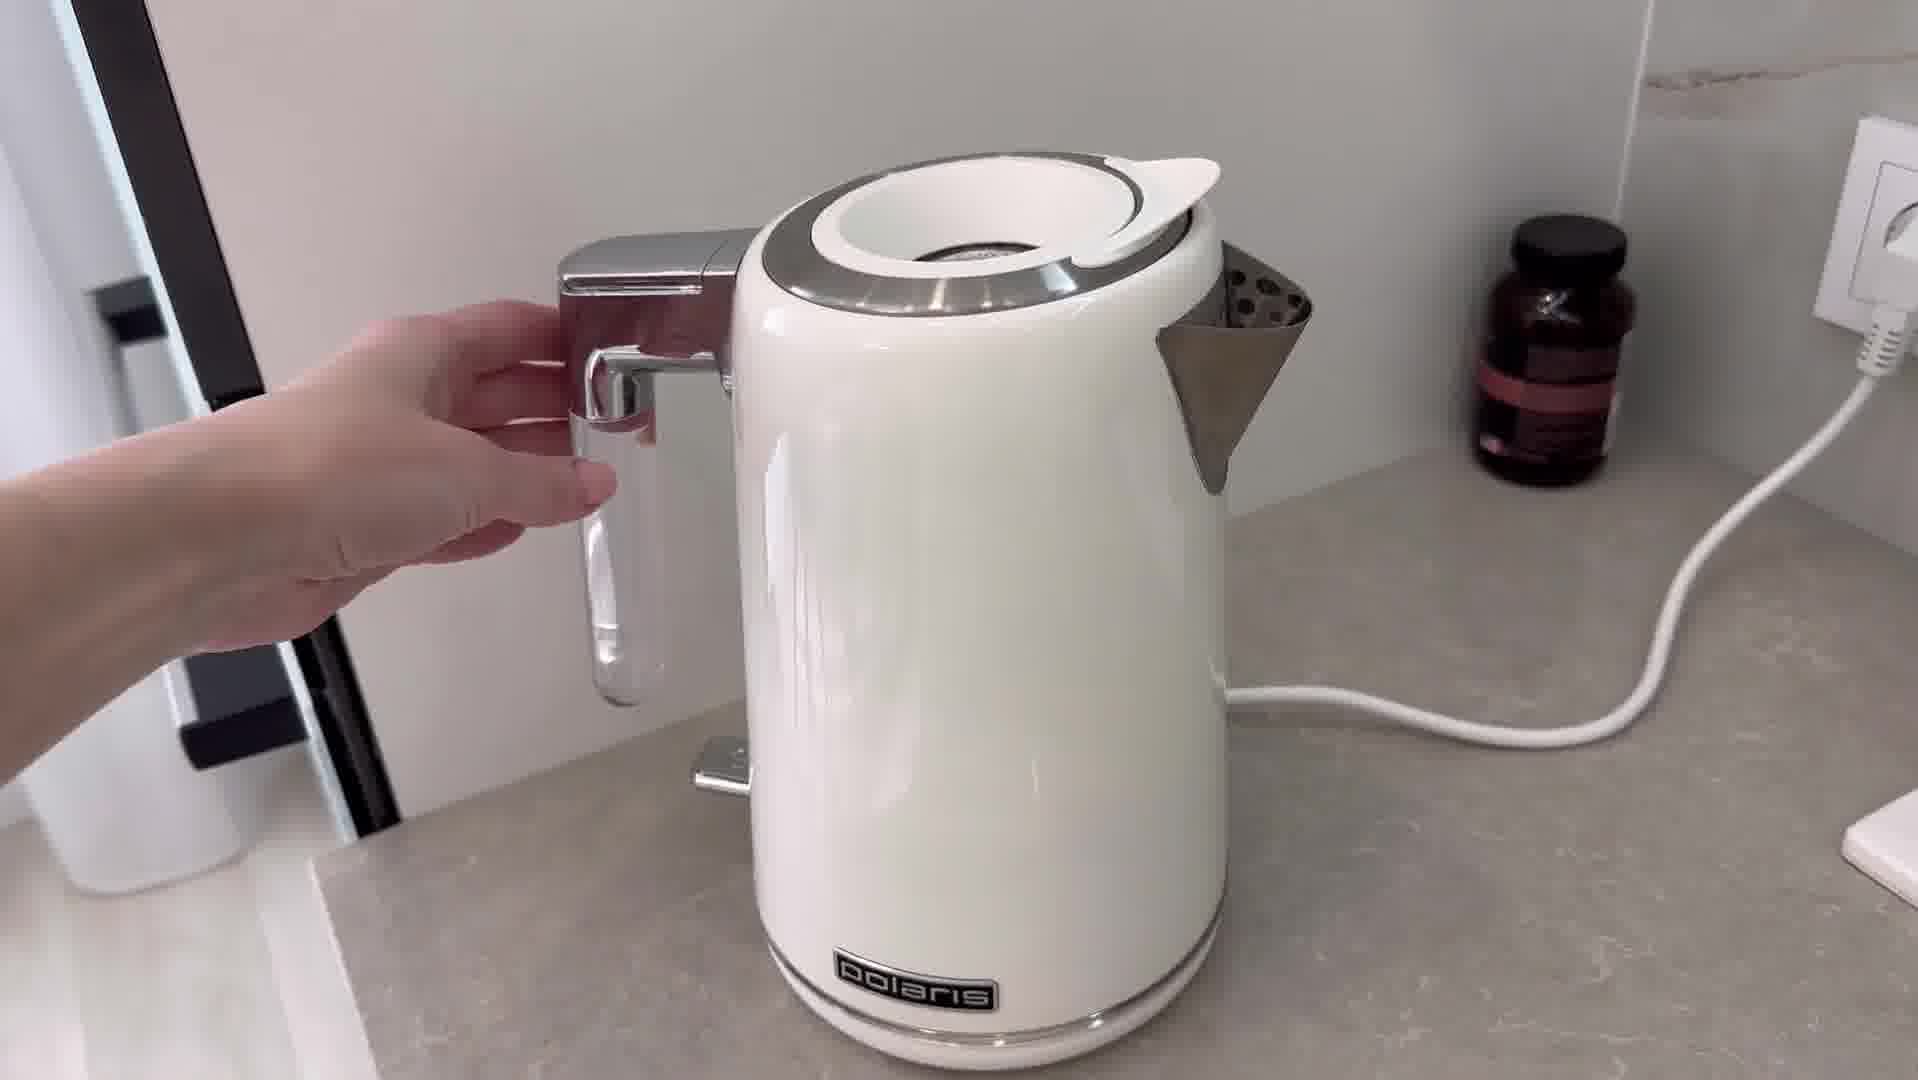
We recently upgraded our kettle, and most of my friends asked where we got it. We bought it from MegaMarket and paid for most of it with bonus points, making it very affordable. The kettle has a nice design, and its lid opens automatically when pouring water, making it easy to use.

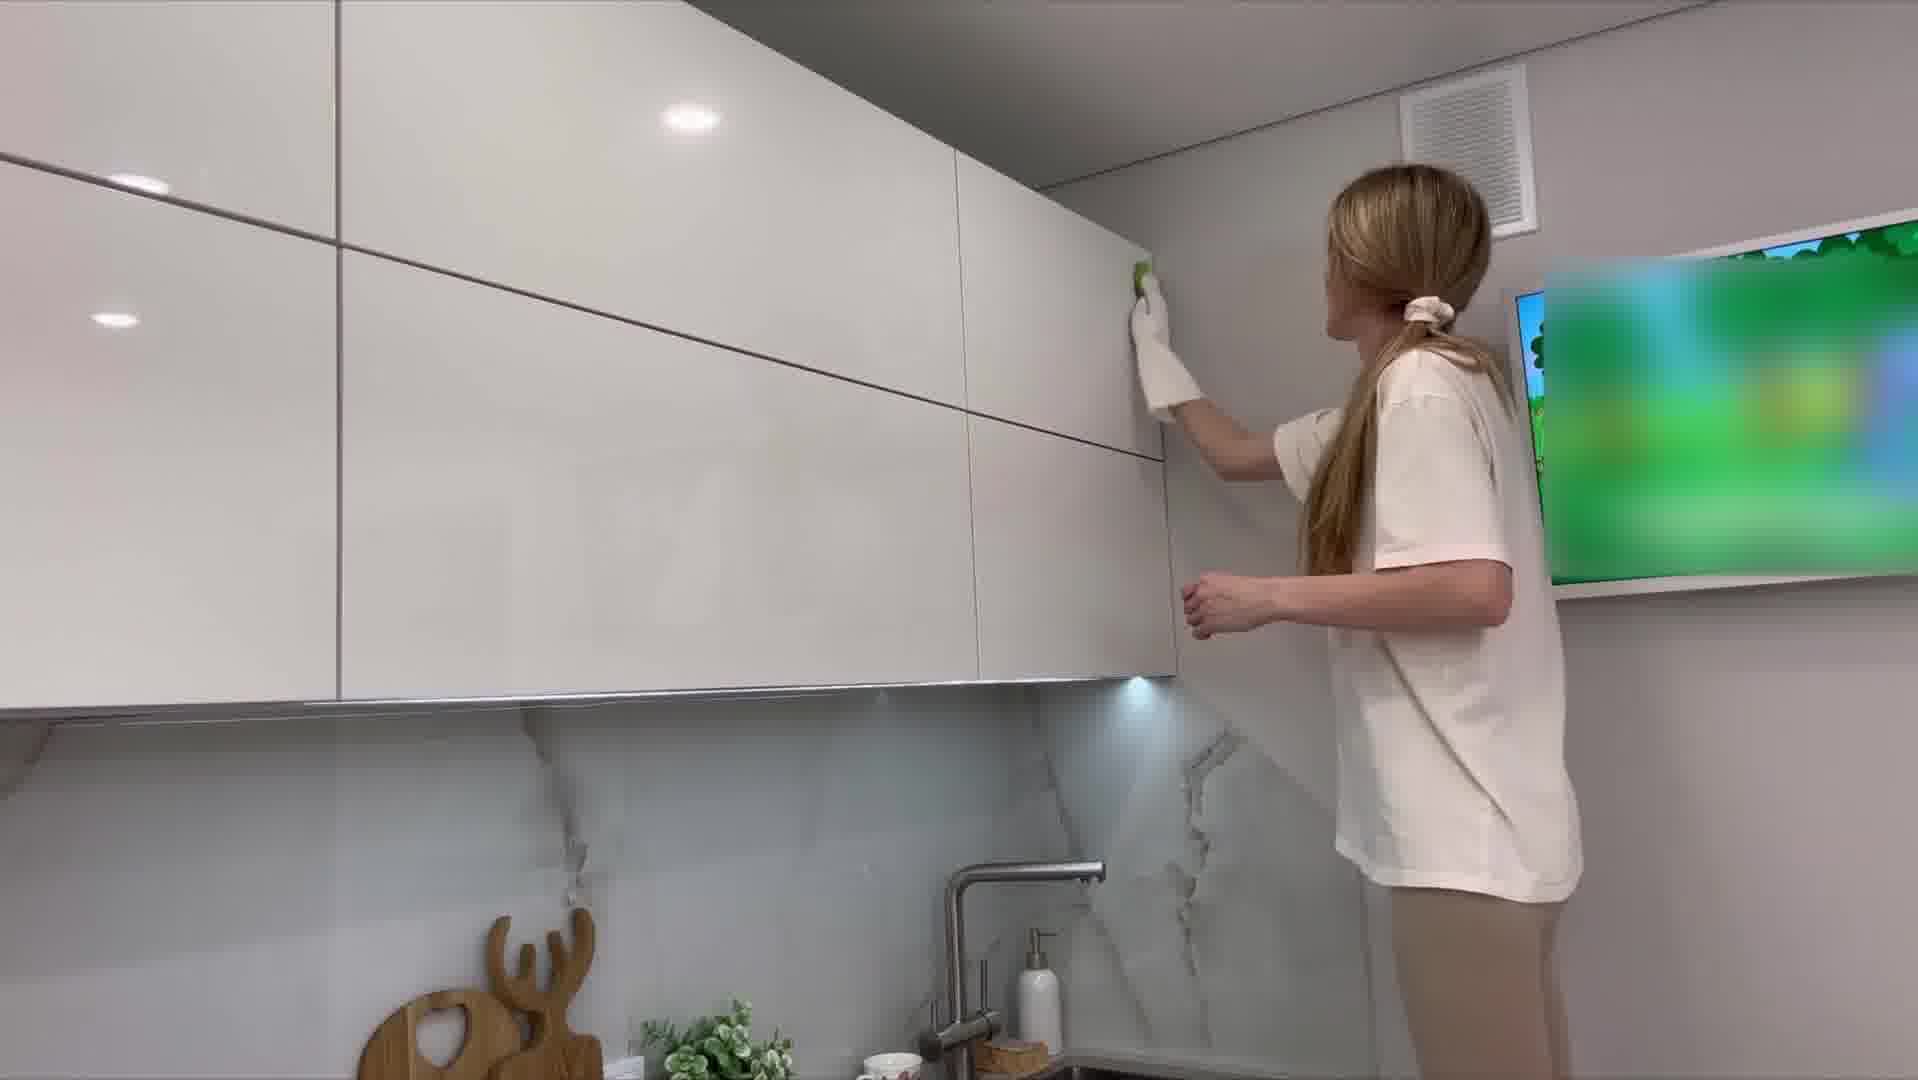
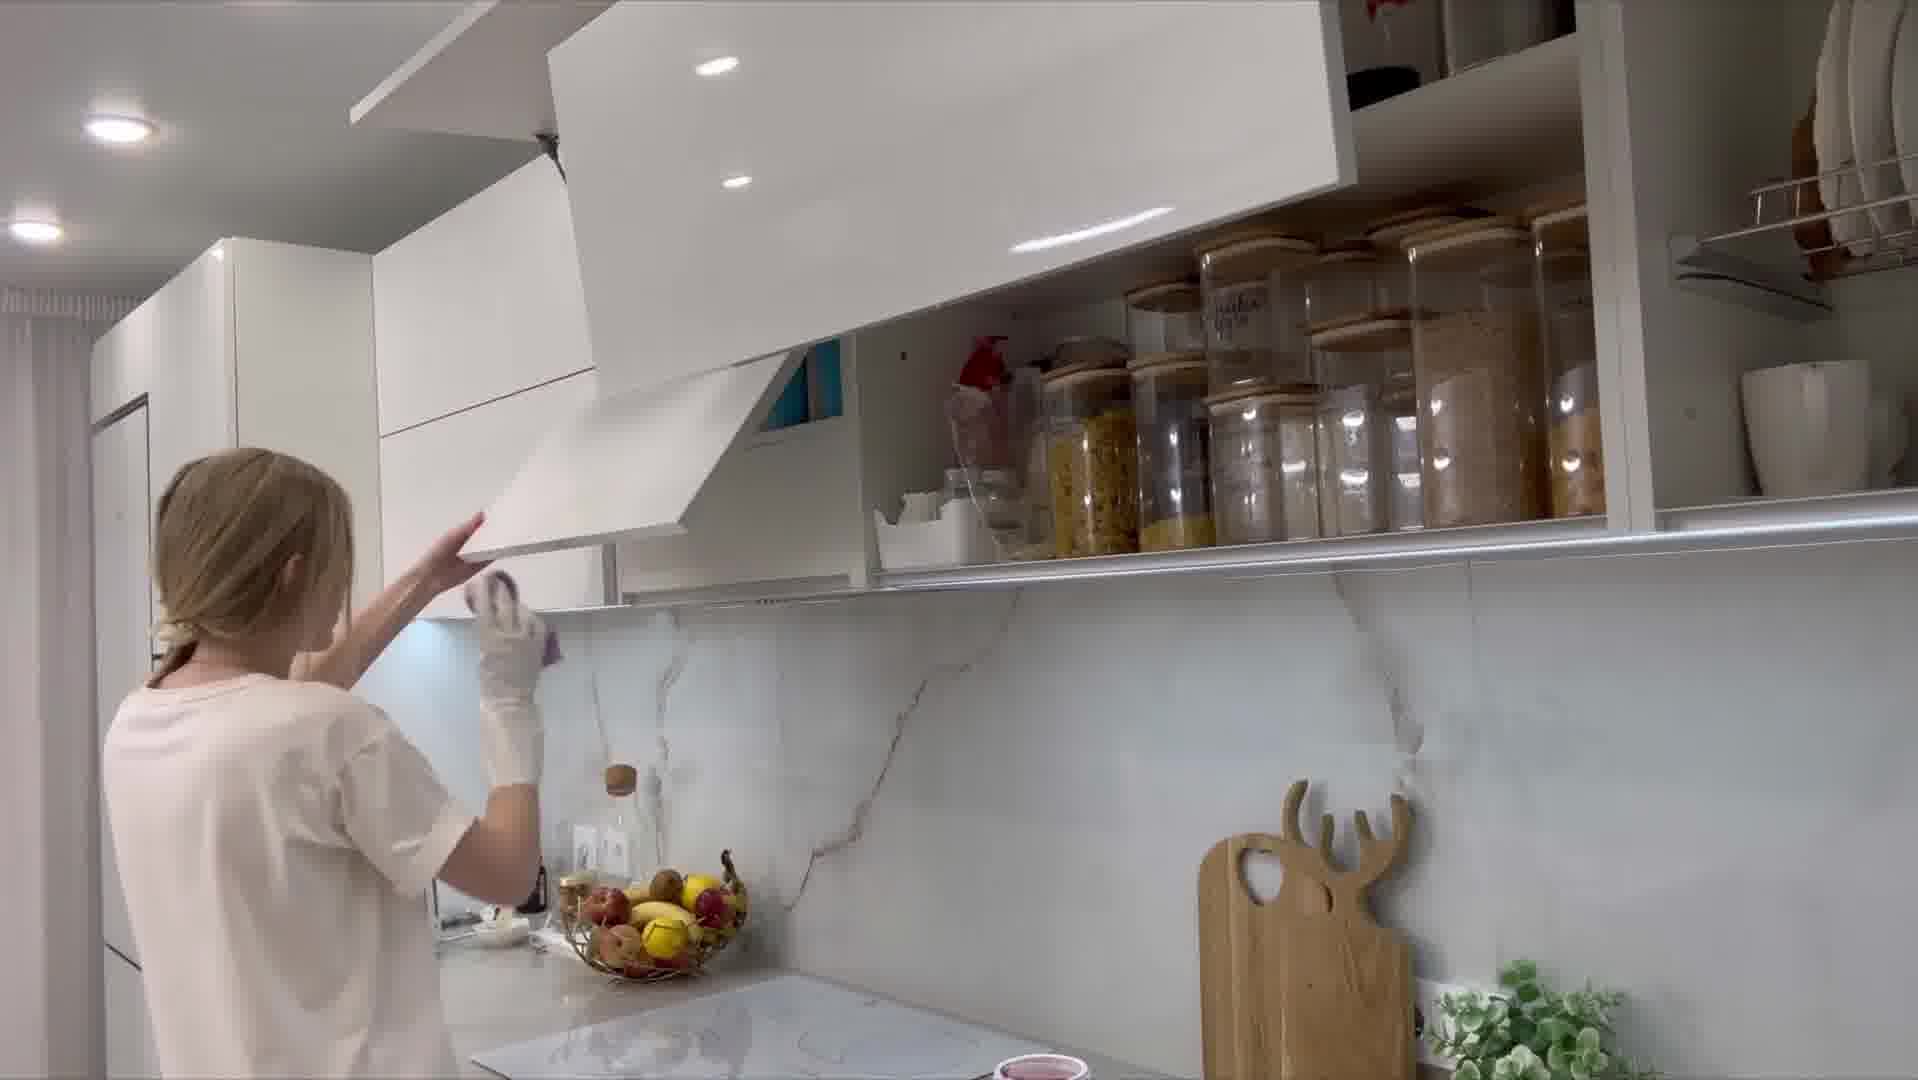
Now I'm starting to clean the upper areas of the kitchen. Usually, these areas are harder to clean due to grease and dust accumulation. This time, I'm planning to use a table and chair to reach higher places. After cleaning the upper areas, I'll also clean the surfaces of the kitchen cabinets. There are small spots that look like oil drops on the cabinet surfaces. It might be because I don't use ventilation much in the kitchen.
Overall, regular kitchen cleaning and utilizing appliance features make kitchen maintenance much easier. I plan to learn how to use the oven's self-cleaning feature, which might save me time and effort in cleaning. Also, using appropriate products for stove and oven cleaning is crucial.

Now it's time to prepare some food. In this post, I'll share with you the steps to make Kurnik, covering the process of making the dough, arranging the filling, and baking. Kurnik is a type of pastry. It usually contains a filling made of chicken, potatoes, onions, and other ingredients inside a large dough shell. Kurnik is a popular dish served at weddings, holidays, or special occasions in some countries.
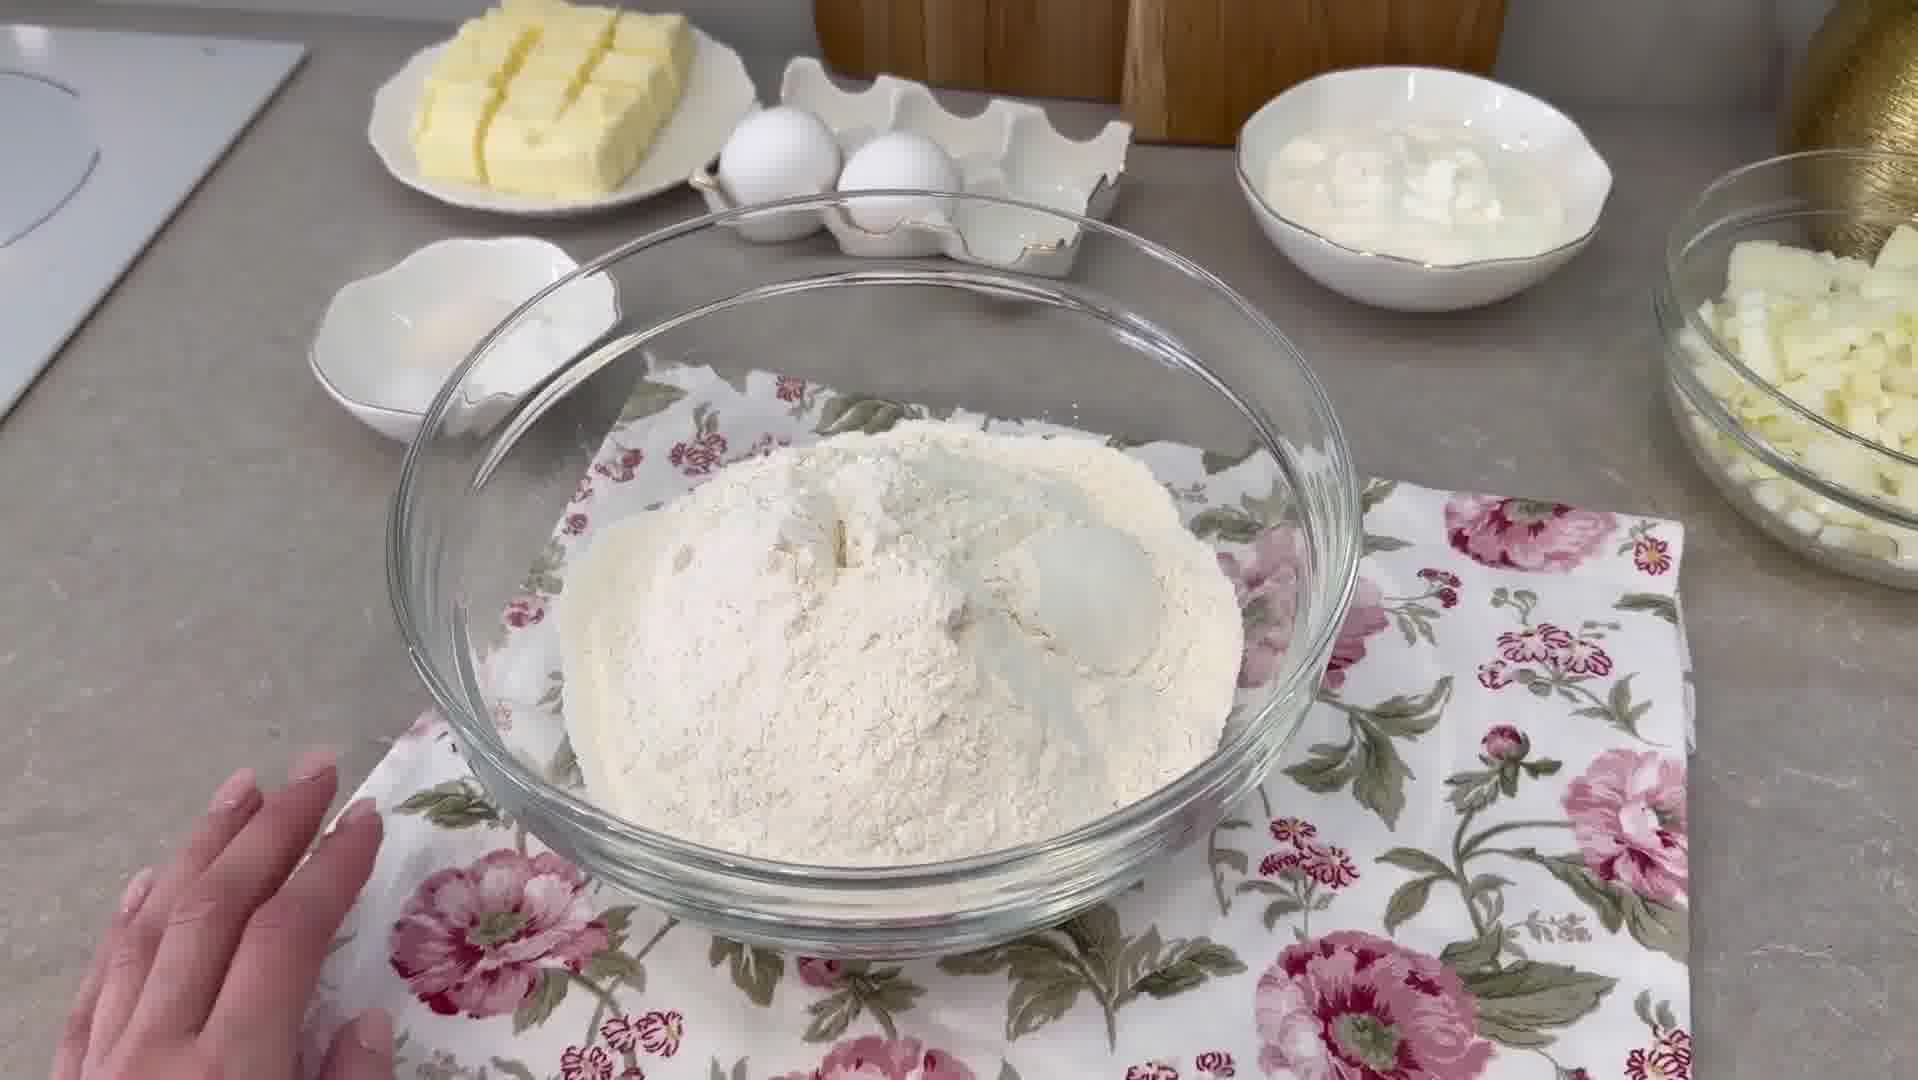
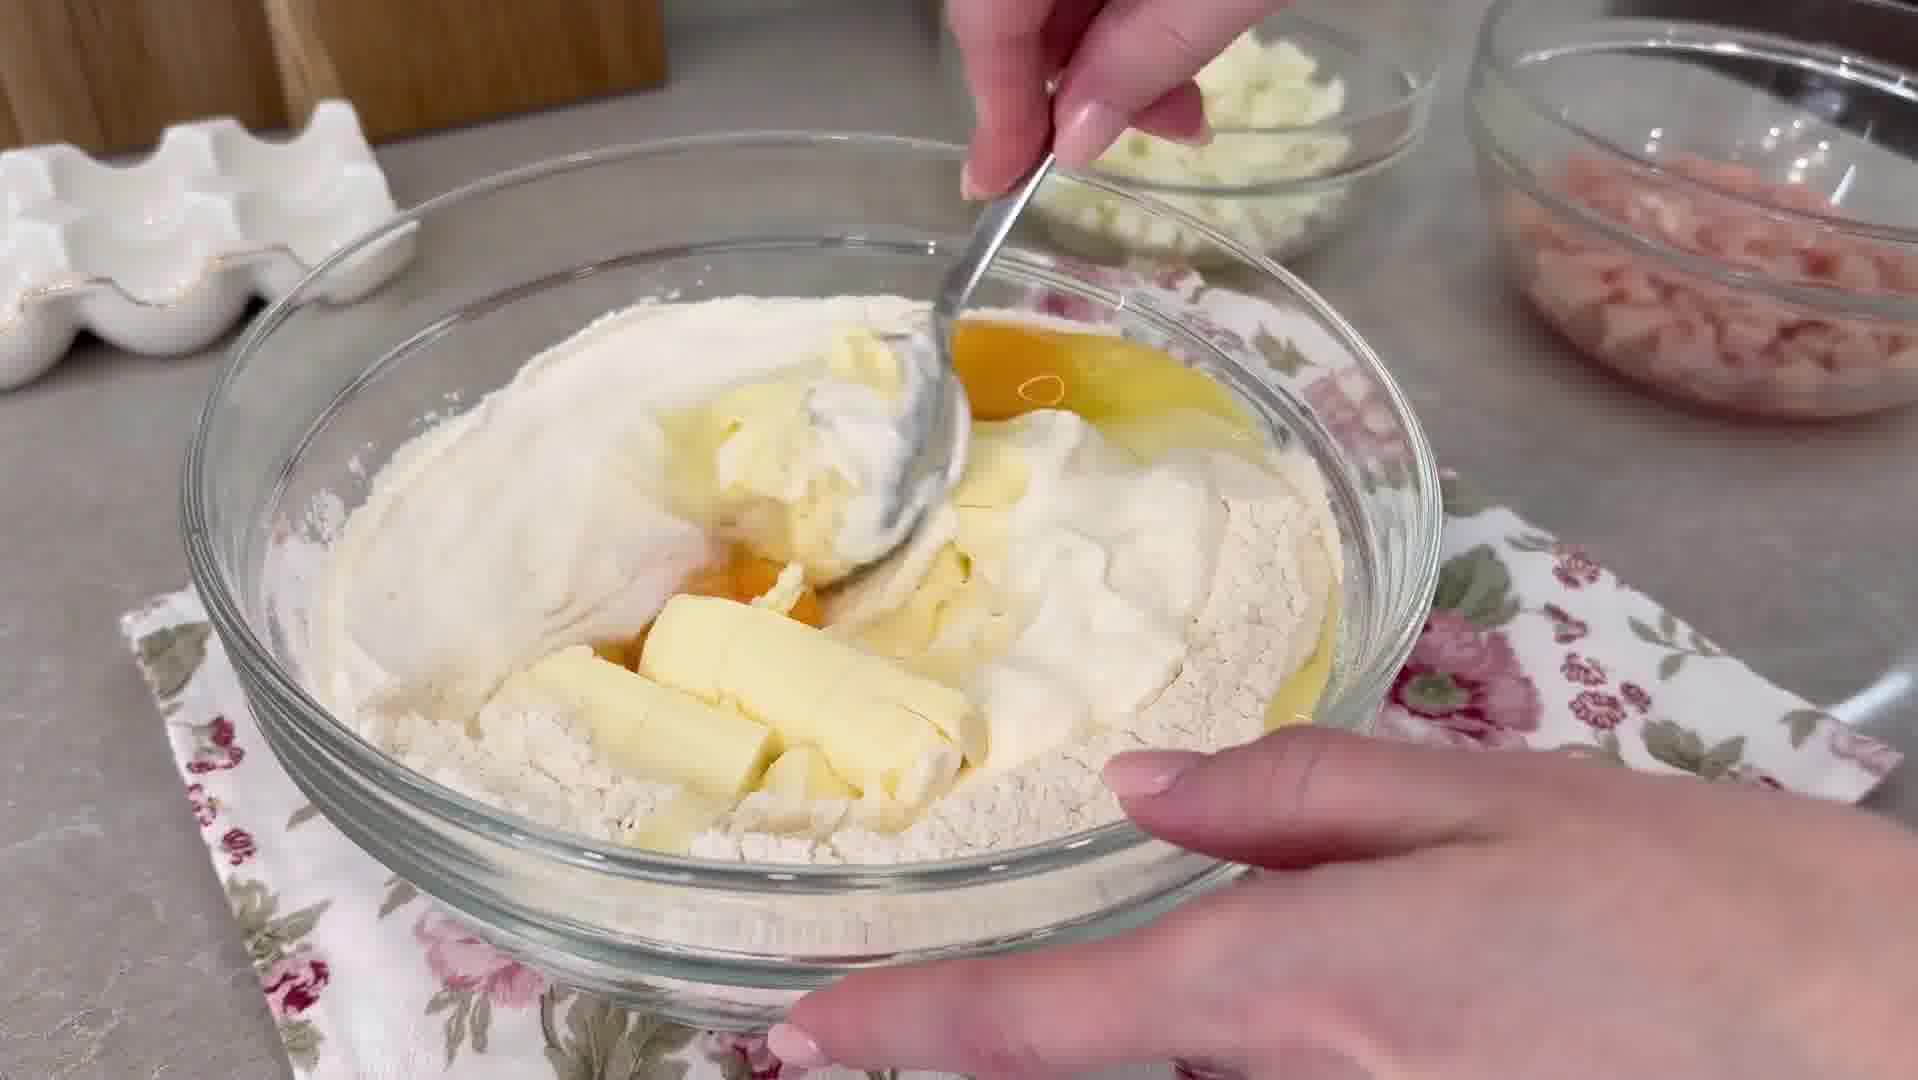
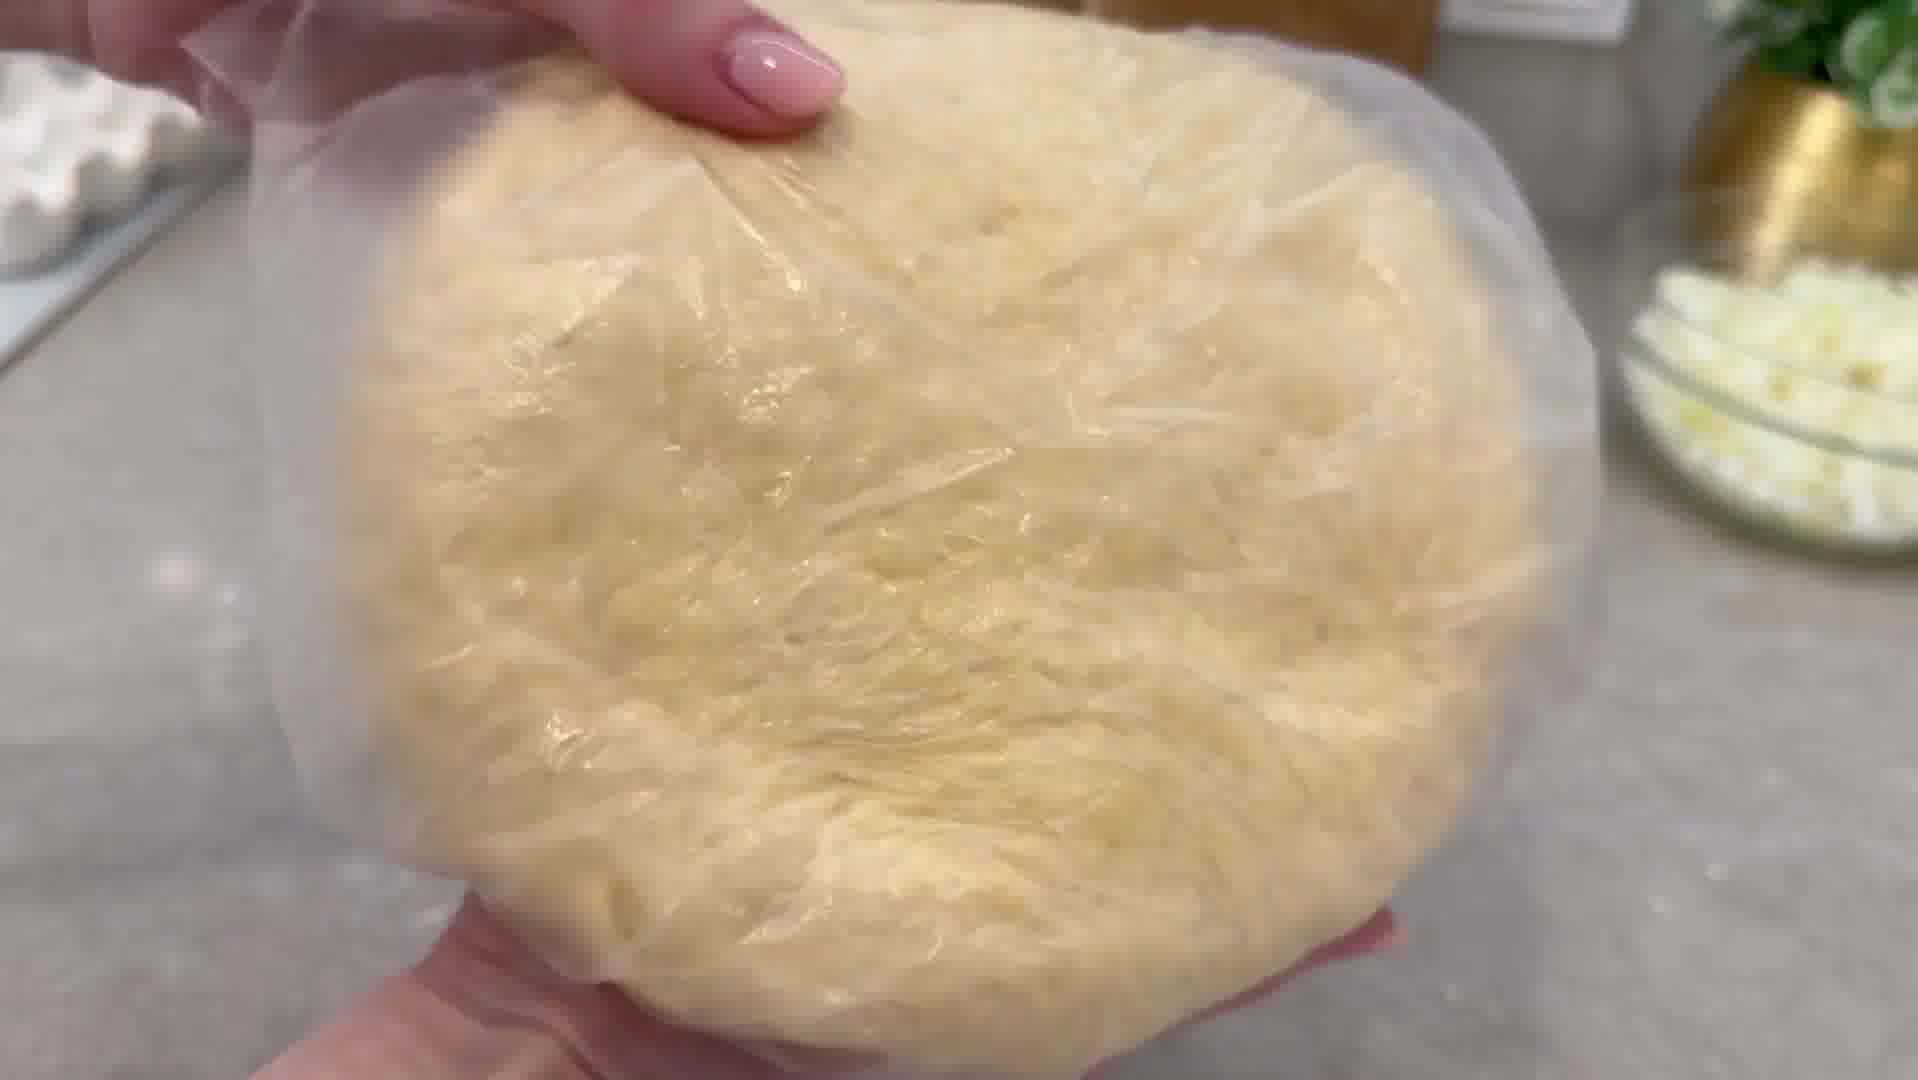
Dough Preparation
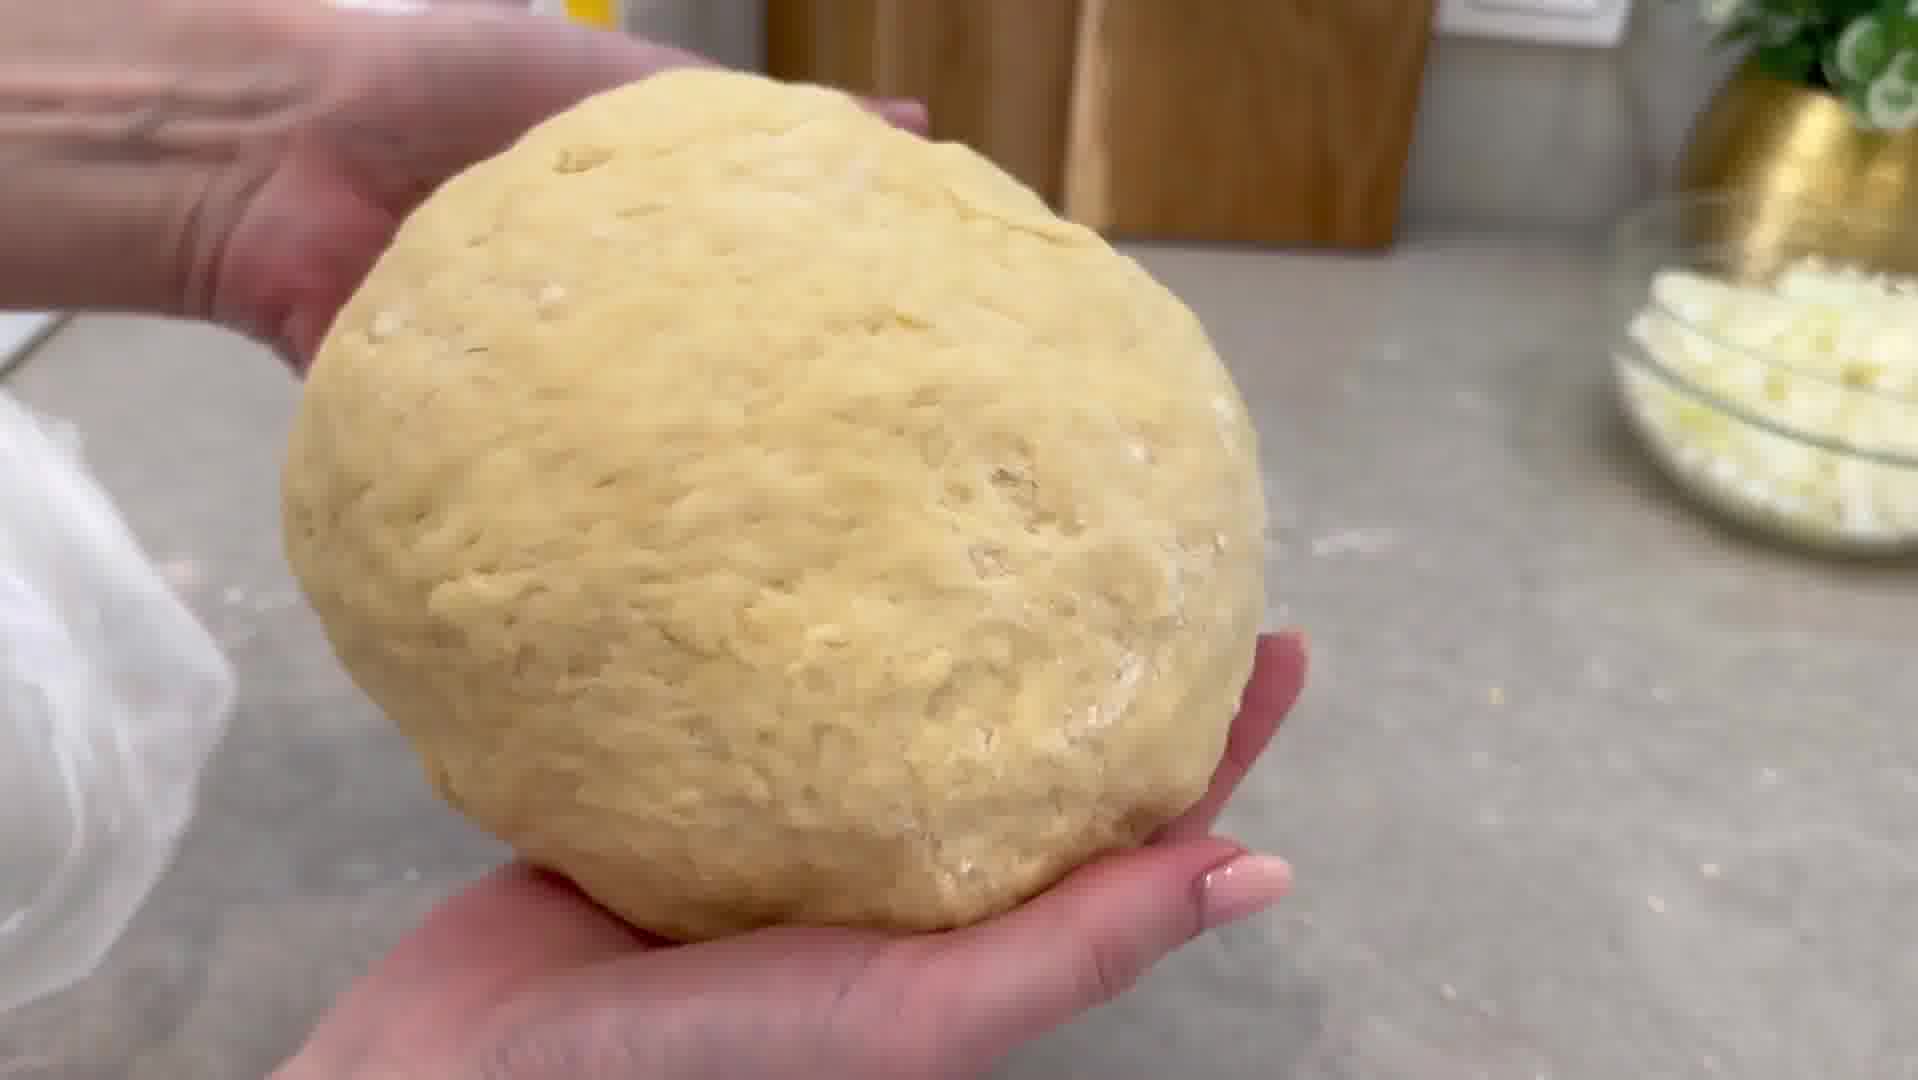
First, mix flour, salt, sugar, and baking powder. Then add sour cream, eggs, and melted butter at room temperature. Stir well to form a soft dough. Knead the dough on a flat surface until smooth. It's normal for the dough to be slightly sticky, but you can add flour to reduce stickiness. Let the dough sit in the refrigerator for a while.
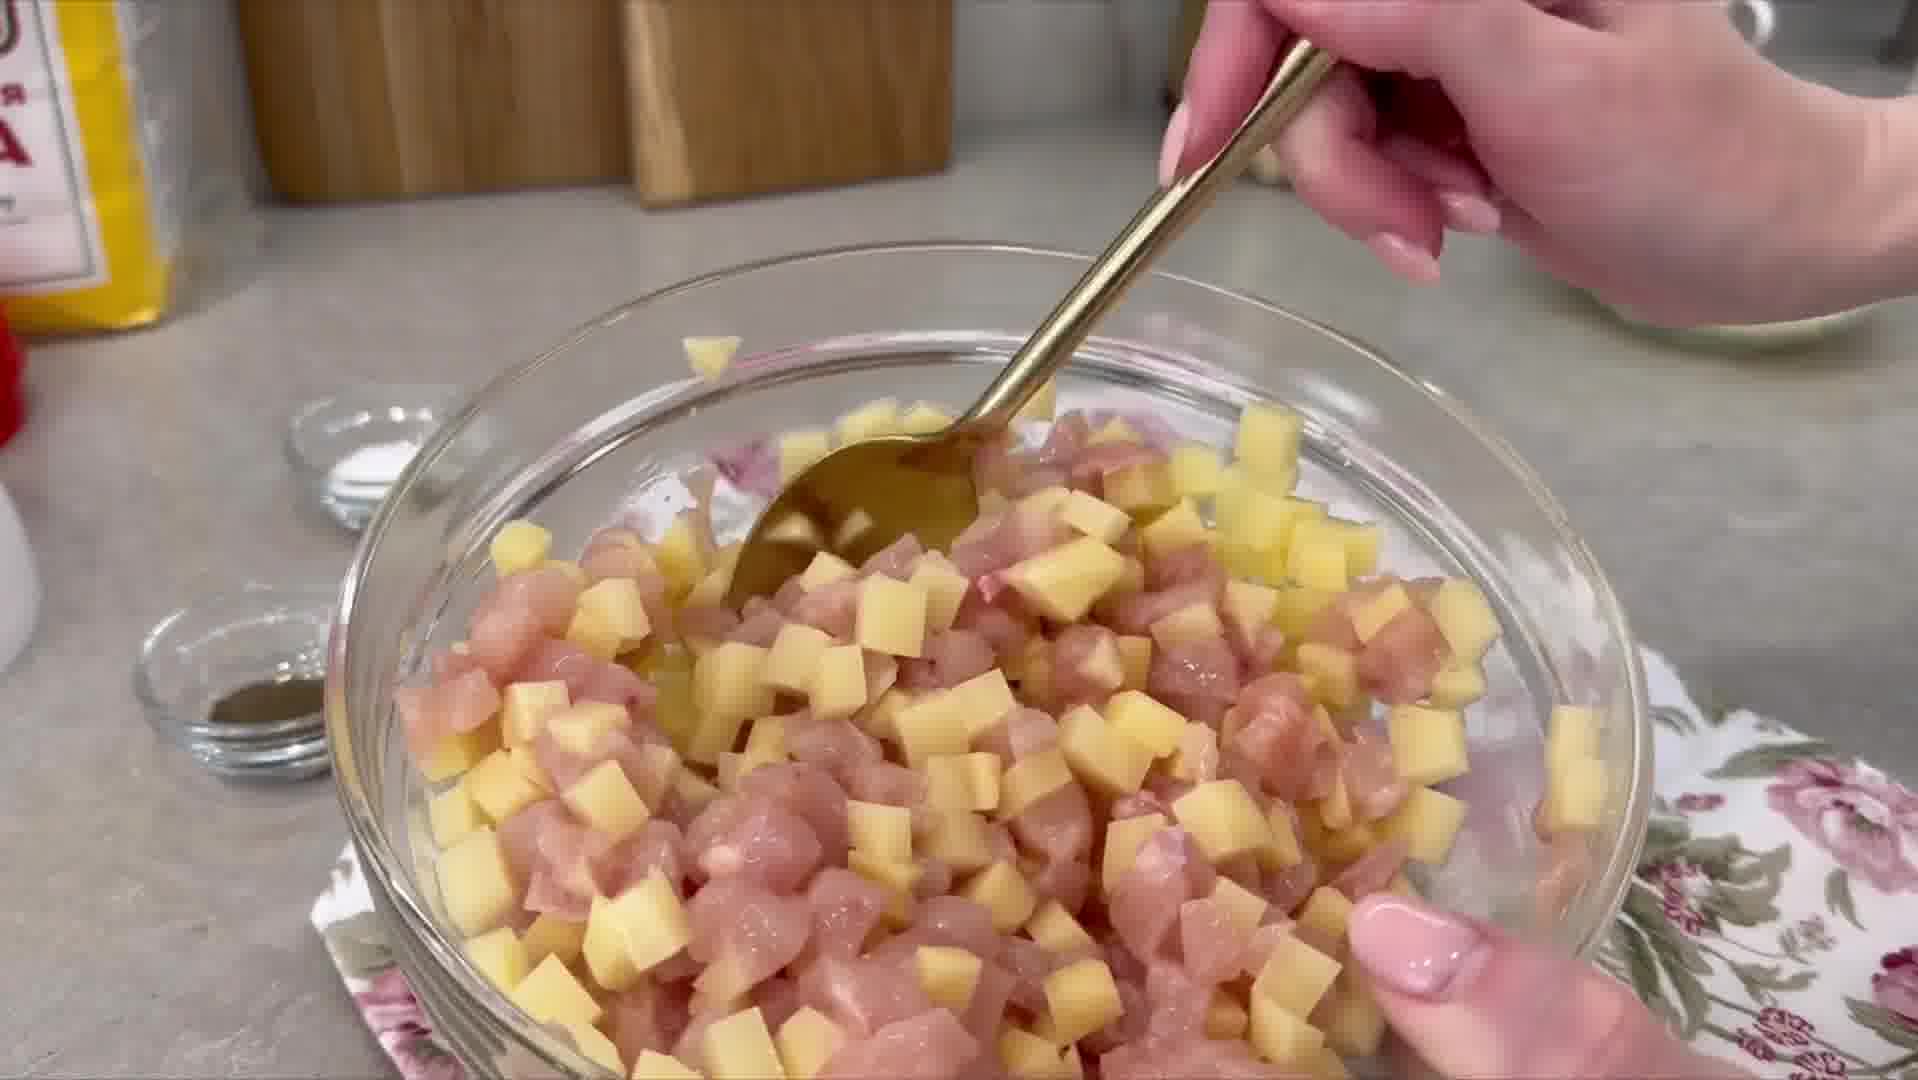
Filling Preparation
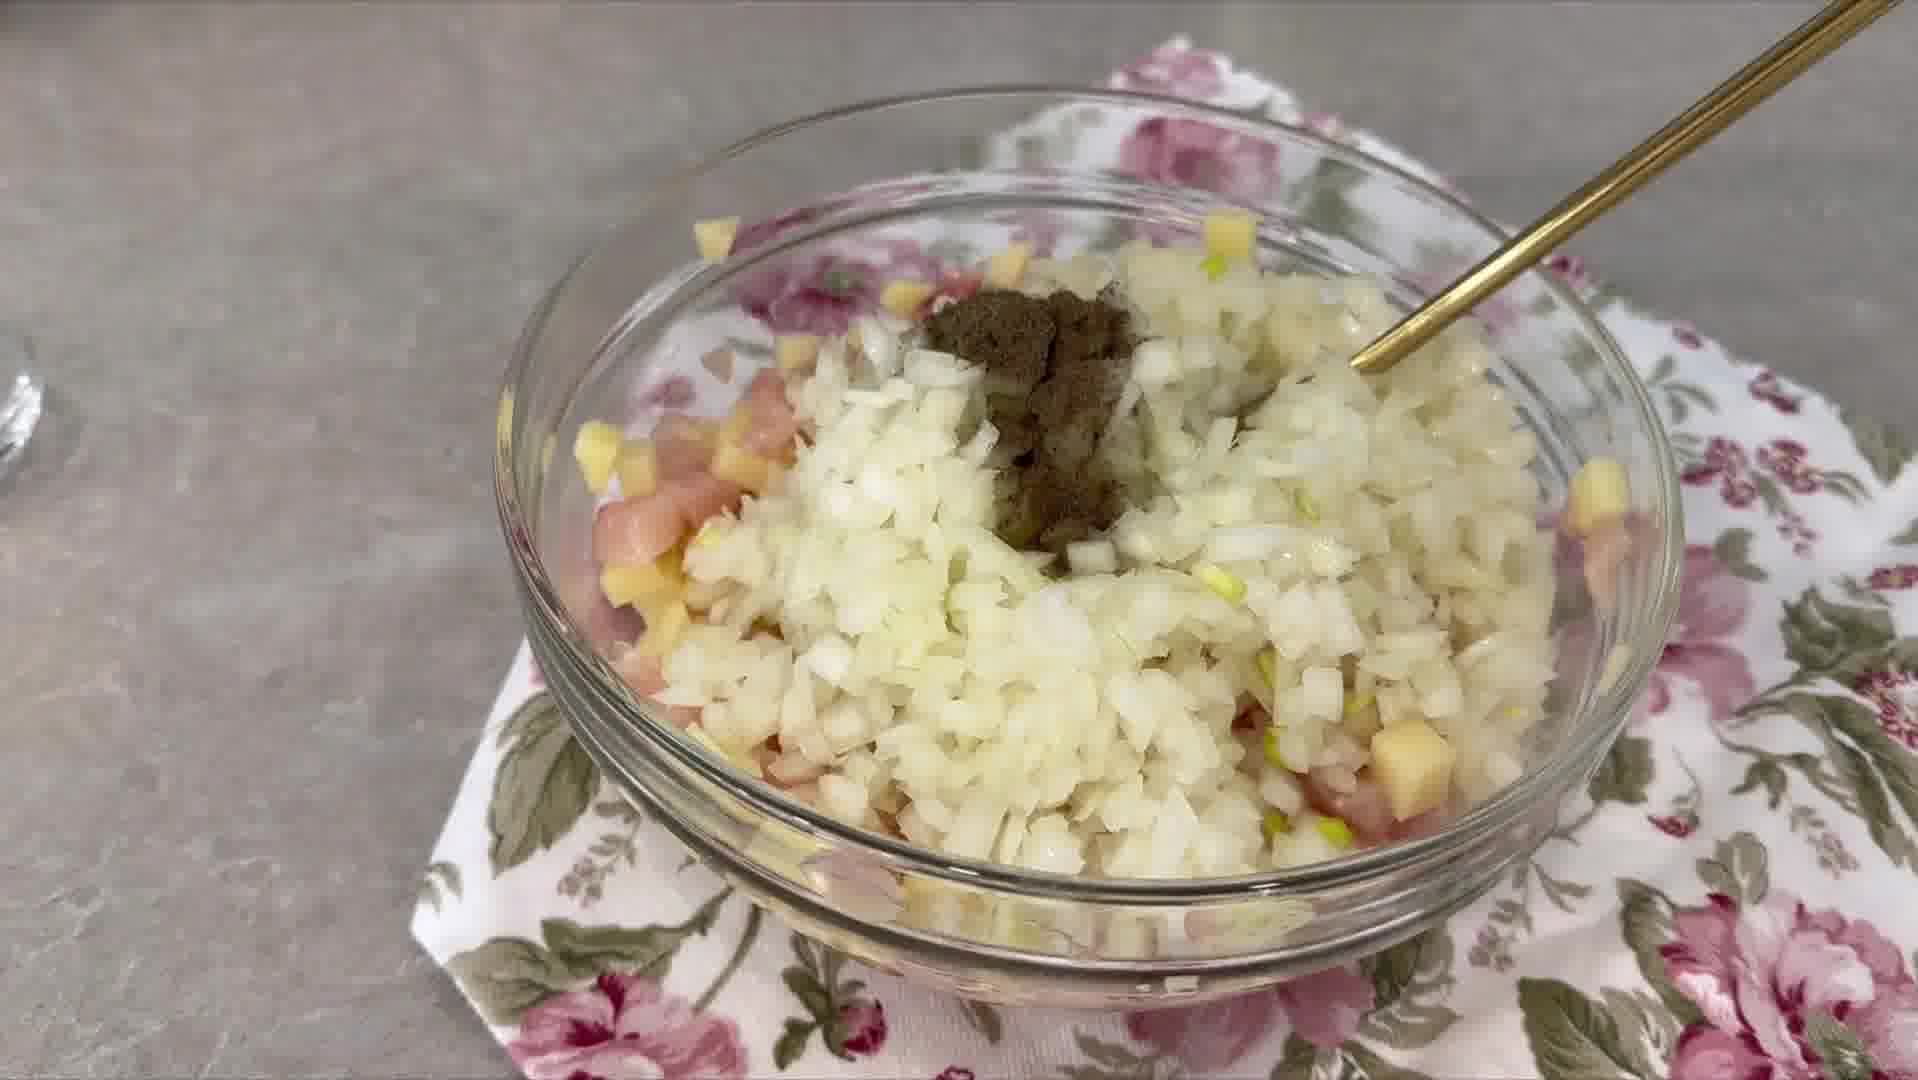
The filling typically consists of chicken, onions, and potatoes. You can slightly freeze the chicken for easier cutting. Dice the onion and rub it with salt to release moisture. Mix the chicken, diced potatoes, and onions. Add salt, pepper, and butter to add flavor.
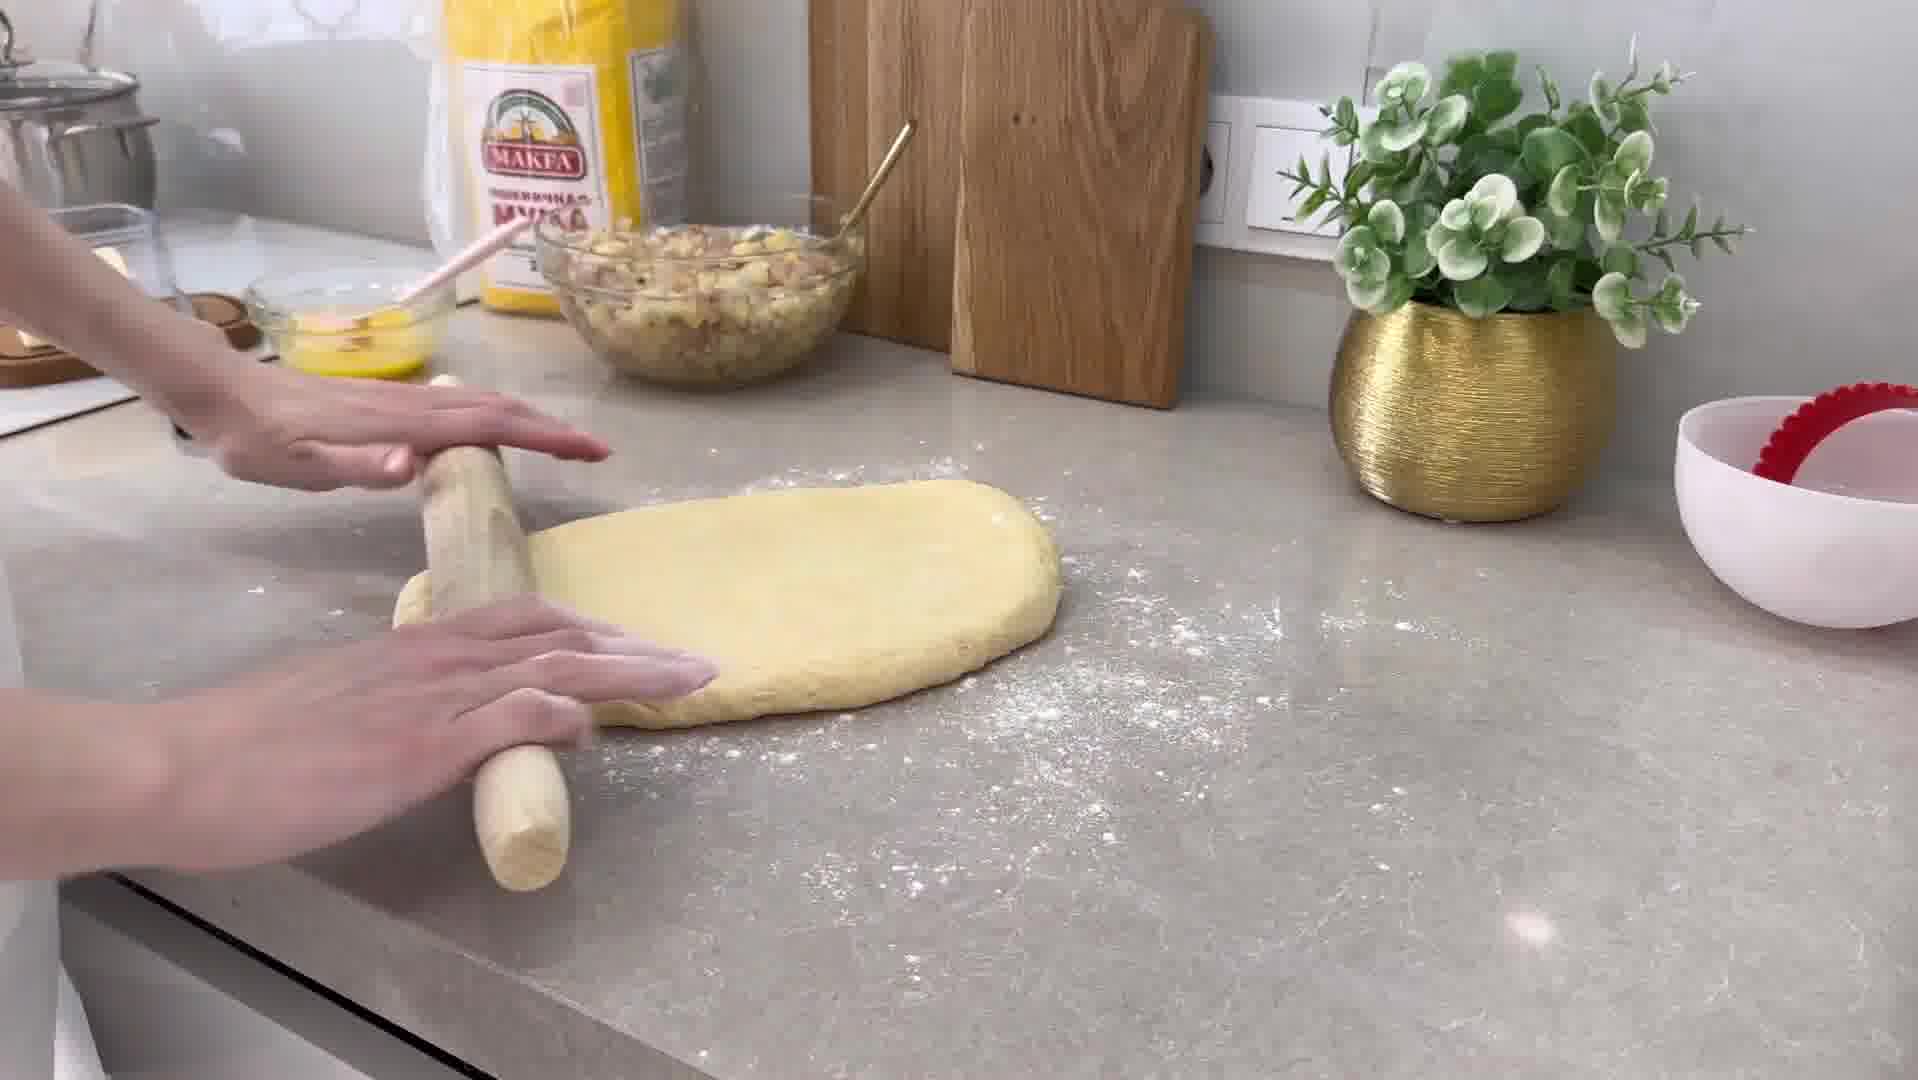
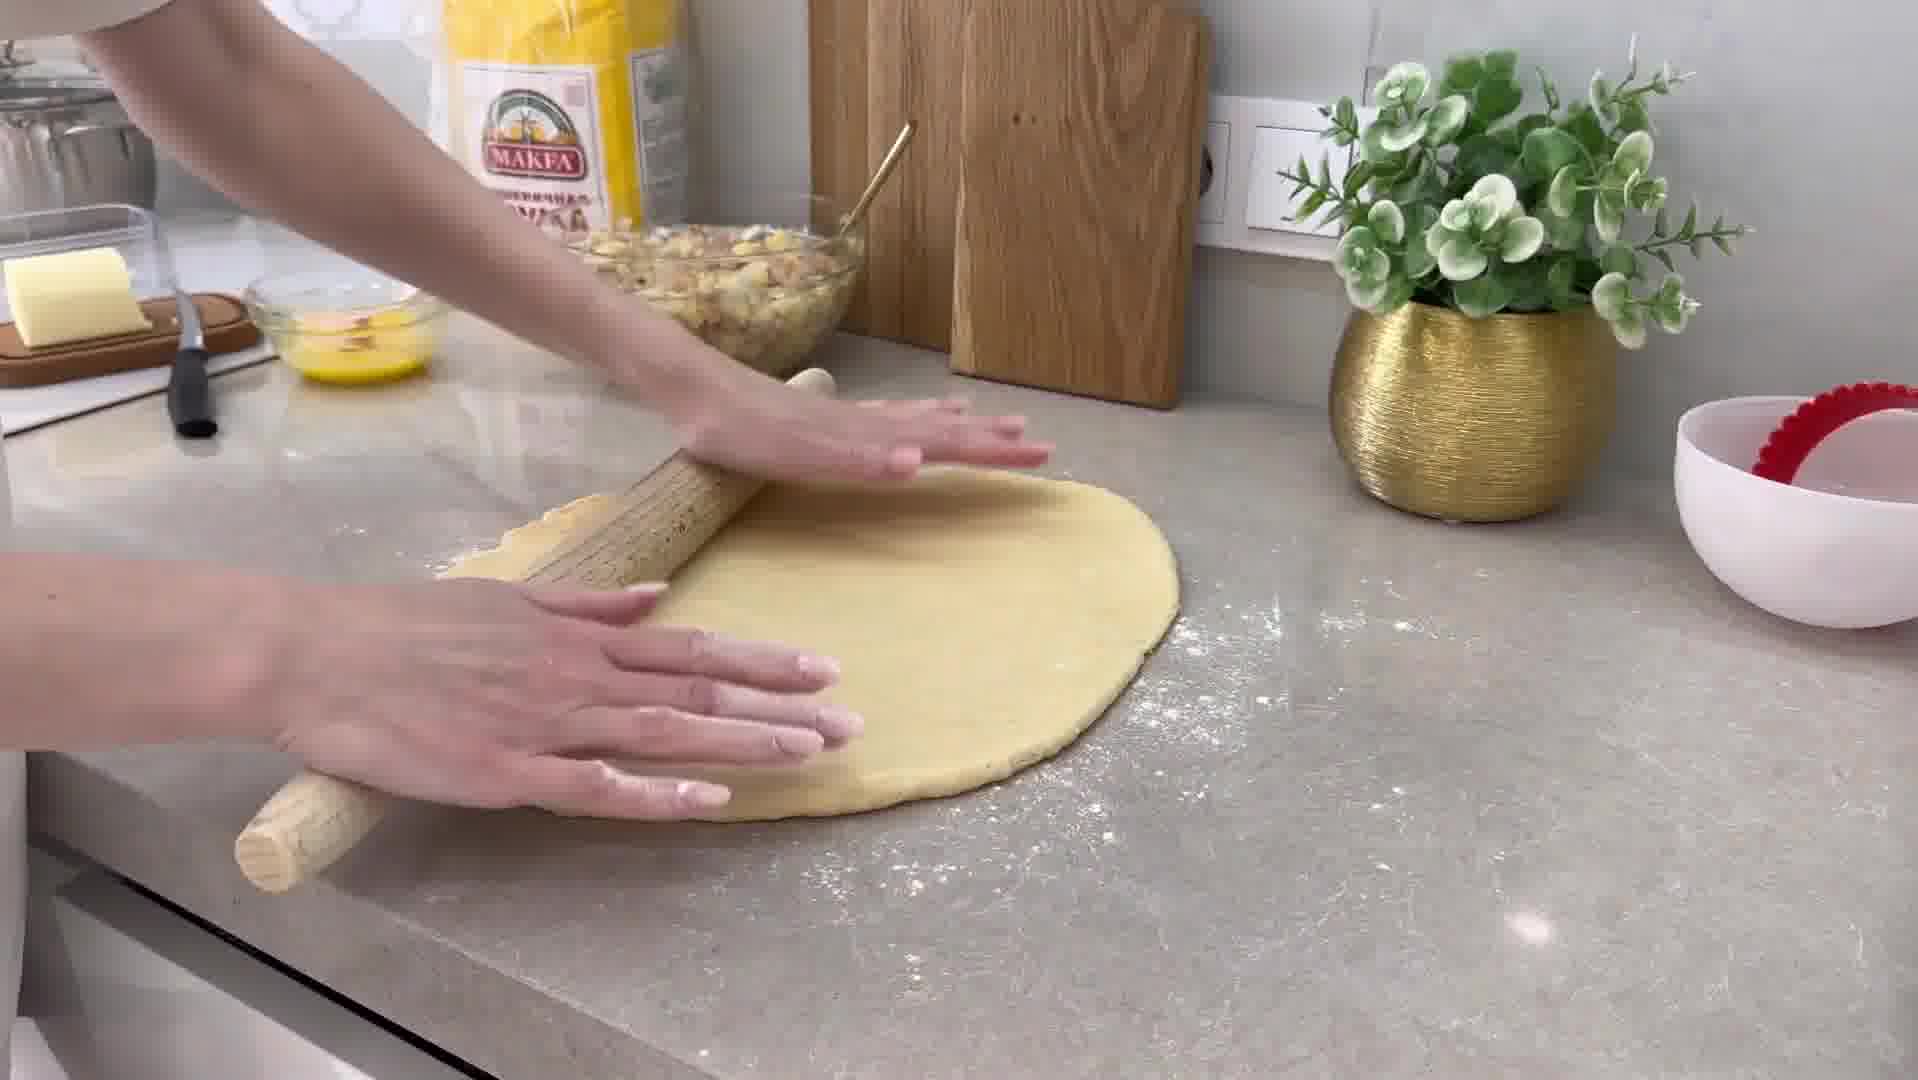
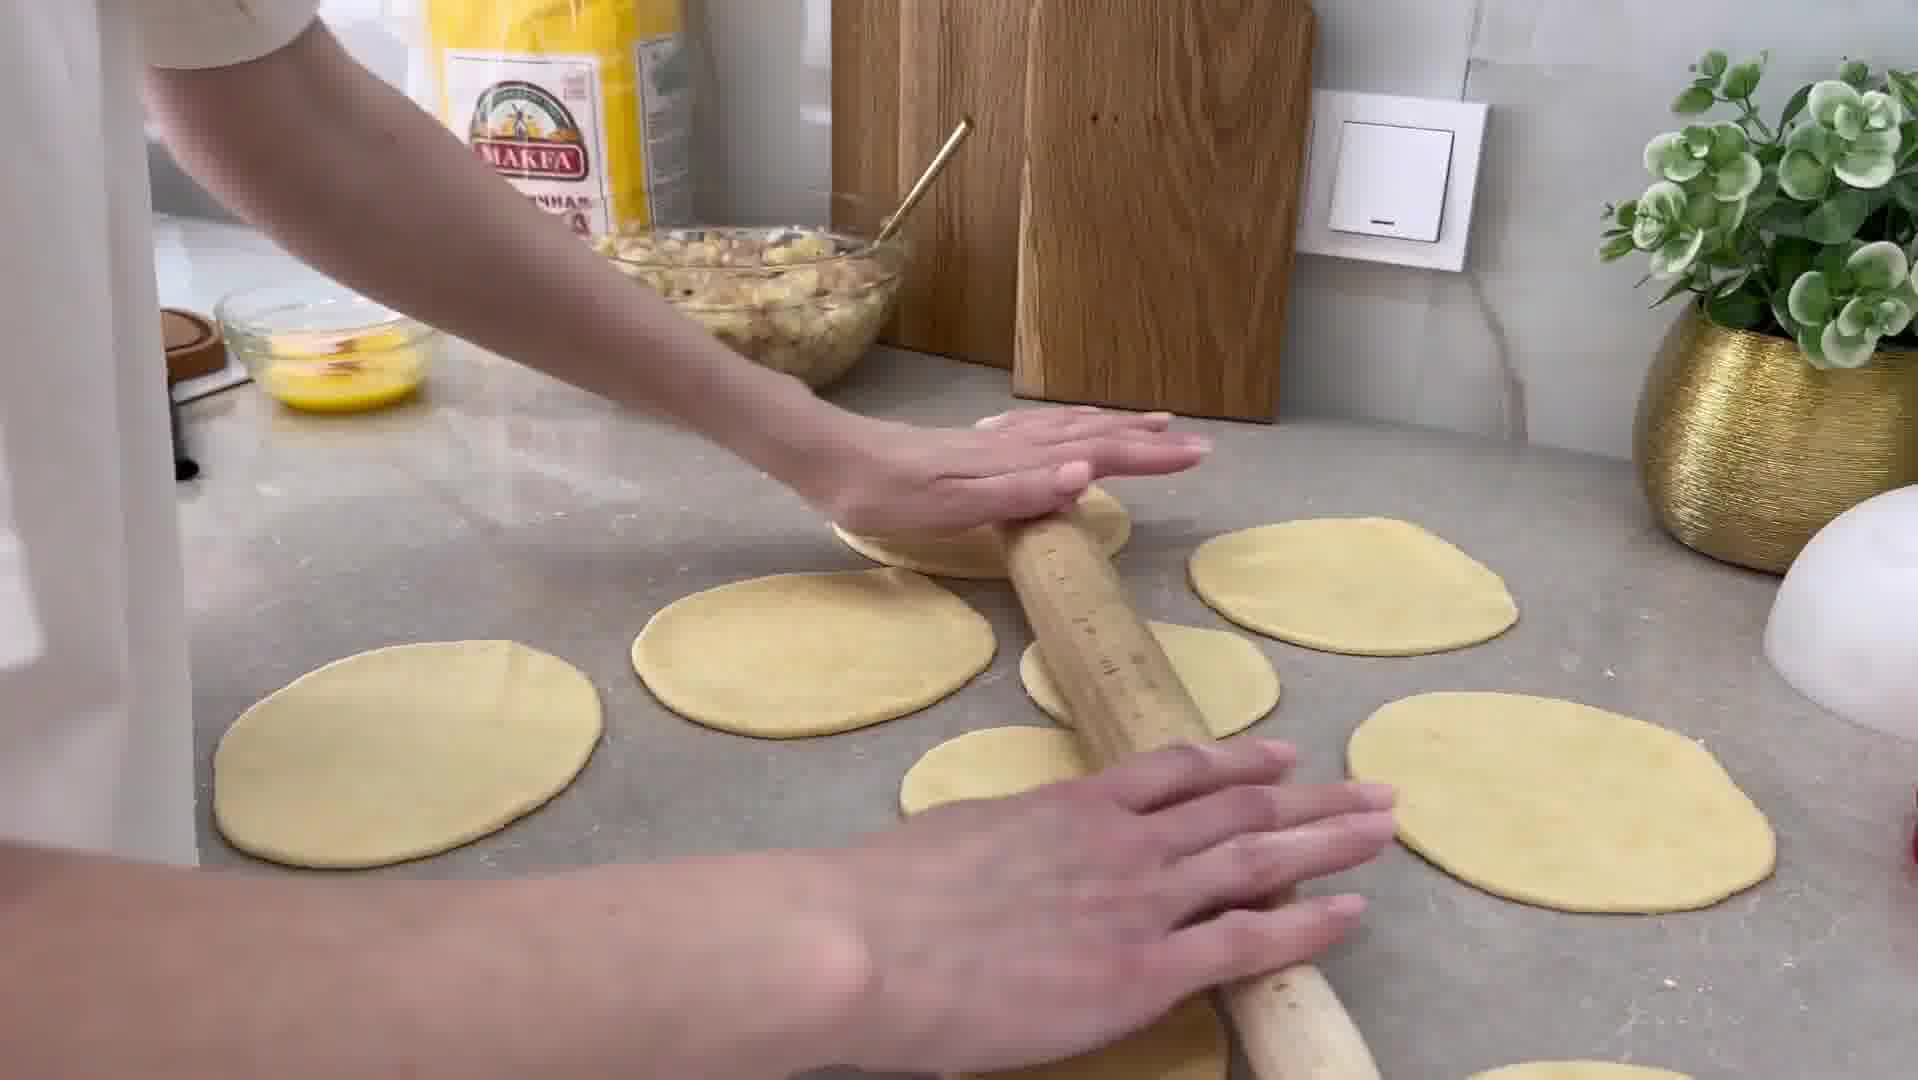
Rolling and Shaping the Dough
After removing the dough from the refrigerator, roll it to a thickness of 3-4 mm. Cut the dough into 15 cm and 10 cm circles. Prepare large and small dough pieces.
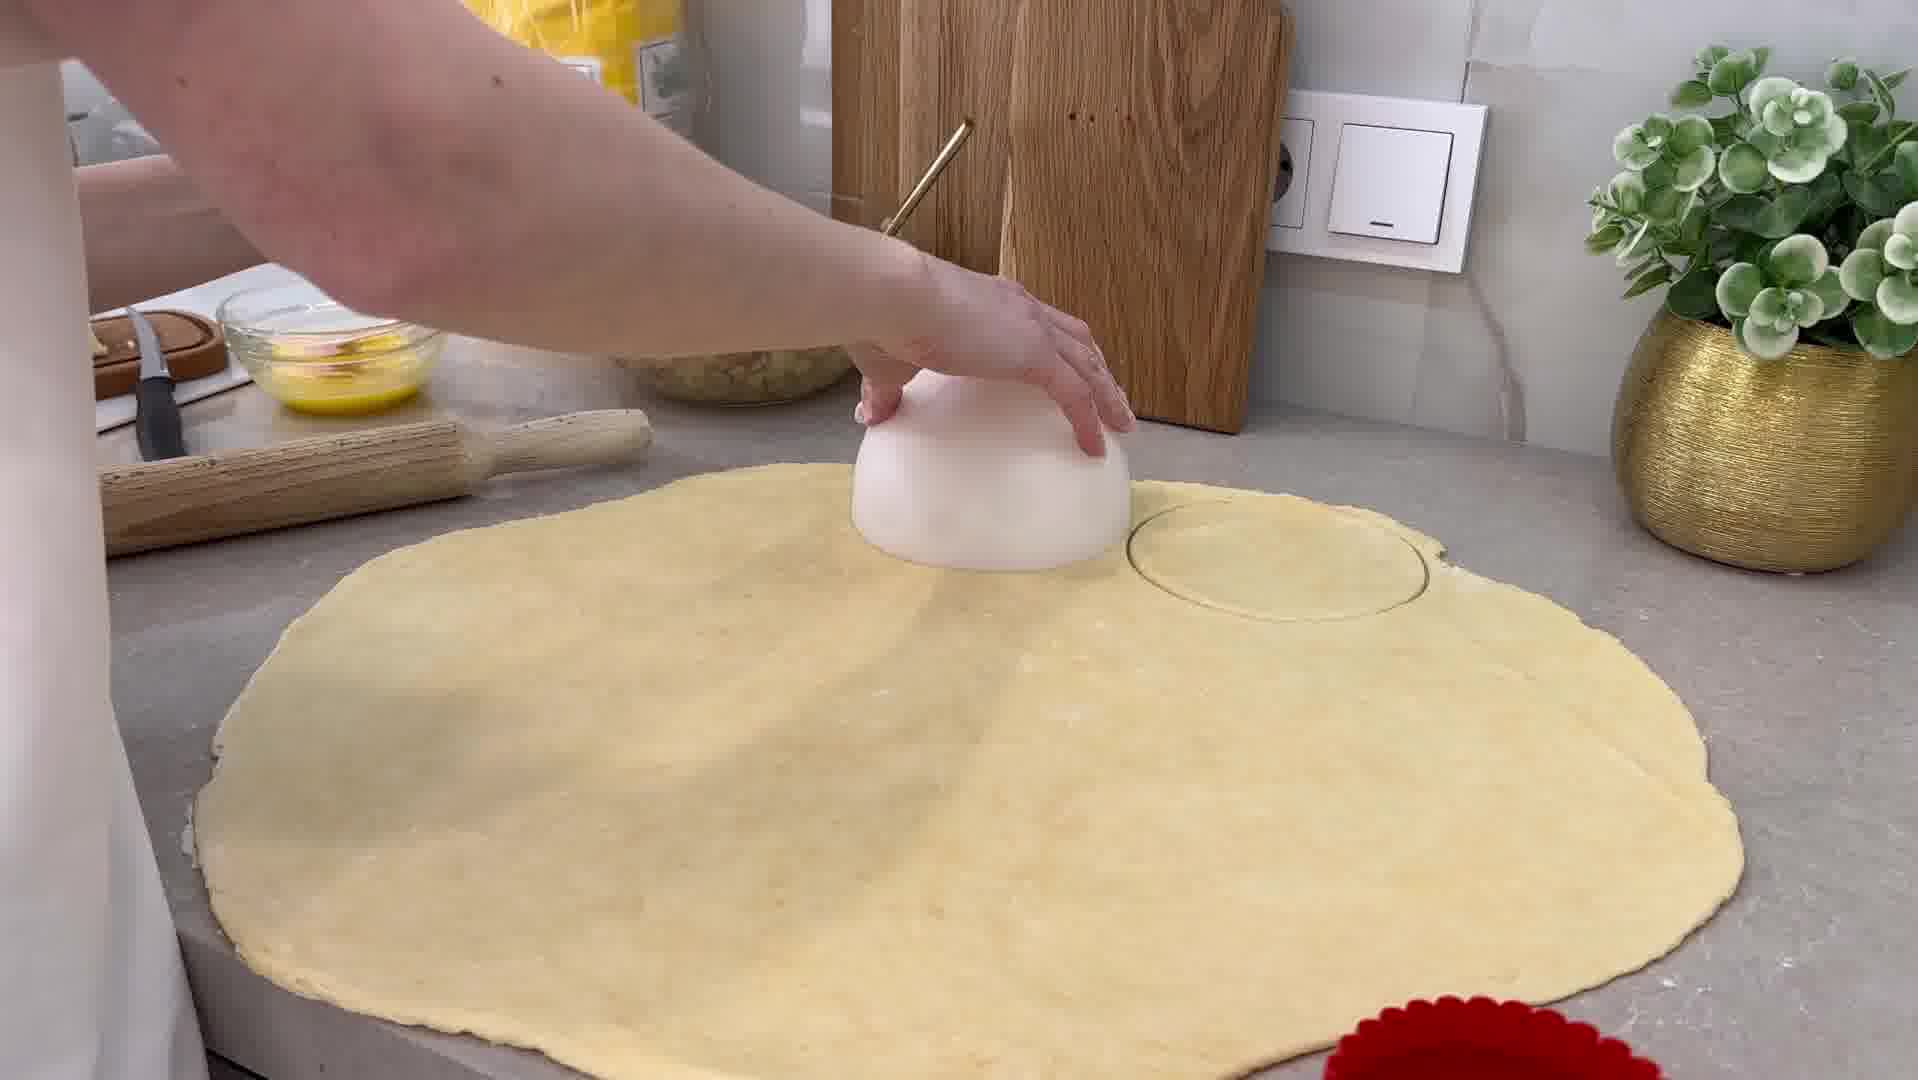
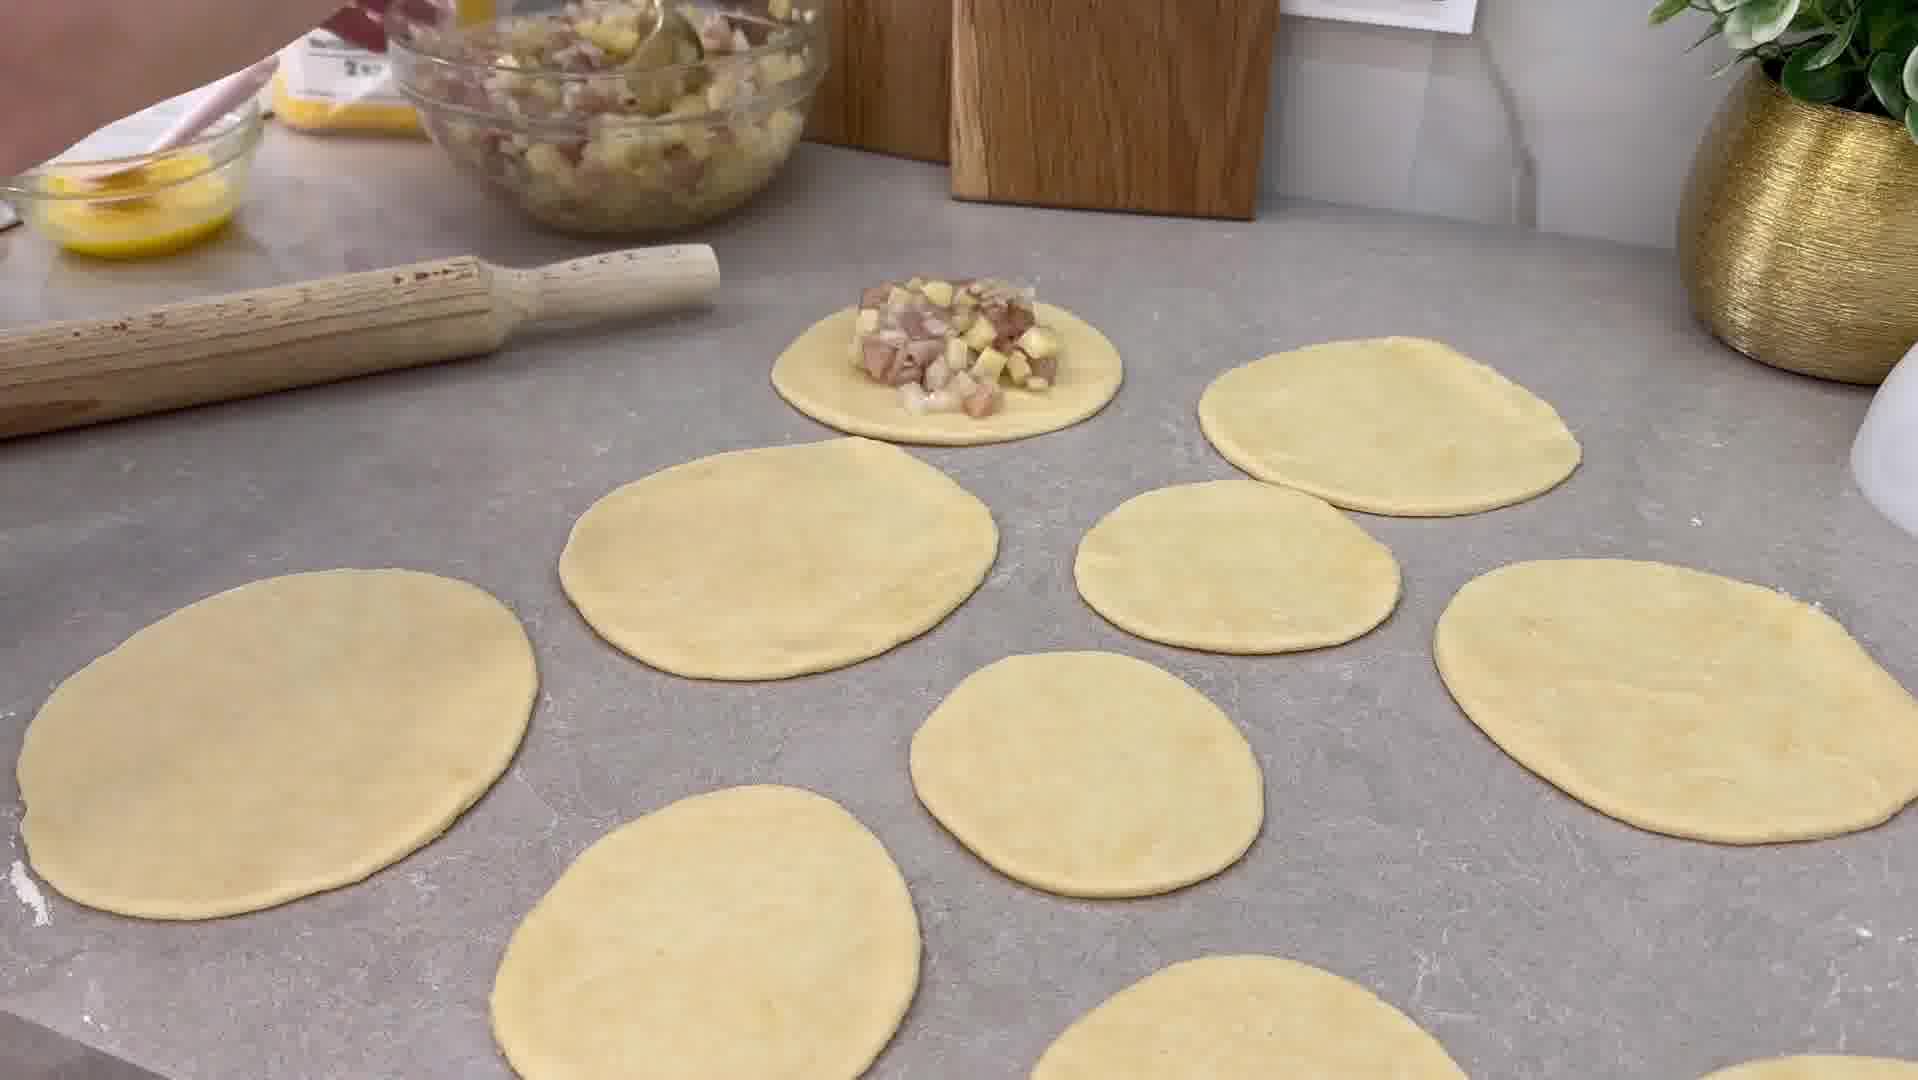
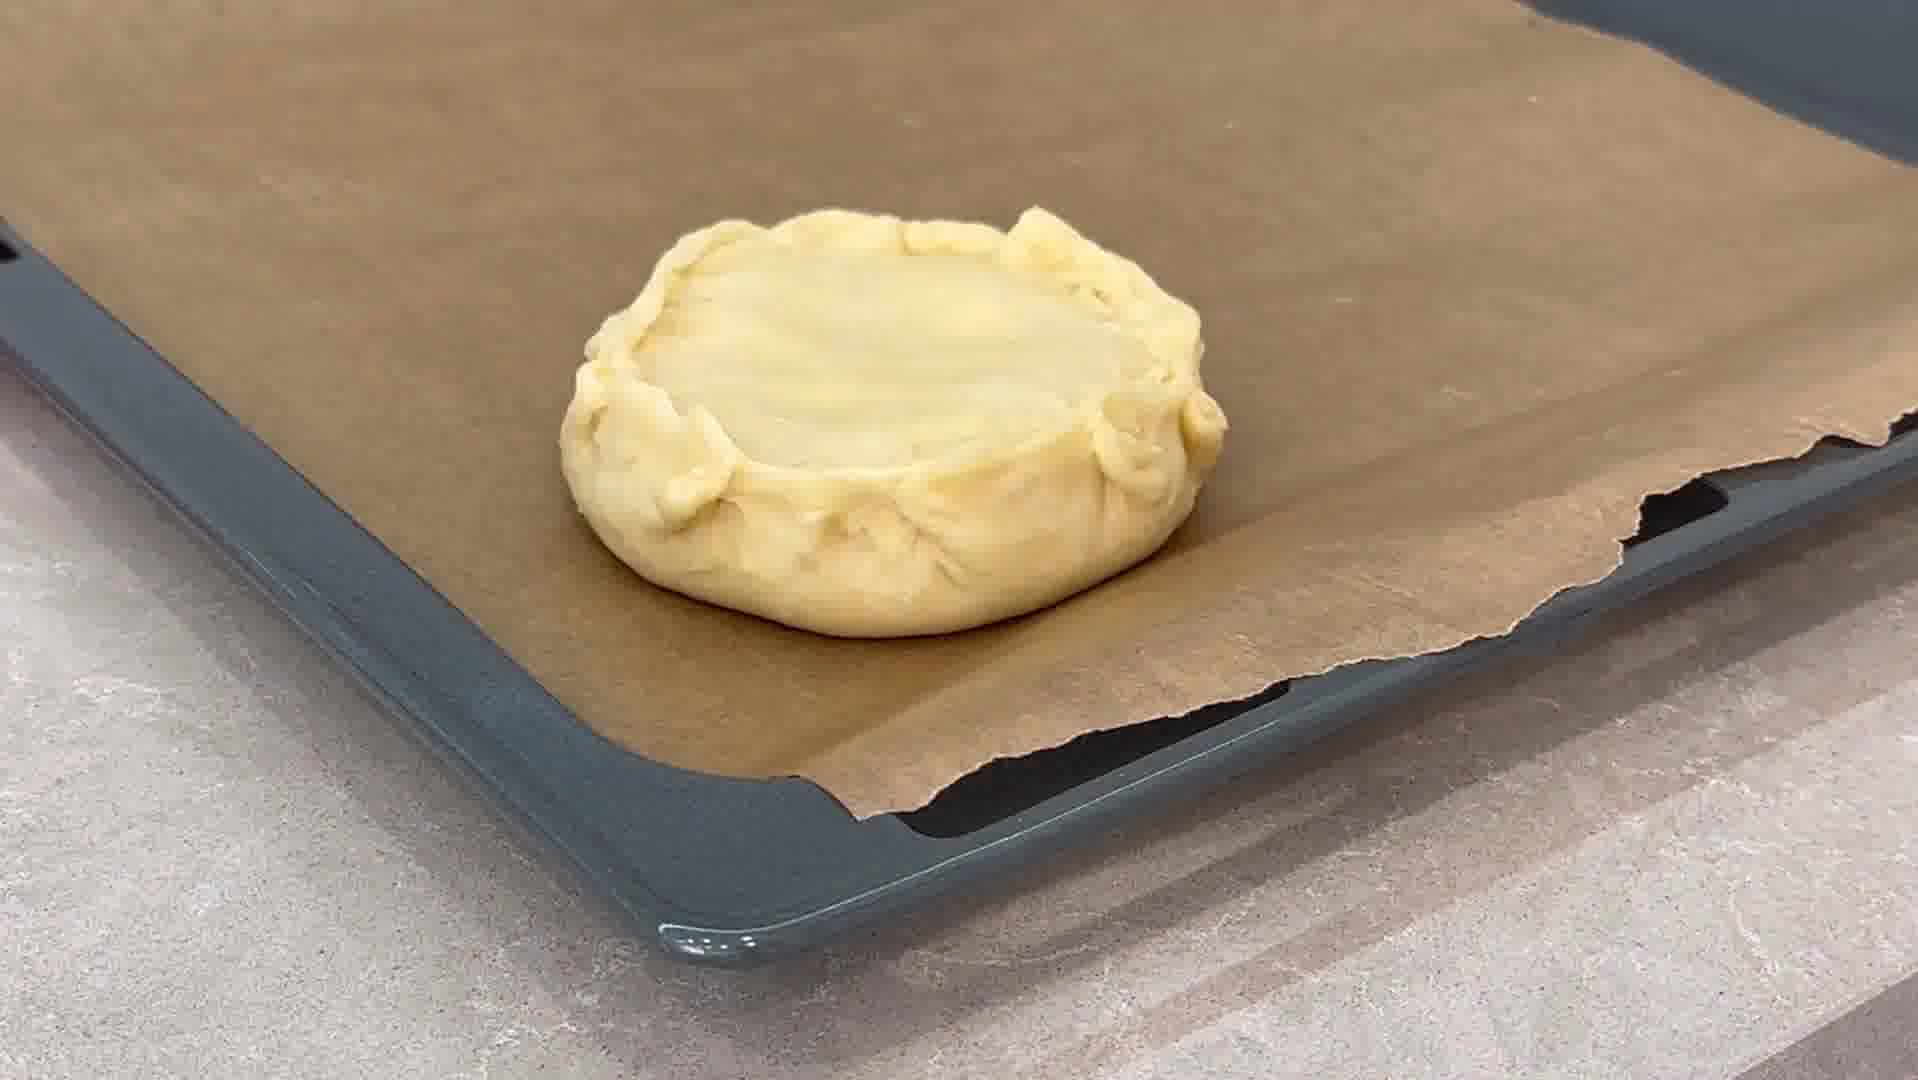
Assembling the Kurnik
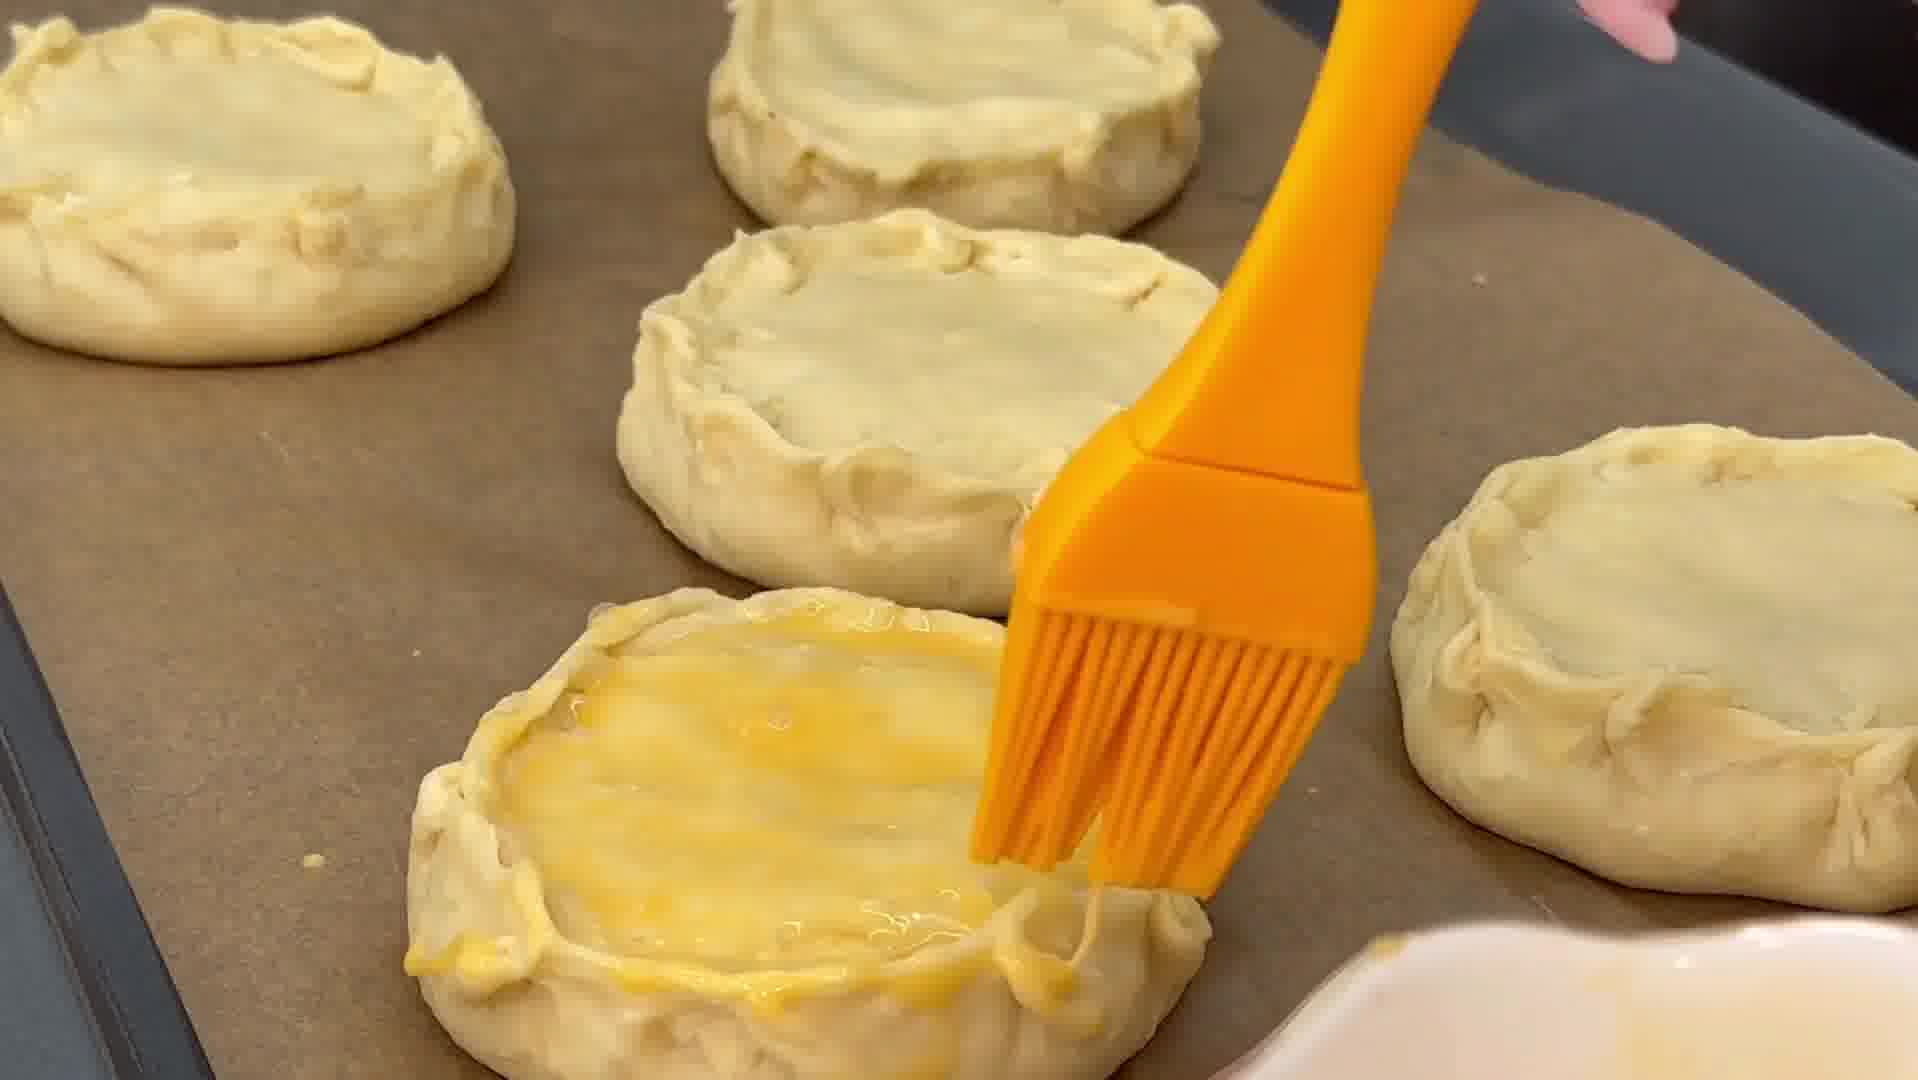
Place about 2 tablespoons of filling on the large dough piece. Cover it with the smaller dough piece and press the edges firmly to seal. Before placing it in the oven, make a small hole to allow steam to escape. Brush with egg yolk to give the top a golden color. You can sprinkle sesame seeds for added texture.


Baking and Serving
Preheat the oven to 180°C and bake the Kurniks for about 45 minutes or until the top is golden brown. Baking time may vary depending on your oven, so check the color to ensure proper baking.
After baking the first batch, you can use the remaining dough to make more Kurniks. Be careful when they're hot, as the filling can be quite hot.


Enjoy your meal! I hope this recipe is helpful, and your Kurniks turn out amazing. By following this recipe, homemade Kurniks are much tastier than store-bought ones. Following these steps, you can achieve great results too.
Congratulations @marinast! You have completed the following achievement on the Hive blockchain And have been rewarded with New badge(s)
Your next target is to reach 5000 upvotes.
You can view your badges on your board and compare yourself to others in the Ranking
If you no longer want to receive notifications, reply to this comment with the word
STOP