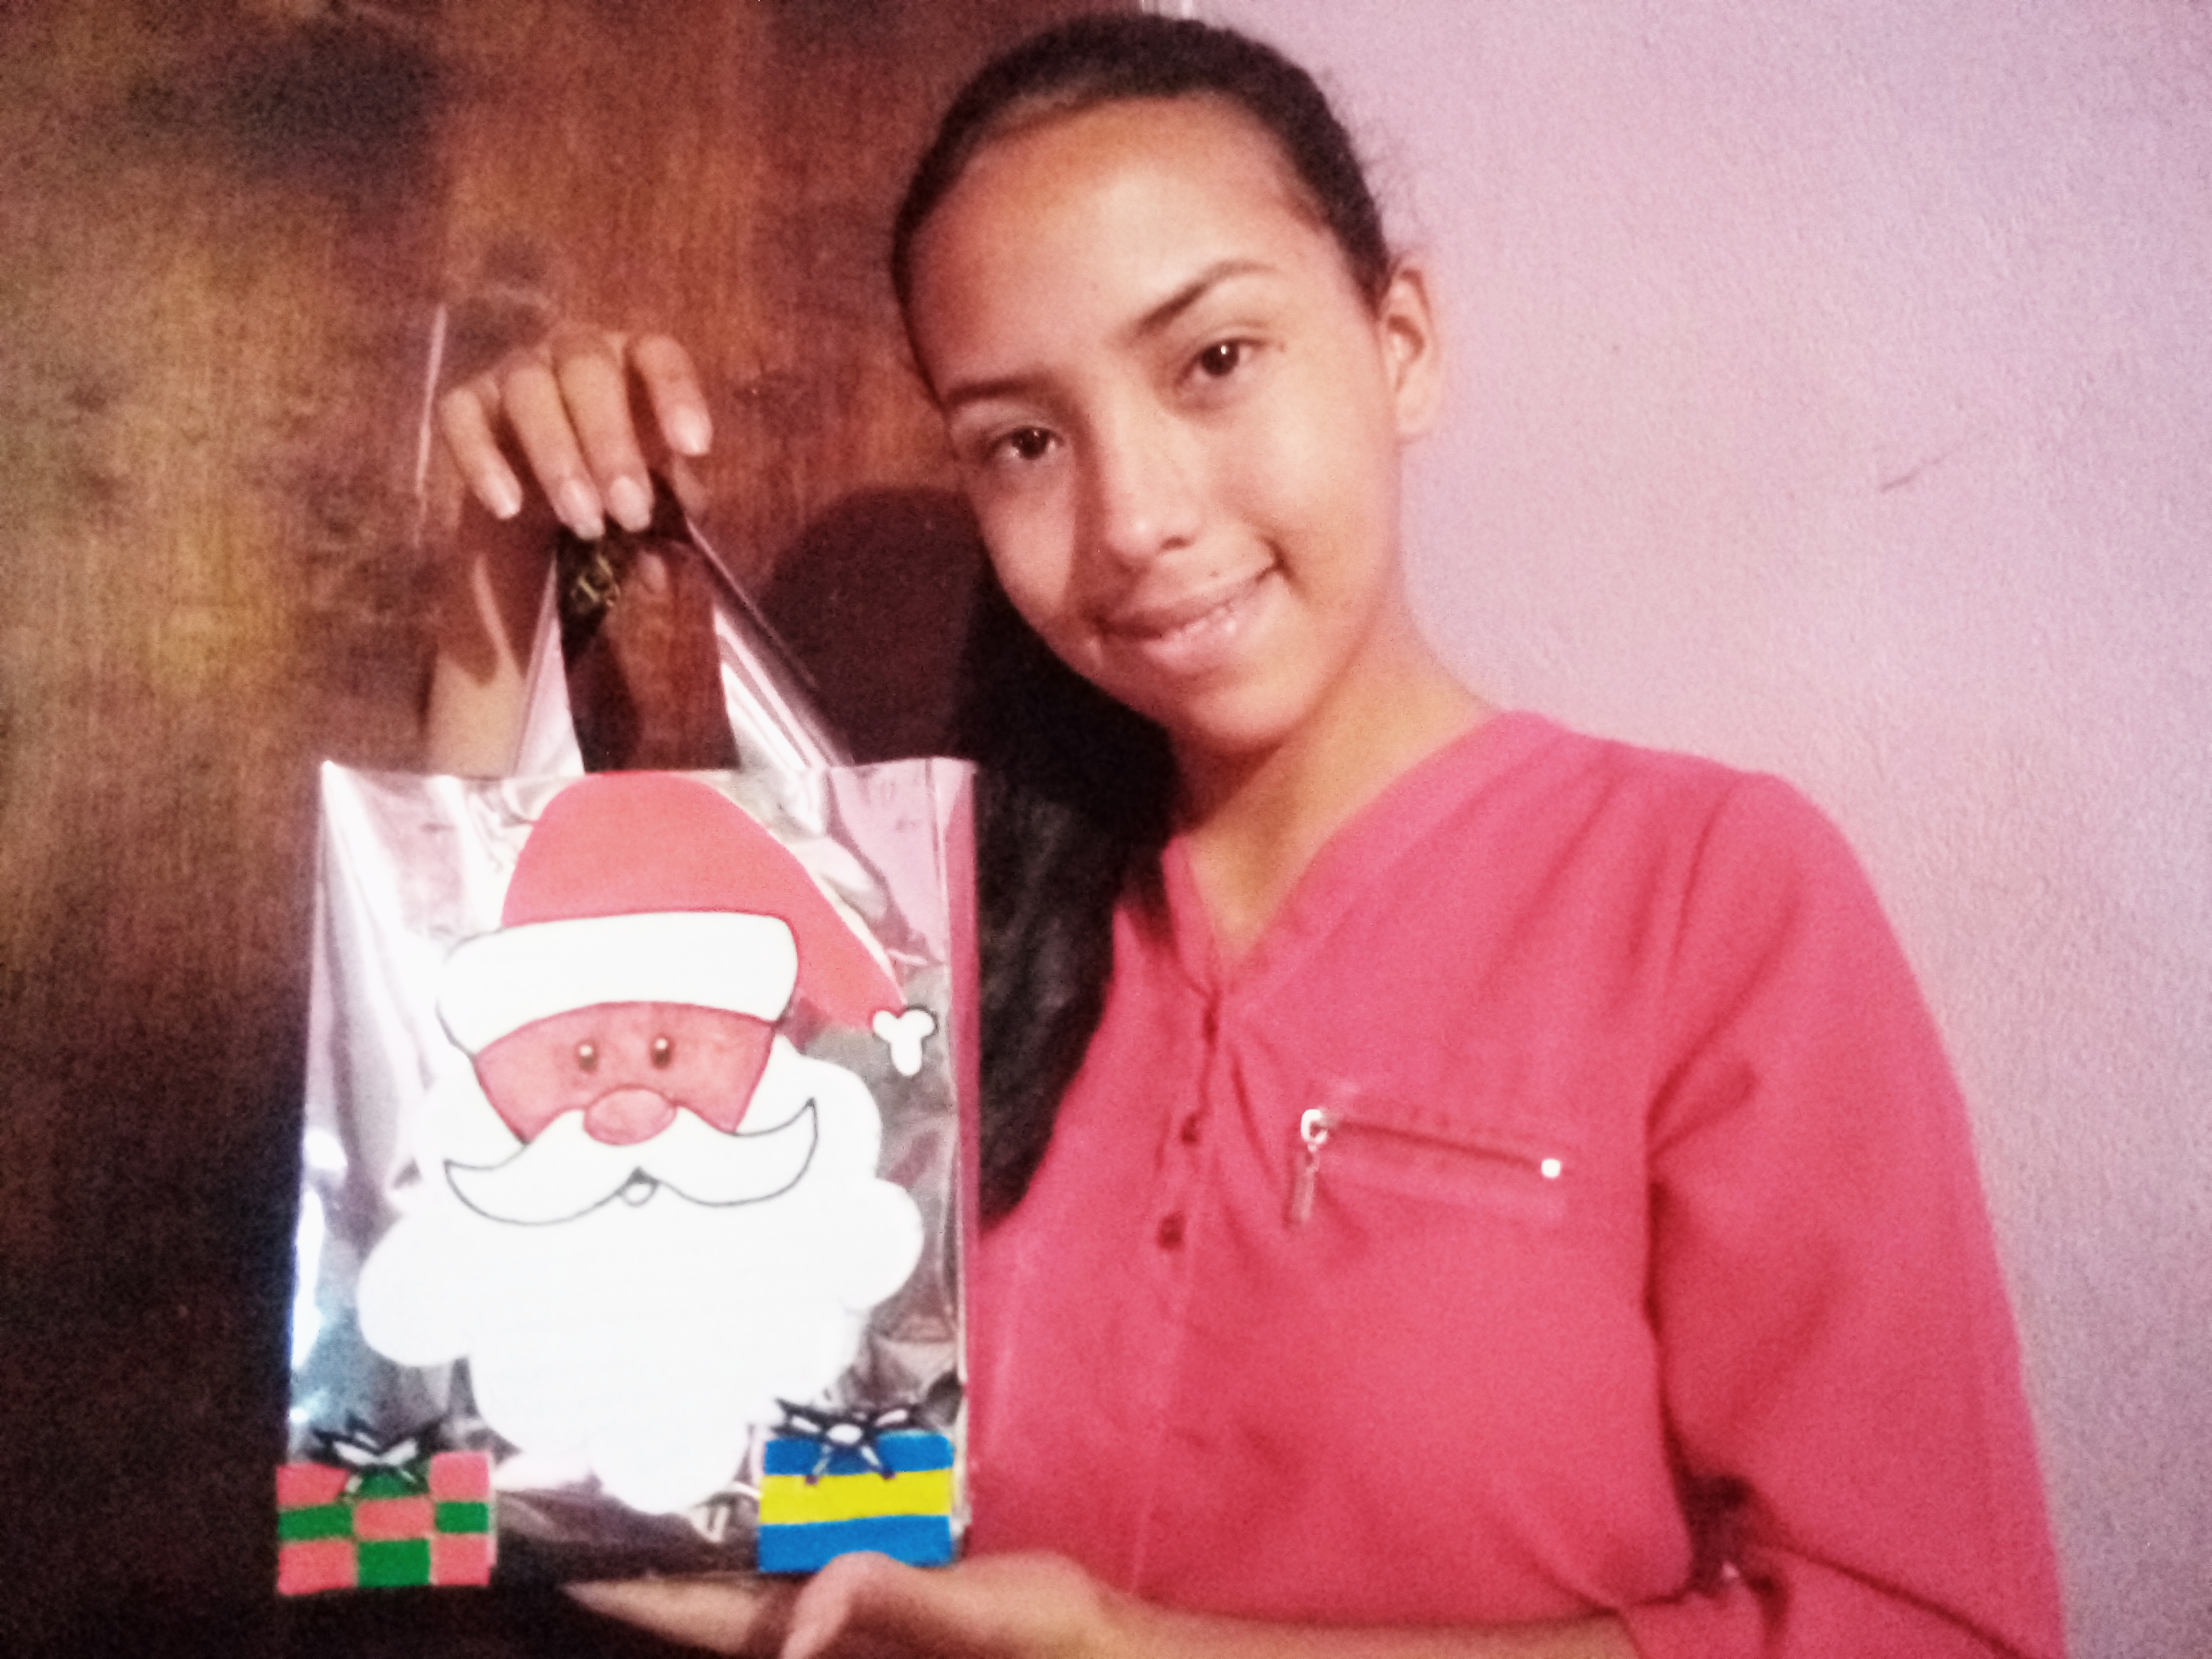
¡Hola! ¡hola! muy buenos días espero estén muy bien mis queridos amigo@s. En esta oportunidad quiero mostrarles un tutorial muy práctico, fácil de hacer. Pues se trata de una bolsa de regalo que podria ser muy útil en estos días, Dejen volar su creatividad siguiendo estos pasos.
Hello! hello! very good morning I hope you are very well my dear friends. This time I want to show you a very practical tutorial, easy to do. Well, it is a gift bag that could be very useful these days, let your creativity fly by following these steps.
-Papel color plata
-Pinturas al frío (rojo,verde,amarillo,azul)
-Hoja de máquina blanca
-Marcador
-Lapiz
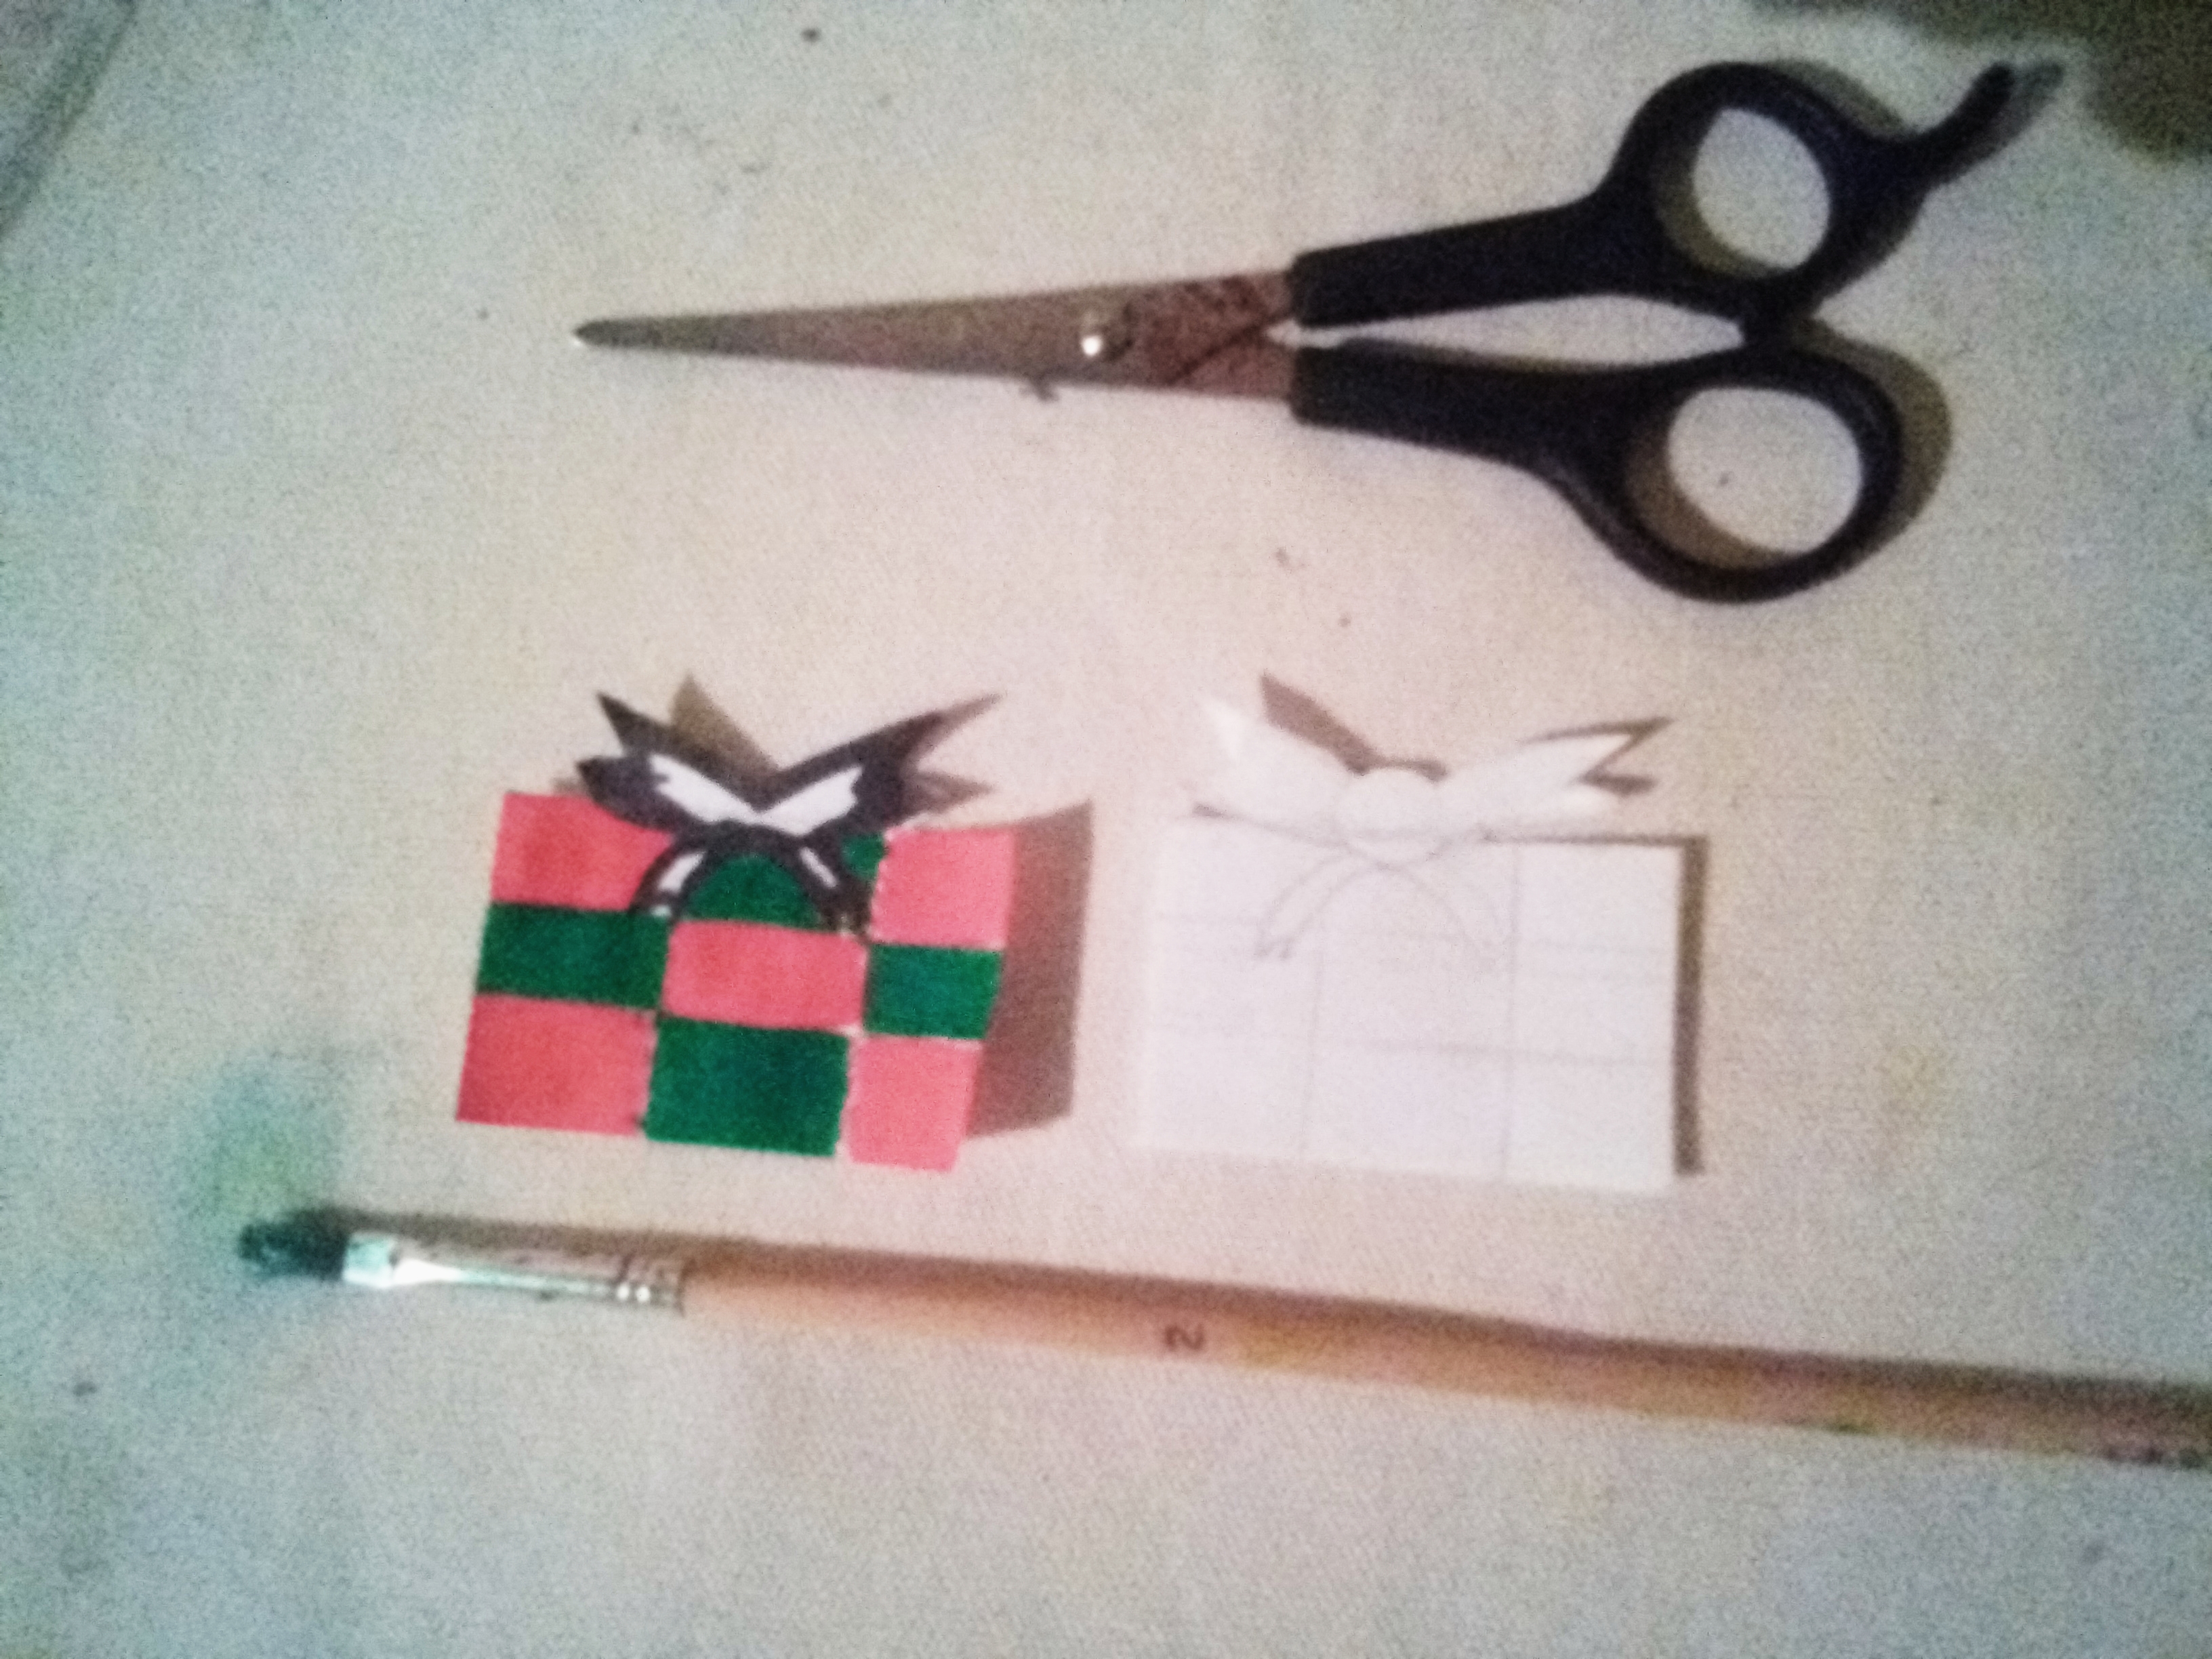
-Tijera
-Pincel
-Pega
-Silver colored paper
-Cold paints (red, green, yellow, blue)
-White machine blade
-Marker
-Pencil
-Scissor
-Brush
-Job

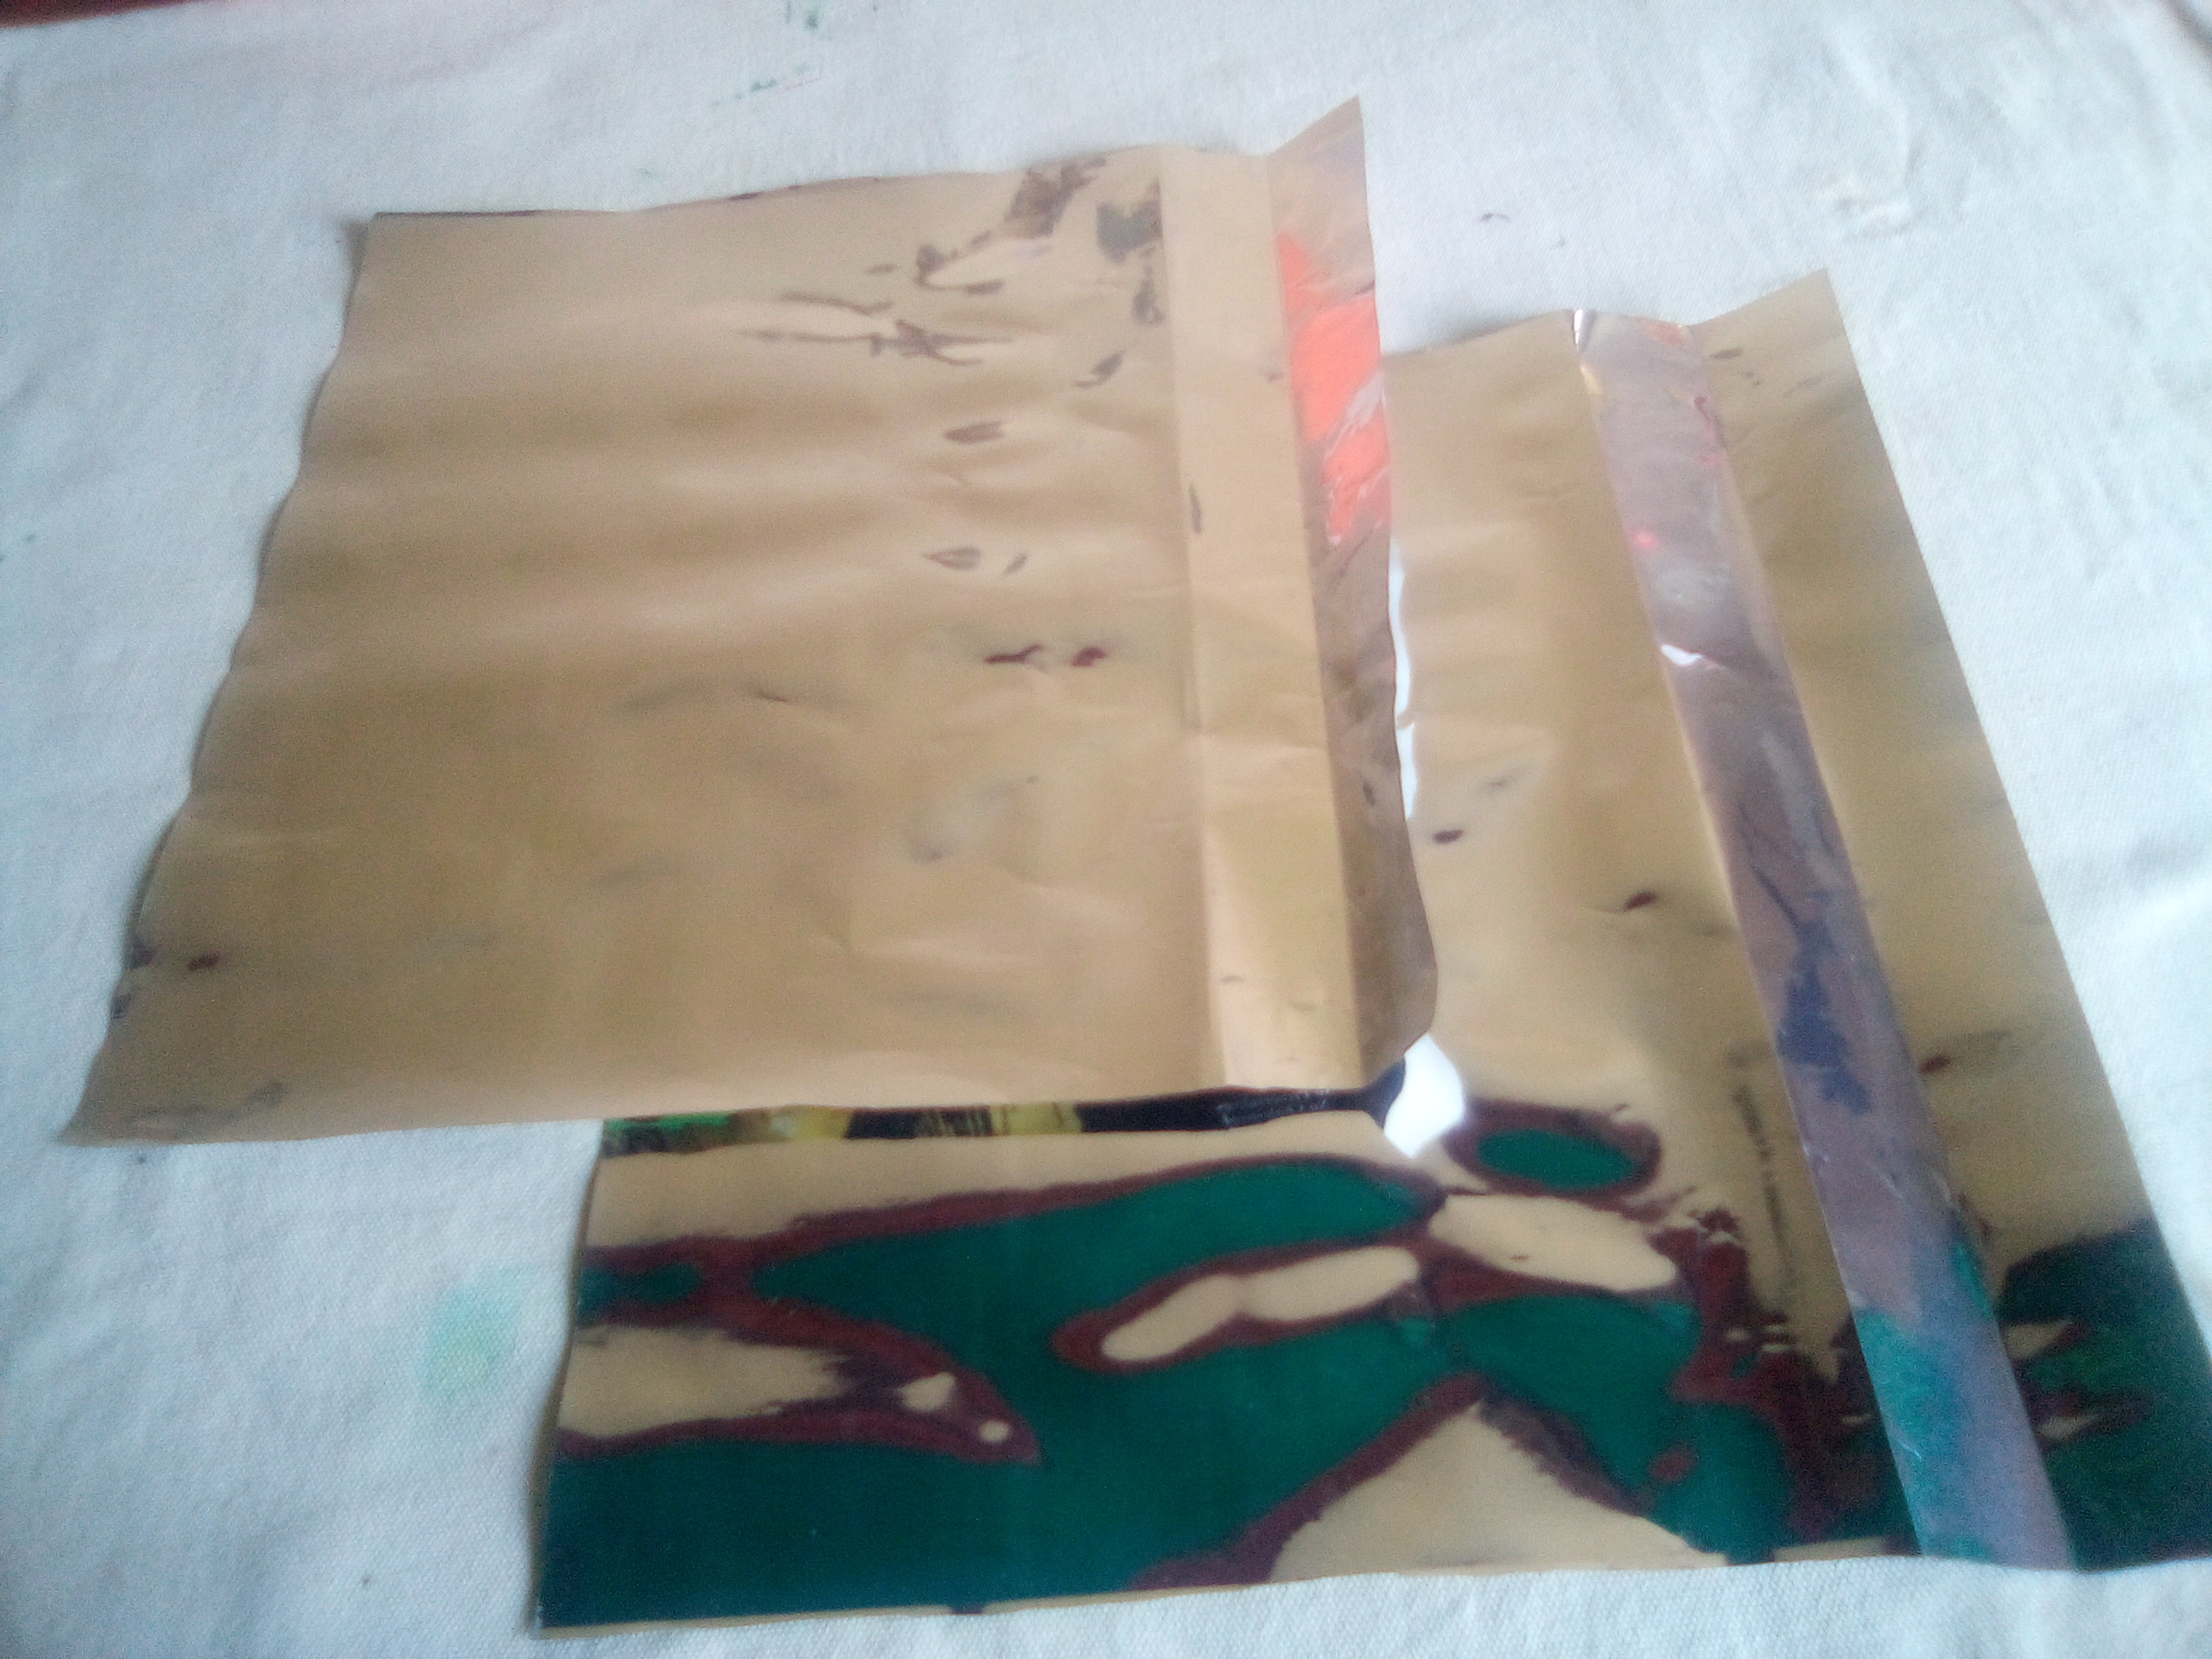
Paso#1: Principalmente recortamos dos partes de papel plata del tamaño deseado, (ambas partes deben ser iguales).
Step # 1: Mainly we cut two parts of silver paper of the desired size, (both parts must be equal).

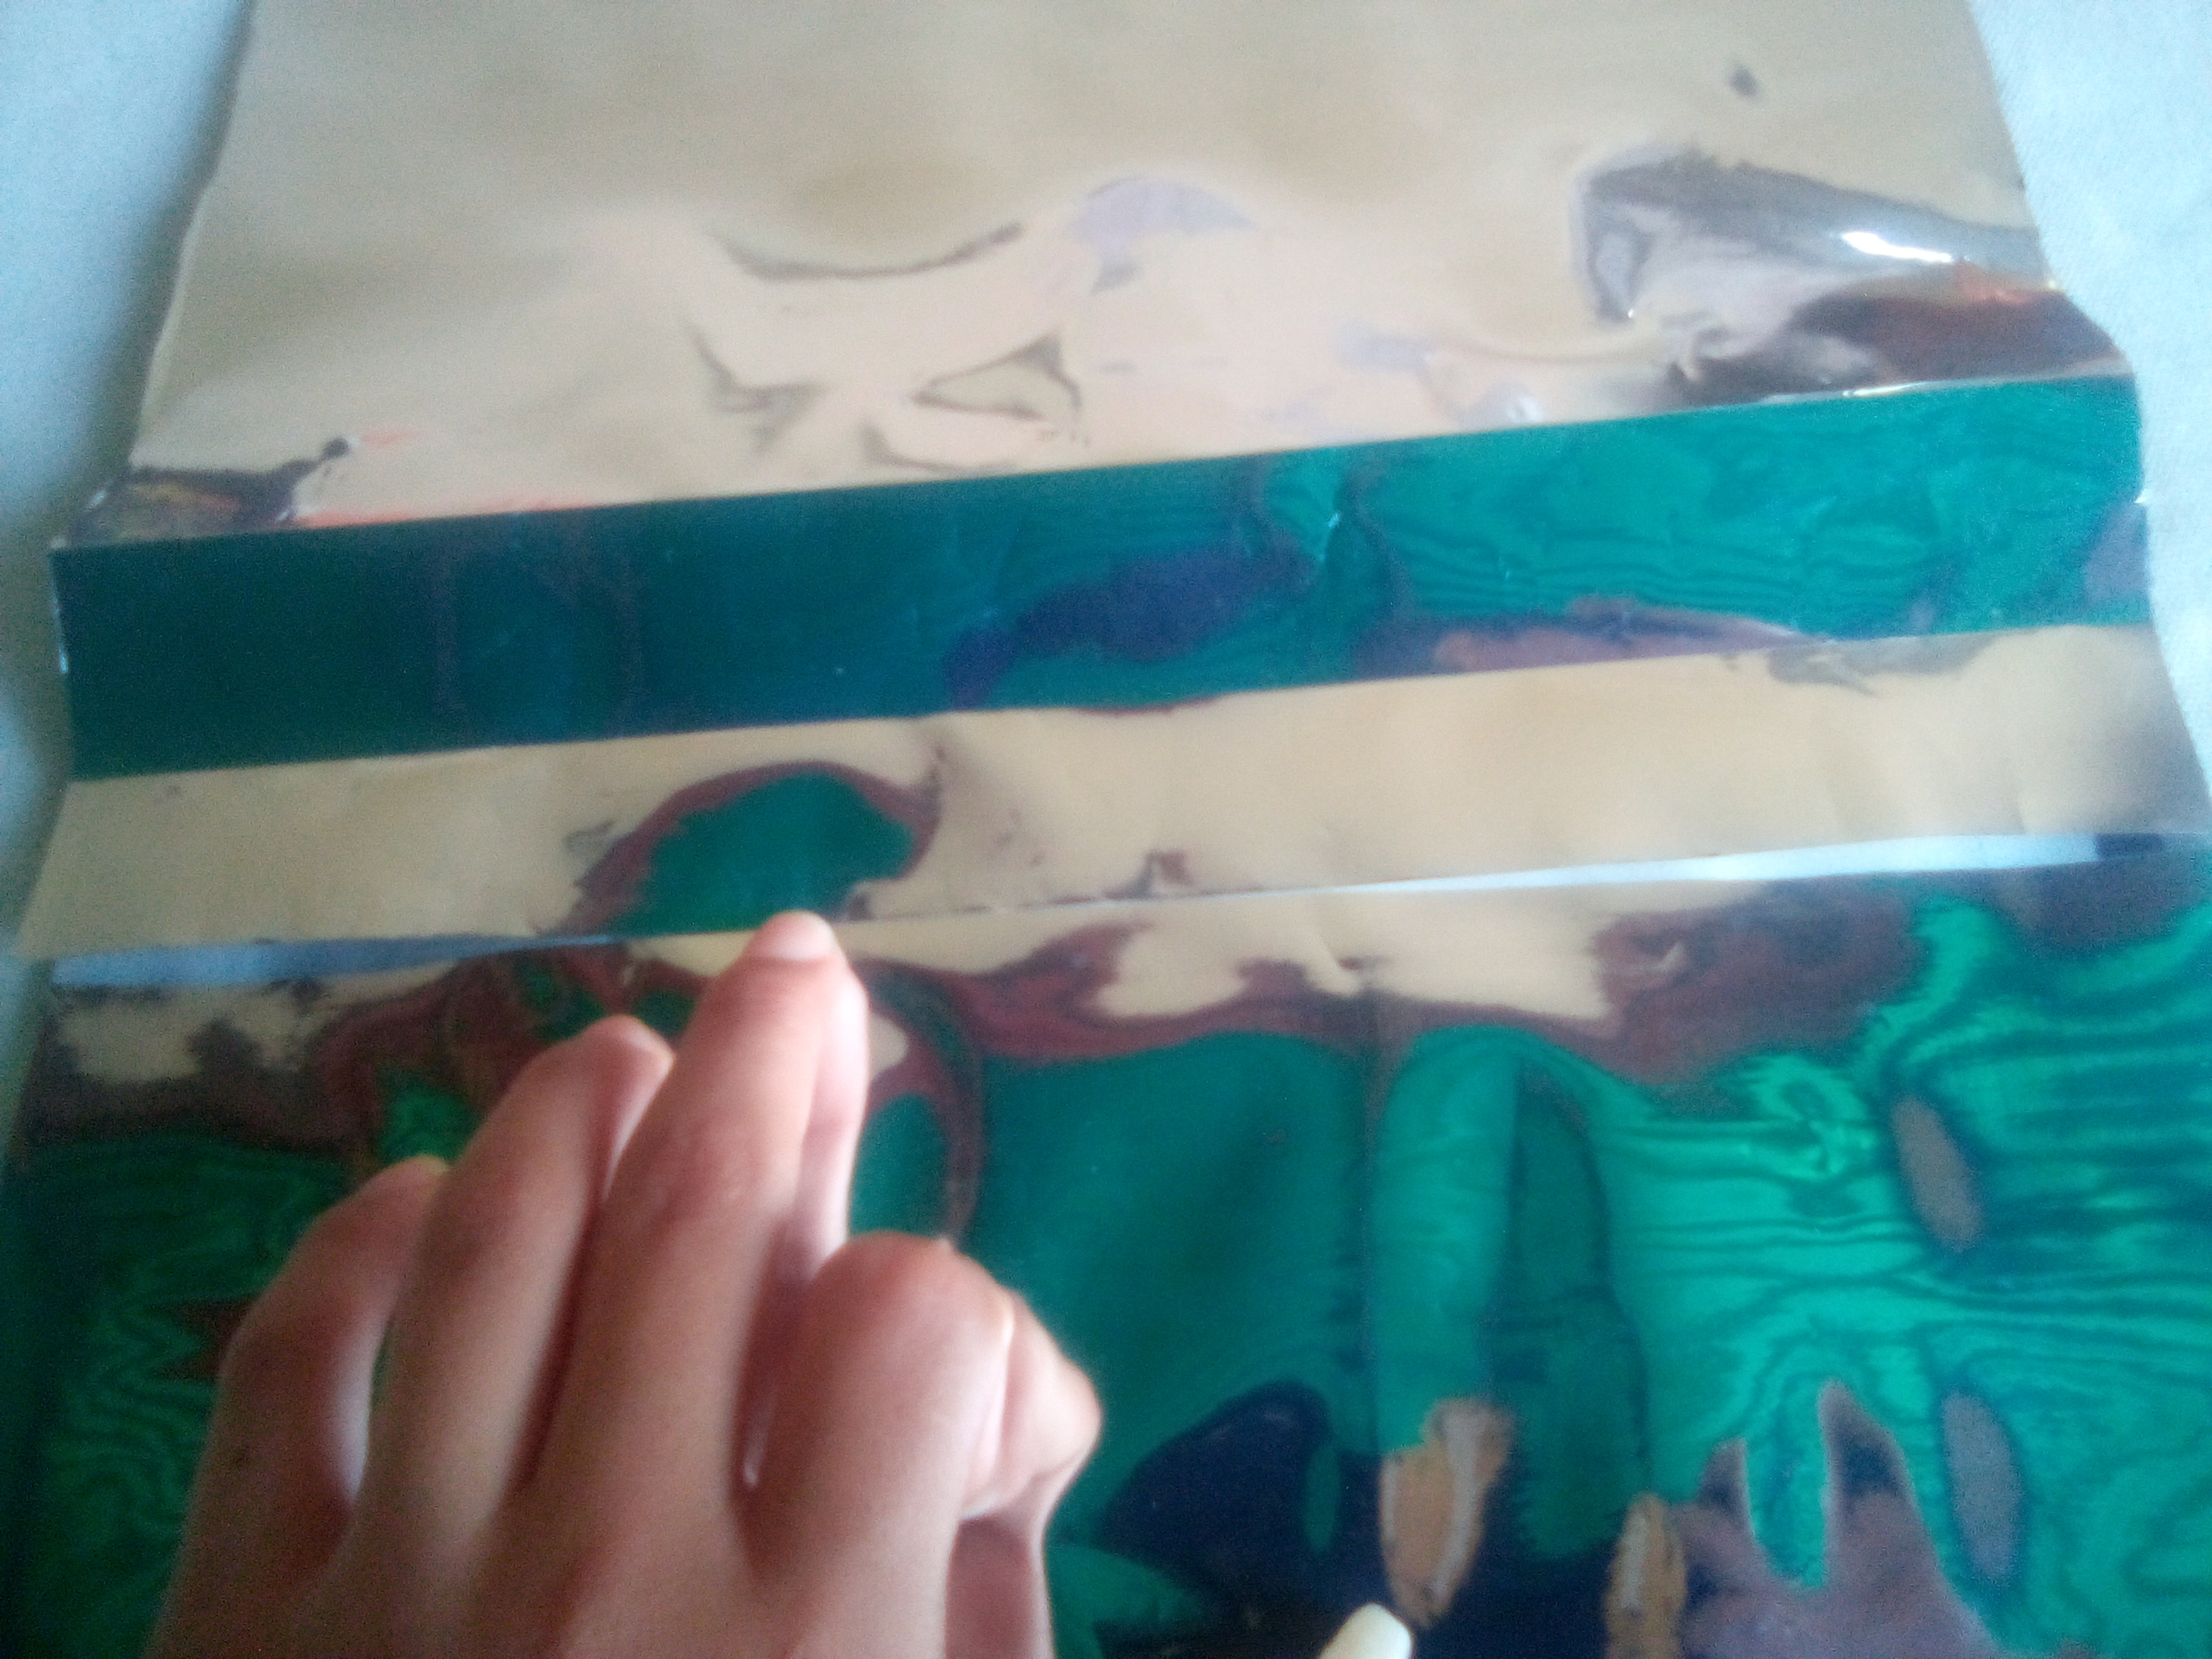
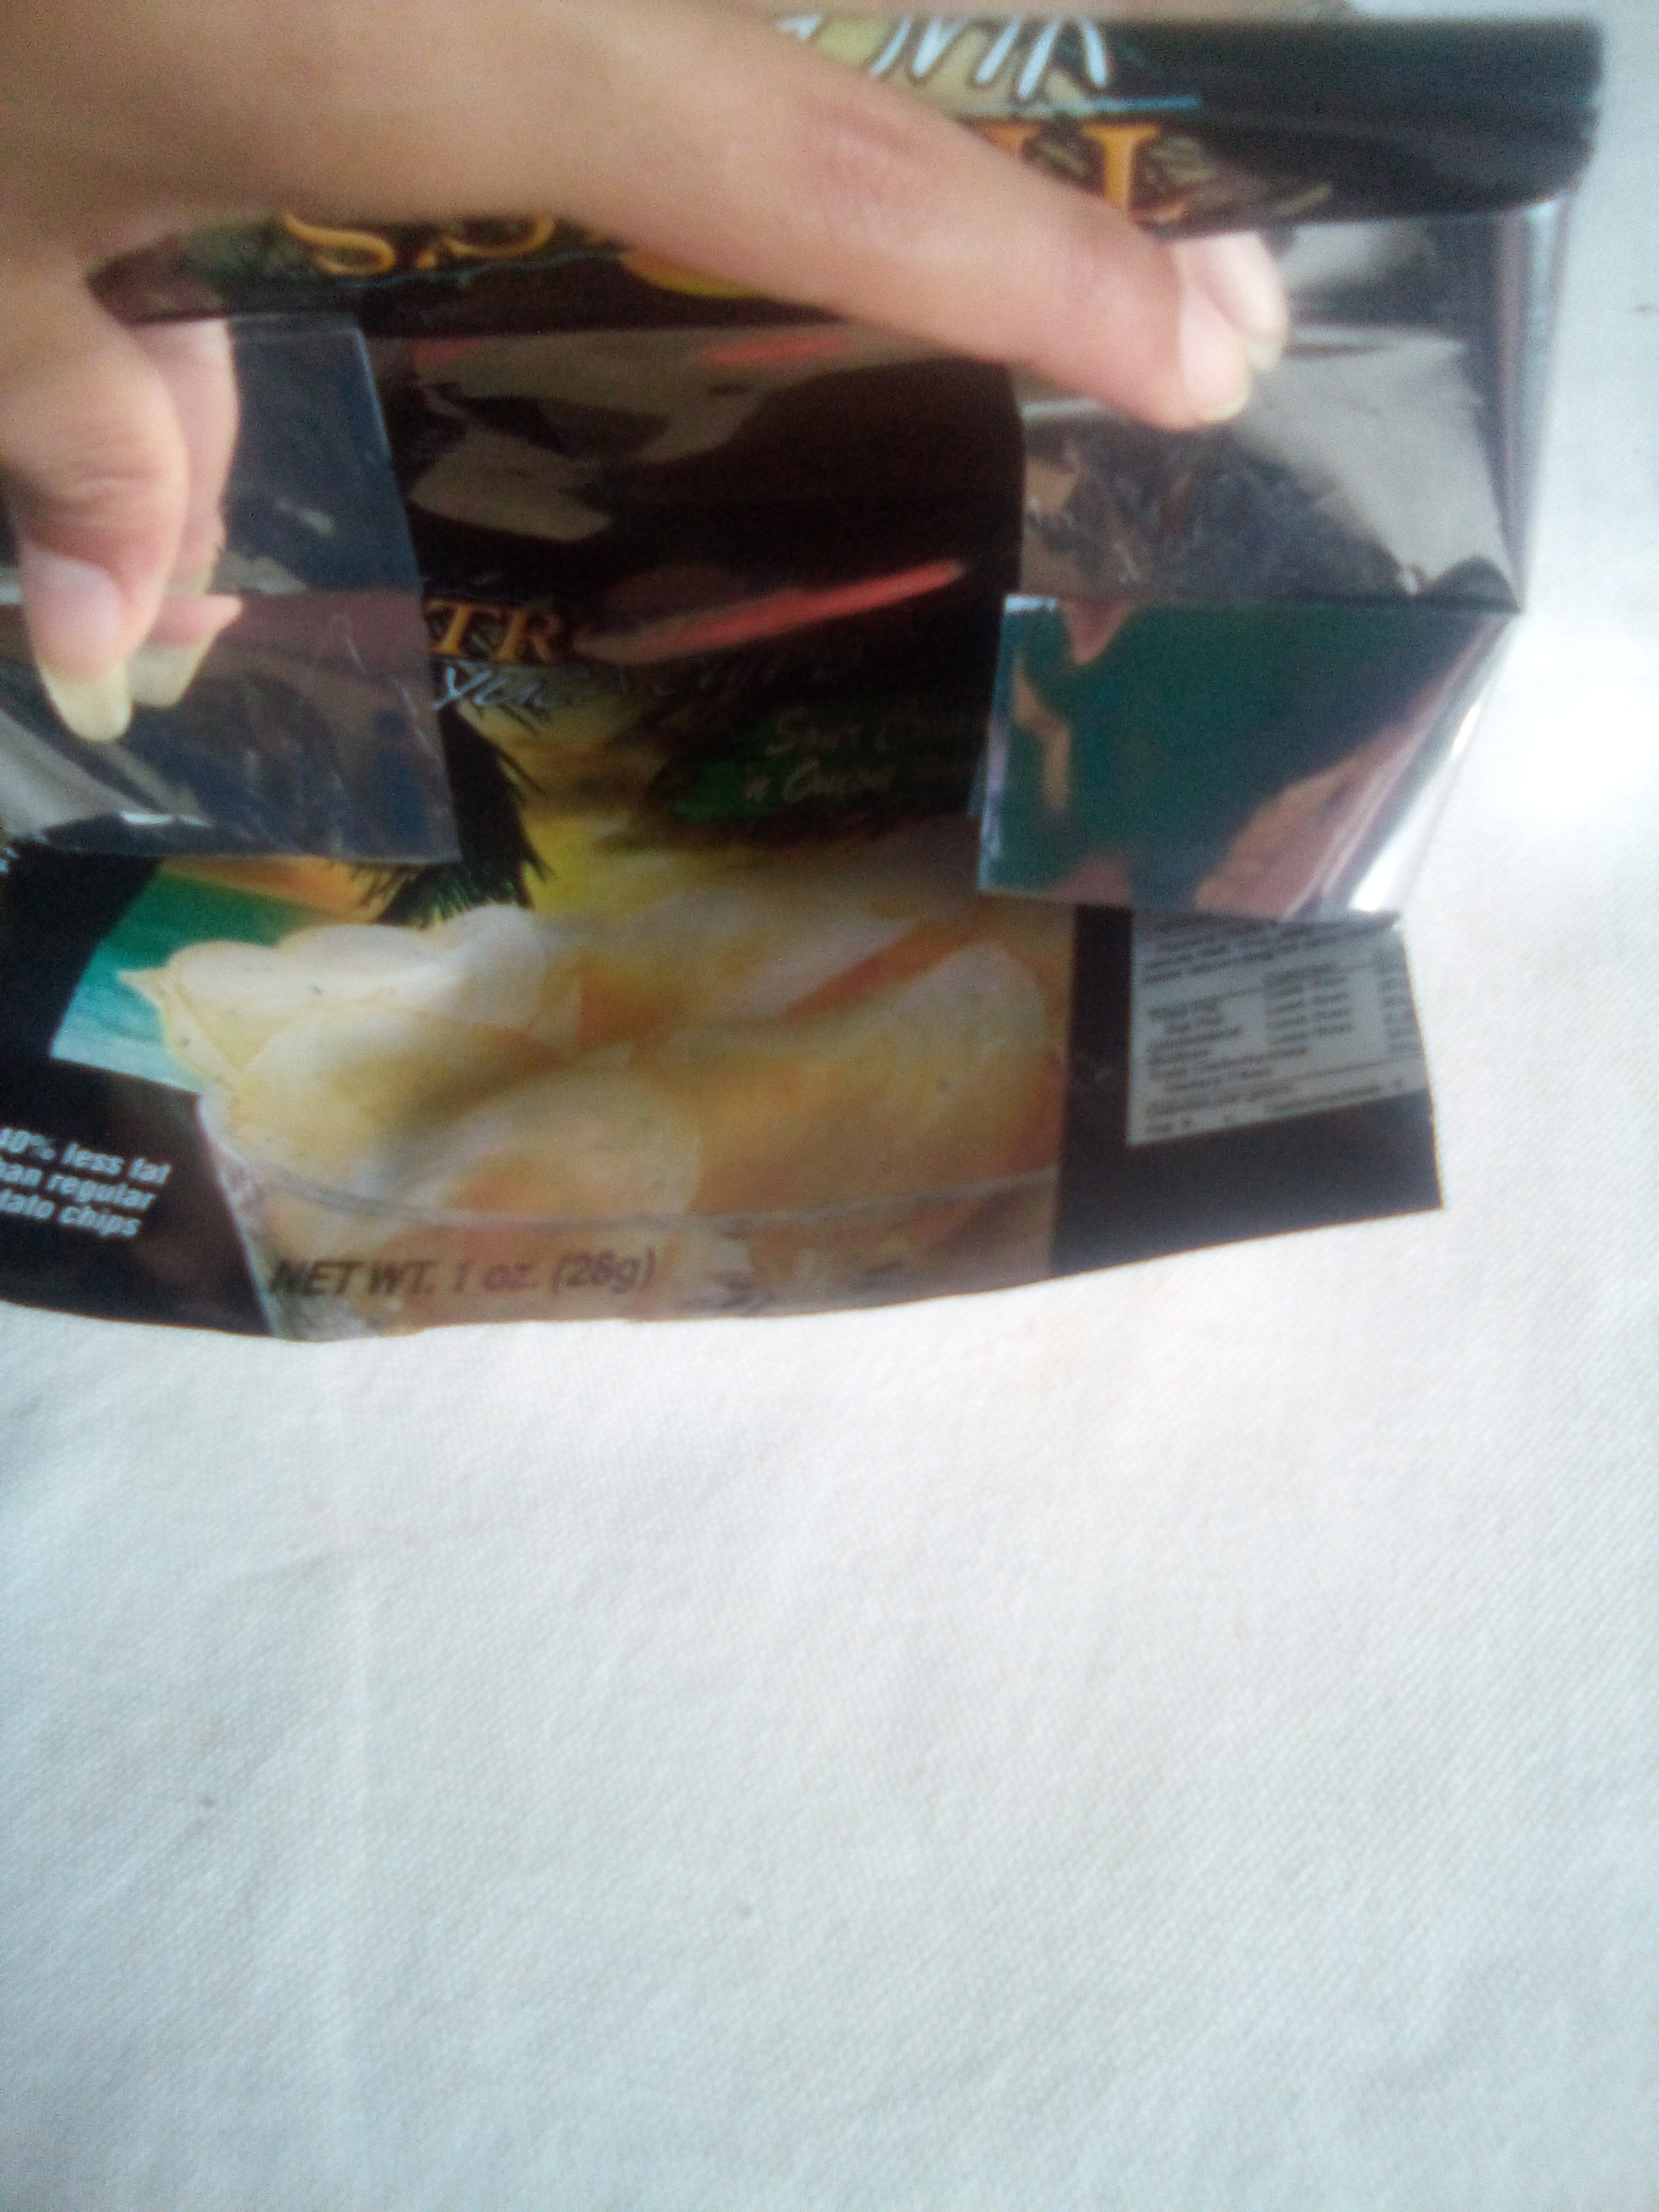
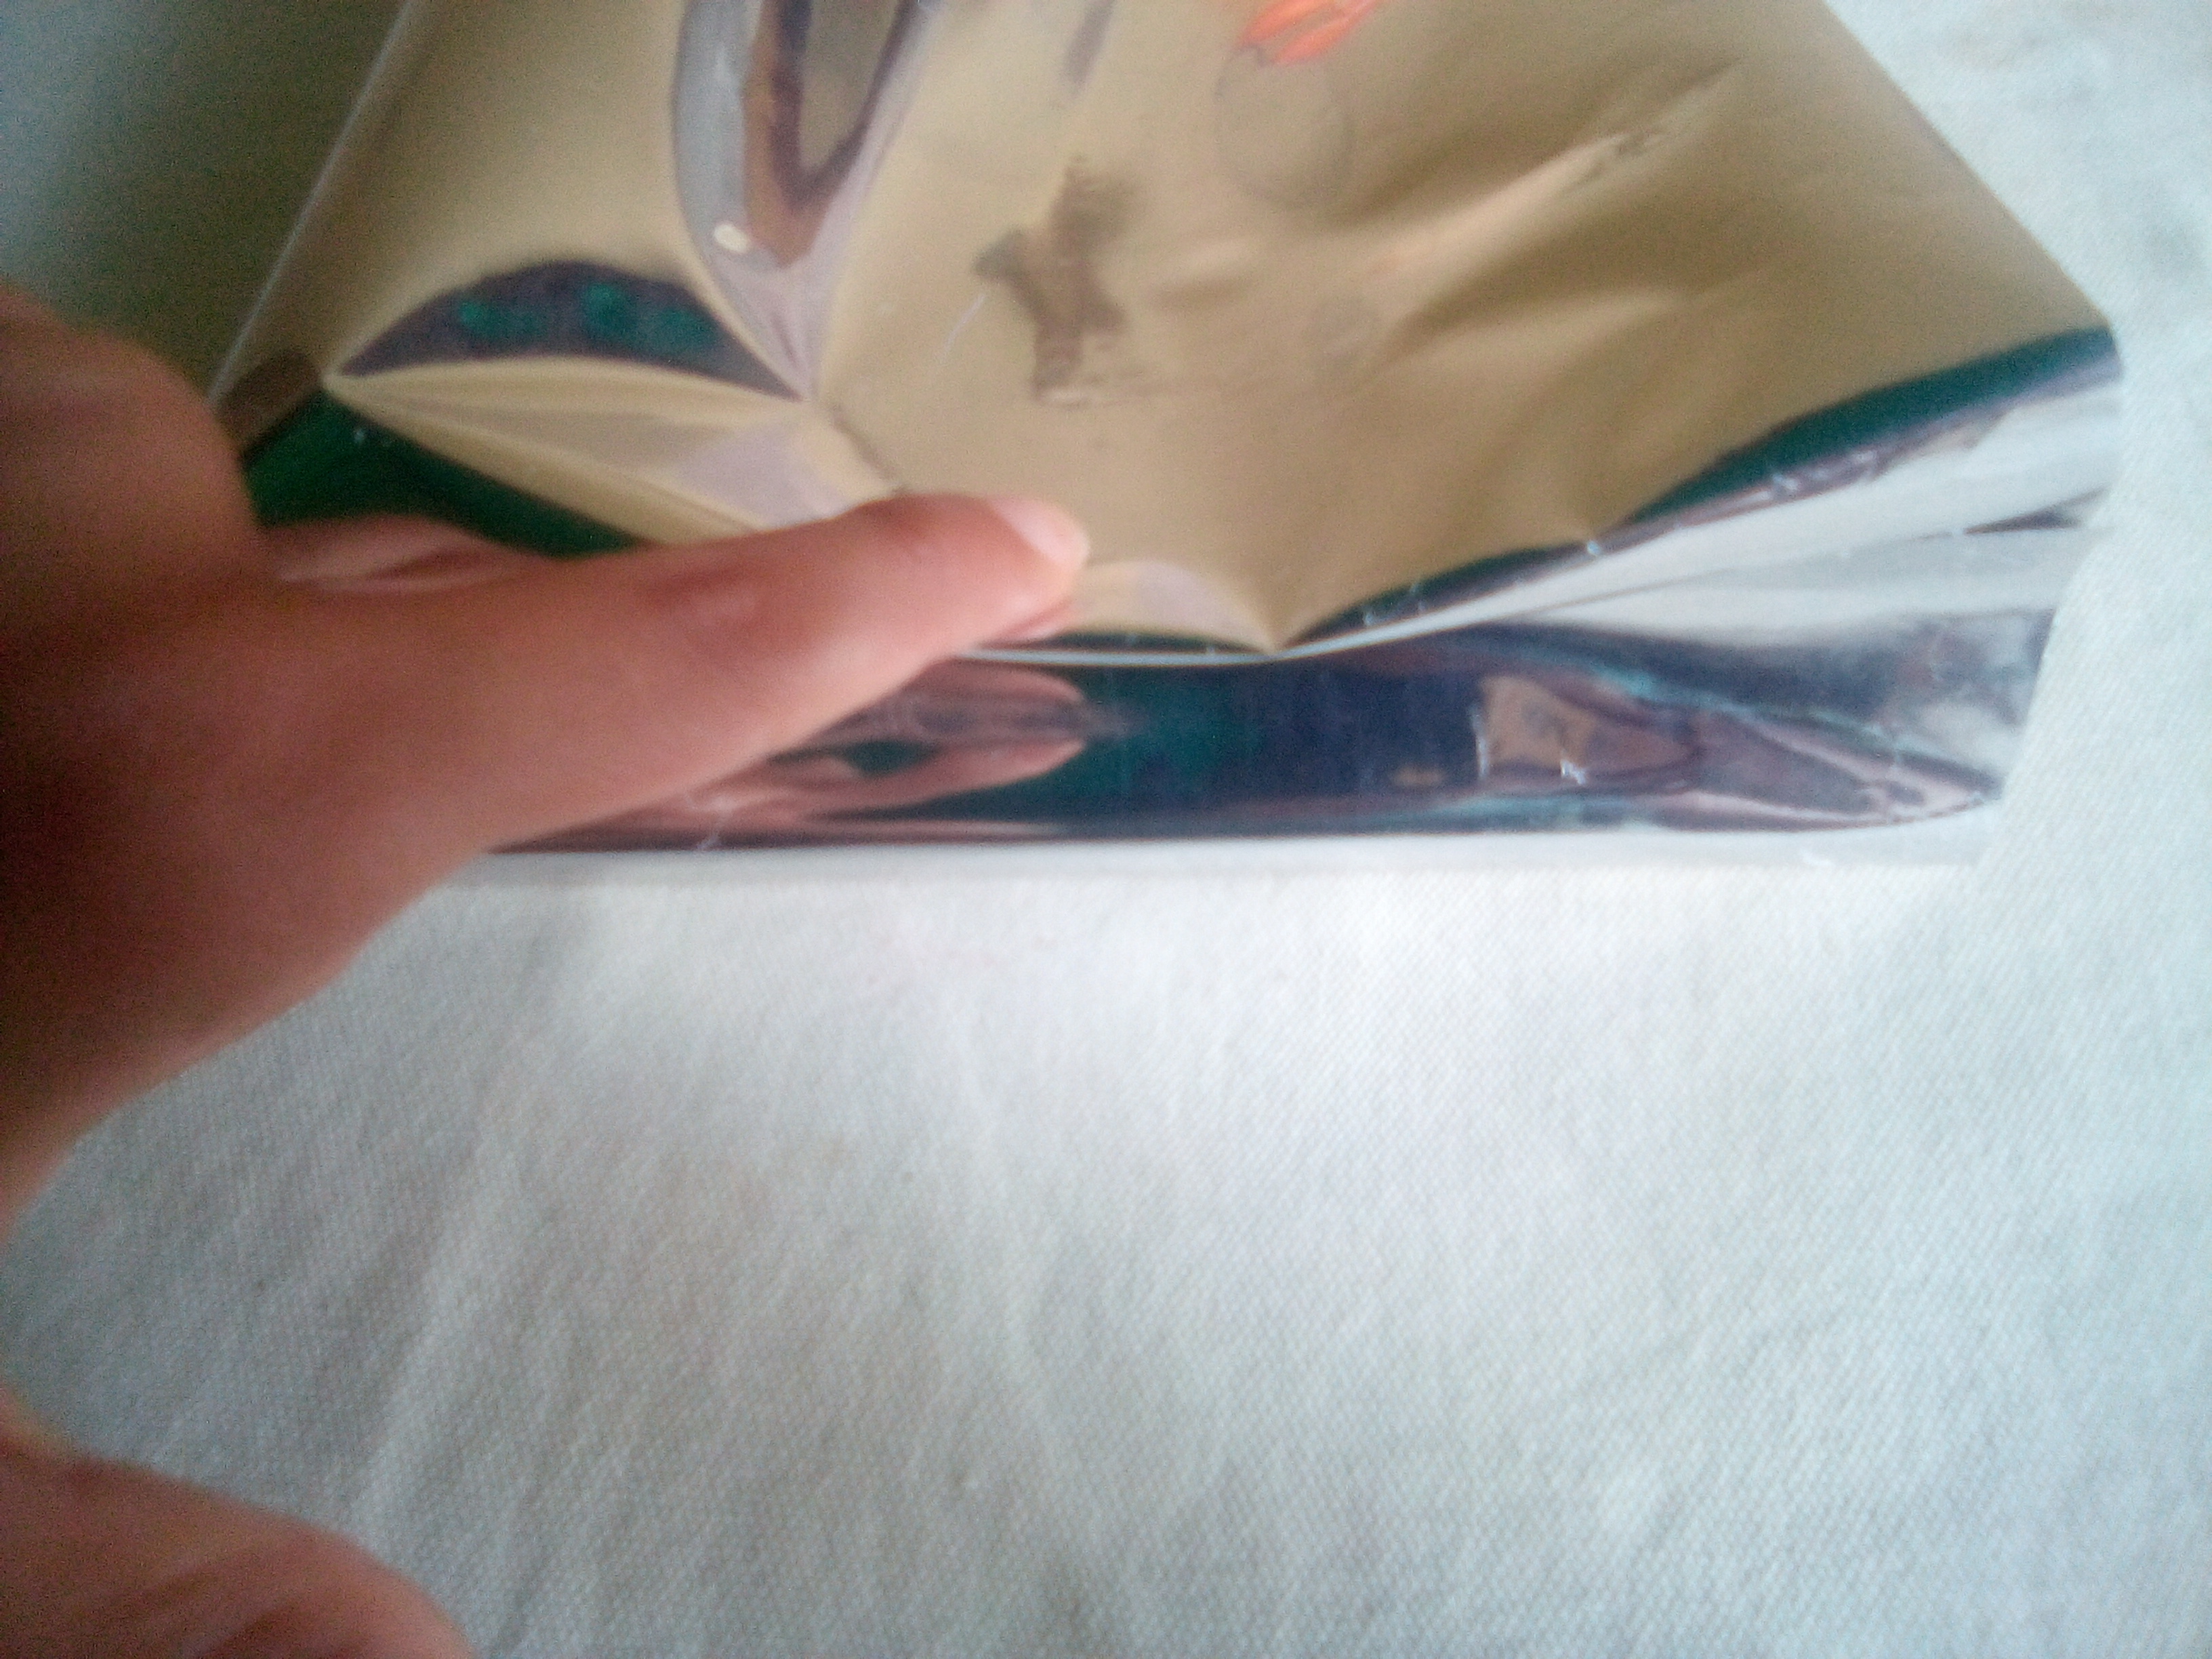
Paso#2 Luego tomamos un pliegue y doblamos el borde derecho llevandolo primero hacia adentro y luego hacia afuera, asimismo también tomamos el otro pliegue doblando está vez el borde izquierdo
Step # 2 Then we take a fold and fold the right edge leading it first inwards and then outwards, we also take the other fold by folding this time the left edge
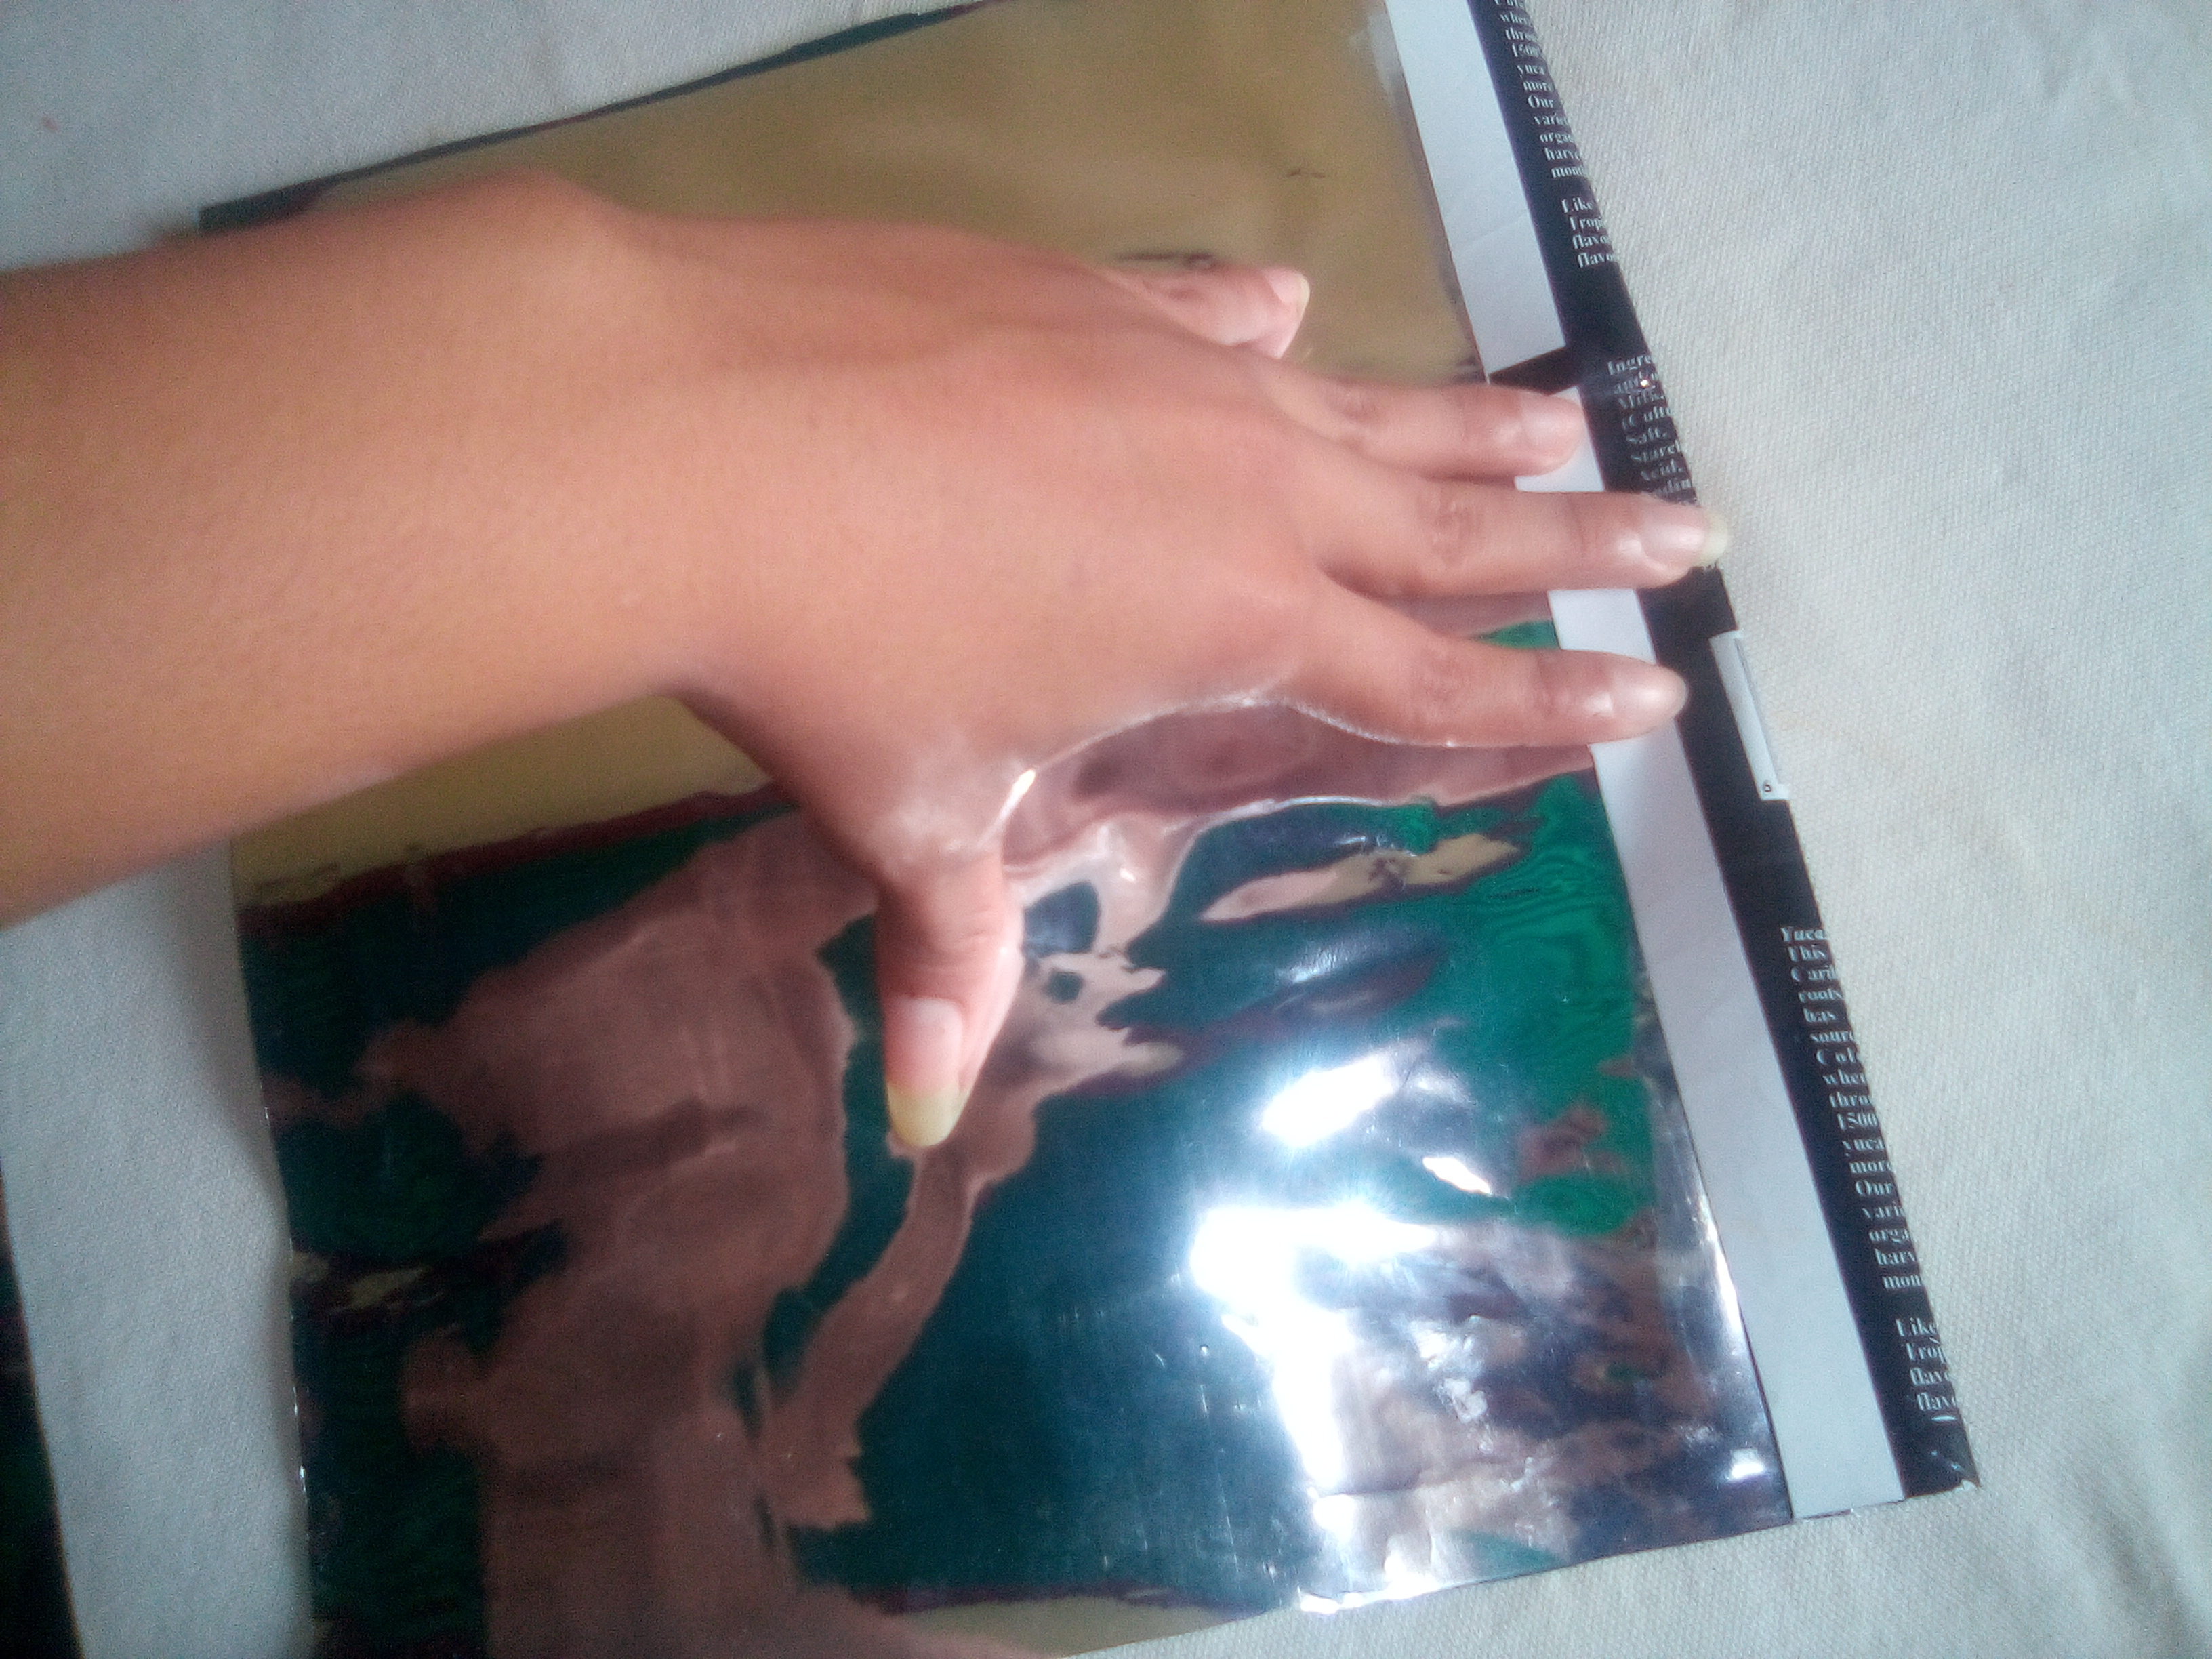
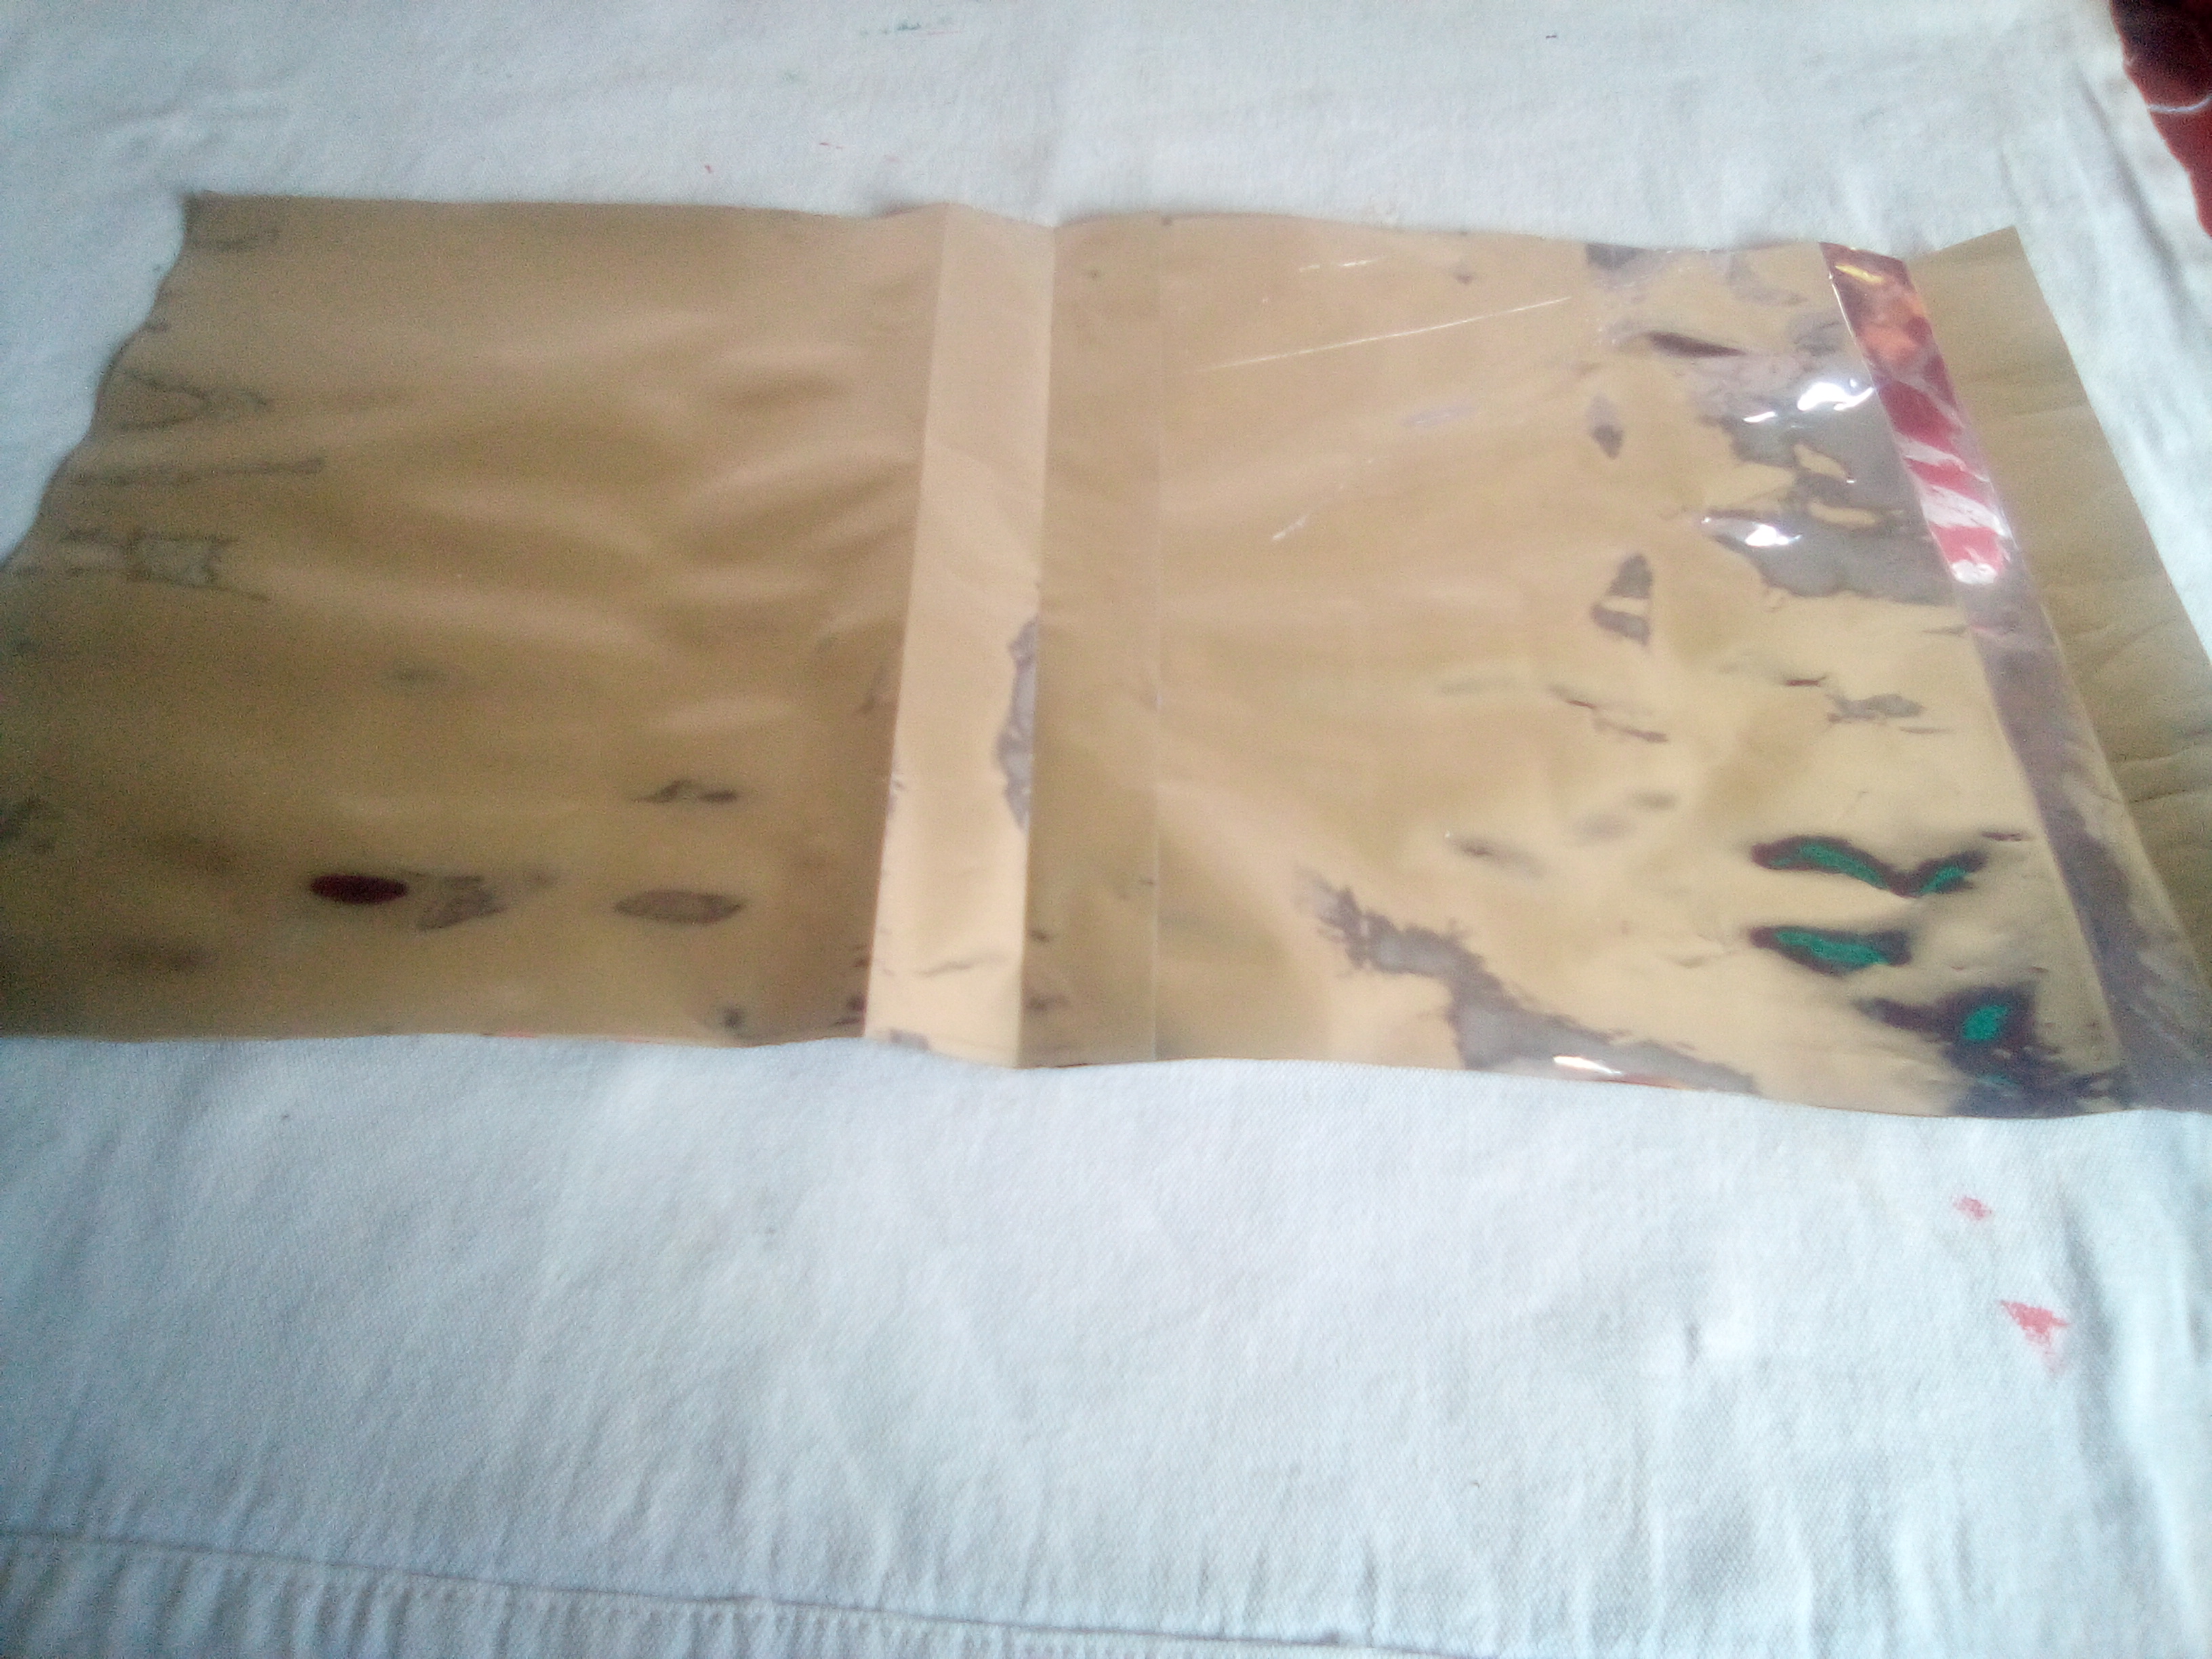
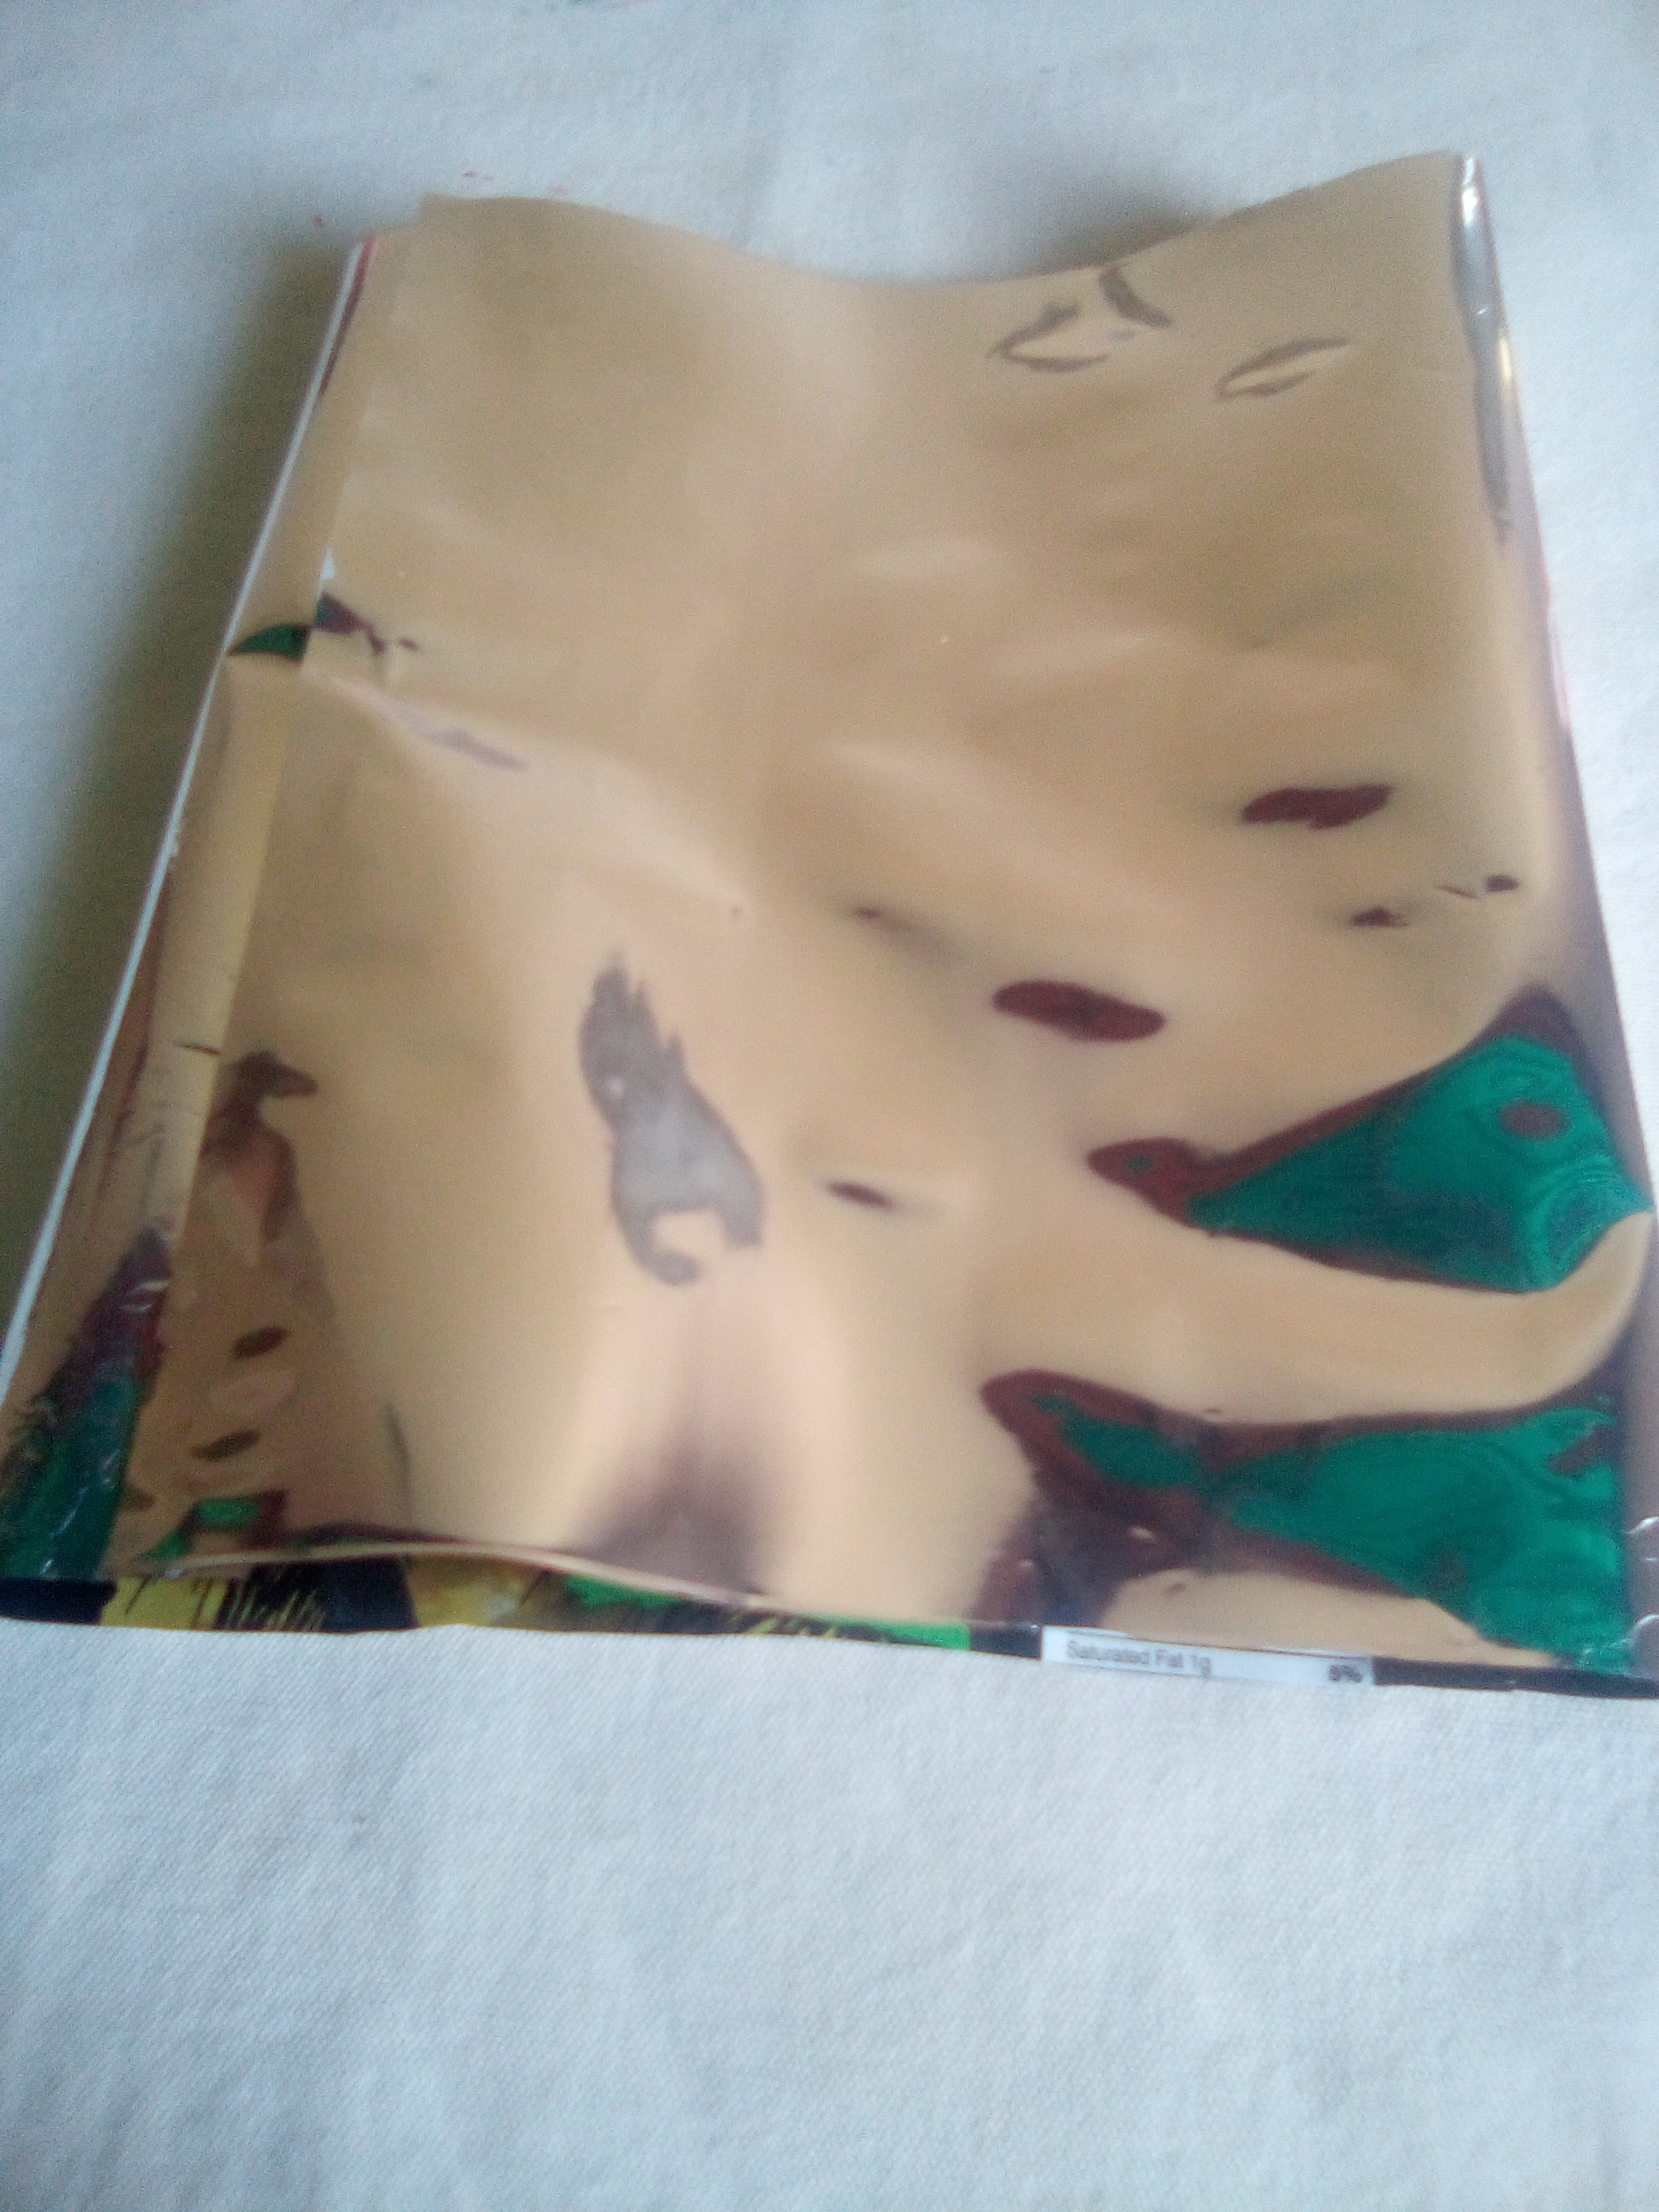
Paso#3 Tomamos un pliegue y pegamos el borde derecho en el otro pliegue donde no hay dobles y luego pegamos borde con borde como muestra la imagen.
Step # 3 We take one fold and paste the right edge in the other fold where there are no doubles and then paste edge to edge as the image shows.
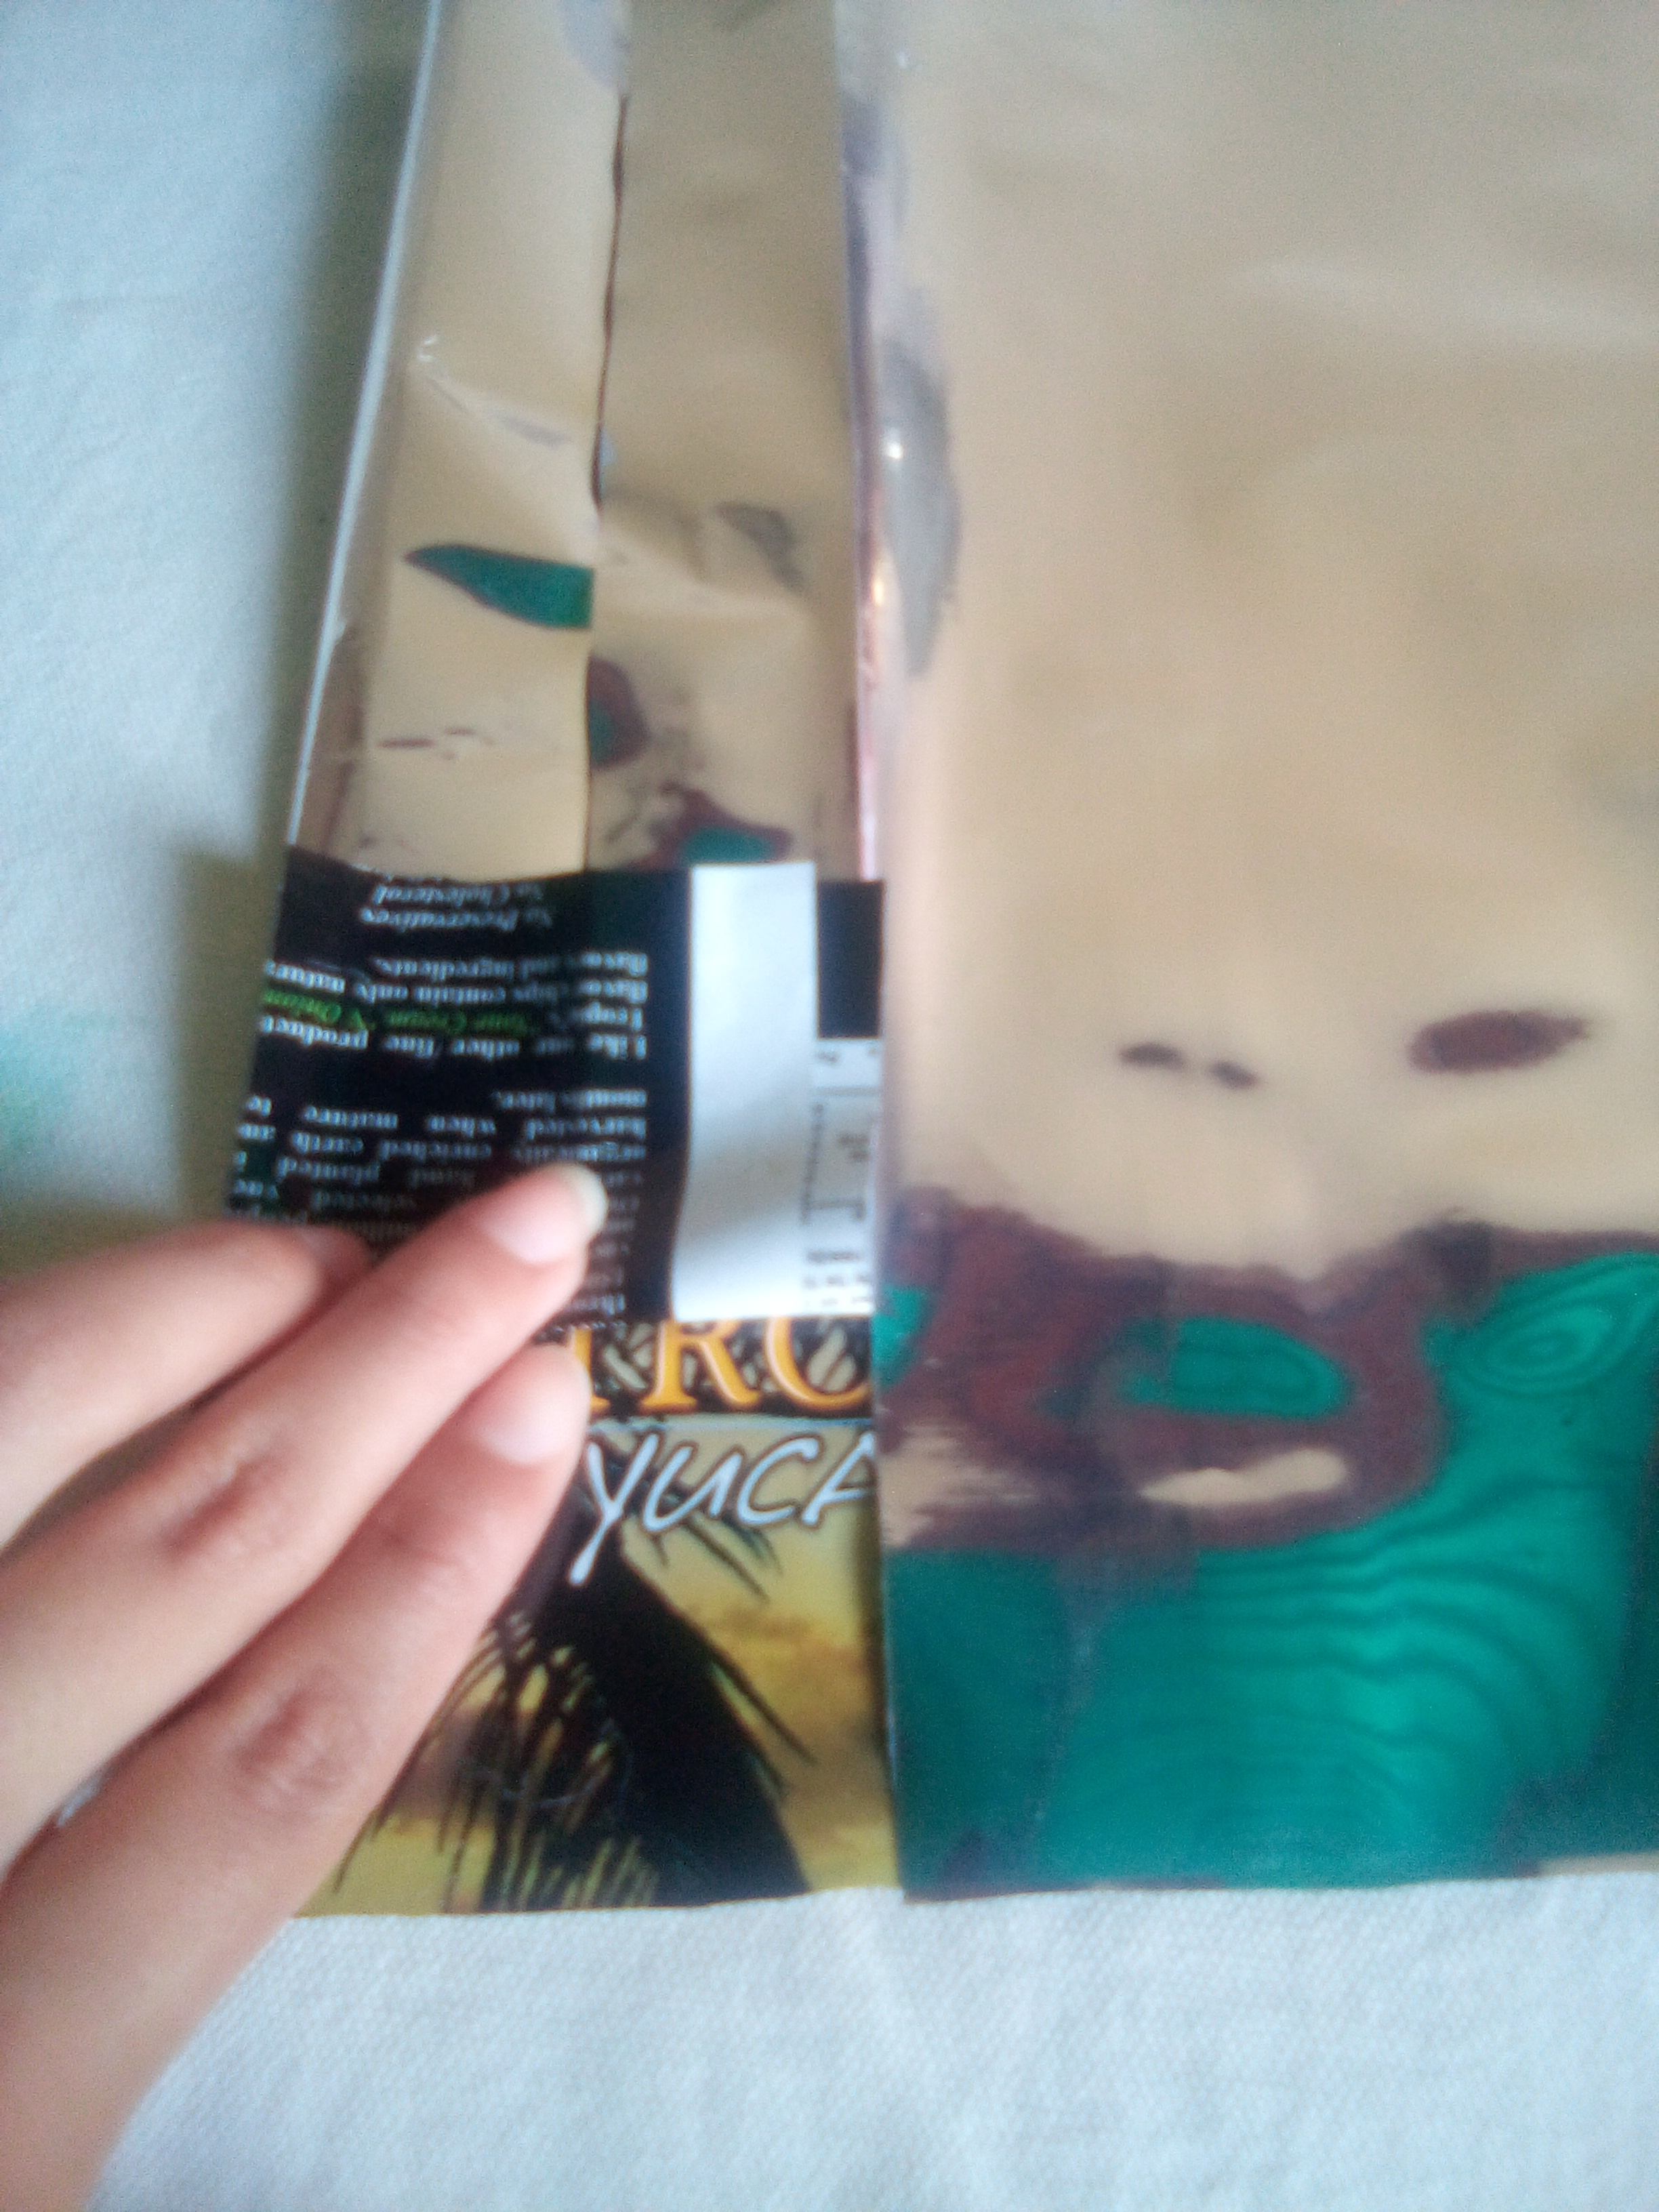
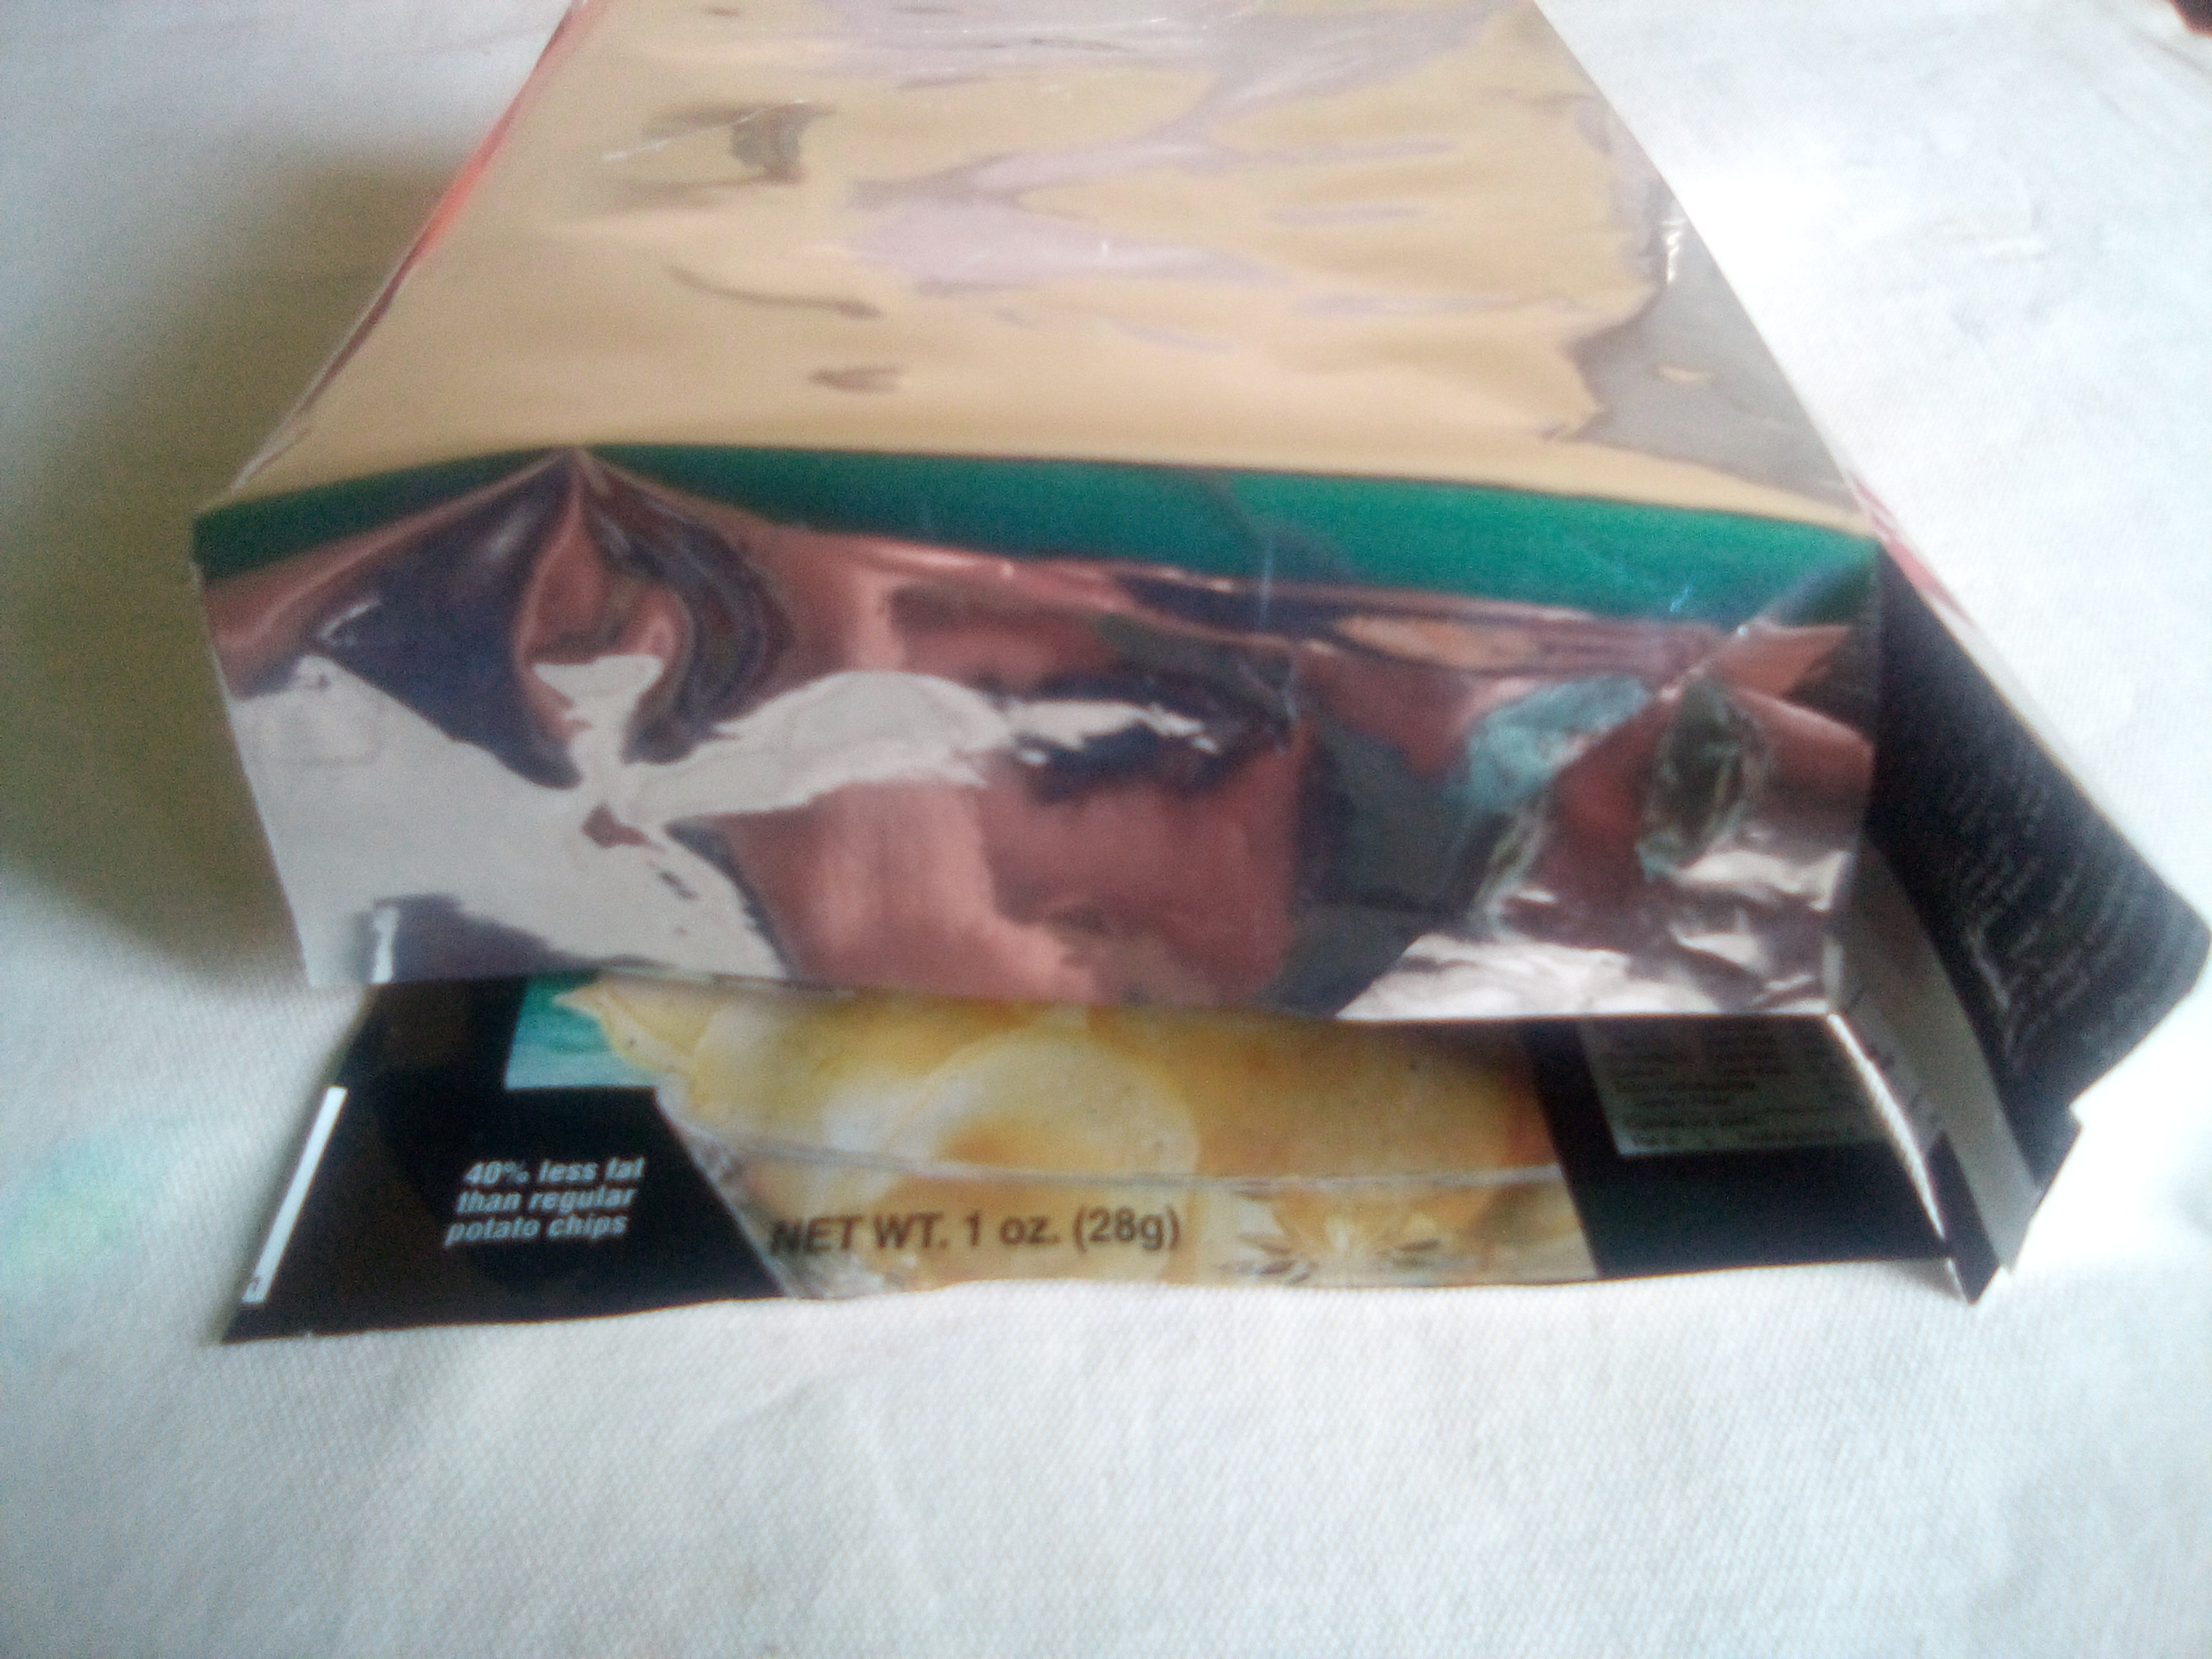
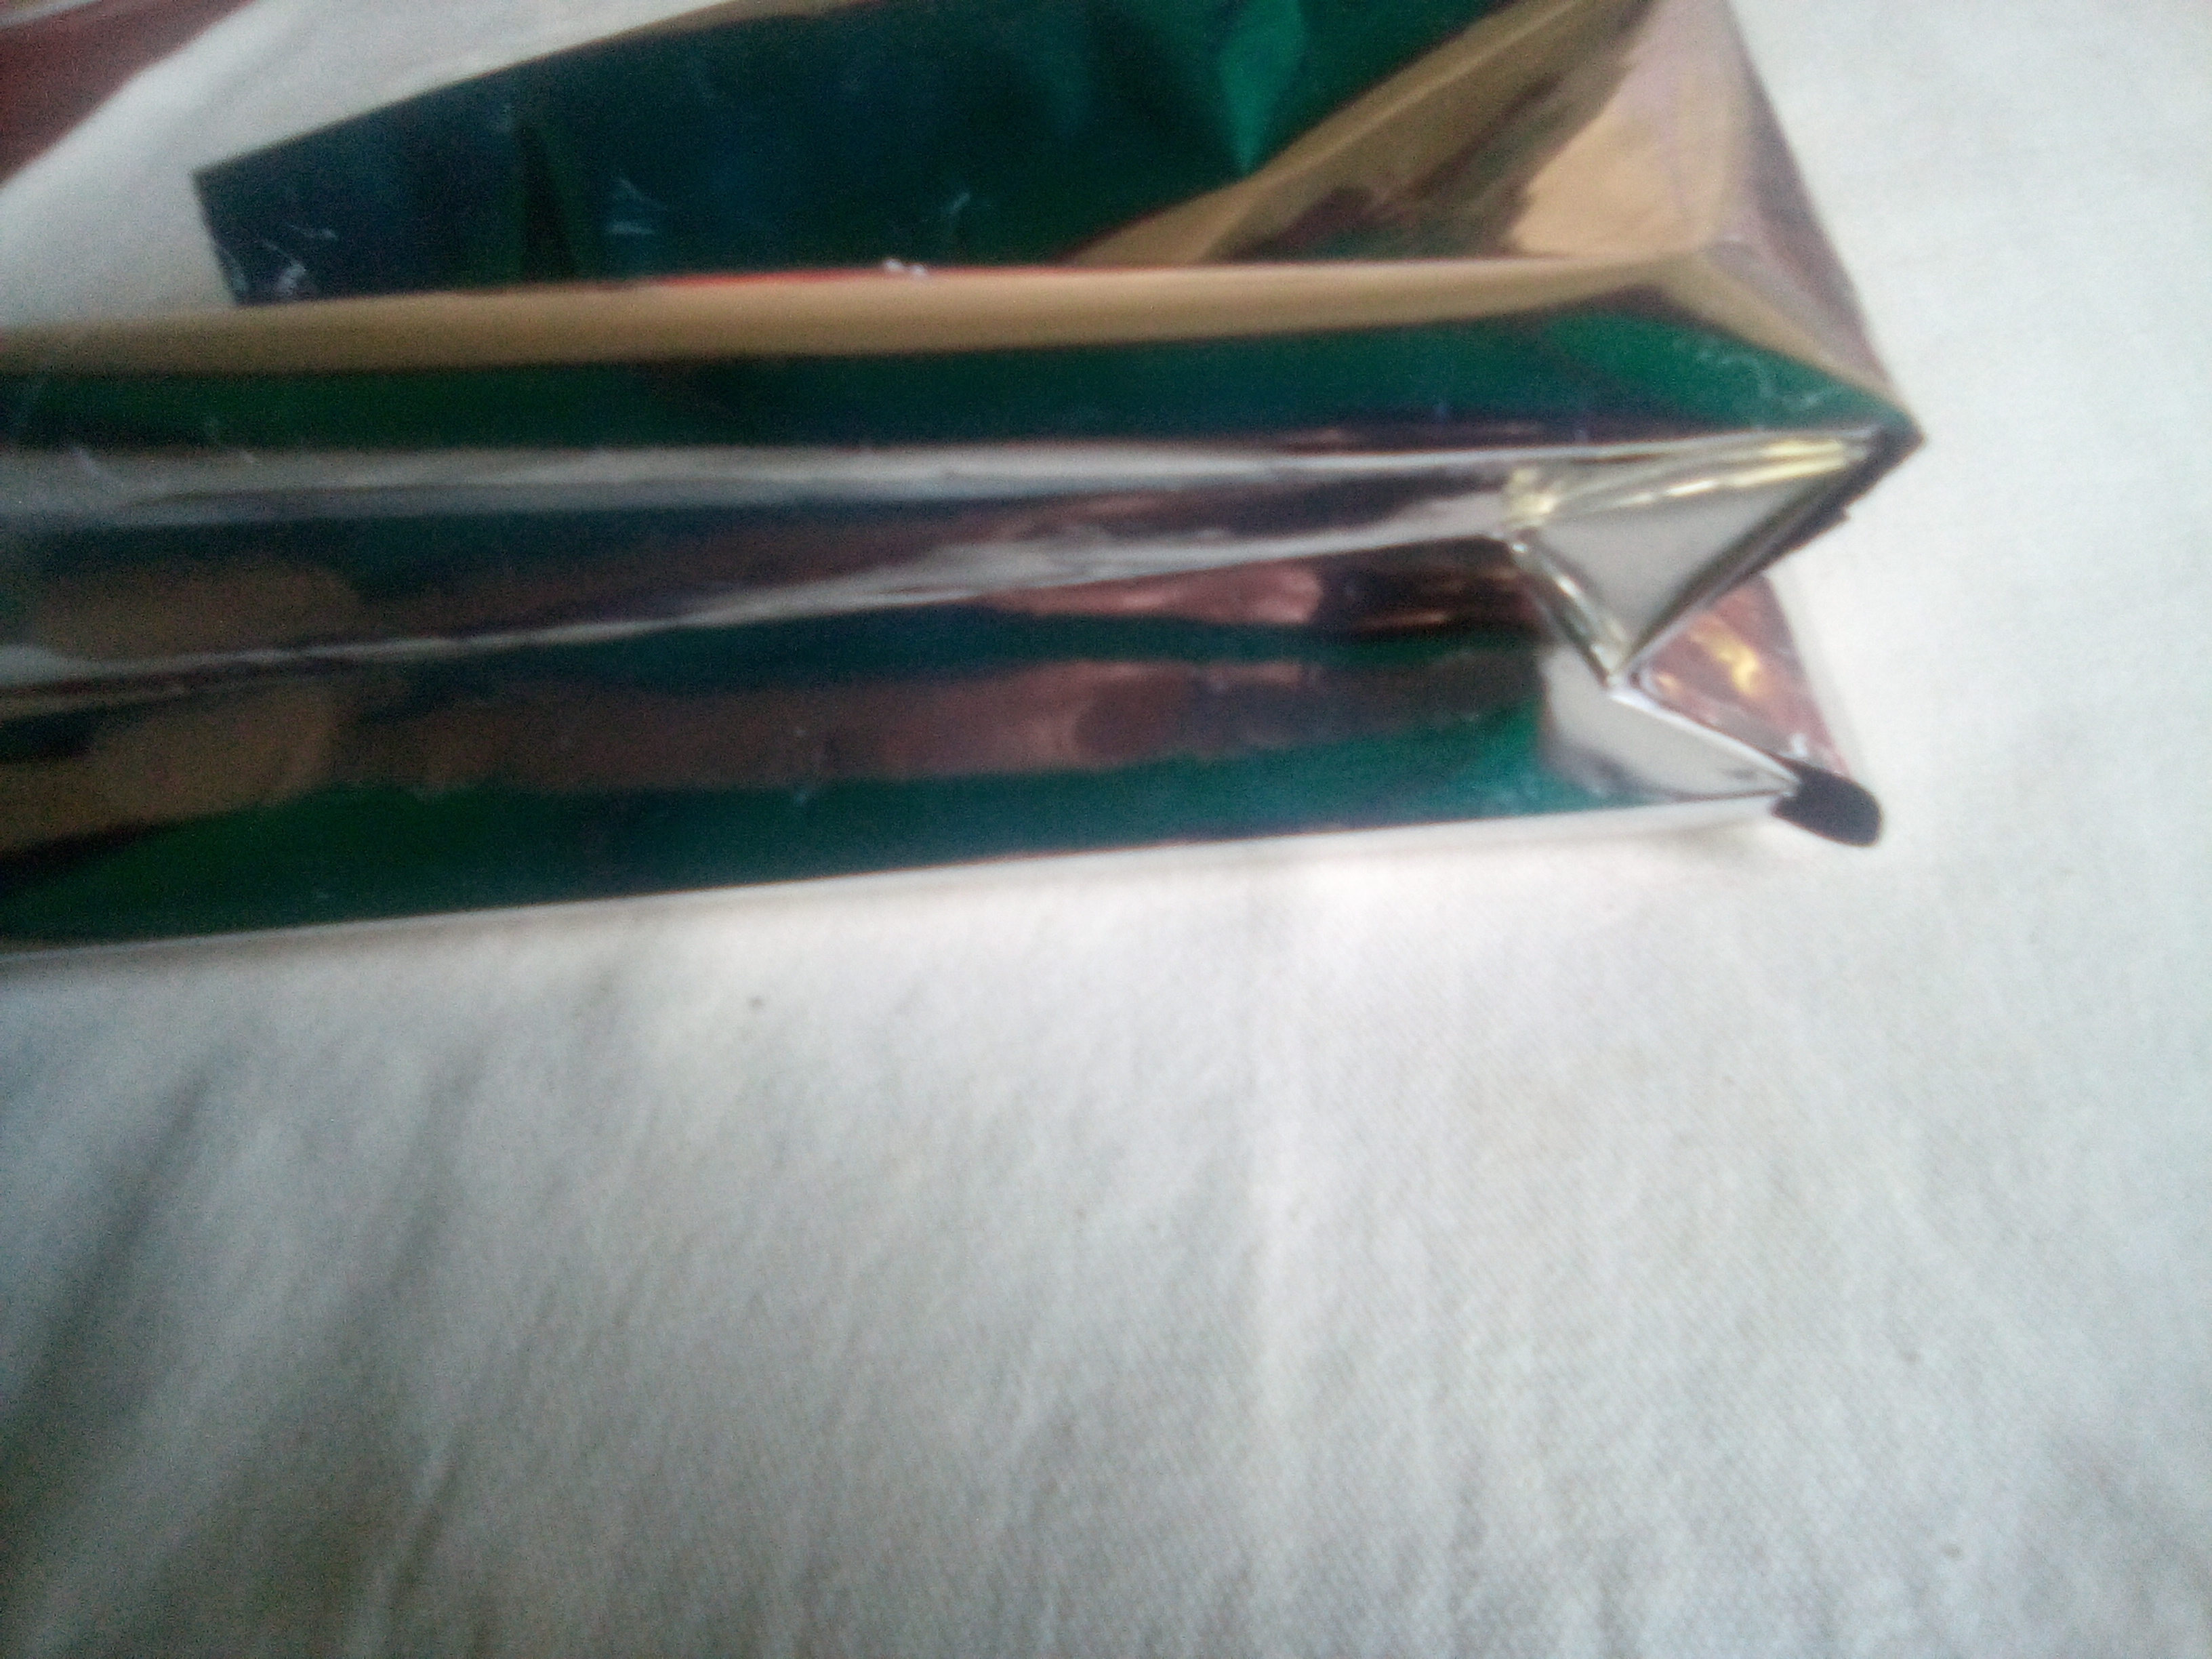
Paso#4: Seguidamente tomamos una tijera y haremos una pequeña abertura donde se encuentran las líneas de los dobleses y nos irá quedando una pequeña aleta como se muestra en la imagen y esto lo vamos a hacer de los dos lados, después tomamos parte superior y la pegamos con las aletas para ir formando el piso de nuestra bolsa, luego pegamos la parte inferior sobre la superior de esta manera tendremos ya el piso de nuestra bolsa
👇
Step # 4: Next we take a scissors and we will make a small opening where the lines of the doubles meet and we will have a small fin as shown in the image and this we are going to do from the two sides, then we take the upper part and glue it with the fins to form the floor of our bag, then we glue the lower part over the upper part in this way we will already have the floor of our bag👇
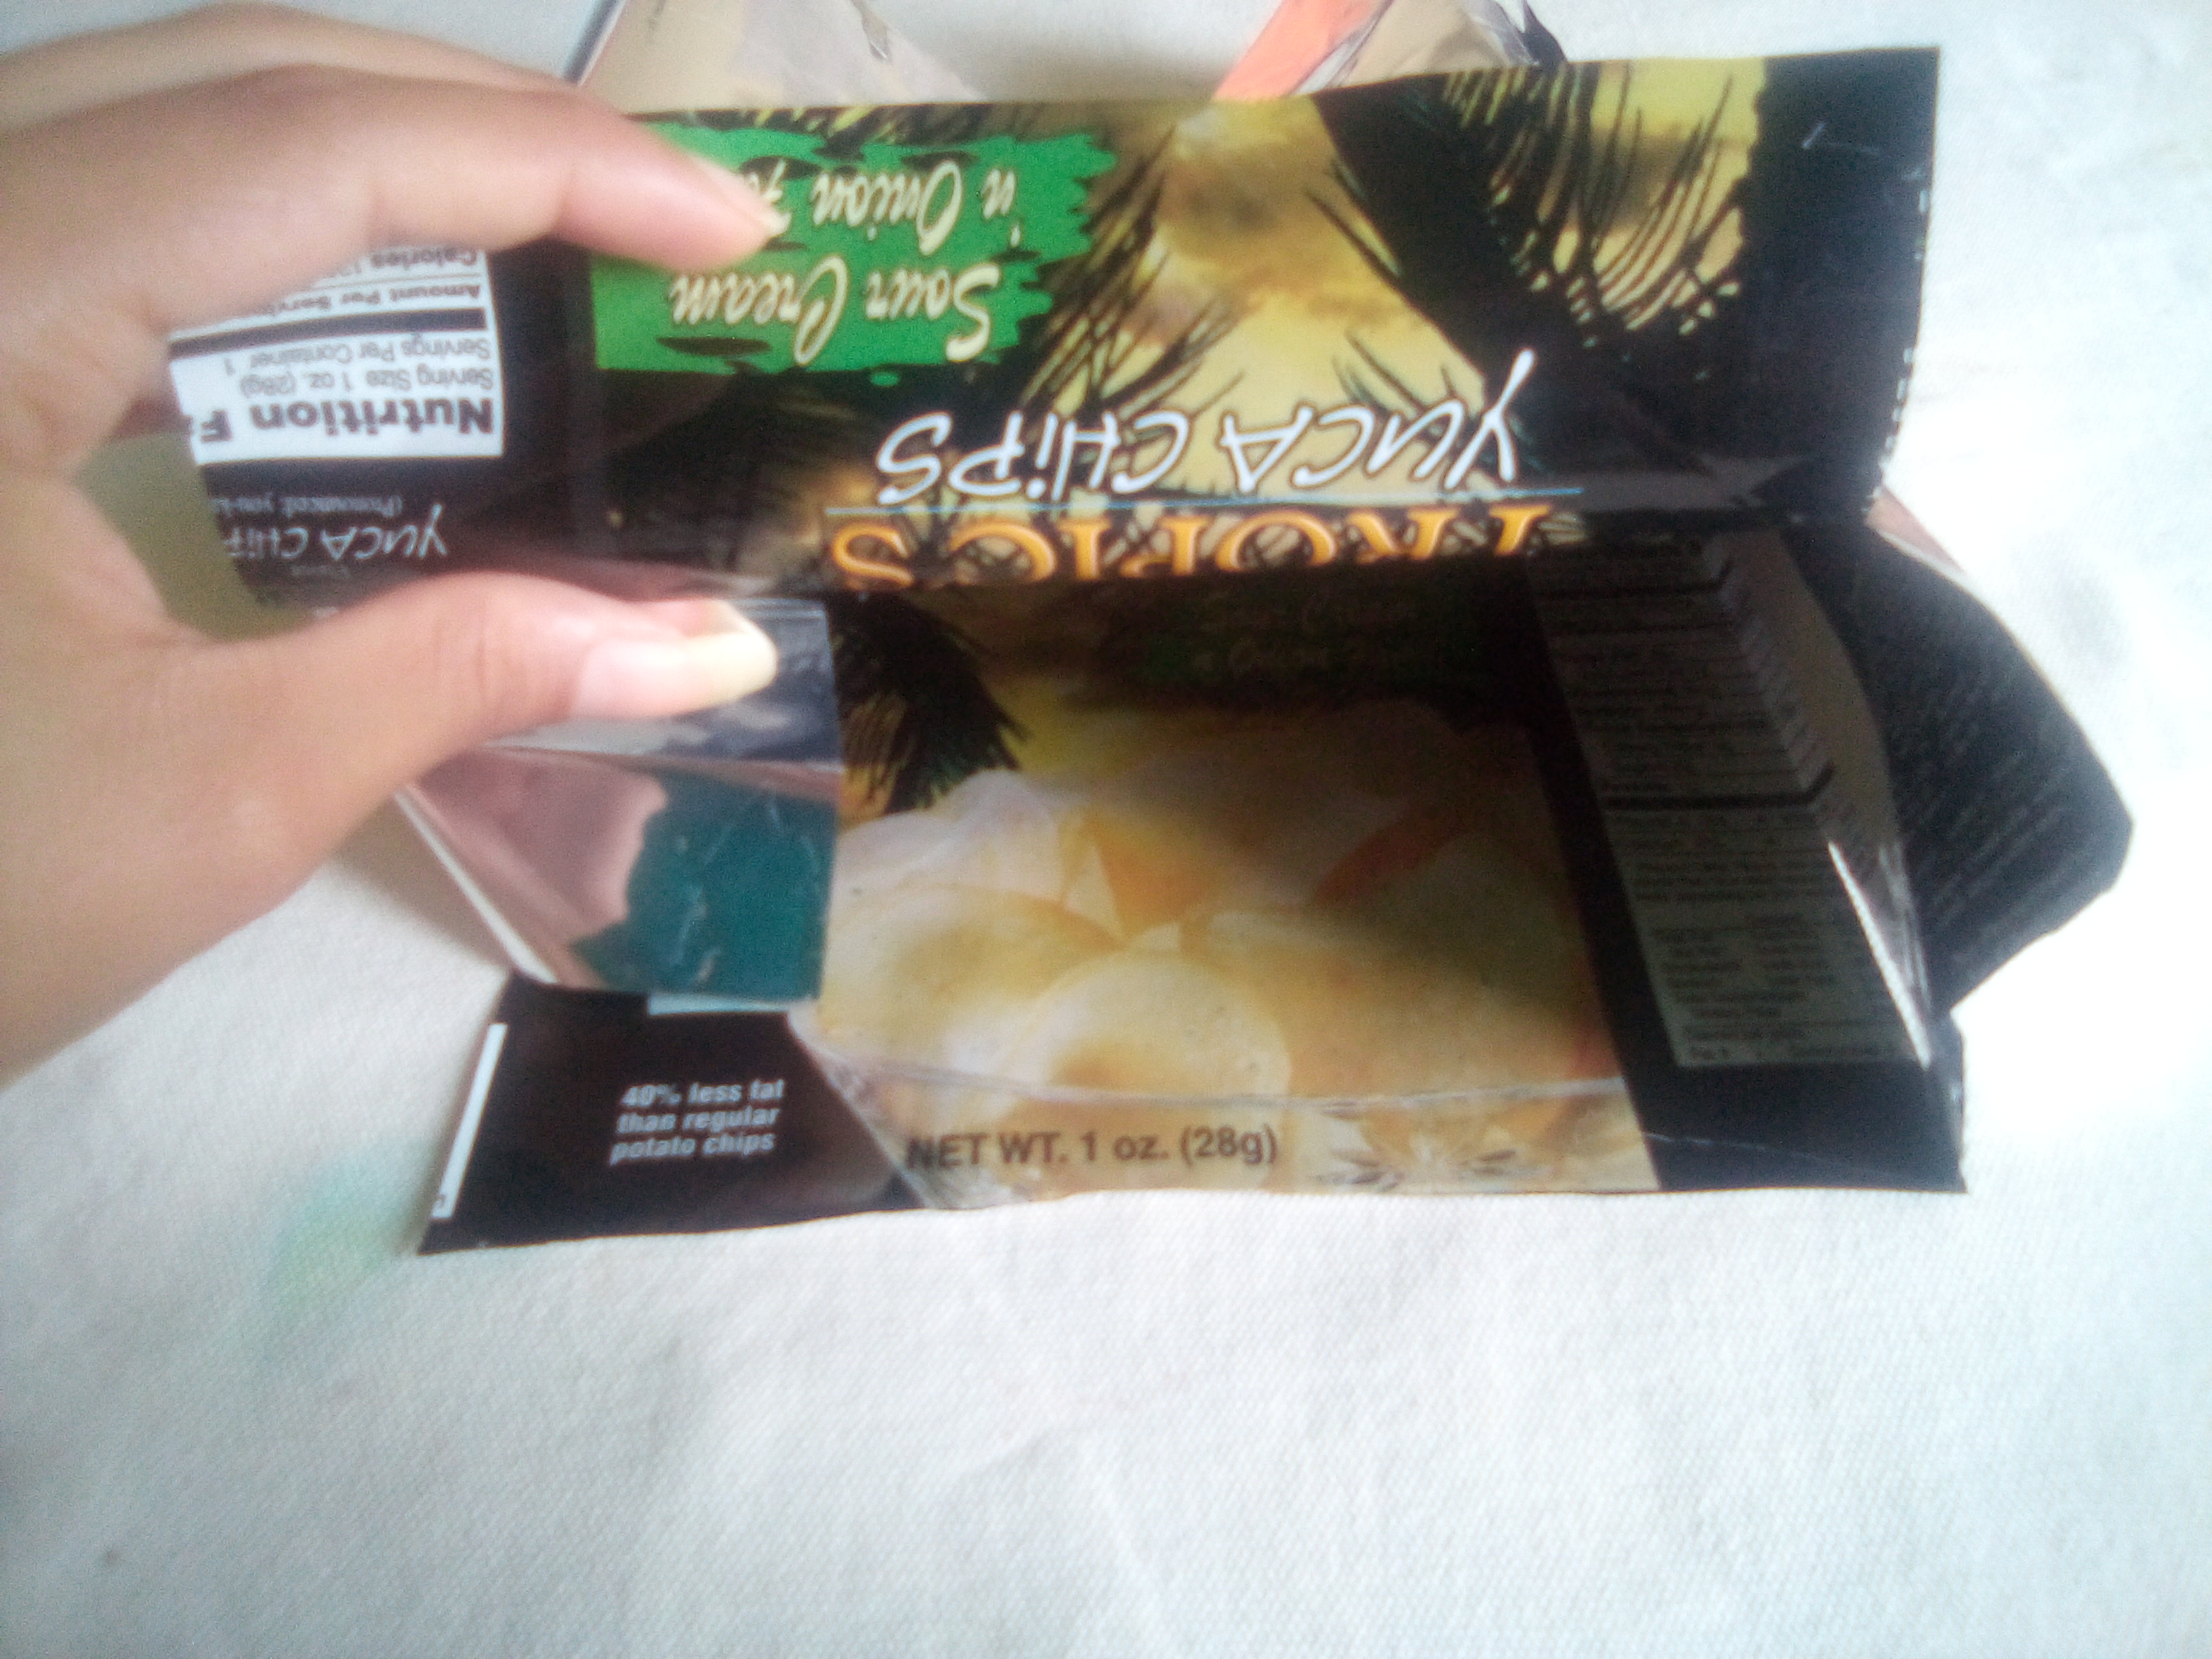
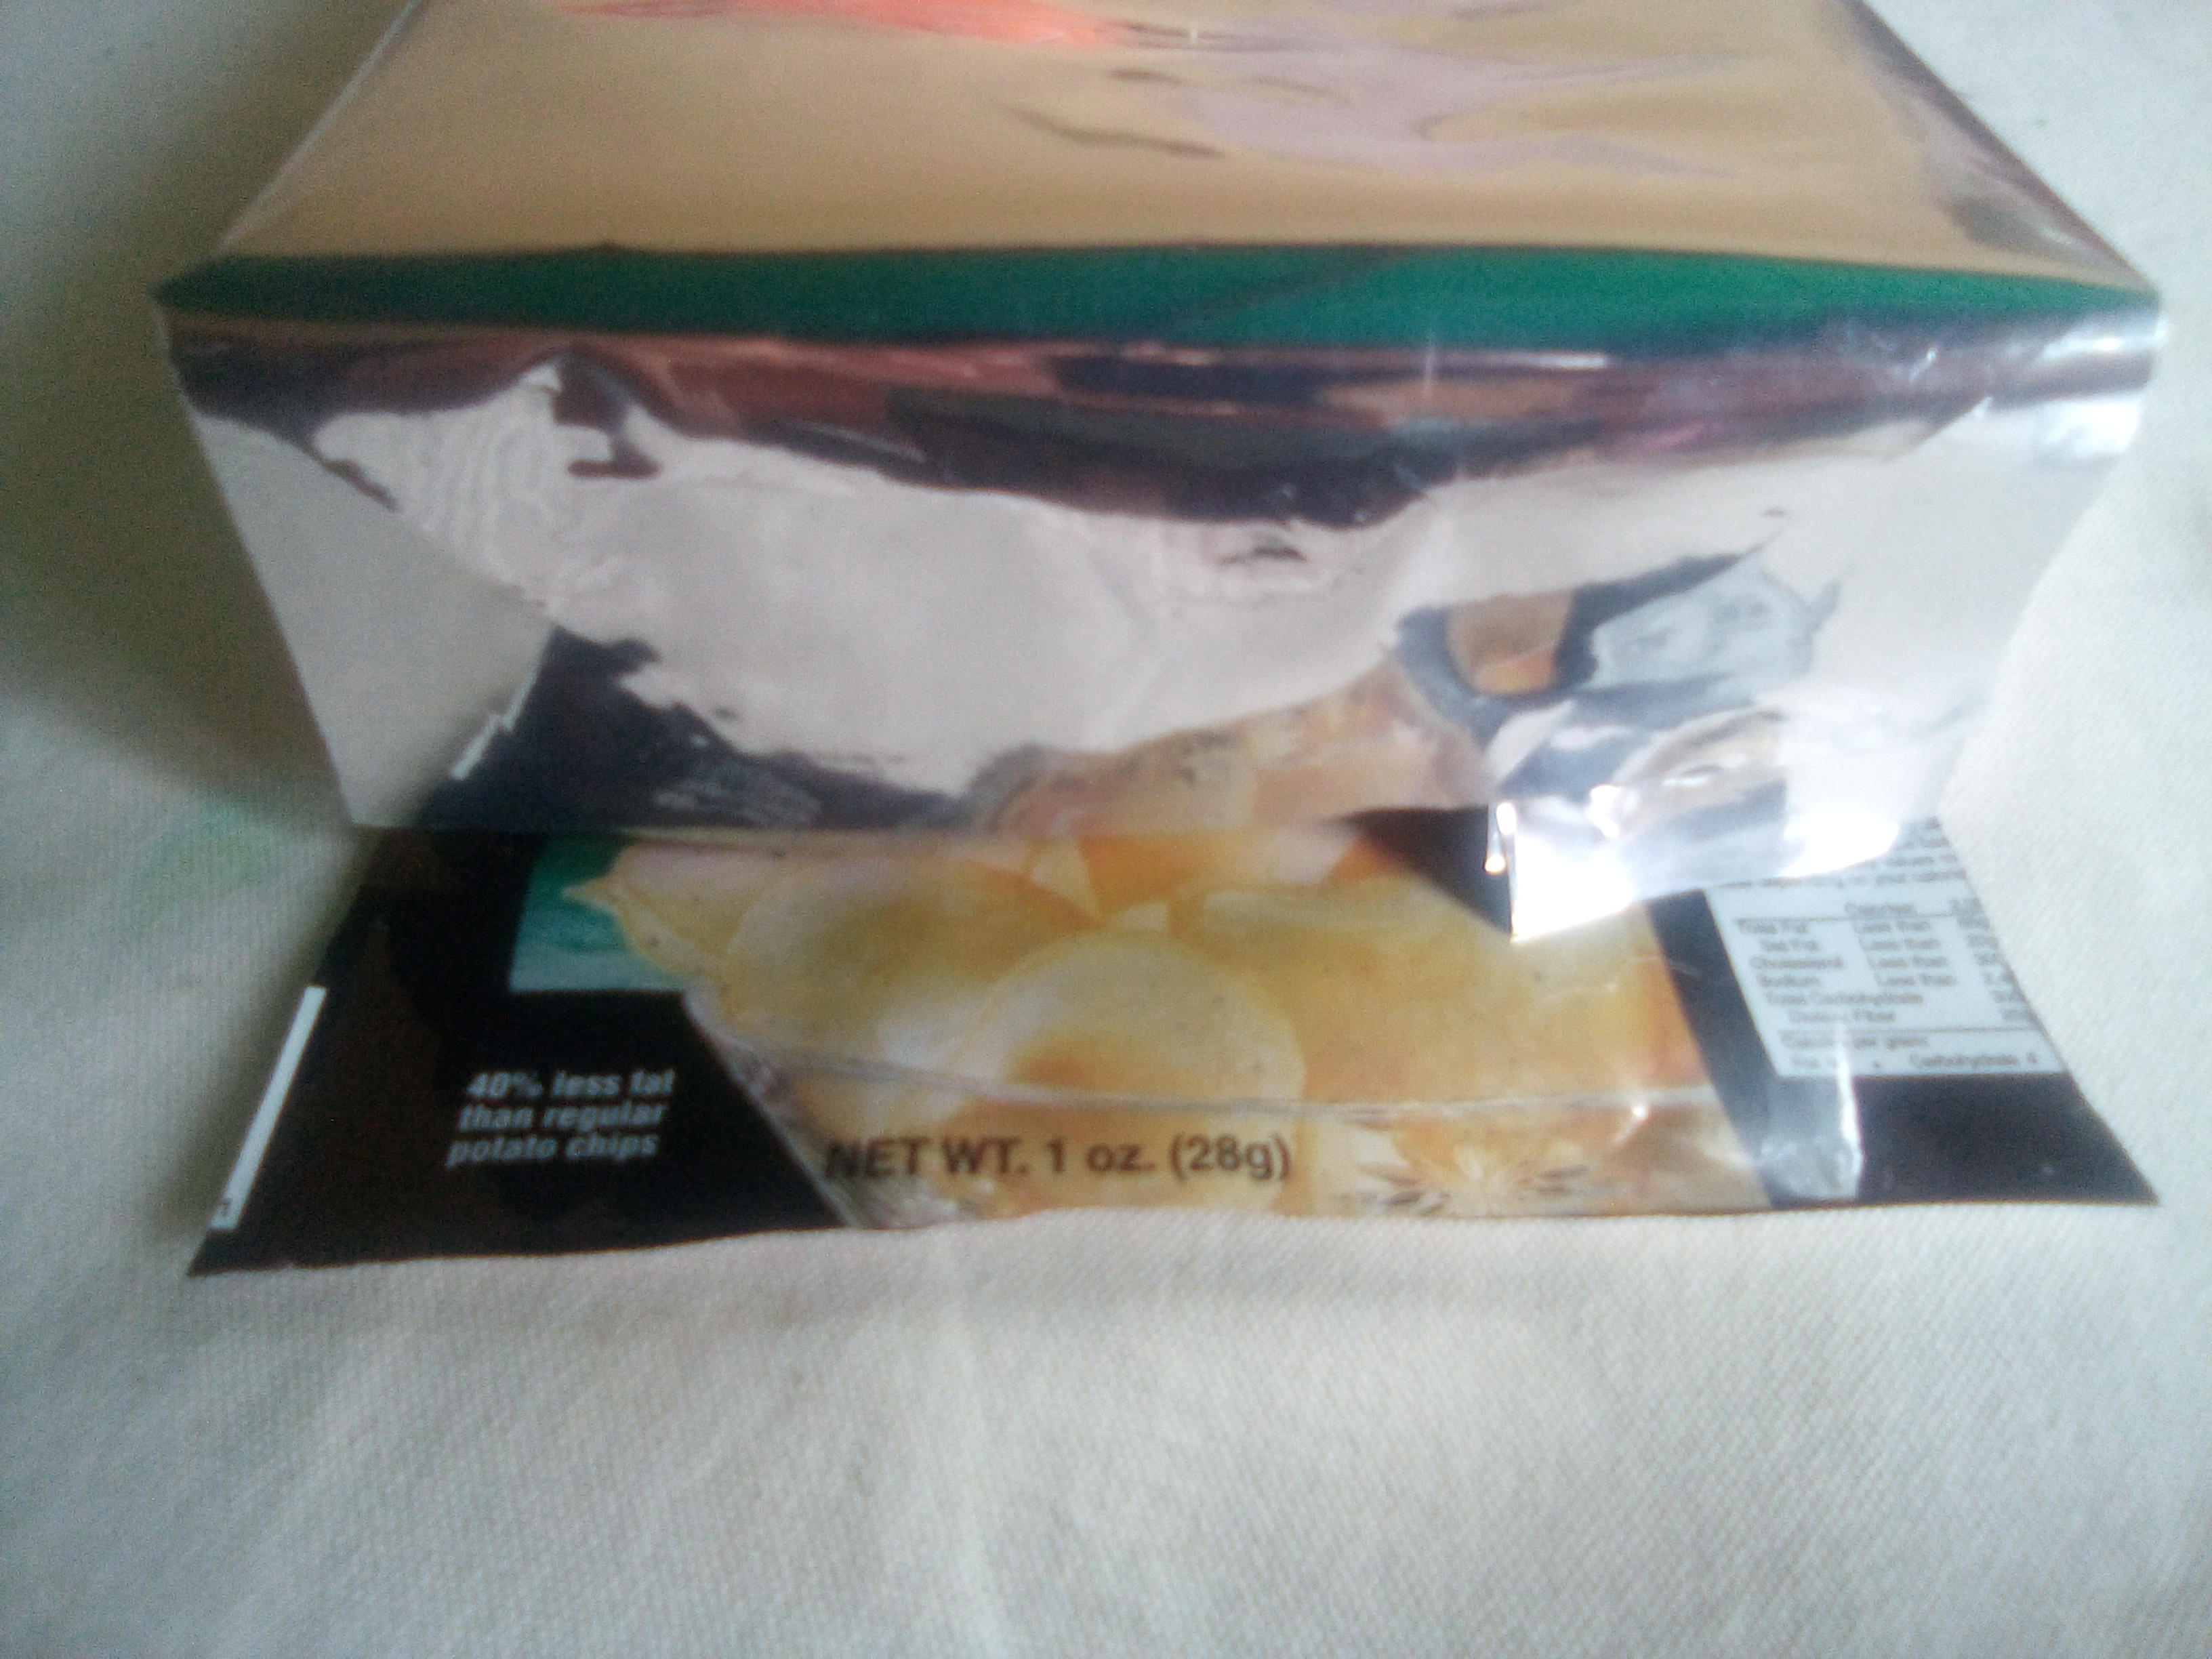
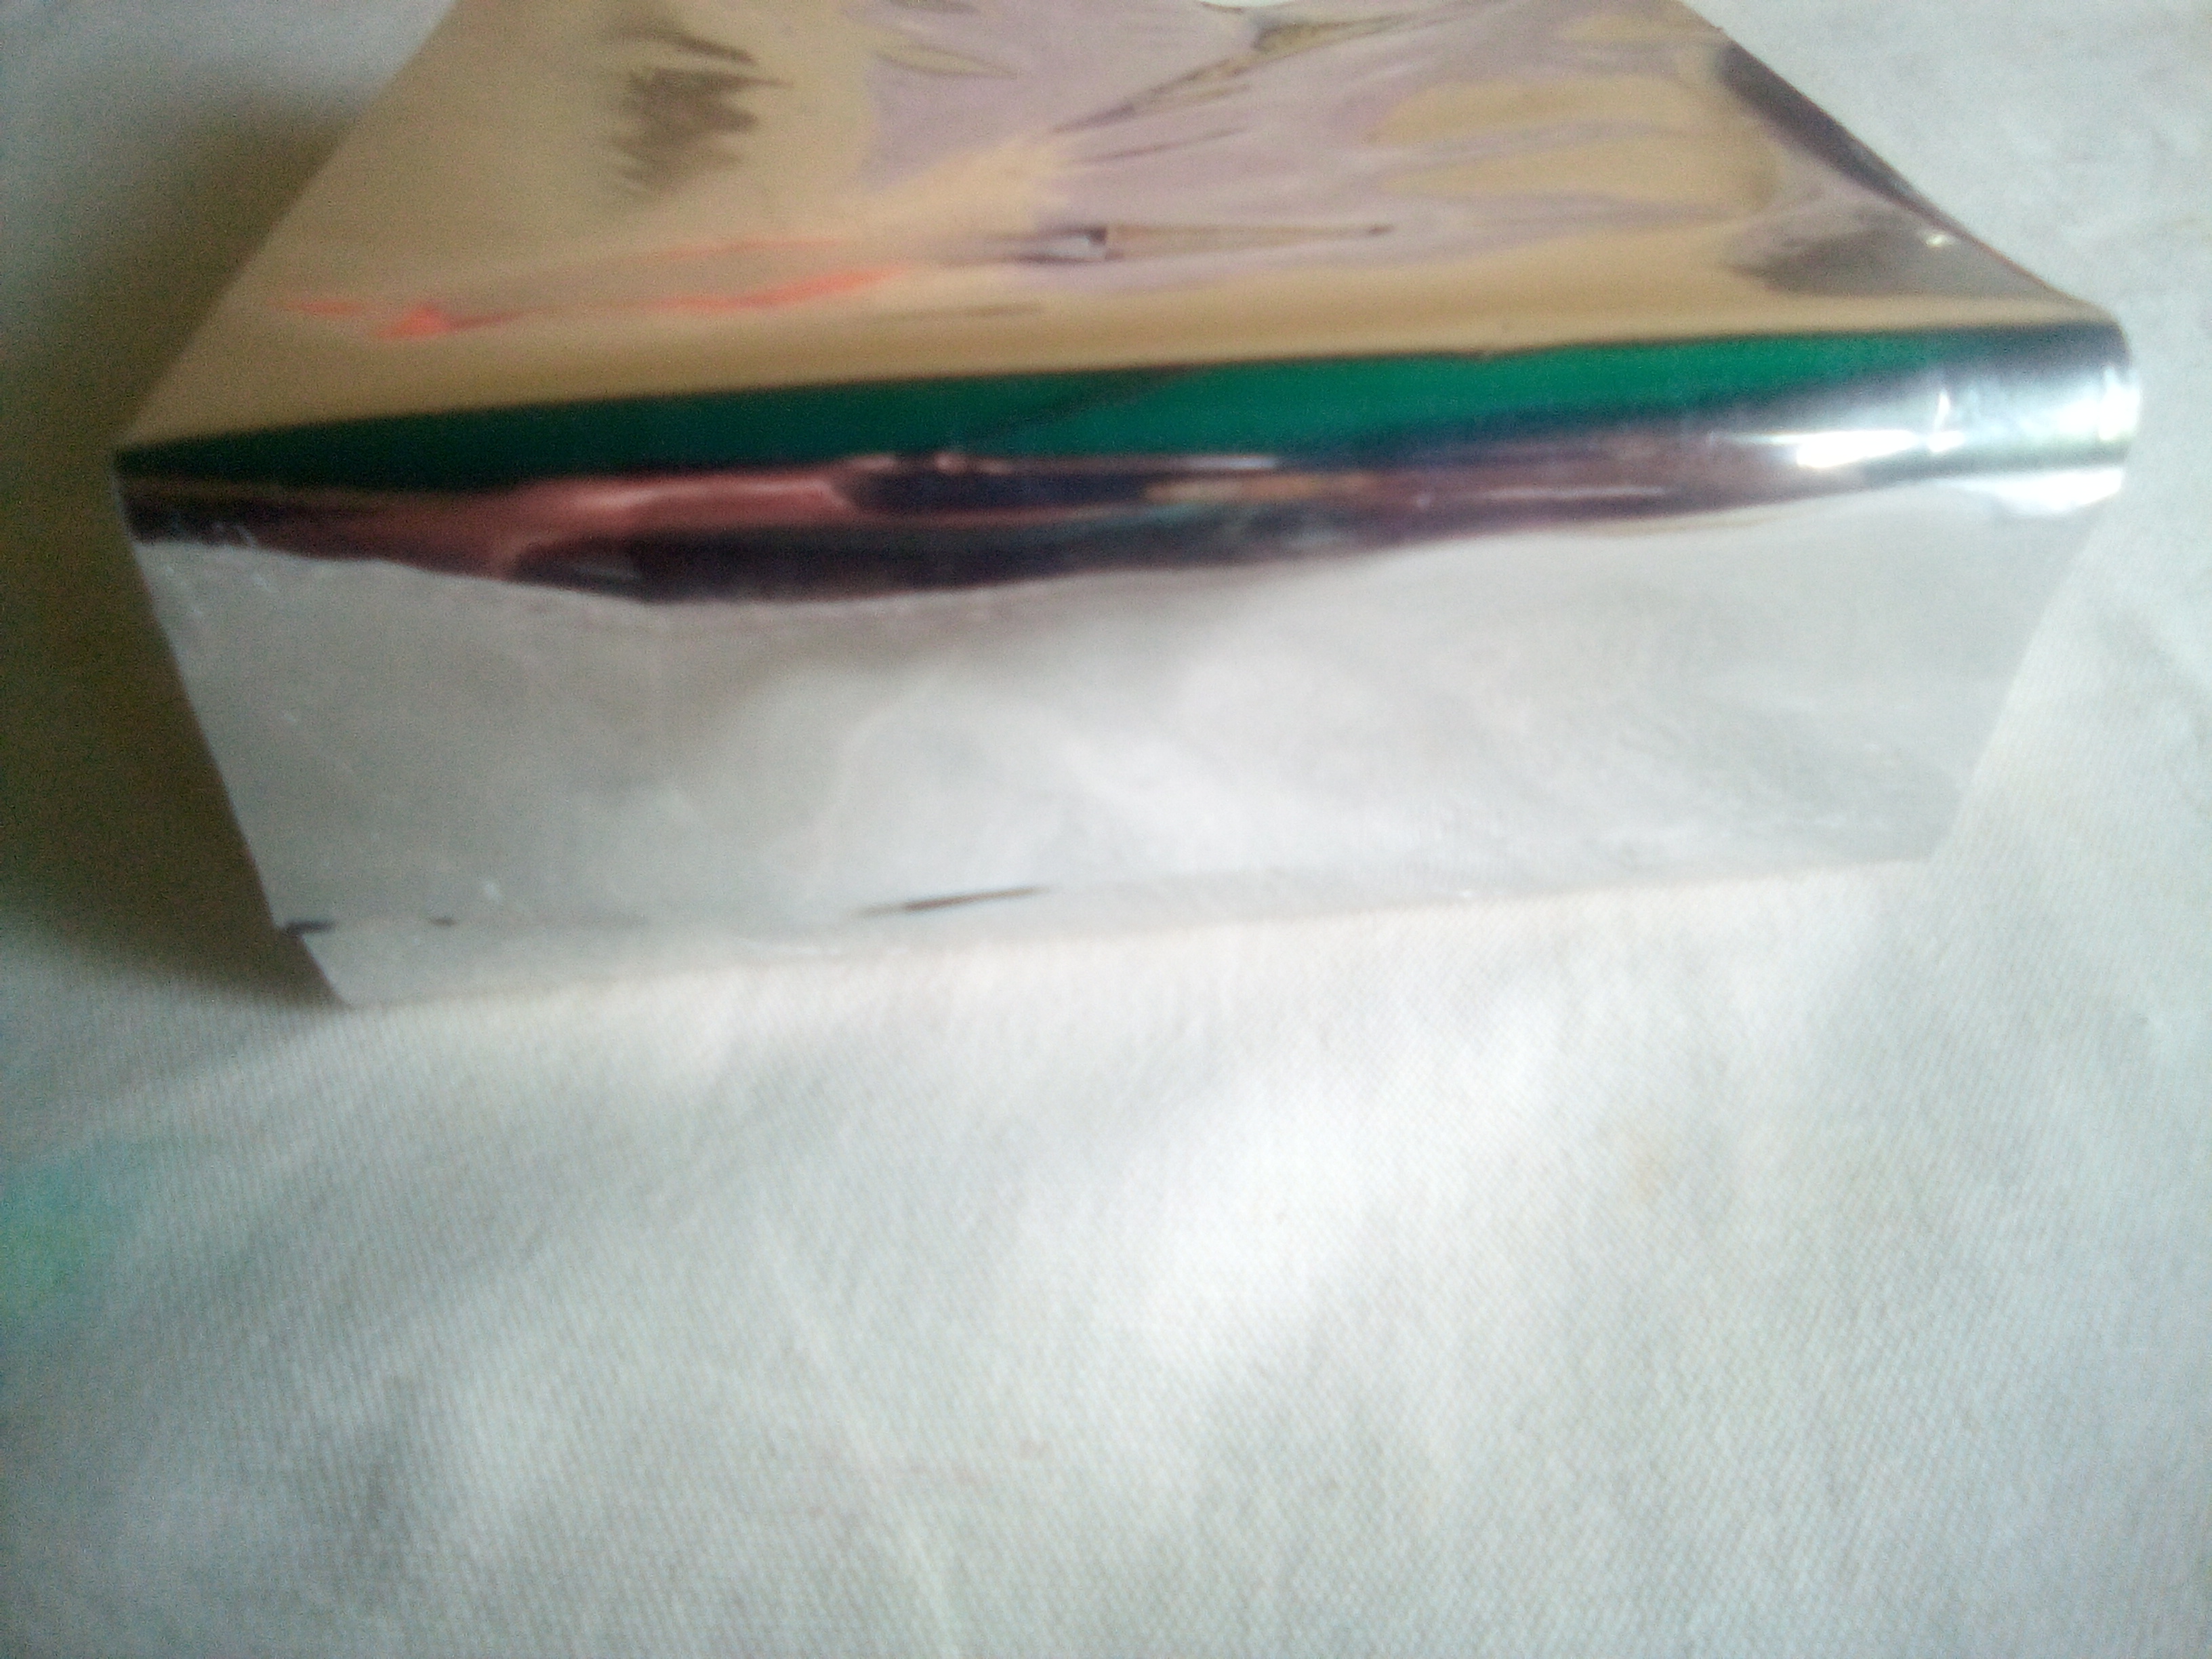
Para finalizar con nuestra bolsa lo que haremos será doblar el piso hacia adentro y también los dos lados para definir bien nuestra bolsa y continuamos con el siguiente paso que será decorar esta pequeña bolsa
👇
To finish with our bag what we will do is fold the floor inwards and also the two sides to define our bag well and we continue with the next step which will be to decorate this small bag👇
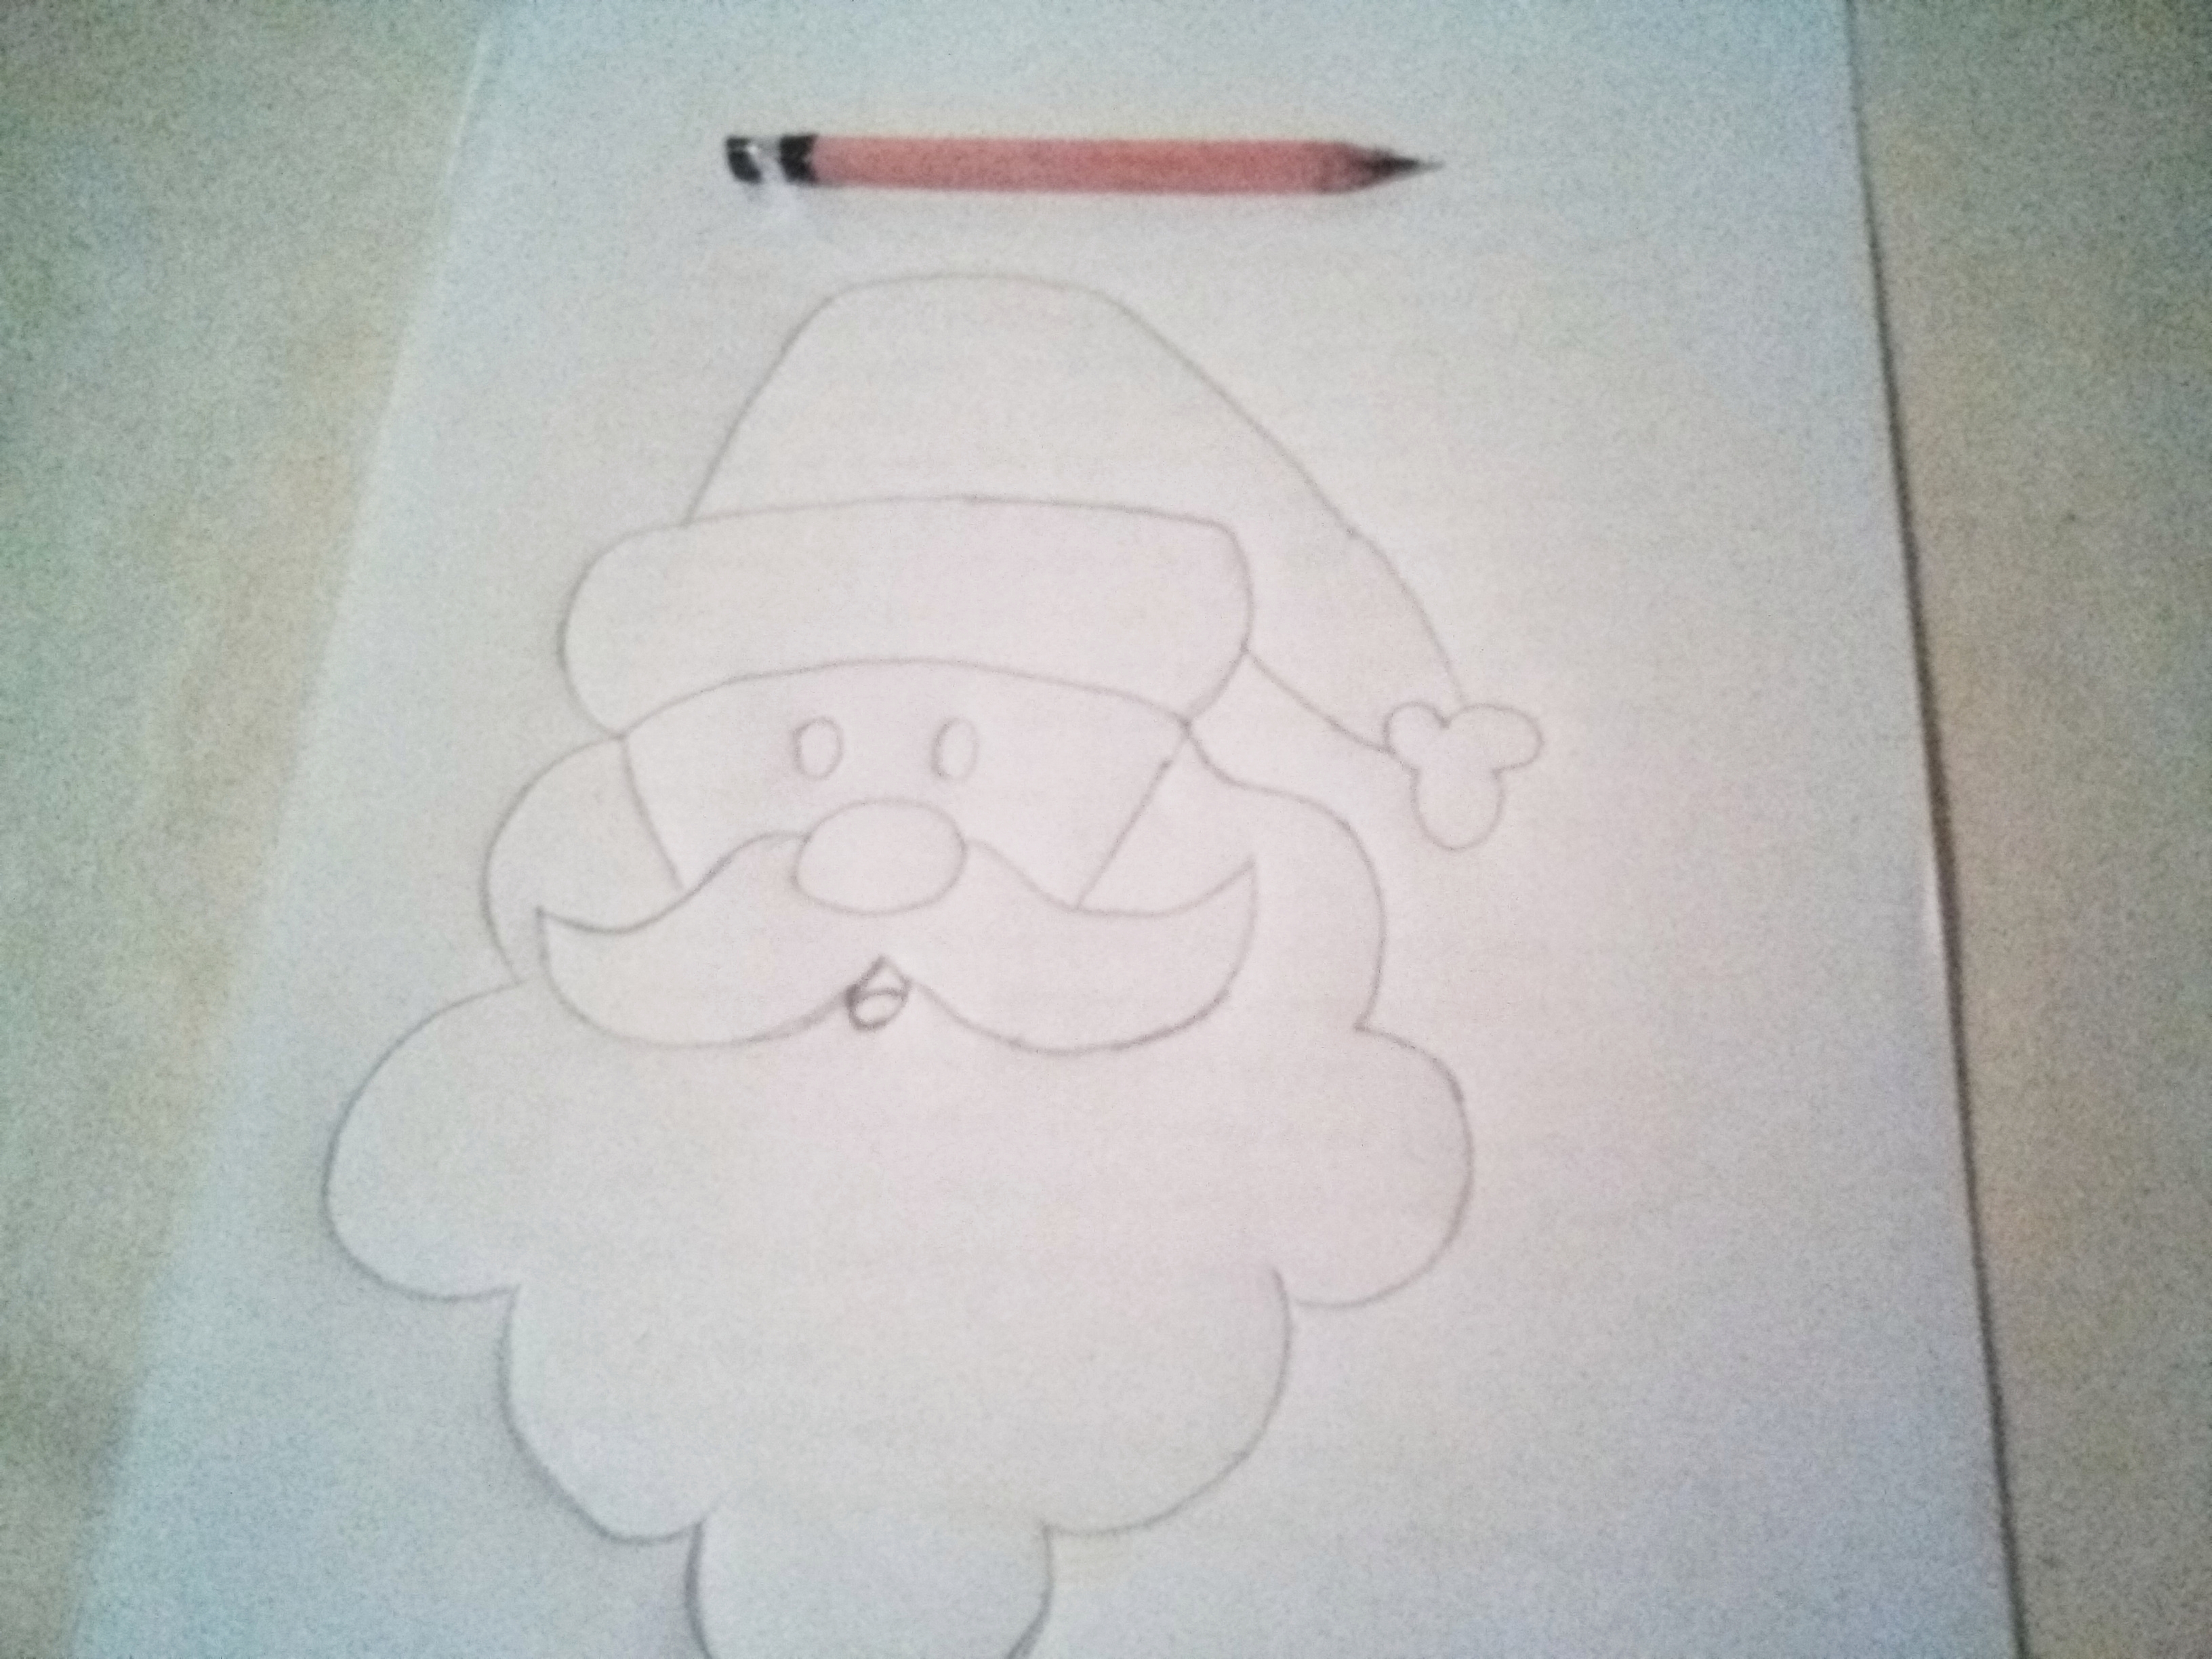
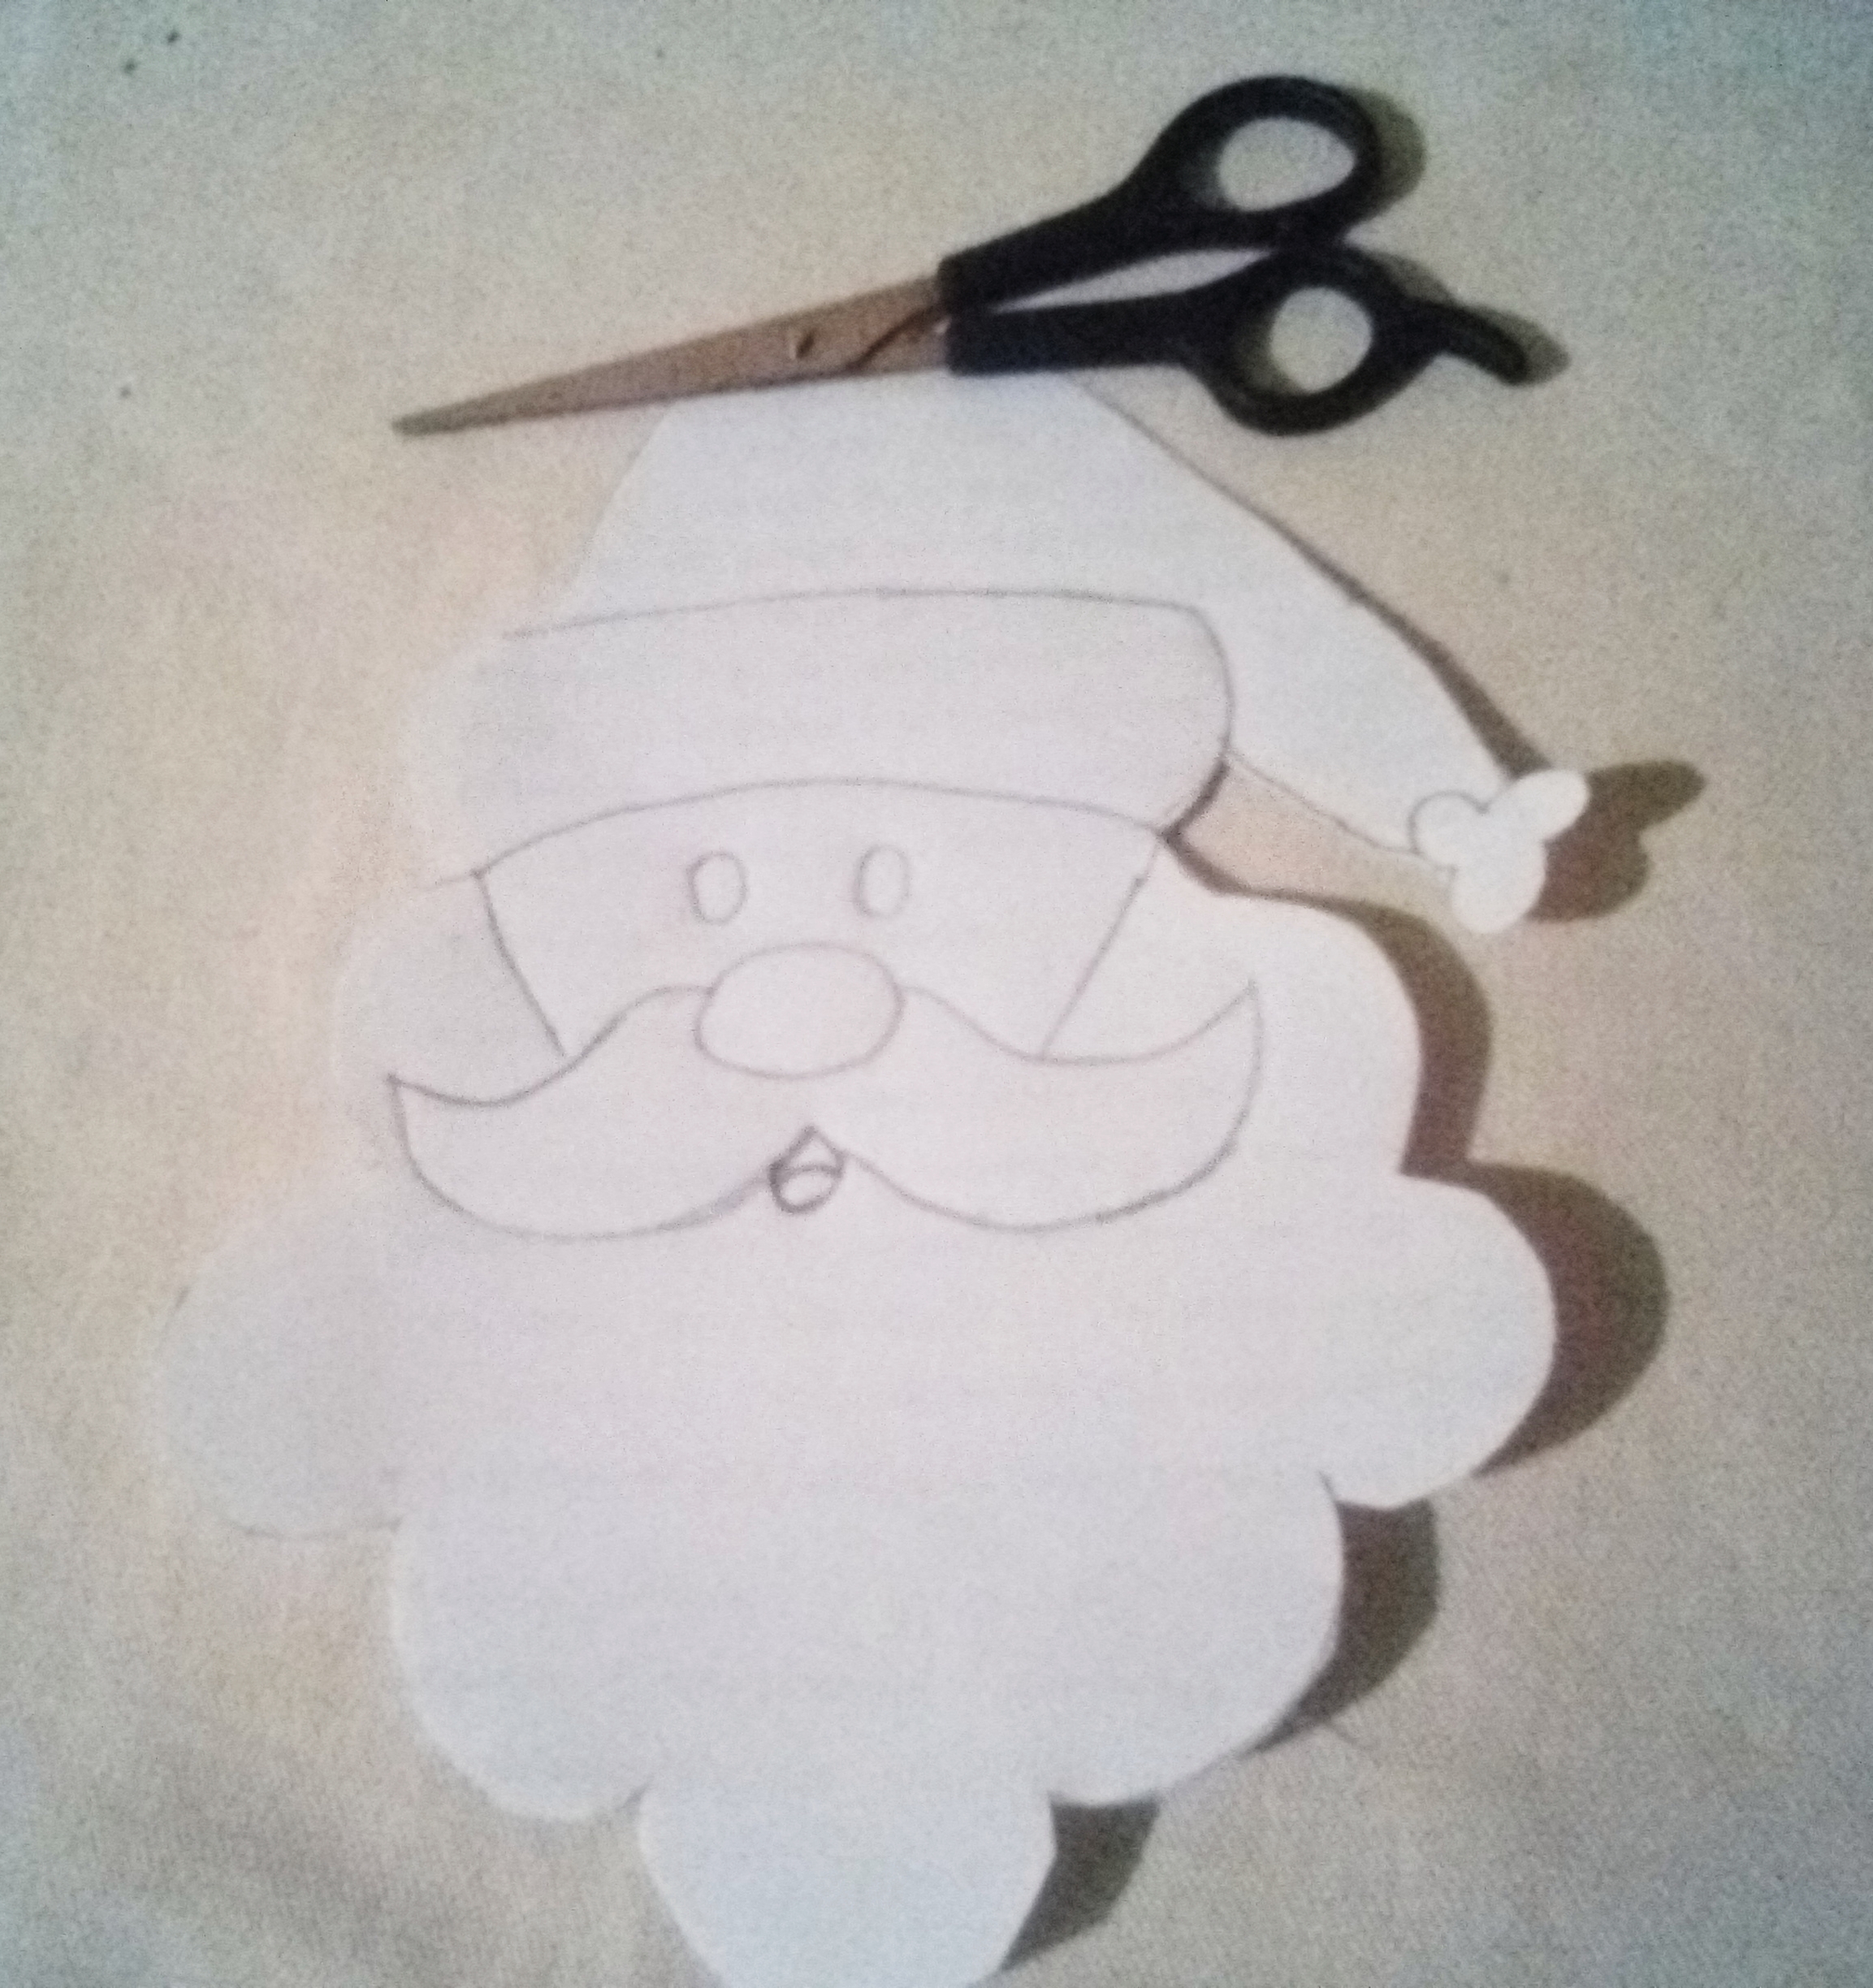
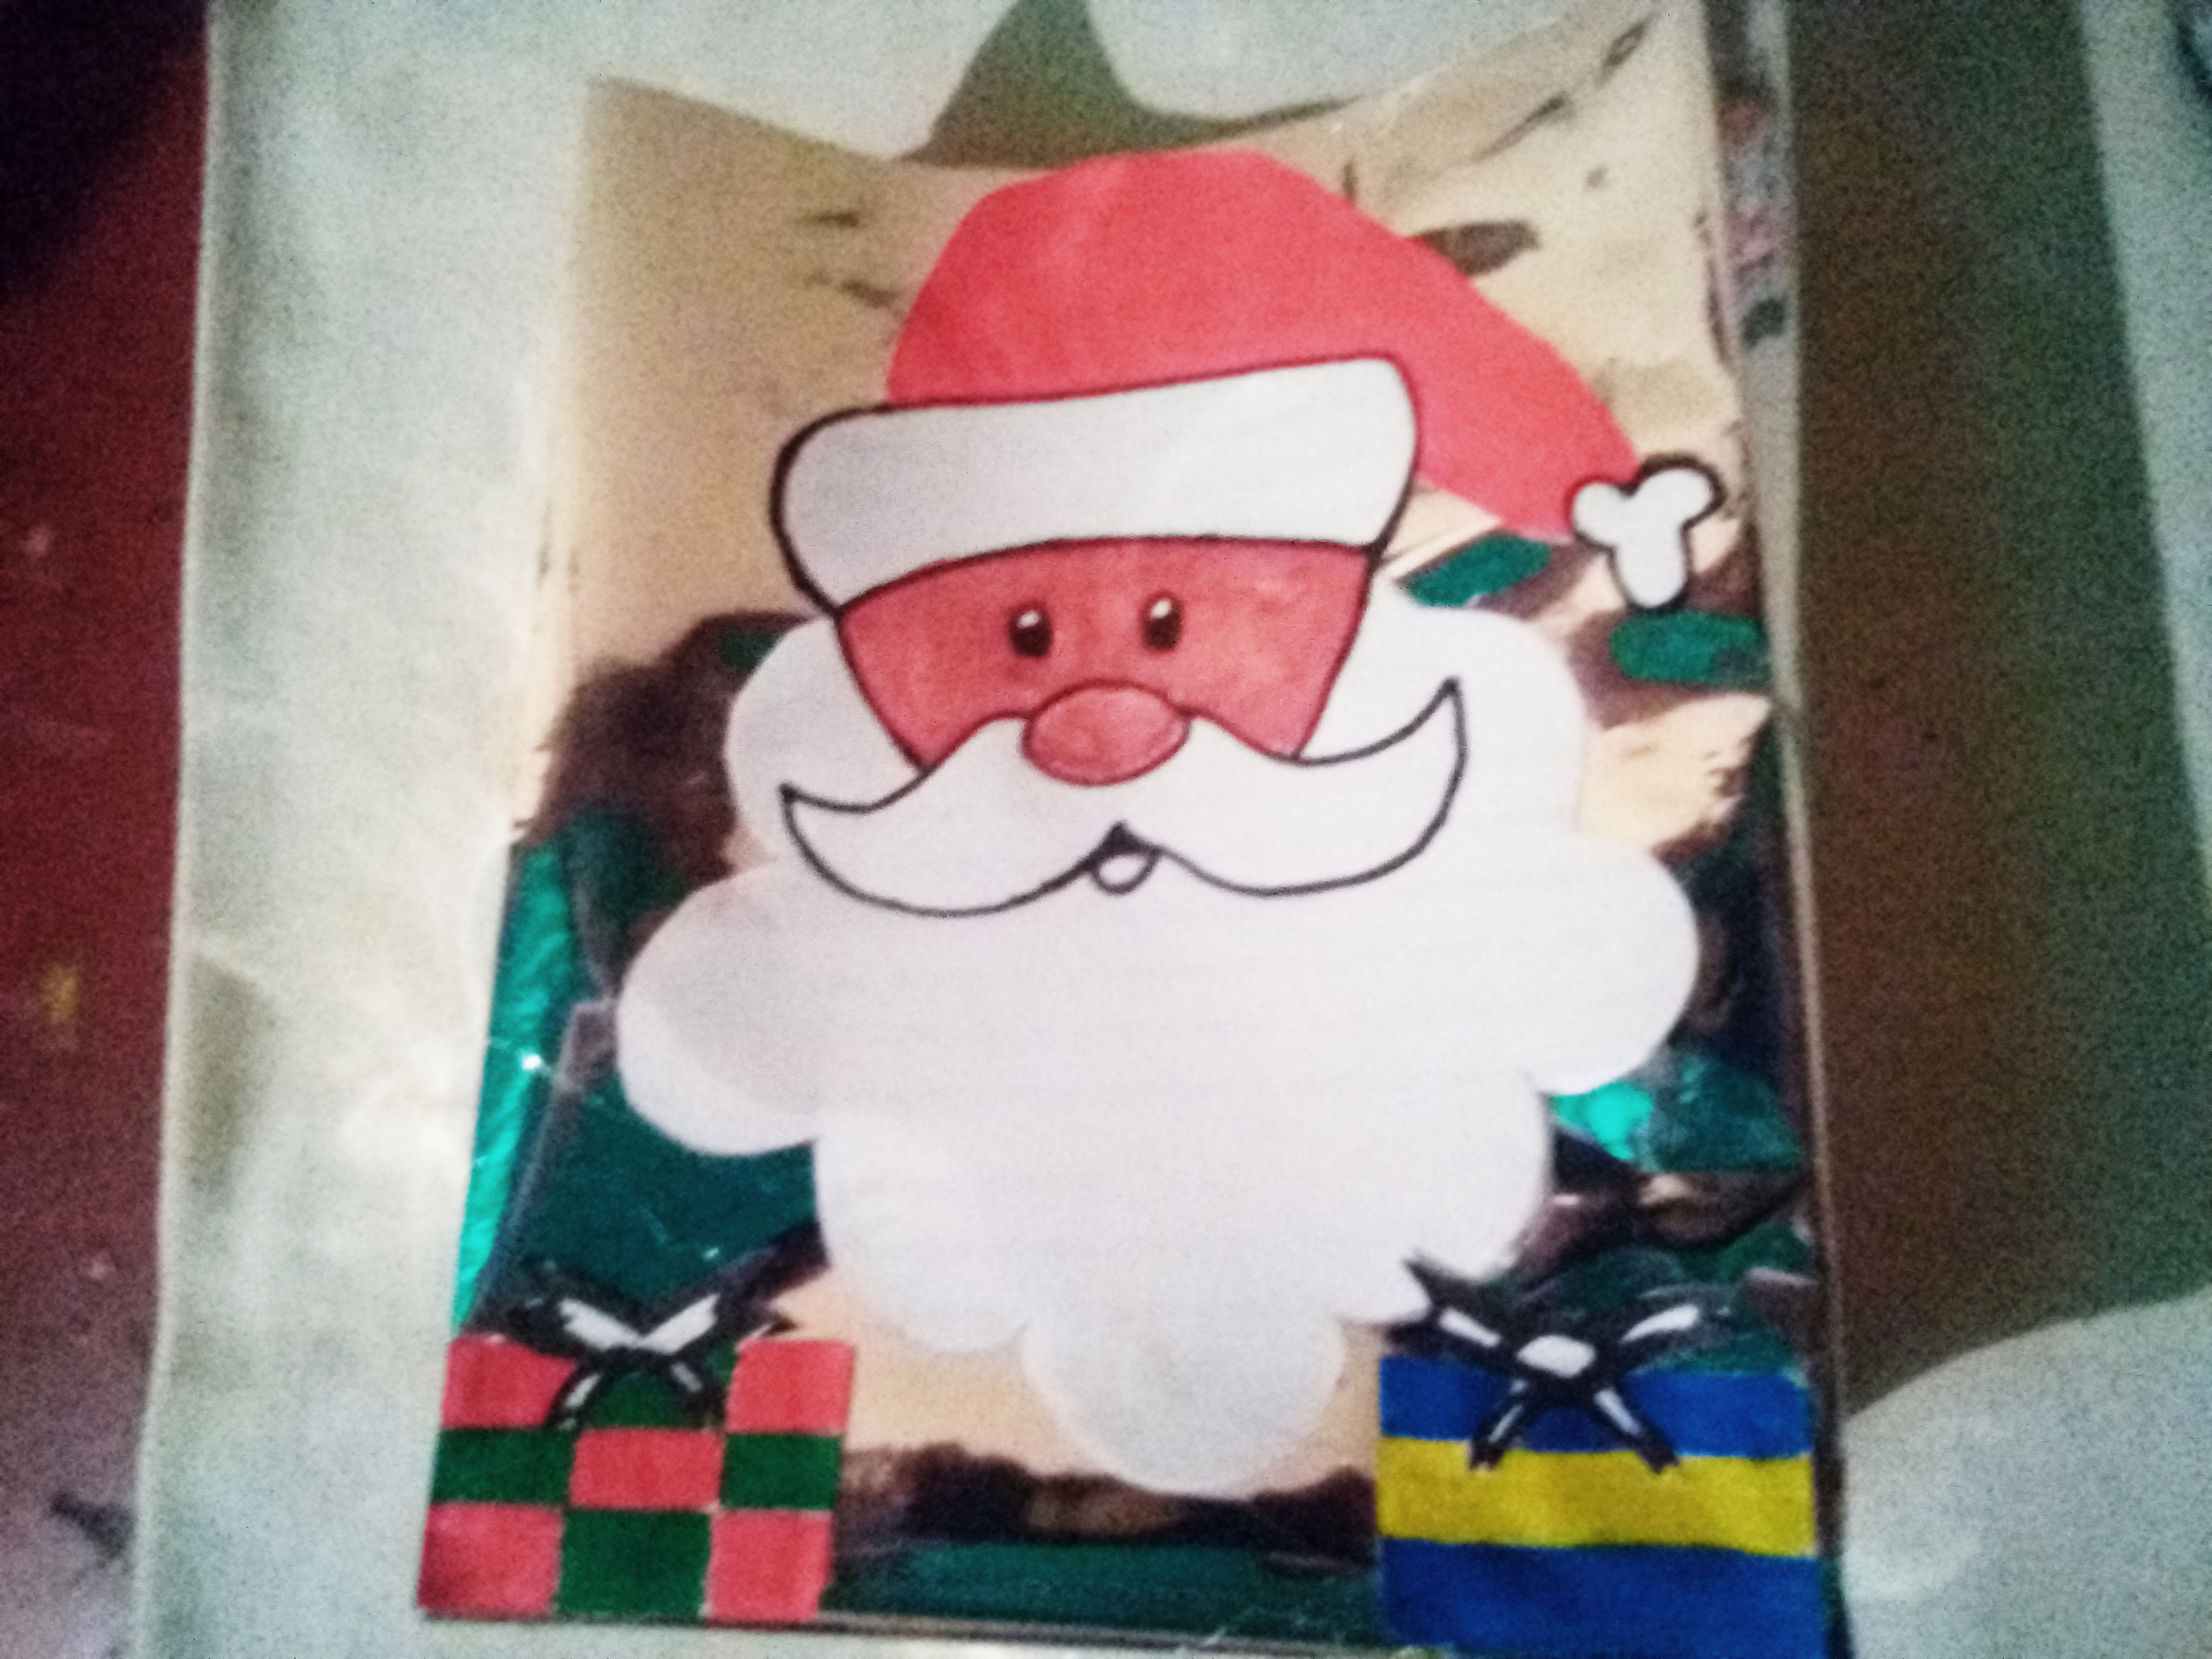
Paso#6: En este paso iniaremos a realizar la cara navideña, trazamos las líneas del dibujo con el lápiz, luego recortamos y procedemos a pintar, el color del rostro lo obtuve uniendo tres colores (rojo,verde, amarillo) ya que no tengo un color carne.
Step # 6: In this step we will start to make the Christmas face, we draw the lines of the drawing with the pencil, then we cut and proceed to paint, the color of the face was obtained by joining three colors ( red, green, yellow) since I don't have a flesh color.

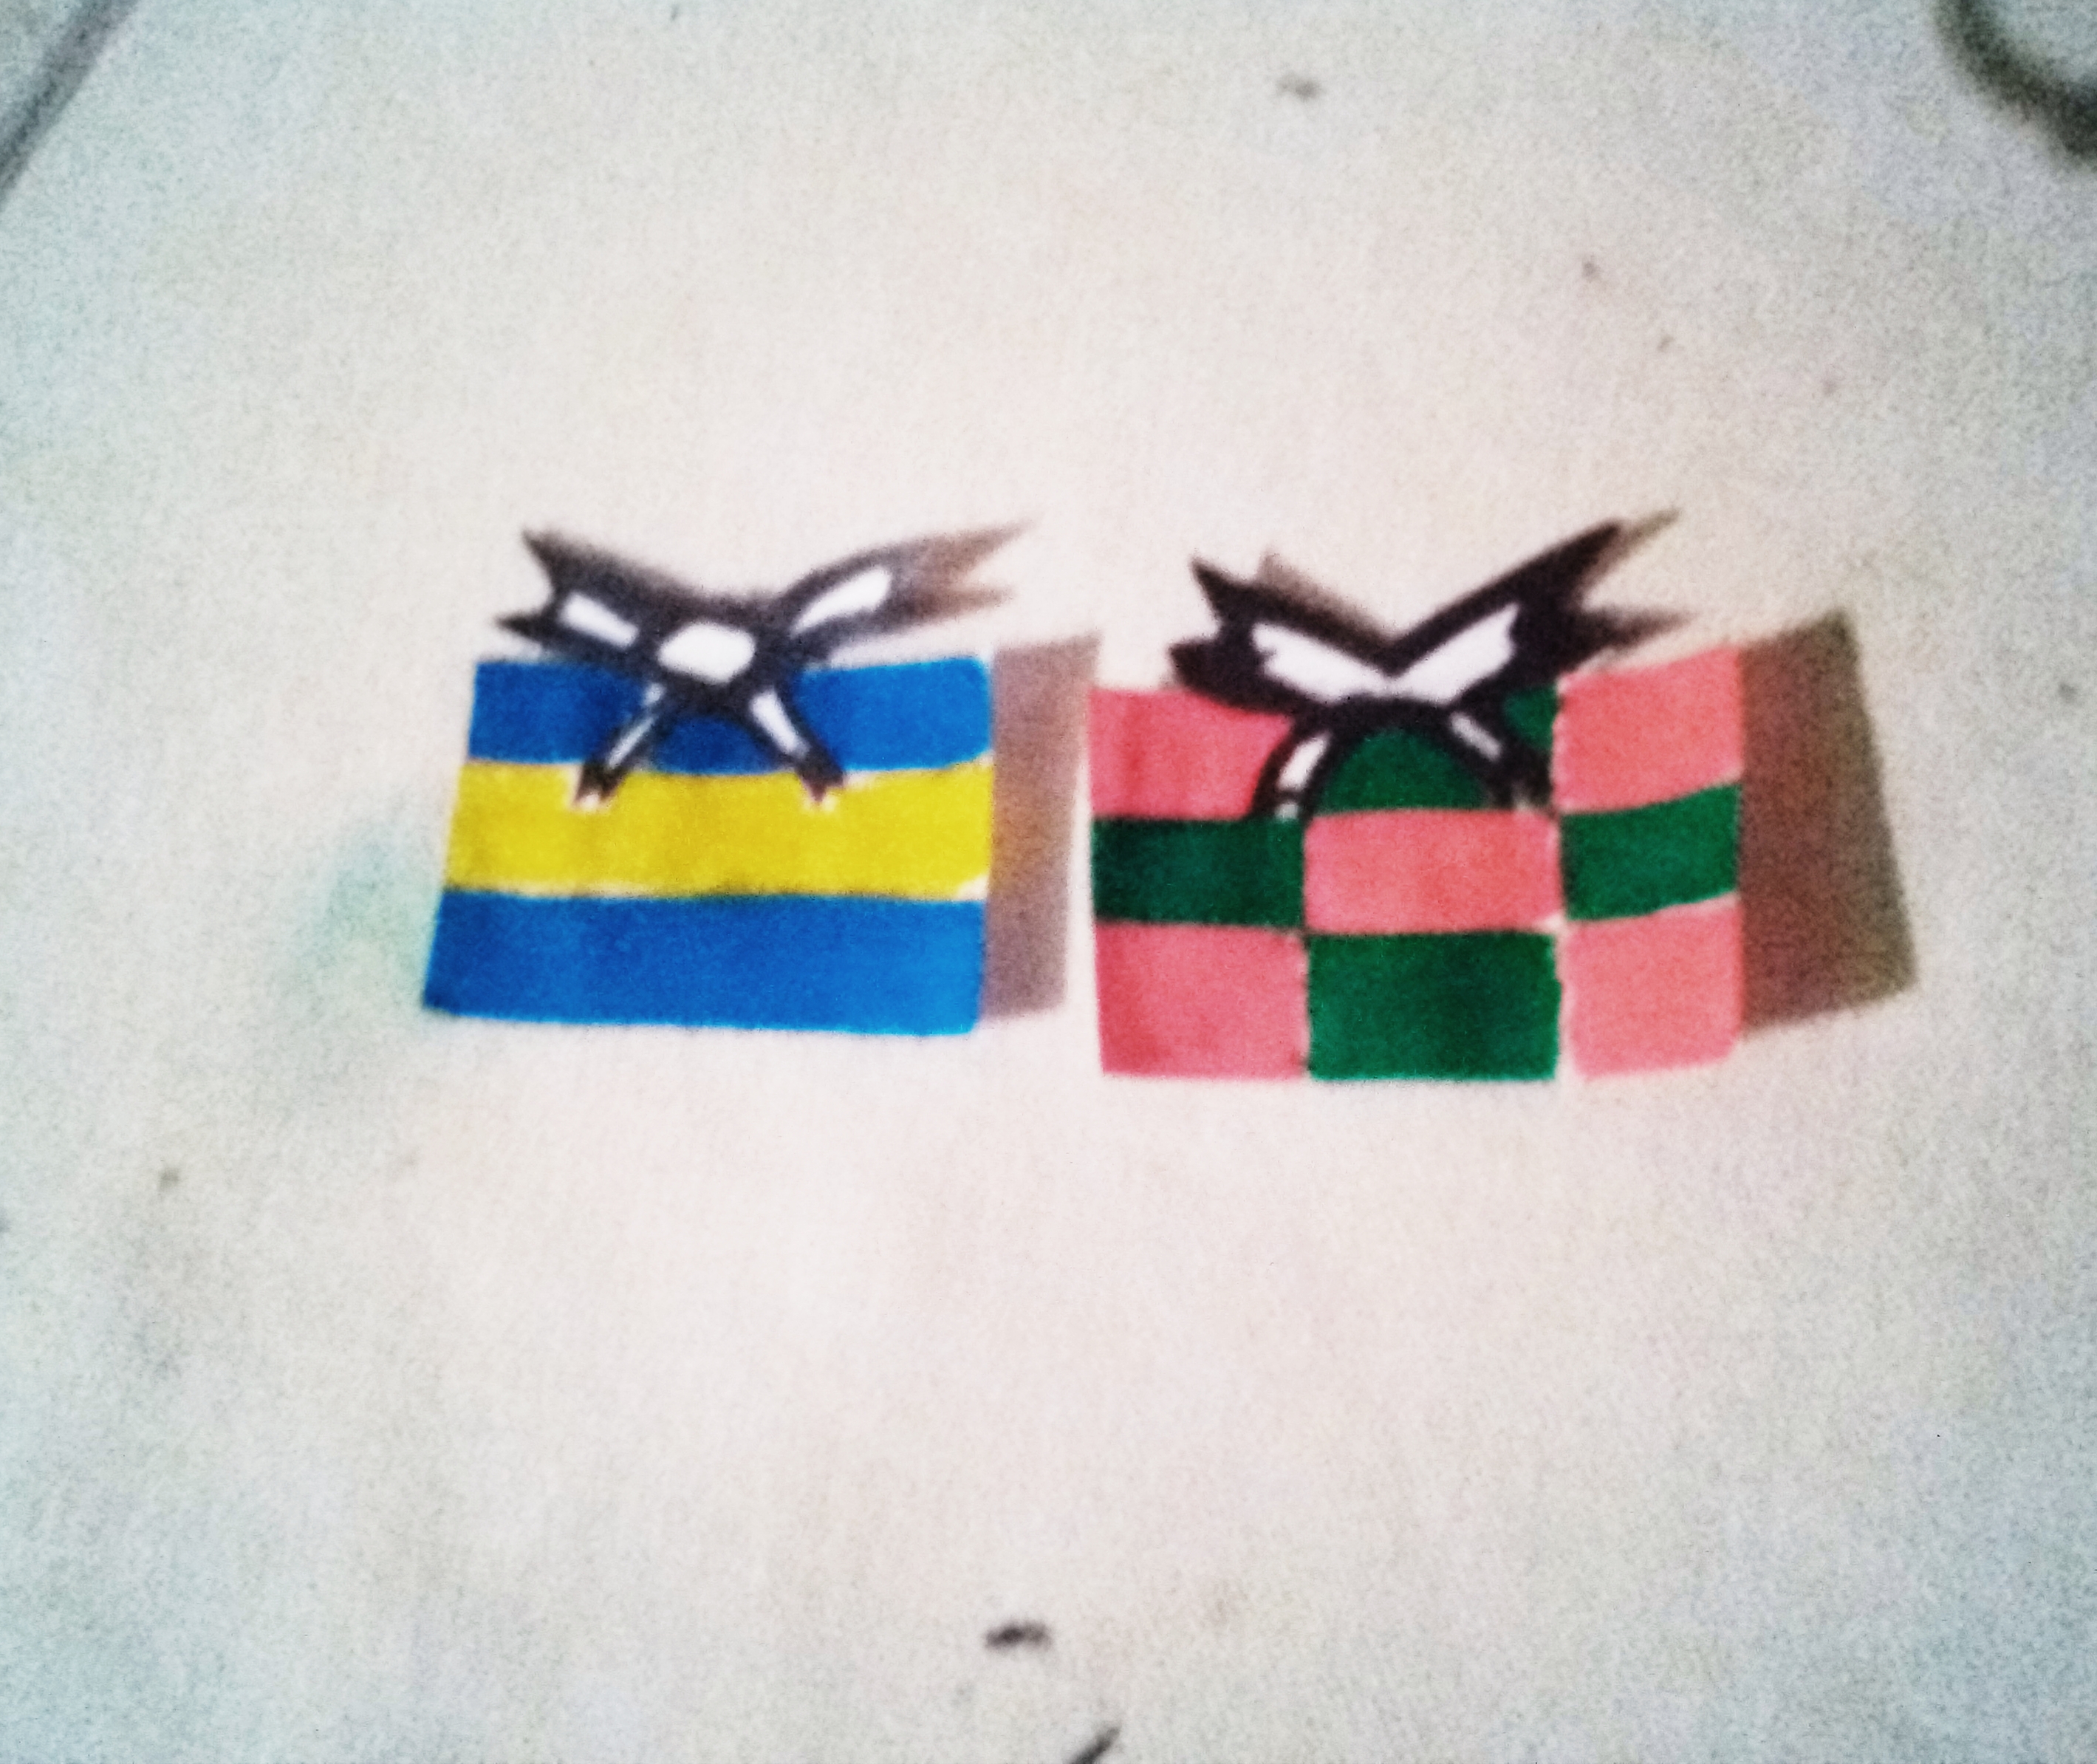
Paso#7: Luego trazamos nuevamente para dibujar unos regalitos como detalles para adornar nuestra bolsa.
Step # 7: Then we trace again to draw some gifts as details to decorate our bag.
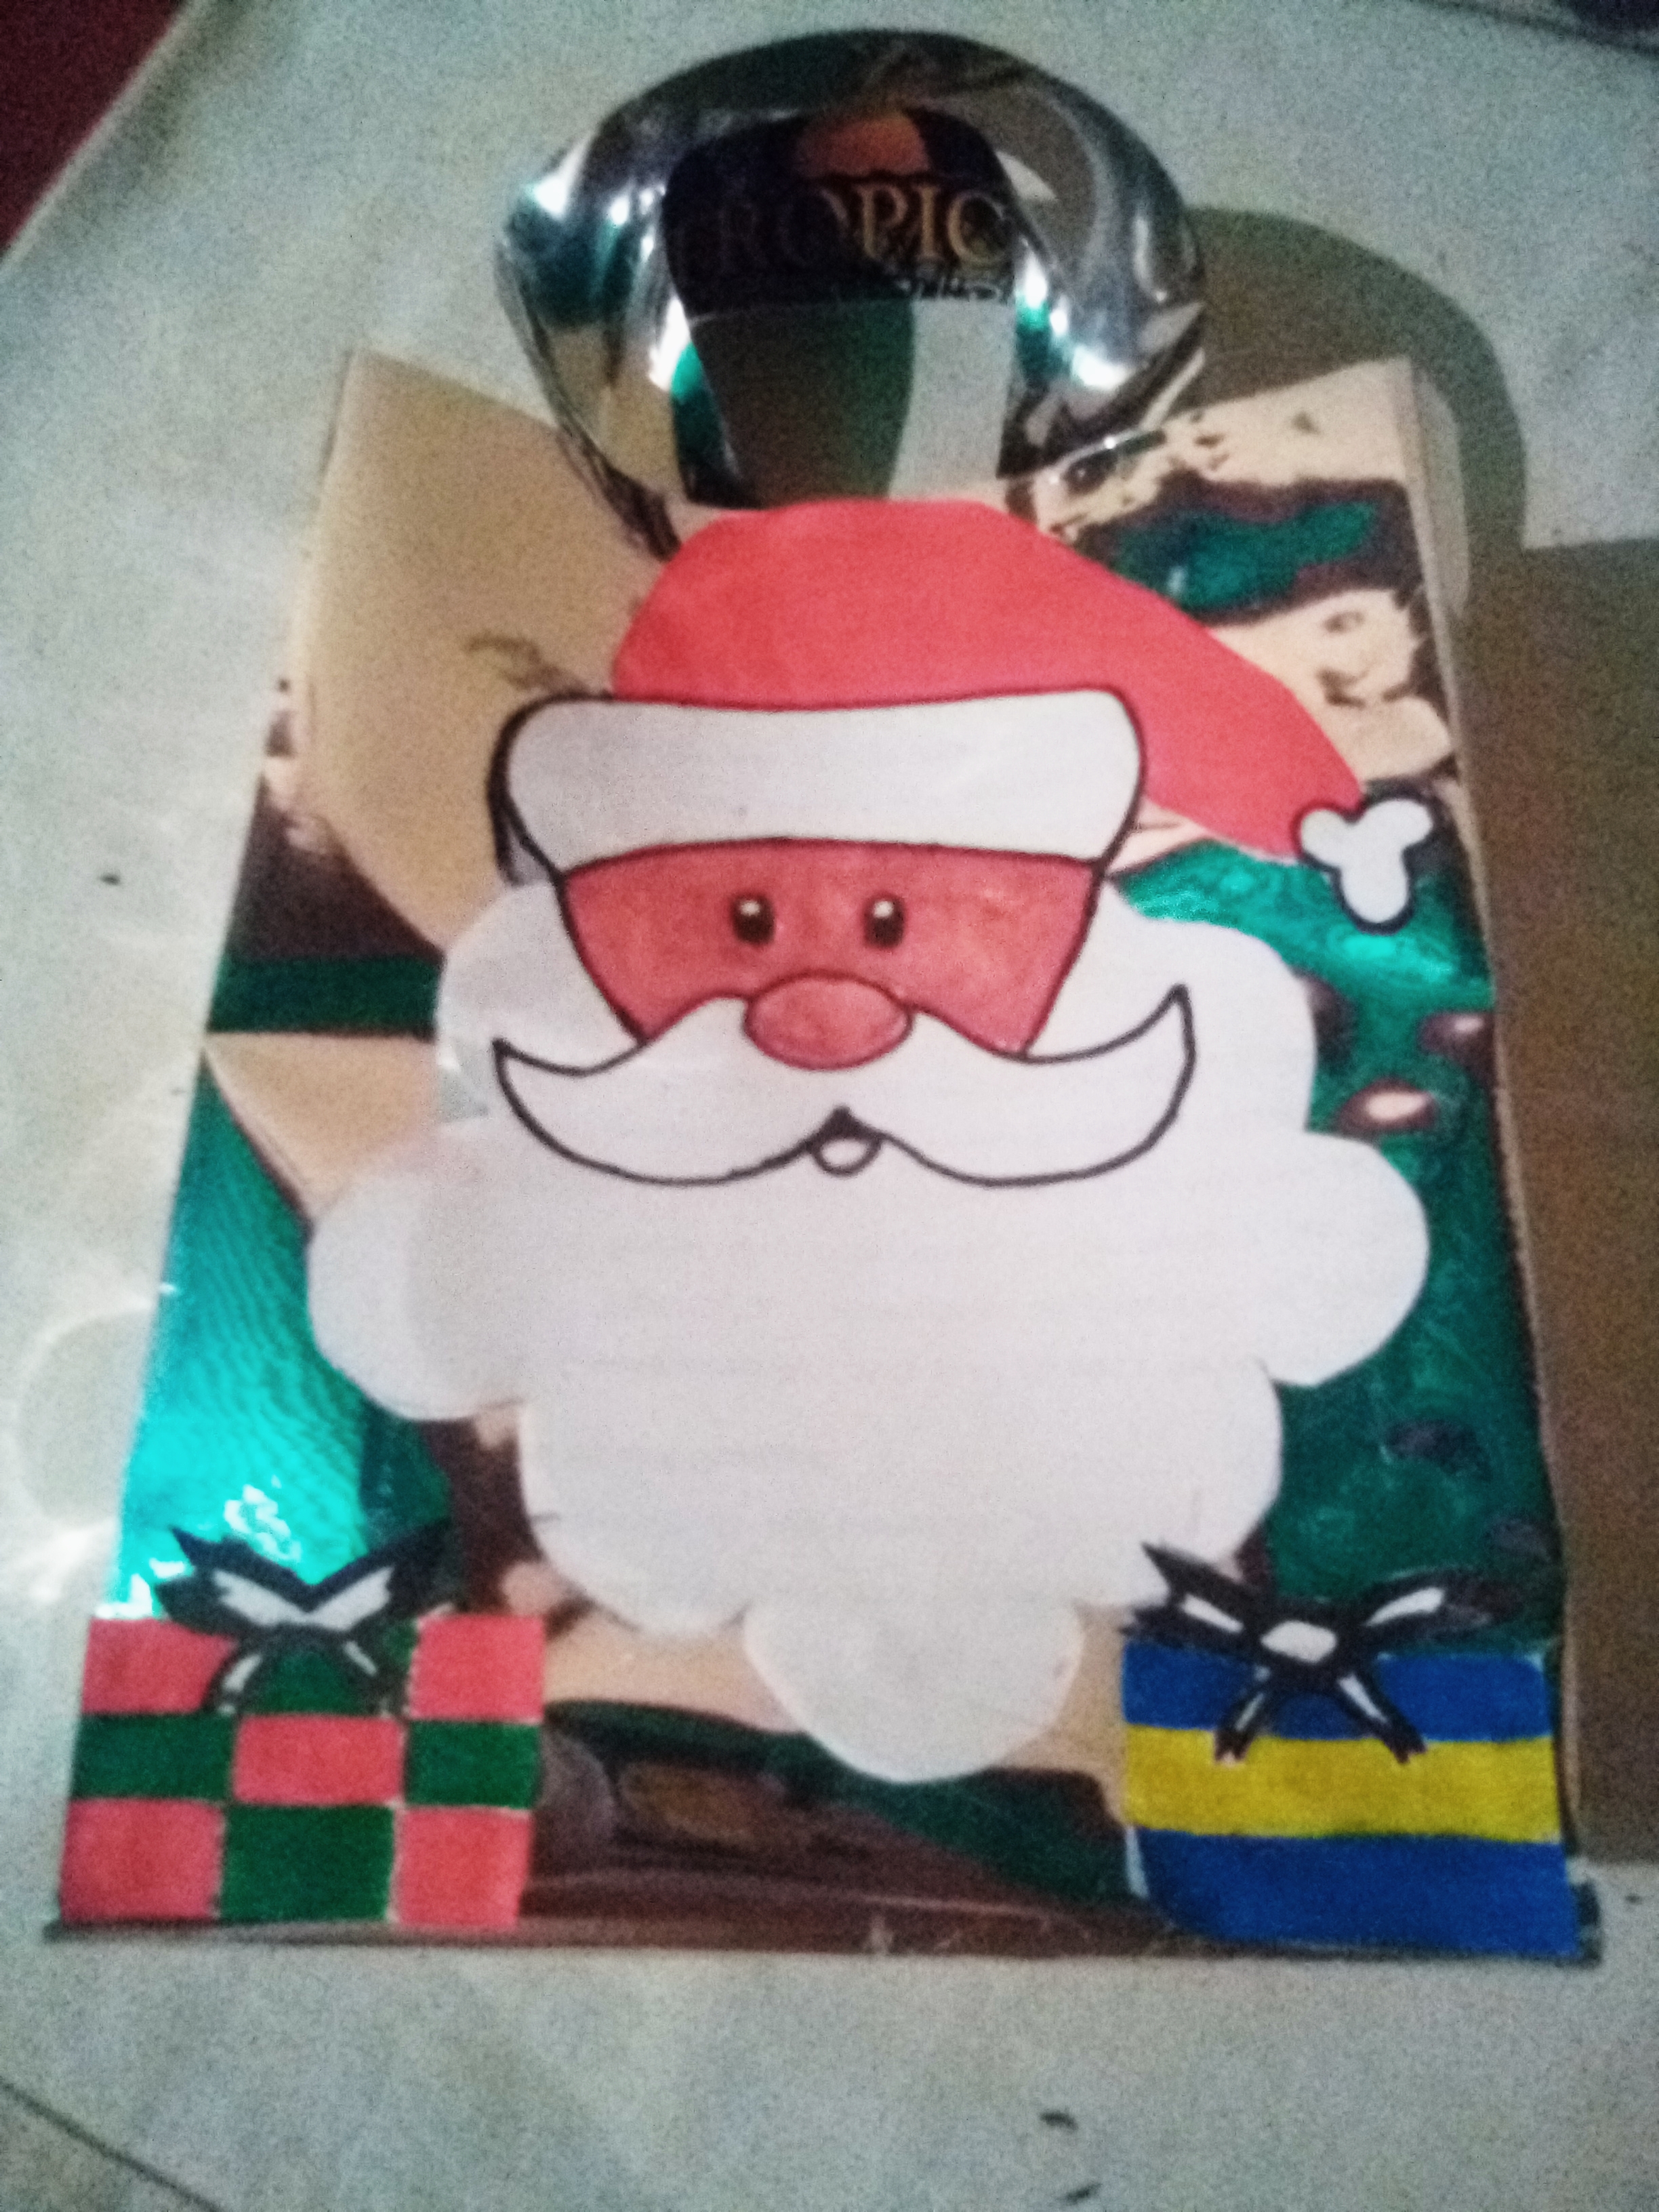
Paso#8: en este paso procedemos a pegar lo realizado en nuestra bolsa y también a hacerle sus asas (agarraderas).
Step # 8: in this step we proceed to paste what we have done in our bag and also to make its handles (handles).
Agradecida por tu visita en mi blog, espero les haya gustado este post, y pueden seguirme en mi cuenta @mariisa1107 Dios les bendiga.
👍😊
Thankful for your visit to my blog, I hope you liked this post, and you can follow me on my account @ mariisa1107 God bless you.👍😊
Espectacular para estos tiempos de regalos y compartir navideños. Bendiciones.
Gracias a ti por visitar mi blog. Saludos
Congratulations @mariisa1107! You have completed the following achievement on the Hive blockchain and have been rewarded with new badge(s) :
Your next target is to reach 800 upvotes.
You can view your badges on your board and compare yourself to others in the Ranking
If you no longer want to receive notifications, reply to this comment with the word
STOPCheck out the last post from @hivebuzz:
Support the HiveBuzz project. Vote for our proposal!