¡Feliz Noche Hivers!
Para el día de hoy les traigo un tutorial para elaborar una linda mariposa de foami a partir de la forma de un corazón, súper sencilla pero muy hermosa, así que no te pierdas de ninguno de los pasos que te dejaré a continuación y podrás hacer la tuya en casa, espero que les guste.
¡Happy Hivers Night!
For today I bring you a tutorial to make a cute foami butterfly from the shape of a heart, super simple but very beautiful, so do not miss any of the steps that I will leave you below and you can do the yours at home, hope you like it.
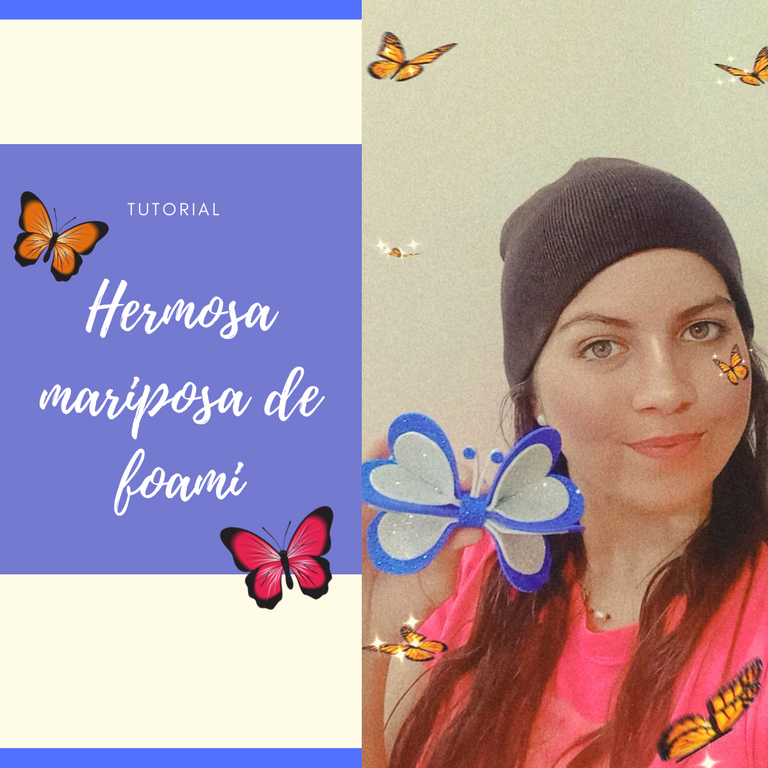

Materiales || Materials

- Foami escarchado azul rey.
- Foami escarchado plateado.
- Tijeras.
- Silicon.
- Lápiz.
- Hoja de papel.
- Sacabocados.
- King blue frosted foam.
- Silver frosted foam.
- Pair of scissors.
- Silicon.
- Pencil.
- Paper sheet.
- Punch.

Procedimiento ✂ || Process ✂

❥ PASO 1. Hacemos 2 corazones en la hoja de papel, uno grande y el otro más pequeño y recortamos.
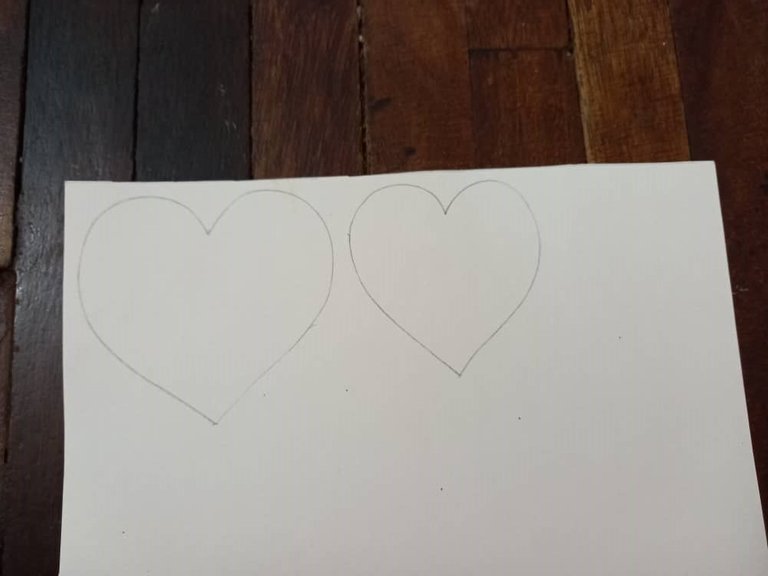
❥ STEP 1. We make 2 hearts on the sheet of paper, one large and the other smaller and we cut.
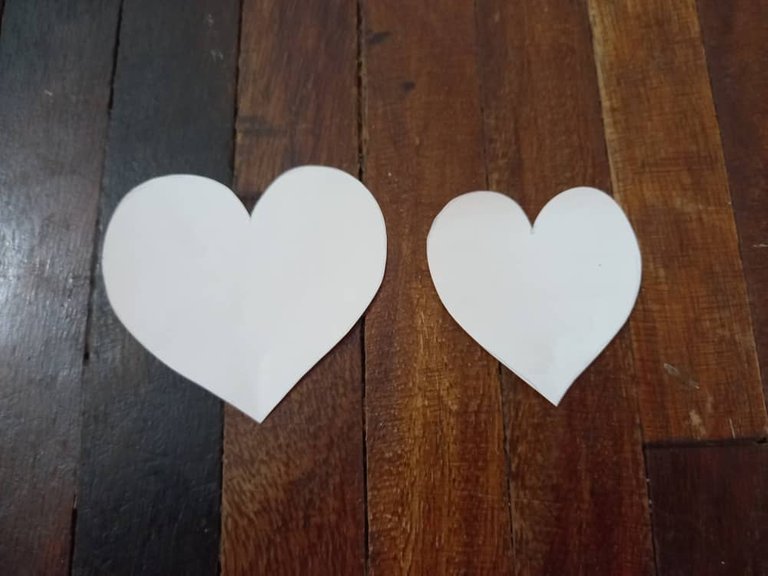

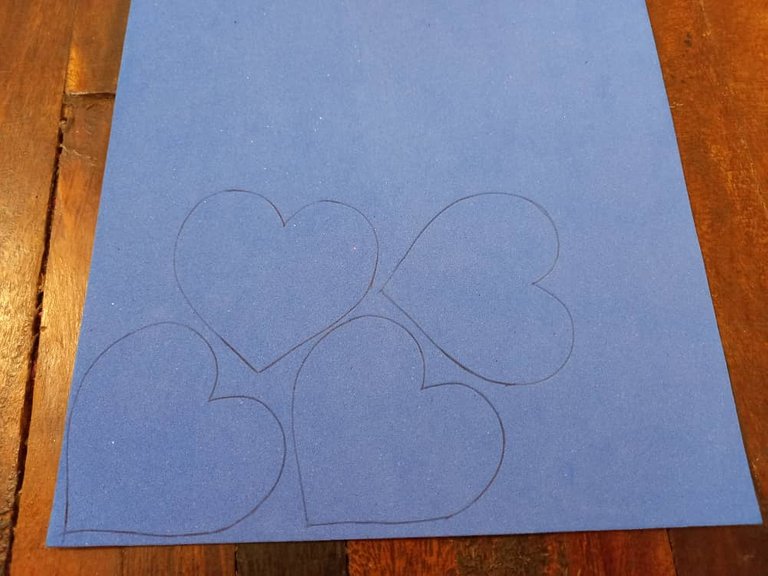
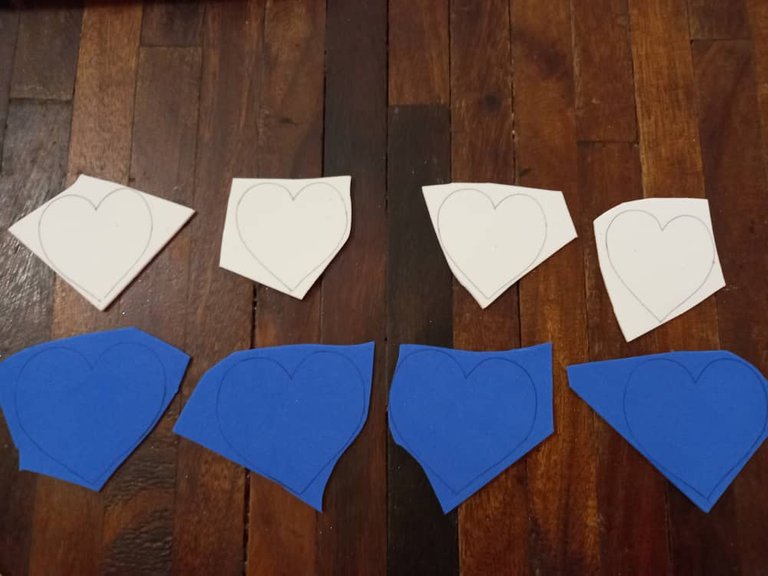
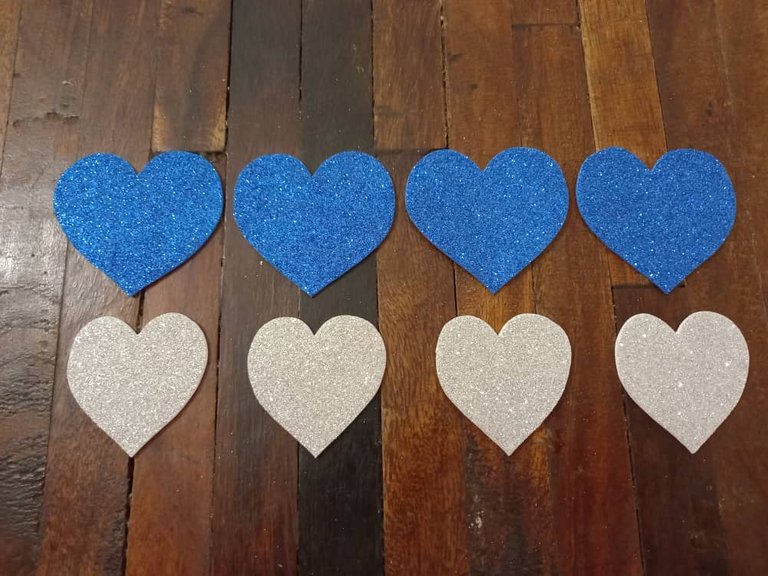
❥ PASO 2. Pasamos las formas de los corazones a los foamis, y hacemos 8 en total, 4 plateados pequeños y 4 azules grandes y recortamos.
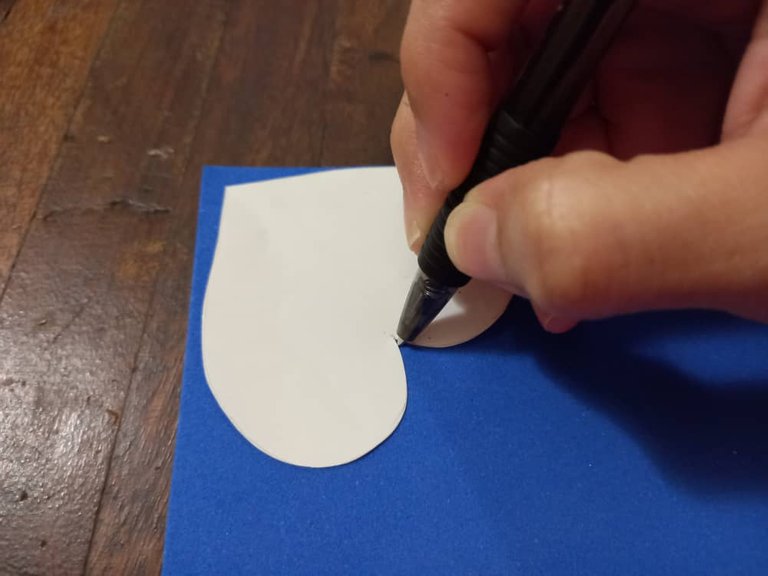
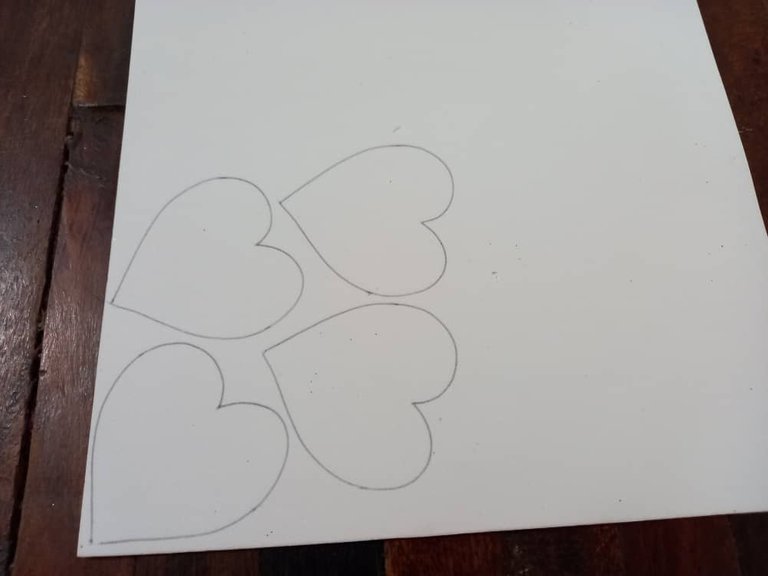
❥ STEP 2. We pass the shapes of the hearts to the foamis, and we make 8 in total, 4 small silver and 4 large blue and cut.

❥ PASO 3. Aplicamos silicon en la parte trasera de los corazones plateados y los pegamos sobre los corazones azules, justo en el medio uniendo las puntas inferiores.
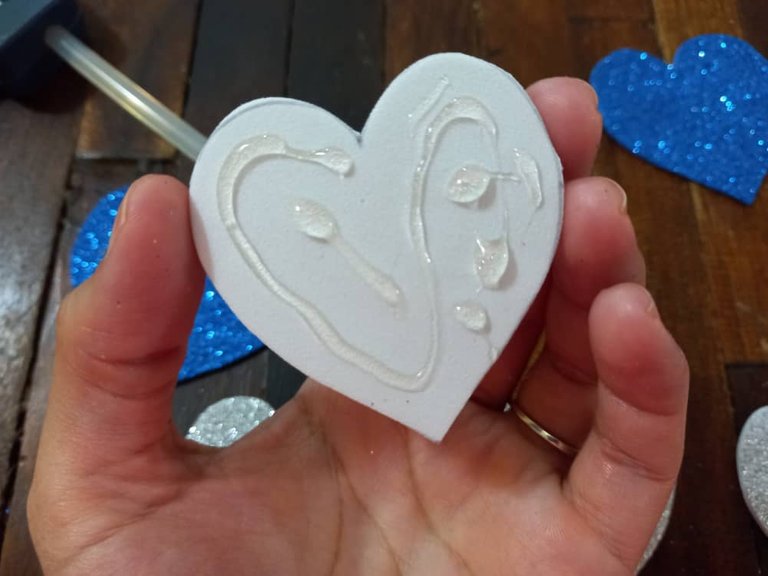
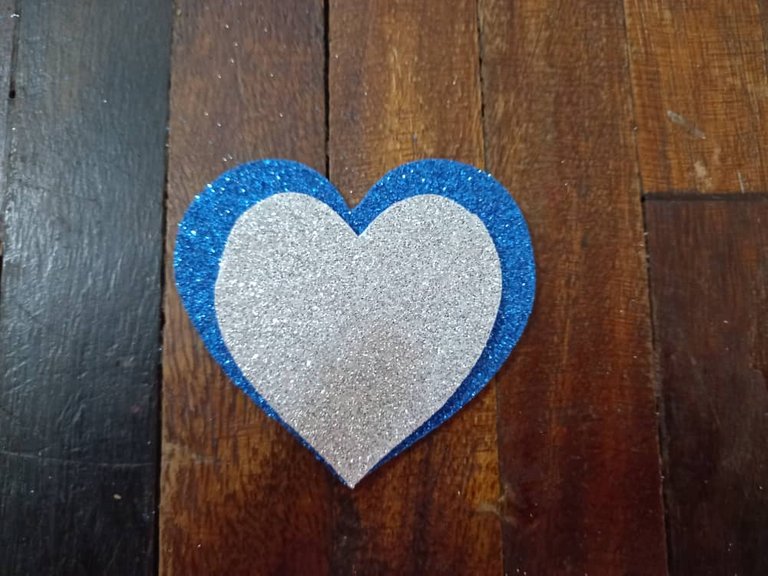
❥ STEP 3. We apply silicone on the back of the silver hearts and glue them on the blue hearts, right in the middle joining the lower tips.
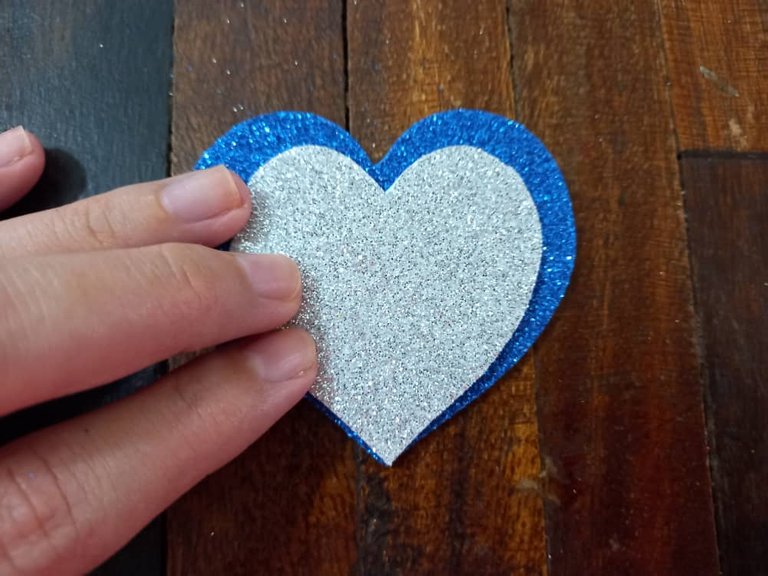
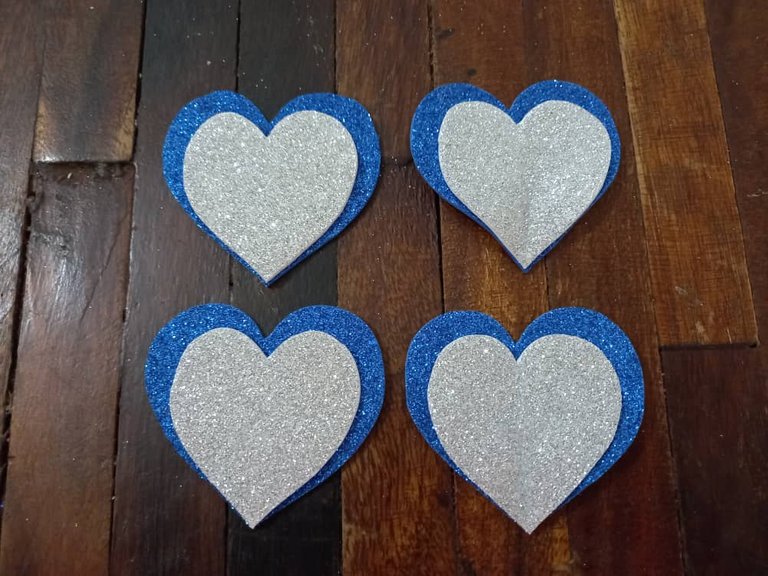

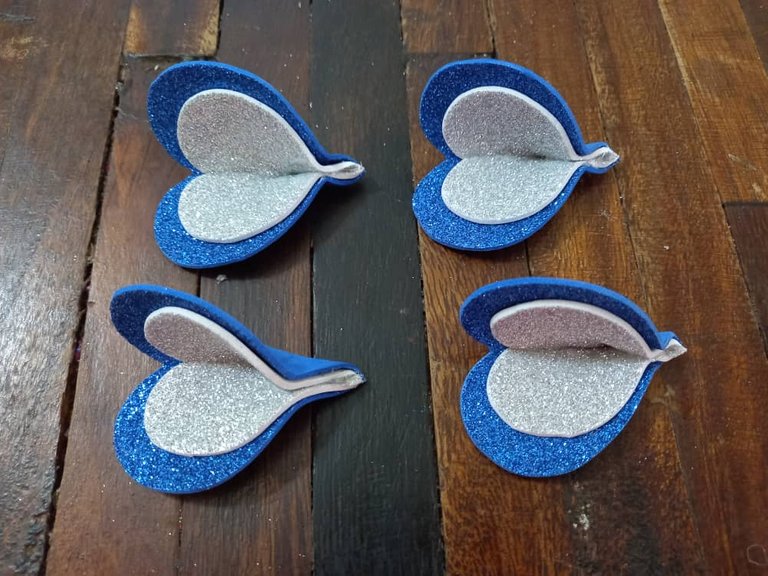
❥ PASO 4. Ahora vamos a doblar los corazones por el medio desde la punta inferior y aplicamos silicon para unir ambas parte, presionamos por al menos un minuto para que no se despegue y tendrá esta forma:
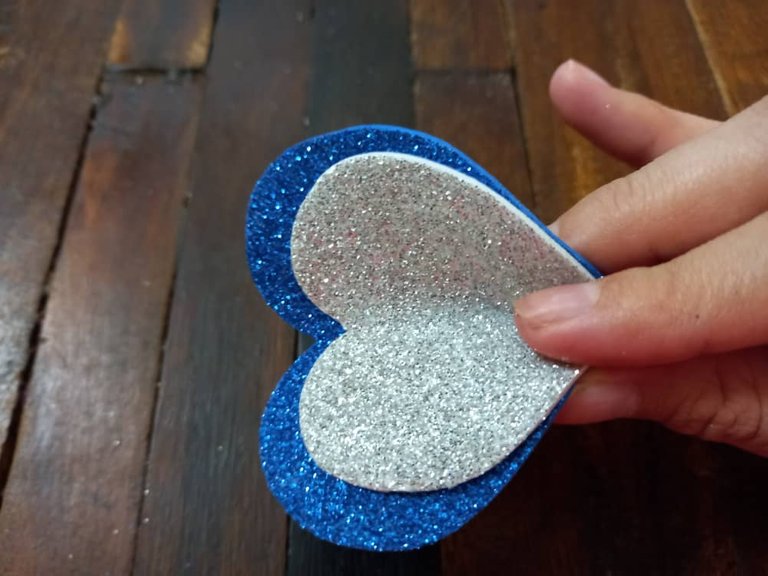
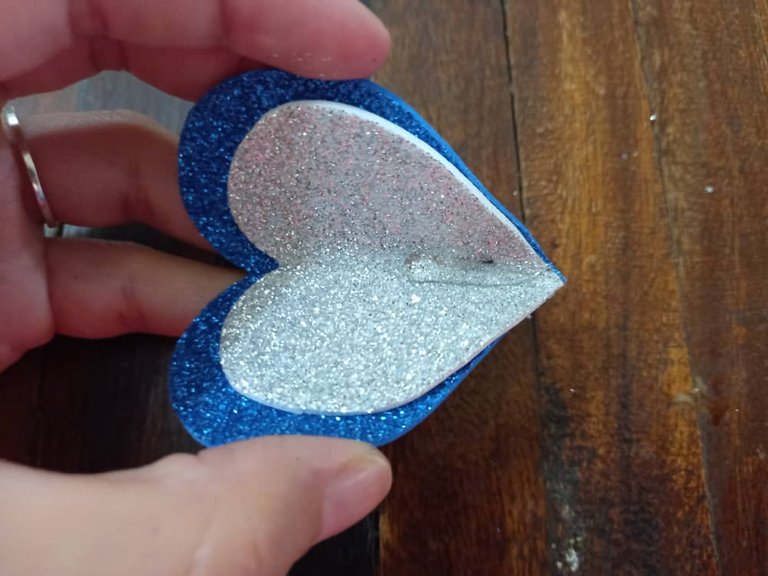
❥ STEP 4. Now we are going to fold the hearts in the middle from the bottom point and apply silicone to join both parts, press for at least a minute so that it does not detach and it will have this shape:
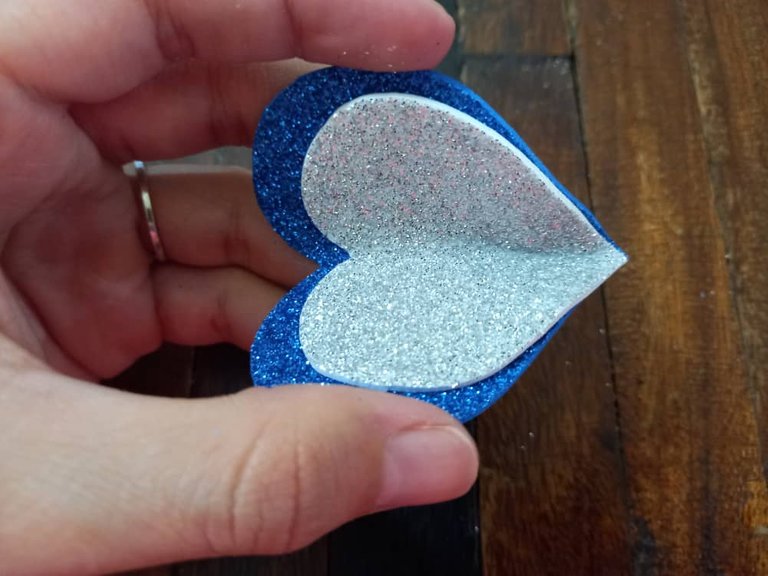
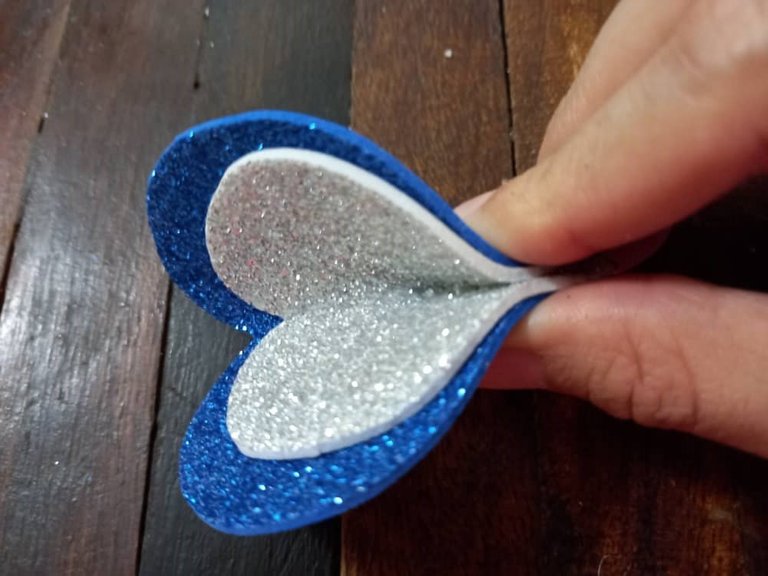

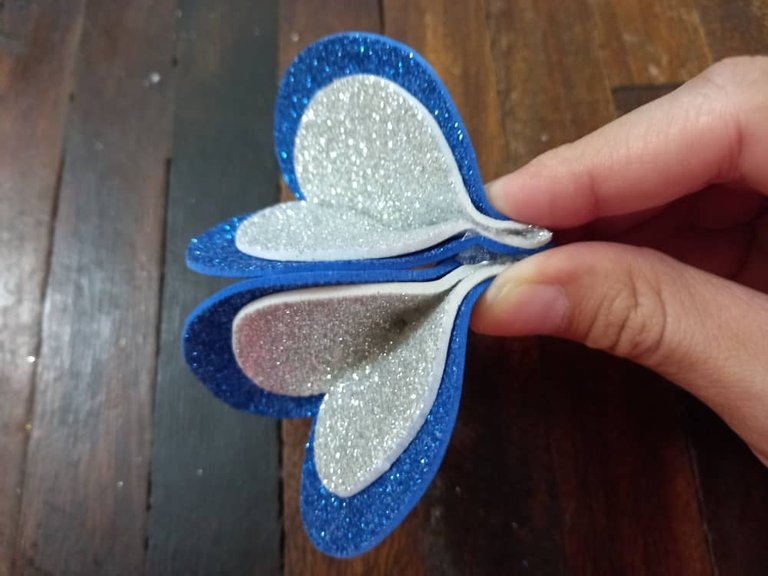
❥PASO 5. Aplicamos silicon sobre la punta donde se unen los 2 corazones y pegamos otra pieza sobre esta, presionamos para que se pegue y debe quedar asi, y hacemos lo mismo con las 2 piezas restantes:
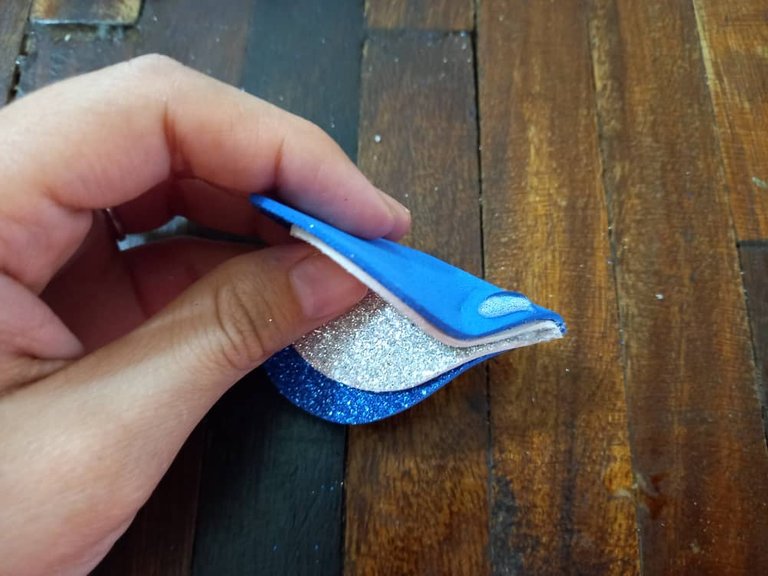
❥ STEP 5. We apply silicone on the tip where the 2 hearts meet and we glue another piece on it, we press so that it sticks and it should look like this, and we do the same with the 2 remaining pieces:
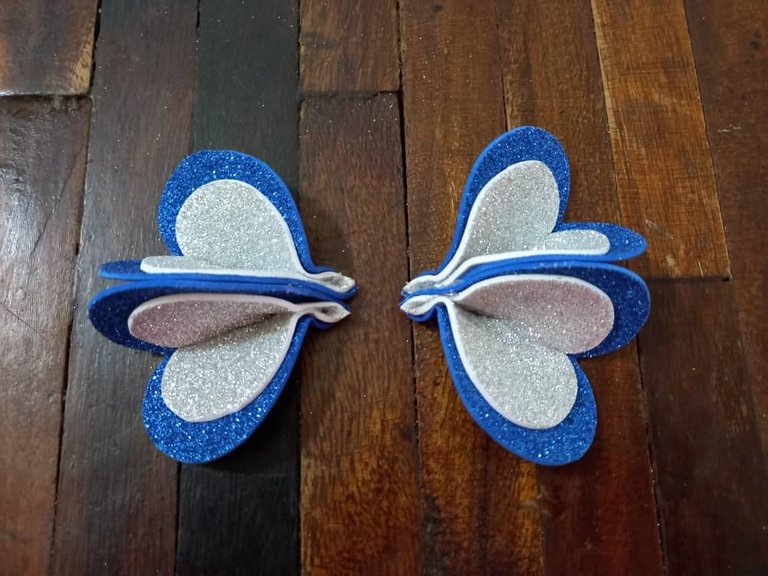

❥ PASO 6. Ahora cortamos las puntas de las piezas que acabamos de unir, para que queden lisas.
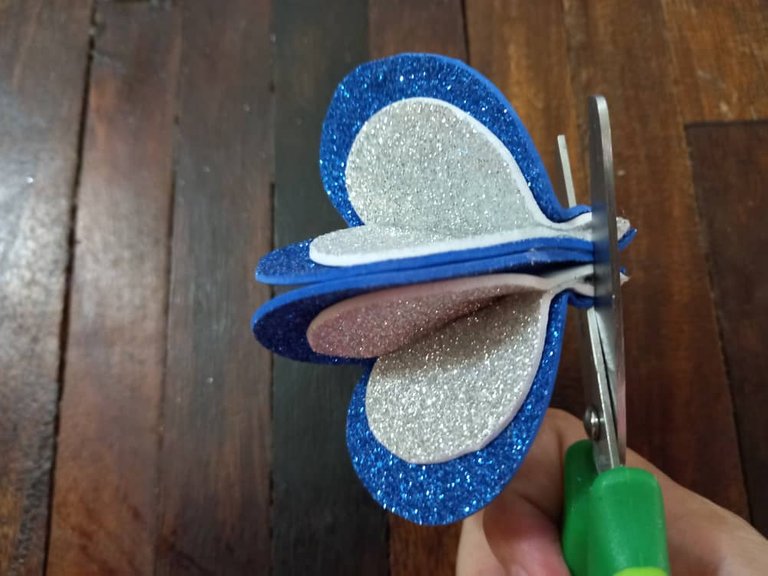
❥ STEP 6. Now we cut the ends of the pieces that we just joined, so that they are smooth.
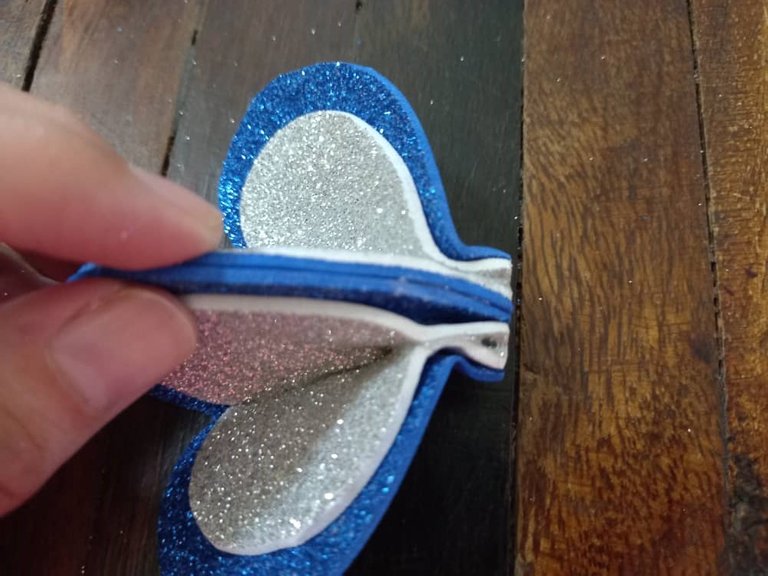

❥ PASO 7. Aplicamos silicon en la punta lisa, donde acabamos de recortar y unimos las 2 piezas, presionamos por un momento para que se una bien y queda asi:
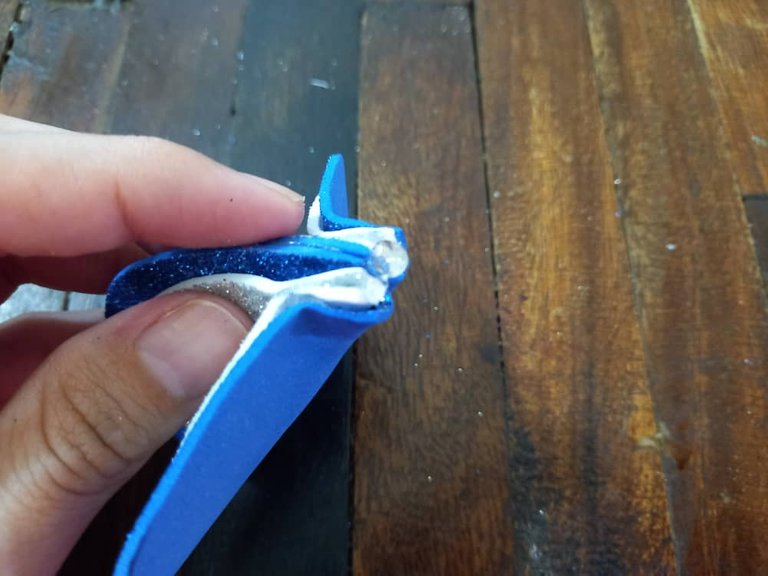
❥ STEP 7. We apply silicone on the smooth tip, where we have just cut and join the 2 pieces, press for a moment so that it joins well and it looks like this:
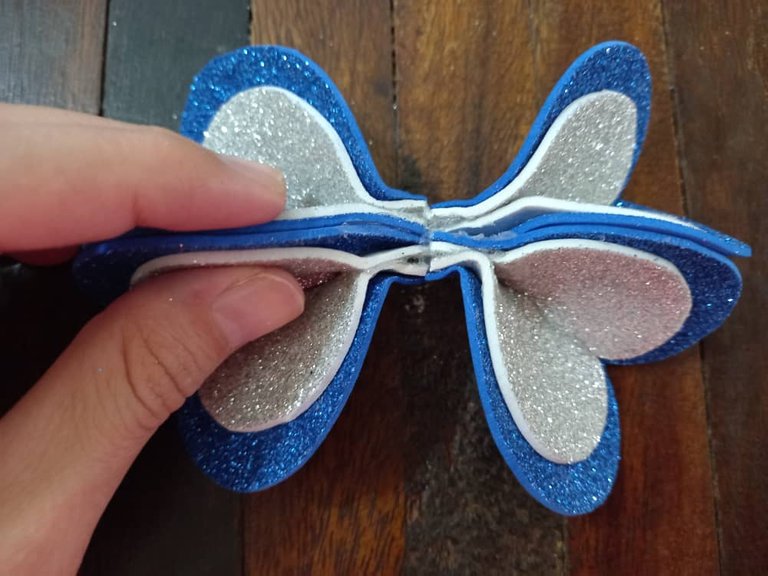

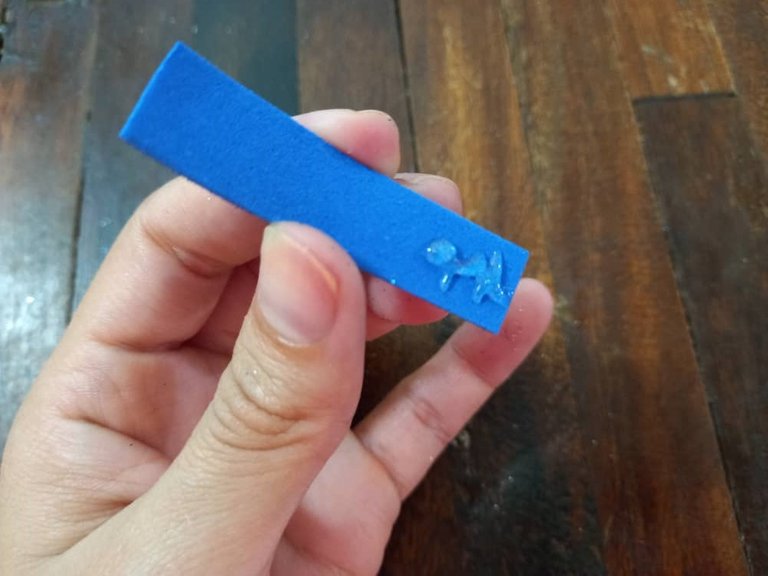
❥ PASO 8. Cortamos una tira de foami azul escarchado lo suficientemente larga para cubrir la unión de las piezas que acabamos de pegar, le aplicamos silicon en una de las puntas en la parte trasera y la pegamos en el centro de la unión de las piezas, cubrimos esa parte y finalizamos aplicando silicon al final de la tira y presionando para que se pegue.
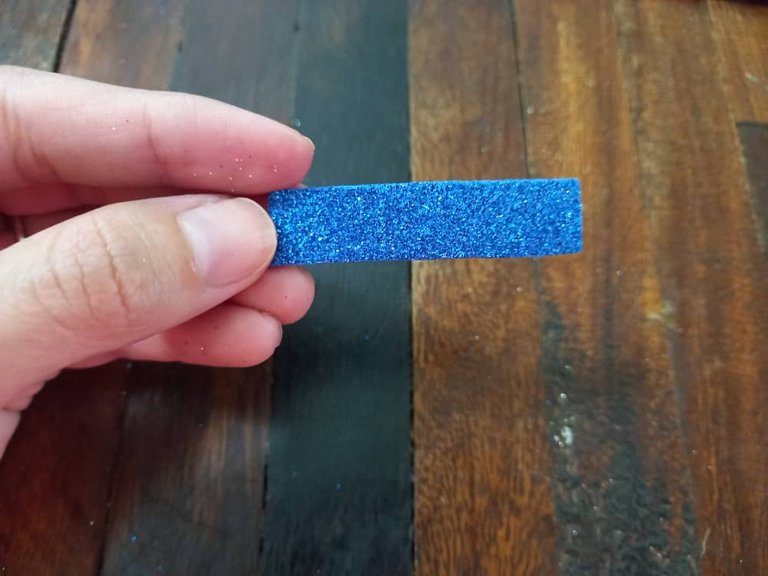
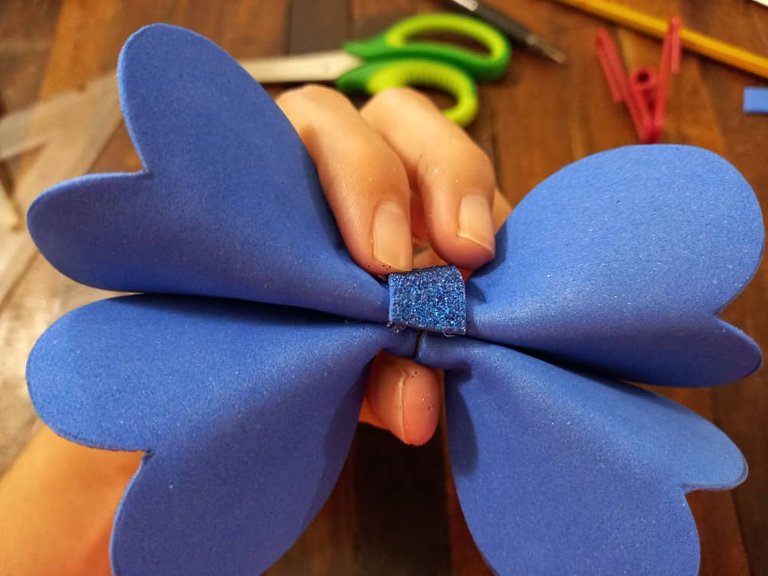
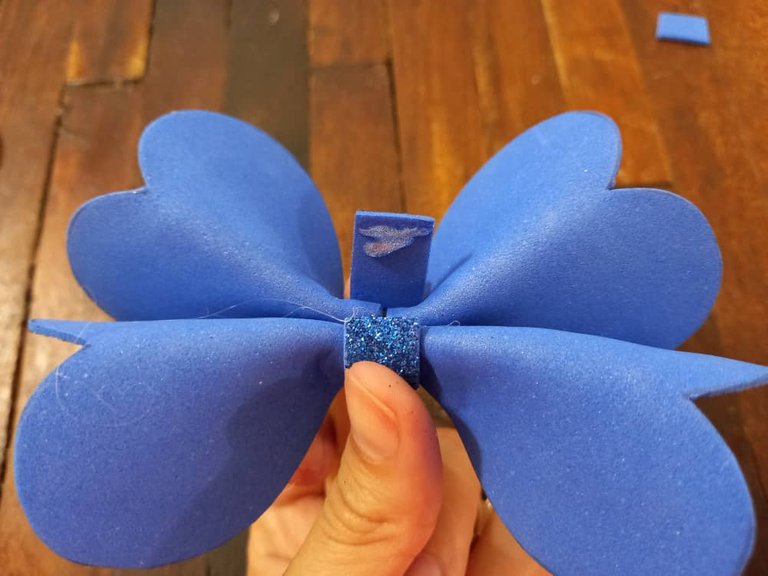
❥ STEP 8. We cut a strip of frosted blue foami long enough to cover the joint of the pieces that we just glued, we applied silicon to one of the ends on the back and glued it in the center of the Union of the pieces, we cover that part and finish by applying silicone to the end of the strip and pressing to make it stick.
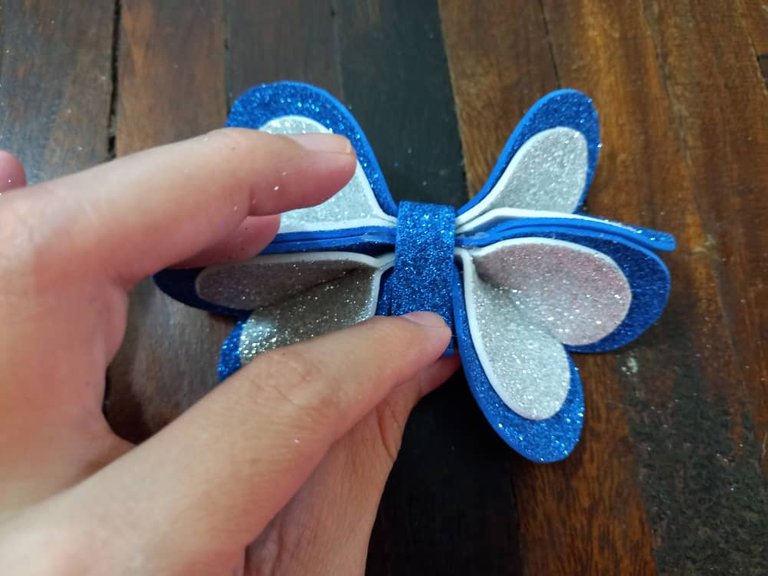
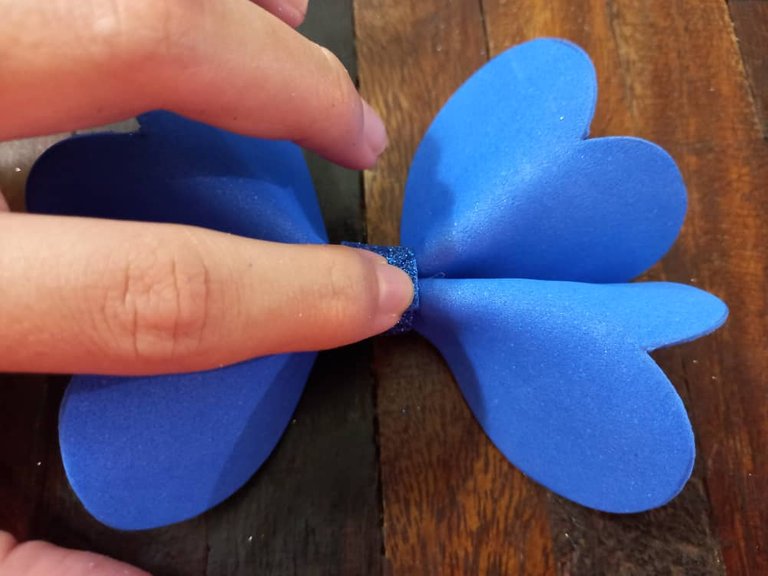
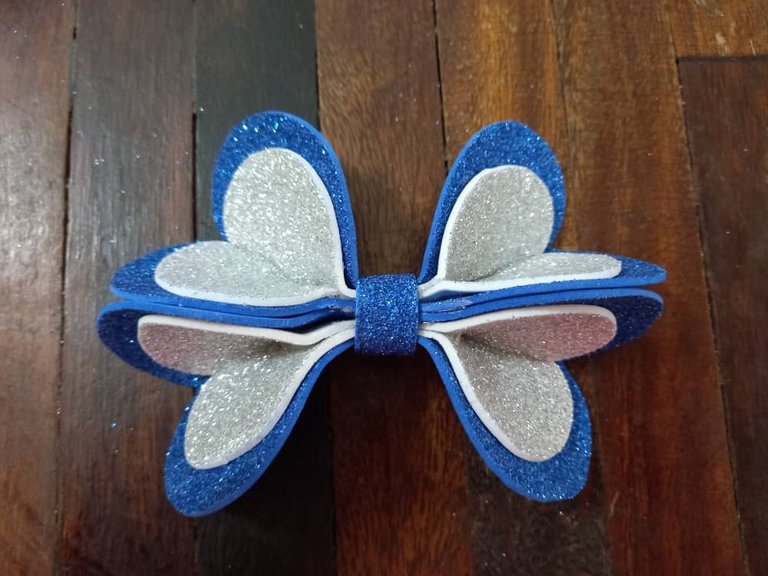

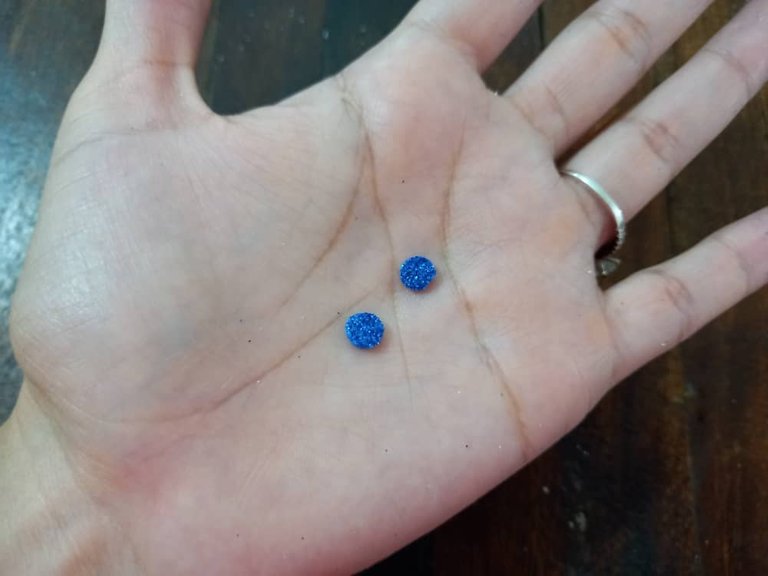
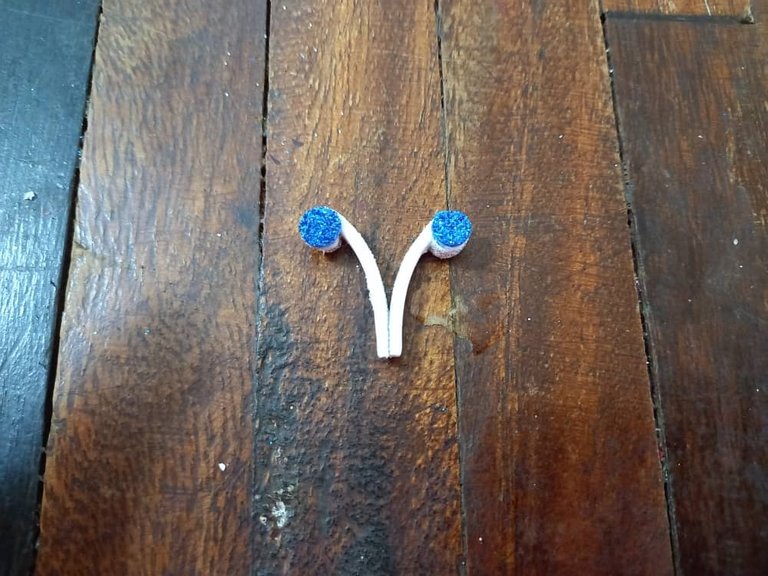
❥PASO 9. Cortamos 2 tiras delgadas de foami plateado, aplicamos silicon en una de sus puntas y doblamos hacia adentro, haciendo esta forma, luego con el sacabocados hacemos 2 circulos de foami azul escarchado y los pegamos en las partes que doblamos de las tiras plateadas:
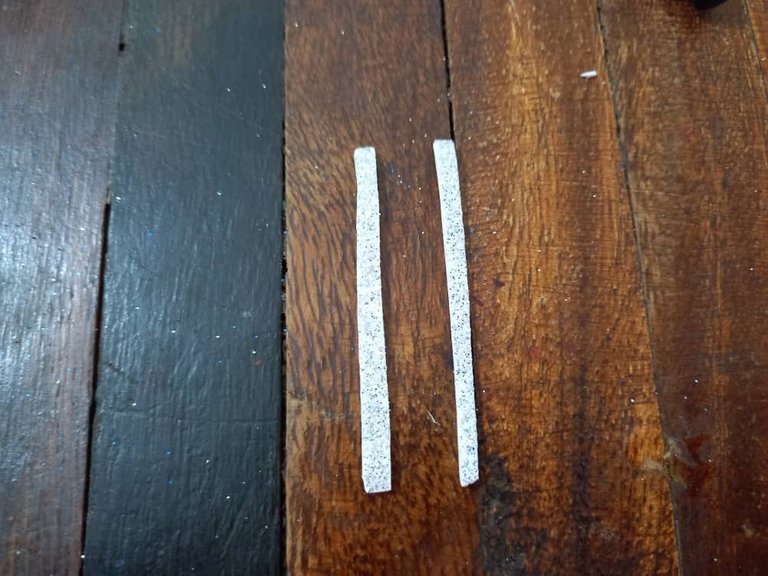
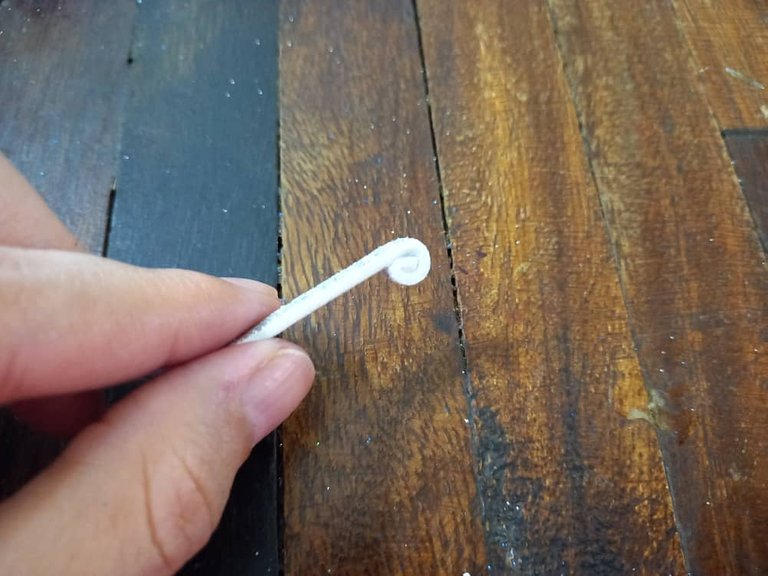
❥ STEP 9. We cut 2 thin strips of silver foami, apply silicone to one of its ends and fold inward, making this shape, then with the punch we make 2 circles of frosted blue foam and glue them in the parts that we fold of the silver strips:
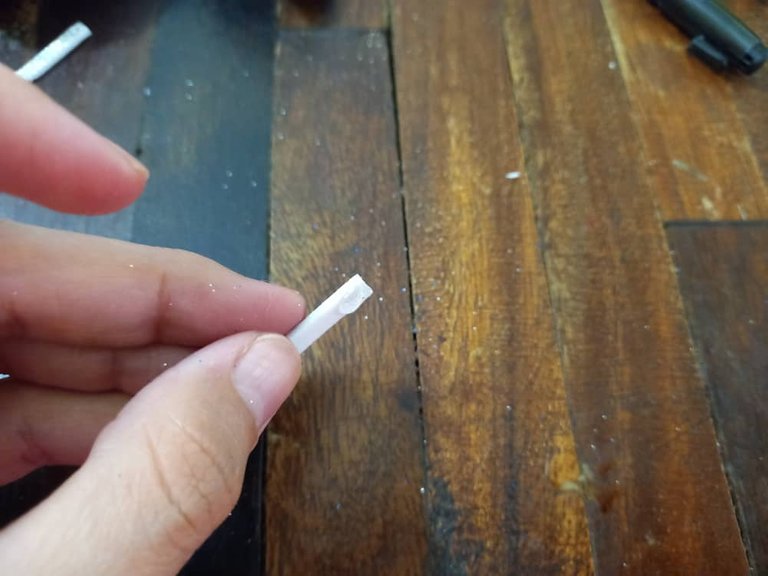
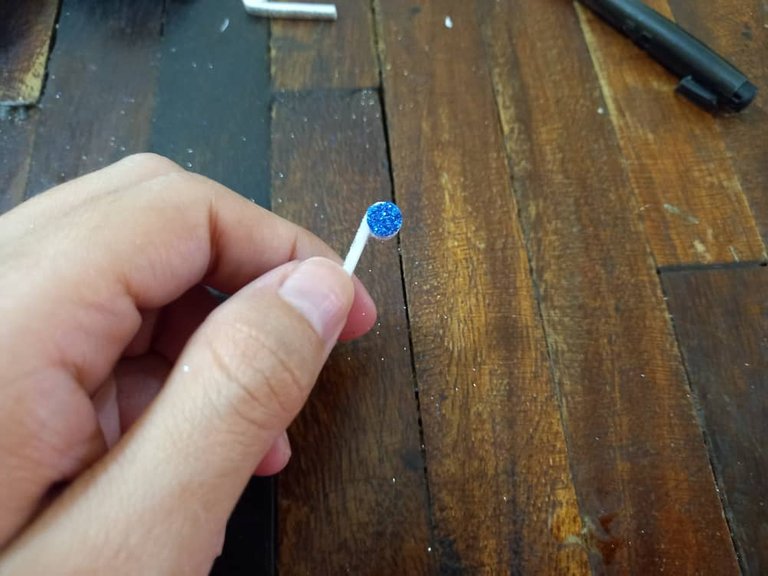

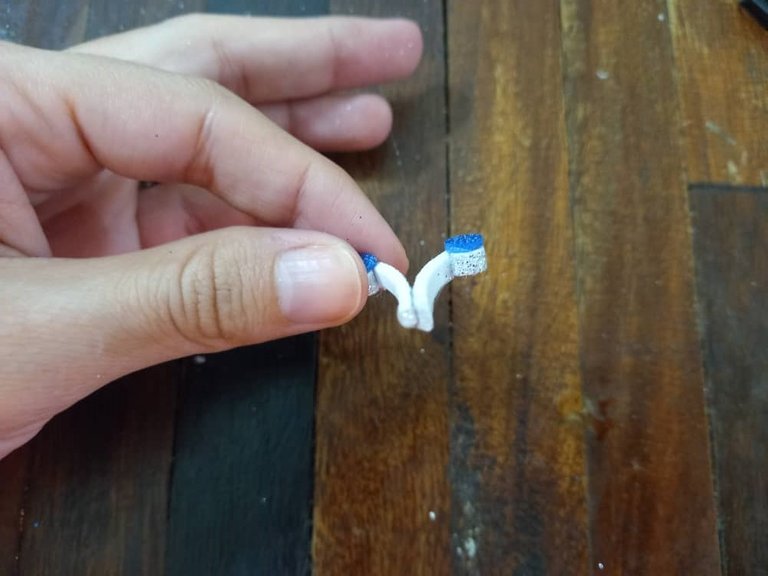
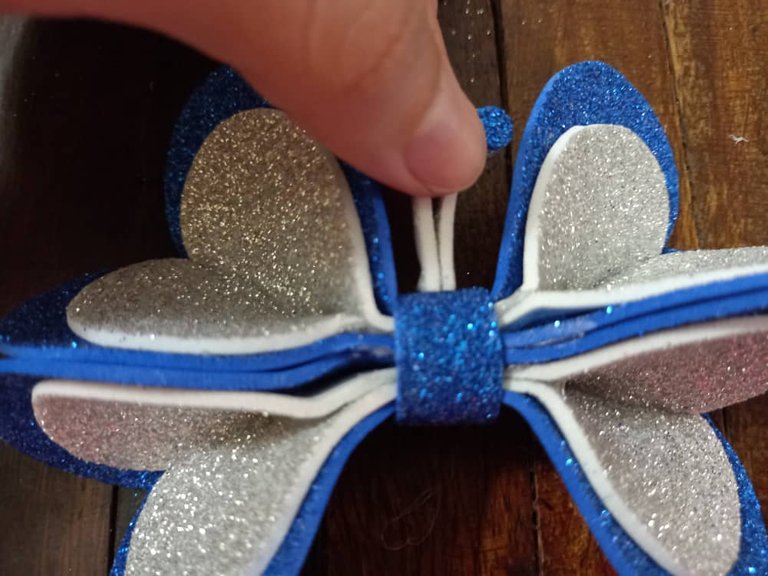
❥ PASO 10. Ahora unimos ambas tiras de foami con silicon, esas son las antenitas de la mariposa, luego aplicamos silicon en la parte de debajo de las antenitas y las pegamos sobre la mariposa, en la parte de la tira azul que cubre la unión de las piezas.
❥ STEP 10. Now we join both strips of foam with silicone, those are the antennae of the butterfly, then we apply silicone to the bottom part of the antennae and stick them on the butterfly, in the part of the blue strip that covers the union of the pieces.

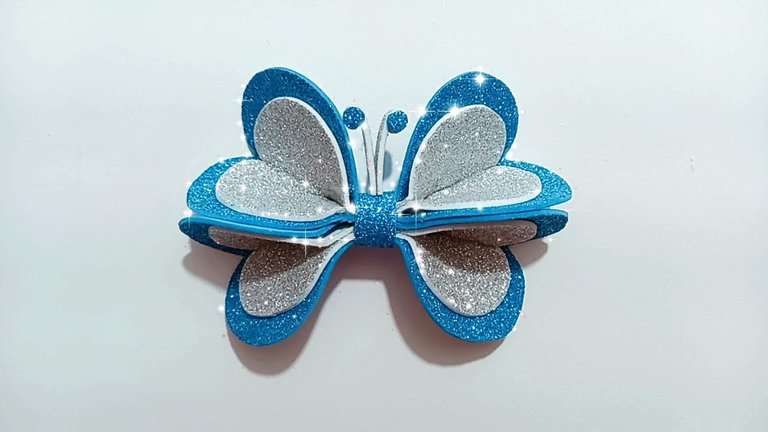
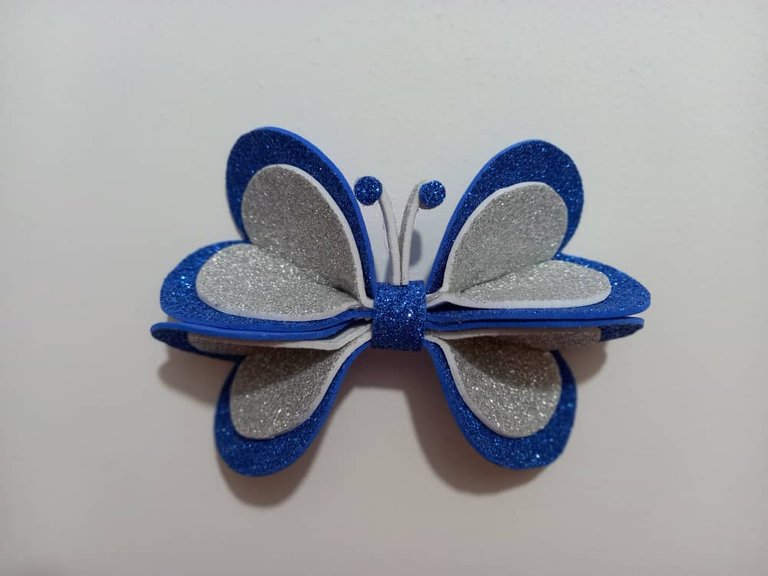
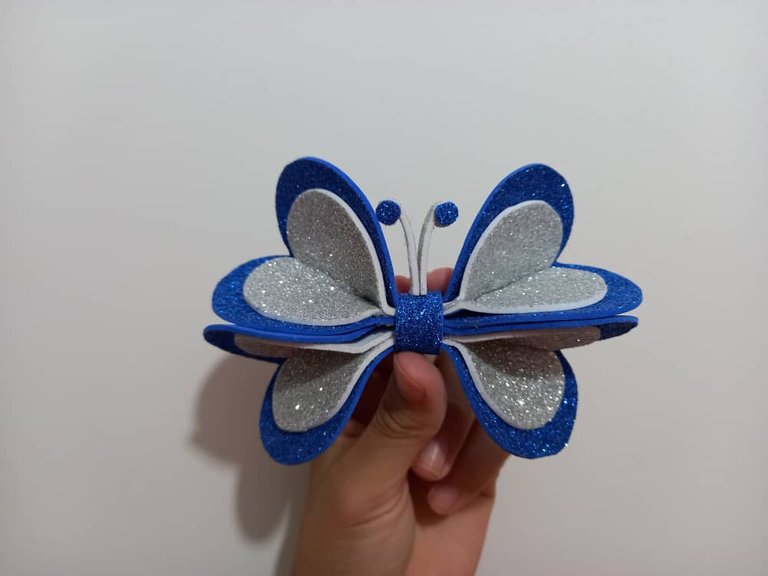
Y finalmente tenemos lista nuestra hermosa mariposa, podemos hacerla de cualquier color y podemos utilizarla para decorar cualquier espacio o adorno, colocarla en la pared o en algún obsequio, podemos darle el uso que se nos ocurra. Espero que le haya gustado este tutorial y se animen a intentarla en casa.
And finally we have our beautiful butterfly ready, we can make it in any color and we can use it to decorate any space or ornament, place it on the wall or in a gift, we can give it the use that occurs to us. I hope you liked this tutorial and are encouraged to try it at home.


Todas las fotografías son de mi propiedad.
Fotografías capturadas con mi Samsung Galaxy A12
Nos vemos en mi próxima publicación.
¡Tengan un feliz día!
All photographs are my property.
Photos captured with my Samsung Galaxy A12
See you in my next post.
¡Have a happy day!
Muy bonitas...
Congratulations @mariajcastro28! You have completed the following achievement on the Hive blockchain and have been rewarded with new badge(s) :
You can view your badges on your board and compare yourself to others in the Ranking
If you no longer want to receive notifications, reply to this comment with the word
STOPTo support your work, I also upvoted your post!
Check out the last post from @hivebuzz:
Support the HiveBuzz project. Vote for our proposal!