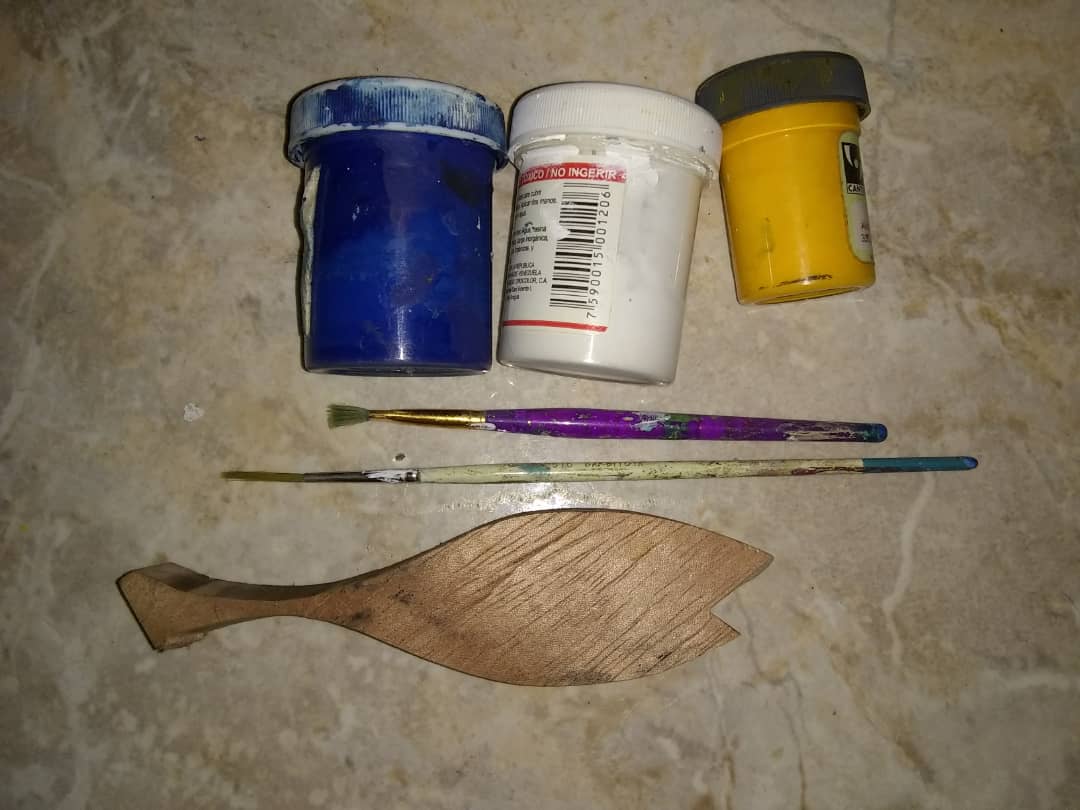
Los materiales que necesite son simples, un pedazo de madera, pinceles y pinturas al frío, es importante destacar que en caso de no tener maderas con forma, puedes calcar un pez en un trozo de madera lisa y seguir los mismos procedimientos, te aseguro quedará igual de encantador.
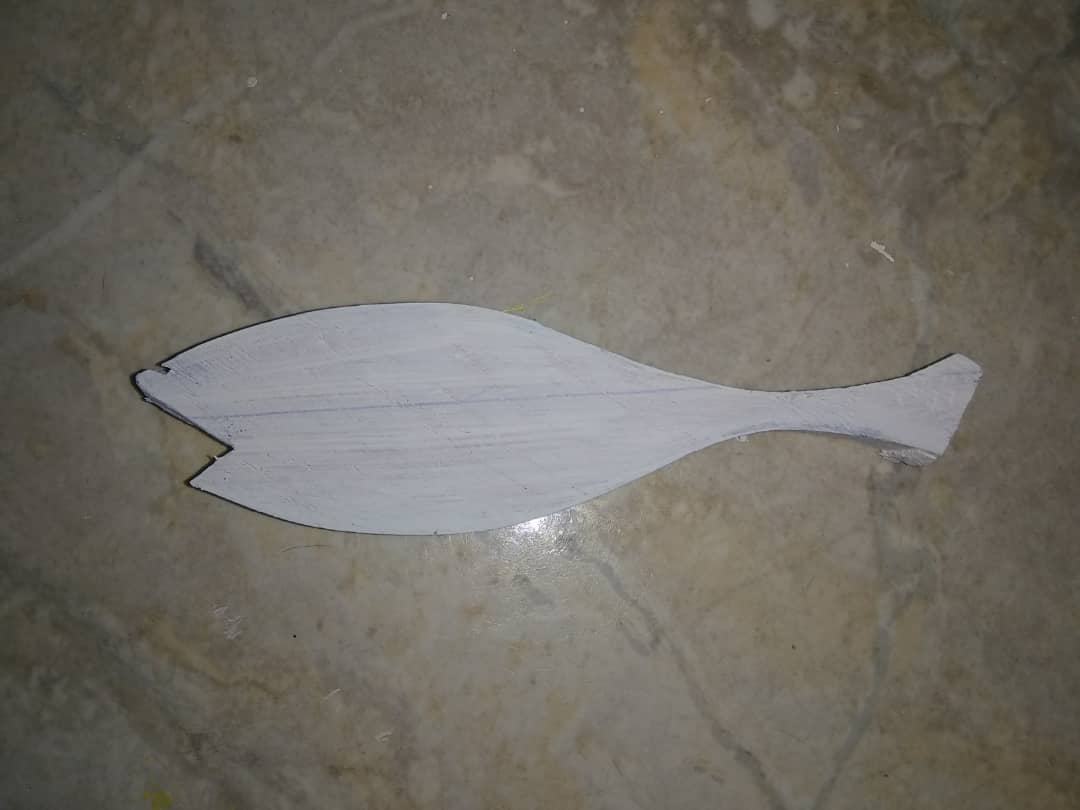
Iniciamos pintando todo nuestro pez de blanco para que adquiera mejor los demás colores.
Luego trazamos un línea angular para dividir la cabeza del cuerpo, el cual pintaremos de color azul rey.
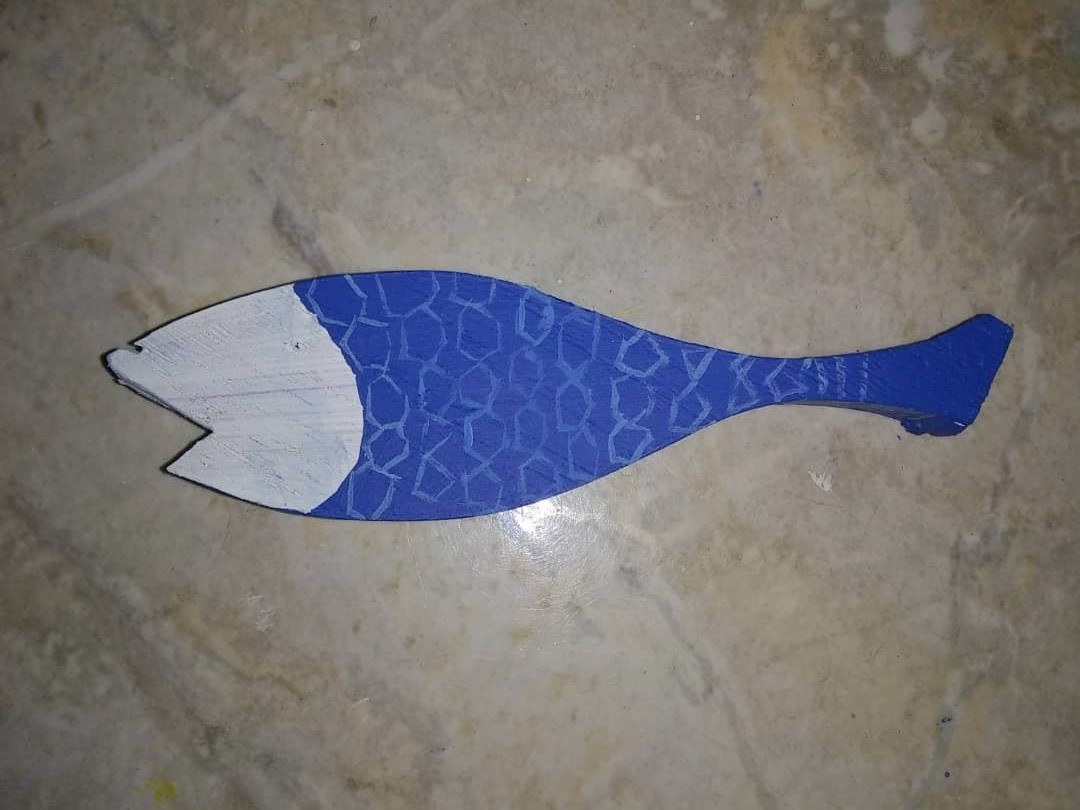
Ahora mezclamos azul con blanco y pintamos especies de hexágonos para reflejar escamas en la piel de nuestro pez.
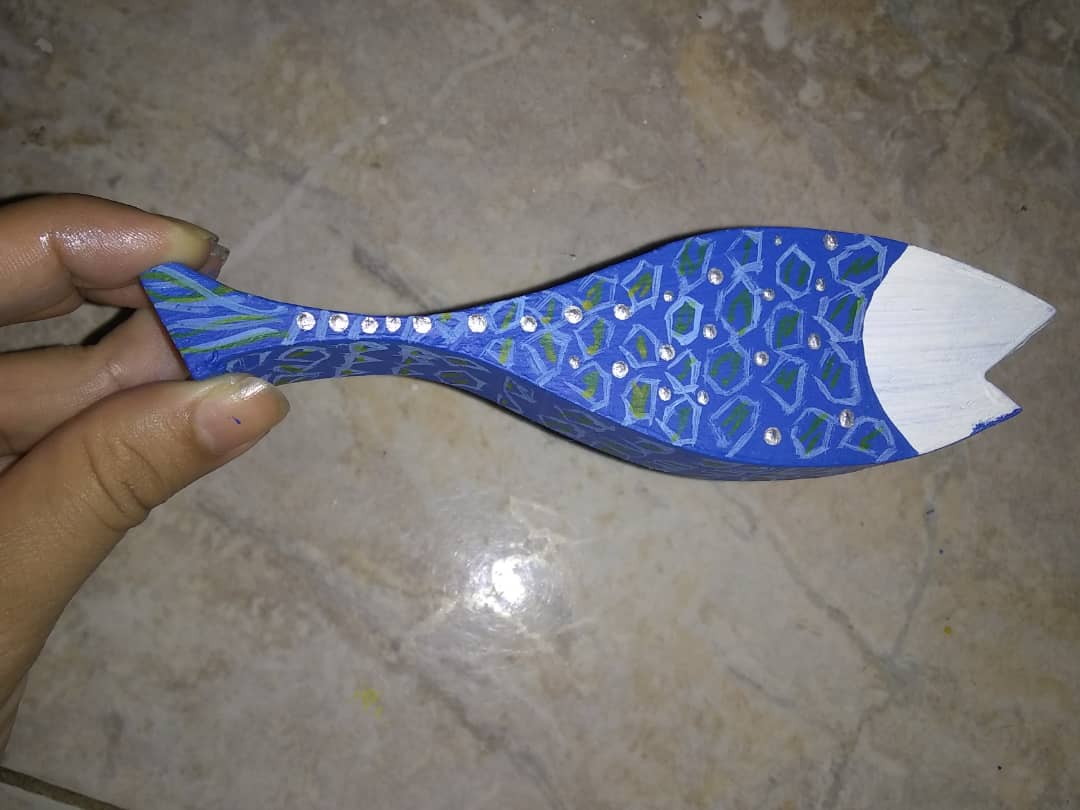
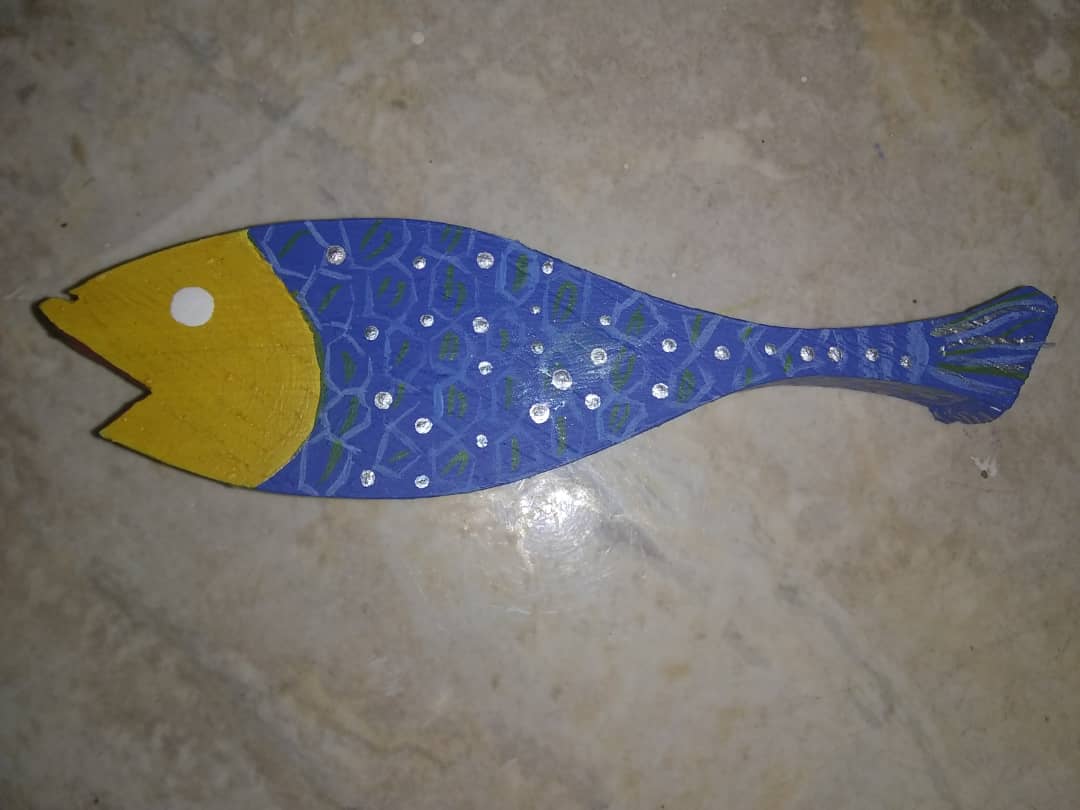
Dentro de las escamas pintamos dos rayitas amarillas y ponemos puntos plateados para decorar el pez, también le damos color a la cabeza con amarillo y ya nuestro pez empieza a tener forma y color.
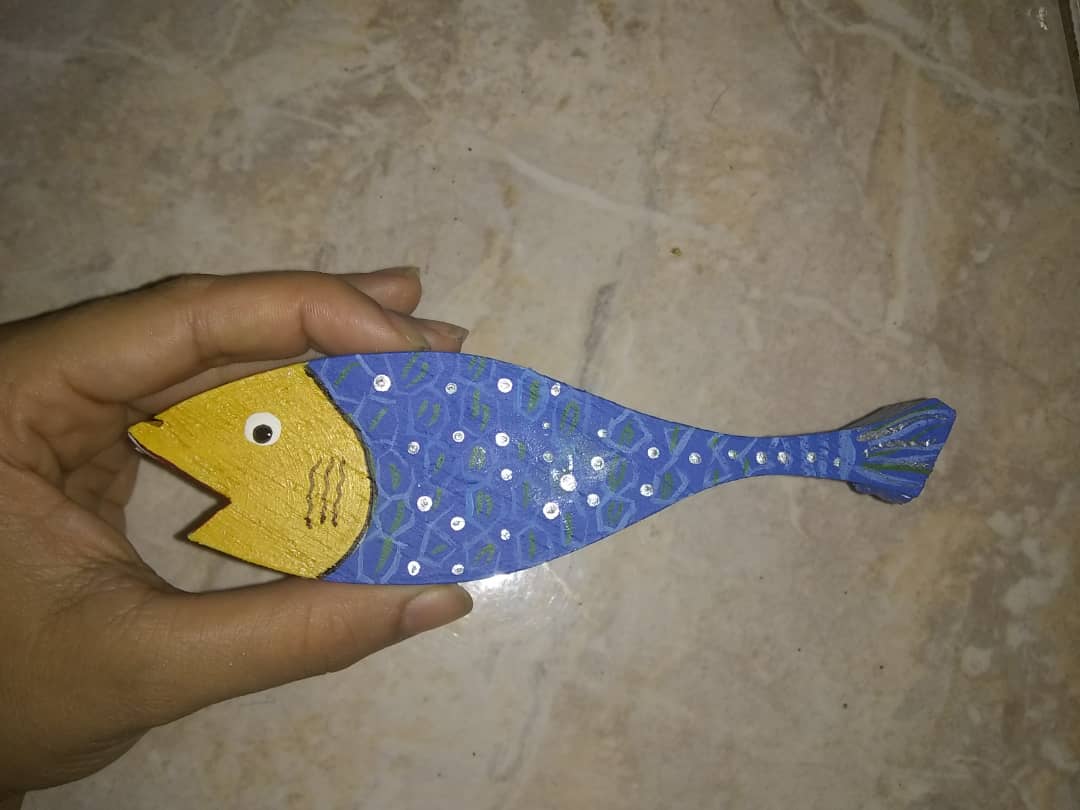
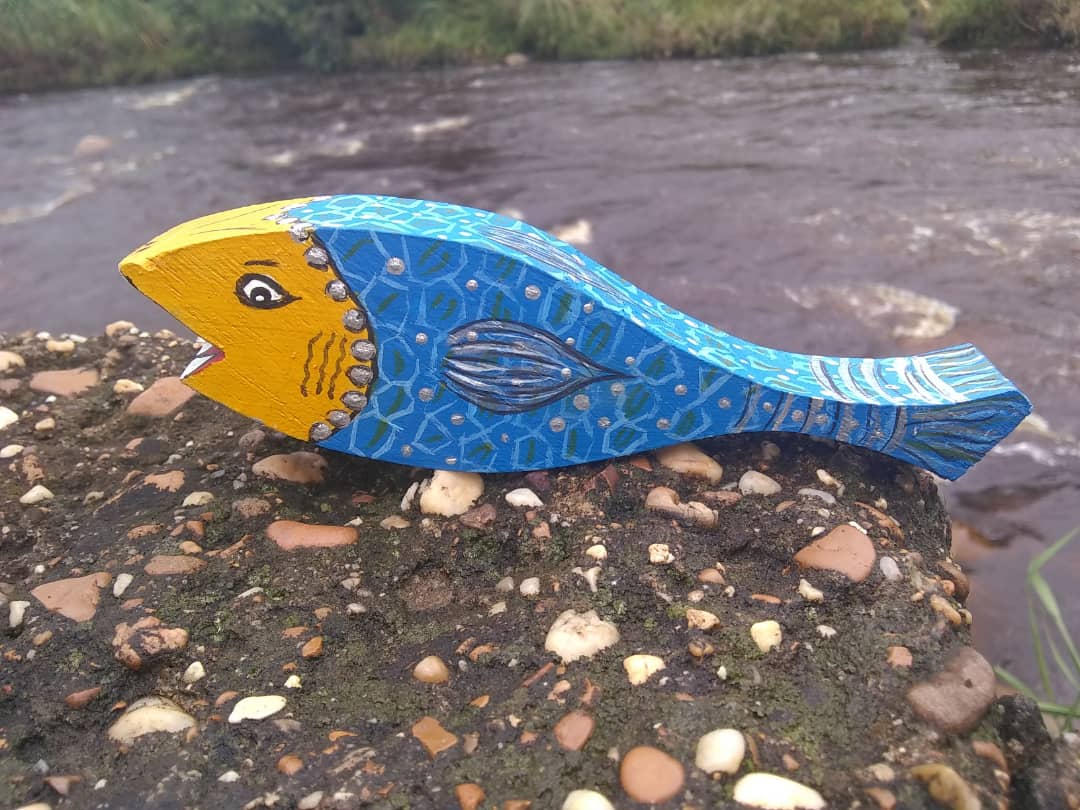
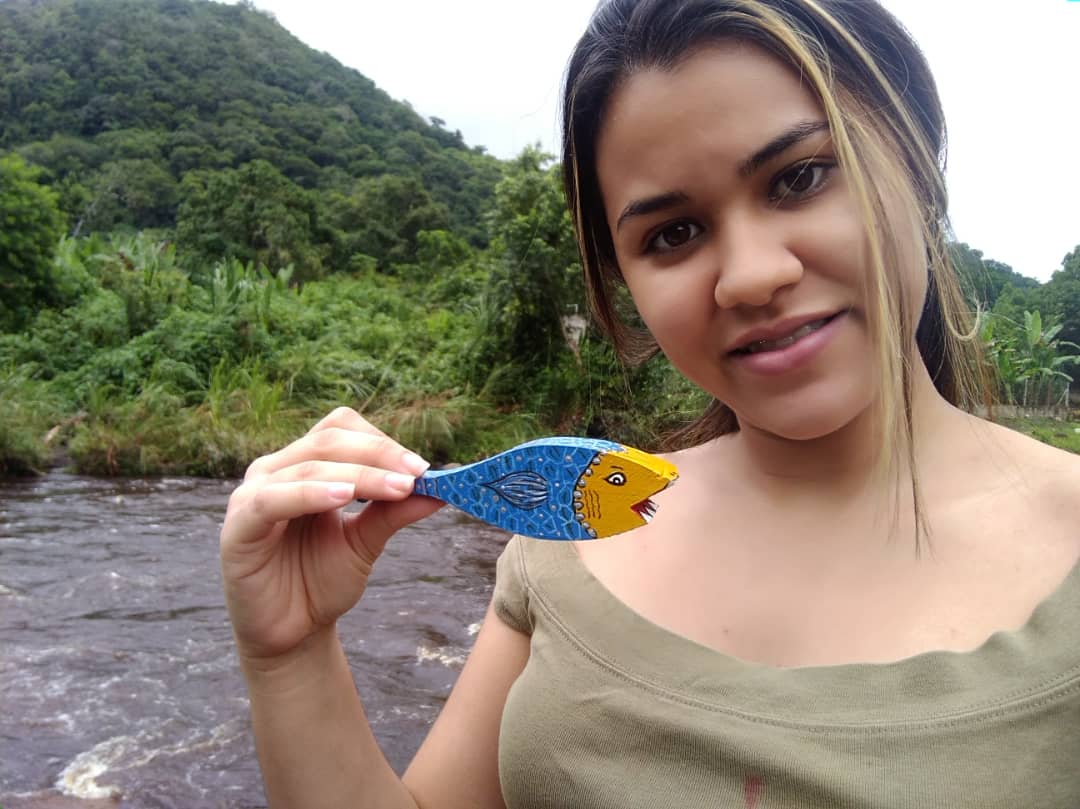
Pintamos los ojos, agallas, y damos los últimos toques como contornear la división de la cabeza y el cuerpo con puntos plateados, pintamos aletas con pintura plateada y negro, pintamos dientes y dos puntos para la nariz y listo, nuestro pez está listo para decorar u obsequiar, espero se animen a realizarlo y disfruten al hacerlo tanto como yo, recuerda que todos somos capaces de crear cosas hermosas e innovar, hasta la próxima.
::::::::::::::::::::::::::::::::::::::::::::::::::::::::::::::::::::::::::::::::::::::::::::::::::::::::::::::::::::::::::::::::::::::::::::::::::::::::::::::::::::::::::::::::::::::::::::::::::::::::::::::::::::::

The materials you need are simple, a piece of wood, brushes and cold paints, it is important to note that if you do not have shaped wood, you can trace a fish on a piece of smooth wood and follow the same procedures, I assure you it will be just as lovely.

We start by painting all our fish white so that it better acquires the other colors.

Then we draw an angular line to divide the head from the body, which we will paint in royal blue.

Now we mix blue with white and paint species of hexagons to reflect scales on the skin of our fish.


Inside the scales we paint two yellow stripes and put silver dots to decorate the fish, we also color the head with yellow and our fish begins to have shape and color.

We paint the eyes, gills, and put the finishing touches like outlining the division of the head and the body with silver dots, we paint fins with silver and black paint, we paint teeth and two dots for the nose and voila, our fish is ready to decorate or give gifts, I hope you are encouraged to do it and enjoy doing it as much as I do, remember that we are all capable of creating beautiful things and innovating, until next time.
