Hello hive friends, especially the @gems community, I hope you are having a great time, this time I bring you a very simple tutorial on how to make a small remote-controlled ant robot with recyclable materials that you can find at home
Materiales y herramientas que utilice
- 10 cm de estaño
- fundente
- silicon
- 40 cm de cable de audífonos encerado
- bombillo o led rojo
- capacitador ceramico
- batería de teléfono
- cable usb
- motor de telefono
- botón de encendido
- cautin
- espatula
- pinzas
- alambre de cobre
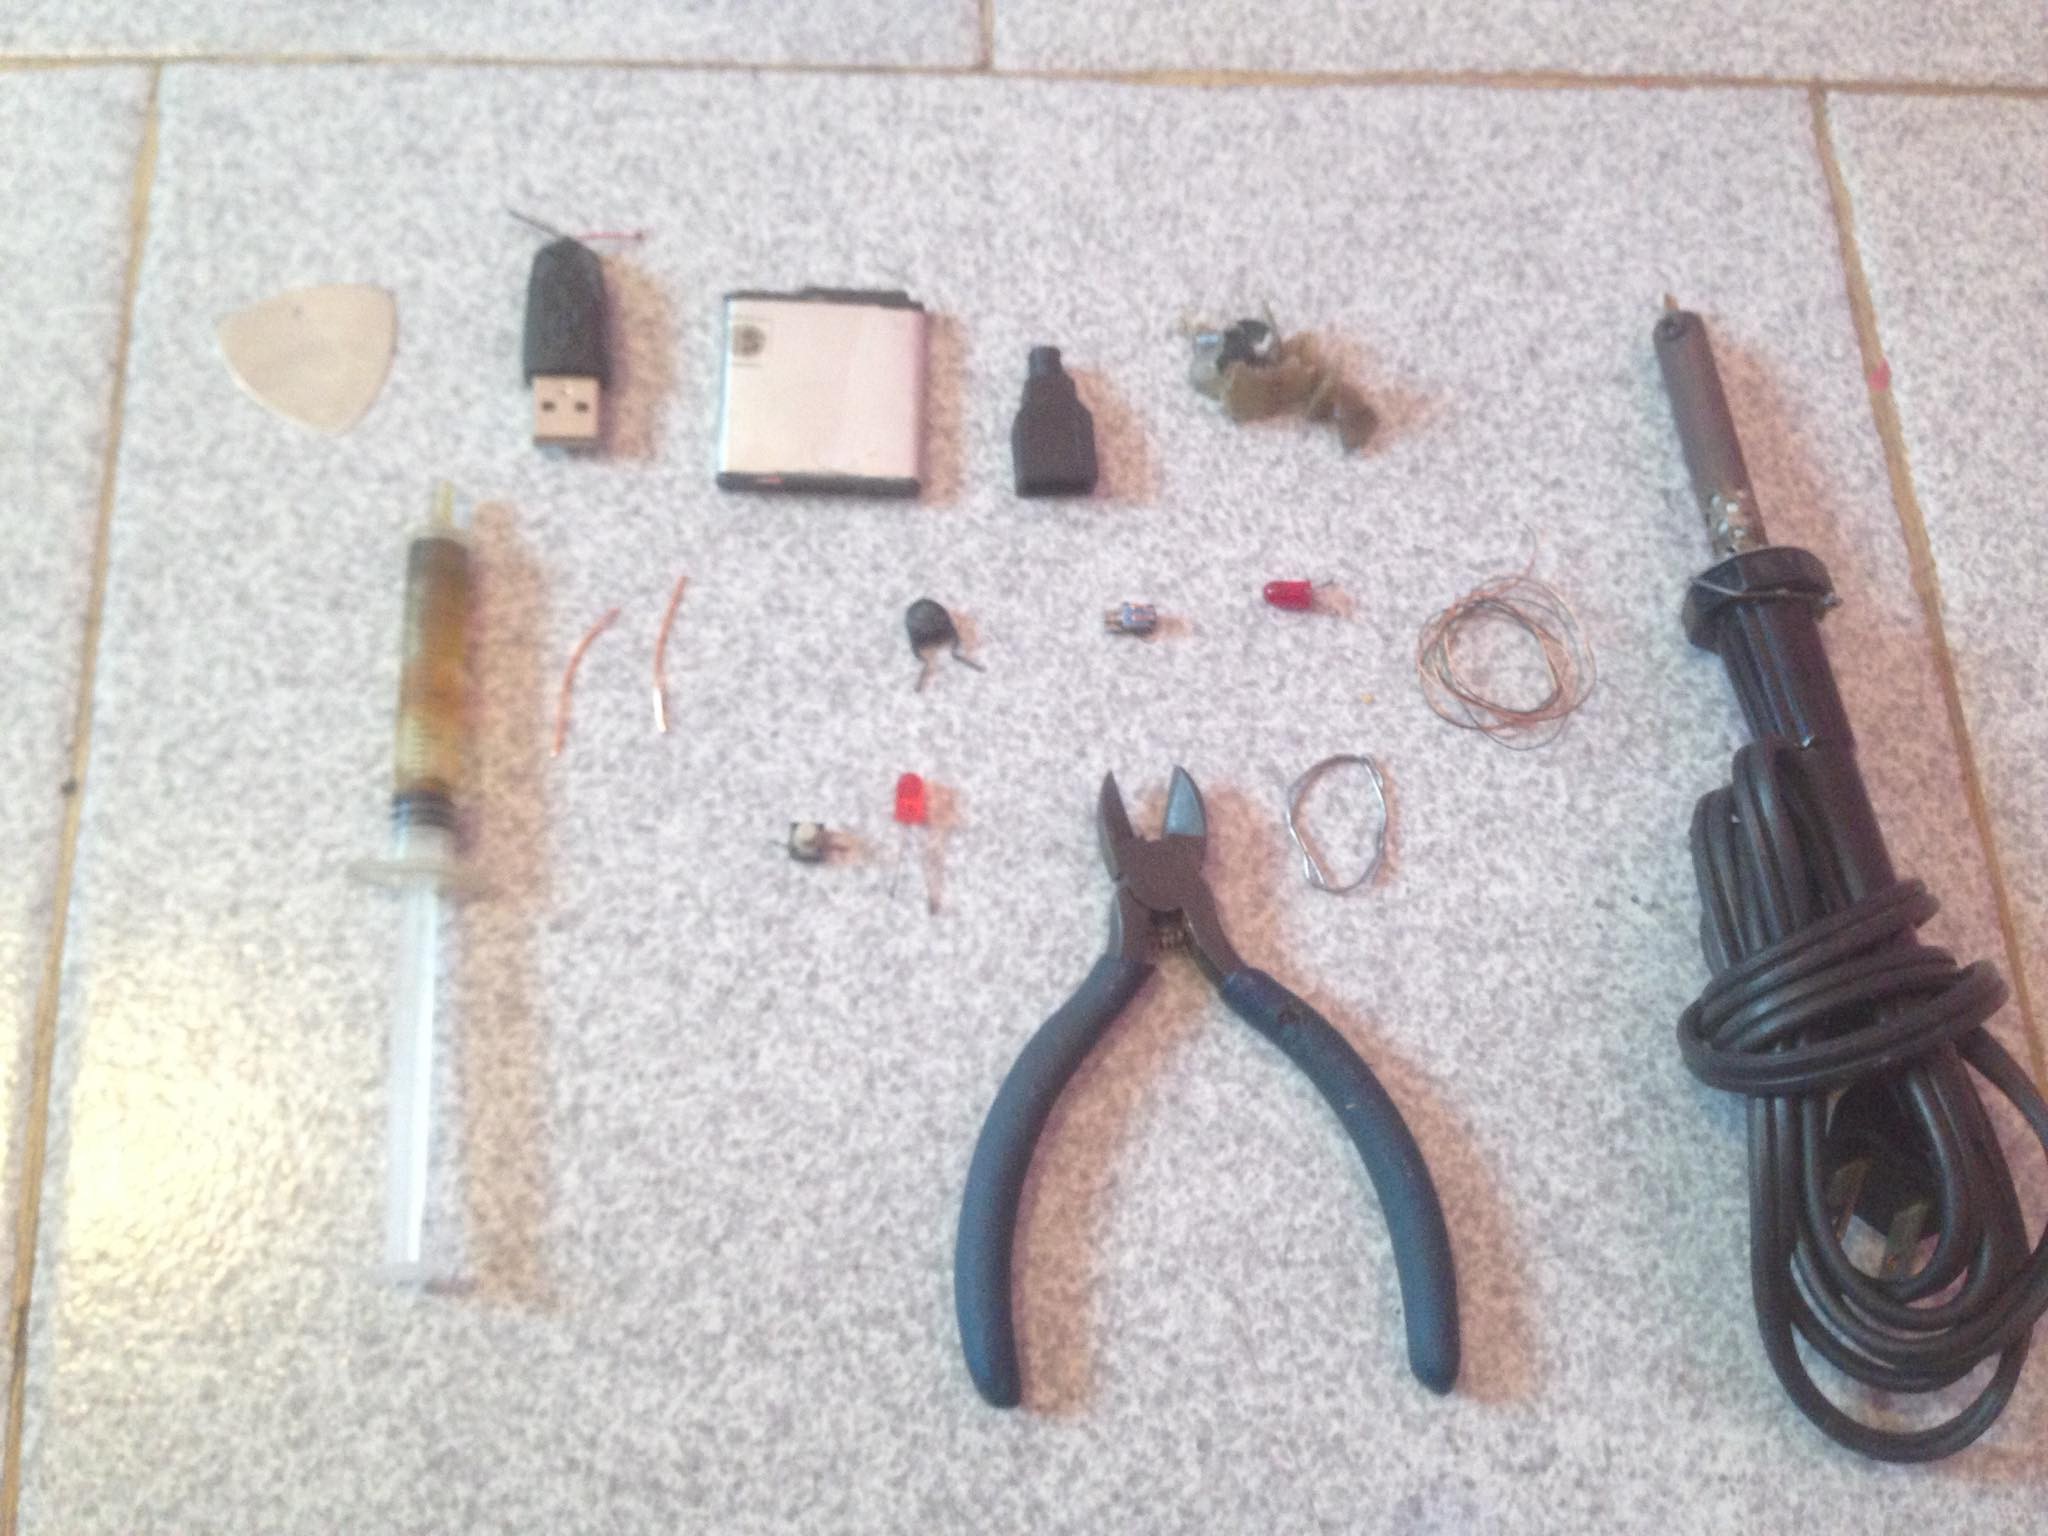
Materials and tools you use
- 10 cm tin
- flux
- silicon
- 40 cm waxed headphone cable
- bulb or red led
- ceramic trainer
- phone battery
- USB Cable
- phone engine
- power button
- soldering iron
- spatula
- tweezers
- copper wire
Procedimiento
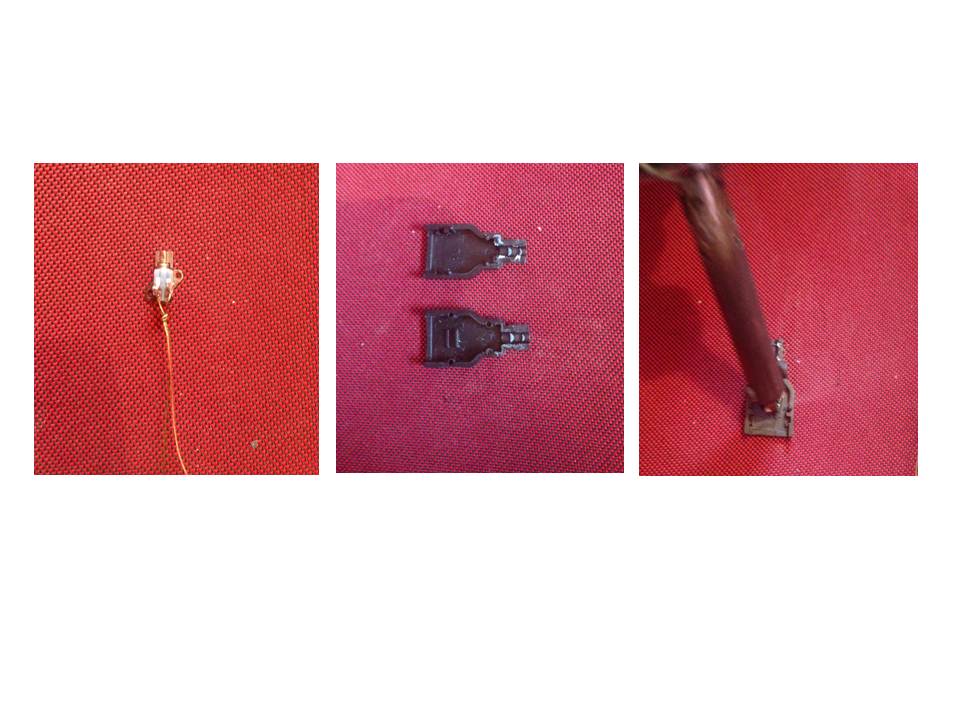
The first thing I did, was to solder the 40 cm cable to the motor, then I used the usb housing, I opened it and later I put silicon in the central part of one of the covers and with the soldering iron I melted the silicon.
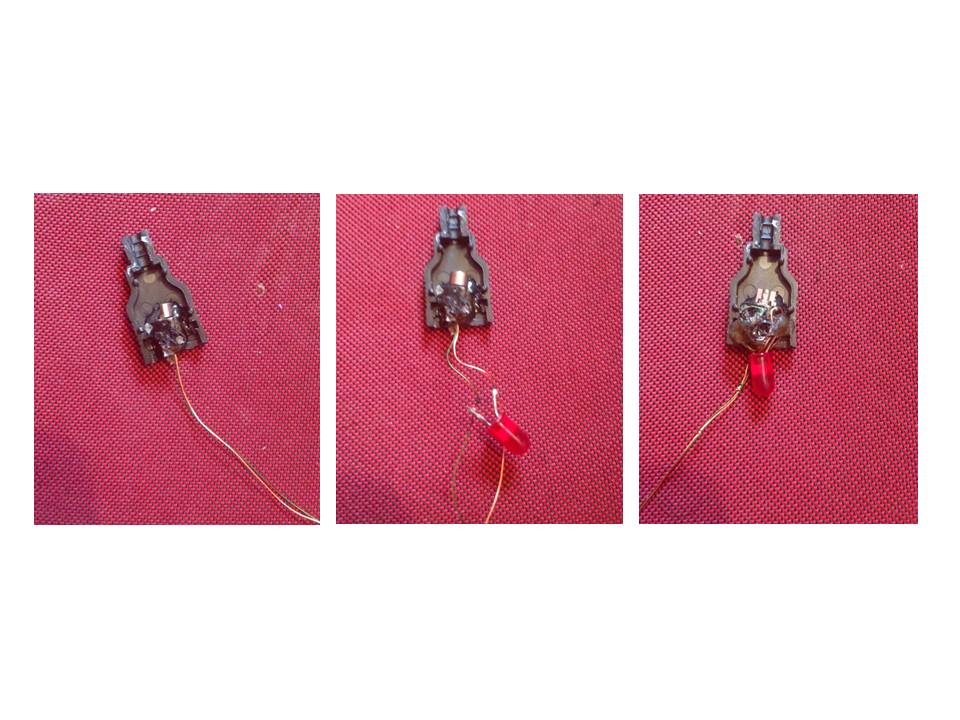
Then put the phone motor to the usb cover, then I soldered the led bulb to the motor cable to finally get it glued to the case.
Put a little silicone on the edges to seal the two parts, on the front stick the ceramic capacitor to emulate the ant's head, then make 3 holes on the sides and put copper wires that emulate the ant's legs.
Then put silicone to seal the legs of the ant. place the power button on top of the battery.
Then I soldered the cable from the headphones to the battery to complete the circuit and finally we finished the little tutorial of the remote control ant robot.

Your post has been curated by us! Received 20.00% upvote from @opb. Do consider delegate to us to help support our project.
Do join our discord channel to give us feedback, https://discord.gg/bwb2ENt
* This bot is upvoting based on the criteria : 1. Not plagiarised, 2. Persistent previous quality posts, 3. Active engagement with other usersDo upvote this commment if you 💚 our service :)
Hello good day!! Regards.
I hope you are fine. Thank you for choosing me to collaborate on your project. I already joined your group in discord.
Congratulations @laura02! You have completed the following achievement on the Hive blockchain and have been rewarded with new badge(s) :
Your next target is to reach 800 upvotes.
You can view your badges on your board and compare yourself to others in the Ranking
If you no longer want to receive notifications, reply to this comment with the word
STOP