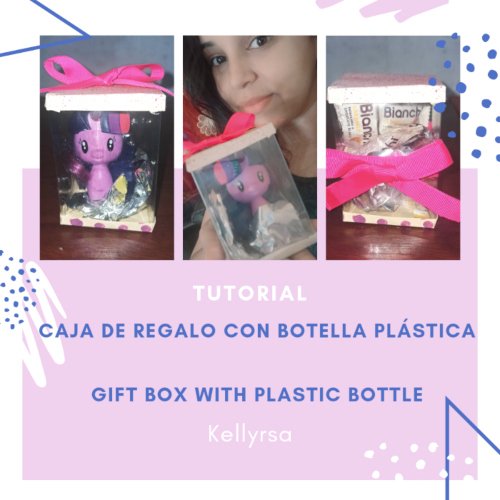
!Hola querida comunidad!
Hoy les enseño como hacer unas hermosas cajitas con botellas plásticas, ideal para hacer un obsequio o guardad cualquier cosita, así que después de tomarte tu refresco (gaseosa) no deseches el envase, con el puedes crear infinidades de cosas útiles.
Hello dear community!
Today I show you how to make beautiful little boxes with plastic bottles, ideal for making a gift or keep any little thing, so after drinking your soda do not discard the container, with it you can create infinite useful things.
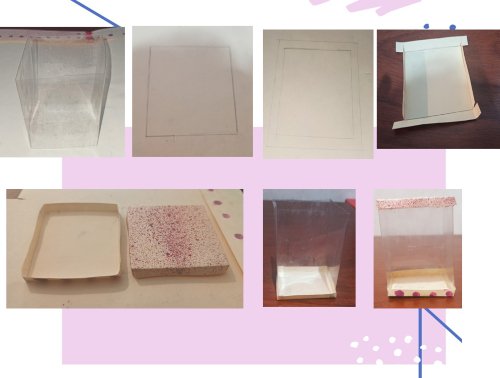
1. De la botella plástica utilizaremos la parte del medio que es lisa , así que recortamos la parte de arriba justo donde comienza la parte lisa y luego mas abajo donde termina
1. - From the plastic bottle we will use the middle part which is smooth, so we cut the top part just where the smooth part starts and then lower where it ends.
2. Ahora el cilindro lo vamos a aplastar presionando bien de cada lado para formar dos pliegues, para que quede bien marcado lo hacemos con ayuda con el mango de la tijera.
2. Now we are going to flatten the cylinder pressing well on each side to form two folds, so that it is well marked we do it with the help of the scissors.
3. Lo abrimos y juntamos las plecas de doble para que nos quede justo en el centro,presionamos los extremos para marcas otros dos dobles . Al momento de abrirlo nos quedara cuadrado.
3. We open it and join the double folds so that it is right in the center, we press the ends to mark two other doubles. When we open it, it will be square.
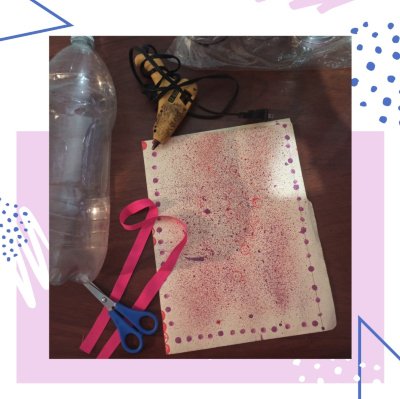
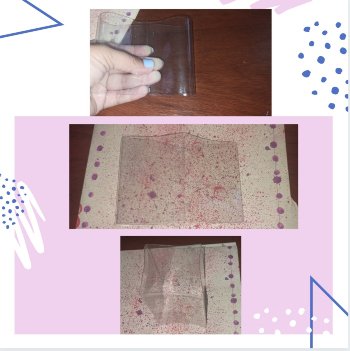
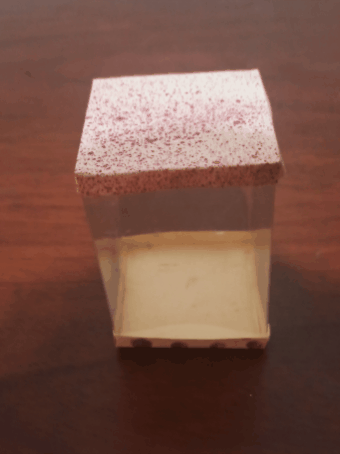
4.El siguiente paso es hacer la base y la tapa, para eso necesitamos una cartulina lisa o decorada , colocamos encima el cubo y marcamos alrededor con un lápiz , después que tengamos marcados el cuadrado vamos a aumentar por lado 1cm y recortamos (haremos dos veces el procedimiento). Hacemos dos pequeños cortes hasta donde llega la linea del lápiz, en las cuatro esquinas (fíjate de las imágenes). Luego con una regla exactamente donde esta la linea del lápiz vamos a hacer unas plecas de dobles en los cuatro lados, las pestañas que quedan vamos a pegarla y nos quedara como una cajita. Ya tenemos lista la tapa y la base que vamos a pegar al cubo.
4. The next step is to make the base and the lid, for that we need a plain or decorated cardboard, place the cube on top and mark around it with a pencil, after we have marked the square we are going to increase by 1cm per side and cut it out (we will do the procedure twice). We make two small cuts up to where the pencil line arrives, in the four corners (look at the pictures). Then with a ruler exactly where the pencil line is we are going to make some double lines on the four sides, the remaining tabs we are going to glue it and it will look like a little box. Now we have the lid and the base that we are going to glue to the cube.

5. Ya armada la cajita es hora de usar tu imaginación y decorarla, yo use cinta raso, se la coloque alrededor y le hice un lacito. Dentro de la cajita le coloque papel celofán y unos caramelos muy practico y bonito para hacer un detalle.
Once the box is ready, it's time to use your imagination and decorate it, I used satin ribbon, put it around the box and made a bow. Inside the box I placed cellophane paper and some candies, very practical and nice to make a detail.

Gracias por leer esta publicación
Autor: Kelly Salas
Fotografías tomadas con el celular Redmi note 8 pro
Thank you for reading this publication
Author: Kelly Salas
Photographs taken with the Redmi note 8 pro cell phone


muy linda y creativa idea, lo intentare
very nice and creative idea, I will try it
Congratulations @kellyrsa! You have completed the following achievement on the Hive blockchain and have been rewarded with new badge(s) :
Your next target is to reach 3500 upvotes.
You can view your badges on your board and compare yourself to others in the Ranking
If you no longer want to receive notifications, reply to this comment with the word
STOPSupport the HiveBuzz project. Vote for our proposal!