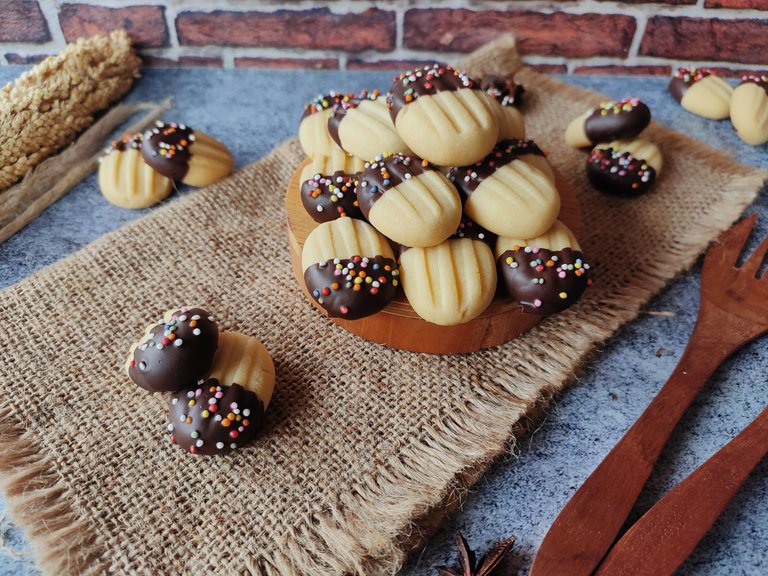
Yooo hello my fellow hivers and all communities from around the world wherever you are. come back again with me Jodi and Ema on the food and snack recipe blog that is very easy for you to make yourself at home without requiring a lot of money and time. Happy Monday again to all of you who are starting work activities as usual or just at home with family and friends, I hope you are doing well without any problems. thank you to all hivers and communities who have read and stopped by my previous post regarding the recipe for how to make cute and delicious bear cookies, what do you think about this recipe? give your feedback below this post. Well, this Monday, Ema and I will share another cookie recipe for you. This cookie is quite unique because it has a fork name, why? because the shape of the cookie is printed using a fork. In addition, this fork cookie will be mixed with melted chocolate at the end. For those of you who are interested in these fork cookies, just read the recipe below until it's finished and give your suggestions below this post. good luck Hivers!
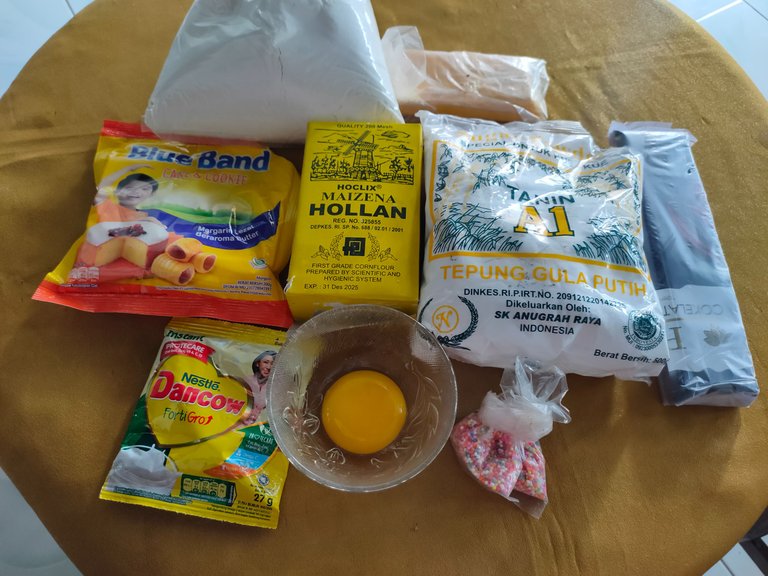
Well, the ingredients for making these fork cookies certainly don't require a lot of money and you can buy all these ingredients at the nearest supermarket or market. the first ingredient you have to prepare is margarine, flour, cornstarch, powdered sugar, milk powder, 1 egg yolk, for chocolate you can use one of them like original chocolate bars and bananas and finally sprinkle. after you have prepared all the ingredients, now let's start the first step of making fork cookies.
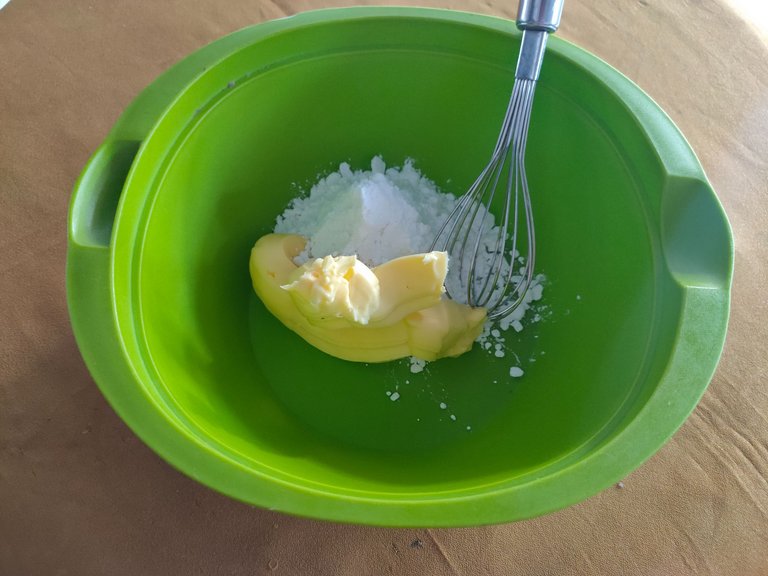
The first step, what you have to do first is prepare a place and put 150 grams of margarine and 5 or 6 tablespoons of powdered sugar. after that, stir the margarine and powdered sugar until well blended using a whisk.
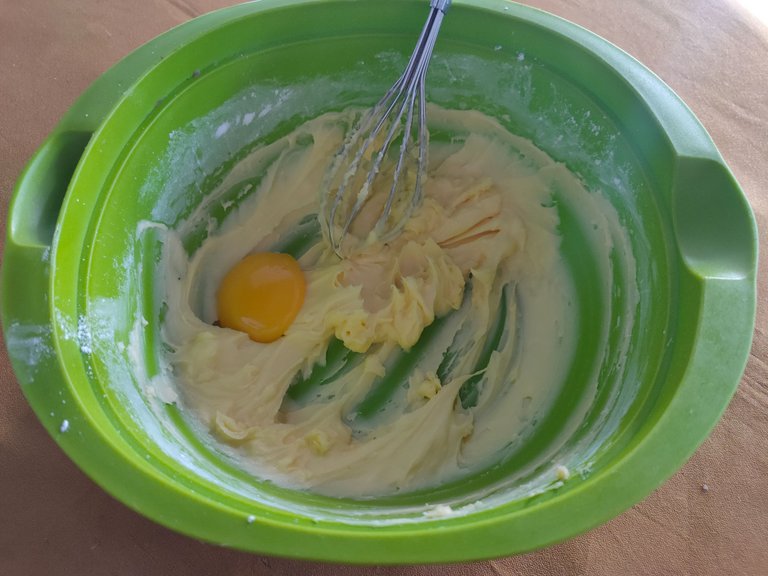
the second step, after the powdered sugar and margarine have been stirred until well blended, then all you have to add is 1 egg yolk and after that stir again until the egg yolks are evenly mixed.
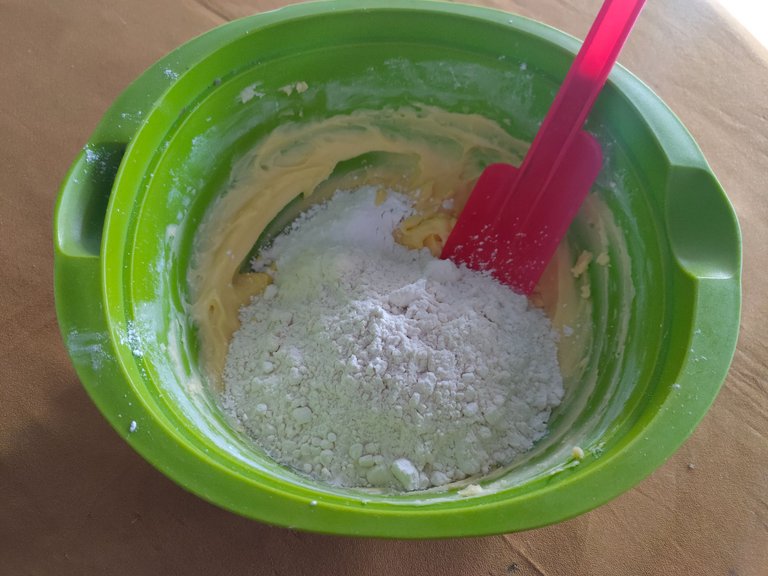
the third step, after the egg yolks have been stirred until well blended, then add 15 or 20 tablespoons of medium protein flour, 1 sachet of powdered milk and 1 tablespoon of cornstarch. Then, stir again until well blended using a spatula.
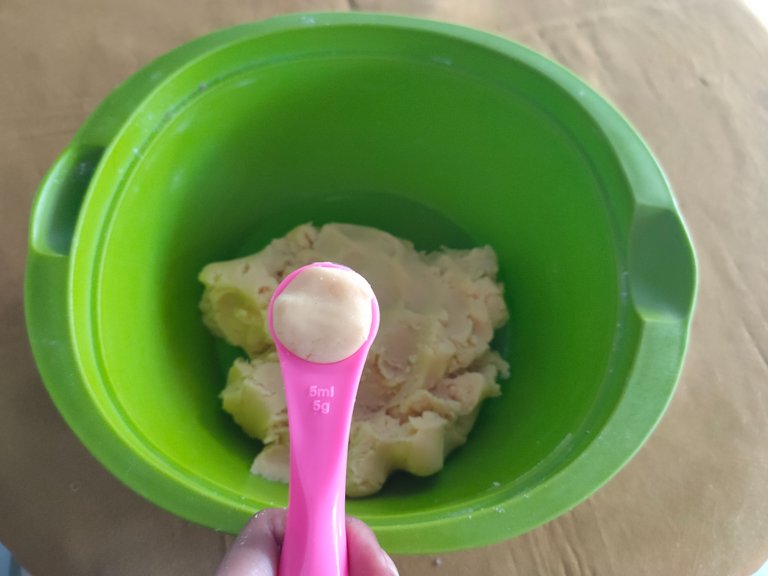
the fourth step, after the dough is finished and can be shaped according to your wishes, the next thing you have to do is prepare a measuring spoon with a size of 5 grams and take the dough. Repeat this step until the dough is finished being taken evenly using a 5 gram measuring spoon.
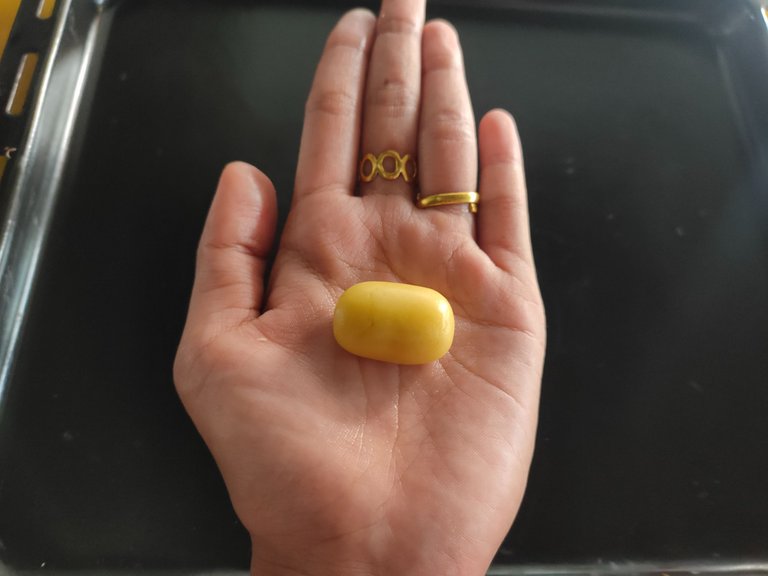
the fifth step, after you have finished taking the dough using a measuring spoon, then what you have to do is shape the dough with an oval shape like the photo above. repeat until all the dough is finished in the shape.
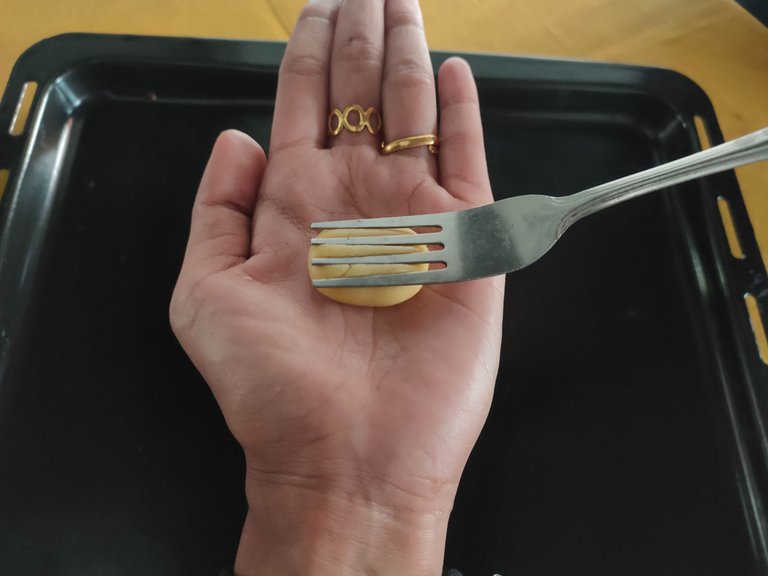
the sixth step, after all the dough has been shaped like the previous photo, then take a fork and press the fork in the middle of the dough like the photo above. Repeat this step until all the dough is done.
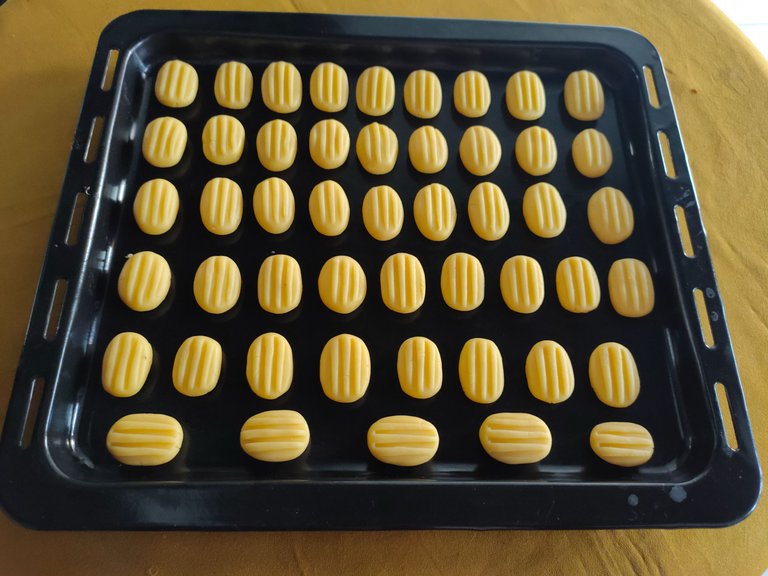
seventh step, after the dough has been shaped using a fork, then arrange the dough neatly on a baking sheet like the photo above. after it has been arranged on a baking sheet, prepare the oven and preheat the oven for 10 minutes until the oven is really hot. Then, enter the baking sheet and bake the dough at a temperature of 160 degrees Celsius, with fire up and down for about 20 to 25 minutes depending on the oven you use.
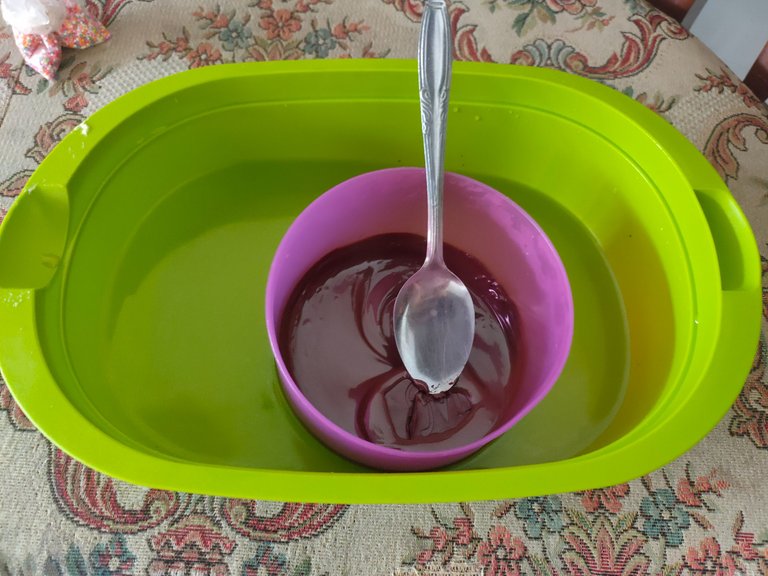
the eighth step, while the dough is being baked for 20 minutes, now prepare hot water and put it in the basin. After that, put the chocolate bars in a small bowl and put the bowl into the basin. stir until the chocolate is completely melted.
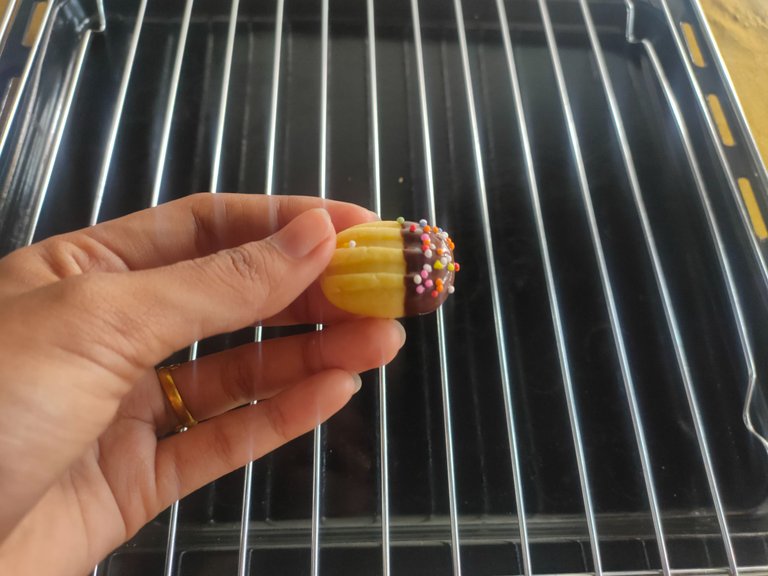
the last step, after you have made the chocolate melt, then what you have to do is dip the bottom or top cookies like the photo above. after all the cookies have been dipped in melted chocolate, add sprinkles in the chocolate section until it's finished. after that, move all the cookies Put it in one place and put it in the refrigerator for about 5 minutes so that the chocolate hardens.
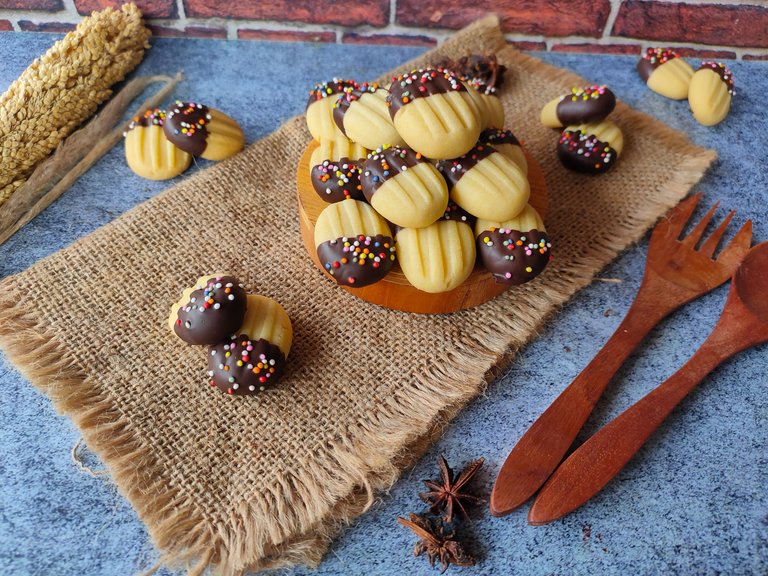
and finally, you can serve fork cookies to your family and friends, the taste is very good, the texture of the cookies is very soft and also tasty. You can sell these cookies at affordable prices as a new business idea in the city. What do you think ? quite interesting isn't it? give your feedback below this post. thank you for those of you who have read and stopped by my post today about the recipe for how to make fork cookies very easily. don't forget to give your advice and support for me and Ema to be more enthusiastic about sharing the next interesting recipe. see you in another recipe with me, Jodi and Ema. Good luck Hivers!
Yummy 😋. I feel like munching some right now. I love the look of it, it's soooo appetizing 🥰.
Congratulations @jodipamungkas! You have completed the following achievement on the Hive blockchain and have been rewarded with new badge(s):
Your next payout target is 32000 HP.
The unit is Hive Power equivalent because post and comment rewards can be split into HP and HBD
You can view your badges on your board and compare yourself to others in the Ranking
If you no longer want to receive notifications, reply to this comment with the word
STOPTo support your work, I also upvoted your post!
Check out the last post from @hivebuzz:
Support the HiveBuzz project. Vote for our proposal!
Thank you for sharing this amazing post on HIVE!
Your content got selected by our fellow curator @priyanarc & you just received a little thank you via an upvote from our non-profit curation initiative!
You will be featured in one of our recurring curation compilations and on our pinterest boards! Both are aiming to offer you a stage to widen your audience within and outside of the DIY scene of hive.
Join the official DIYHub community on HIVE and show us more of your amazing work and feel free to connect with us and other DIYers via our discord server: https://discord.gg/mY5uCfQ !
If you want to support our goal to motivate other DIY/art/music/homesteading/... creators just delegate to us and earn 100% of your curation rewards!
Stay creative & hive on!
wow